I have seen different aspects of this idea. I learned to use Face Robot in Softimage which used mesh and weight maps to add wrinkle details.
In Blender you could do this in a similar way with a displacement Modifier and a texture. But I also like the idea of using the shader because you can mix the normal map for fine detail and the displacement in one go. It would be real resource intensive to do it all with displacement. But that is certainly still an option.
Most solutions I have seen have either been to subdivide the mesh and displace or use bump or normal maps. Either way there has to be a way to drive it with the controllers. And Blender has great tools for this.
The face rig I made is entirely Shape Keys. There are no bones. Just bones as controllers for the shapes. So I just copy the driver from the Shape Key to the shader and Bob’s your uncle.
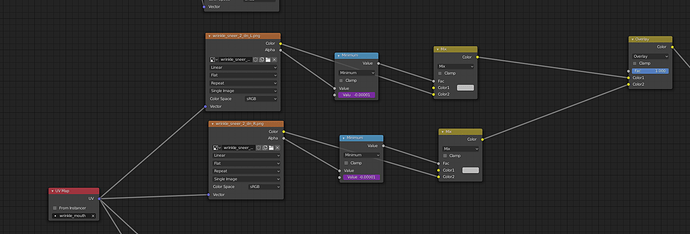
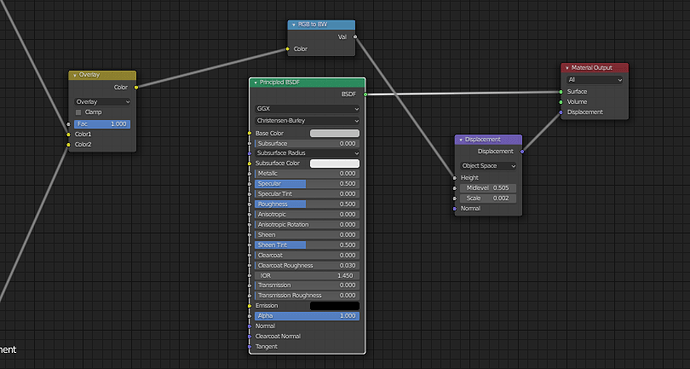
Here is a close screen shot of the basic set up.
The idea for this workflow is to paint on a transparent map only the wrinkle in shades of black and white and then composite that over a mid tone grey and keep everything able to overlay over as it moves down to the final output.
At the end of the pipe you have a grey tone that dynamically gets the wrinkes fading in and out and this is plugged into displacement on the shader via a displacement node. Then Cycles and Experimental with a subdivision surface to
The math node is used to drive the value of fading in and out with the controller.
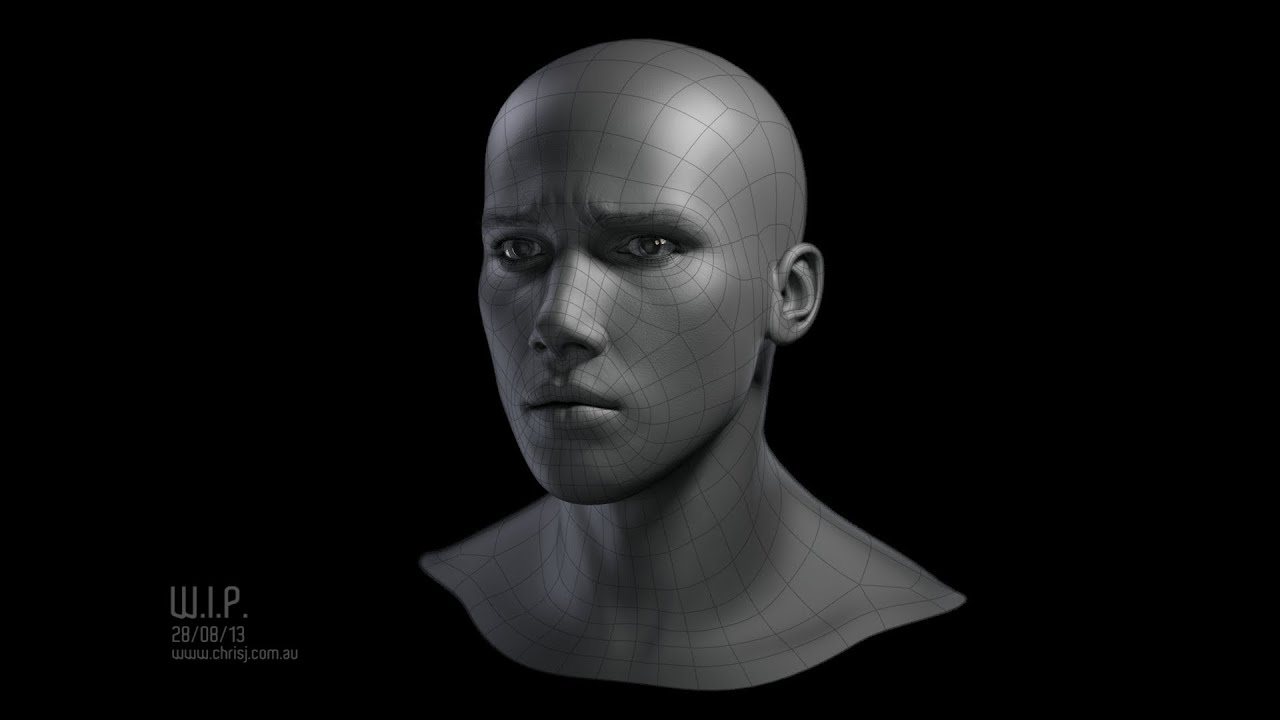
By the way Chris Jones also developed a similar rig I think. Using LightWave. But he uses Blender now.
His Blender thread:


