Hi,
Following the last topic…I wanted to have the same effect obtained in the vid. below in blender without using multiple channels and whatever…i.e without using much nodes or the poliigon ready-to-go node setup
If you want to achieve what’s done in the video, then you’re gonna have to just do what Andrew does in the video. It really won’t be any easier for anyone here to guide you through it. Of course if you’re stuck on a specific part, then feel free to ask for help, but I’m not sure what else you’re looking for.
As for the poliigon side of things: You’ve already received help and guidance on that particular part in your original post here. And the Poliigonn addons can all be downloaded for free anyway, even if you don’t want to use the paid textures.
I think @Magnavis is right that there may not be an “easy button” approach to achieving the look from the video with your constraints (without a bunch of channels, a bunch of nodes, or a ready-made node setup). I would also support what @RightClaw said about moving the thread (my recommendation is the Works In Progress category, though).
That being said, I think you can make what you want in different ways by choosing one of those constraints to relax.
If you don’t want to use a bunch of hand-painted maps and color channels, you can go the procedural route by learning how the nodes work in order to have Blender do what appears to be hand-painted work for you. (The CGMatter/Default Cube YouTube channels are a good place to start learning the nodes in a more advanced way.)
If you just want to make art, grabbing a pre-made node setup is probably the way to go. You mentioned Poliigon, but there’s also BlendSwap and Gumroad - often with a pay what you want or free download option.
And if you want to mix procedural and hand-built elements, you could use geometry nodes - you can build your assets (either using procedural nodes or image textures) and then use geometry nodes to have Blender generate variations of your asset on the fly. This may require the most initial work at the beginning (and would probably be best suited for creating a system if you wanted to generate a large number of variations of the same asset type), but once built, it can save tons of time later. I’m a geometry nodes newbie, so I can’t give you any guidance there - I know that CGMatter, Default Cube, and the Blender Foundation have released training series on geometry nodes on YouTube, but I can’t speak to how good those resources are.
Idk where should I post my threads and I feel that’s was a little bit rude of him since I’m new here…how could he expect me to know that there’s a chanel for that? I will do that
And regarding the textures…can we use texture paint for that?
Not rude at-all, just a suggestion so that people coming in know what the user (that’s you) is hoping to get in return. I think Work in Progress might not be a bad idea as an ongoing project. I can move it there, if you like?
Whilst I’m here, can I just ask straight up: What is stopping you - right now - from actually following the tutorial to the letter. What’s stopping you, apart from Poliggon, which isn’t really an issue at-all. What specific part are you really struggling to understand?
Paint it out in black and white. Because you’ve been stuck on the same part for days now, seemingly with no progress.
yes You may move it there if it’ll make things clearer. Thanks.
Actually the poliigon part is where the problem started…the project suddenly became dead when he used the poliigon node add-on. The question is how can I recreate it with my own node setup since the one he used it is a ready-to-go setup
If one reads your first thread on this subject and understands the context, then they will also understand my joke better (also minions are cute, nothing wrong with them!).
But should I tell the truth, what I really think, in my deepest mind? Yes, I will.
I like your enthusiasm. Your “aura” and motivating people to do things is, for real, sweet. I mean it sincerely and positively.
It’s just that your way of communicating with people can be irritating for some, such as using “we” instead of “I”. The reason for this, is that some may perceive it as you are taking for granted that people will help you.
If you try to be a little more open-minded and listen a little more to what people are saying, you’ll go a long way!
Perhaps you should find a new tutorial to learn from, that doesn’t rely on using addons/assets you don’t want to purchase, and techniques you don’t wish to use.
I didn’t get the joke ofc (Keep in mind that this is a community…different cultures are here) So yes…I didn’t know it’s a joke since it looked like an attack.
I actually like your honesty that’s why I’m being honest here…I didn’t get it first (Minions have another meaning besides the cute yellow ones lol XD)
+Using we Instead of I is better…since using I is usually perceived as being narcissist or selfish…so when I use “we” means that we’re all helping on the matter and that I’m not ordering or that it’s only about me here. And not because I take it for granted that people will help me…but using “We” increases the chances of people collaborating on the thing. Although it won’t always work…(It’s just a trigger…a lever u know)
I saw that video too and was amazed at the information given from it. Being a big big fan of Andrew and at one time a paying customer of Poligon I will say trying to emulate what Andrew did in that video would be tough just cause I believe that video was more of a “look what you can do” rather than a straight-out help video. I mean, that’s how I took it.
But my actual point or helpful constructive opinion here is they do have their own support people who are great and they’ll answer questions if you email them directly. While a paying customer there I was fairly new to Blender and they were really nice about helping out and commenting on my work.
So that’s where I would go with this particular issue. But I concur if they could set up a form for just those kinds of questions like what’s being asked here it would be helpful. In my own thread I asked about something and didn’t get an answer. I figured it out that one of my projects is just way too big for Blender. So I shrunk the project down to about a quarter of its size and now the jaggies is minimalized.
Well, you are not far off the mark, I think the word had a much more negative connotation in the past, but in today’s modern culture it’s probably more associated with cute things.
No worries, brother! We’re all here to help out and make the community better. If you read the community guidelines, it talks about posting in the right place. (https://blenderartists.org/guidelines#keep-tidy). You also unlock an achievement badge when you read the guidelines, so there’s that!
Ok, great. The good news is, you already know how to do this! We covered this in a past post, if you recall.
And I think I have a way that might simplify the process for you. I think all the nodes are perhaps confusing you which is understandable, they can get really messy.
There is a simple thing you can do in this process, and I think - once you wrap your head around it - it’ll help you follow the tutorial a little more closely, without having to use Poliigon, or any of their plugins/nodes.
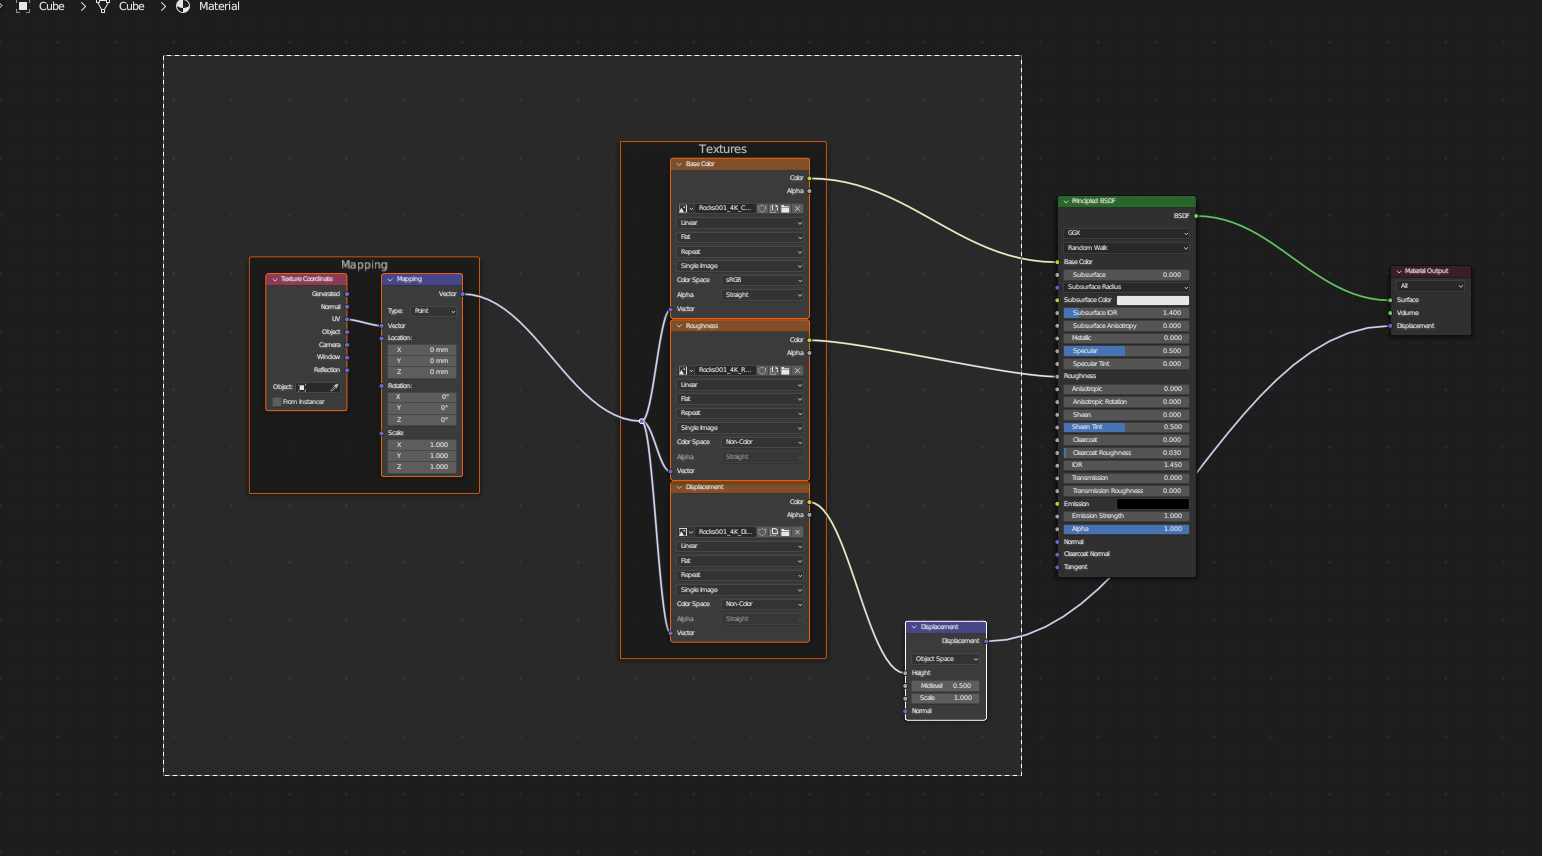
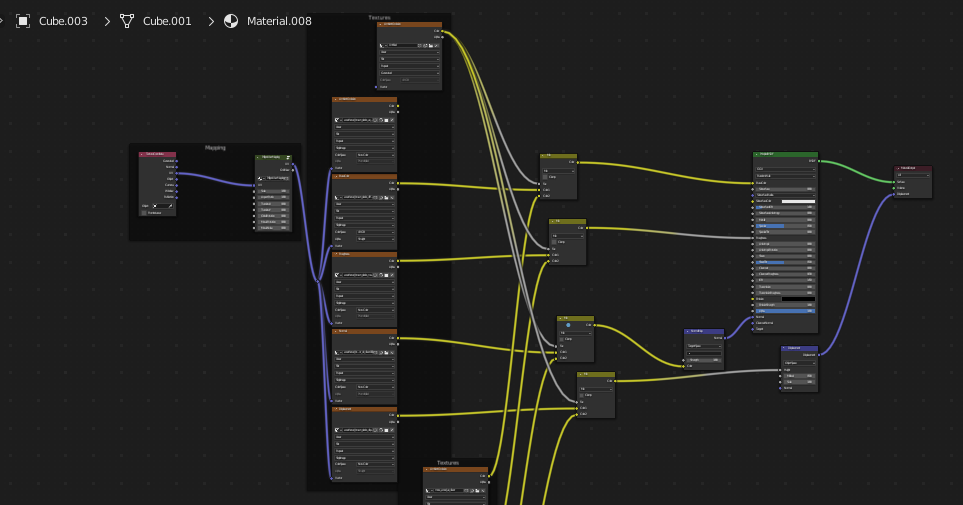
Currently, when you add a PBR material, you’re getting an output a little like this, right?
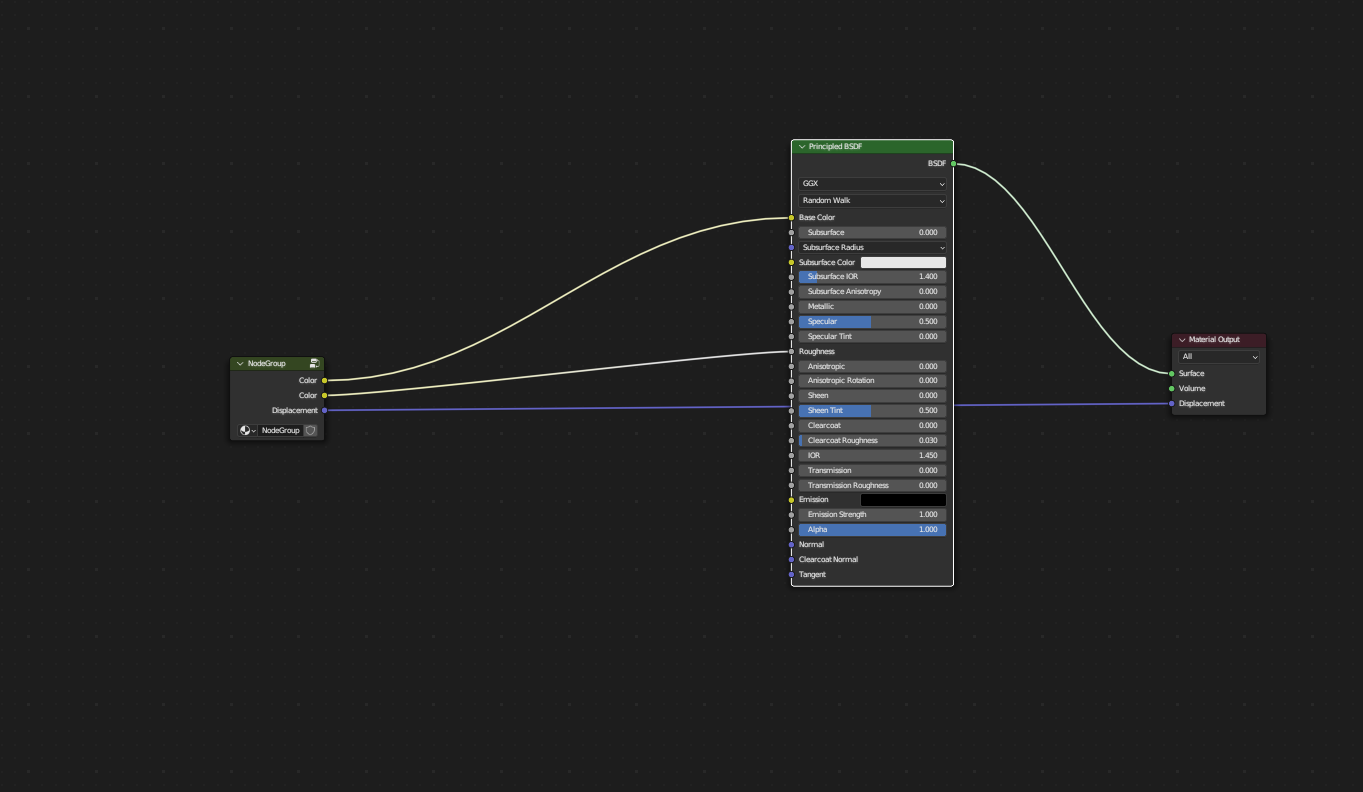
Now with 2 or 3 different materials layered on top of one another, this can get super messy and clustered. But if you select the nodes, and press CTRL G, you can create a node group. You can then TAB out of it, and you are left with this:
I think if you can get the hang of this, but also understand what I’m showing you, and how it translates to what you’re doing, I think it’s going to really help you. Also, if you imagine these node groups as what you’re seeing in Andrews video, and understand that it’s the same thing, but you use whatever pbr materials you have access to instead.
Thanks very much for your help! I’ll create two different PBR groups and mix them so they’re on top of each other, right?
Edit: Yes I got the result…I have a compressed node right now…
It’s time to mix them…I think I found a way to do that so hold on
Ok so the Video you referenced was actually very good, but…The problem is it applies the secondary material to the whole house…Yes, I want to blend PBR materials…but in a specific part of the model…Like what Guru did in the video Got it?
Excellent. So, the answer you seek is actually in the video as well, though from memory, I believe they use a noise texture - it’s called a black mask.
You can either do it procedurally like in the video, or you can paint one yourself.
It’s very straight forward to set up. Where in the video he uses a noise texture, simply replace that with a new image texture. (Add the node, and then select new). Keep it black, and then in texture paint, with your brush set to white, you can paint where you want it to be. This then acts as a mask, assuming everything is set up properly.
The benefit of doing it this way, is that should you ever wish to change the underlying material to something else, you can, and you wont have to paint everything from scratch.