? About Setting up camera physics to match sensor size

Hi All,
I came over here to maybe get an laymen answer on setting up my camera settings in Blender to match my CMOS sensor in my vid cam? I came here because of physics and thought you guys over here would think this was a cinch.

I emailed Canon my cam manufacture. As the drop down did not have my type of cam. I got this as reply when asking for the width and height of the Cmos sensor. A 1\4 inch sensor

Determining pixel dimensions from sensor width & height
If you are told the actual dimensions of the sensor, determining pixel area is simple:
Area of entire sensor (in mm2) = width in mm * height in mm
Area of entire sensor (in µm2) = 1,000,000 * area in mm2
Area of one pixel = area of sensor in µm2 / # pixels
Determining pixel dimensions from 1/X size
While often it is possible to learn the width and height of a sensor from a company’s camera manual or specification sheet, sometimes all you can get quickly is the 1/X" value.
To determine 4:3 sensor width and height from 1/X", let’s solve this equation:
(1 / X") * 0.667= sqrt ( (4a)2 + (3a)2 )
Or simply…
0.444 / X2 = 16a2 + 9a2
And from this we get…
0.444 / X2 = 25a2
And then this…
sqrt (0.444 / 25X2) = a
And like so…
0.667 / 5X = a
And finally…
Width = 4a = 4 * 0.667 / 5X
Height = 3a = 3 * 0.667 / 5X
…but we need the total area, too:
Area = width * height = 0.21333 / X2
Plus we need to convert to metric!
Width in micrometers = 25,400 * width in inches
Height in micrometers = 25,400 * height in inches
Area in µm2 = 645,160,000 * area in inches
So, the final equation is:
Area of the entire sensor in µm2 = 137,630,000 / X2
The area occupied by one pixel is:
Pixel area = area of sensor in µm2 / Y
…where Y = total pixels

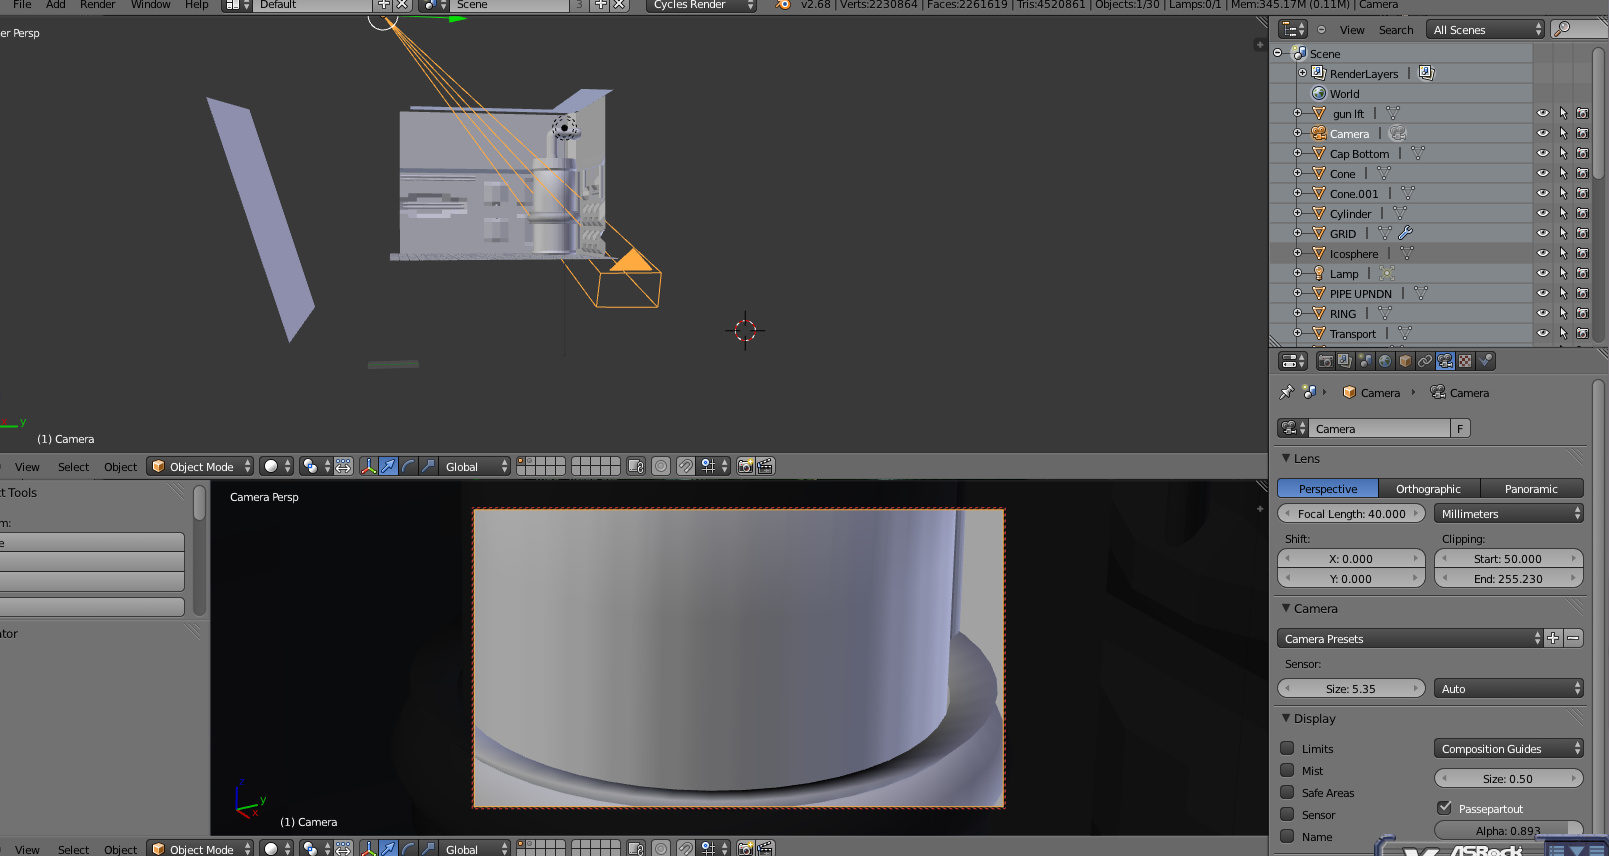
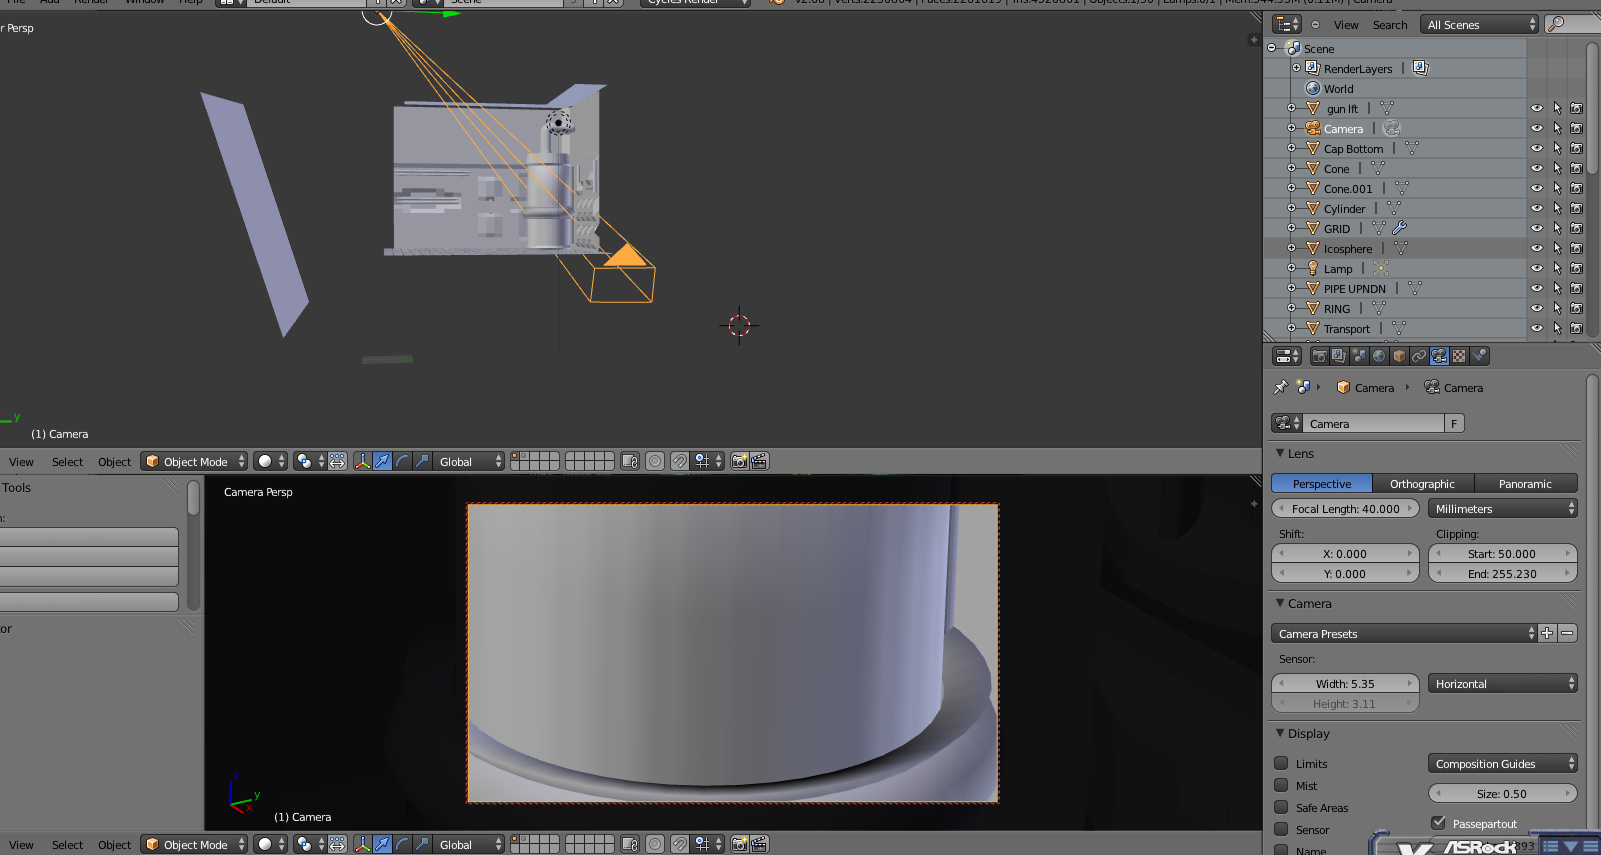
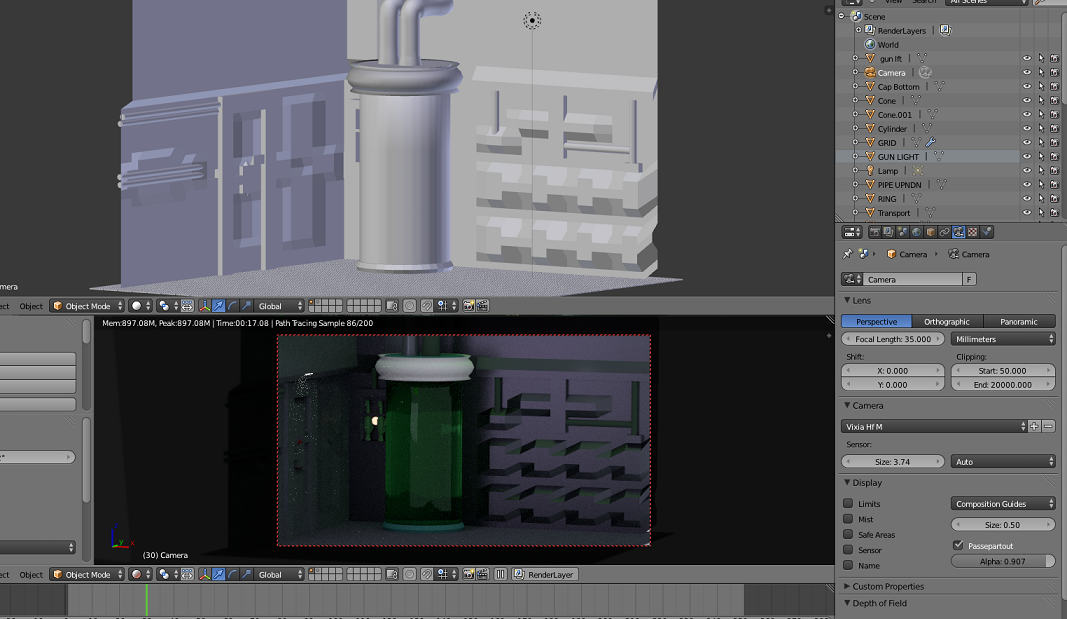
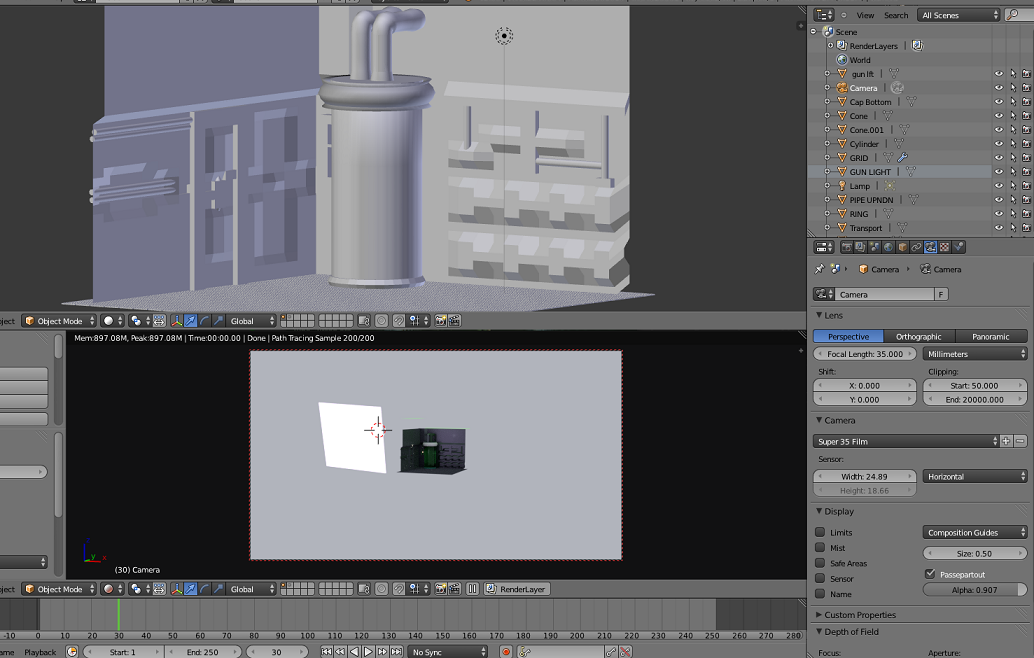
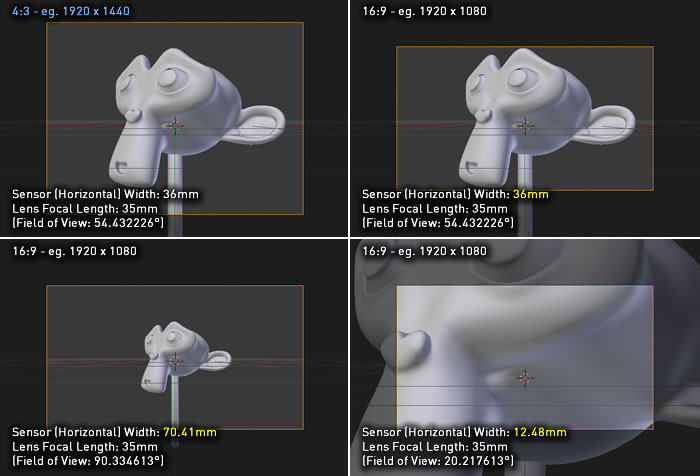
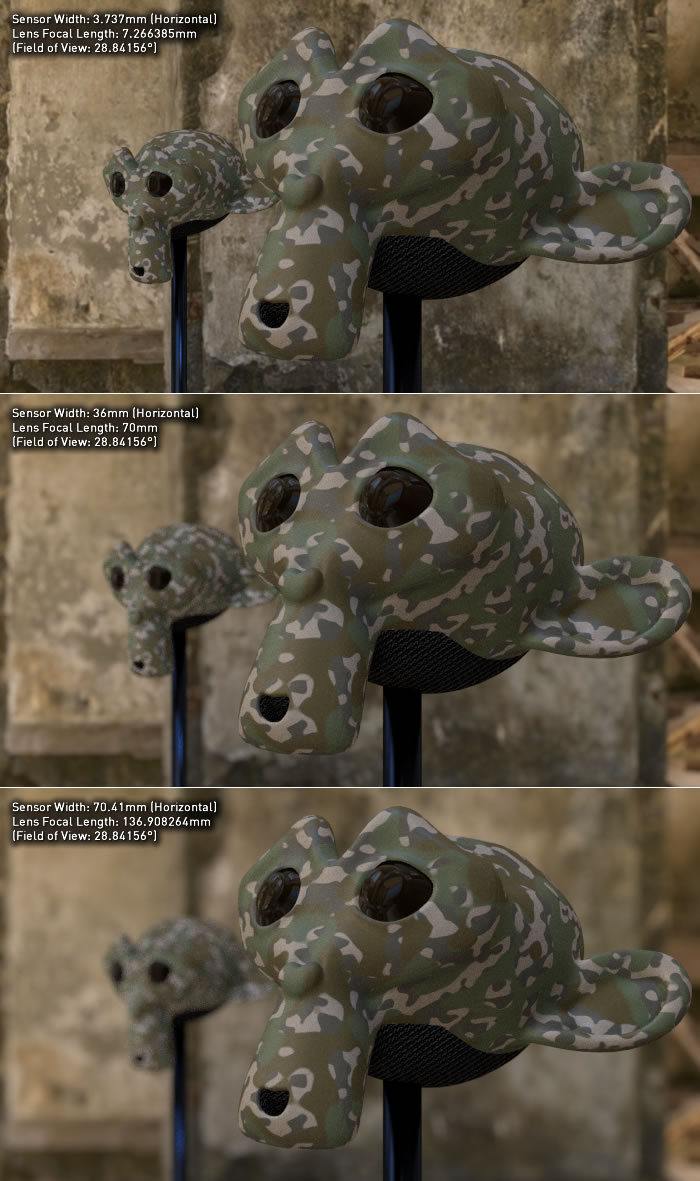
And after I got my head to stop spinning and my eyes back in my head. I came over here to ask what is the settings I should input into these two areas to have it match my camera settings. Part 1.?


This is the camera I am using BTW
http://consumer.usa.canon.com/cusa/support/consumer/camcorders/high_definition_camcorders/vixia_hf_m31#Specifications

Just look up the the width and height of a 1/4" sensor http://en.wikipedia.org/wiki/Image_sensor_format

No need for advanced math. You just need to know if 1/4" (6.35mm) refers to the vertical, horizontal or diagonal aspect of the sensor, and type that number in blender’s camera sensor size. Then you can save your new preset using the ± buttons on the camera presets, and name it to be resused later.
Then adjust the render dimensions to the match with and height in pixels your camera is recording.
At that point it might be a good idea to save this as your startup file so blender opens with these settigs every time
(file->save startup file or “Ctrl u”)

Thank you for the link Richard.

Thank you for the direction Cegation, I will call Canon and ask them. Appreciate the instructions on saving, etc

Regards
NC

Edit: found you posted the camera

The sensor is a 1\4 inch diagonal for those stumbling cross this thread from any syntax that may have brought you here.

Thanks for the help Gents
Regards
NC

Slight problem cegaton… There is no Diagonal drop down under settings? Only H W or Auto?

Called C.S Tech and they Think it is mounted Horizontally The part number of the cmos is dy1-9366-000 FWIW I used the Horizontal drop down and used 25.40 x 25.40 in the H&W fields

Who needs math when you have bender to calcuate things for you? :wink:
V= 3.113mm, H=5.535mm, Diagonal=6.65mm


Thanks for answer Cegaton. Not sure where you did that math at in Blender but I will use it.

I have only 3 options with my drop down to then load in my sensor size. Auto, Vertical and Horizontal.
If I choose Auto I get one box to populate with a value. If I choose either of the two I get to boxes to populate.

I tried Horizontal and loaded in your math and got a real closeup of the cylinder when doing so.

Regards
NC

Pics

AUTO


HORIZontal


Verical


A sensor width of 5.535 mm is assuming the full sensor is used and it is 16:9 ratio. However, the camera specs tell us it’s a 3.89 megapixel sensor with the camera using only 3.31 megapixels for photos and either 2.99 or 2.07 megapixels for video.

The specs also tell us: Lens Focal Length f-4.1 - 61.5mm (35mm equivalent 39.5 - 592.5mm)

Using those figures and Blender’s ‘Full Frame 35mm Camera’ preset, we get an exact match with a sensor width of 3.737 mm.


Note: if you enter ‘3.737’ into the sensor width field and press return or click out, it will display as ‘3.74’. Behind the scenes Blender will still use the value ‘3.737’ - however if you then click into the field and out again, Blender will use the rounded ‘3.74’ value. So if you click back into the field, you’ll have to re-enter ‘3.737’.

So, you could use Blender’s 35mm Camera preset, and lenses between 39.5 - 592.5 mm.
Or you could use a sensor width of 3.737 mm and lenses between 4.1 - 61.5 mm.

If you’re going to use Depth of Field, I’d use the latter with the camera’s values of f/1.8-3.2.

Spaced,
Thank you for taking the time to share screen grabs. I will need to play with it a bit to get a firm understanding of that area.

Since my cam does not have interchangeable lenses. Only a manual focus point and not a good control of F stop Prob the 35mm will get me there Although to be honest, F Stop jargon really makes me spin a bit.

However the mystery of which to use such as auto, horiz, vert and value remain. Yes I see that by using 3.737 would work but I do not know which or why to then select VERT HORIZ or is that AUTO ? I guess I do not need to know how something works rather it just does. Plus the scene is shallow in the first place.
Thanks again,
NC

While I have your attention:

I did set up a preset with this on AUTO @ 3.73 /374 and my view is much diff then 35Super I had to re dolly my cam to accommodate the two


Vixia HFM at your suggested settings


Super 35mm preset (both at a 35mm focal setting)


35super redolly to get in frame.

Am I not understanding the point of the sensor and to just get a fit in frame? Or is that DOF on the RHside of the shot what I am after? Sorry to be repetitive if I am.

I start moving the cam around and I get all kinds if strange things going on. IGE: trying to find my model in space for one. The length of the POI of the camera Focal point.

The ‘3.737’ value is Horizontal (sensor width). The corresponding vertical value would be 2.102, we can work that out since our output aspect ratio is 16:9 (1920 x 1080 pixels is a 16:9 ratio).

You don’t need to worry about the Vertical value, Blender just wants a single value, either the Horizontal or the Vertical. The “Auto” setting flips the H and V values depending on your Render output Resolution (to mimic taking a horizontal or vertical photo, might make sense in the following post).

For presets, “Full Frame 35mm Camera” (36 x 24 mm) is different to “Super 35 Film” (24.89 x 18.66 mm). I’m making the assumption Canon are referring to a full frame still camera, since it’s consumer gear and a consumer would be more familiar with a still photo camera. If they were referring to Super 35, they’d simply say so to avoid confusion.

I’ll follow up with a bit of an explanation.

The purpose of the frame size and lens focal length is so Blender can calculate the field of view and the depth of field. A smaller sensor will need a scaled down lens length to give the same field of view, likewise the same lens length (eg 50mm) will give a different field of view with a different size frame/sensor.

As I mentioned in the previous post, “Full Frame 35mm” is a different frame size to “Super 35”. They both use the same width film but different orientation.


Here you can see that Super 35’s frames are smaller and a different aspect ratio. The next bit that is important is the aspect ratio. This is set in Render tab > Dimensions > Resolution. Setting 1920 x 1080 gives a 16:9 aspect ratio. (The “Aspect Ratio” fields under Resolution are for Pixel Aspect Ratio, something different.)


Blender’s camera will show the cropped 16:9 image. If you set the Resolution to any other 16:9 resolution, eg 1280 x 720, the field of view will look the same.

If you have the camera sensor size set to Horizontal, when you change the Render output Resolution height or width you’ll see the image will be vertically cropped, but the horizontal field of view stays the same.

If you have the camera sensor size set to Vertical, when you change the Render output Resolution height or width you’ll see the image will be horizontally cropped, but the vertical field of view stays the same.

When you have the camera sensor size set to Auto, Blender will make an intelligent choice about whether your virtual camera is being held horizontally or vertically based on the dimensions of your Render output Resolution.

Now, maybe something more related to what you’re trying to do. Are you filming actors against a greenscreen (or similar) with your camera that you want to put into your virtual 3D environment?

One of the reasons people made such a fuss over 1080p video capability of DSLRs was the increased control over Depth of Field. Small sensor cameras (both still and video) can easily scale down the lens length to give a comparable field of view to a ‘traditional’ 35mm camera, but the depth of field doesn’t scale.

Your video camera at it’s widest angle (4.1mm) might have an equivalent Full Frame 35mm lens length of 39.5mm, but the depth of field (what’s in focus) is still that of a 4.1mm lens. That’s why video camera footage typically has everything in focus, and the much sought after “movie look” often means shallow depth of field.

If you’re compositing actors onto a virtual set, you can film them with your “everything in focus” lens, but use a full frame virtual camera with a comparable field of view virtual lens to get nice shallow depth of field.

Just to clarify the lens setting (you said, “both at a 35mm focal setting”):

A 35mm lens setting on your camera will give a narrow field of view of 6.112° (would be called a telephoto lens). That same 35mm lens setting on a “Super 35” camera gives a wide field of view of 39.148° (would be called a normal lens). That’s why the view seemed so different and you had to move the camera closer. To get the same view using the “Super 35” preset, you’d need to set the lens to 233.11mm.

Forget the presets… just use sw = 36, fl = 39.5 (set sw first->if you set the fl 1st, changing the sw will change the fl…*) The 35mm equivalent value is their estimate of what a full frame 35mm cam/lens combination will give you the same FOV as your camera. Since ‘1/4" sensor’ is a loose family of many diff sensors from many manufactures, there are no standard dimensions. Add to that, many cams don’t use the full sensor width in different modes so trying to use the ‘real’ specs can be a problem.

  • try this: set sw = 36, fl = 39.5… now change the sw to 3.737 and look at the fl…(I suspect that is how spaced got the 3.737 in the first place). This also shows that both settings will solve the same so just use the 35mm equivalent in the first place

I also came up with a method to calibrate the 35mm equivalent focal length of a shot (at any zoom level) a while back…pm me if you are interested in trying it

Spaced,
Thank you very much for the time you spent to reply. I will try and absorb it and understand most of it. Especially the cropping on vert or horiz pending on output. “Broadcast export thinking” So that is why the horiz and vert sensor choice it is for export?

I used the super35 preset because that is all I have as a preset in my Blender drop down. I do not have a standard 35mm unless I were to choose a Nikon or Canon DSLR model d5 or d7 etc. Hence me using the super preset. If that is what you meant when you stated use a 35mm and not the super35?

Yes I am using a green screen actor.

“If you’re compositing actors onto a virtual set, you can film them with your “everything in focus” lens, but use a full frame virtual camera with a comparable field of view virtual lens to get nice shallow depth of field.
Just to clarify the lens setting (you said, “both at a 35mm focal setting”):
A 35mm lens setting on your camera will give a narrow field of view of 6.112° (would be called a telephoto lens). That same 35mm lens setting on a “Super 35” camera gives a wide field of view of 39.148° (would be called a normal lens). That’s why the view seemed so different and you had to move the camera closer. To get the same view using the “Super 35” preset, you’d need to set the lens to 233.11mm.”

SO this instance is where I change my mm length of lens in blender (while leaving the sensor at 373?) to create a shallow depth of field with my virtual camera when compositing my G Screen talent?

@GPa- SW is (Sensor width) and the FL is (Focal Length) like what Spaced is referring to, to get that DOF ?

So to repeat the vert or horiz sensor choice has to do with cropping on export if the ratio is changed from say 1920 to 1280?

I am going to play with your suggestions guys. Thank you very much. It is a bit to take in at first, I am sure I will chuckle once I get a grasp of it. Not to state I may come back with a follow up question or two for clarity on understanding.

Thank you again for your help. With spaced’s illustrations it made Gpa’s suggestion a lot more understandable. Especially if the Horiz and Vert have to do with export and not anything to do with realtime view.

DOF = depth of field… amount of image that is in focus… sometimes artistically important but not for a solve
FOV = field of view… angle of viewable image… needed for solve.

just use horizontal…
Blender uses the sensor width (sw) and the focal length (fl) to determine the FOV [ FOV = 2 arctan(sw/2fl) ] and then uses the FOV to solve the track. This means that any combination of sw & fl that equal the same FOV will solve the same. So sw = 36, fl = 39.5 or sw = 3.737, fl = 4.1 both will give you the same solve… that is why it’s just faster and easier to just use the 35mm equivalent.

BTW: I believe that Canon uses a diagonal focal length for it’s specs and that will be slightly higher than the horizontal focal length so when you refine for focal length, you will probably end up with a focal length slightly shorter than 39.5

At this stage, forget about the horizontal and vertical sensor choice, you just need to worry about the Sensor being set to Horizontal and using the correct Sensor Width.

The Render Resolution sets the aspect ratio of your shot:


Above shows three different aspect ratios: 4:3 (standard definition TV), 3:2 (common photo camera), and 16:9 (HD, widescreen DVD). The sensor and lens is identical, just the top and bottom of the image gets cropped.

When you change the Render Resolution, Blender will automatically change the height of the camera preview. Below, the top two images show the difference in camera preview between 4:3 and 16:9 when the render resolution is changed from “1920 x 1440” to “1920 x 1080”:


The bottom two images show what happens when you just change the Sensor Width. In all these images, the render resolution, lens focal length and camera position remain the same. A larger sensor width (eg. IMAX 70mm) results in a wider view, and a smaller sensor width (eg. Blackmagic Pocket Cinema Camera) results in a narrower view.

As we worked out a few posts above, your camera should have a Sensor Width around “3.737” and its lens focal lengths are 4.1mm - 61.5mm.

You can set your Blender camera to that Sensor Width and use those lens focal lengths, or you can use a larger sensor with compensated lens focal lengths.

I mentioned previously about the Depth of Field differences. The following three shots have three different sensor sizes (your camera, 35mm Full Frame camera, IMAX 70mm) with adjusted lens focal lengths to give the same Field of View (the camera’s position remains the same):


Even though the shot is framed identically, you should be able to see the difference in Depth of Field (what’s in focus). This might be a reason you’d use a larger sensor size for rendering your 3D environment.

So, why is this important to know? If you know the relationship between the sensor size, lens focal length and aspect ratio, you’ll know how to match shots to filmed footage. More importantly for your situation, your camera may not tell you what lens focal length it is set to. You know at the widest setting it will be 4.1mm, and at the other end it will be 61.5mm, but in between you may be forced to guess.

Gpa Yes canon uses diagonal sensor measurement. IGE 1\4 is measured diagonal. I am not sure if that is what you meant?

To solve a track. Wouldn’t whatever I place in a track, or it’s track point be affected by the virtual (blender) camera? Be it 24mm or 50mm for FOV? In which seems to me that I can shoot my composite green screened actor in focus, size him up when importing to ‘fit’ a scene. Then after tracked where ever I place my composite footage Blender will adjust for track point focal length?

Which makes me wonder how do you take an actor have him walk towards you maybe 5 feet, track the 3d world place him in it and then have the FOV or DOF adjust like Spaced illustrations?

Maybe I need sensor class 101 ? It seems as though you are stating that SW does not matter to get a DOF in blender as does Spaced illustrations show he only changes the FL from 7mm to 137mm creating the desired DOF…