It’s all in the title really, I have a two part sculpt (bust and rest of the body), that I need to join as one mesh, but despite using the make manifold button of the 3d printing addon, trying the bool tool as well as the modifier, checking the normals, it just doesn’t work and gives very unpredictable results every time. It’s extremely frustrating and I’m sure some of you will have enough experience to help with that. The file is quite heavy so I put it on google drive : https://drive.google.com/open?id=1UdPY_CZjFl44ZHdXlgqRkn7GiP2X89KW
You could try the new sculpt features in 2.81. Just join the two meshes with Ctrl+J, go into Sculpt mode and Remesh them with a suitable Voxel Size. Then you’ll just have to smooth the area of the join.
You don’t even have to enter Sculpt Mode to use Voxel Remesh or Quadriflow Remesh (at least not in 2.81). Just join the meshes in Object Mode, then press Control + R (Voxel Remesh) or Control + Alt + R (Quadriflow).
The remesher does fix the problem, but I’ll necessarily have a lower resolution afterwards (and equally distributed, whereas I really need a lot more geometry on the face than the rest of the body), I’d really love to be able to just join them as is, and then start the retopology
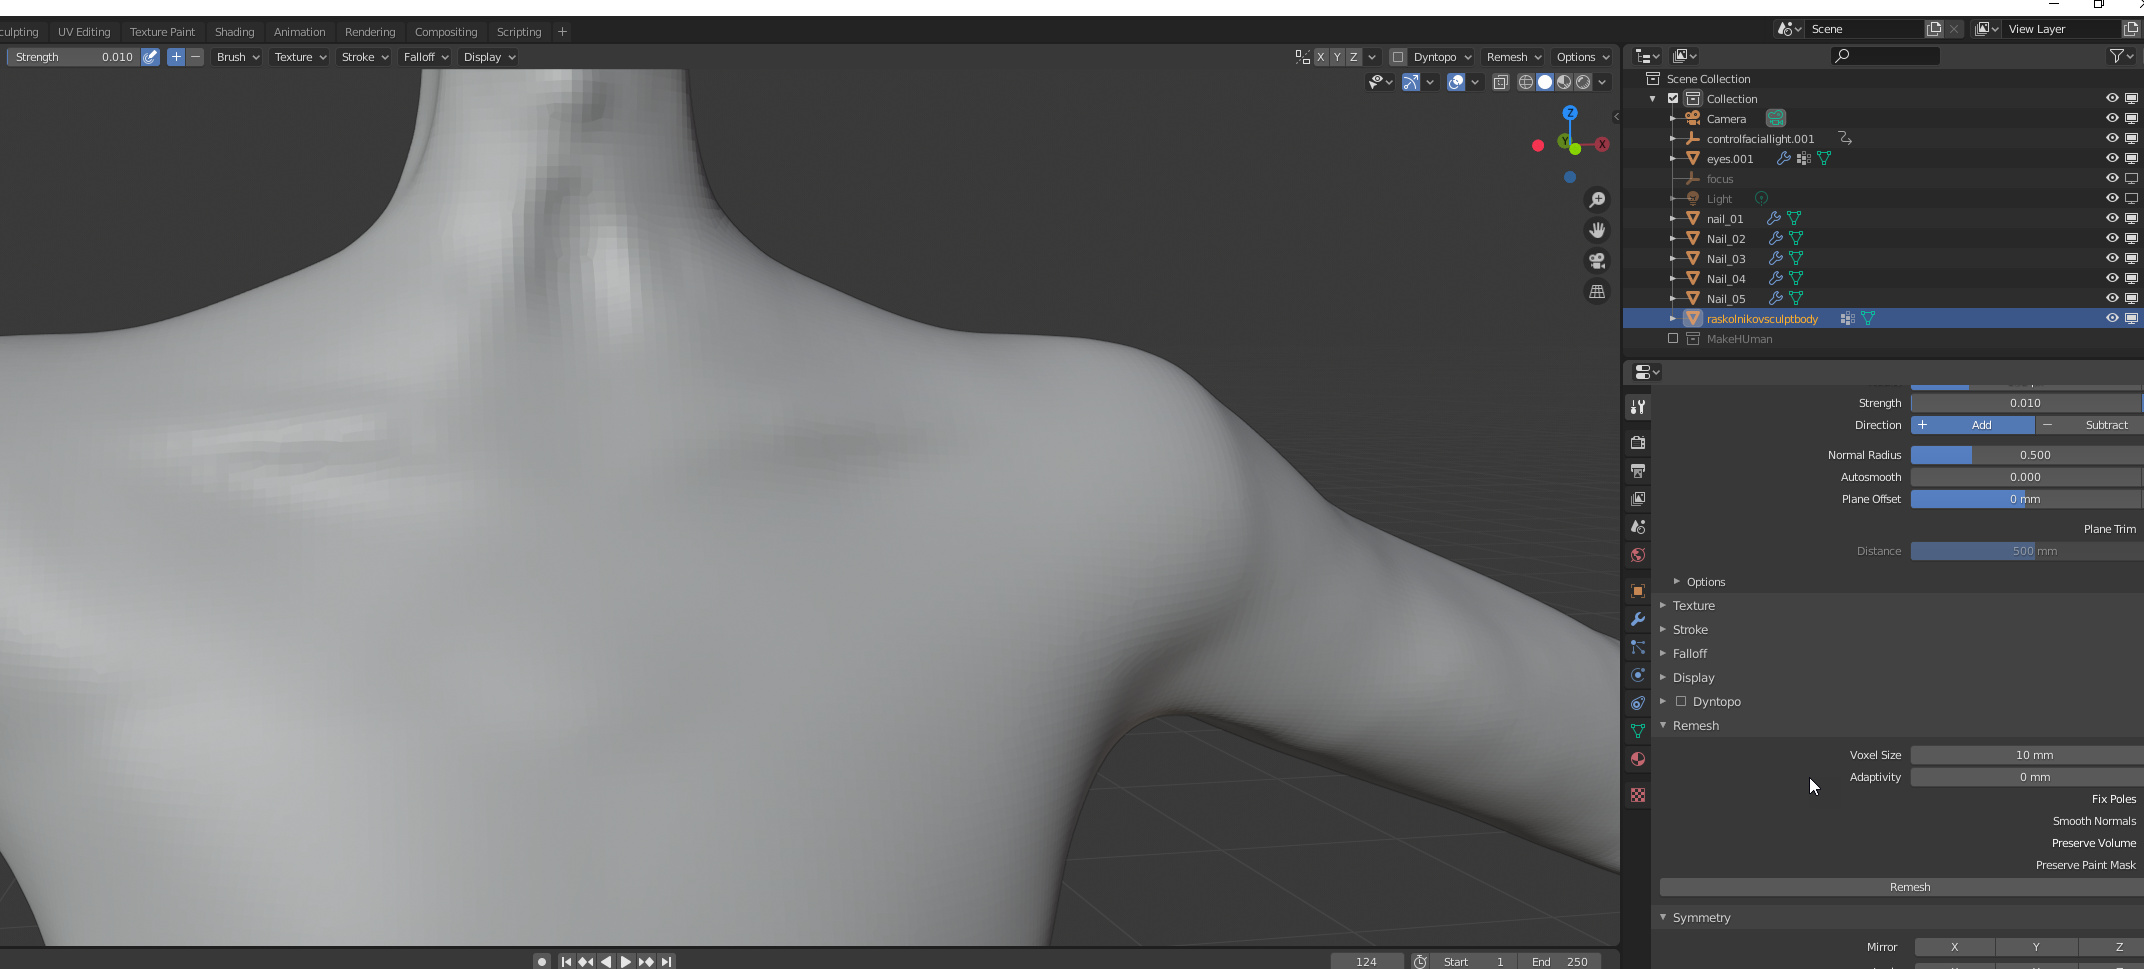
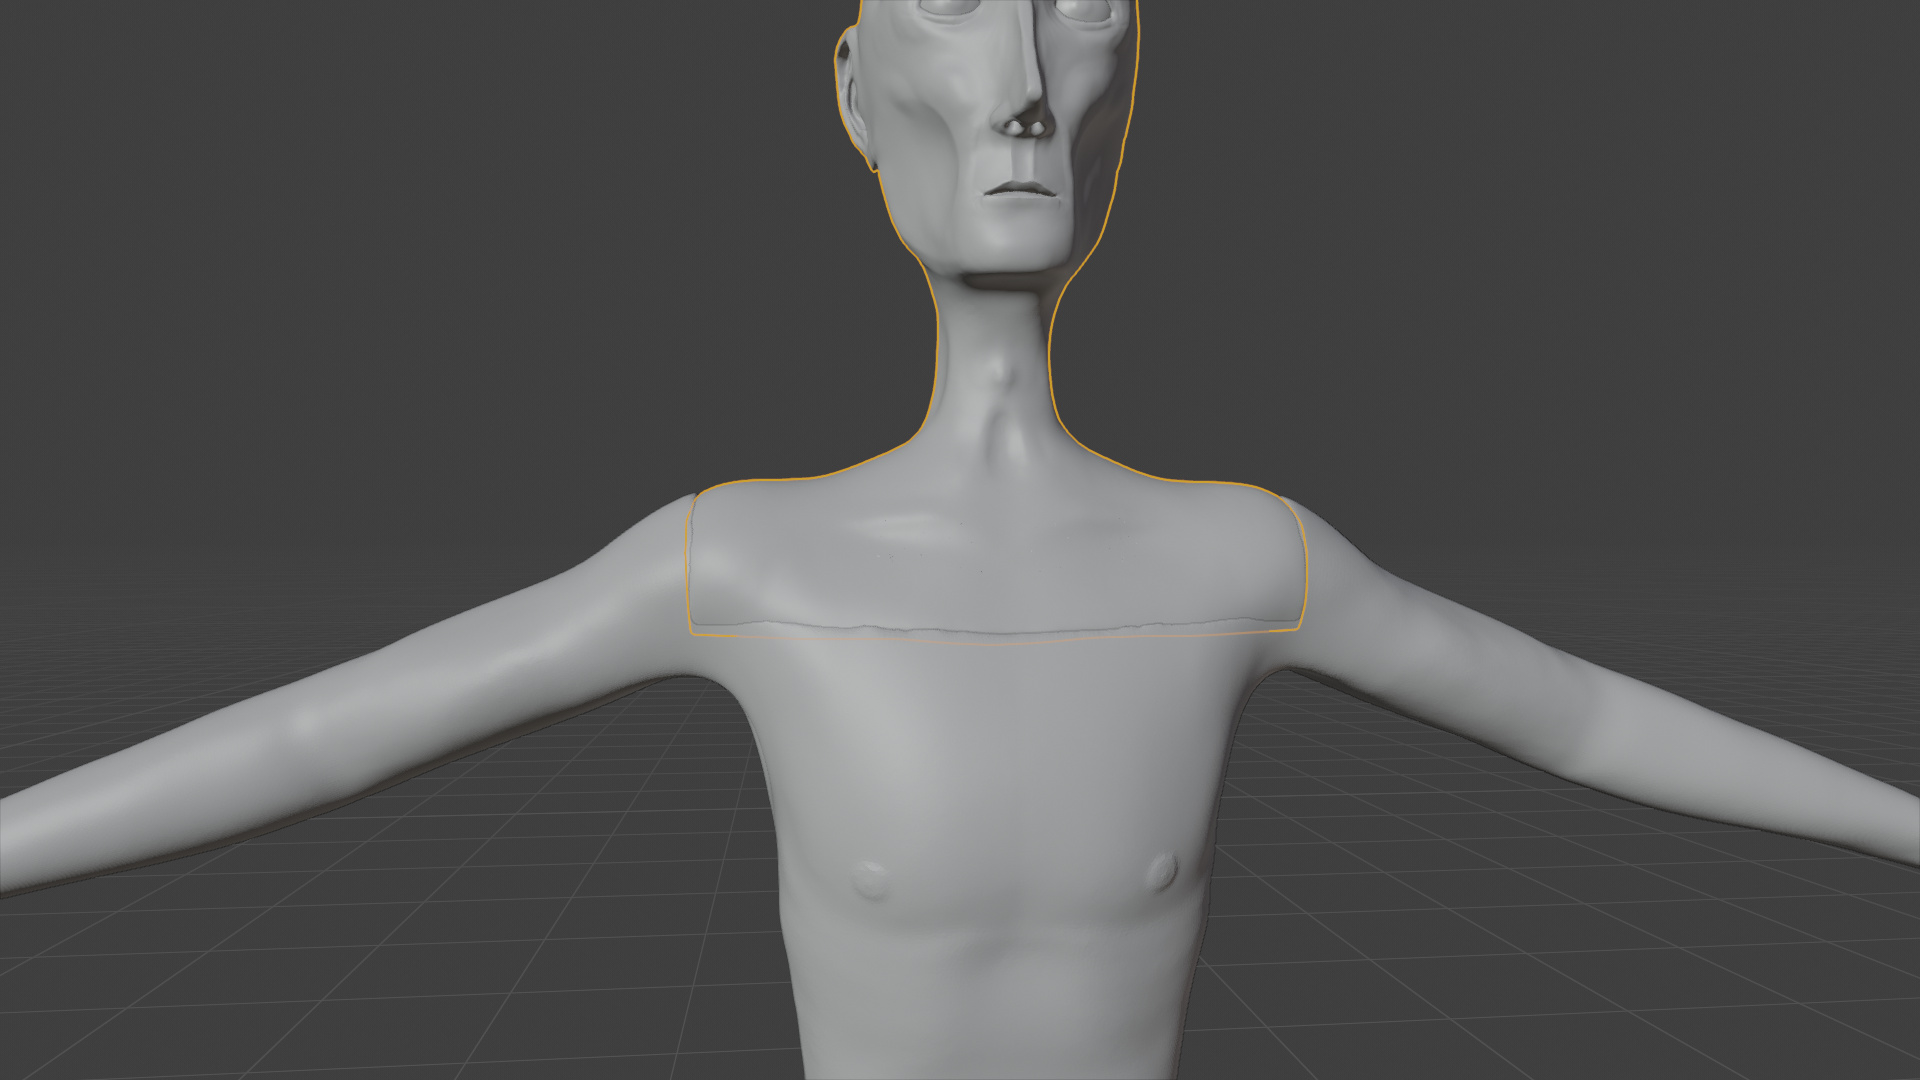
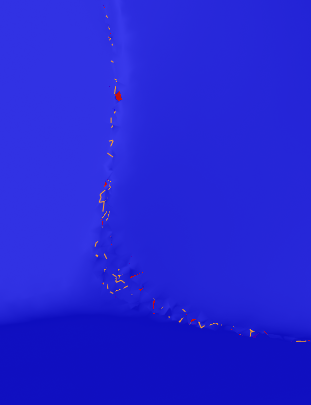
Here are a few screenshots, I just noticed that the bust has some artifacts when in smooth shading, maybe that could be one reason ? (neither dyntopo nore “make manifold” help with them)
Also, both parts work fine when I use the bool tool with other meshes (spheres, cubes, etc.), just not with each other… I’ve just lost another hour trying to fix it, I’m going crazy…
I have been able to just use the Boolean modifier in the past. In object mode just union the 2 sculpts and apply the modifier.
It doesn’t delete the original though, so make sure you either turn off or delete it, otherwise you get 2 of the same objects sat in the same space that causes it to look wrong.
To get rid of the seems, i just quickly go over them with clay strips and then smooth out.
A good check to see if its worked is, if you’re merging an arm into a body, example, once you have applied the modifier and turned off/deleted the original arm mesh left behind. Zoom/Pan inside the mesh and there should be no internal faces left behind. If there are, undo and then adjust the position/scale slightly and try again.
I know, but the biggest object is 6m (I even tried with like 1m mesh), scale is applied, they are on the center… I’d really appreciate it if you could take a look, but anyways thanks
Not necessarily. You can specify the resolution of the remeshing operation to suit the more detailed part of the model. This will give you a clean result with no internal faces. You can then use the smooth tool and other sculpt brushes to tidy up the join area and then, as @Metin_Seven suggested you could use the Quad Remesher. This has various options to allow for adaptive levels of detail - for example you can use Vertex Paint to control the desired quad sizes in various parts of your mesh.
Thanks for all the info, I’m really learning a lot here, I had completely overlooked the remesher usefulness. If it’s fine with you I still have a few more questions (or if you have links to some docs, i can’t really seem to find anything good, especially on the new remesher).
First of all, I think I’m gonna keep the meshes separated for the moment because when I remesh them with a good enough voxel size, the mesh (at around 4-5M faces) is really too laggy for the sculpt mode (which may be because of my config, although I read somewhere blender is not great with >1M faces meshes). It doesn’t matter too much since the body will be clothed, I’ll just handle it during the retopo.
I still have a few questions : when you say quad remesher, are you talking about the paid add-on, or the quad option of the 2.81 remesher (in which I don’t really see any adaptative setting) ? There is indeed an adaptative setting on the voxel remesher but it doesn’t work here, mainly because although the mesh is symmetrical, half of it is remeshed at a much lower resolution.
I’d use one of the built in remeshers to neatly join the two objects as described above and clean up the join area. I’d do this only after the sculpting is done. It might be a heavy mesh, but even if it’s a bit laggy you should be able to clean that area up (just where there’s a bit of a size mismatch at present).
After the that then yes, I’d use the paid Quad Remesher to give yourself a good start on retopology.