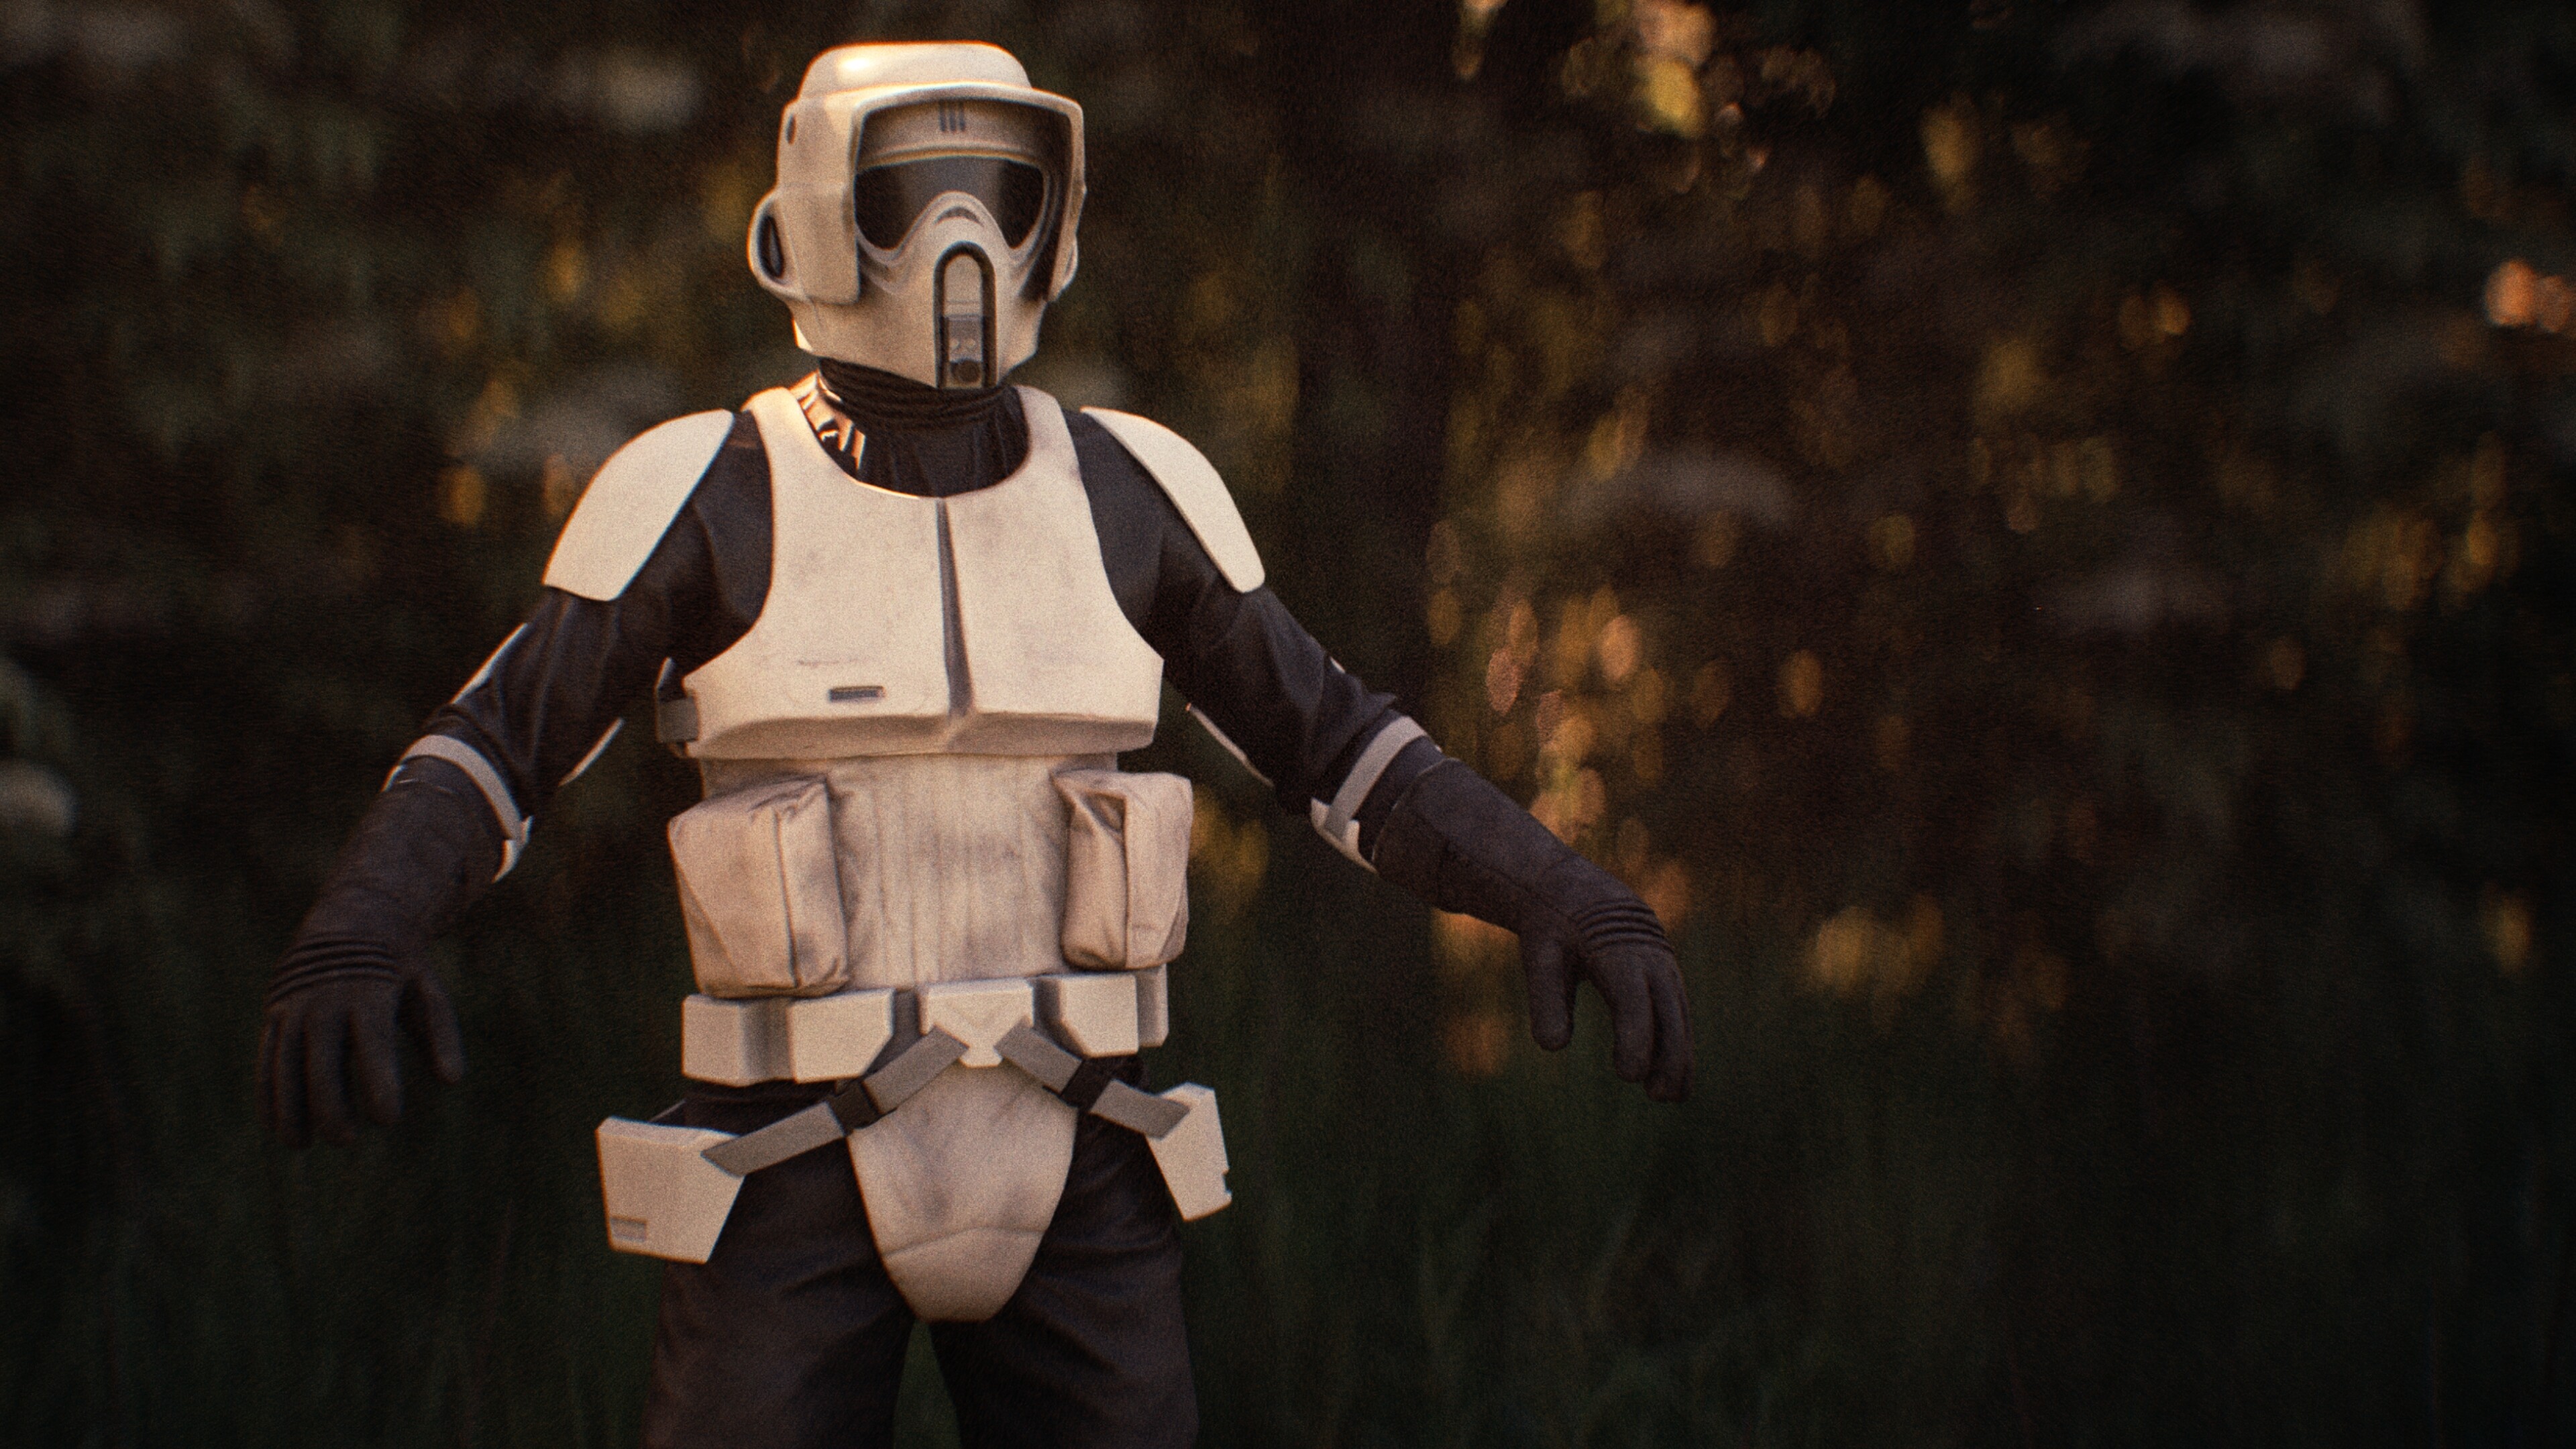
I’m working on refining the film look using AGX and Davinci Resolve. If it goes well, I might make a tutorial about it. Here’s an early render, inspired by Kodak 500T + Kodak 2397 from the Star Wars movies. Obviously the character needs a good pose.
The main thing about “analog film,” say from the 1980’s, was the very distinctive color cast and tonal range of the medium. (It was “fairly red” and “compressed.”) Which filmmakers at that time understood and used to their advantage.
For instance, I once attended an outdoor evening event in Nashville where they projected a 35mm print of Raiders of the Lost Ark onto the white walls of their theater. (The Belcourt …) This immediately brought back memories of what I remembered seeing as a kid. And it reminded me of how both the costume designs and the set designs leveraged that color rendition. When you look at a modern digital reprint of that movie, “color correction” has been applied, so that the colors are now “correct” but the dramatic effect is forever gone.
In some types of film still-frame photography, also, “the choice of film was part of the picture.”
This includes the Kodak 500T film profile and the Kodak 2383 print profile from Dehancer (and I told Dehancer the source footage is Cineon Log). It also has a lot of stuff like halation, grain, bloom, chromatic aberration, lens flare, lens reflection, and more to mimic all the deficiencies of a film camera and lens.
It’s worth noting that we’re getting around 15 stops of dynamic range here, which is in-line with what you might expect from film (I think 500T is supposed to get 14 stops in ideal circumstances like this).
This removes all of the camera/film-plate issues like halation, grain, etc. that I just mentioned and is basically the film profile, print profile, and a little boost to saturation/contrast.
This is just using Resolve’s Cineon Log to Rec.709 color space transform with just a little added contrast and a good bit of saturation because the image is a bit flat/desaturated straight out of conversion.
Definitely a fair point. I think film means different things to different people. I was scarcely alive in the 1980’s (just for a few months really), so my memory is a bit different. I remember shooting film on consumer point-and-shoots and later SLR’s. That kind of film had a more neutral profile. My favorite kind of film is Kodak Portra 400, overexposed by a stop or two. It has a sort of pastel feel to it.
Whole-heartedly agree. I shoot now on a Sony A7III, which gets me the latitude I need to pick a film stock and try to emulate it. There is a whole language to film stock selection. The reason I picked the stock/print I did for this shot was to try to mimic the look of the original Star Wars movies (or at least the Blu-ray versions you can buy now).
Here’s a completely different image. This one is attempting to mimic Fuji Superia 200 on Kodak Glossy Photo Paper. It’s a classic accidental selfie with the flash on that most of us accidentally took in the early 2000’s.
In the interest of showing off the processing technique without my renders being a distraction, I’m processing some of the Blender test scenes with this method. The only change I made to the blend file was to render at 4k instead of 1080p.
This is a processed render of Sinosauropteryx Prima (original scene/render by Joanna Kobierska)
I went for an overexposed Portra 400 on Kodak glossy photo paper look, something different enough from the original, and bright enough to really show off the halation and bloom.
Another thing that you should study was photographer Ansel Adams’ famous “Zone system.” He broadly described exposure in ten “zones,” from opaque-black to blown-out white, with “Zone 5” in the middle. It was a simplification of how film responded, but an imminently practical one. And, it still has applications to video and to digital photography to this day, even though “ordinary” digital cameras now support features like HDRI, which can capture an image much more closely to how the human eye perceives it.
(The human eye has “more than twenty-two f-stops of perception,” since it actually scans the scene to construct “what you ‘see’” within your brain’s amazing visual cortex. HDRI and the like begin to come vaguely close to this now. But film never could.)
If you look at several of the film-profiles shown above, you immediately see that the sweep from dark to light is certainly not “linear” at all. You also observe that the non-linear profile is not the same at different areas of the color spectrum. The film medium had at least three layered color emulsions, and they did not all perform the same way when exposed to colored light. You can use that principle to dramatic effect, adding a certain palpable intensity to the scene. And, that’s what they consciously did. They understood and used “how film works.”
This is no longer true of digital, nor of CG rendering unless you cause it to be. But it was a thing that set lighting designers knew about, that film directors knew about, and that makeup, costume and prop designers knew about. They used it for dramatic effect which was simply removed when “color correction” became the rage and filmmakers wanted to “fix” their old stuff. I don’t think they “fixed” anything by doing that.
I frequently wish that DVDs (and downloads) of “older, film” material would include a non-“corrected” version, as well. I also wish for “the first Star Wars movie, exactly as it was.” Exactly as I originally saw it. When it didn’t say, “Episode IV.” When there was exactly one “computer-generated image” in the entire picture. (A “Tektronix” display in Luke’s fighter console.) Lucas chopped the film to bits and in my view destroyed it, but, alas, it was his intellectual property to do with as he saw fit.
P.S.: I have experimented with “film stock” in my digital-SLR photography but presently do this “in post,” not directly in the camera. I do like the camera’s tremendous ability to accurately gather and record light. I then want to work from this “pristine input data” to let me choose from among several options, as it were, “non-destructively.” I definitely like the effect.
Another thing that you might have to think about is the printing process, if you are going to produce a tangible object. There is an entire science of “pre-flighting” which is best left to your trusty printing professional, but when you prepare your digital source image you do need to be aware of it. Printing works in a completely different color-space: “CMYK,” not “RGB,” but preflight software does all the heavy lifting.
Your printing professional today can show you an image on a color-calibrated monitor which will show you exactly what your image will look like, with various choices of ink, printing process, and paper stock. (And, cost.) It’s quite amazing. Work back-and-forth with this expert to supply him or her with the best and most-suitable source image to put into his process, and be glad that you no longer have to use a “scanner.”