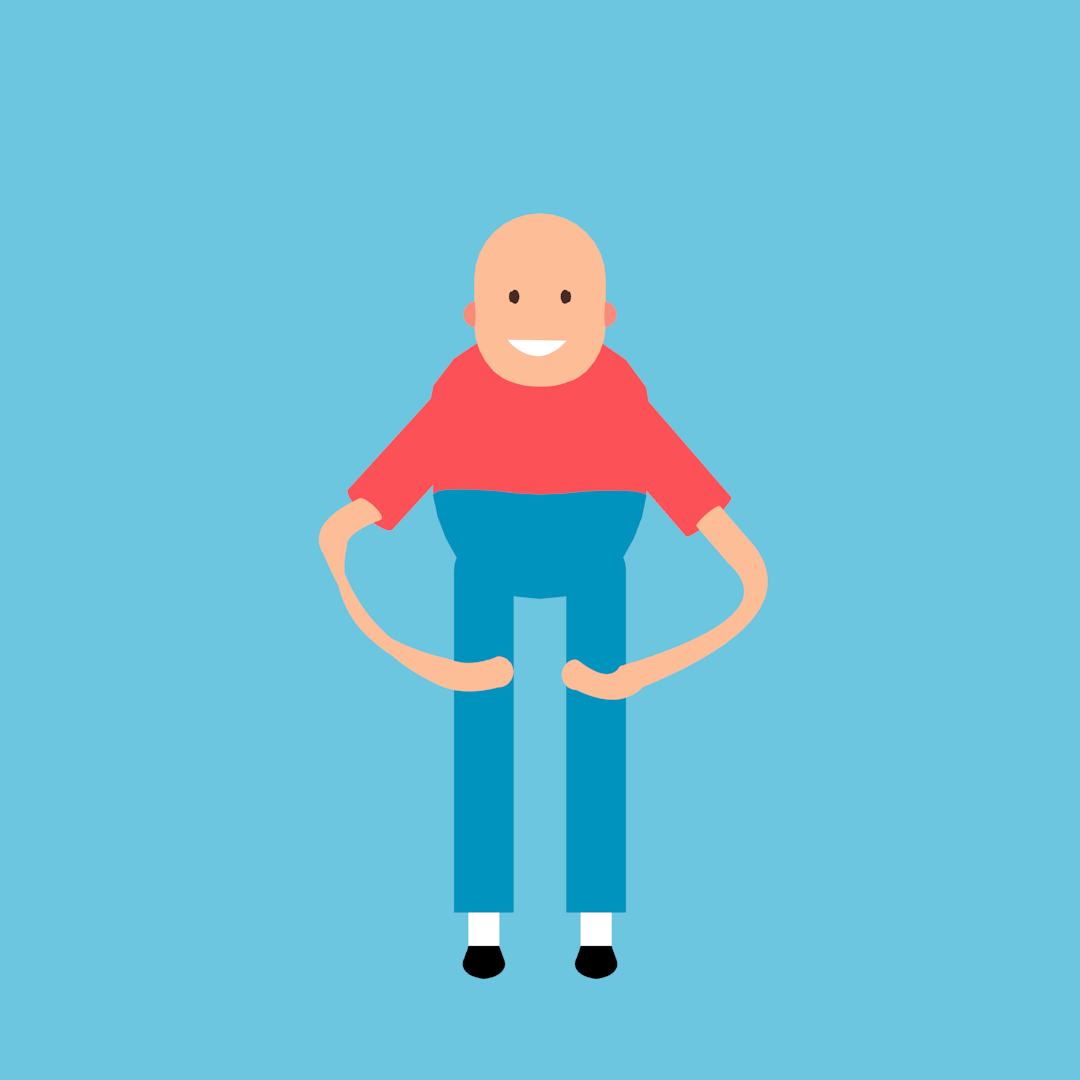
Here’s a design by a man named James Curran. Now James uses After Effects (you can watch how he does animations here and here, which is the long way in After Effects by animating and manipulating paths).
However, I do know that this animation of his (as well as many others) can be replicated in Blender. However, I’ve found the process to be more annoying and time-consuming than I intially expected (semi new to Blender animation).
Every course I’ve ever got always talks about animating Blender characters via armatures never curves (while I do mostly cartoony 2d animations).
The problem I’ve had with animating an armature for curves is it distorts the curve very badly (it even gets worse when I add more cuts) which weight painting doesn’t ever seem to help with fixing that curve distortion.

character-arm-test.blend (1.1 MB)
character-arm-test-w-cuts.blend (4.1 MB)
For these type of character animations, I’ve found an armature isn’t the best method (or maybe I just have more stuff to learn which if you know of anything I’m all ears I’m always wanting to improve.
That being said when I go to animating the character’s arms and legs via just a curve. That’s when I start to have another annoyance.
curving-arm shoulder.blend (577.8 KB)
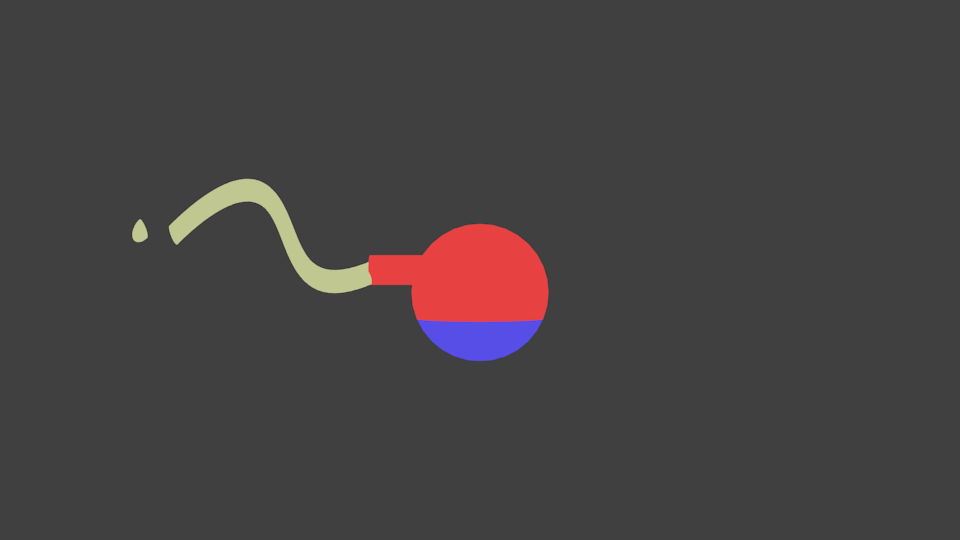
I want my curves to always have rounded ends/caps.

They don’t by default and the only way I’ve found aside from using a mesh+armature I’ve found us when adjusting the curve I have to move a cut UV sphere to what would be the end of the curves position which is fine as long as that end side doesn’t move. If I was making a walk animation then moving that every time and animating frame my frame would be very time consuming for a looping animation.
I’ve tried even using a taper for the rounded end/cap as mentioned in this post but I still cannot seem to get a tangible rounded end. I get more of a growing vine result.
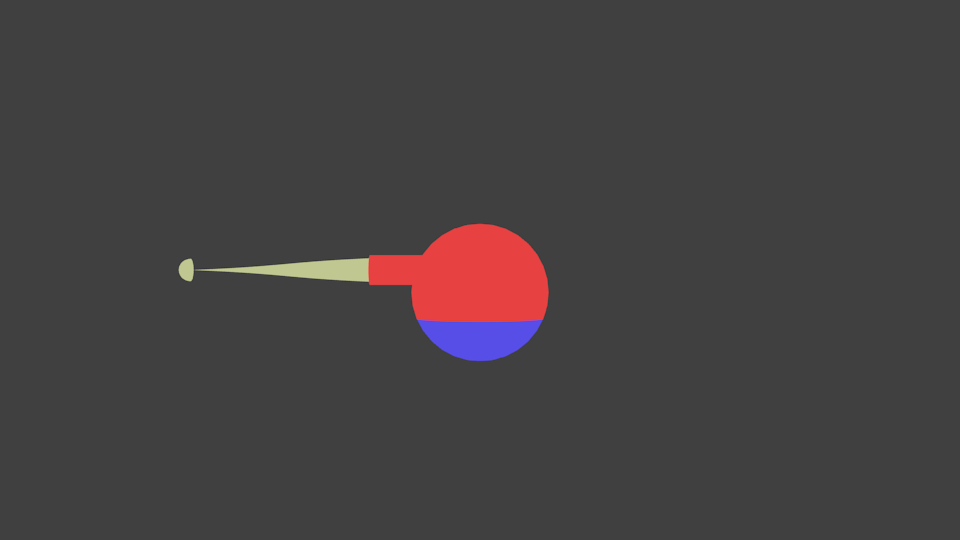
curve-armnshoulder-w-taper.blend (584.6 KB)
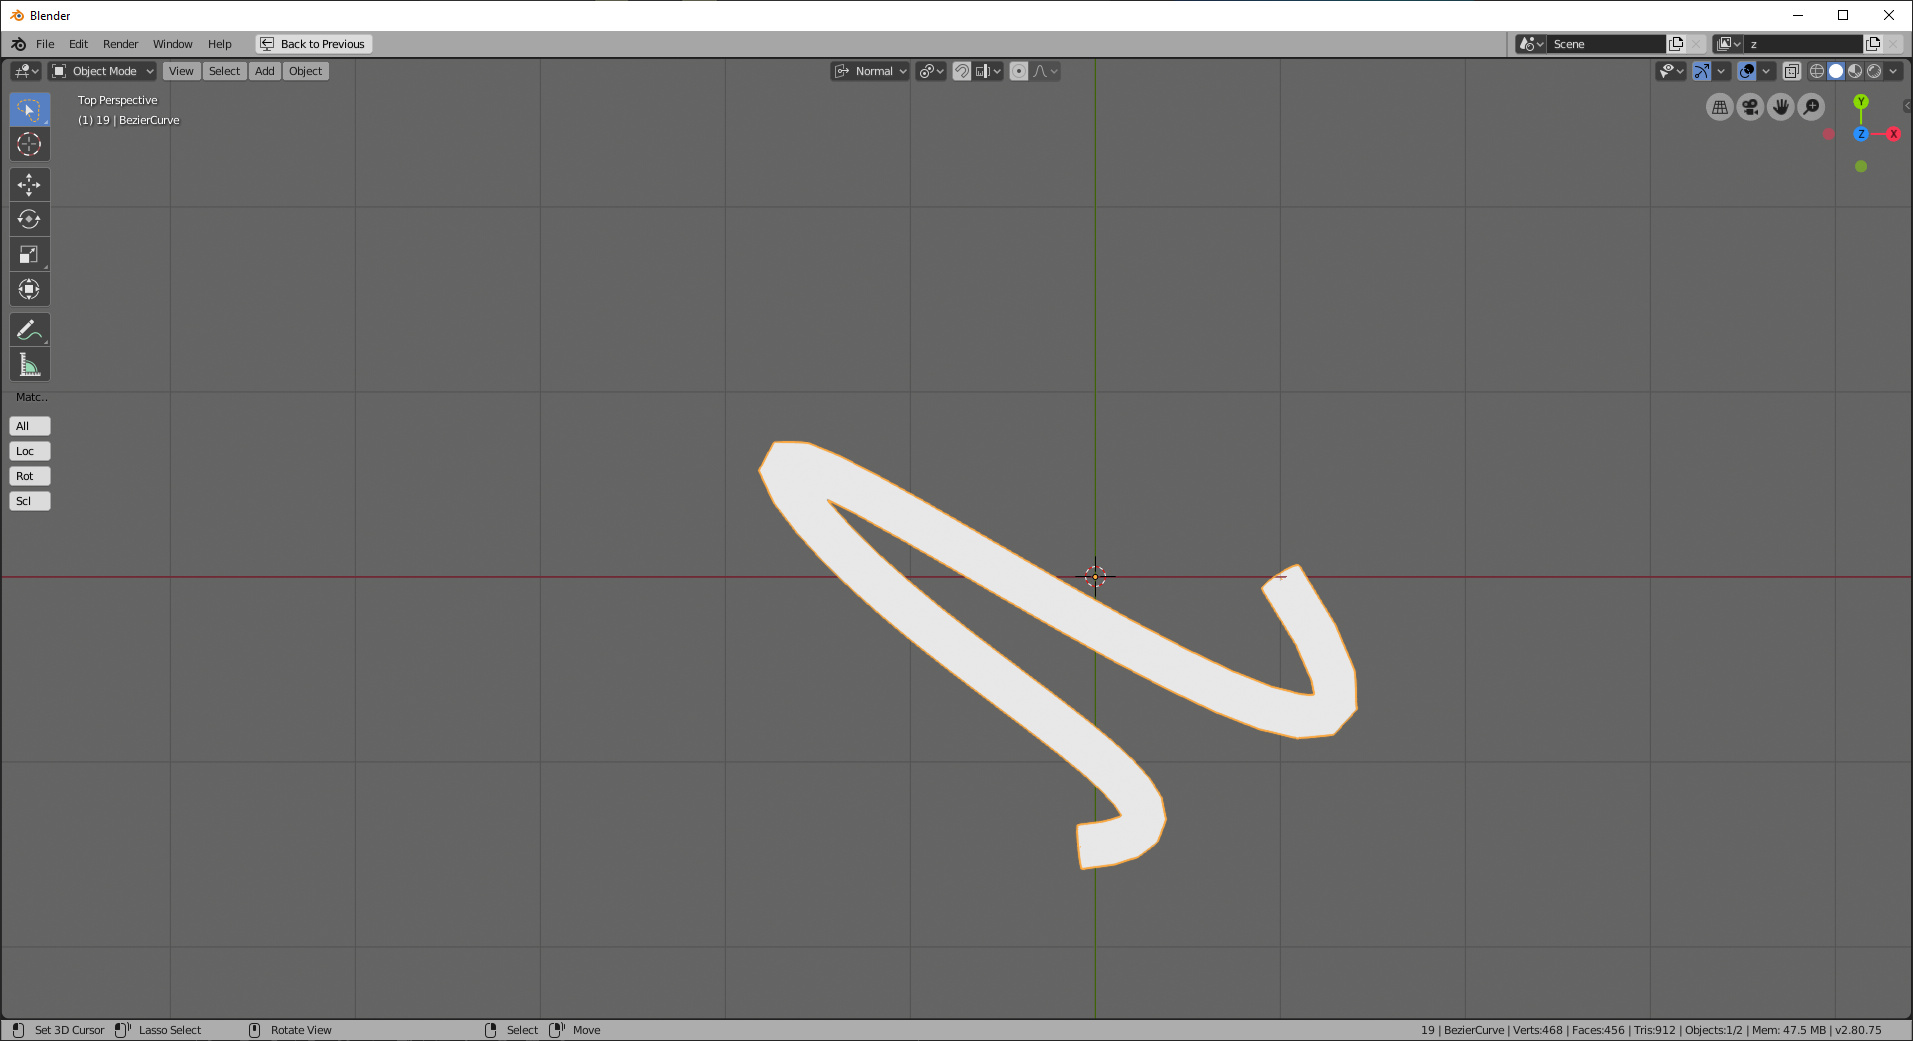
Lastly, another problem I noticed is how curves look in Blender.
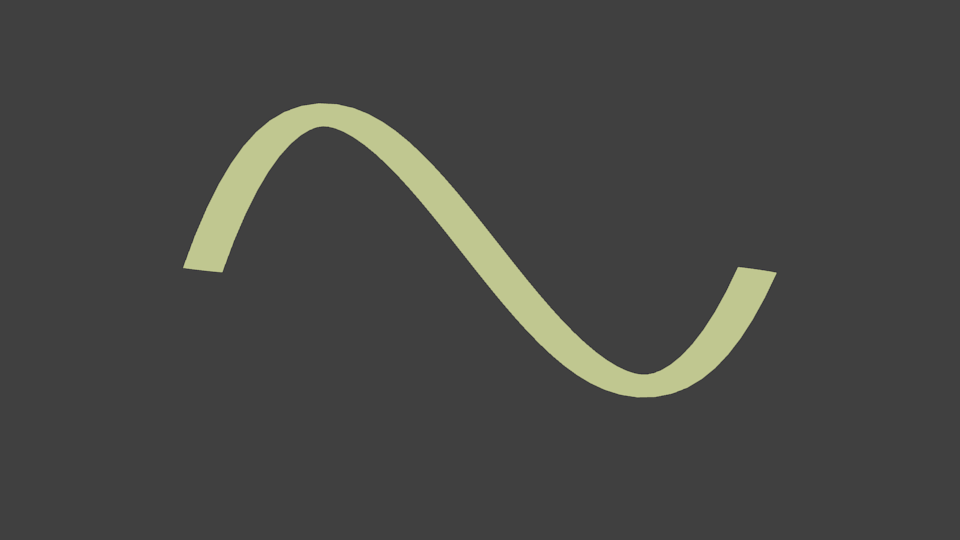
weird-curve-shape.blend (505.7 KB)
Notice the difference between the two photos (top is designed in Blender while bottom is with Gravit Designer). Blender, when curves are adjusted and manipulated it, shrinks the curve when the curve is curving while Gravit doesn’t which is how I want it to look in Blender with a stroke.
Necessary explanation completed now, I have a 2 part question.
- What’s the most effective way to add a rounded end/cap to a curve? (that doesn’t move the cap when the curve is moved)
- Also is there anyway, in Blender where I can move the curve without it shrinking the curved portion as seen in this photo (from above)?