Crazy attention to detail
Thanks. It would have been easy to just do the exterior, but that’s been done a bunch. There’s just not an easy way to model a large bomber like this with so much interior exposed.
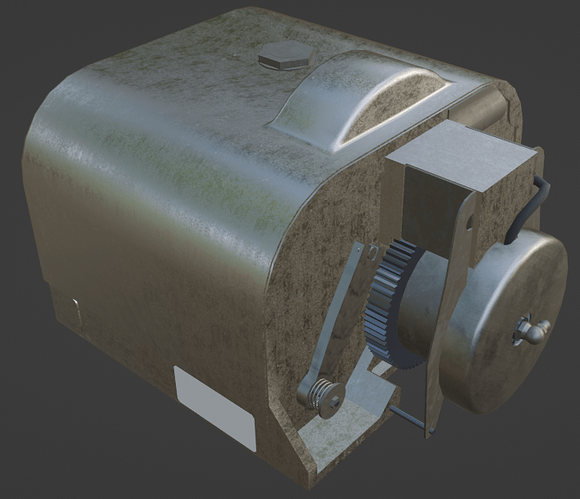
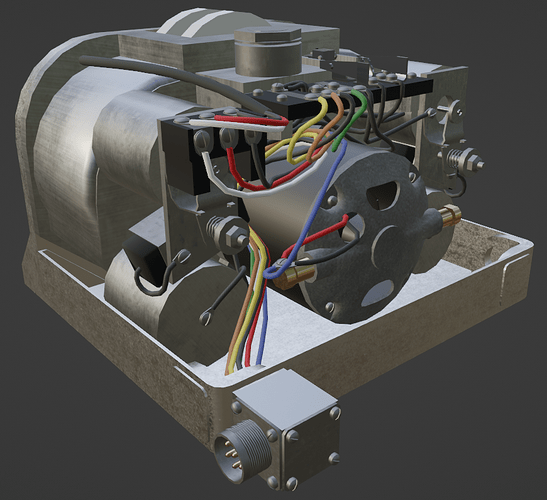
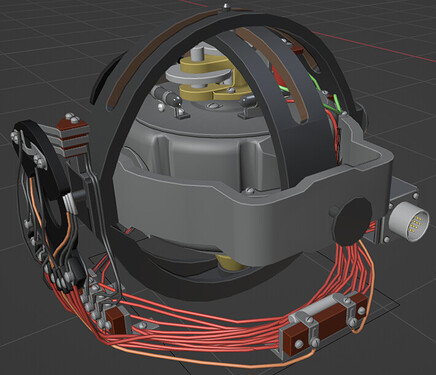
Working on the autopilot system, Flight Servo. I still have some work to do but I had fun modeling the internals on this, like wiring the component correctly.
Your collection of reference material must be massive to include details like this.
It is not small, no. I don’t have everything I need yet but the reference collection does continuously grow.
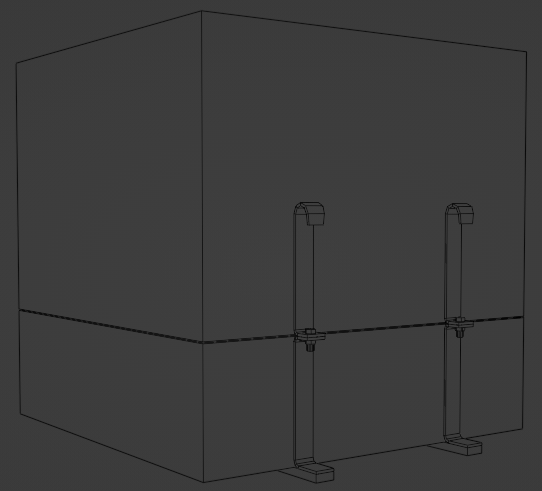
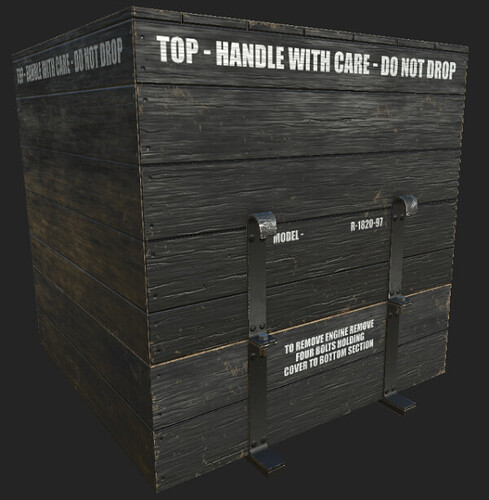
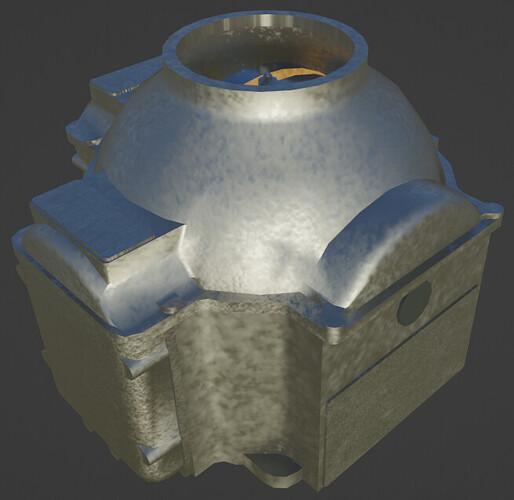
Engine crate for the hangar environment. I’m not actually sure on the colors, it’s either black or drab, type is either white or yellow. I guessed based on the tone of grayscale images. This is a background element for real-time environment so there’s not a lot of detail. It’s what it needs to be and no more. 868 triangles, 2k textures. I don’t plan on camera getting too close but texture details weren’t holding enough for 1k so had to bump it up.
It has been absolutely amazing to watch this project as it continues to develop … ![]()
A full eighty years after engineers created “the real thing” in the desperation of World War, someone else – you … – is now forever memorializing it in the finest digital detail. If I may say, “that’s rather incredible.” With or without the game.
Wow thanks! I appreciate it. This is definitely a labor of love. ![]()
Continuing with the autopilot system, the Vertical Gyro. Another component I have a good amount of internal details for. Not all the geo is finalized and I have to figure out a few more things/add more details. Overall it’s coming along. I will do some cable management as well to make sure the gyro has room to not be impeded.
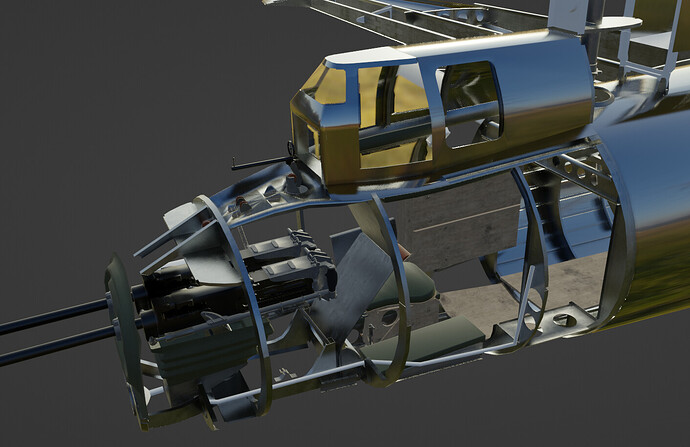
Filling out the tail turret. There’s quite a bit going on especially with the gun sight (the tiny barrel above the twin .50 cals). Rigged with pulleys and cables it moves with the guns.
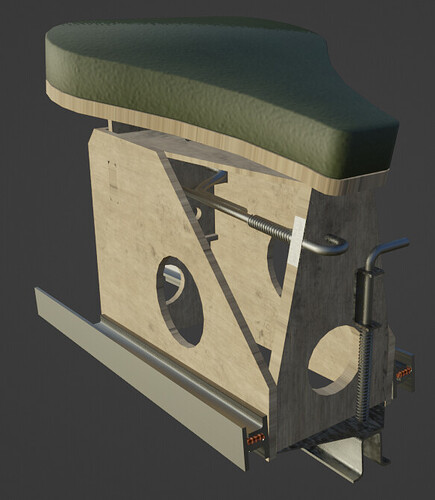
Here’s a view of the rear gunner seat. Still have more work to go but I wanted to get most of the shapes in as I had nearly nothing in the tail.
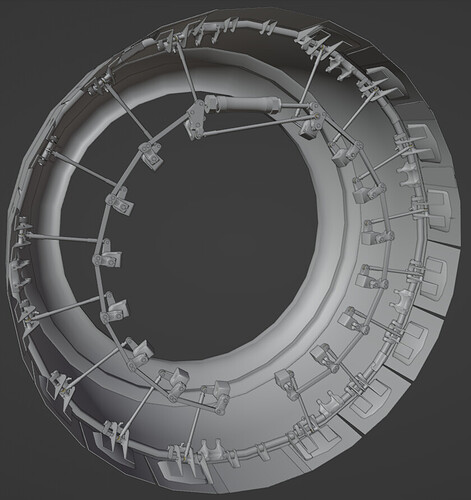
Cowl Flap Installation. I had some of this done but just remodeled most of the parts for higher fidelity. Quite a complex system controlled by one actuator.
Love that cowl flap rig!
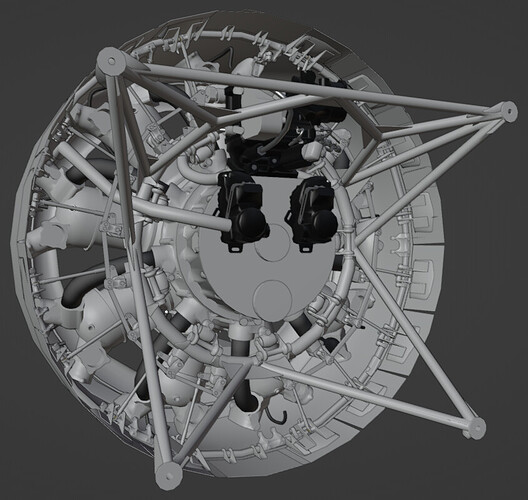
There’s a lot going on but this is the WIP engine, engine mount, and cowl.
I was also inspired recently to play around with Geometry Nodes to try and create a dynamic cable bundle. I created a custom spiral curve, distributed points on it, and extruded. Needs work but is an interesting test.
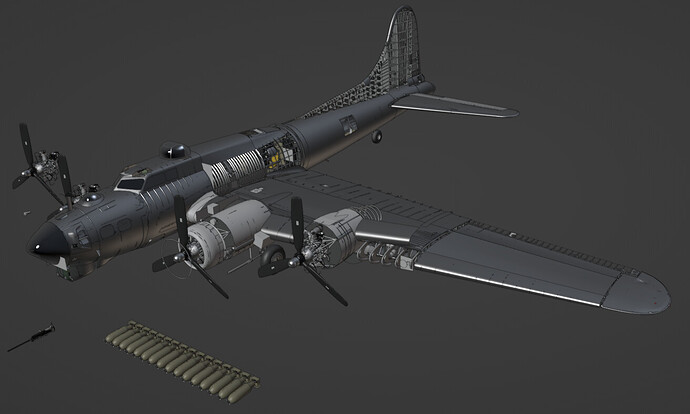
Earlier this year I was asked if I had everything in one file. At the time I did though I knew for at least some components, like the engines, that would need to change. Even modeling for game res the amount of data was slowing Blender down so I started separating into major assemblies. Some individual components are also their own file. Everything is linked to a “master” file with file folder structure reflecting the Final Assembly scene and I’m pleased how well it works.

Armament is a good example of separation. Each bomb is now its own asset. Each M2 is its own asset. This way I can create animations for one .50 cal and not recreate those for every station.
I’m nearing 14,000 individual objects in the scene though a lot of this will be combined for animation.
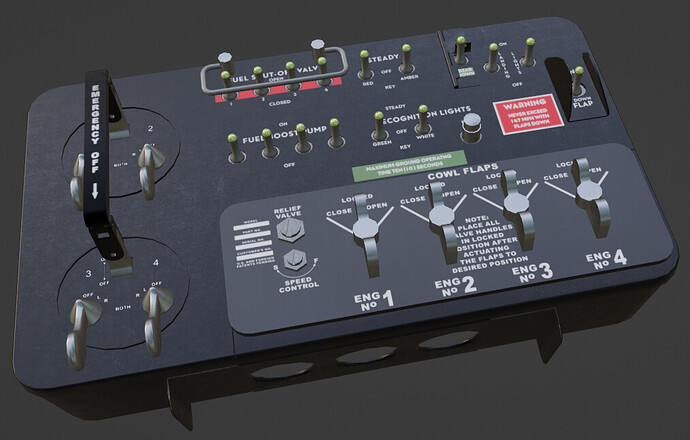
Recently revisited this component. I modeled this years ago but it needed higher fidelity to match my more recent work.
it looks good
but i feel that the small switches are not as the real one
too cylindricaly shape
look in my main thread on WWII i did some panels with this kind of switches
happy bl
you dwg show it more like a cylinder then slanted one like the one you show in post before this post
EX:
or like that
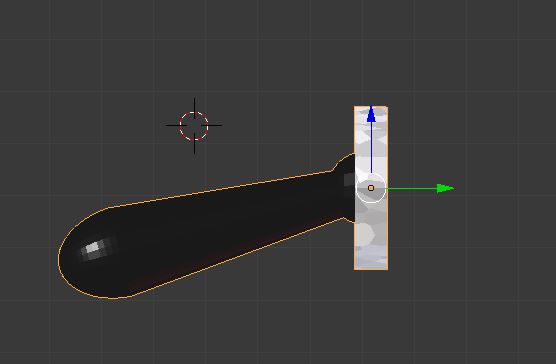
but your model probably use less verts anyway
might be better to save memory / verts count and be at a medium res instead of higher res!
happy bl
I see. I have a slight slant but yes I definitely have less polys. I may go back and make different switches as individual assets. Building out for a more studio workflow is a goal I’m still working on.
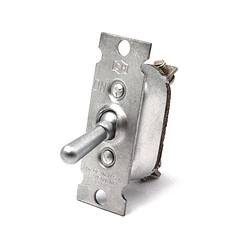
I also didn’t have this at the time:
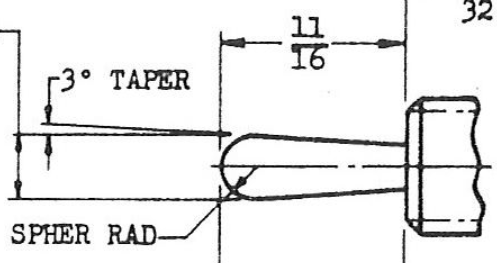
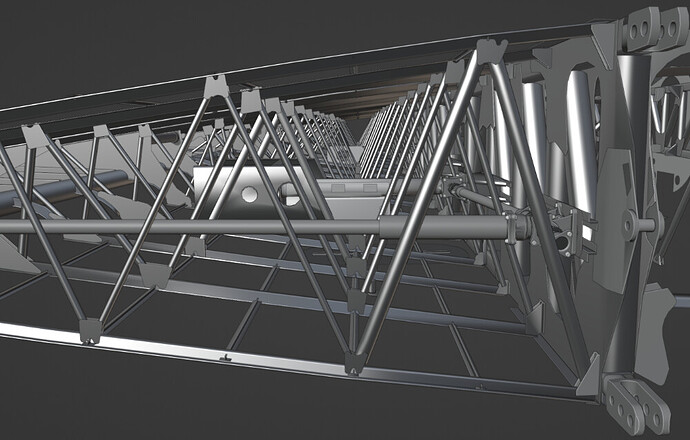
I’ve been working on refining/finishing the wing structure. There’s quite a bit.
The Wing Tail showing part of the Flap system. I’ve finally finished creating geometry for all Tail Ribs. I still have some adjustments to make as the Flap itself isn’t situating correctly with the wing.
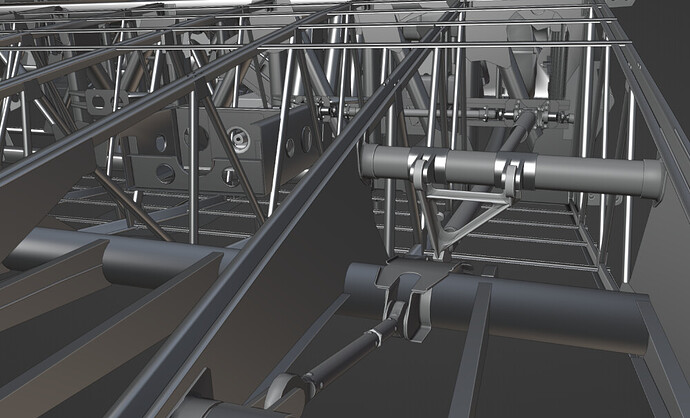
The inboard flap rigging. On the left you can see the bracket for holding the Flap Motor.
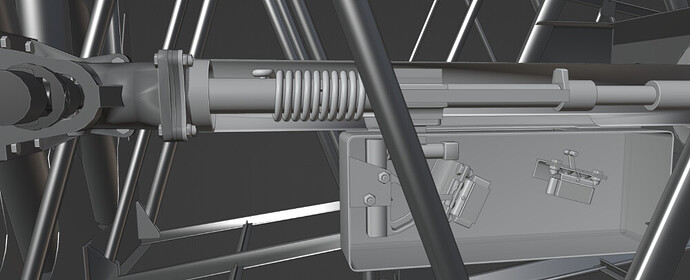
Cut away view of the Flap Motor Shaft, with stops, and limit switches.
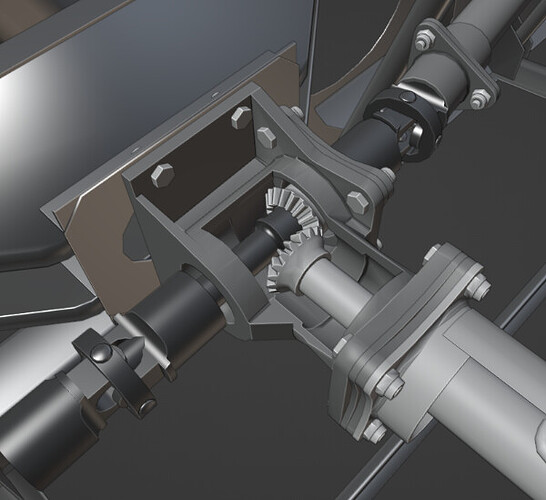
Cutaway view of the Flap Control Housing. This is powered by one electric motor, travels the length of the Inner Wing, crosses over to the center of the fuselage with a manual crank under radio floor, and over to power the right Wing Flap.
insane amount of details
one note:
look at universal joint looks like some criss crossing mesh !
keep up the good work
are you going to sell this ?
happy bl
