Baby Angler Fish - Remix | Make a Splash in Amsterdam [ FINISHED ]

Hi yall, and so it begins!

  • I’m making this post to start documenting my little journey of my re-imagining of the blender 2.74 splash screen. :slight_smile:

A short story before we get into the bad drawings!
Blender 2.74 was the first version I ever used, I still have a copy of it on my faulty(But somewhat working) 2GB flash drive back from high school!

I’m not exactly sure how I got it- the Internet wasn’t much of a thing for me back in the day- But the first thing I made was a bad sculpt of the personality core Wheatly from Portal 2- I may or may not post that photo later : )

After that I got addicted- there was just something about having a million buttons to push and not knowing what all of it does, I can either somehow make something? or break my Moms computer.
I started Binge watching Blender Guru tutorials on Saturdays- wasting all my mobile data just to download 480p videos from a fishy youtube downloader site.

– and yeah, that’s how I got started! This derpy cat has been engraved into my mind forever now, and I think it’s about time to try and replicate the Kawaii derpy-ness of it. somehow.


Now my terrible drawings!

I wanted to keep the derp and innocence factor of the original splash screen, but mix it up a little bit. Coming up with an Idea was not easy. I had an hour-long call with my parents just to try and come up with something- We came up with the idea of a Donkey looking at a carrot on a rope. But making fur is a no-go. Too much work.

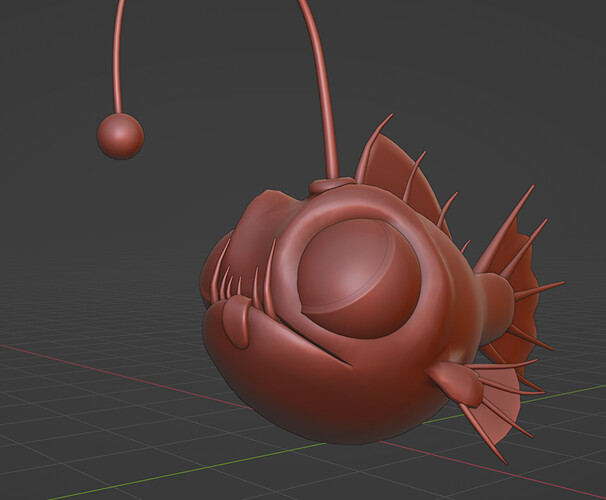
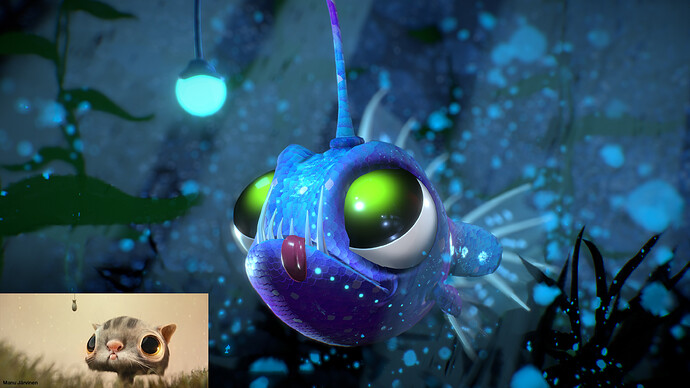
and thus the idea of a baby angler fish looking at its own lure was born! - somehow?

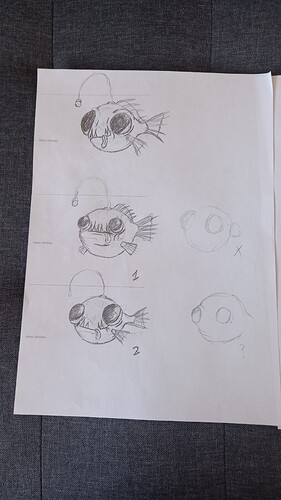
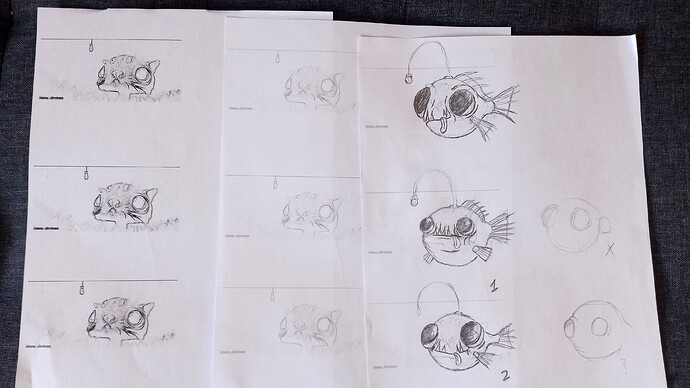
The only problem is, I can’t draw- so what I did was I ran an edge detection on the original splash screen and printed it out as a base for me to sketch on with a pencil:

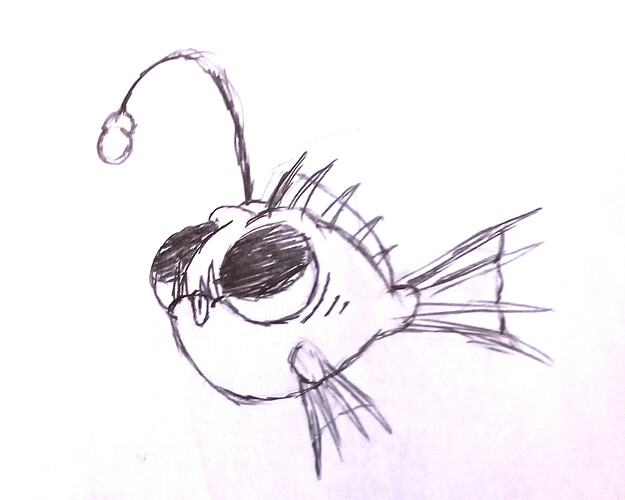
I got a basic idea of how it should look- so I started refining the design down to basic shapes- gave it larger eyes, and of course- its derpy lil mouth : )
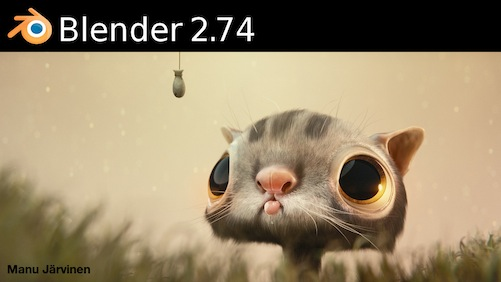

Blender_2.74-splash

I’ll post more as I go.
But this is 3D, I’m bound to lose all hope and rage quit at some point with the project.

So stick along! watch the madness unfold <3
9 Likes

Update 1:

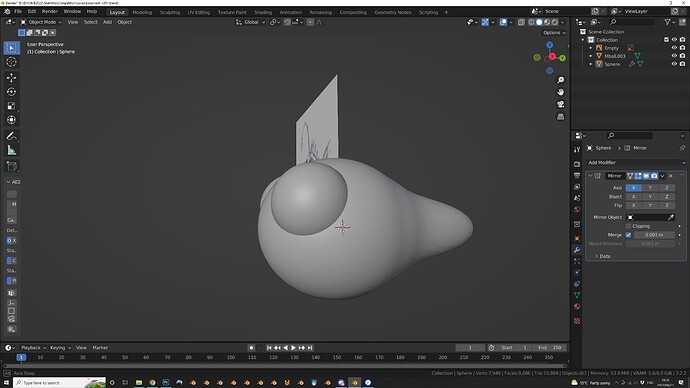
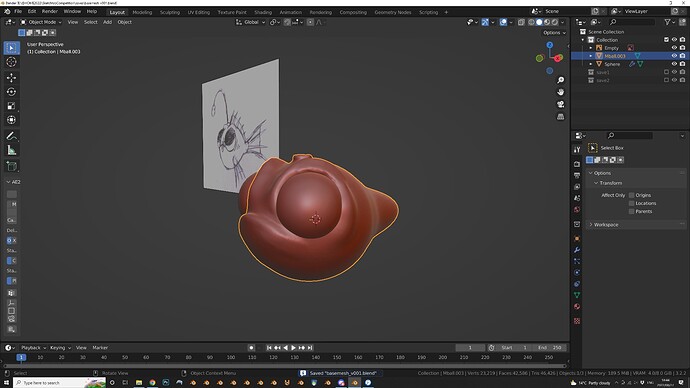
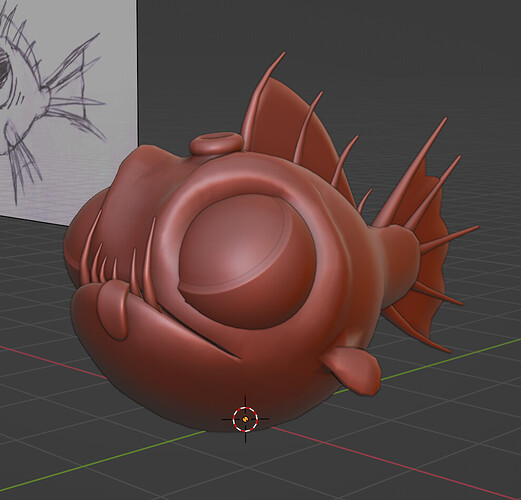
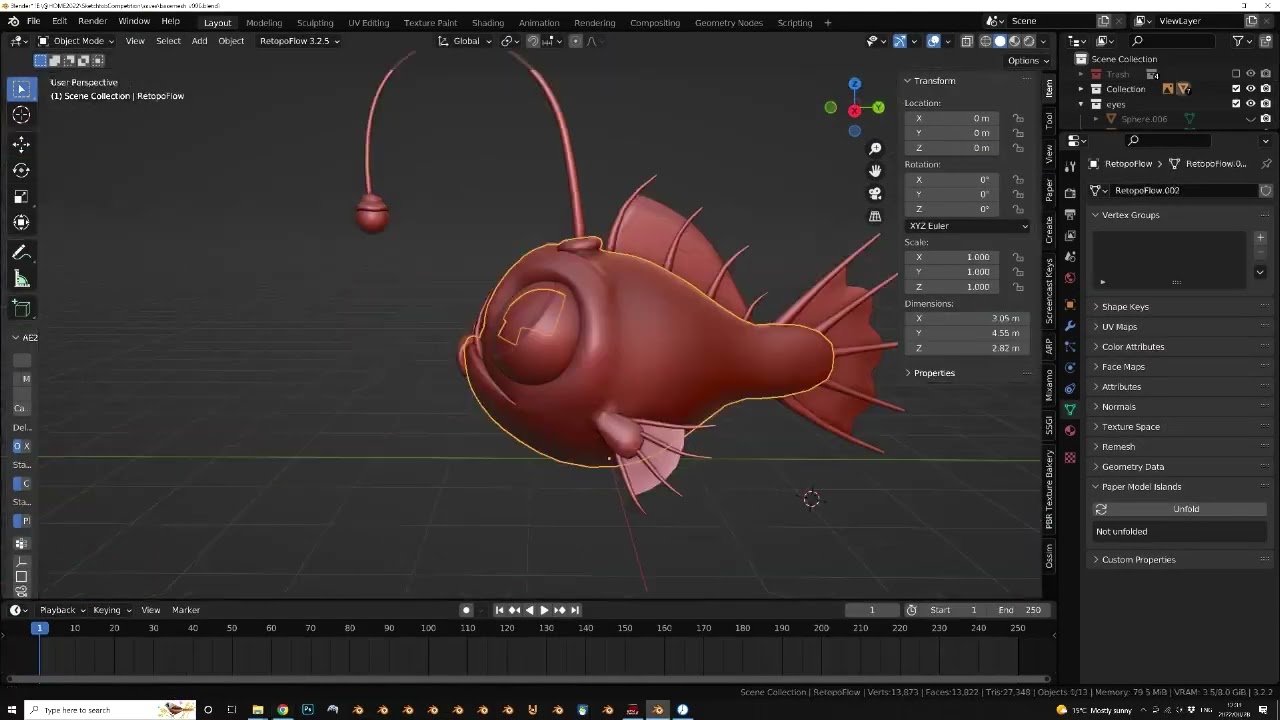
I started working on the main body. - I used basic meta shapes to roughly build out a shape- and from there on I started sculpting in some details.


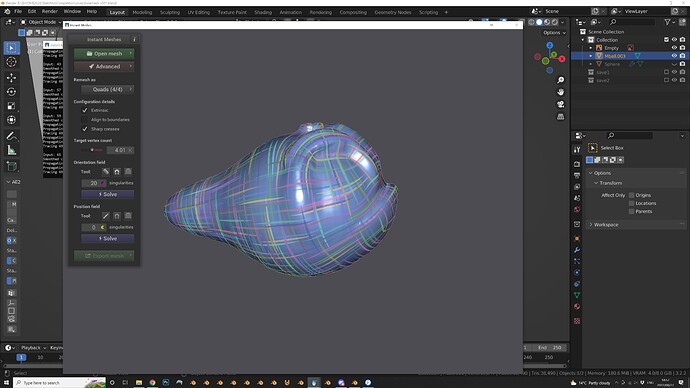
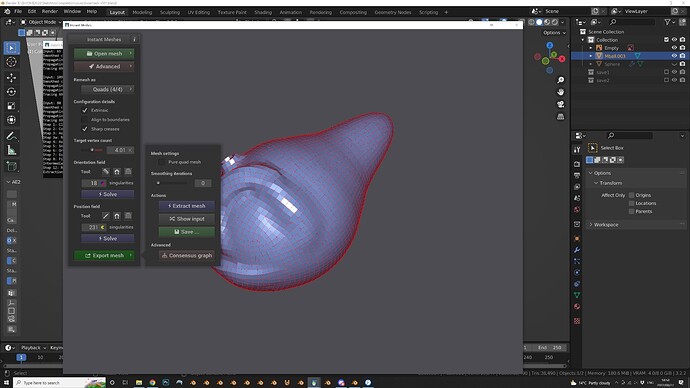
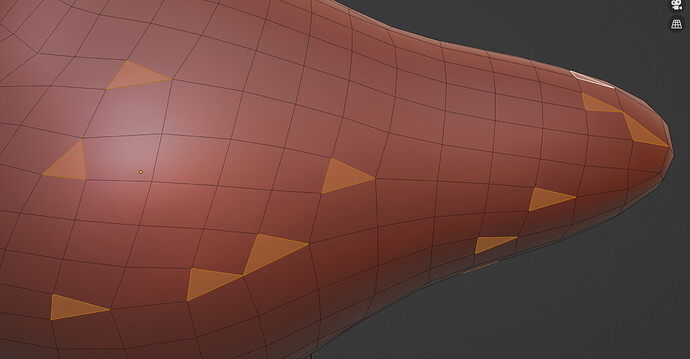
After that, I started with topology. - Idea was to use ‘Instant Meshes’ to quickly make something rough since this is a competition tho. But oh boy, the result was terrible:


-it’s not that bad, but If I had to adjust something on it, it would be a bit tricky.

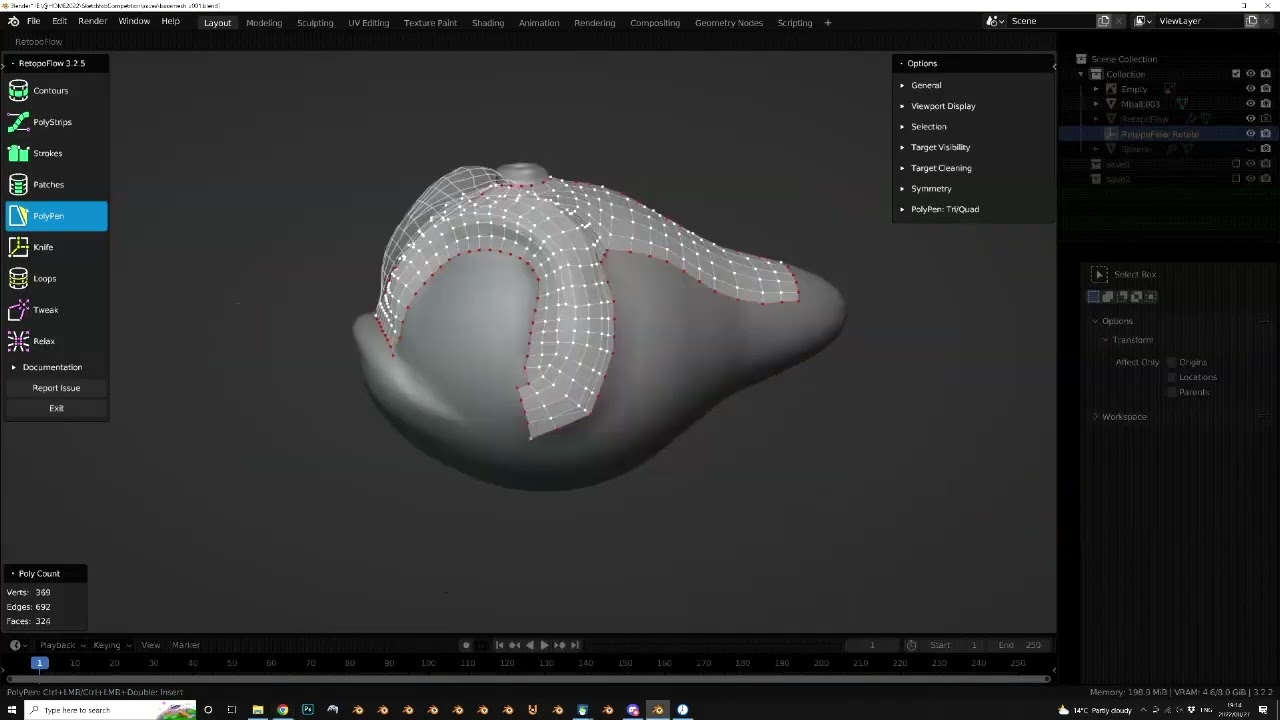
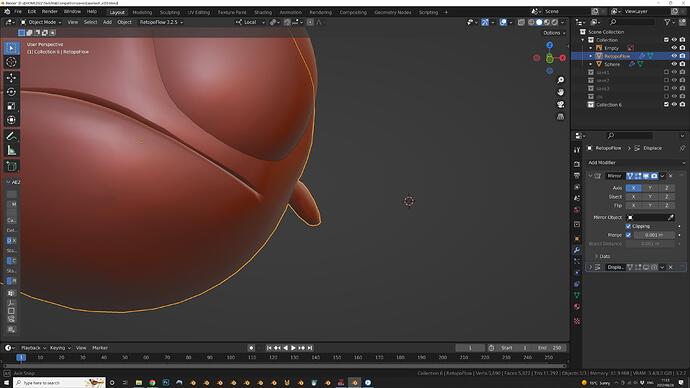
SO, F*** IT! time to retopo by hand. Luckily I have a copy of RetopoFlow for blender.
I made a timelapse about it:

I have to say tho, I’m really pleased with the result. -is it any good?
_______________________________________________________HA, no.

There are triangles everywhere! - but hey, it’s not gonna be subdivided, it just has to look good : )

But it works!

My next focus will be on adding details to the model, then start sculpting the high-res version.

1 Like

This soo Kawaii not to share!


8 Likes

I wish I had anything more intelligent to say but… awwww, so cute :heart:

1 Like

Update on today’s work!

I started with tweaking the base mesh from yesterday- adding two tiny fins to the body.

After that, it was off to texturing!!

Major thanks to Simon Thommes for his amazing CC0 Scales shader- it saved a tremendous amount of time! [ https://www.blendernation.com/2019/01/23/scles-free-procedural-scales-texture-shaders/ ]

I don’t have a graphics tablet, so everything was done with my good ol PC Mouse.
Here is a timelapse of today’s work:

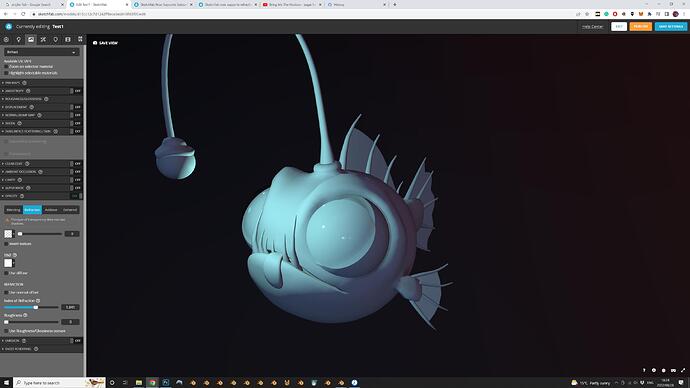
After the texturing work- I uploaded a test model to sketchfab just to see how much control I have in terms of light placement. It’s not as robust and involved as eevee. But it surprisingly got the job done.

So far I’m happy with how the model is looking with the new textures- but there are a bunch of tiny flaws with some UV stretching and artifacts on some parts- but my plan is to ignore those and just hide it with a huge amount of underwater godrays!

6 Likes

Looking good!

1 Like

Minor update:
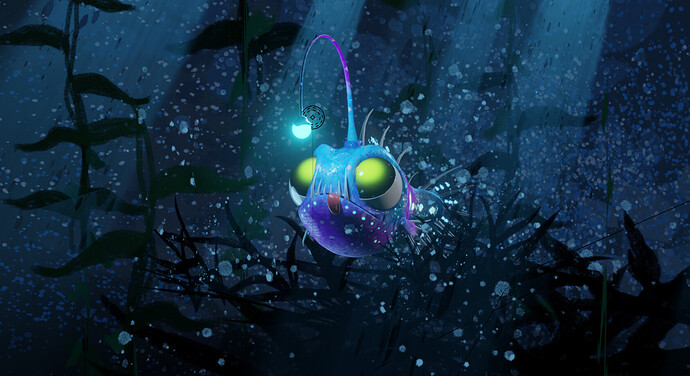
Started playing around with volume cards:

3 Likes

And thus it’s done!

Unfortunately, I only realized my screen timelapse software bugged out, so sadly I have nothing to show.

But the biggest changes I did was re posing the fishy slightly and touching up some bad texturing.

And here it is! My final entry ^-^

9 Likes

Unfortunately, I don’t have a lot of time to work on this- But so far I’m kinda satisfied with it.

I can definitely improve it and fix a lot of issues- but time isn’t in my favor :confused:

Hope yall enjoyed my little process and behind the scenes- and make sure to comment on sketchfab about what yall think! :heart:

3 Likes

Congratulations! Looks very cool :wink:

1 Like

Hey! As we’re entering the final days of the challenge, I’d like to give you some helpful tips to make sure you can successfully complete your entry. Please see my new post on the FAQ topic.

Love this so much! Also, how did you add the volumetric light rays? Do you have a tutorial on how to do that?

Thanks, for the fog and volumetrics- I just used emissive transparent images.

This is really fleshed out on Sketchfab, well done! Great little fishie, but the background’s also very immersive. Any final stretch changes in mind?

Hey! Just a quick reminder that there’s now less than 12 hours remaining to wrap up your challenge entry - submissions close at 2022-09-15T21:59:00Z, GMT+1 (click on the link for some international times).

If you haven’t done so already, please review this post which contains some essential information for preparing your submission.

At the very least, upload your work to Sketchfab as soon as possible and add the #bcon22challenge tag.

It’s also a good idea to add a link to your WIP topic in the description of your Sketchfab model so we can easily find it.

I’ll also keep a close eye on the FAQ topic today, so if you have any issues or questions please post it there as soon as possible.

Good luck!