Okay. I know a few things about texturing now, marking seams and unwrapping in a couple of different ways, the various types of nodes, maps including Roughness and Normal. I know that if I give something a UV Map, unwrap it, then create blank image, if I paint something on the image where a given face is, it shows right up in the Rendered Viewport.
It looks like I have two choices right from the start - do I create and edit my maps in either something like Photoshop, or in Blender itself? I’ve selected Photoshop as my External Image Editor in preferences, so I can call it right from Blender if I need to.
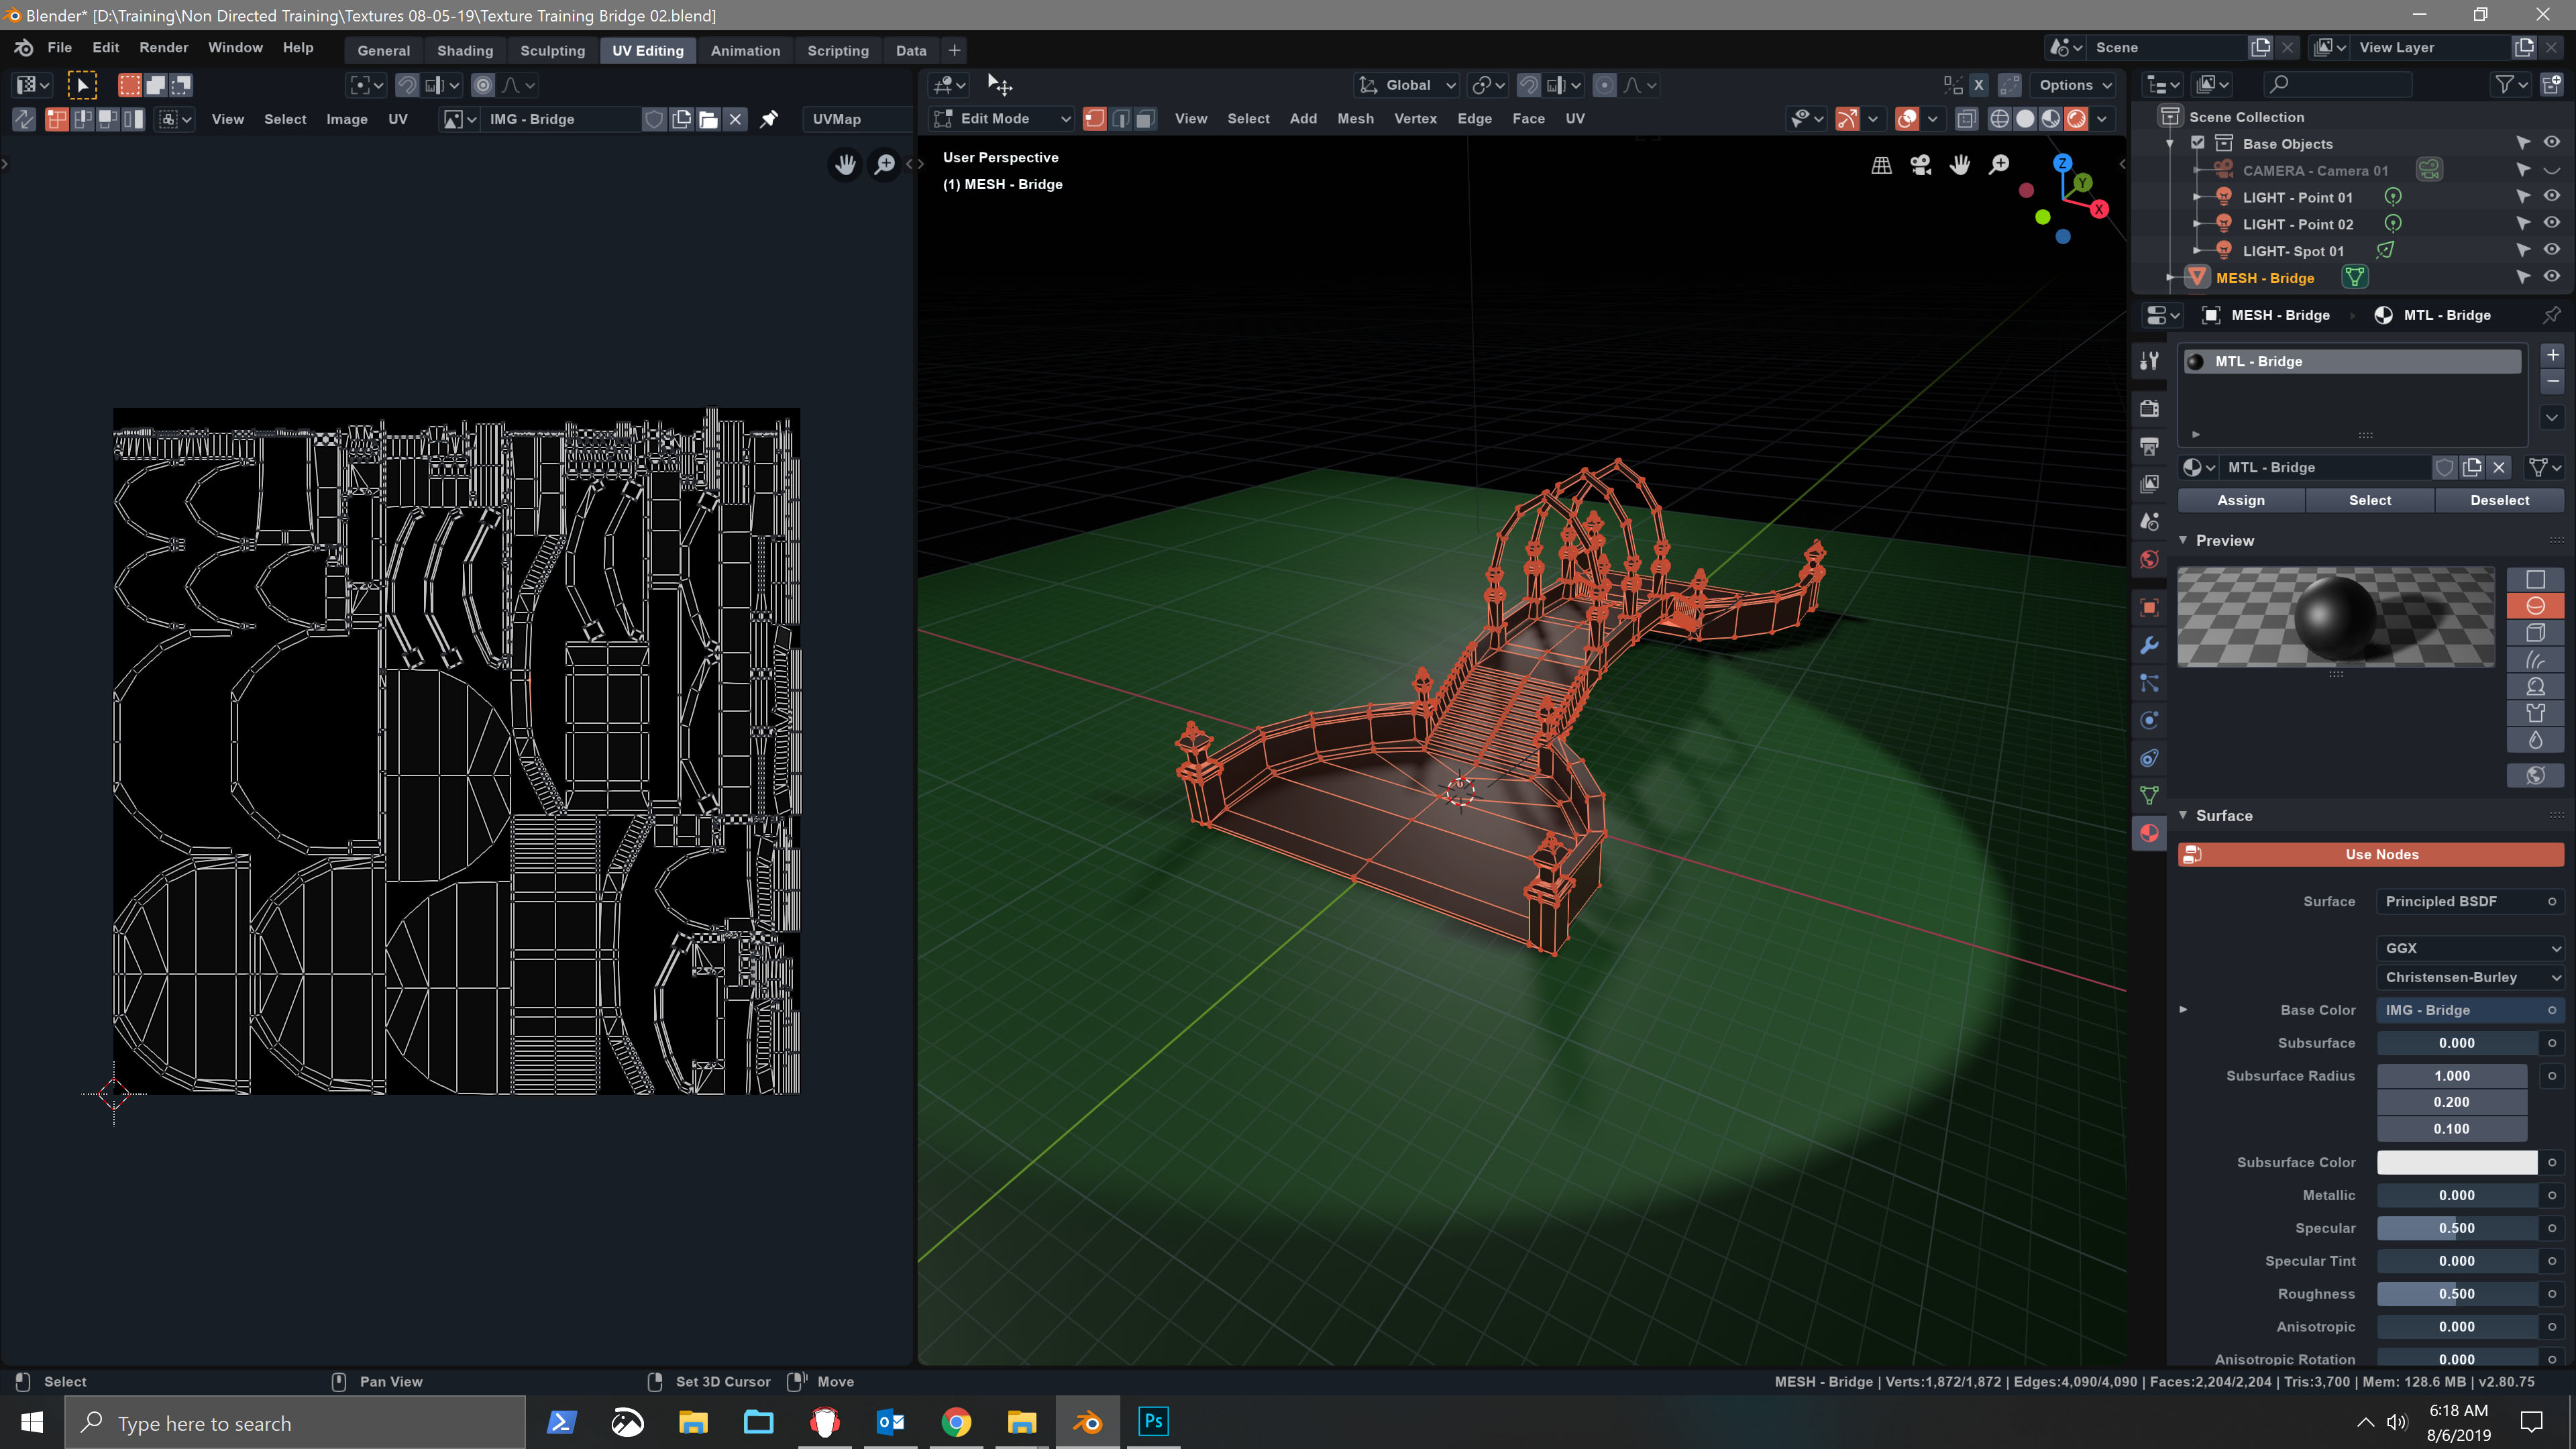
So, take this bridge for example. I’d like to hand-paint the Diffuse Map (or Albedo), but I want to clone bits from a stony texture from another image. So I need either to:
To clone from an image and paint it in Blender’s Image Editor. I’m not entirely sure that this can be done.
To somehow get the UV Map exported as a “guide” that I can paint in Photoshop, where I can go to other images and sources and clone to my heart’s content. I think I’ve run across this command or series of commands before, but I don’t remember where. Also, it seems like I wouldn’t see updates in the Rendered Viewport in real time. Maybe I could save my image in Photoshop very often and “refresh” the Blender viewport?
Can someone help me out by pointing me in the direction of the best workflow here? Details would be welcome, but even just a general direction would be really useful. Thank you!
From where I sit, the easiest way is to export the UV map to photoshop / gimp and do what you want to to it, making a diffuse map, and then you can do baking or use something like ShaderMap 4 to create other maps.
To export the uv map, (in 2.8) hop into UV editing, select the uv map in the uv editor, and select the UV button at the top, at the bottom of the list is export UV layout, go ahead and export it, then open it in your graphic editor of choice and put the map on a seperate layer. On new layers, do the painting / editing you want, and then before you export the image to the PNG/JPG turn off the layer that has the map on it. then go ahead and use your new difuse map
But “best workflow” imo depends on the use case and limitations. If for art piece and you have no texture size limitation, then the above is good. Also UDIMs are coming or already here, not sure.
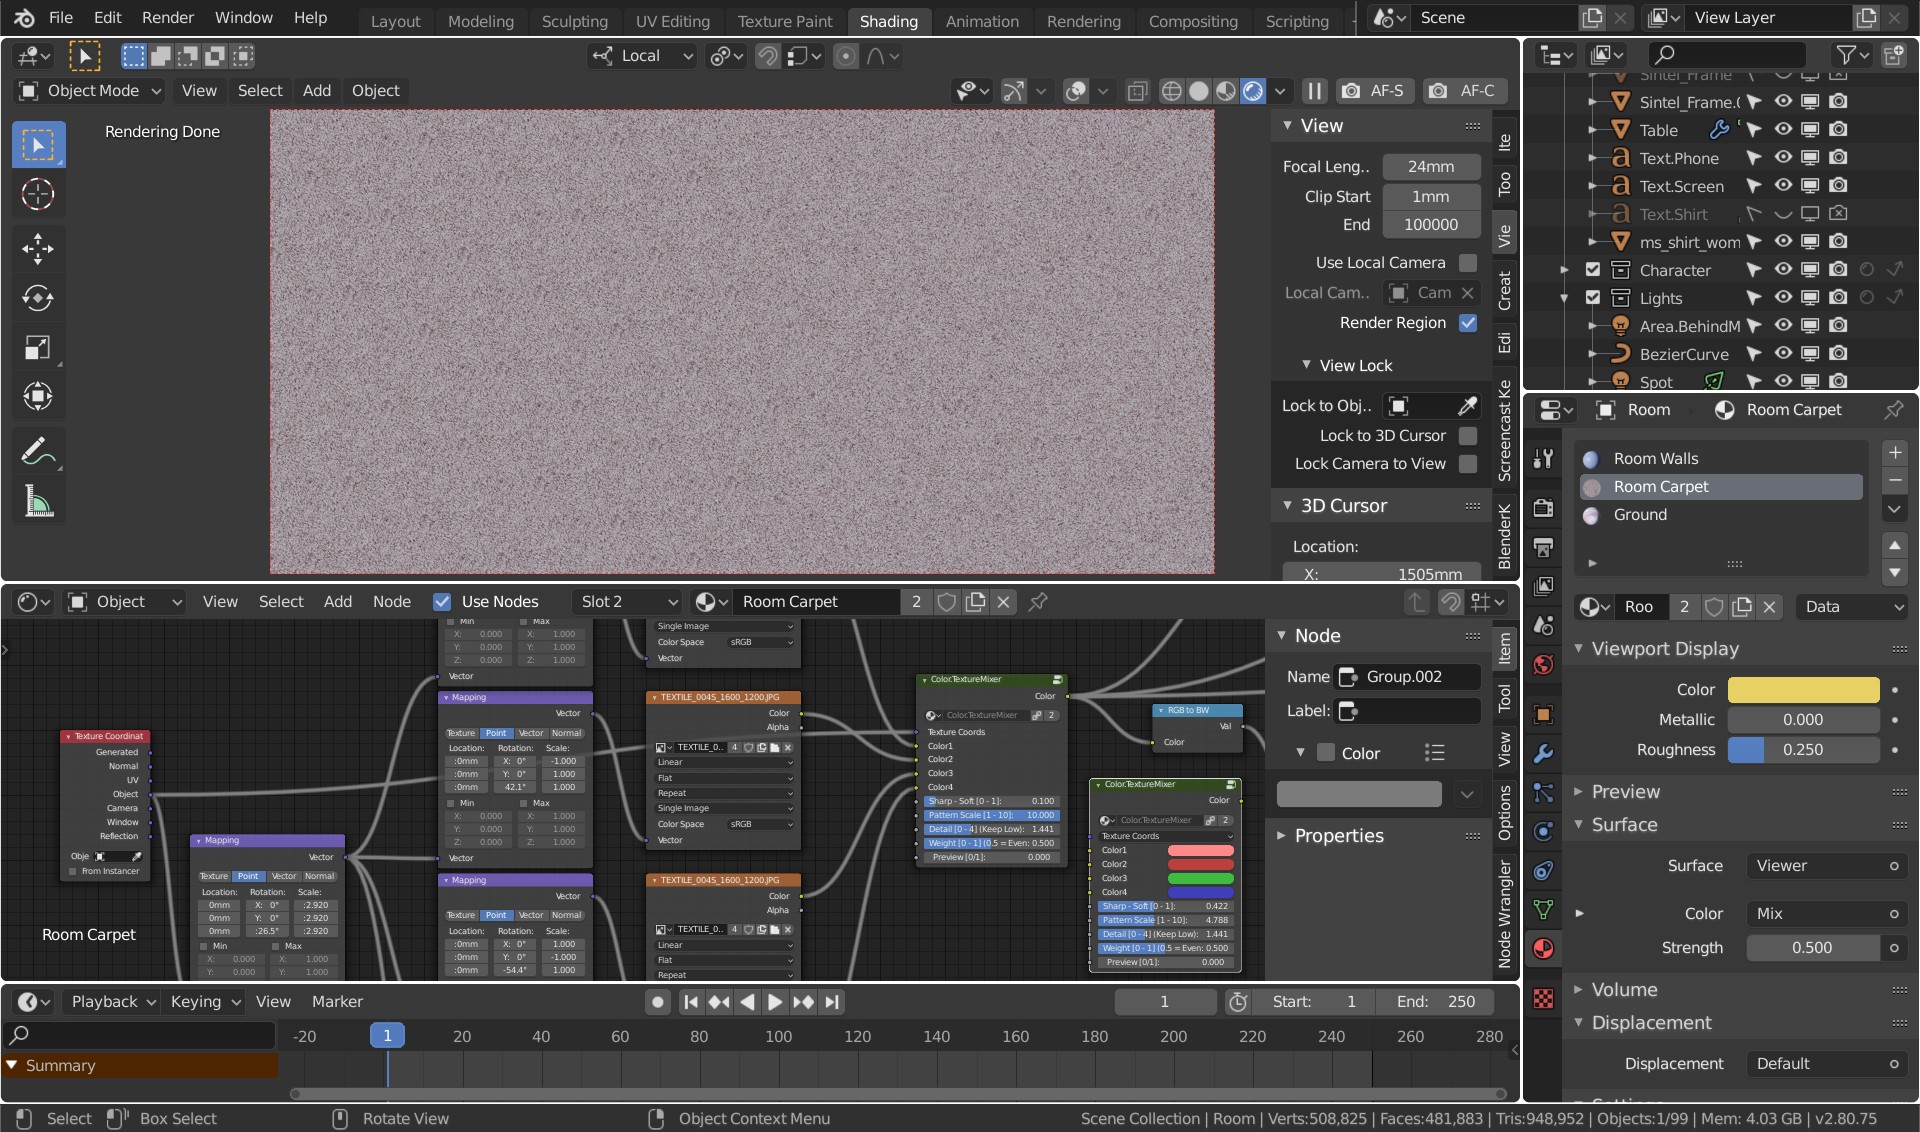
For things like a bridge, I’m guessing stonework. That has a very structural look and leaves you no flexibility on procedural randomizing. But you can add detail textures (image or generated) where structure is unimportant and can be at least orientation blended to avoid texture repeats. A completely different UV approach would be required if you planned to use procedural bricks for texture and randomization work. Which part of this splitscreen of a carpet texture looks CG repeat, left or right?
In that one I’m rotating texture as well as mirroring, 4 different outputs of the same texture.
(Wth happened to my resolution? Sometimes linux is weird)…
But if for a game asset where you have limited texture size you might consider sharing texture space/overlaps using symmetry tricks to increase the texel density, and of course delete never seen geometry. But that may require support for additional UV channels as you couldn’t bake lighting this way.
Renzatic
(Professor Emeritus Billy H. Wafflesmith XIV Esq.)
5
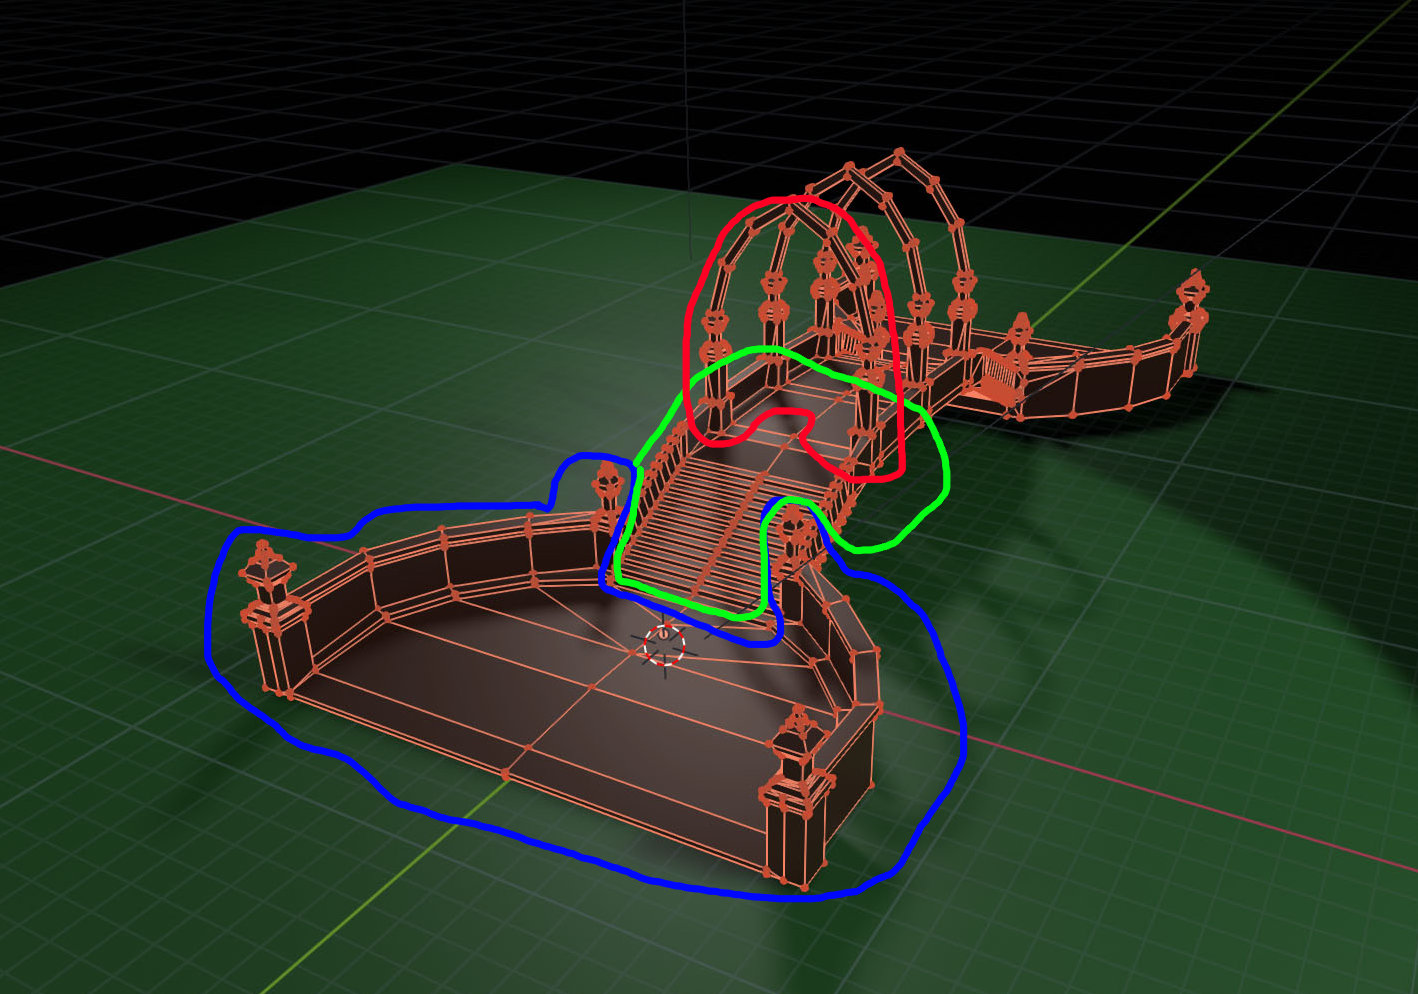
I’d suggest breaking down your model into smaller chunks. Not only would it make texturing it that much easier in PS, given that you’re working with broader details, but it’d also allow you maximize your resolution on a smaller scale. Cramming everything into a single atlas is something you’d do with smaller objects, not large bits of architecture where the lack of resolution can easily jump out at you if you’re not careful.
Like, take your three arches for example. I’d delete two of them, take the one that remains, unwrap it, add my textures, then duplicate the finished results. The only thing you have to keep in mind when doing this is that you want to keep your details generalized. If you add something that stands out, like, say, a splash of graffiti, it’ll be duplicated on the other two. You want to save stuff like that for decals.
Don’t think of it as one object. Break things down, somewhat like this:
The blue bit closest to you should have its own atlas, half of the base of the bridge is on its own atlas, and, of course, one of the arches. You really only have to texture half of it, because you can just mirror the structure of the bridge itself, and the texture on flipside won’t noticeably repeat, so long as you keep your details generic.
If you add something that stands out, like, say, a splash of graffiti, it’ll be duplicated on the other two. You want to save stuff like that for decals.
Can you please explain (here, or in another thread, or in private message) how to create and use decals, I have heard them talked about, and as you just explained it, it seems like a great idea, but I cant find a good reference on how to do it (i might be looking in the wrong places)
Thanks
TIM
Renzatic
(Professor Emeritus Billy H. Wafflesmith XIV Esq.)
7
There are a couple ways you could do it. The most straightforward is to take a plane, give it a UV, and slap it just oh so very slightly above where you want to add your decal to avoid z-fighting, and apply an alpha mapped texture to it.
The other is to use multiple UV maps, which you can see how to do here.
Hi Taholmes. I know it’s been a while, but I’ve just gotten the chance to sit down with this again. I’m able to use the workflow you suggested and it works well for me, and I also used the idea of breaking it down into smaller parts from @Renzatic.
No worries, except that Blender doesn’t seem to do any auto-updating when I make an adjustment to the image texture, then save it. So far, if I want to “refresh” the viewport after a change, I have to delete the Image Texture node entirely and replace it with a new Image Texture node, open the file, and then I can see my changes.
Are there any shortcuts around that?
Thanks!
Renzatic
(Professor Emeritus Billy H. Wafflesmith XIV Esq.)
9
You don’t have to go so far as to delete the entire image node. Just hit it up, and reopen the texture.
Looks like, at least until I start to more instinctively understand the layouts of 2D UV maps unwrapped with something like Smart UV Project in relation to their respective 3D meshes, it makes more sense for me to use seams a lot and to break the meshes up into much smaller pieces before texturing them.
Thank you again for the advice.
Renzatic
(Professor Emeritus Billy H. Wafflesmith XIV Esq.)
11
Honestly, I’d suggest sticking with unwrapping everything by hand. It’s a good habit to get into, simply because it’s more efficient, allowing you more granular control over every facet of your objects. Plus, if you start getting into higher end stuff like texture baking, it’s an absolute necessity.