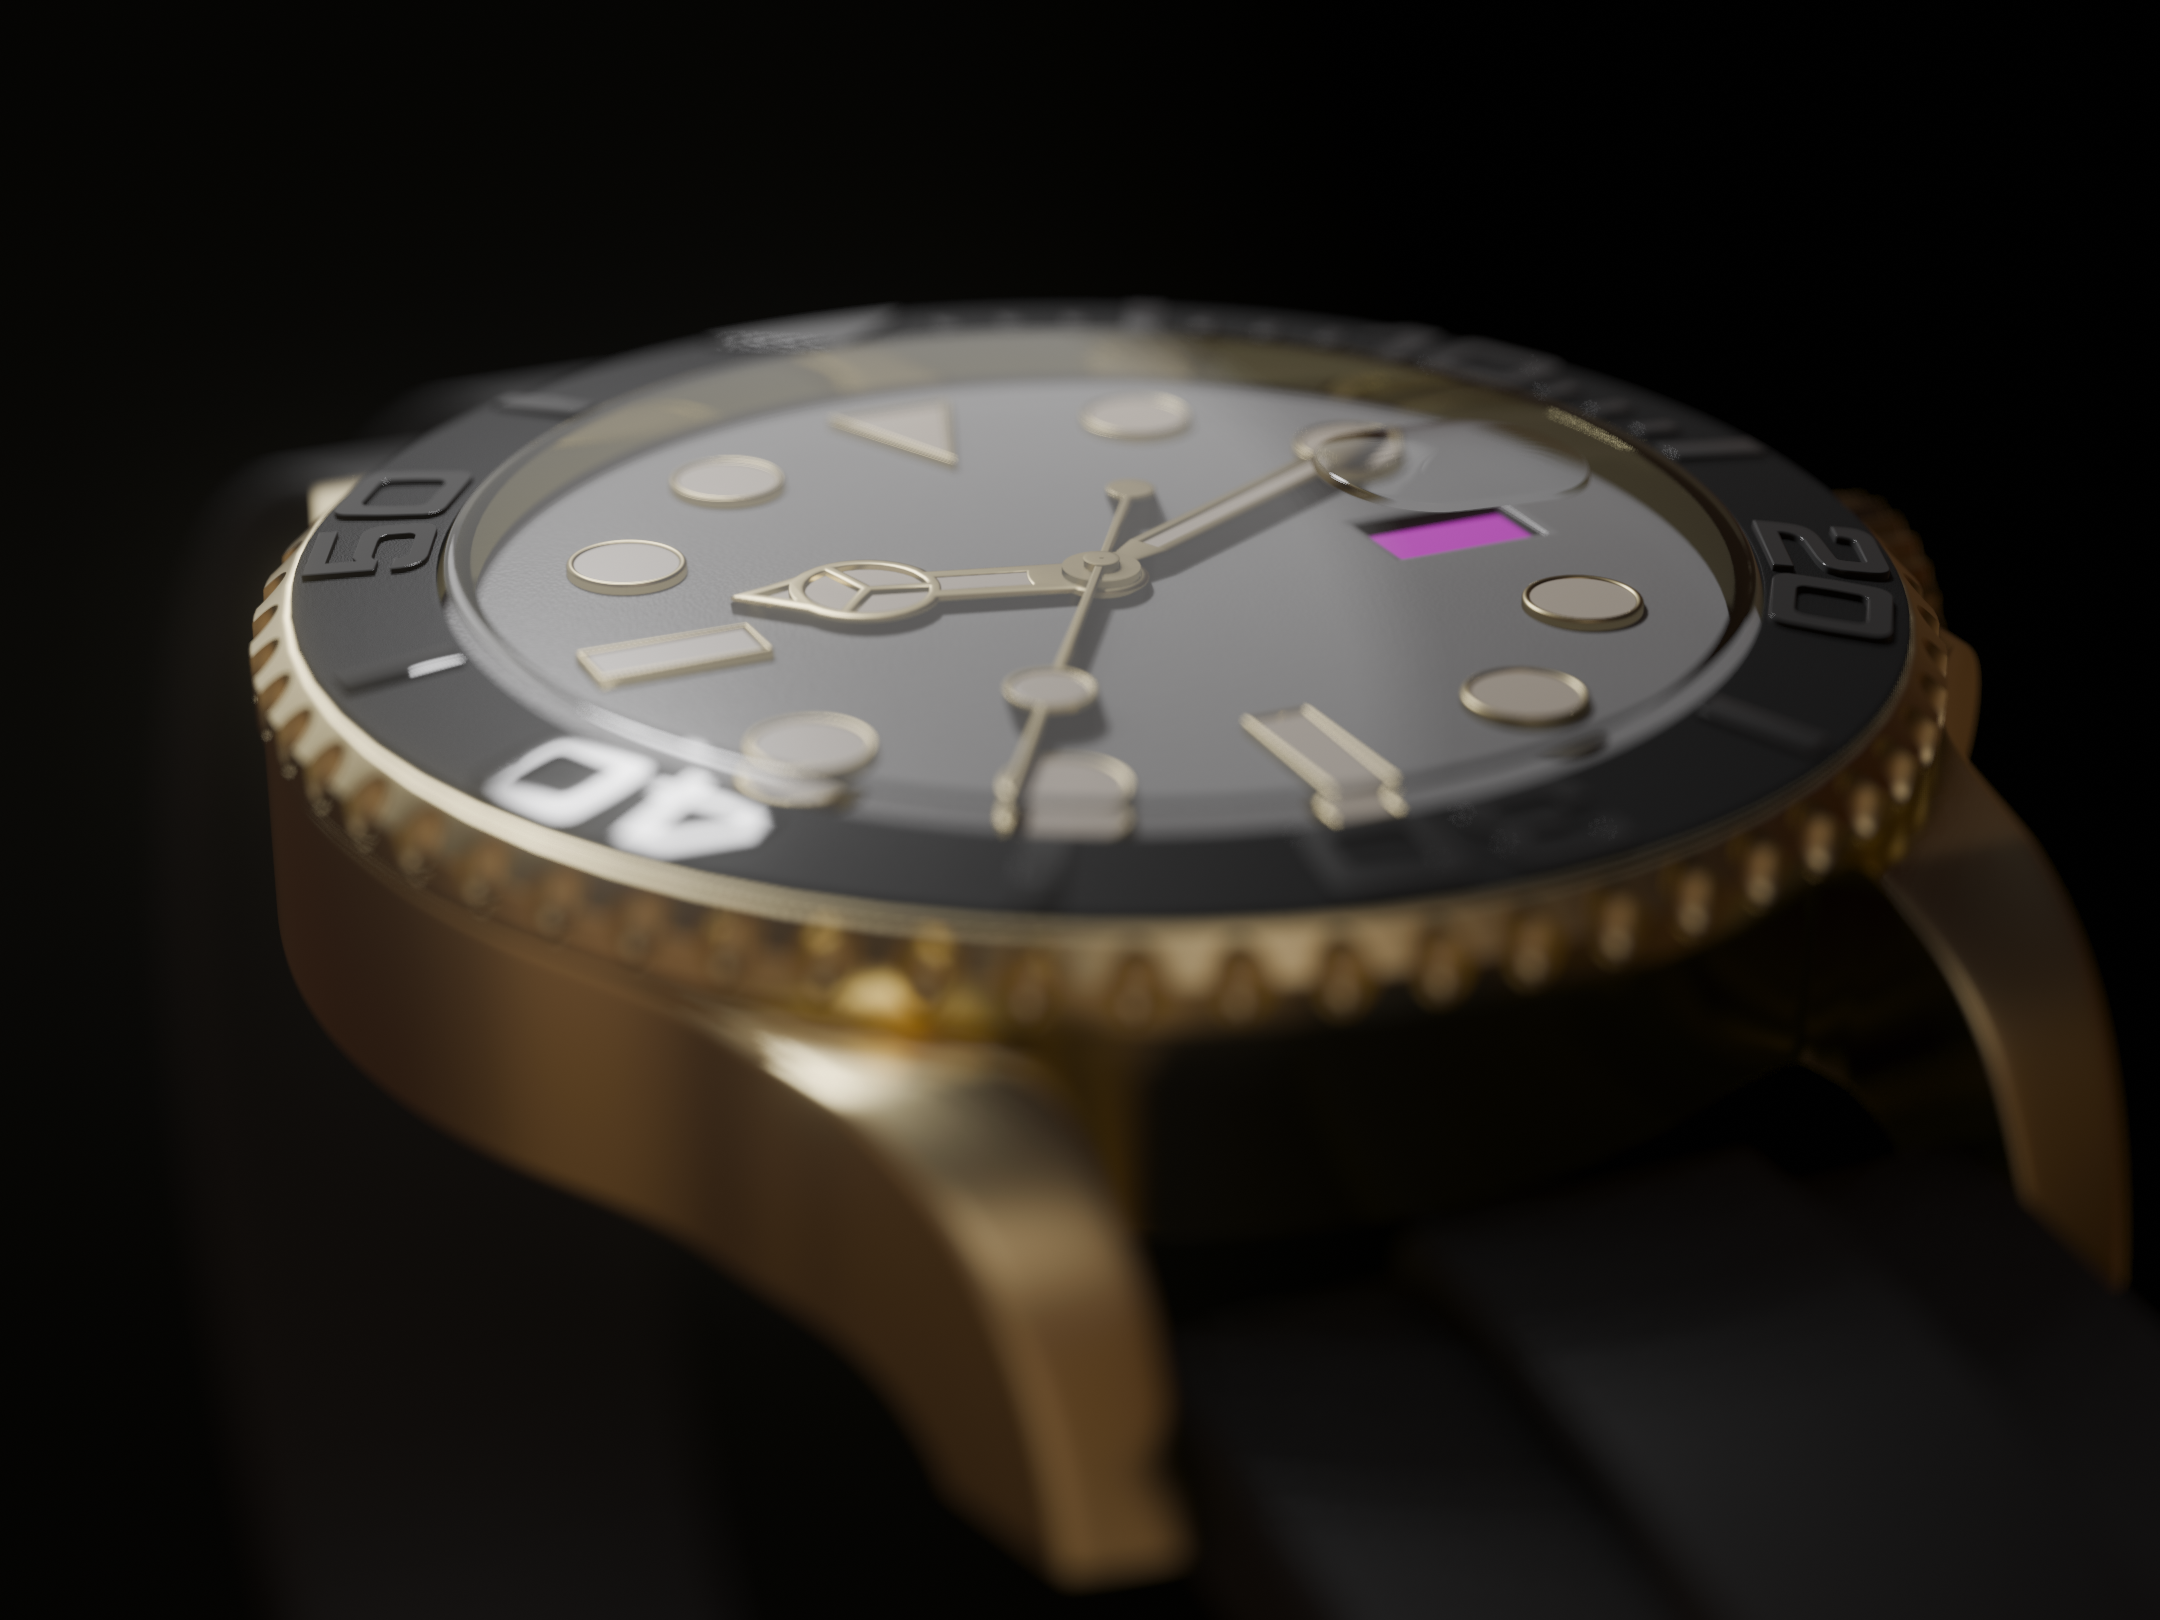
Hi, it’s my 3rd topic regarding my Rolex model and since I got excellent advice so far I’m here for some more I made this animation in eevee and am wondering is there a way to get it to look more realistic, of course without using cycles. The animation was rendered in passes to have more control especially over the reflections. I stacked the passes in Davinci Resolve and am posting the result without any color correction so you can see what they look like straight out of Blender. My main concern regards the gold metal case and other gold parts such as the hours, minutes and seconds hands. My question is can I get them to look more realistic? The gold material is a Principled BSDF with metallic on 1, some roughness and a soft bump with noise texture (plus displacement for the logo on the crown). For the lighting of the gold case (rendered separately in one pass) I used only an HDRI since any additional lighting makes it look even more unrealistic. Still it looks quite fake and cartoonish to me. I’m not going for absolute realism of course, but maybe something can be done to improve it.
Other issues I’ve encountered: the glass cover with IOR 1.45 squashes everything beneath it, like its a sticker applied to the glass from beneath, little or no depth at all. So I used IOR 1 which is the same as not rendering the glass at all, with all the bad consequences. Posting the images here with IOR 1.45 and 1. The glass material is a Glass BSDF with a solidify modifier on. Also, when animating with the glass on 1.45 I got weird artifacts on the seconds hand, noise and such. Hope someone can help. All the best
Hi. You might get better help if you share a simplified file of your .blend, sharing glass mesh with the material and the whole Eevee setup. Also gold material.
Look for real gold rolex photos and you pay attention. You will be able to see micro scratches, some greasy spots, etc. You can get those imperfections with materials with prosedural textures or image textures that you download somewhere to set up a PBR texture/material. Or even get some premade Metal/Gold PBR textures/materials out there.
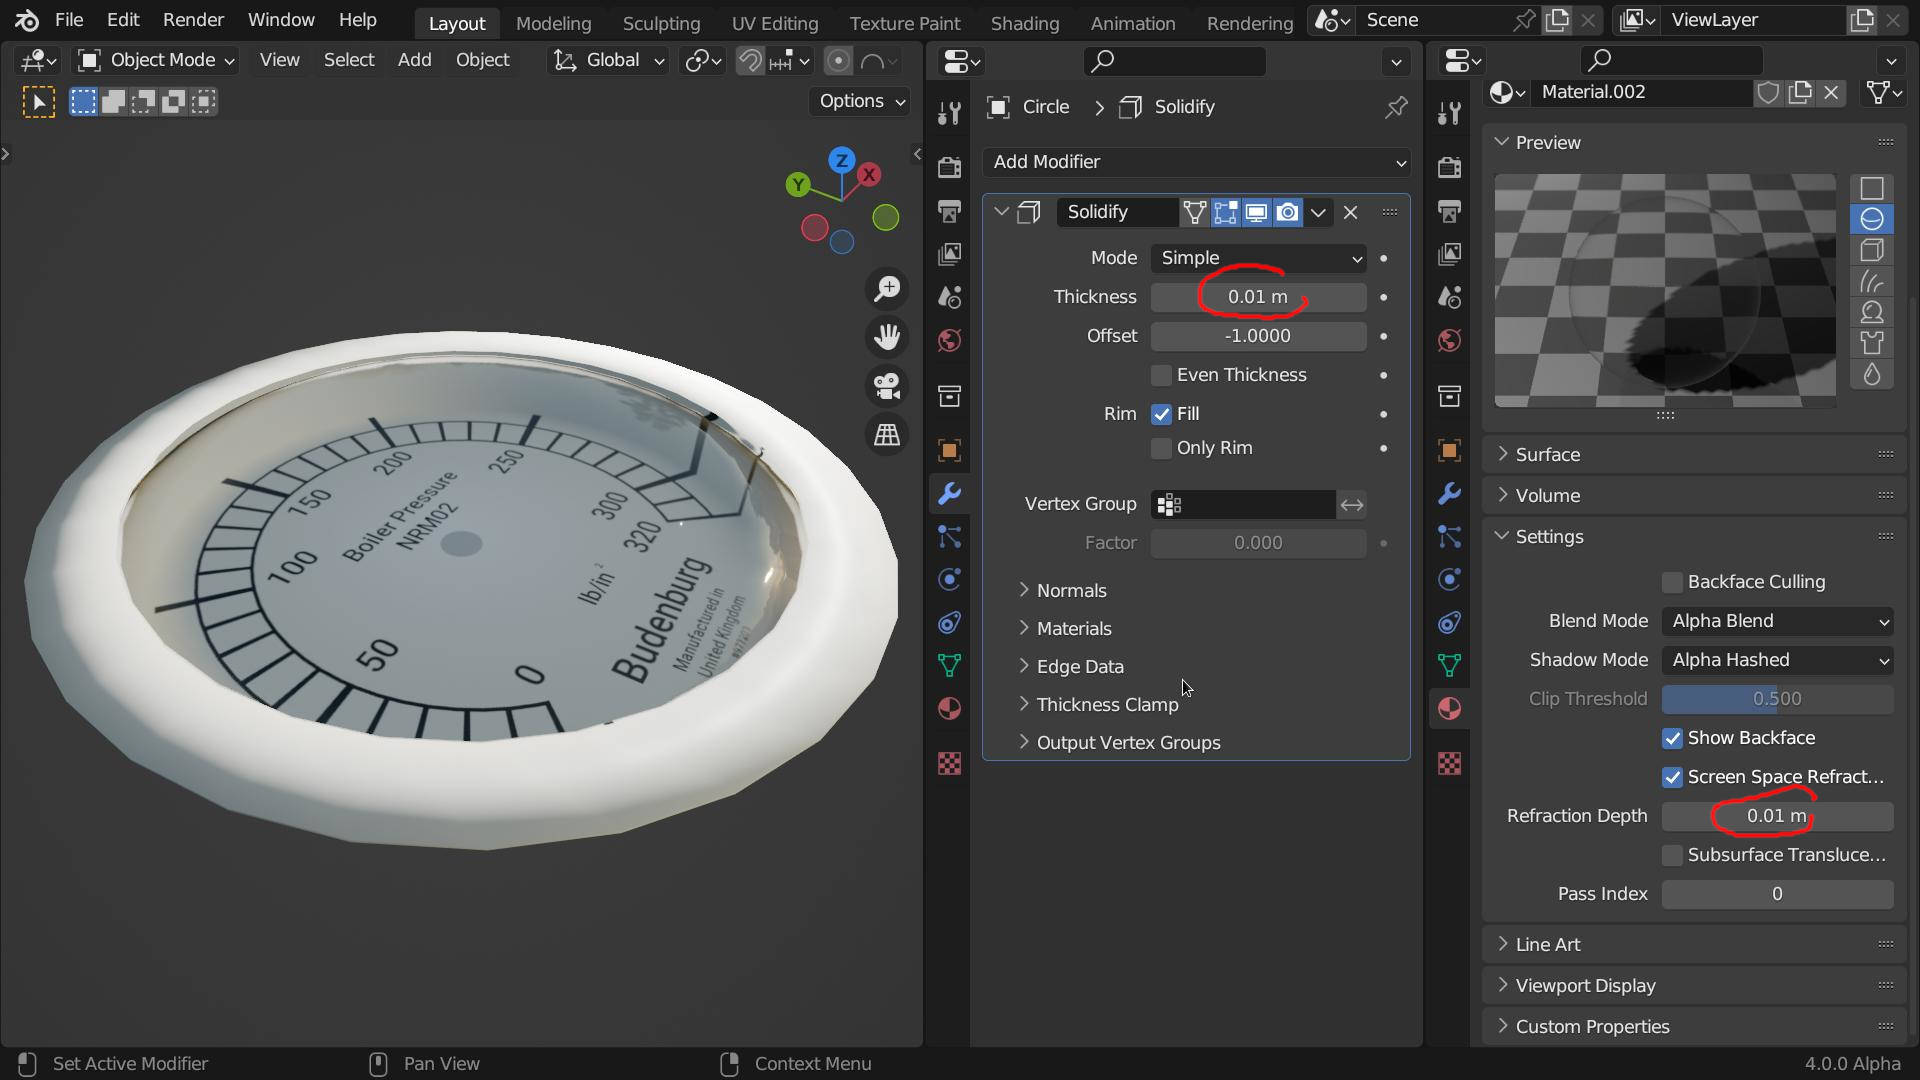
Thank you guys, all your advices are super welcome. I am currently testing them. @DNorman matching refraction depth with solidify depth worked, never heard of that before
I also wanted to ask your opinion (everyone’s here I mean, not just DNorman’s) about approaching this kind of renders in general. @YAFU thanks for the link on CC0 textures, thats a super useful collection. I get your point and am aware that “imperfection is the 3d perfection”, as they say. But it’s kind of funny because as a photographer I know that pro photographers go through all kinds of processes when photographing luxury objects, especially small ones like a watch. They will “stack focus” (take multiple identical images with slightly different focus depth and then composite them in order to have the watch completely in focus because that looks “more professional” and you can’t achieve that in the real world, there simply is no lens that can focus like that). Here’s the inverse, we check Depth of field to get shallow focus to make the object more realistic Then, photographers will clean up the watch itself as best as they can, remove stains, fingerprints etc, try to remove all air dust from the studio, and finally clean up the image in photoshop to get rid of all the micro imperfections that are left. In 3d is the contrary, here we want to add imperfections to get away from this “perfect look”. I wonder what do you make of this? Do you try to find a middle ground? Sry maybe this is obvious stuff for you but as a 3d newbie I wonder how do you go about that.
@oo_1942 please just a small explanation. I still haven’t had the time to test light probes in depth, but from what I’ve seen so far in tutorials they are excellent when you have something like a room and stuff to bounce the light off between multiple objects. But how do they work when you have a single object on a transparent background? I tried them on the rolex but had no result…
While surfing for tutorials I stumbled across some things that might be interesting, although you might very well know about them already. There’s this free node that allows for raytracing in eevee and I am currently experimenting with it (tutorial on https://www.youtube.com/watch?v=L-6Nmkovgno). Also found out tat from blender 3.0 onwards you can use emission shaders in eevee, but haven’t yet tested myself.
Well, thanks again for your help, the advices I get on this forum really speed up my learning by a lot
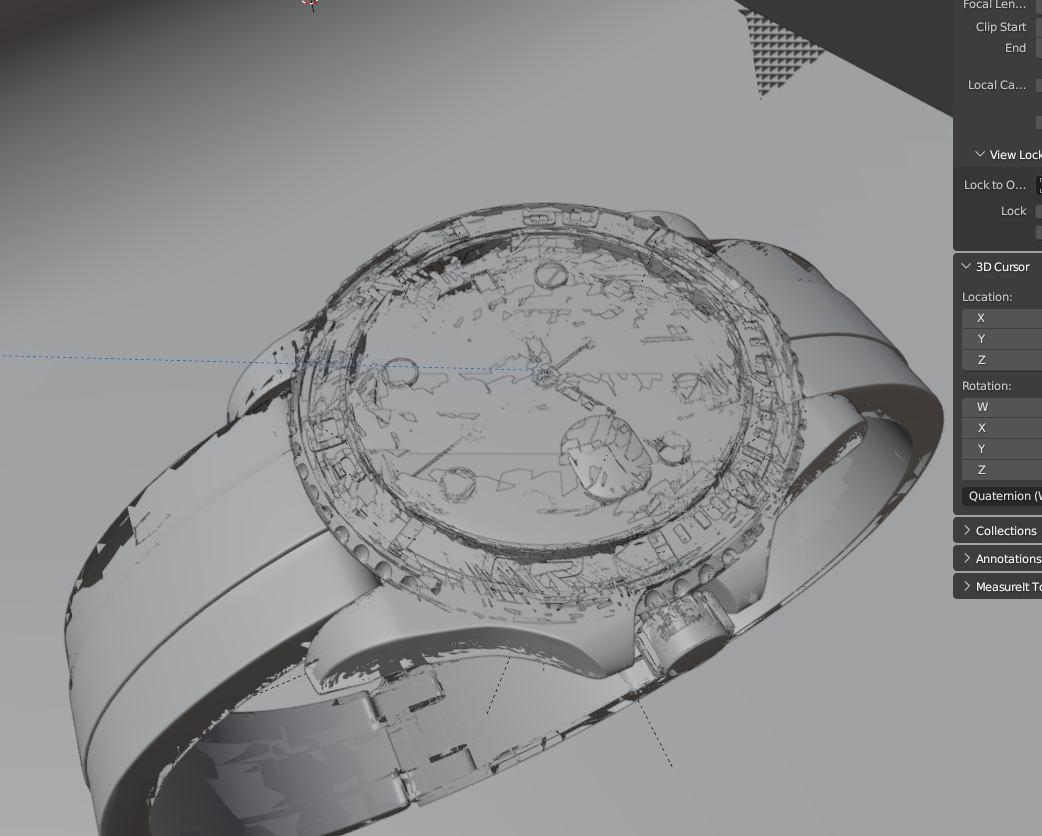
PS @YAFU I’ll share the file, just have to clean it up a bit. I’ve encountered some bugs I think. @oo_1942 solved one of them in my first post. Now there’s another one in which the textures seem to peel off the model like when you accidentally have two overlapping meshes, only that’s not the case. The solution is just copy paste all in a new blender file. But that resulted in me having a lot of files and its kind of a mess right now. I’m posting a capture of the issue just in case someone knows what is it about.
I am testing it right now on my animation to see if the gold material looks a bit more realistic. One thing I found is that when I apply the SSRT node to my mesh, when I switch to edit mode my mesh disappears… don’t know if it’s a bug or I am doing something wrong
※ The appropriate scene size is thought to be the size of the underlying cube.
(Depending on the size of the scene, some of the material, simulation, and lighting are affected.)
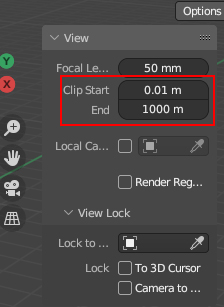
I’ll try to change the clipping next time the problem appears. I set it high for an orbital shot, after a while I ran out of background so I made it bigger
There are loads of tweaks you have to do with Eevee to get things like refraction and reflections going well, for example to make a simple mirror you have to bake the reflections to get it to reflect anything the camera does not see (light probes), sometimes I find Eevee a more complicated system than Cycles.
I think you are doing very well already, your little magnifying piece looks great. The metal parts are lacking a little “life”.
I totally agree with all this bit, especially for product rendering photographers strive for the perfect look. I thing in the case of products it is more about getting the micro details, anisotropy, micro surface bump etc rather than “imperfections”.
The devs are working on Eevee next (it is not ready for use yet) but the idea is address many things and make Eevee much better. This is nearly a total rewrite so we need to be patient.
@DNorman That’s very good news about making eevee easier to use, can’t wait to see the results
I find cycles much easier to work with and didn’t think I’ll ever use eevee until I found out how slow cycles is for animations. Also I think learning to use eevee on this model is a bit too much for me because of the shiny metal, hard to get it to look realistic as a beginner, too much stuff to absorb at once… I think starting out with some more plasticky product would have made my life easier…
I now used the SSRT material for metal and think it is a little better, but mainly I changed the lighting to get more interest (still using only the HDRI) and tweaked bloom parameters. Also I ended up taking @oo_1942 suggestion and used DOF for the first shots, mainly to hide a bit the fact that the metal is unrealistic
@oo_1942 I’ll try all your suggestions and post the result.
For one you should use the appropriate material for the lens.
When you look at a Rolex watch, it’s only natural to pay the most attention to the material, case, dial, and bracelet. However, the crystal that sits above the dial that serves to protect the face of the watch also adds its own flair to the overall design. Depending on the era that they were made, Rolex watches can either have acrylic (a.k.a. plastic) crystals or sapphire crystals.
First came acrylic (Polymethyl methacrylate), which is a transparent thermoplastic that was used as a shatter-resistant alternative to glass. It is also sold under various brands such as Hesalite, Plexiglas, Perspex, and others. Sapphire crystals started to gain popularity around the mid-20th Century, offering benefits like resistance to scratching (sapphire is ranked at a level nine on the Mohs scale for overall hardness) and improved transparency. Today, high-end watchmakers almost exclusively use sapphire crystals on their watches.
OMG thanks for the file, now I know how its done. I’ve tried to do just one segment in subd and array it but couldn’t get rid of the overlaps between the segments. This geometry of yours looks excellent compared to my booleans
@oo_1942 here’s my try at modeling the ring with subd. The one segment is fine but the array isn’t. Segments are visibly overlapping, how do you solve that?


")
 irradiance volume light probes in Blender")