One of Eevees best features in my opinion is the bloom effect. I really love it. It looks amazing and it is just a one click solution for everything that would have taken a lot of pain with glare nodes in previos versions. Unfortionately, I have neither time nor motivation to learn Eevee at the moment, as every time I tried to render somthing in Eevee it looked shitty and needed a lot of tweaking to make it work.
So my question is, why is this feature not available for Cycles? I know that this would probably not produce the most accurate results, but it could be turned off for those people that want to have more control using post-processing!
This thought could also be brought a bit further. In general, I don´t understand, why there is no one-click solution for lens flares. No path-tracing engine seems have a simple lens flare button. I know about Flares Wizard, and it is a great addon for this, but there is no Blender 2.8 version of it yet, and it head some problems, mainly with the collisions, that I couldn´t fix.
I am shure it would be really easy implementing a simple solution for that, which can be toggeled off for people who would like have more control, right?
I think this is because of how cycles and eevee (or generally path tracing and realtime engines) handle effects (for the lack of a better word). Glare is an effect, not a thing that is rendered like almost everything else (lighting, shadows, ambient occlusion, etc.). Cycles doesn’t have these realtime effects, because it is aimed at brute force accuracy with everything being calculated through rays and such things as glare are simply not added through raytracing (with the exeption of some renderers that can do physically based optical effects). So therefore cycles uses a different engine to add these effects through the compositor.
Eevee on the other hand does realtime glare, because the way of creating it is part of the same methods eevee uses for everything else. Reflections, refraction, ambient occlusion, glare, etc are all effects and overlays that the renderer applies to the image to make it look the way it should.
What you are talking about is essentially mixing cycles and eevee (or at least whatever eevee uses to create glare) and having both run at the same time for different tasks.
I think the philosophy behind it is that you can use the compositor. Even vray renders lens effects as a post effect (I believe Corona works similar). But in blender you can run compositor automatically after the render finishes so it’s just a matter of creating it once and then reusing it.
I created a lens flare compisition for cycles not to long ago but I ran into a problame with it like if your masking and you want the forground To be a different color than the background it changes the flare if you don’t roto mask it but that’s all I could find wrong with my lens flare other than that it works fine
Half of my renders now get ruined by the glare node due to extreme fireflies; glare becomes extreme when it works, and can also fail miserably producing complete rubbish. In my startup I have glare added to the render automatically then goes to composite and viewer nodes. I should probably reroute such that glared version goes only to viewer node. For glare on lightsources only, I could possibly use material id and not bother with image brightness at all.
Great effects are subtle, indistinguishable from real thing. Making these effects is easy, but finding the balance, right values is what’s an artistic skill brings - In the eye of the beholder - why there will never be just a ‘magic’ button (style, taste, fashion, human nature changes).
Also, there’s a simple way to find out by searching
Weeellll it started out when I was messing with the glare nodes I noticed that one of the nodes created the initial start of a flare so continued working on it looking to see what I could do with it.
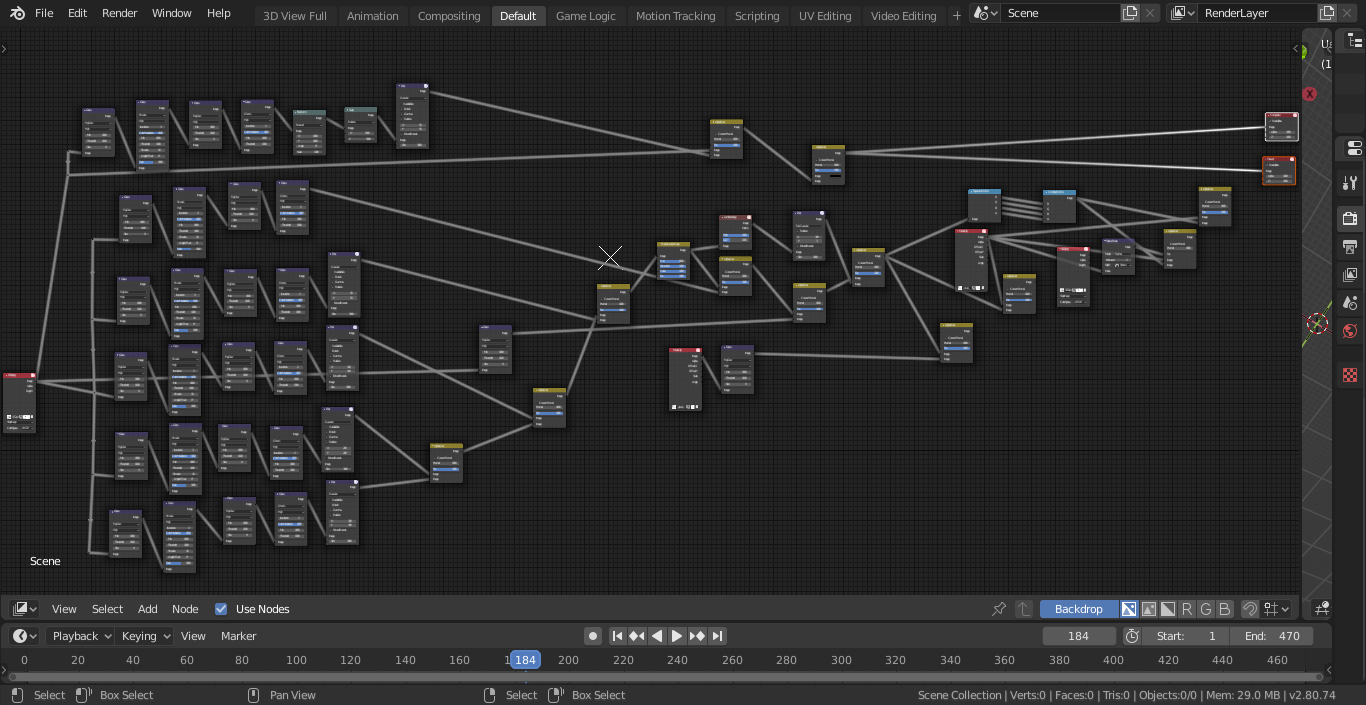
it took about 5-6 months untill I got this look and alot of nodes but not as many as everyone else has on there’s mine is half the nodes of what they have. And completely interactive in the compositor.
Soooo you can see everything that is going on every second of the composite.
If you would like to see the composite I will be Glade to let you look at it
And I also created the world’s first totally interactive skin shader for characters if you would like to see the results it’s in my sketchbook here on blender artists at the end of the book the last three
it’s when light bends, reflects, refracts & disperse, basically from smudges, scratches, aperture, imperfection in glass structure, more prominent on the edges where curvature is strongest
mostly recorded using real lens, done as artistic re-creations or simulated, yes
more here
It’s all without images it was multiple fog glows, ghosts and blurs on one light source I was thinking I can use light rays to get the Ray effect on my new composite, the Halo I’m still trying to figure it out without images.
The first test I did i didnt know it wasn’t working right because it was like I said a test render later I found out it wasn’t working right so I did a little more work on it and came up with this.
I’m giving Gleb some credit for this because I watched his cinamatic lens flare tutorial and came up with this not long after.
The main image is the light source in blender
This space scene is in a movie I started working on, if I post It I have to credit the music artist for the music I used and I have to give the webpage I got the music from it’s free to use music so no problame on that end.
What I would love is some kind of “Camera-nodes” where you can composite stuff like lens imperfections, including blooms, aberrations, dirt, etc… as well as exposure, white balance, tonemapping, and all the things that you expect to find in a DSCR menu. (well, also per-camera resolution would be handy)
This would let us render something closer to a “photograph”. Then in compositor one could add real postproduction stuff, like mix renderlayers, depth effects, color grading, greenscreens etc…
I hope it’s something possible that maybe one day can be implementd since now 2d screenspace effects are quite inexpensive for CPU/GPUs
hey. if possible can you send a higher quality screenshot? because i kept trying with no success and this is looking very promising and i would love to give it a shot…please… pretty please…