Hello everyone, I’m interested in prop modelling.
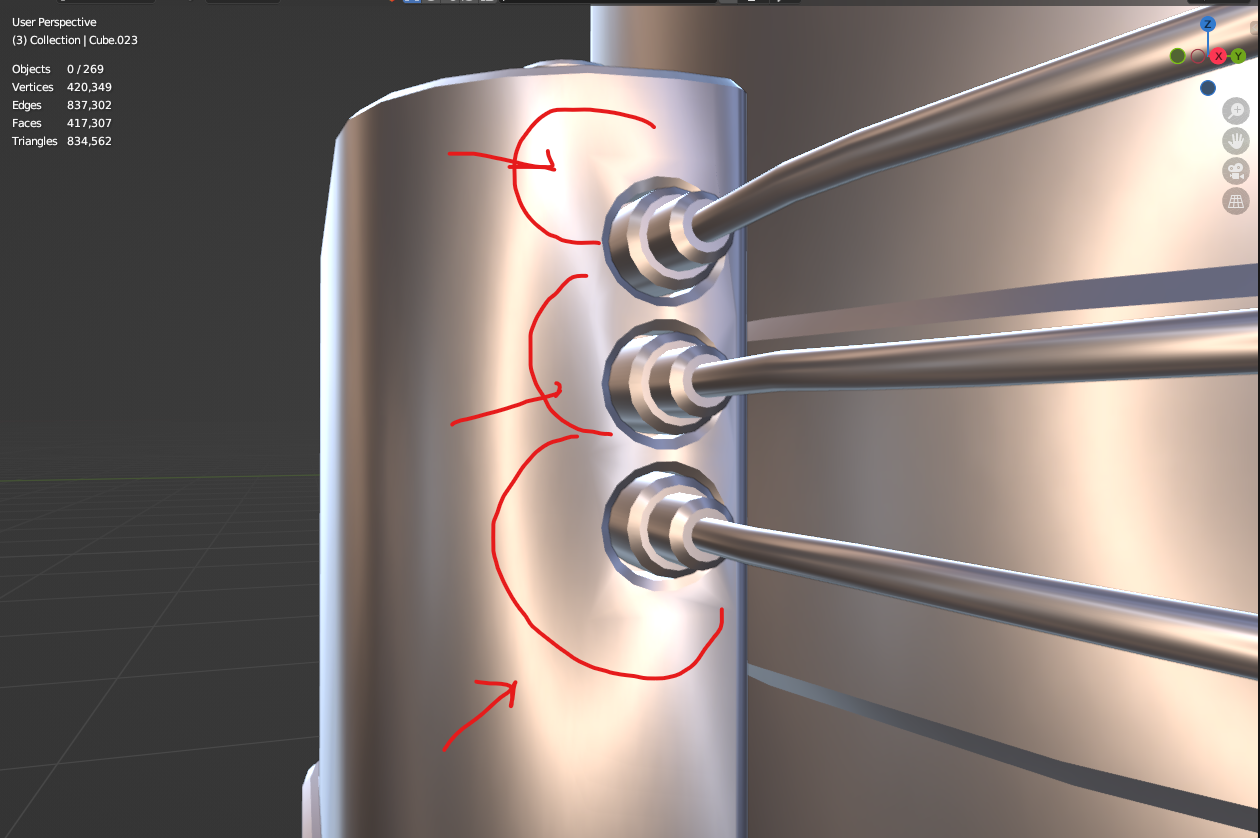
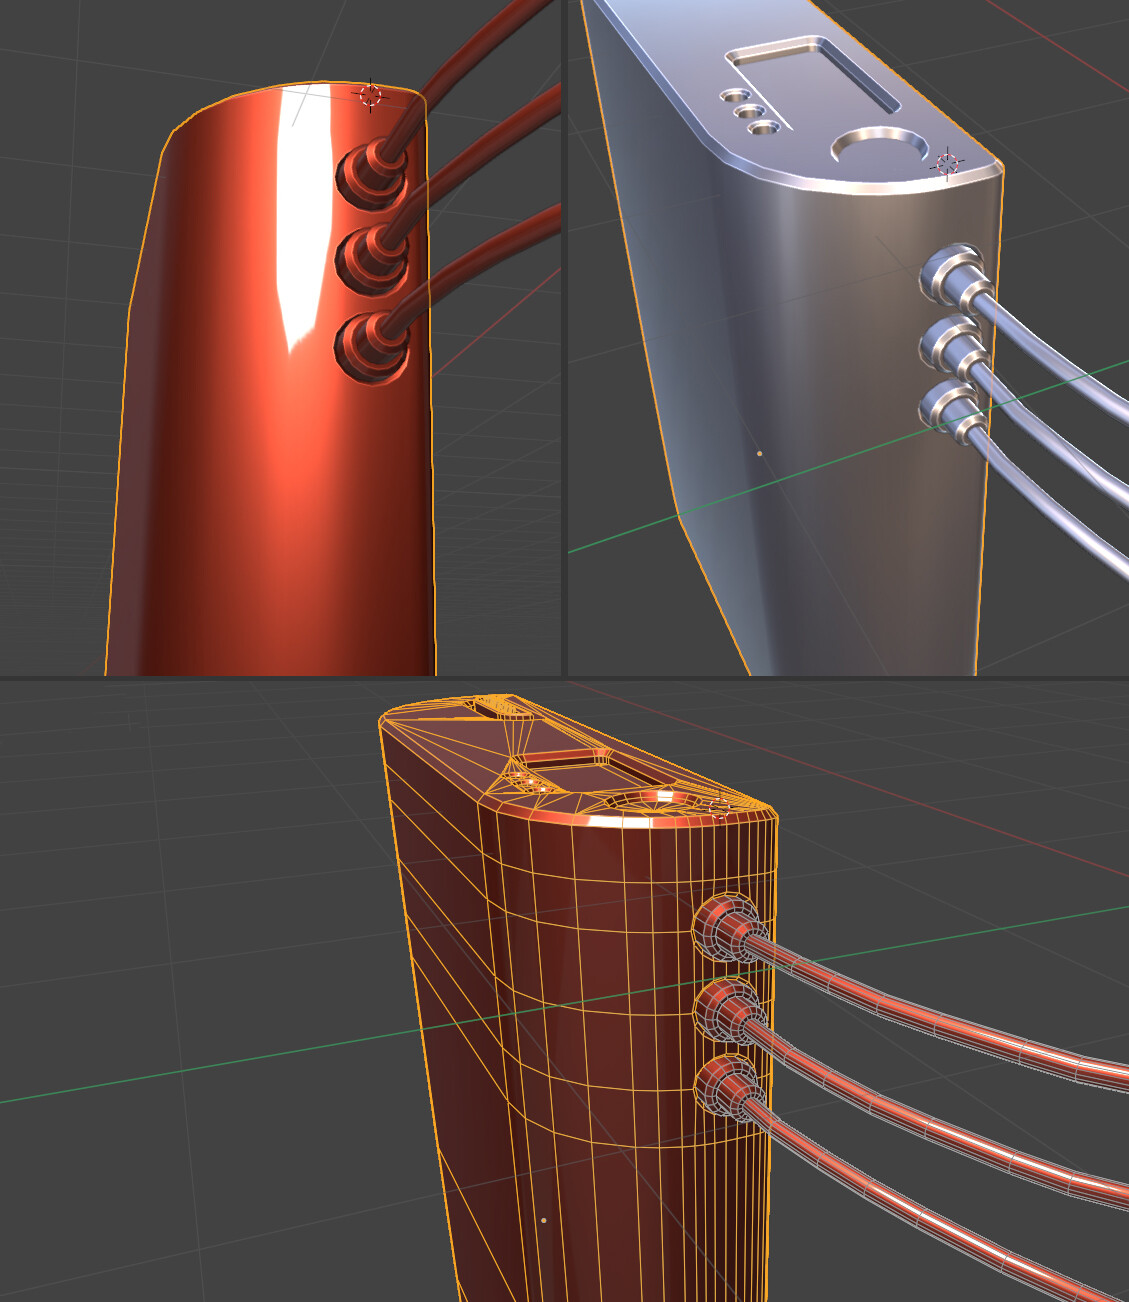
I’m facing with some shading errors on curved surfaces. I tried some actions but I can’t find the proper solution. I have already watched some tutorials but I can’t fix it. On curved areas I’m suffering with opening holes. I need clean shading… have some photos from my model which is problematic.
What did you try?
Sometimes the best solution is to avoid creating mesh problems in the first place; how’s the topology?
1 Like
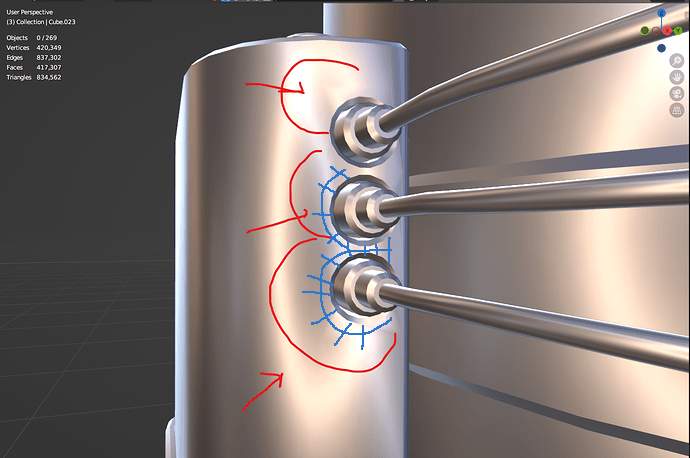
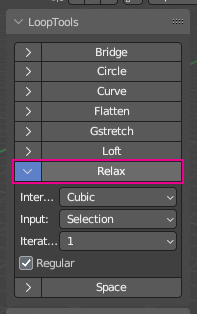
If you make it a topology in the same form as an image, you can solve the problem, but if it’s difficult, apply the WeightedNormal modifier ![]()
Reference video for Topology
https://www.youtube.com/@Motionworks/videos

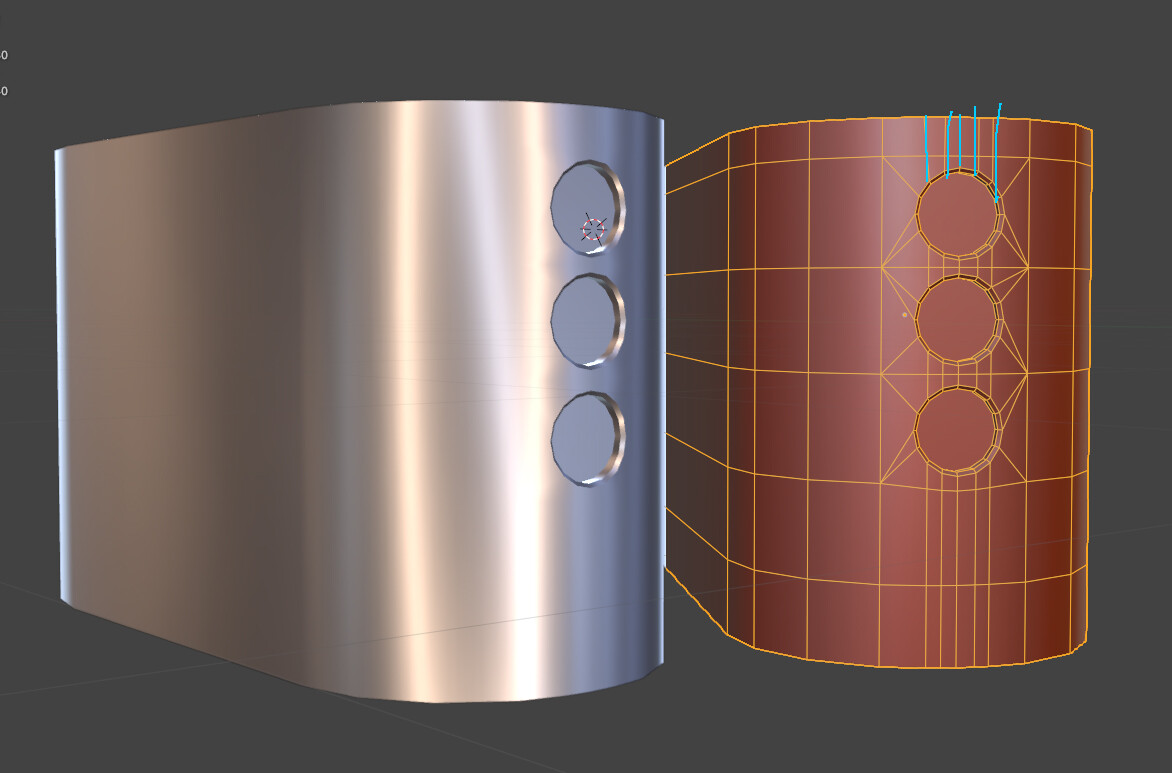
sorry I’m a new member of this site. I can’t share more than one photo in one time. Here is the topology. I tried different topology approaches and looptool option but I can’t make it.
Weighted Normal modifier is not working for this model ![]() Maybe I can try your topo trick
Maybe I can try your topo trick
Please share only that part of modeling as a .blendr file.
If you look at a few posts and like this post, you will be able to attach a file.
Upload capacity limit is 5mb. ![]()
Add…
If you hold the vertical line, I think the problematic part will be solved. ![]()
fddf.blend (1.1 MB)
3 Likes
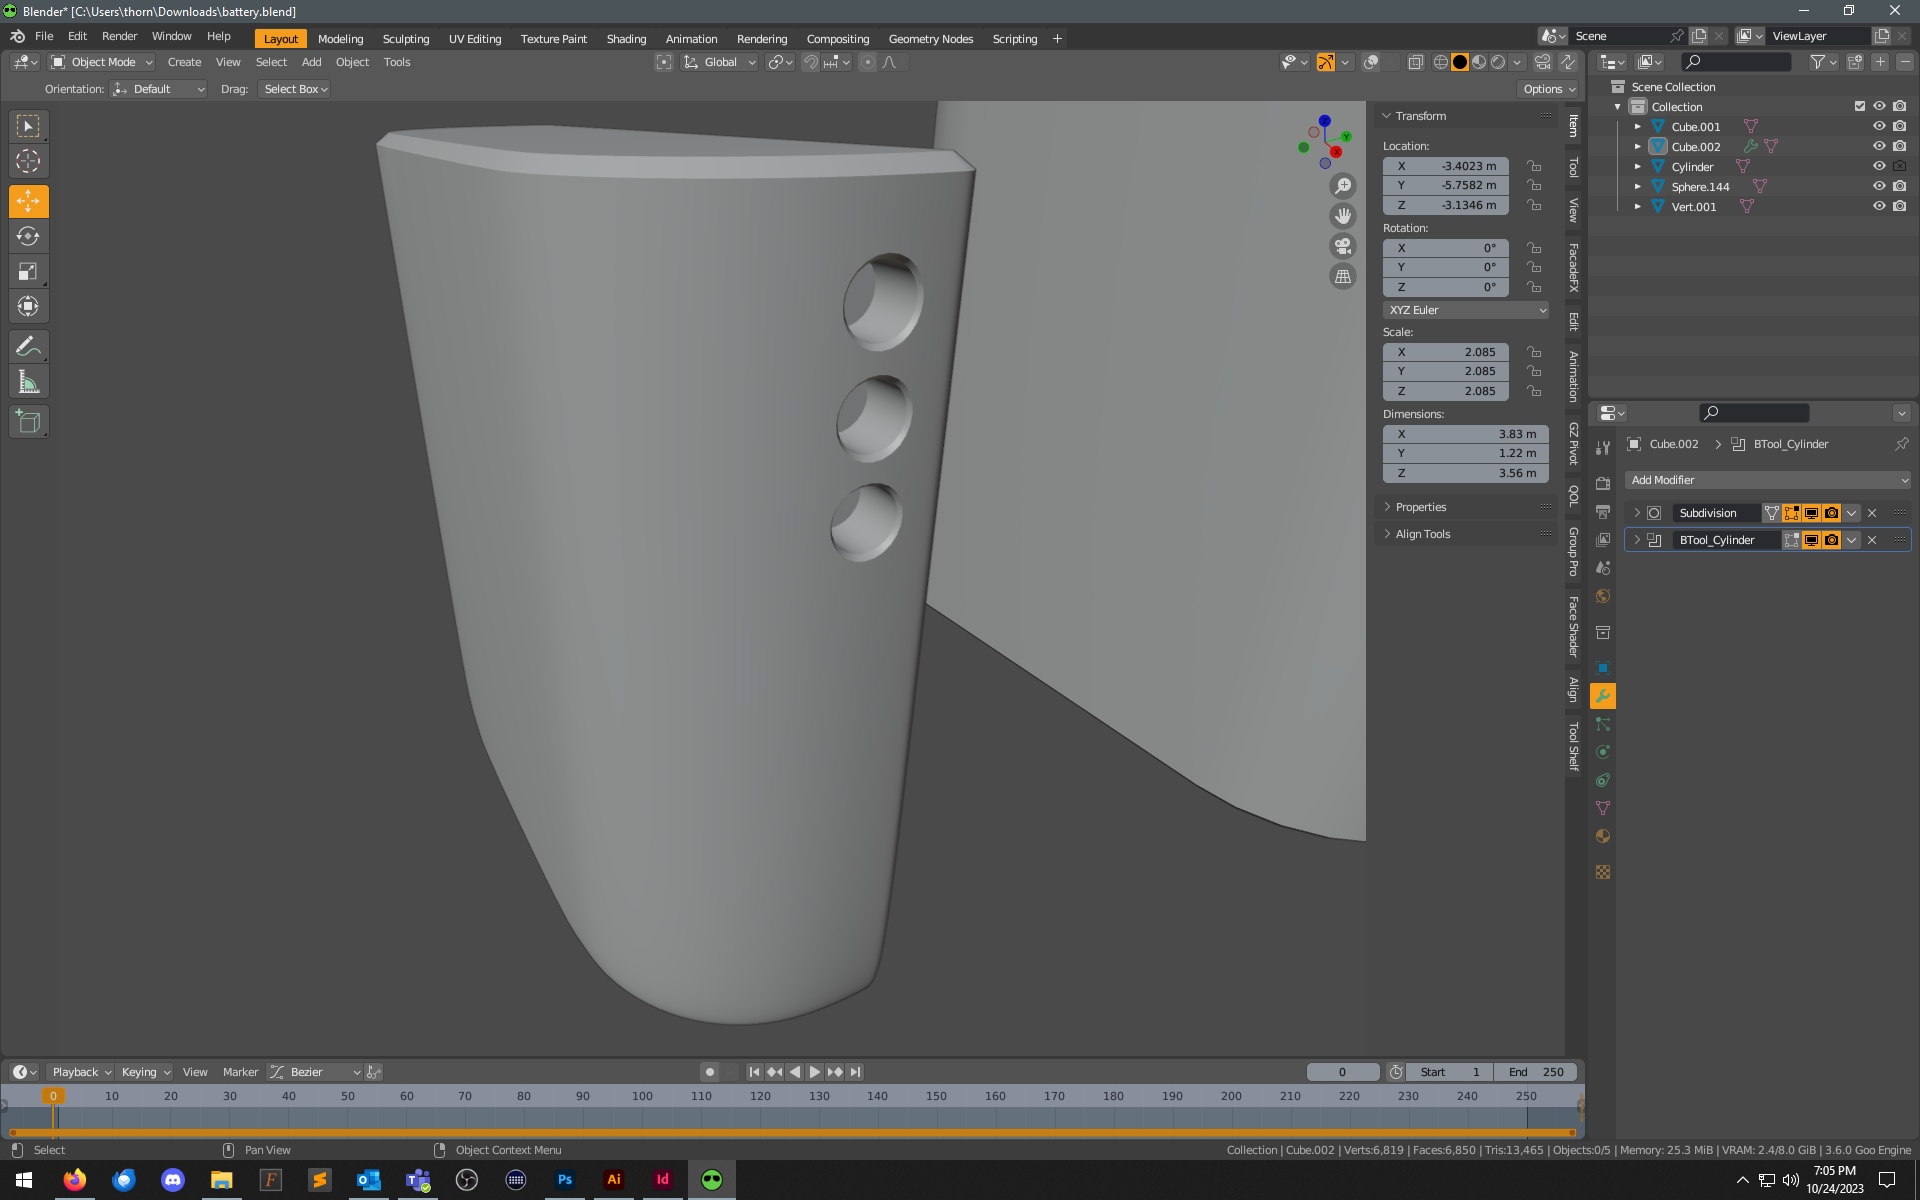
I tried your approach. in this version shading errors can be ignored maybe. I waste my time a lot. thank you so much for your efforts. I can’t fix it properly by the way.


If you share the problematic .blender file, we can improve it, but it’s hard to reproduce it at random. ![]()
If you look at it from the top, you’ll see the same problem as the image.
I can’t upload an attachment but I uploaded on drive. Thank you again ![]()
1 Like
If you bool holes in curved surfaces you will ALWAYS have shading errors.
You either need proper (sub-D) topology or you need to transfer the normals from the curved surface mesh without holes to a version with holes.
Boolean modeling is only really good for fast concept designs as it creates messy topology with shading errors - there are workarounds and tricks, but its not really a replacement for proper topology when you want to create final assets.
2 Likes
it’s looking nice. how did you do that? ![]()
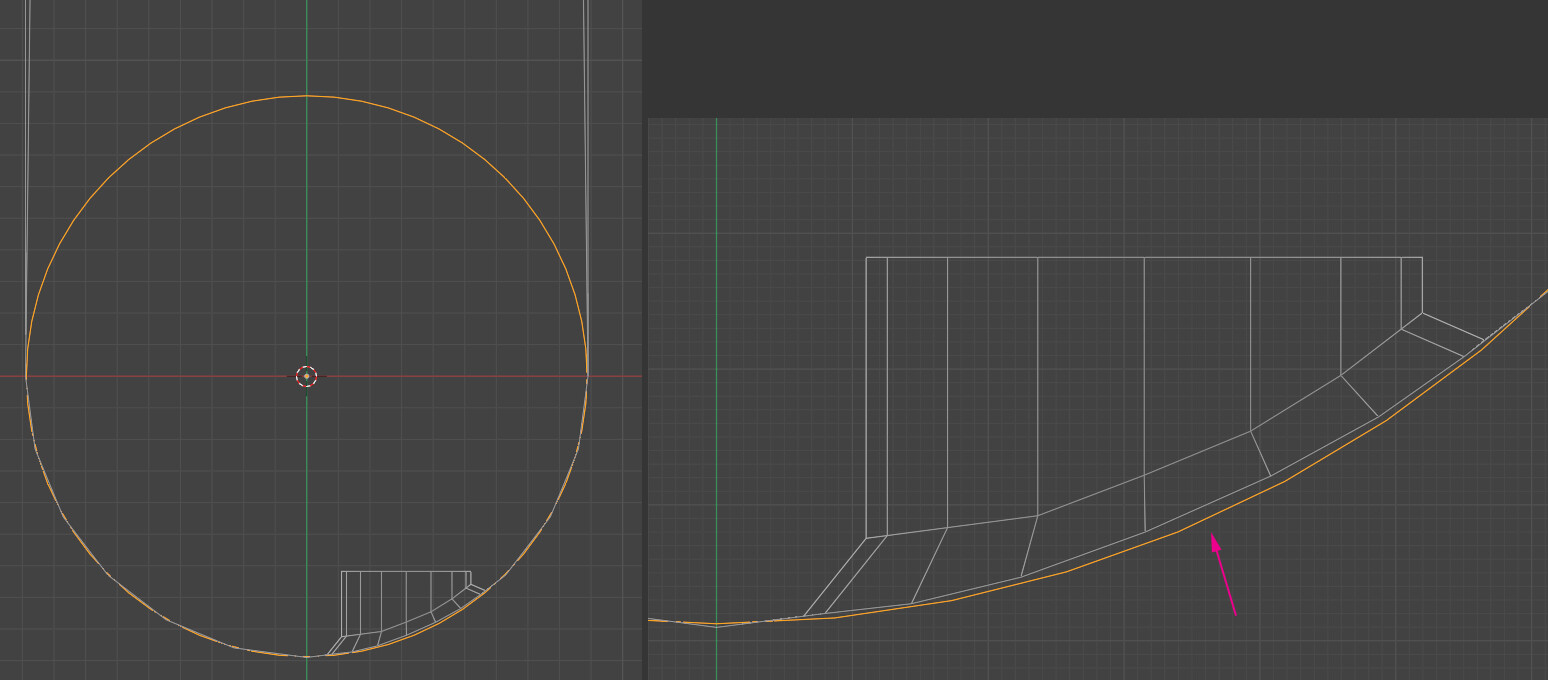
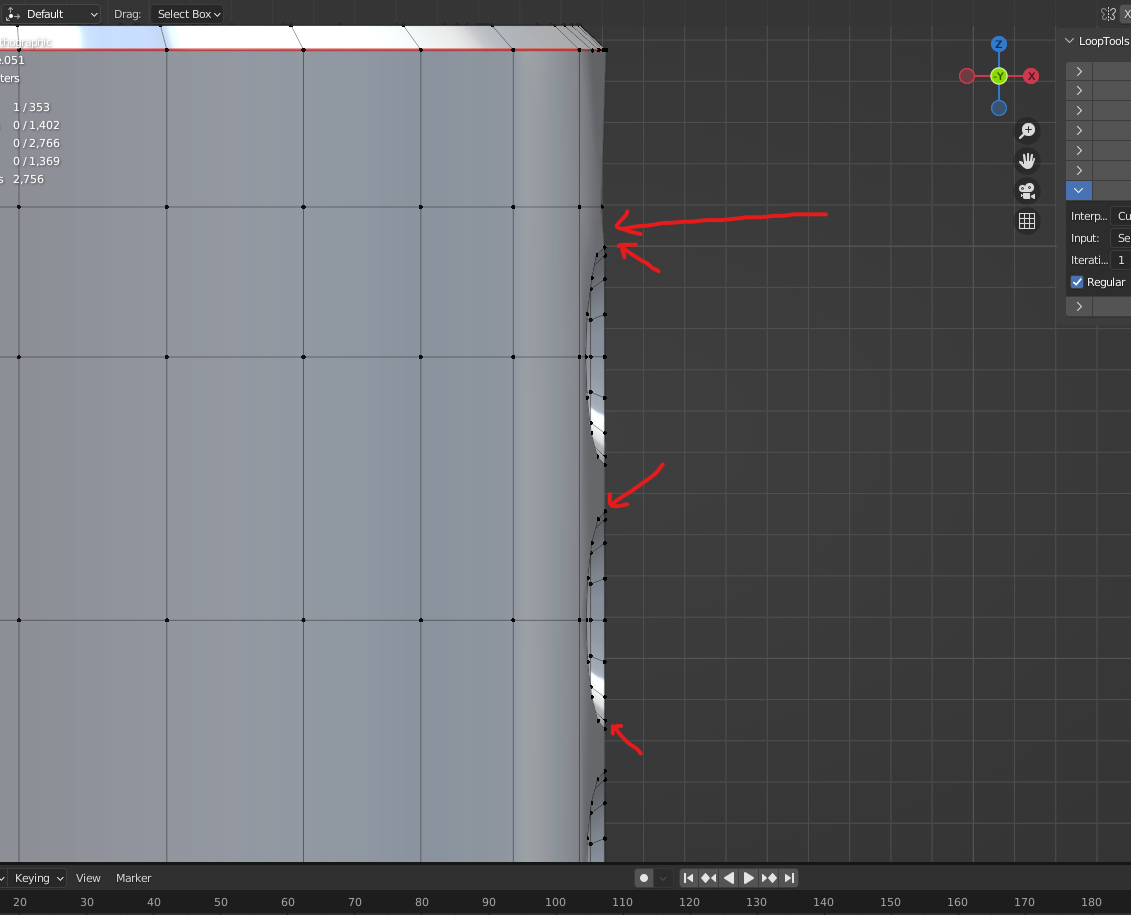
Clean up the edges of the vertical line and organize the rounds in Top View.
And add a vertical edge to suit the curvature. ![]()
If you look at it overlapping with the existing modeling, you can see the modification clearly.
This work is used a lot of Reliability of LoopTools (default) but other functions are helpful.
2 Likes
I’m trying to process these things on model right now, I hope I can fix that.
Thank you very much. I appreciate it. ![]()
1 Like
Had to rebuild some of it, as I needed it without the holes already punched - but, this looks fairly close to what you’re after. Take a look at how the boolean cutters are shaped, and how the edges are creased and modeled on the main to create the bevel.
A full rebuild would probably allow for a full procedural bevel with a modifier, but I’ve not time to redo that much of it…
battery v2.blend (333.5 KB)
Kim’s example also looks clean in the image, so his might be a better study case - certainly take a look.
1 Like
I’m examining it. Thank you.
um I’m sorry I’m disturb you with my questions again but I don’t know the little details. how to align it accurately?
-
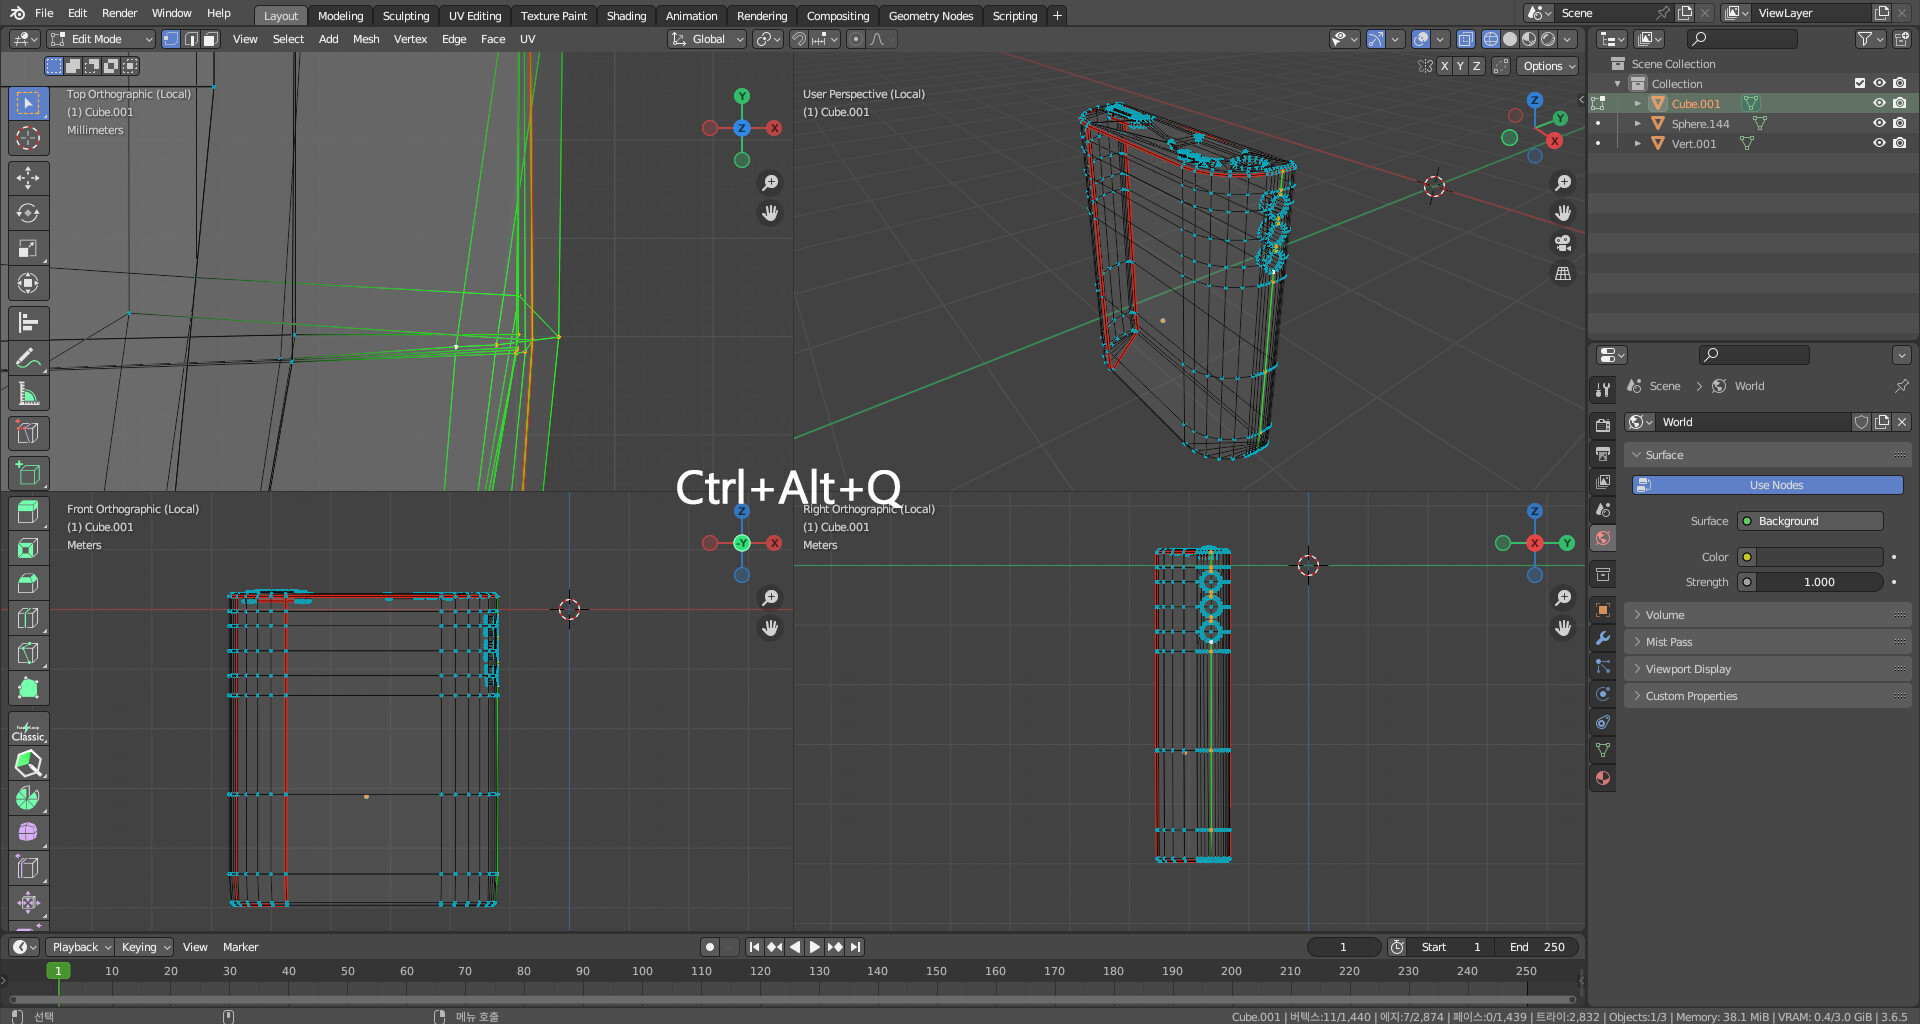
Switch to the 4 split screen and select Vertex.
-
Setting the scale (S) axis limit (Shift+Z) to 0 will clean up the vertical line.
※ 4 split screen execution and exit are the same shortcuts
1 Like
One thing people do…
Make a copy with no holes. Apply a subdivision Surface Modifier at as high a level as you can. This makes it as smooth as possible.
With the version with holes add a Shrinkwrap Modifier & use the highly subdivided version as the target. You will need to make a vertex group that excludes the inner part of the holes. Set the Vertex group, so only that area is affected. Yes this means you can just use that end of the model - not the whole thing. If it looks good, apply the Shrinkwrap. Looking good means nice and smooth and correctly aligned vertices from any view.
If you keep the highly subdivided version, then remove the Subdivision Modifier until needed again in a different area. Add it to a backup collection and turn the collection off.
Each of those 3 holes has a small loose patch of faces nearby on the inside…
Also: Watch all this video by Ian McGlasham
1 Like