I have tried following the same detailing techniques shown in the video. However, I am running into some issues properly adding elements like seams and pockets to this specific model. I would greatly appreciate it if you could review the asset file and either provide guidance on how to achieve these details by recording a video on how to do it or let me know what problems you notice.
I want to ensure I can accurately execute the detailed modeling you require for this asset. Thank you very much for your help resolving this - I look forward to your insights.
I’m slightly confused. You say the 3d model “you provided”, and “the detailed model you require for this assest”. Are you looking for help from a specific person?
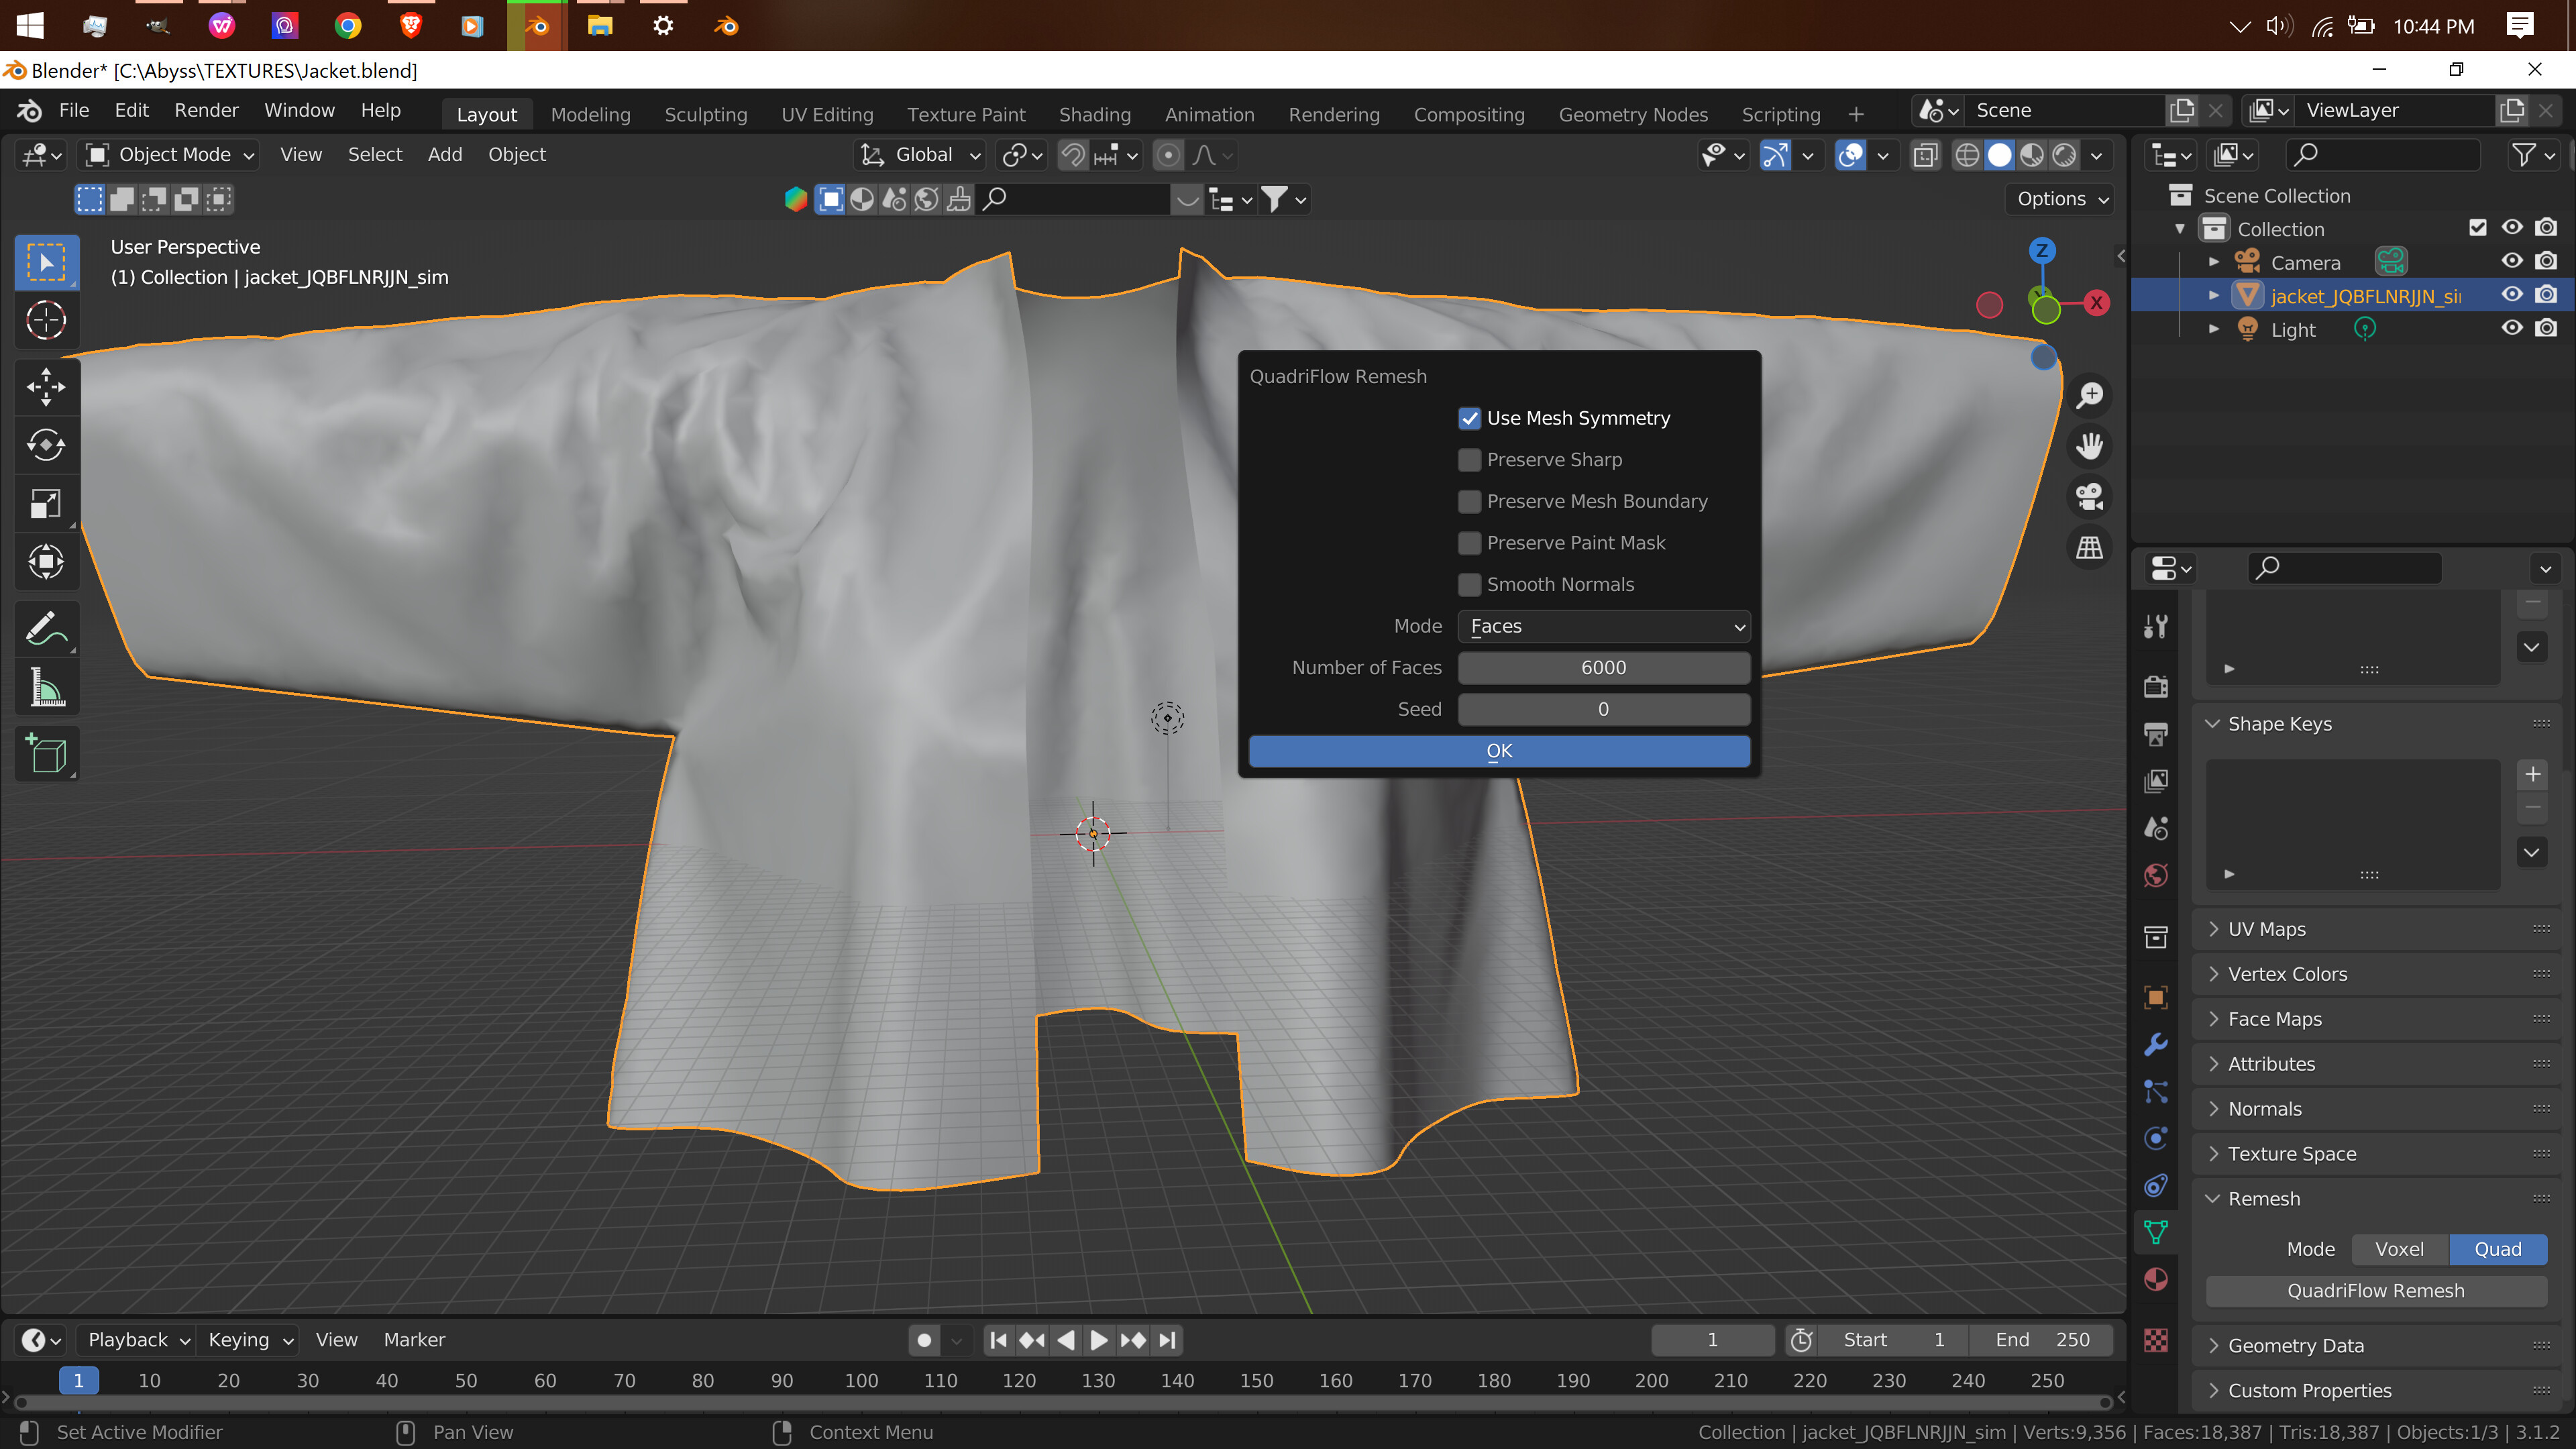
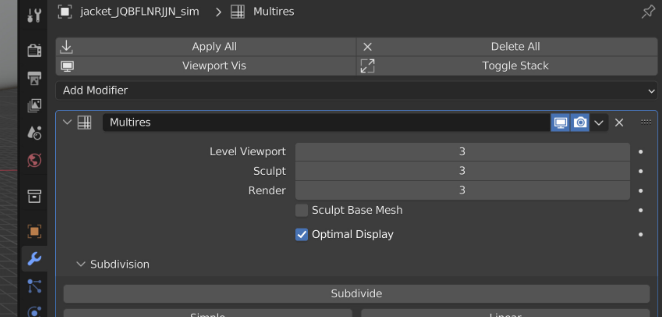
If you are, feel free to ignore what I say. The video you linked shows a Quad mesh, sculpting with a Multires Modifier, where as the jacket file you linked looks more like it was set up for Dynotopo sculpting, which isn’t wrong if that’s what you want to do, but it’s not what’s being done in the video.
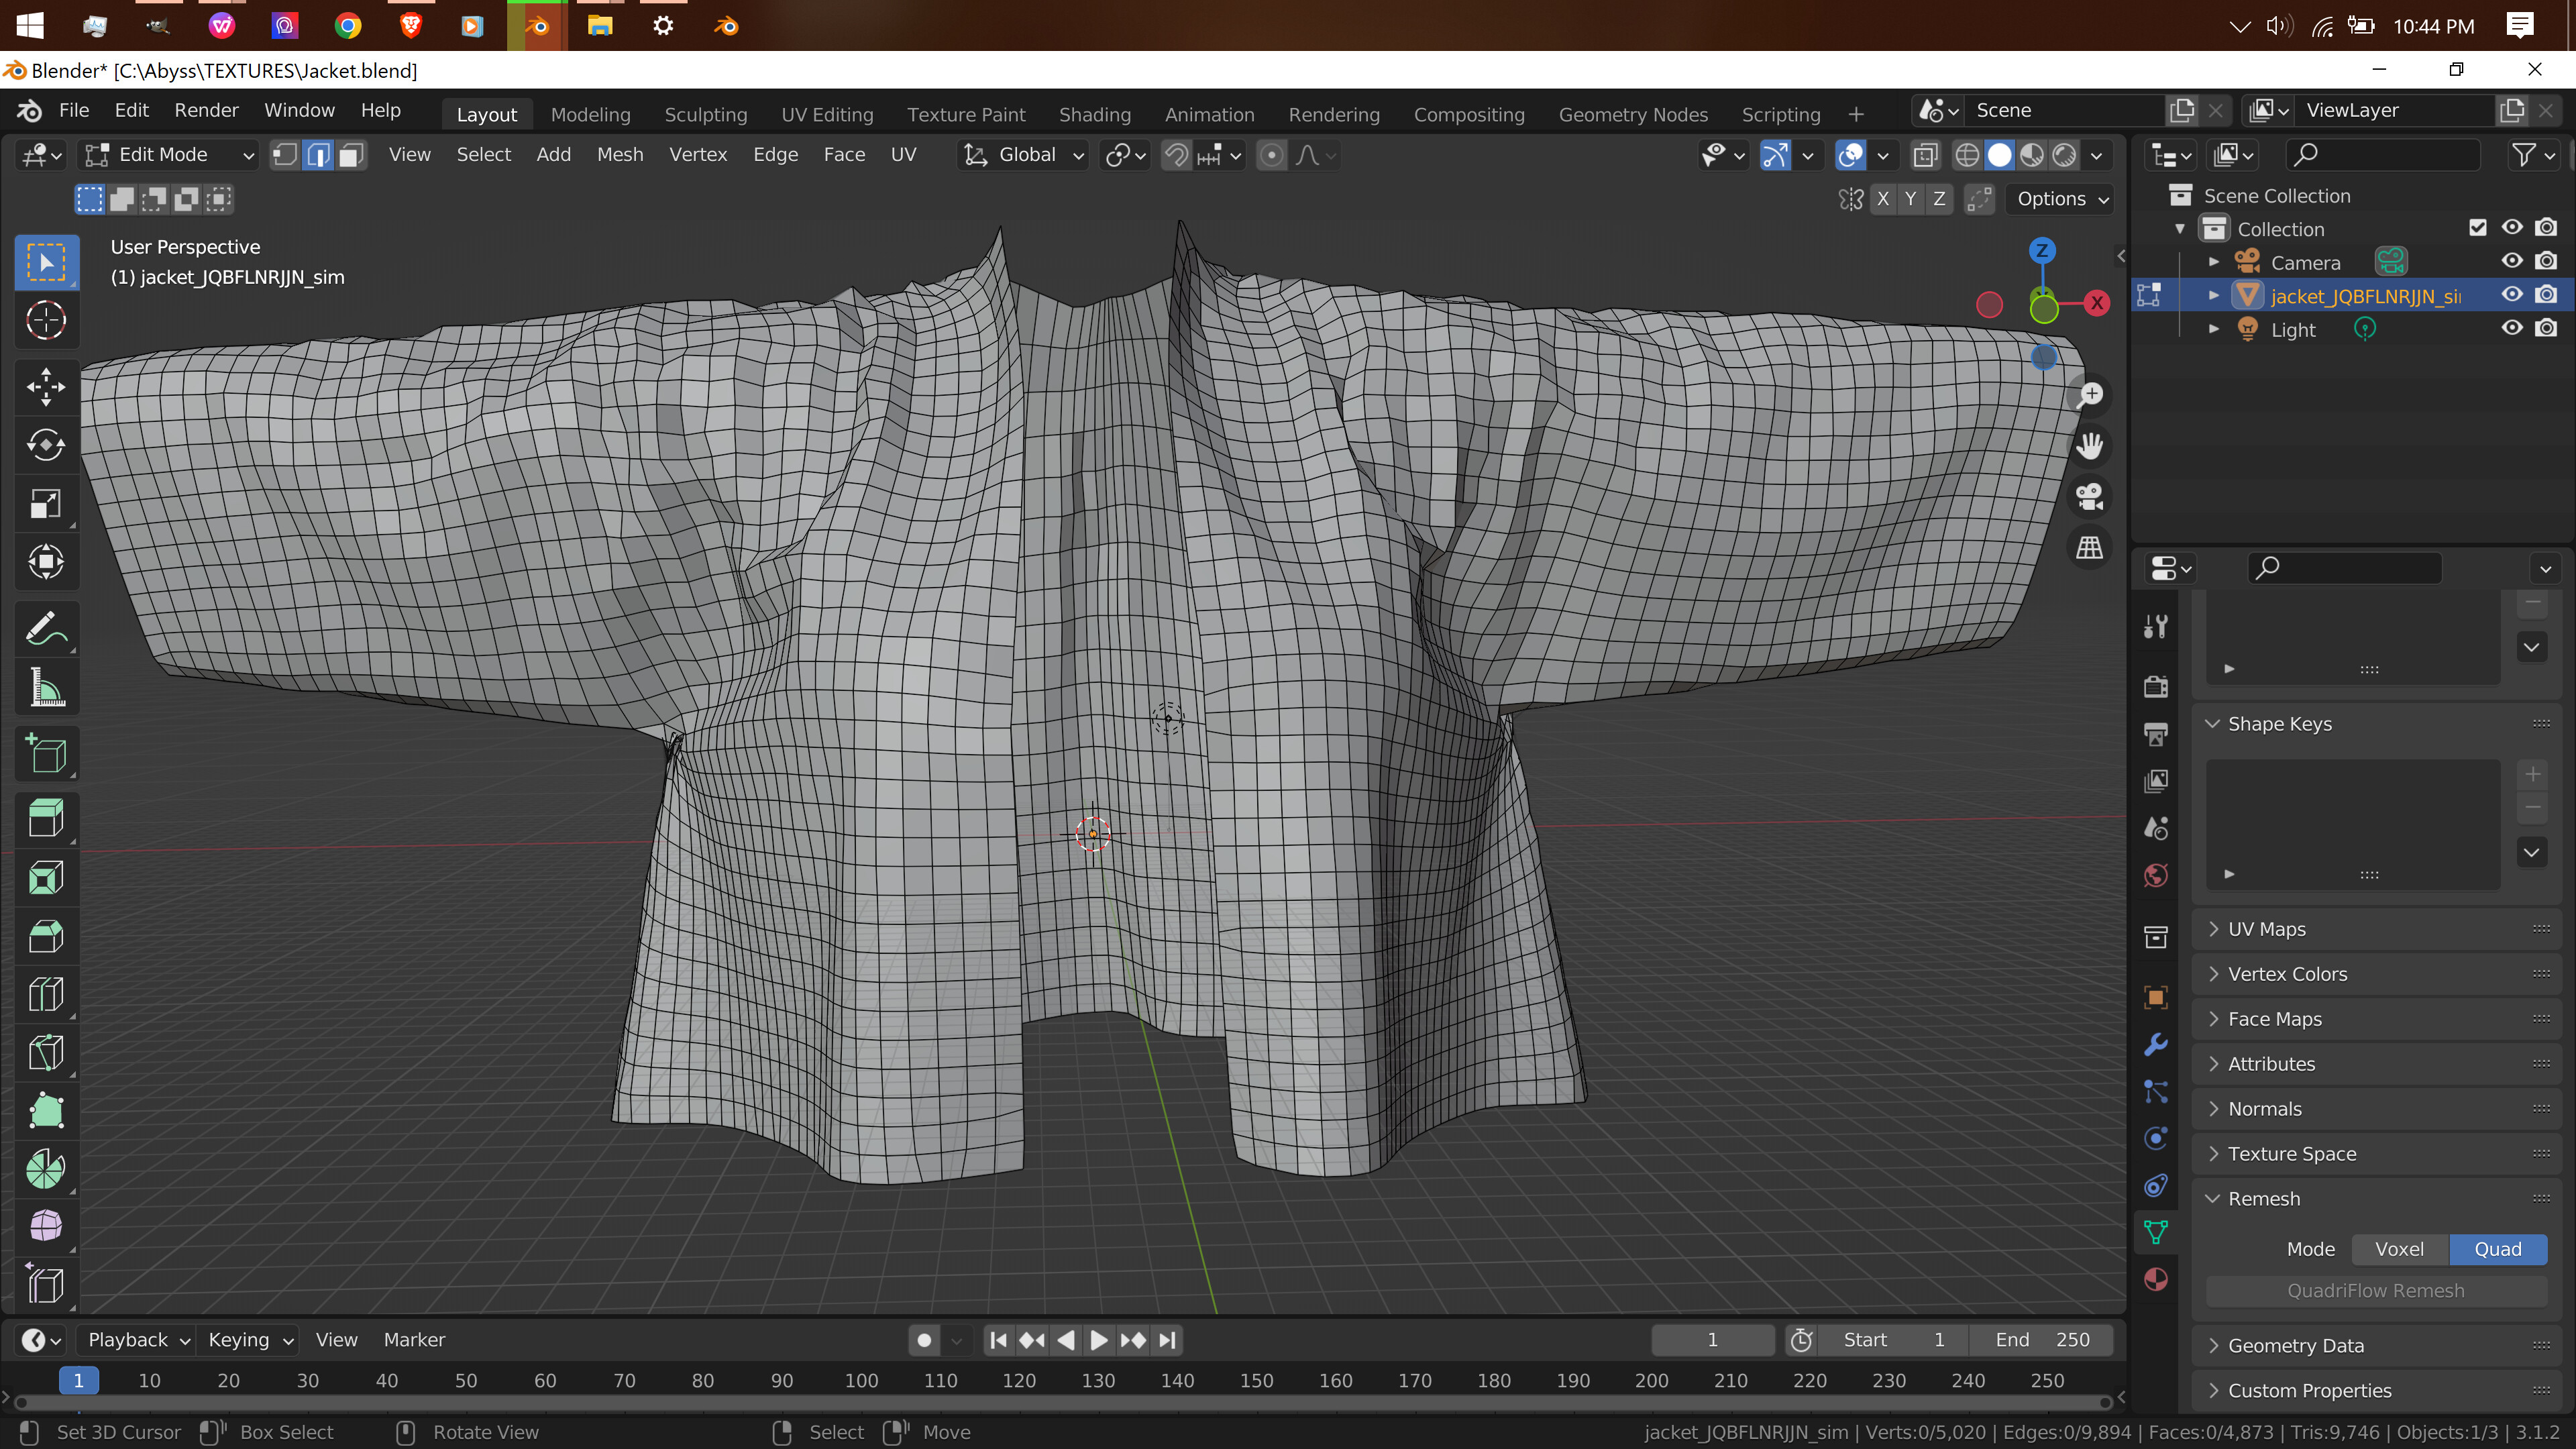
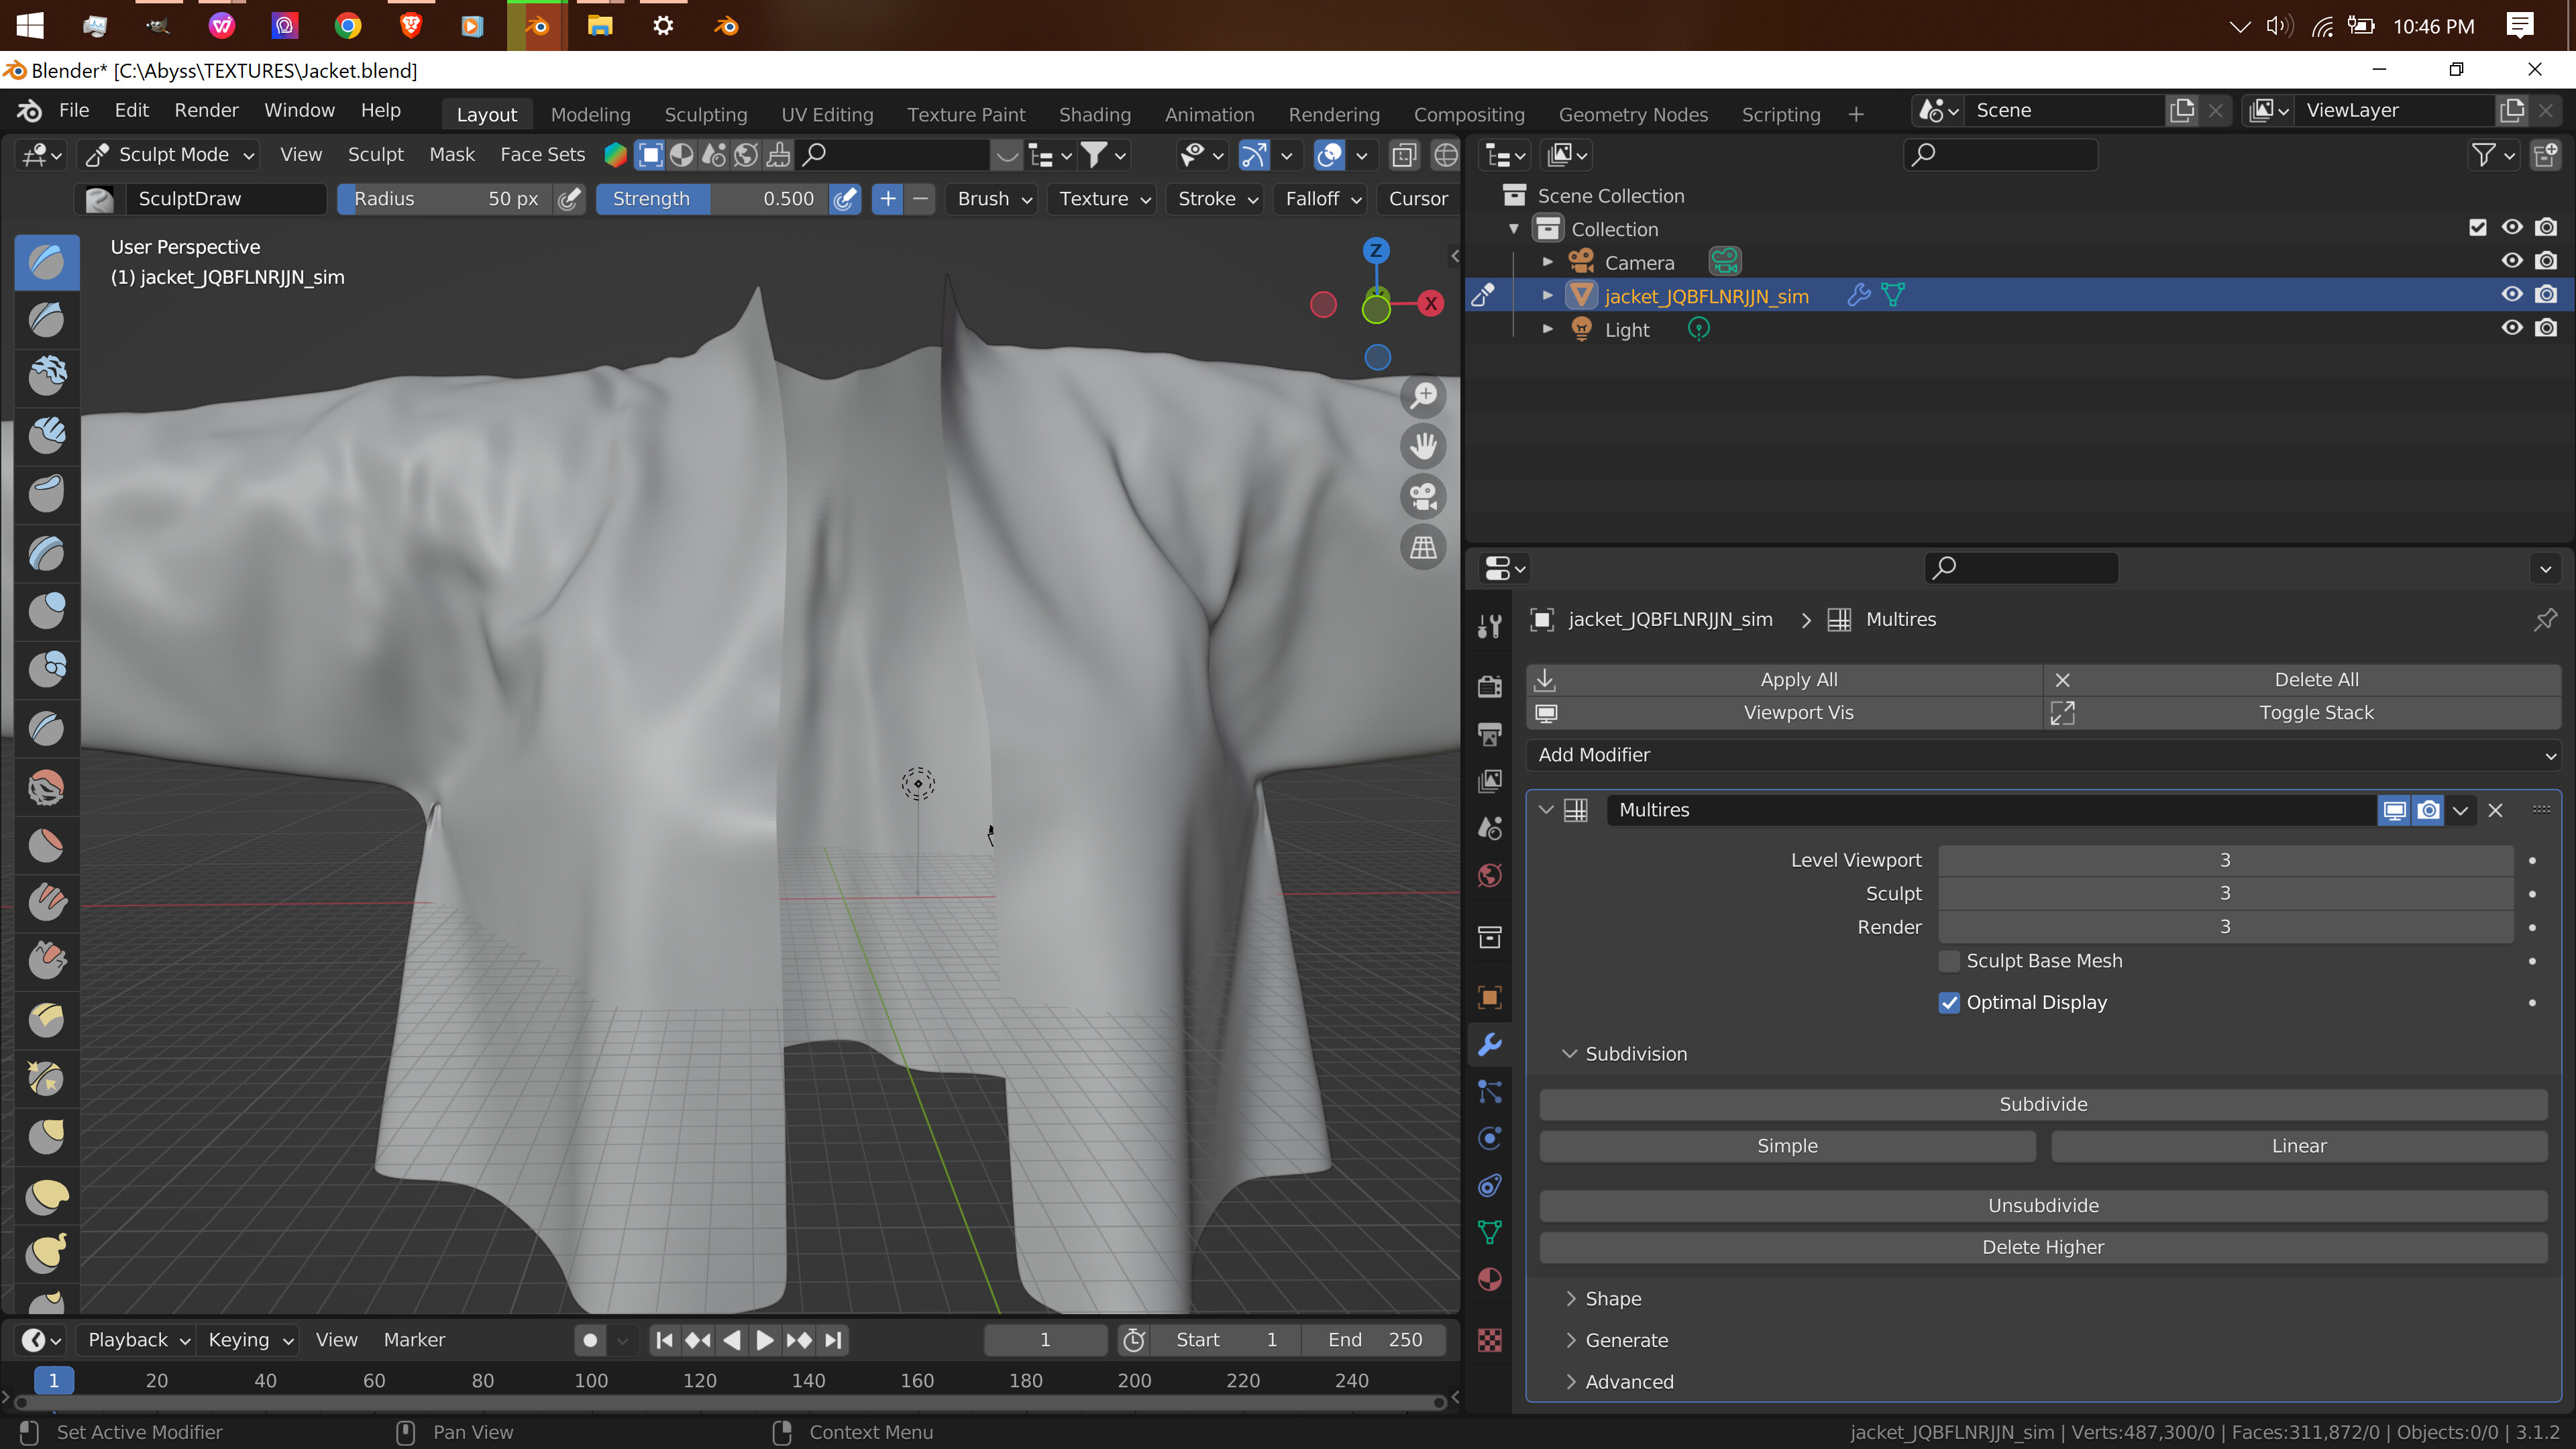
I mimicked what the video did as closely as I could without changing your file too much in this version. Does this sculpt more like you’re wanting?
Definitely check this. Your big wrinkles look a bit sharper in the sculpt mode picture than the object mode one, so what @Jaxx said would be my first guess too.
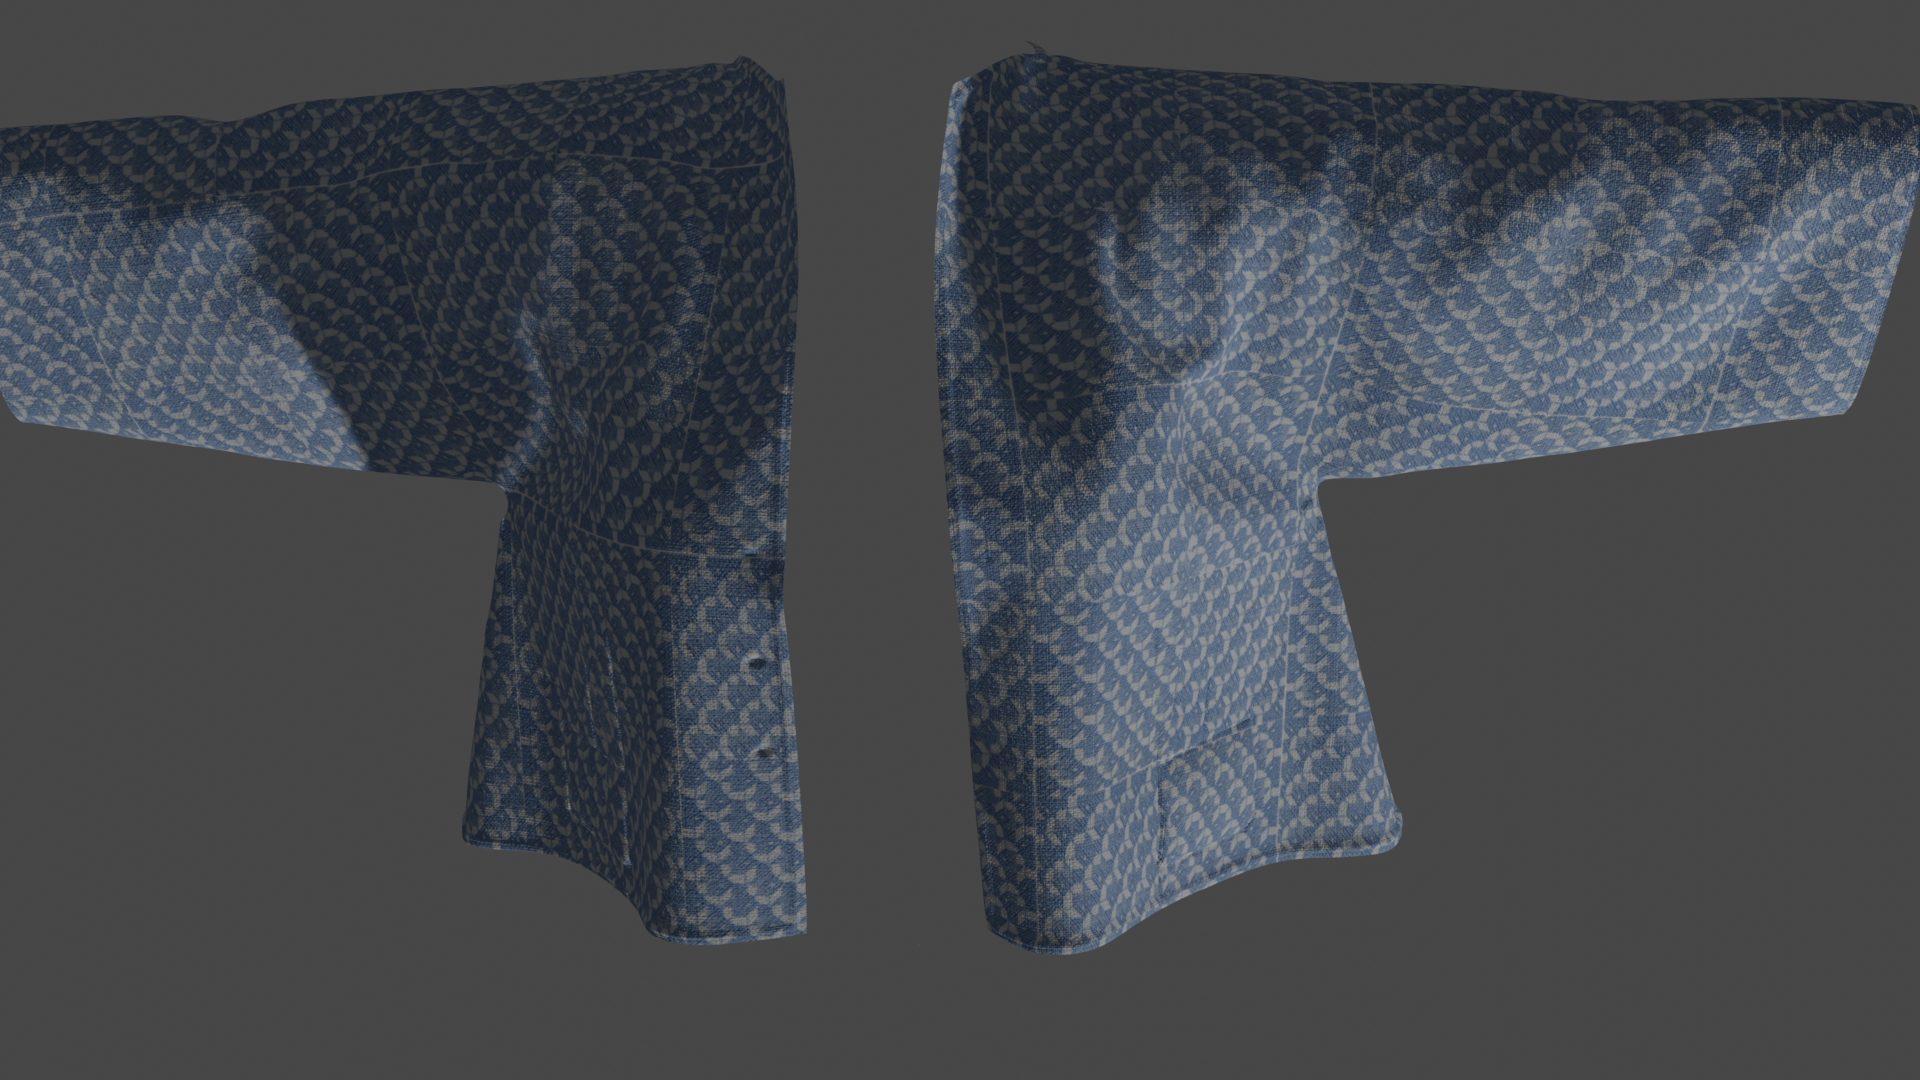
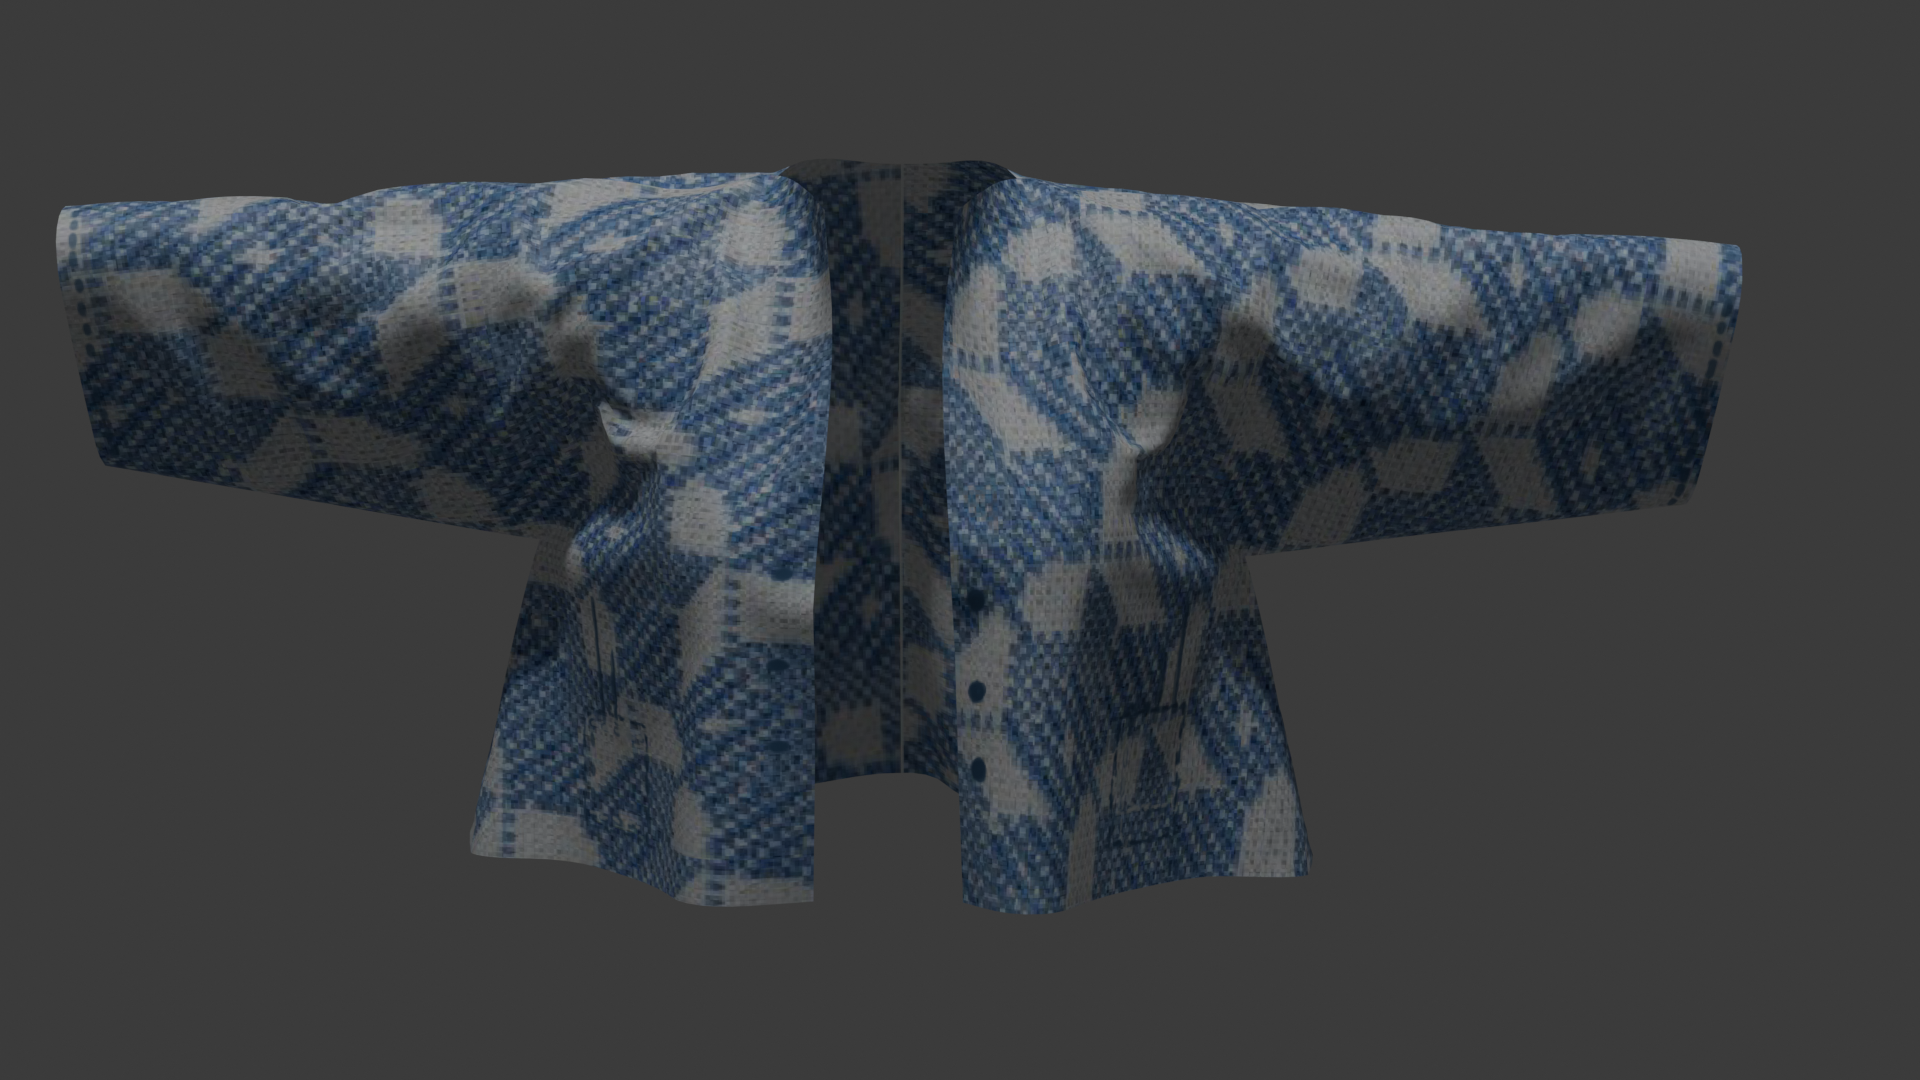
I’ve encountered an issue that I’m hoping you can help me with. After finishing the details on my 3D model, I proceeded to add texture. However, I’ve noticed that the details in the cloth are now challenging to discern.
I would greatly appreciate any guidance or suggestions on how to address this matter and enhance the visibility of the details in the cloth.
You mean after you add the blue and white texture, your sculpted detail becomes hard to see?
Your textures didn’t come through with the file, so I couldn’t play around with it too much, but:
Are you intending to bake the sculpt to a normal map? If you are, after you do that, you can turn up the strength on it, either in blender or by overlaying it onto itself in an external photoshop type software.
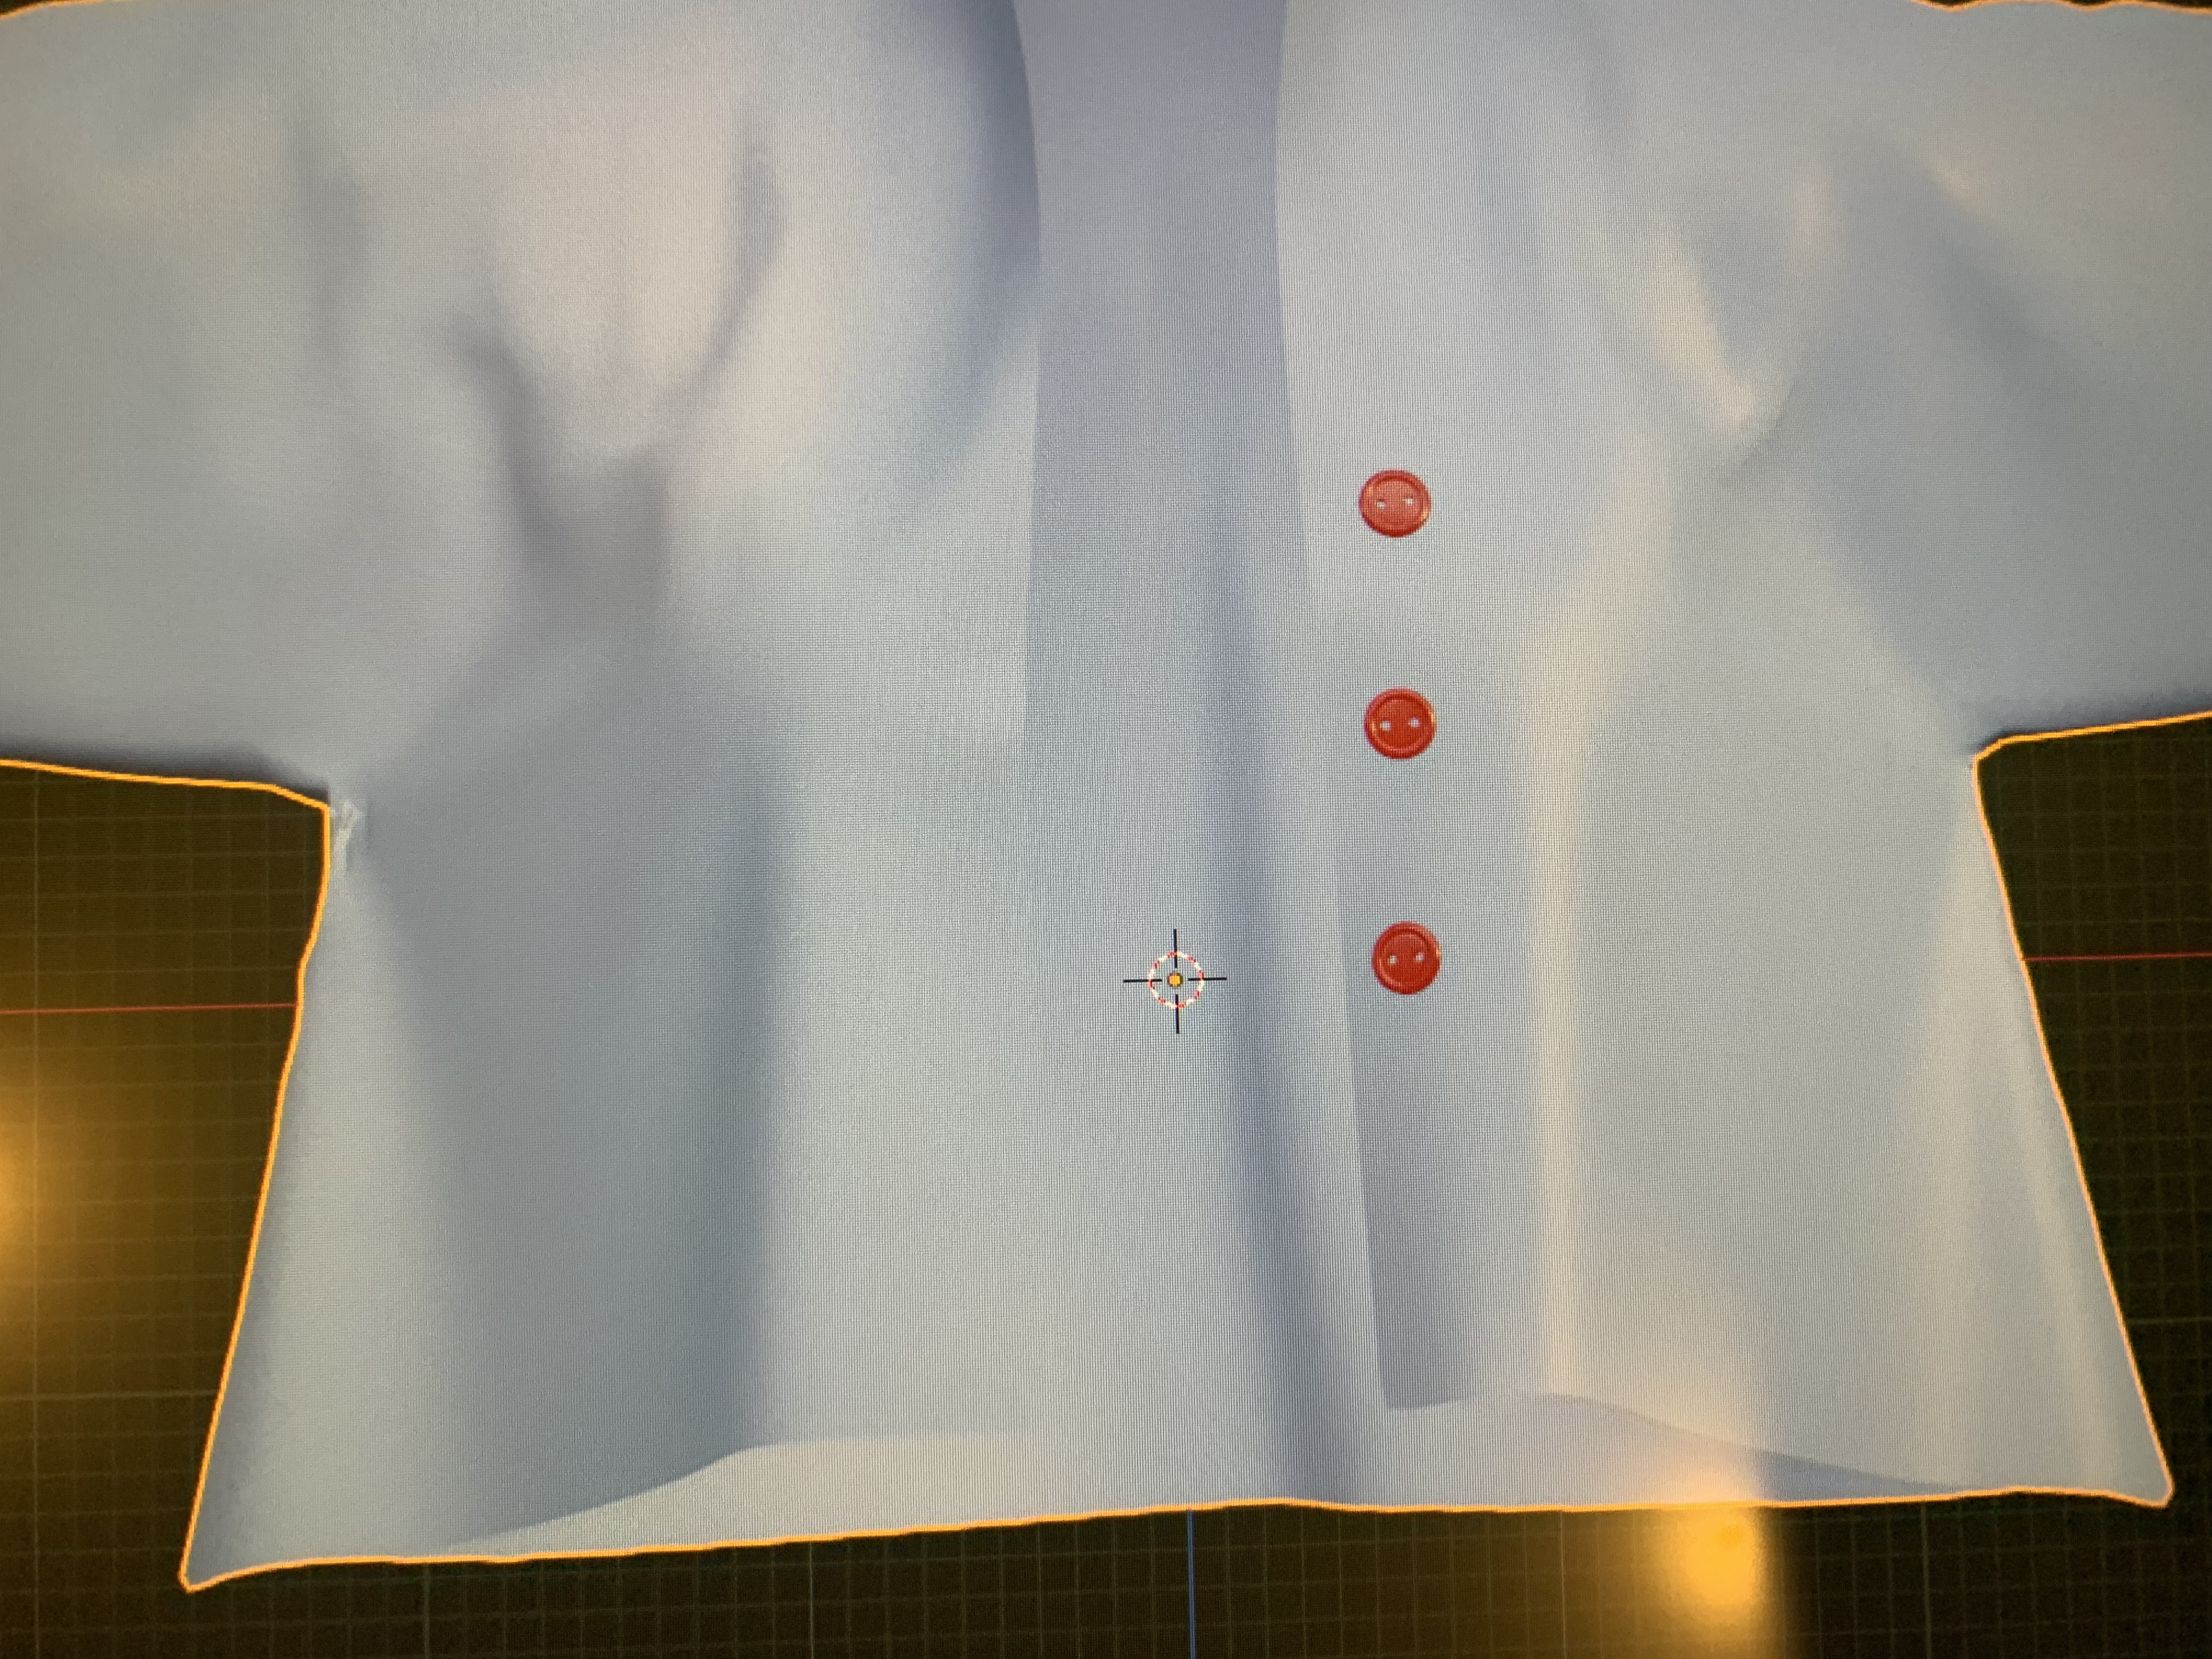
If you’re intending to keep it as a sculpt, painting some stitching around the pockets and where other seams would be could help bring out the details. This wouldn’t be a bad idea even if you intend to bake a normal map.
Different light angle might help too, you could try playing around with that, if it doesn’t need to stay where it is.
And here’s the map I baked real quick if you want to try working it into your material.
Hi, I did what you adviceed and I was happy about the result until my boss sent me this email. sob:
"It seems during the sculpting process, you added a lot of small geometries and parts which resulted in non-manifold vertices, edges, and faces along with several discounted components.
Unfortunately, these issues make it difficult for us to use the geometry in our applications.
Here is the topological measure of the jacket geometry.
V: 89603 E: 240118 F:149650
Unreferenced Vertices 0
Boundary Edges 31286
Mesh is composed by 857 connected component(s)
Mesh has 1699 non two manifold vertices and 5100 faces are incident on these vertices
Mesh has a undefined number of holes (non 2-manifold mesh)
Genus is undefined (non 2-manifold mesh)
we can’t use it due to the above problems.
Can we just add garment details (seams and buttons) to the texture image and leave the geometry as it is? "
How can I add straight edges and surfaces where needed to create details like pockets and seams on the original jacket?
I would be very grateful if you could share with me some more guidance on this matter. 3D model for Jacket
What are you making this jacket for again? Please keep in mind that I’m not an expert, especially if it’s for games. I can only tell you what has worked for me before.
I don’t recall the previous version having nonmanifold geo or disconnected parts. Did you apply the multires or something? Is what you’re sending the whole jacket, or are there more parts we’re not seeing? If you’re allowed, can you link the version your boss turned down, preferably in a folder with the textures you’re working with?
Yes, you can. With the caveat that it may not look as good on close ups as actual modeled detail.
For example: The pockets and shoulder straps on this jacket are modeled, but all the seams and the reflective strips are all in the texture and materials.
I’m not sure what you’re asking here. Are you wanting to model seams and pockets into the triangulated version you linked most recently?
If you want to put everything into the textures, as your boss seems to be asking in the last paragraph, then you’ll need to unwrap it, then paint your textures. You’ll probably need a Diffuse Map and Normal/Bump Map at least, and maybe a Specular map, although if this is work you’re doing FOR someone, asking them what they’re going to need would be my first step.
This is not for a game. This is for a website selling clothes.
Yes, I did add Multires. Does Multires create holes in the jacket?
Also, I forgot to mention this to you, my boss is fine with The quad mesh. But he said "It seems during the sculpting process, you added a lot of small geometries and parts which resulted in non-manifold vertices, edges, and faces along with several disconned components. "
I do not know, How did I do that?
No it shouldn’t, and looking at the version you sent me, I’m pretty sure the disconnected objects and small parts your boss is referring to are your seams generated by the geo nodes modifier and the buttons. You’ll want to double check the buttons, if you don’t end up baking them into a texture, the version you sent me had 192 double verts in them, which could also be an issue. I’m still not seeing the non-manifold they’re referring to, unless they means the edges of the mesh, but I don’t see a way around those.
Possible? Probably, but I think it would take way more time and effort than using the quad version.
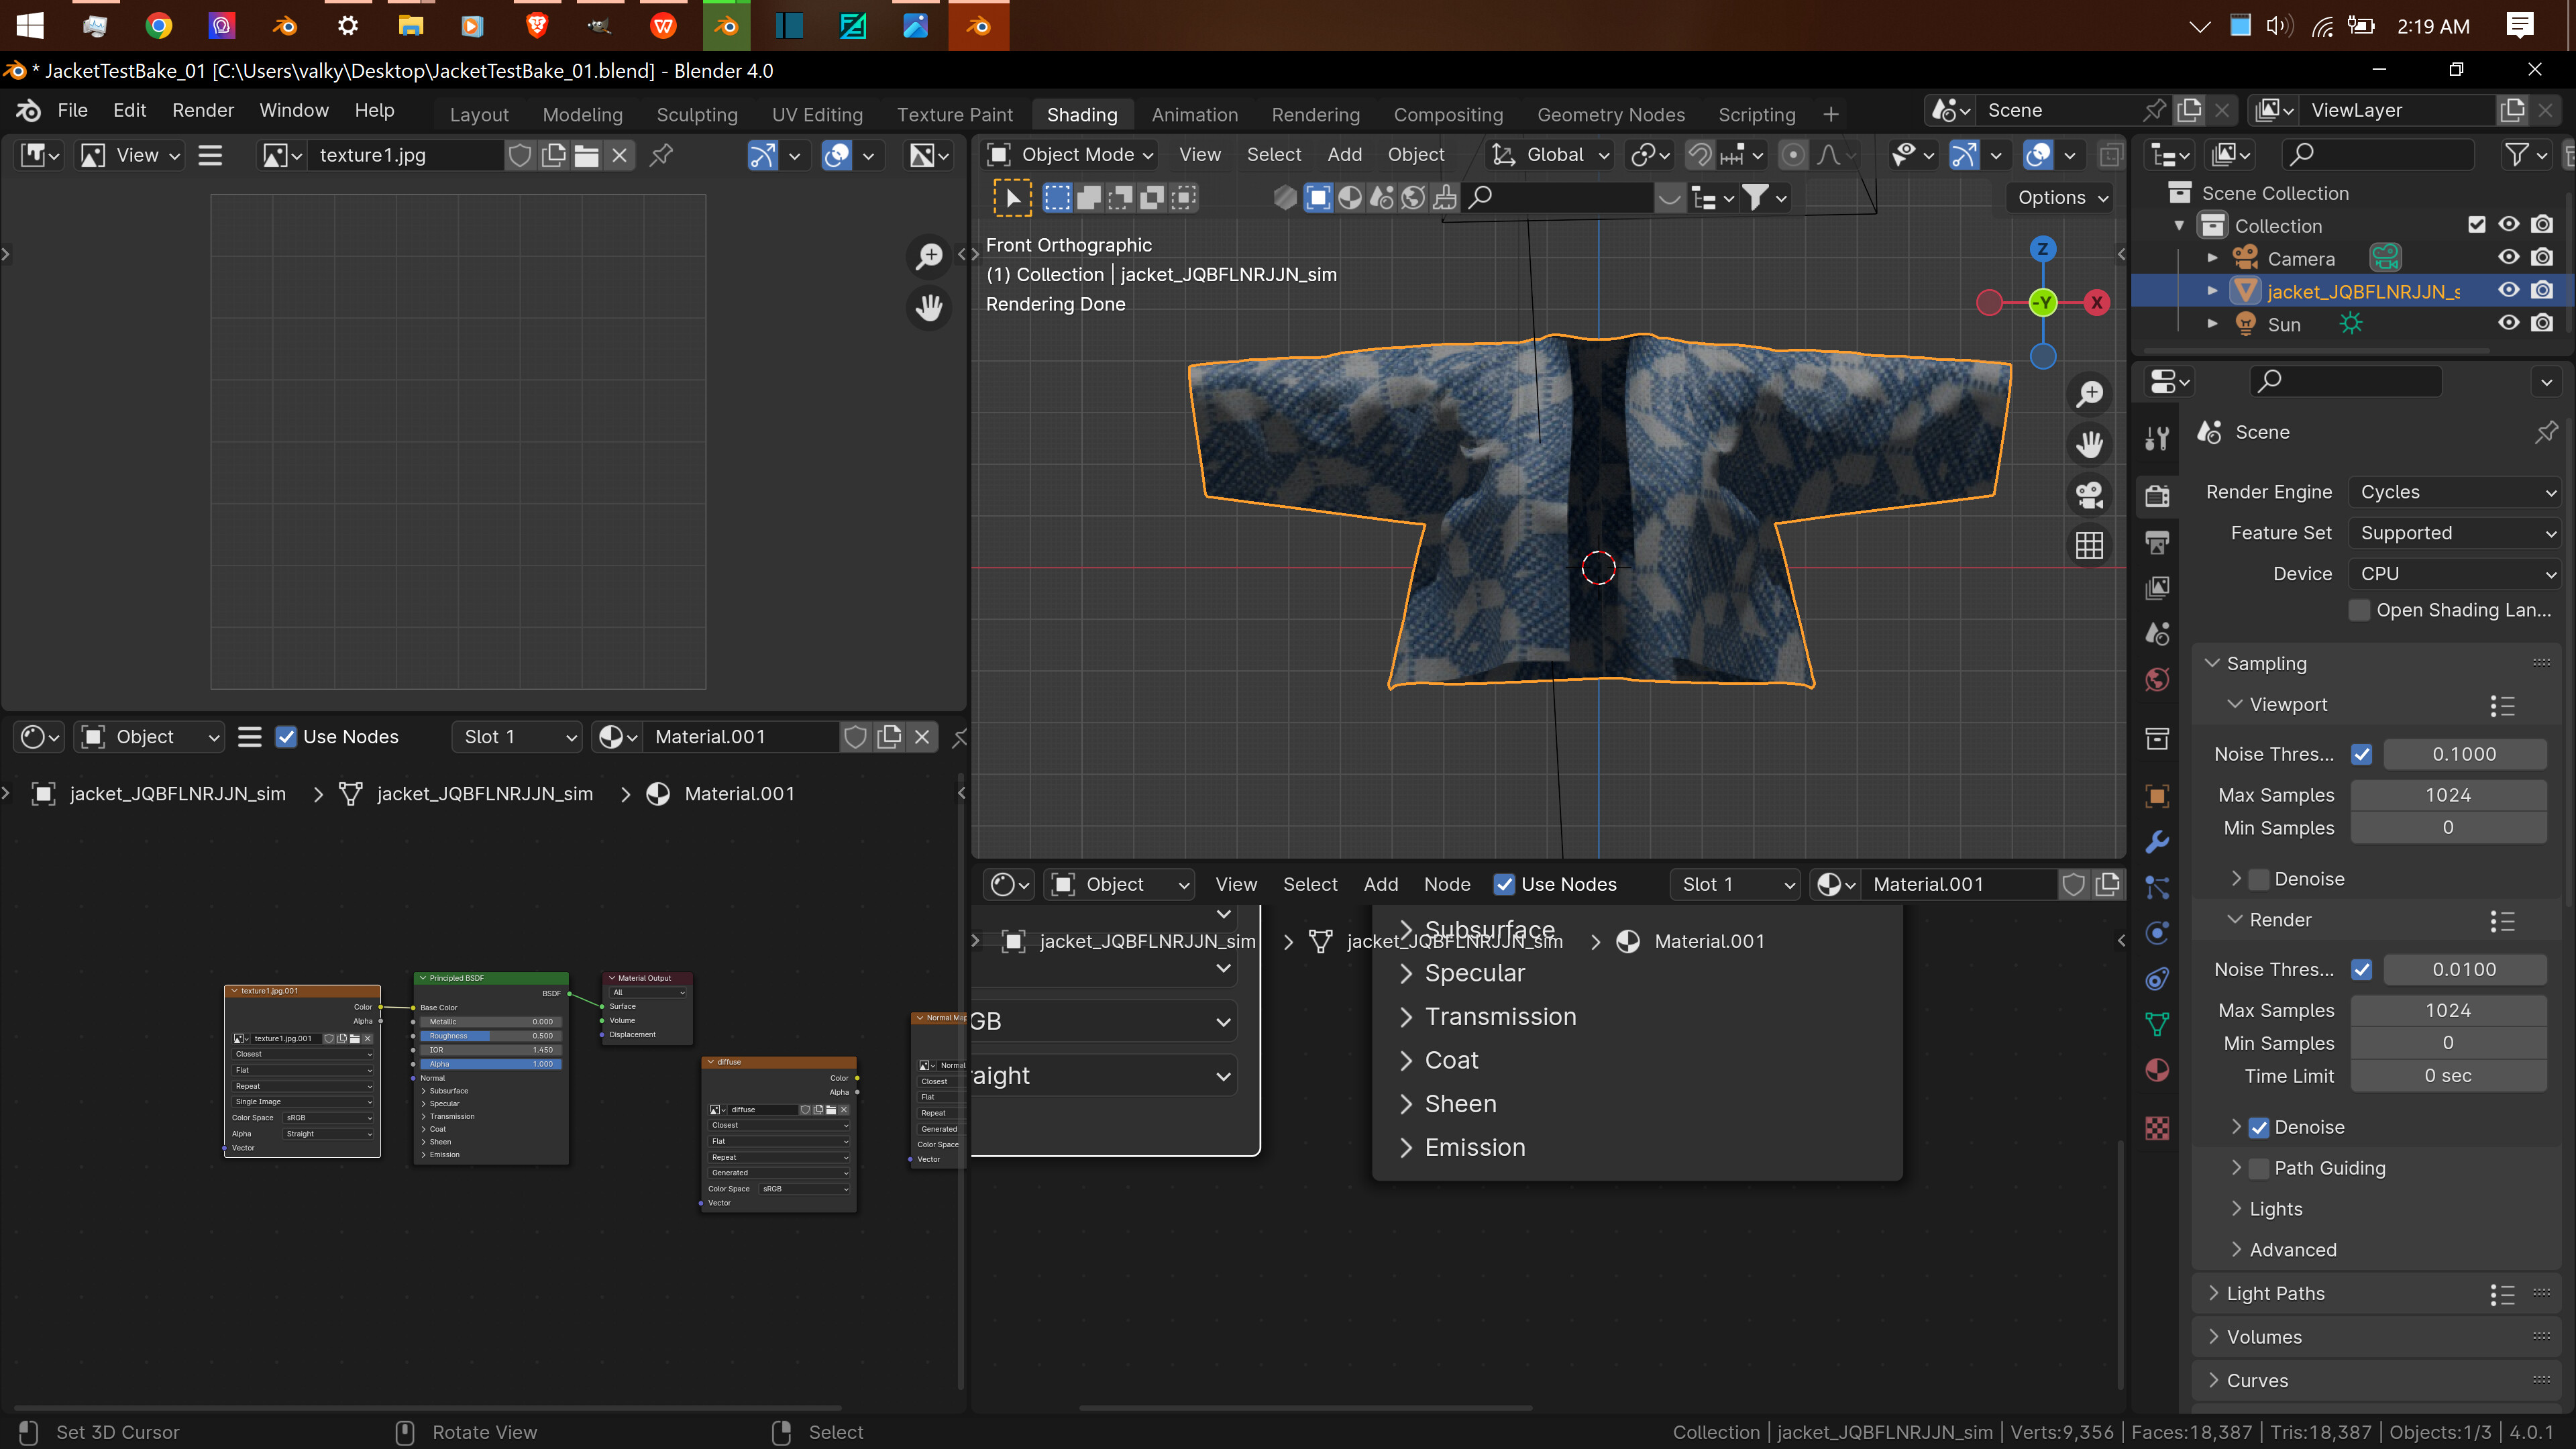
I did a couple tests and got this normal map. Does it work for you if you plug it in in place of the Linen Material’s normal map?
So, You were right. He wanted me to draw the details on the jacket. I’m done with the details but I don’t know how to bake the texture with the details. Any suggestions?
Thankssssssss.
I can give it a shot. I don’t see the texture details you painted (stitches and buttons) in the files you linked, but the basic theory should work when you do it with them.
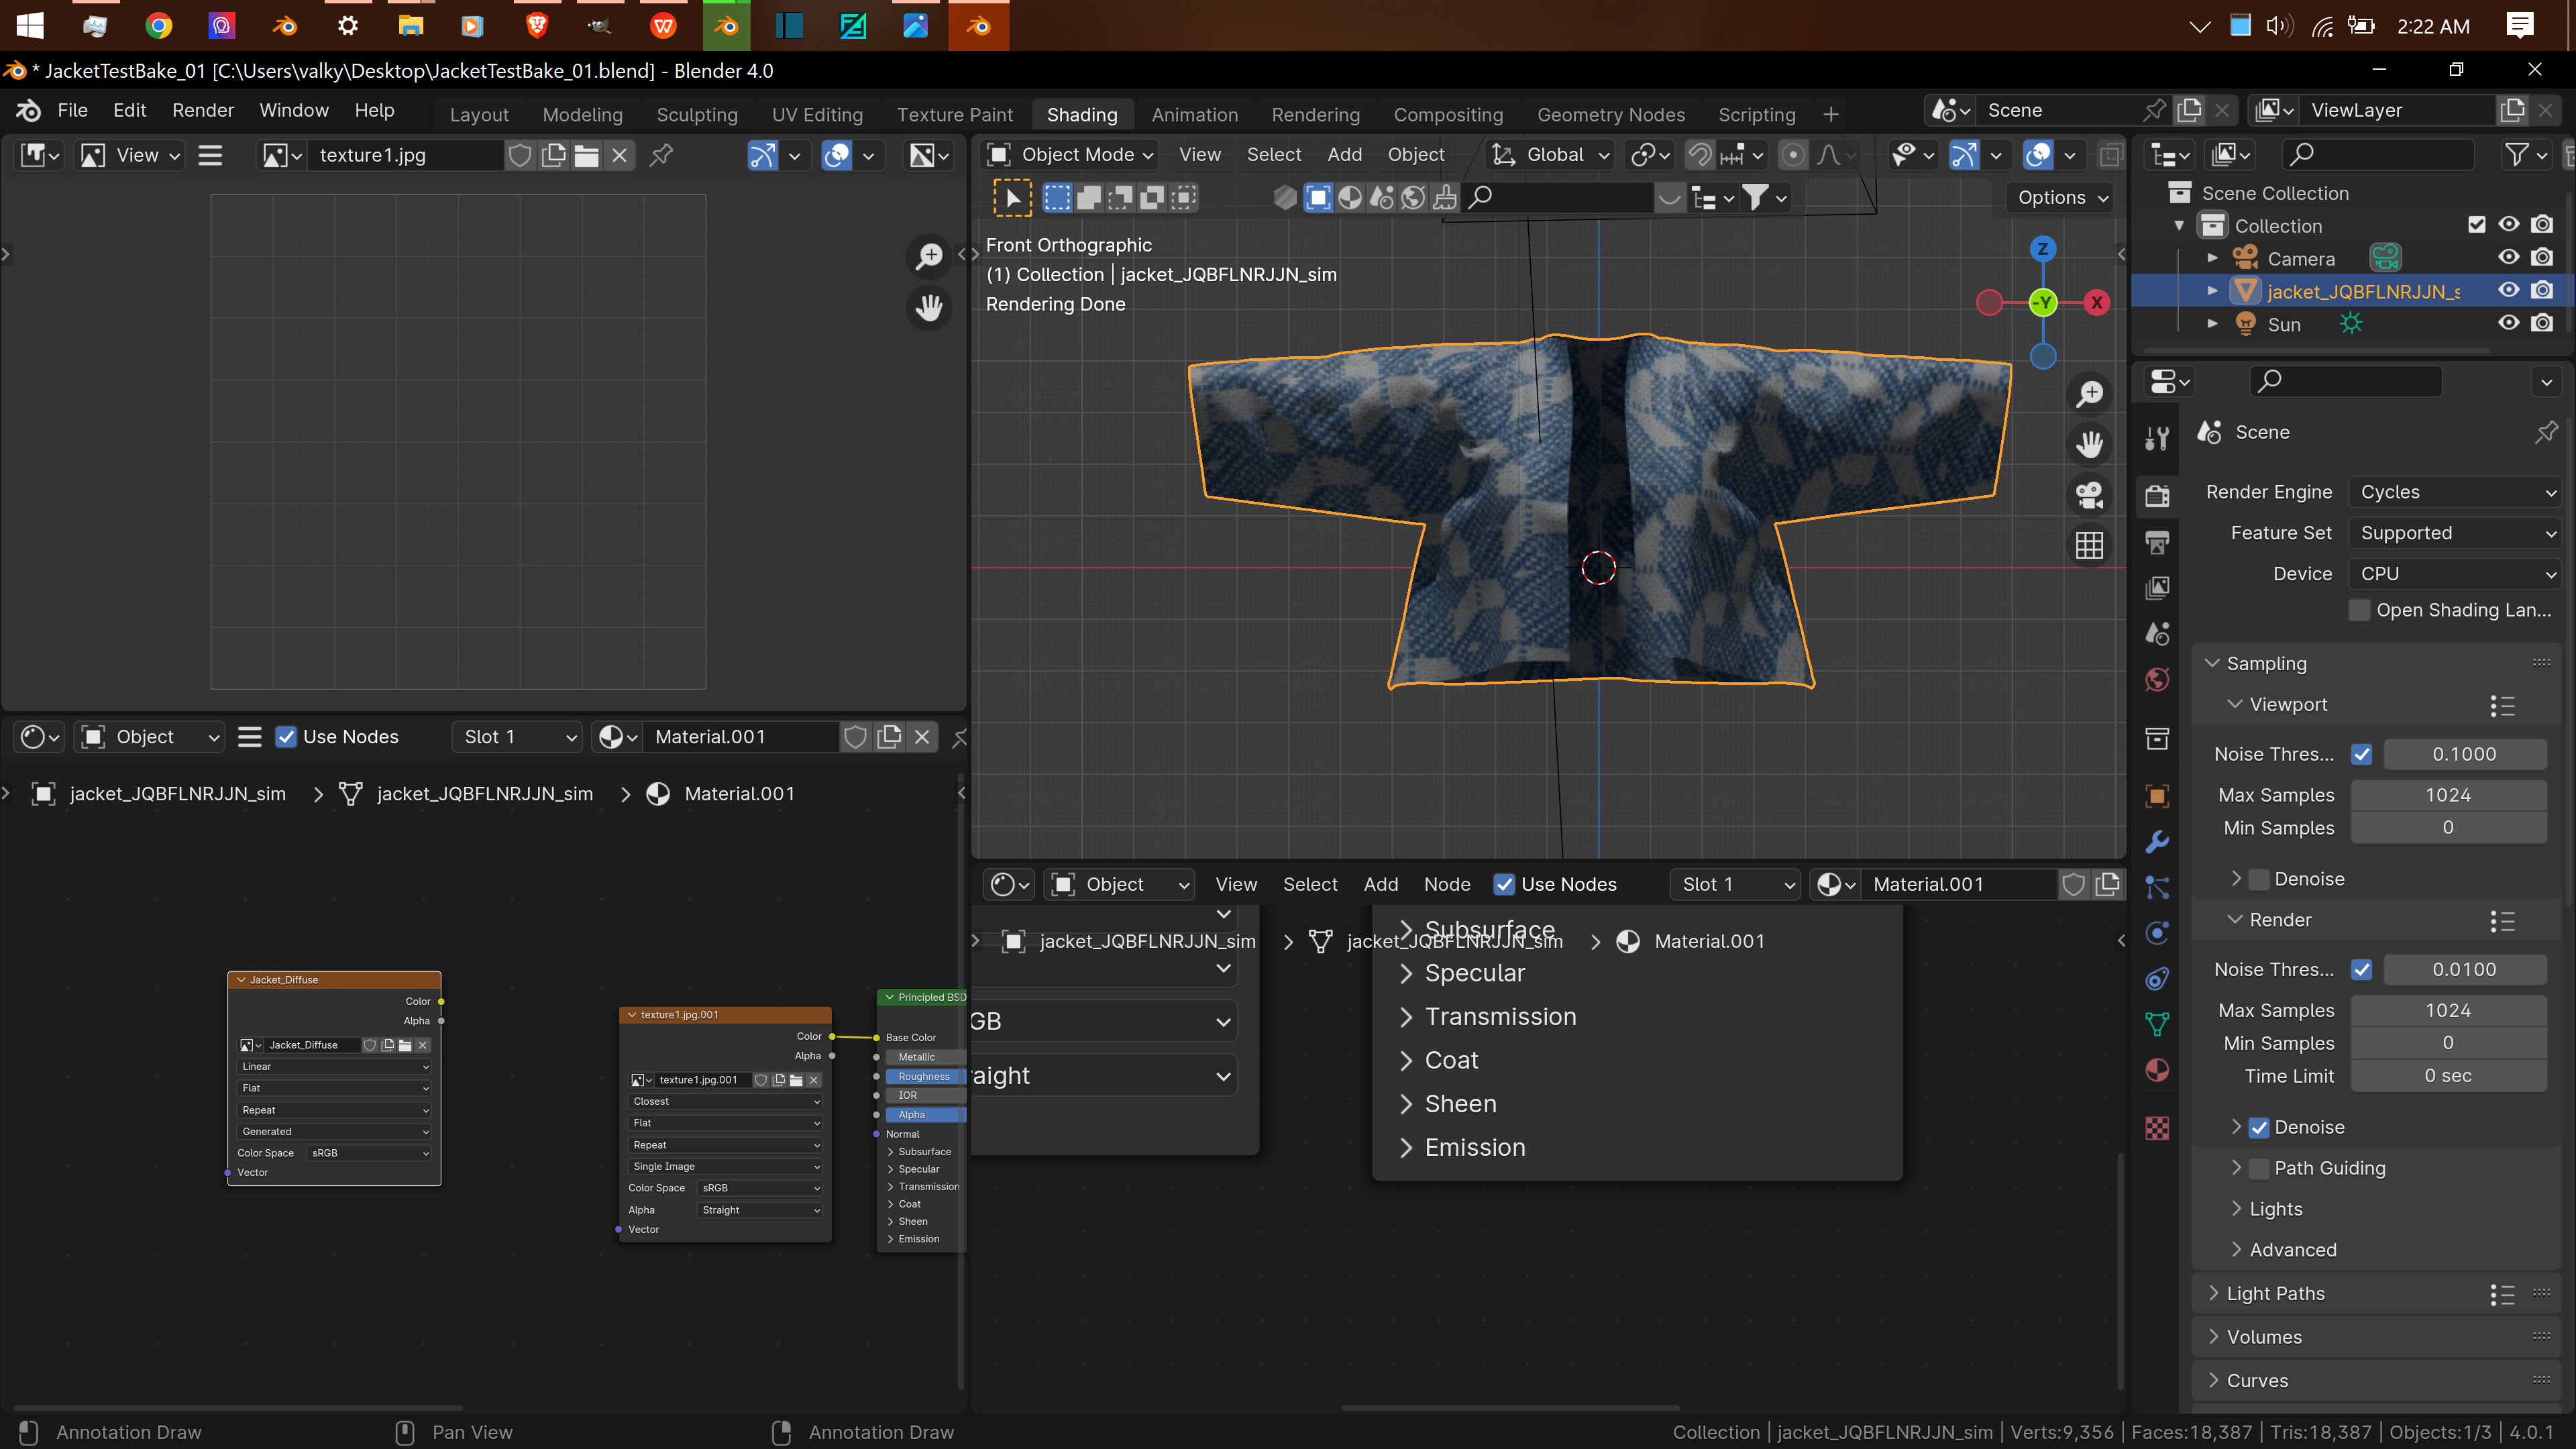
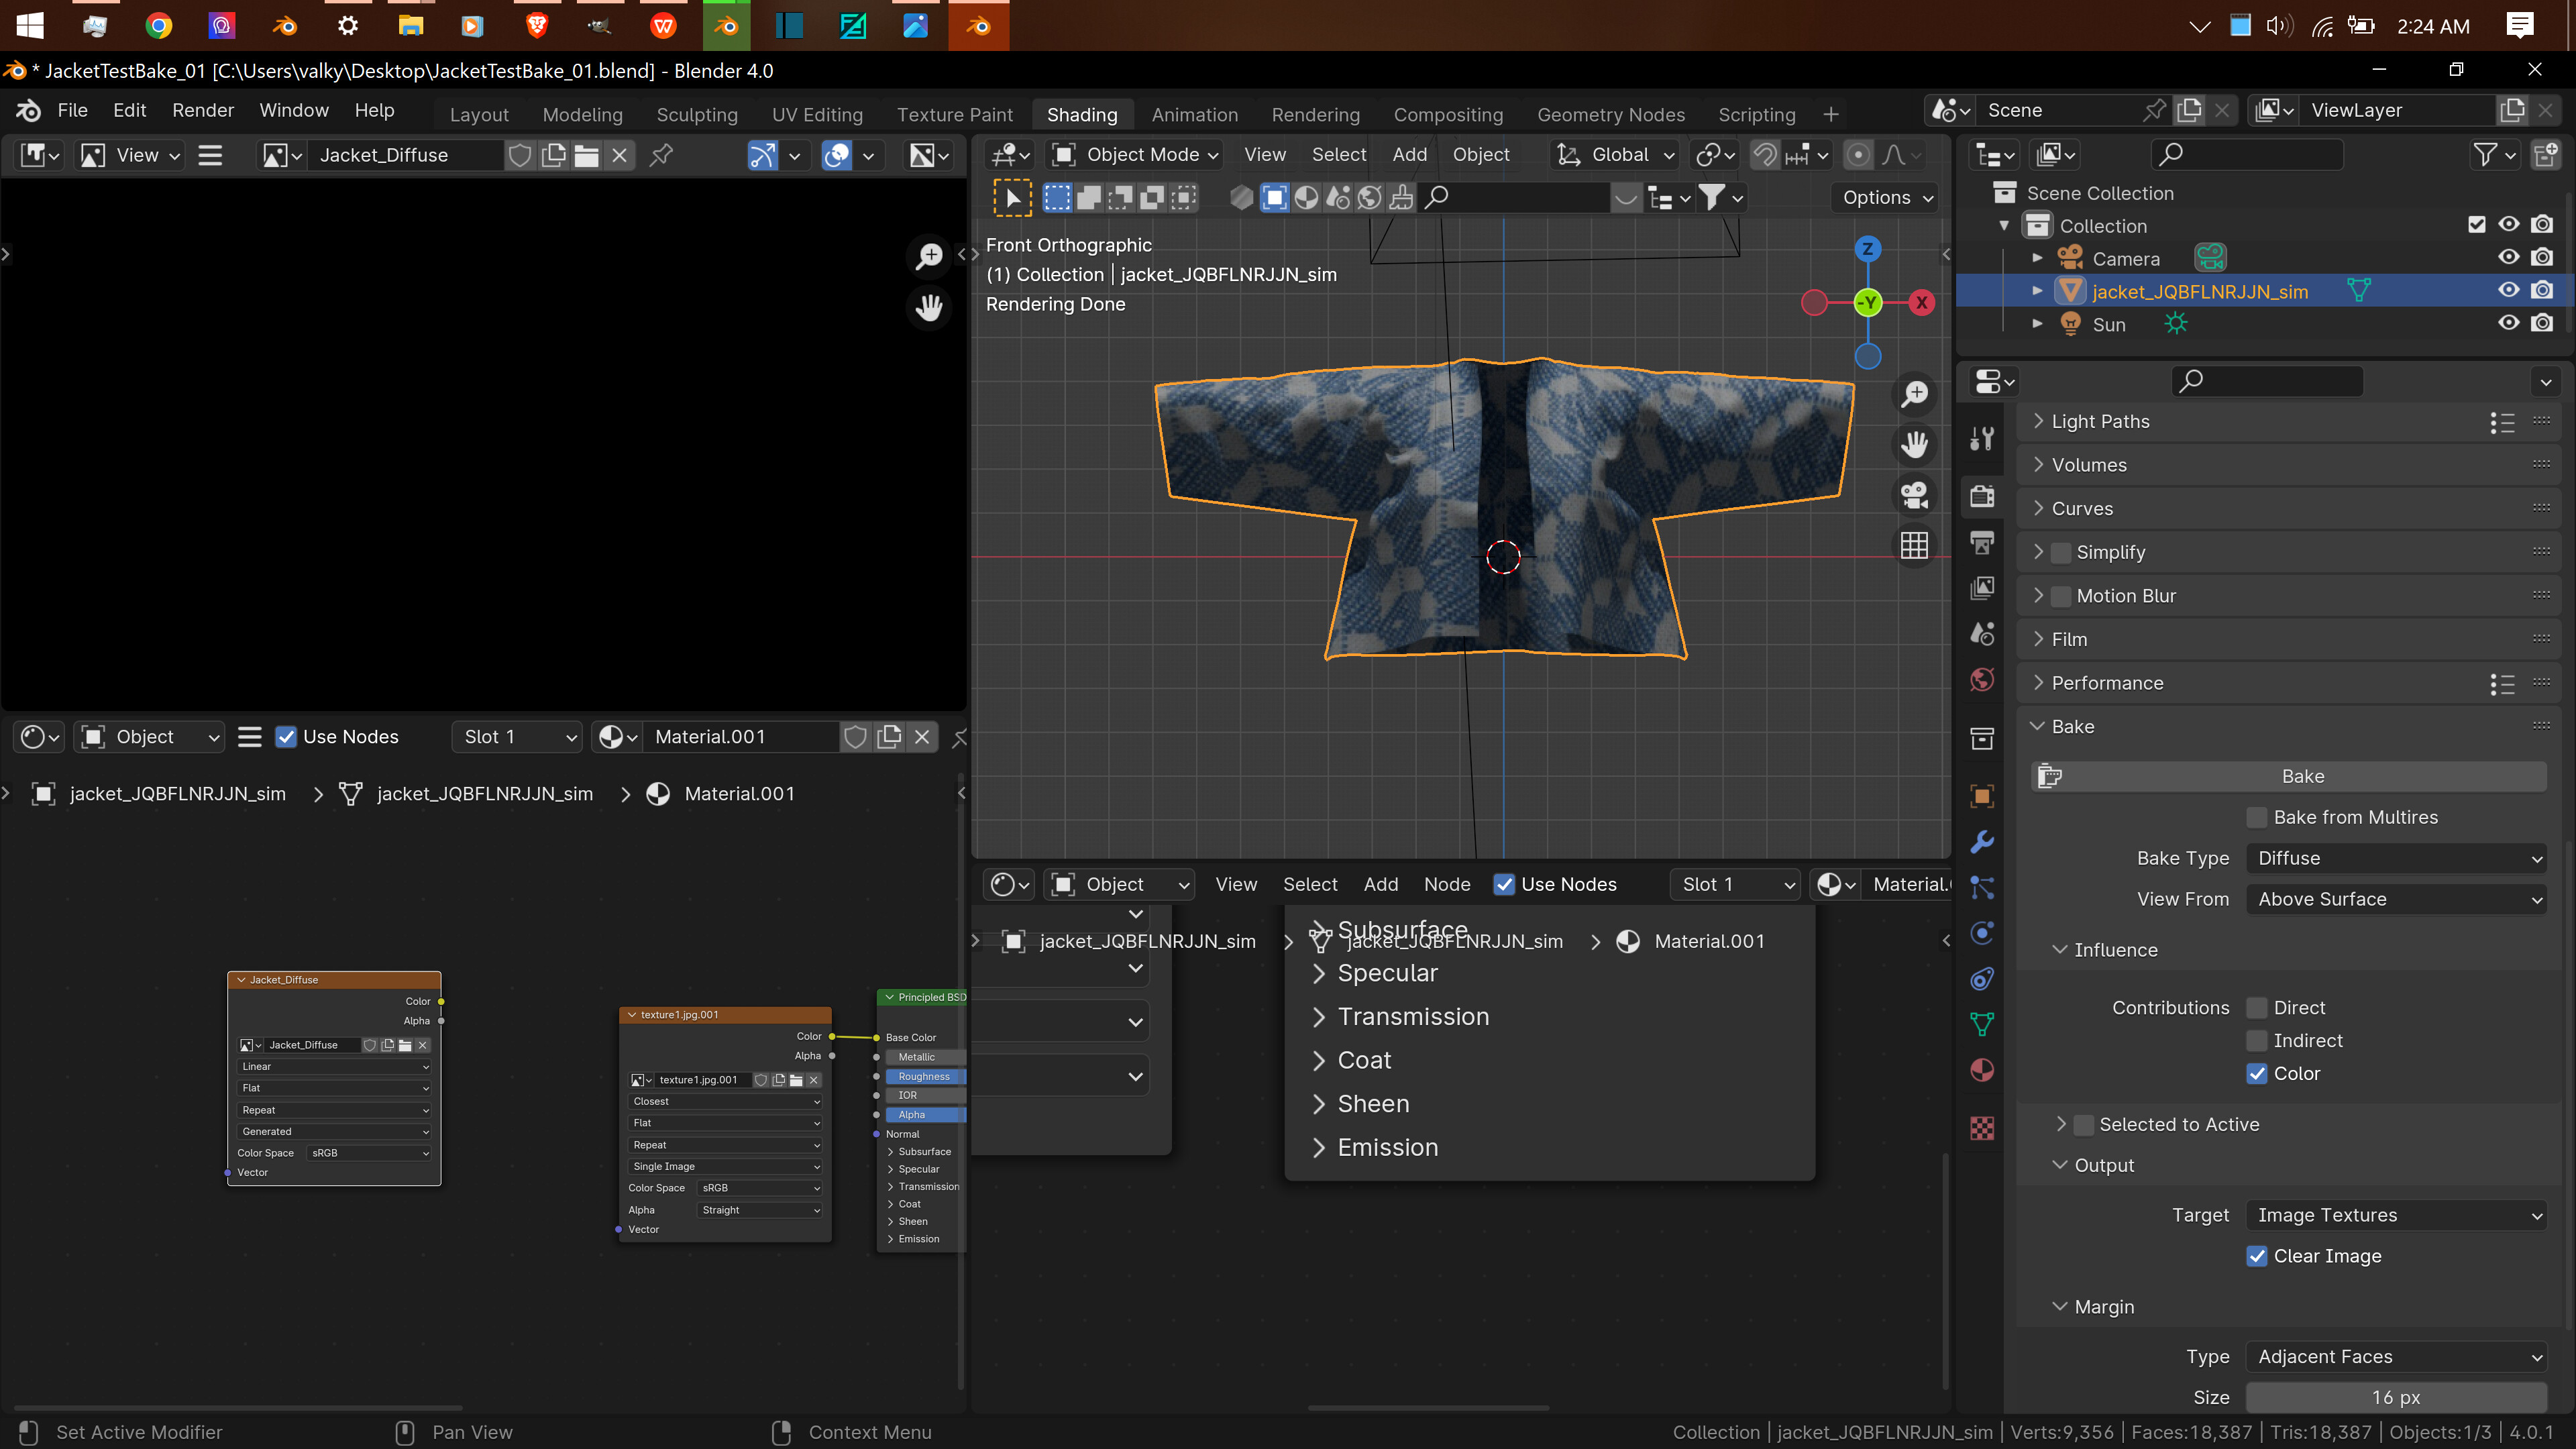
1: Switch to Cycles (Eevee can’t bake)
2: Create a new image texture in your jacket material. Name it whatever you want, Jacket_Diffuse, ect… Don’t connect it to anything. I made it 4K, but you should use whatever your boss requests.
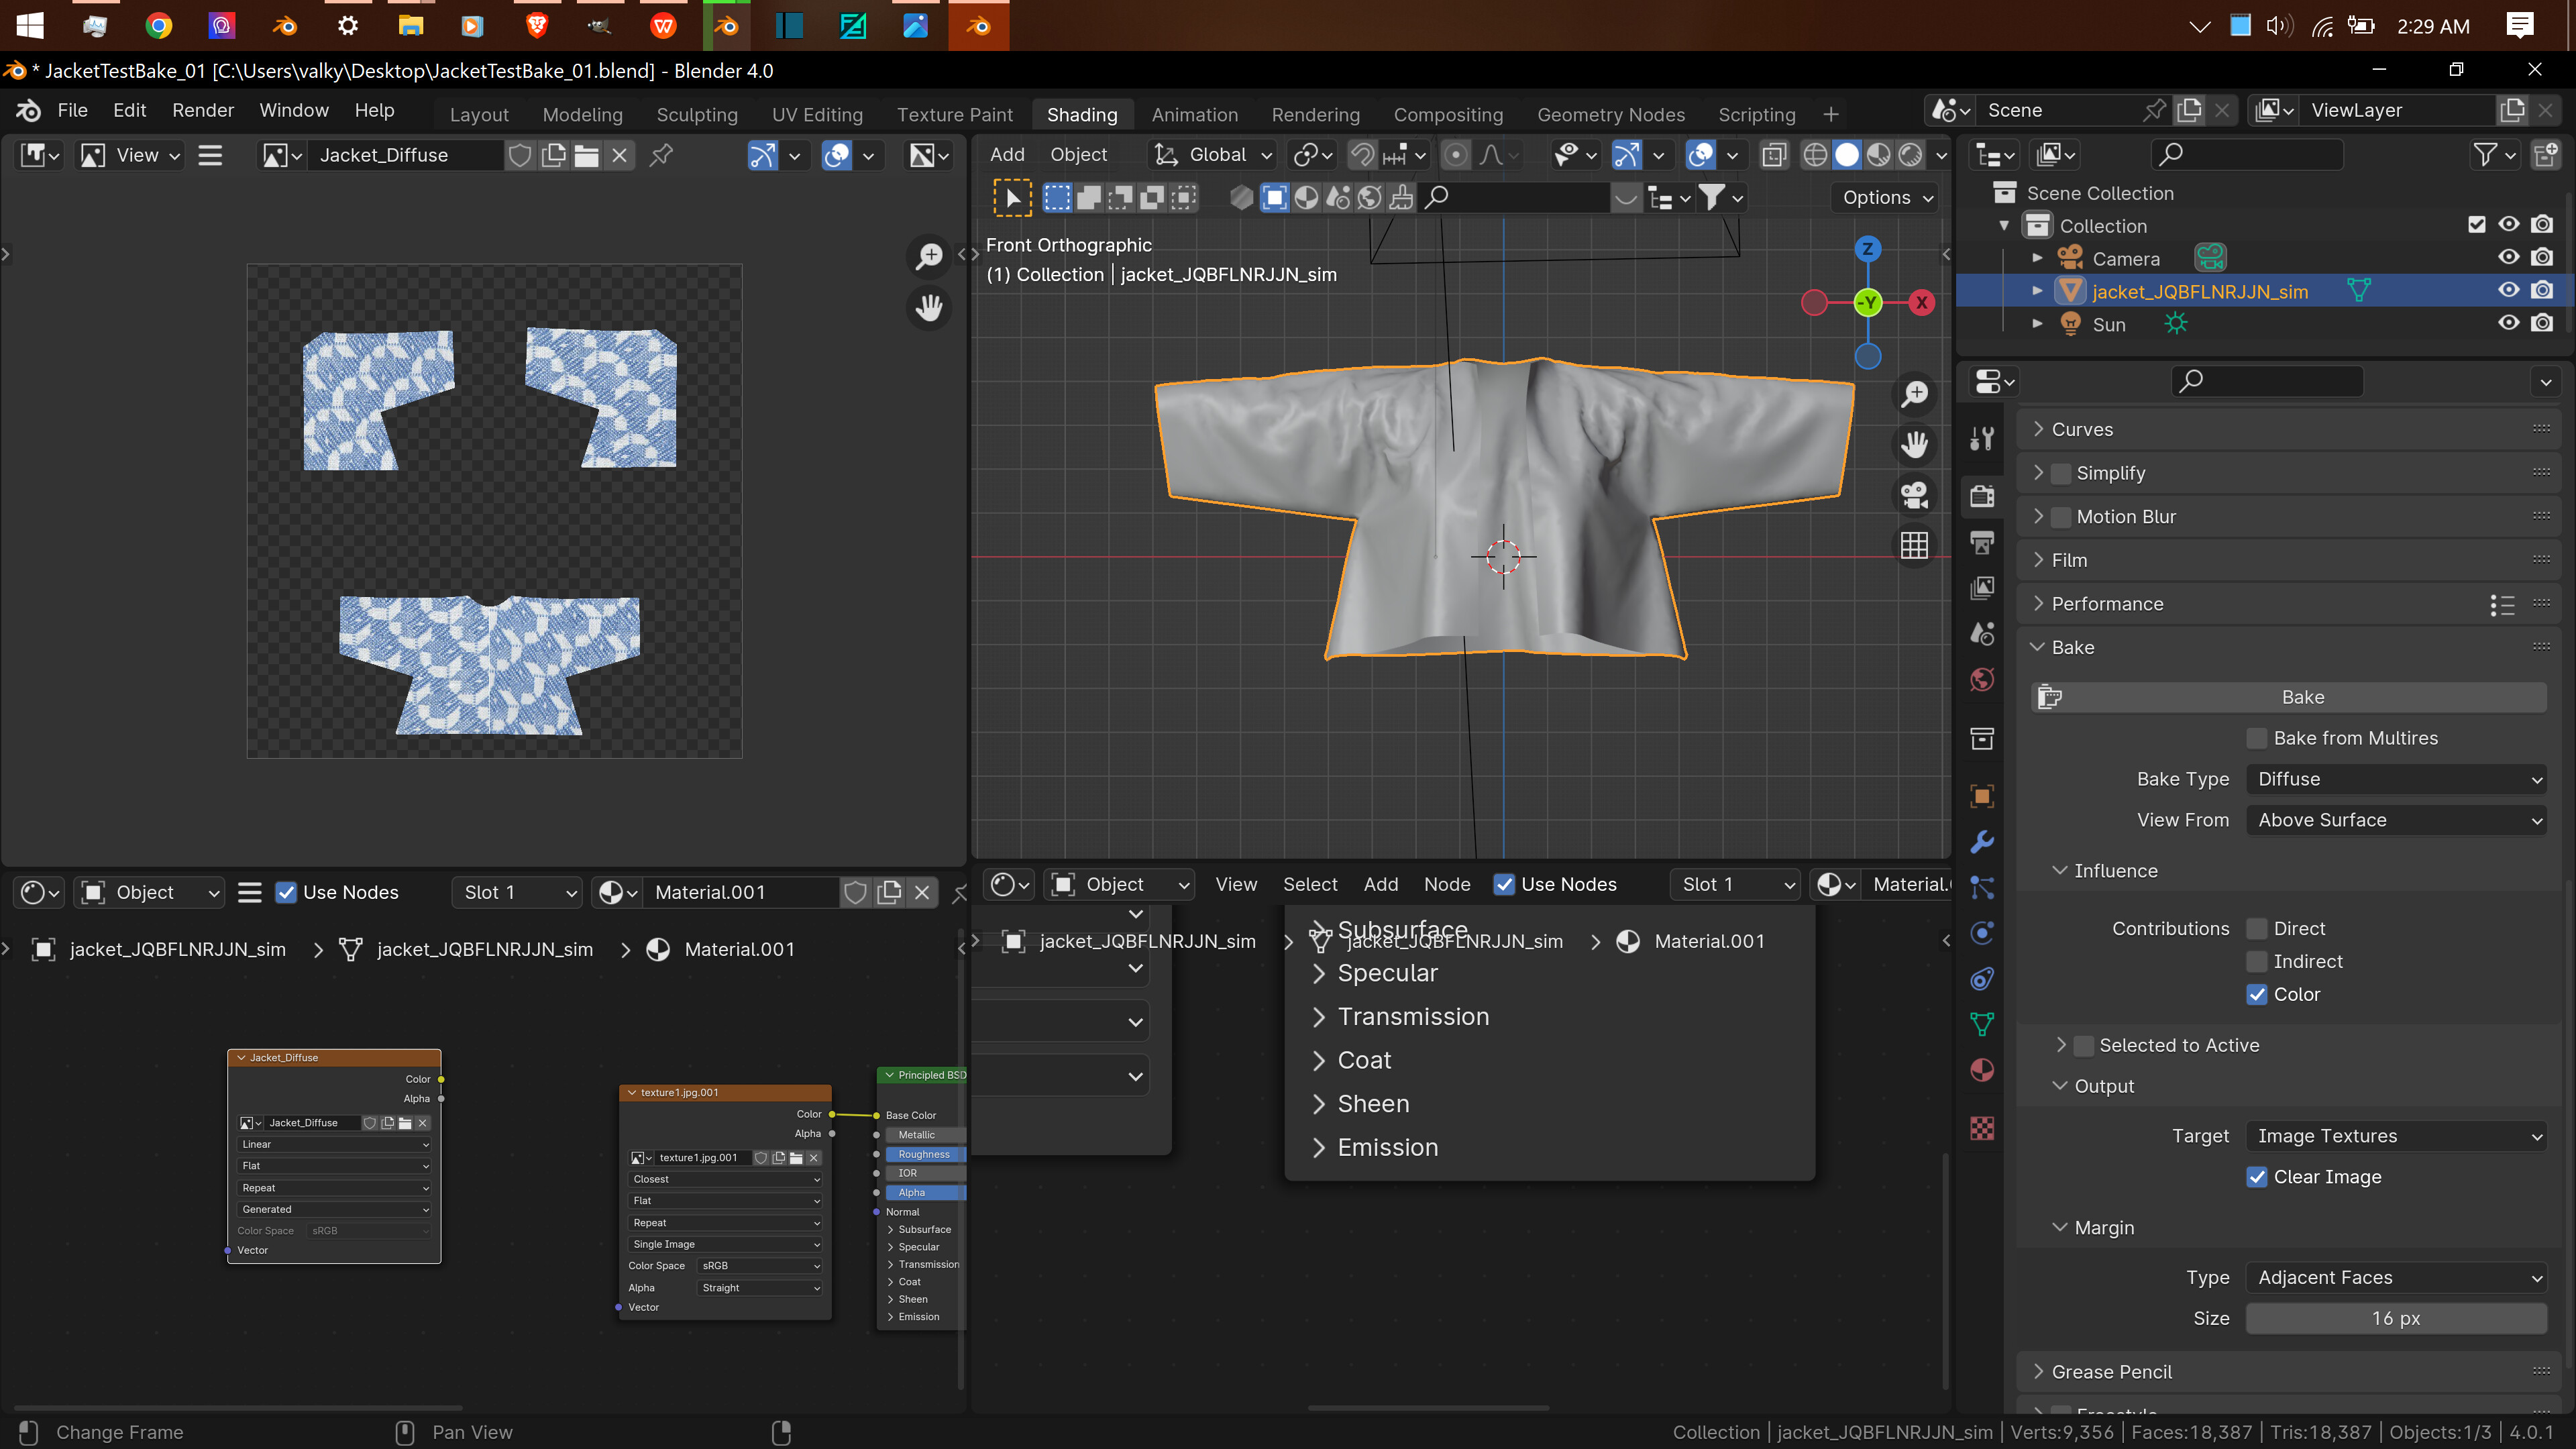
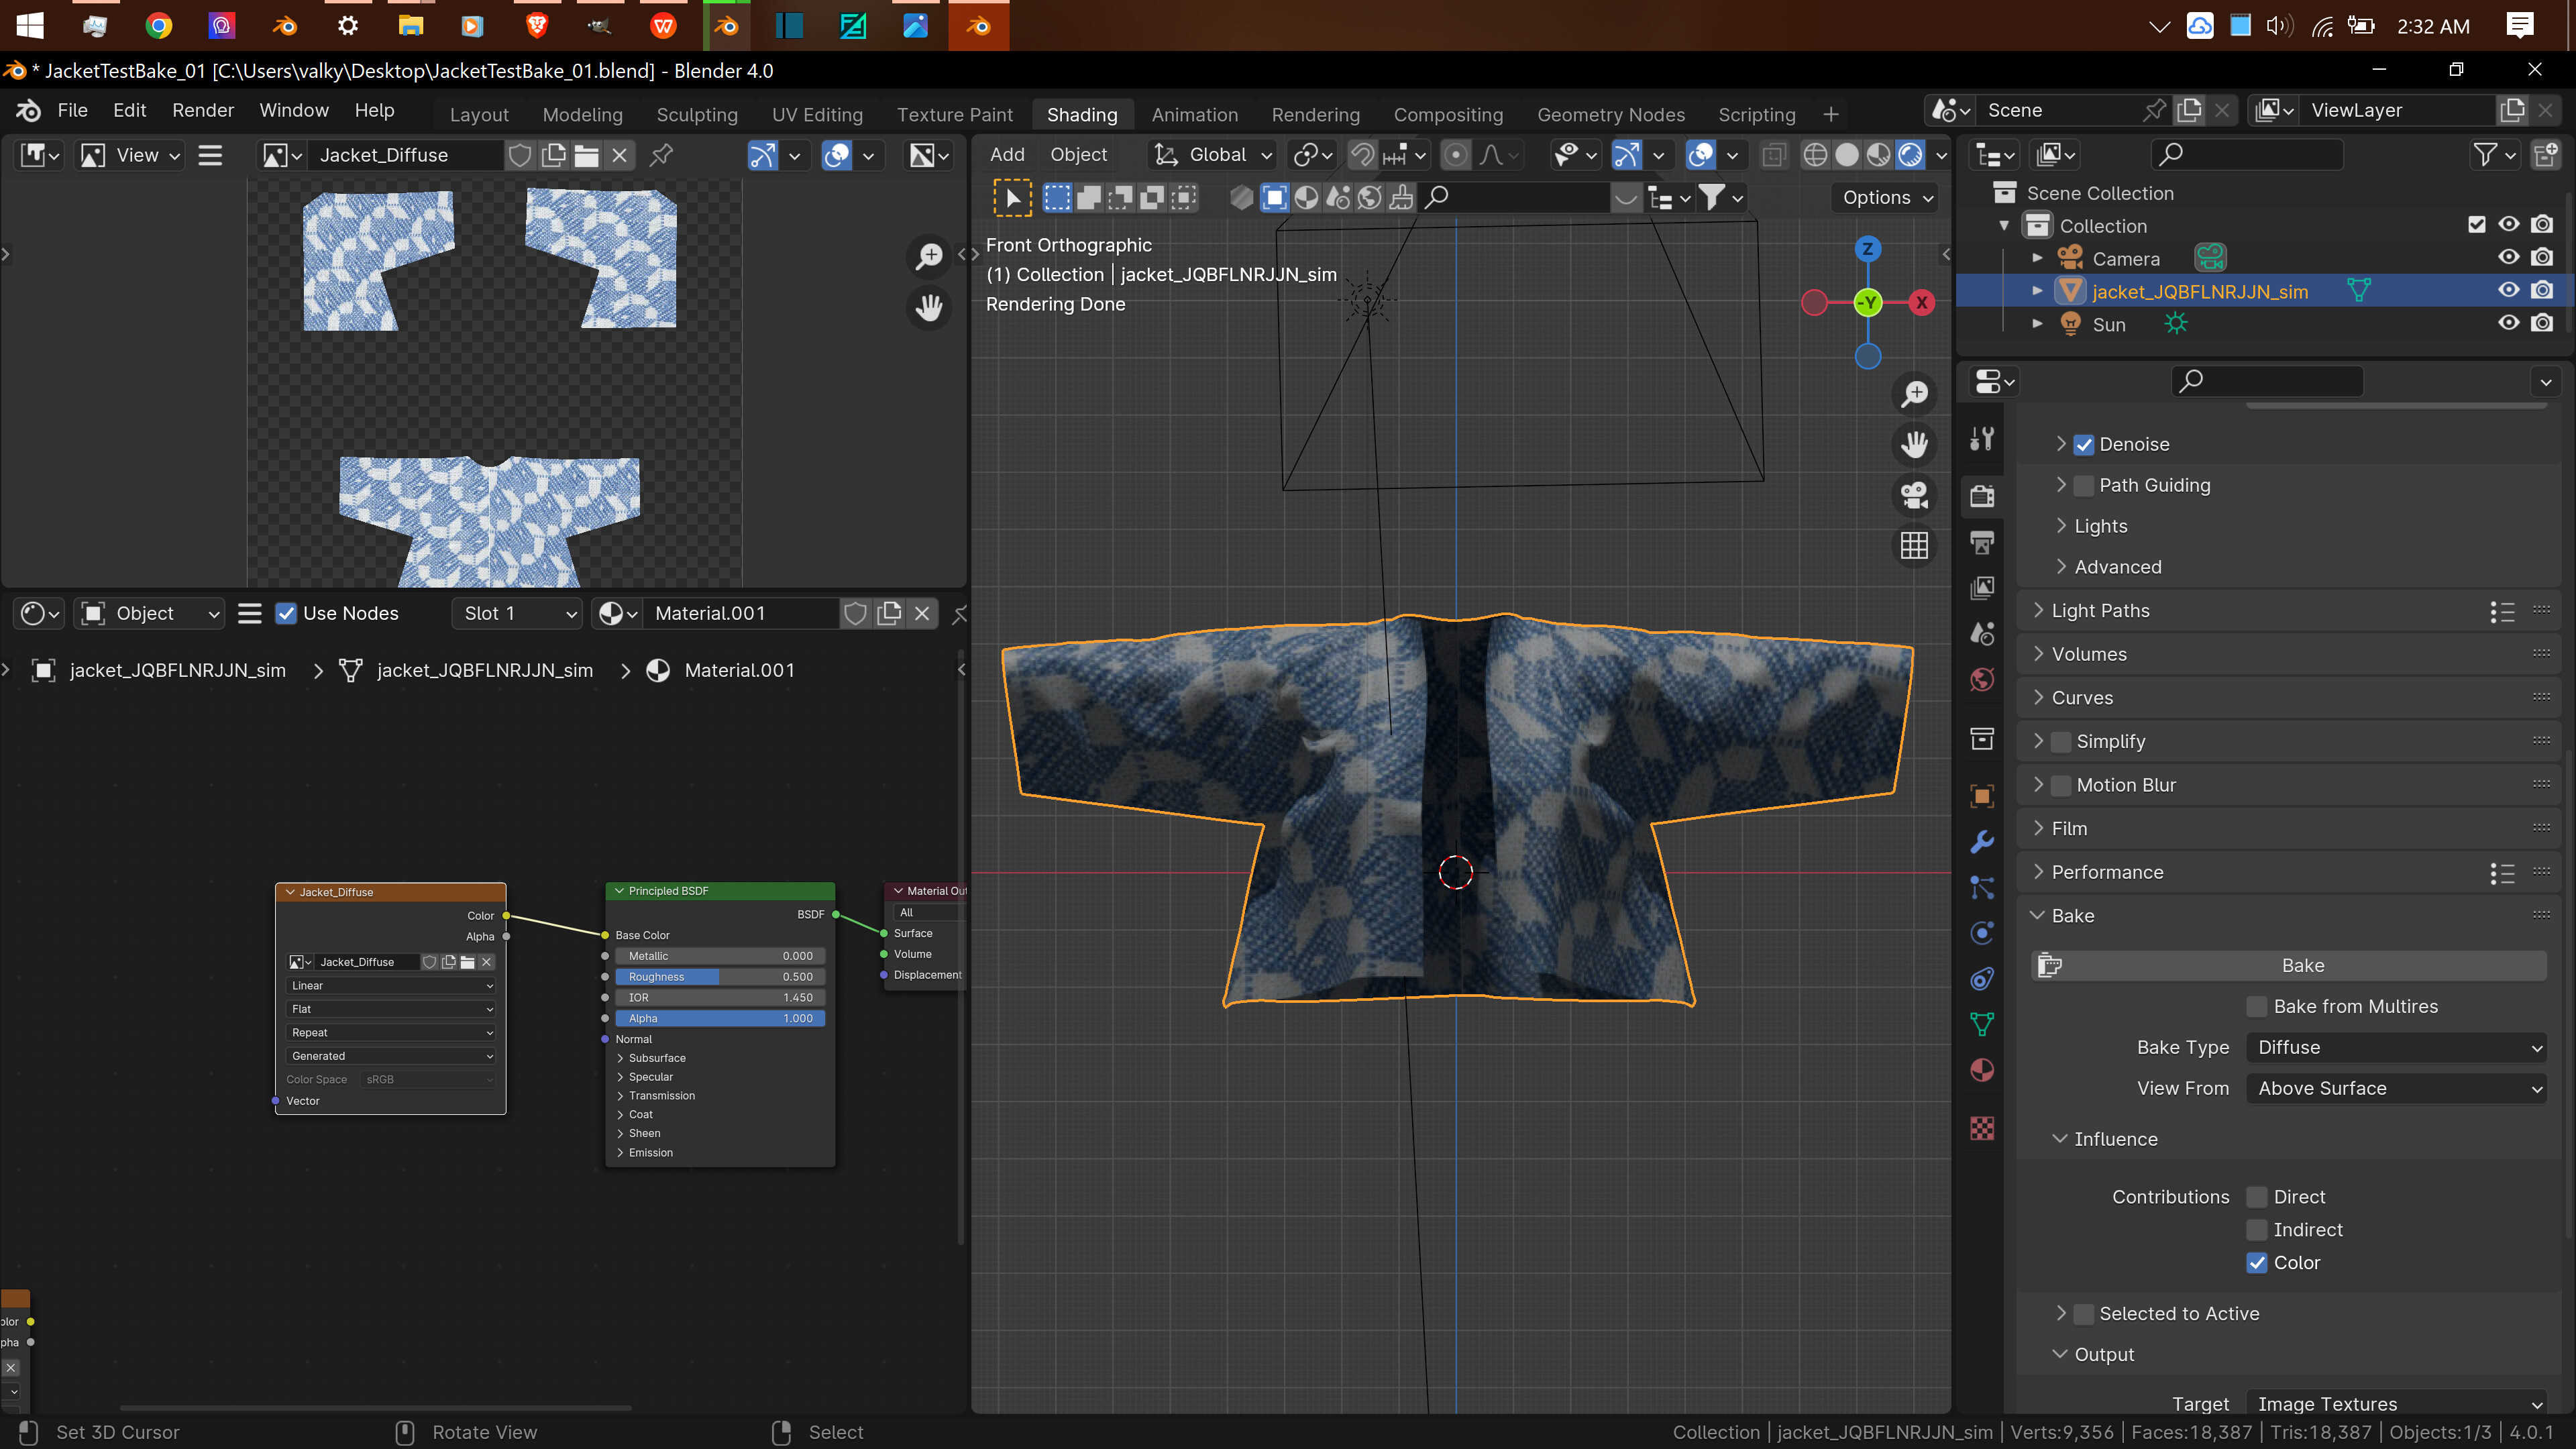
4:Make sure the image you made in step 2 is selected in the material editor and hit BAKE. It’ll most likely take a few minutes to think, but when it’s done all the colors of your jacket should be baked to the image from step 2.
6: Plug your new image into the Base Color to make sure it still looks like you want. You can switch back to Eevee for this step, and probably should, if that’s the render engine you’re using for the project.
If you’d like to transfer the colors and normals of the previous version(the one with the modeled stitches, sculpted pockets, and 3d buttons) there’s also a way to do that, thats not too different from what you just did here.
Hi, I did figure out how to bake with texture details on clothes.
Create a new image texture within your jacket material and name it “Combined.” Ensure that it is not connected to any other nodes in the material setup.
Select your model in Blender along with the newly created image texture.
Navigate to the “Bake” panel located at the bottom of the Render menu.
In the Bake panel, select “Combined” as the bake type.
Press the “Bake” button to initiate the baking process.
These steps will allow Blender to bake the details painted on the texture, consolidating them into the designated image texture named “Combined.”