[edit]Project Cancled[/edit]
I think it looks good(I don’t have experience with cars) and the Veyron is a nice car indeed! As for the filehosting, try www.fileupyours.com. You can upload any file and also pictures and you have quite a lot of space. Just check it out, I use it too!
[edit]Project Cancled[/edit]
hey man i made a buggatti once, its not an easy car would you like to dowload my blend file to get some ideas?
[edit]Project Cancled[/edit]
It looks like you have too many vertices. How many do you have?
Well, I scraped the bugatti project and went for somthing a little easier. A ford escort, and I think it came out atleast somewhat looking like an escort. But how does one go about modeling the interor, and giveing it something to reflect?
All help and C&C appreicated
Katsuro
EDIT: If your wondering, need for advice, their are 503 verts, and 421 faces
Looks good, but what are the weird “spikes” that go in the place where the glass should be???
subsurf, I have yet to put the glass in (the thought of it scares me)
hey with a bit of tweaking this could become an awesome looking model 
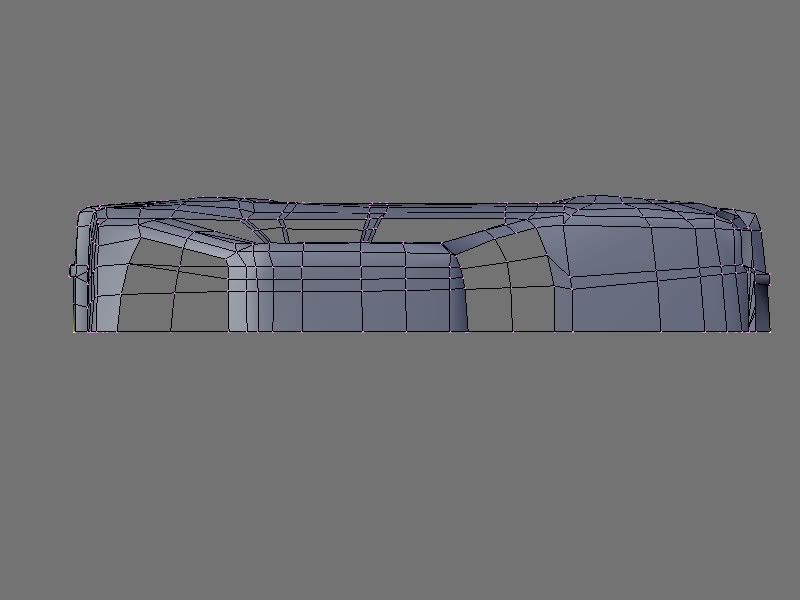
firstly i would go back and tweak the vertices, the body looks a bit lumpy in some places, also make sure you always use qauds on corners and on the round/ curvery parts. for the wheel arches use half a circle (set it to about 8-12) and connect the mesh to it so you have perfect wheel arches. also use loopcuts or edge rows to make certain places sharp, i.e. top of the center pillars, at the top and bottom add an edge loop (Ctrl+r).
is looking good keep it up
if you need any more help just ask
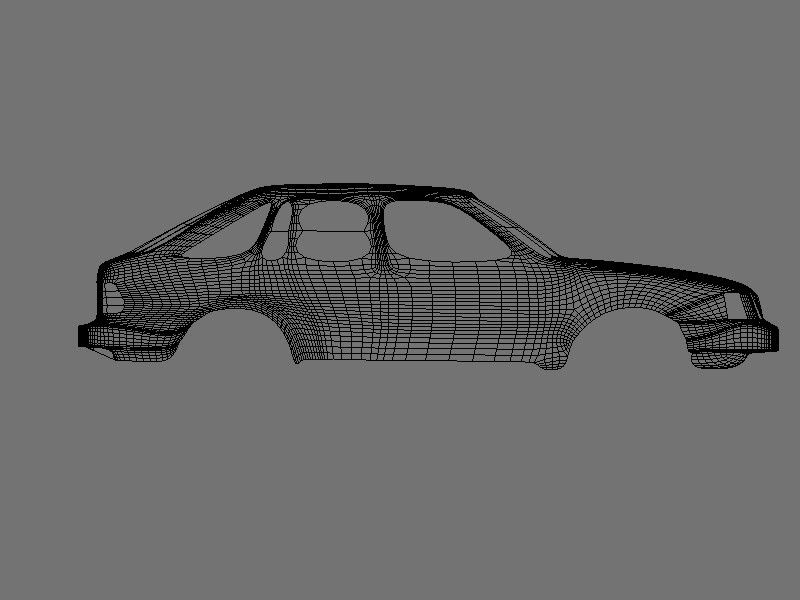
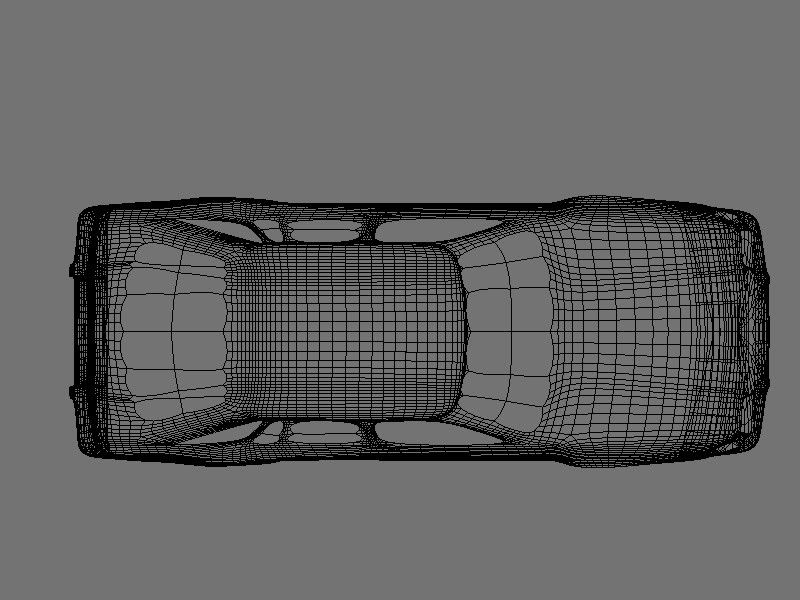
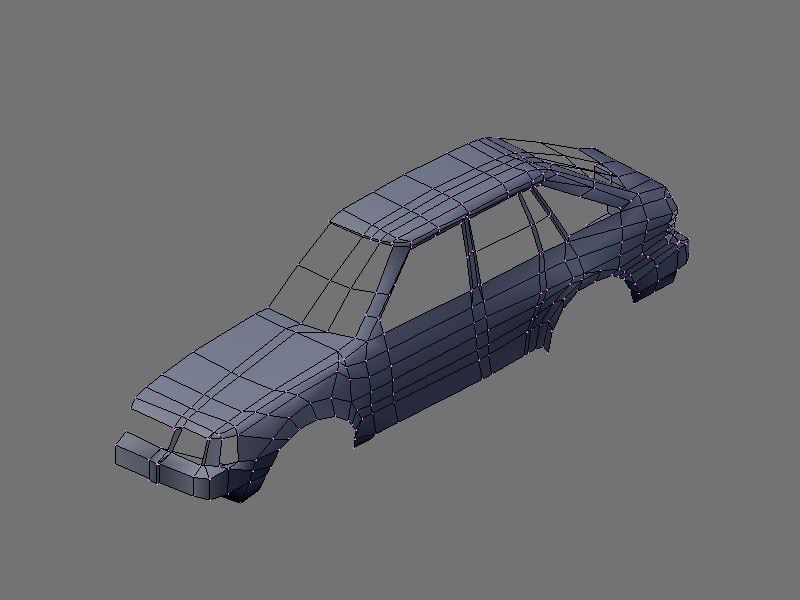
Ok a quick update, I’v basicly just updated the wheelhousing (extruded it in) and ate dinner, so here it is

Daniel8488: Thanks, but, where is it looking lumpy? And I did use a circle (16 verts) to make the wheelhousing. The pillars will become sharper when I put the glass in.
Katsuro
Anybody? I really need the help. From where I’m at, im lost. This is the farthest iv ever gotten on a car. Please help me.
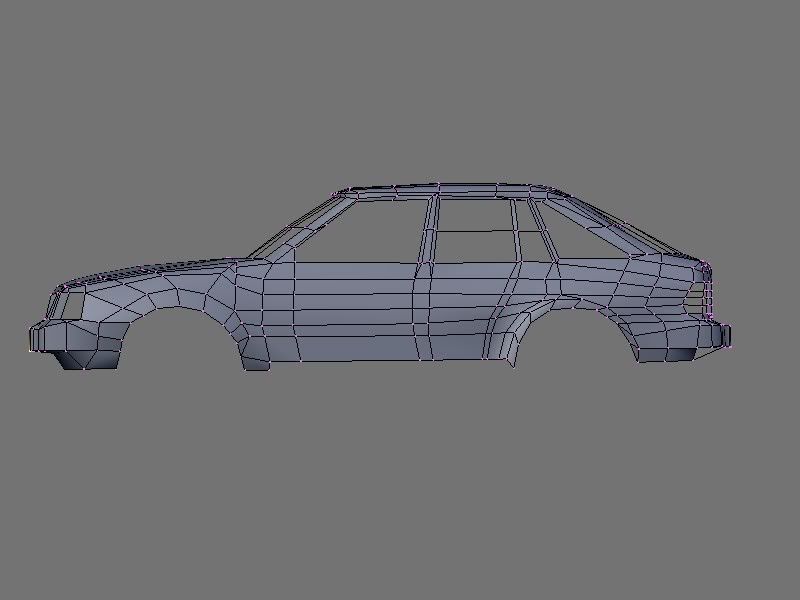
But I have done a few updates, such as, as said befor, and I said would be fixed, I fixed the pillars wiht loopcuts, and I removed the edges tha caused the spikes, and rounded off the headlights. I also moved changed the camera and lighting, witch still sucks. I will need help with that on the final render.
EDIT:Opps, forgot the picture…
Katsuro
That’s a great improvement, but what are the holes at the sides(around the corner at the headlights)?
looks a lot better than before, big improvement!
now add windows and put in a litle more details like doorhandles and the headlights…
FOr realistic reflections and lighting I suggest an image and the use of the internal blender AO, or if you feeel adventerous you canget a HDRI lightprobe and render it in yafray or POVRAY.
Hope this helps
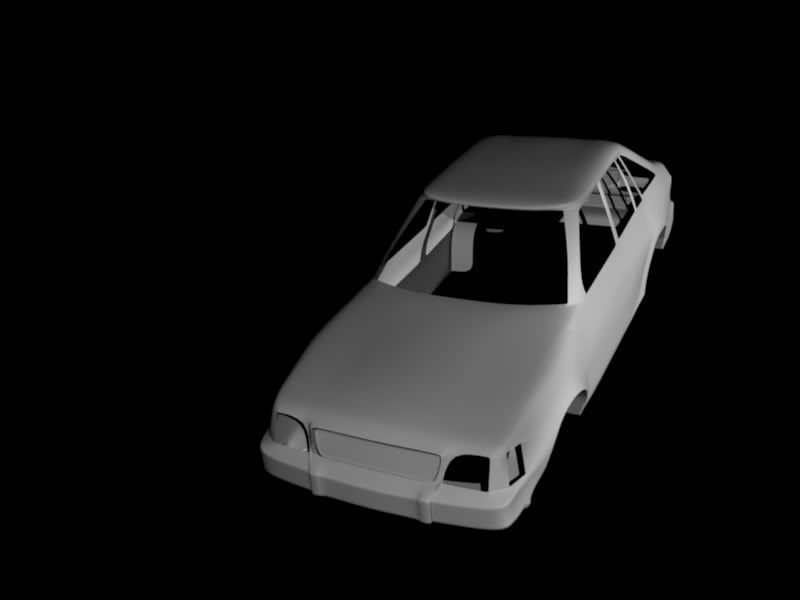
Thanks guys, I have a small update

Added wheels, they are temp, mirrors, and doorhandles, and the handles I’m not too fond of. Just asking, how do you makethe little divits where doors/hood are?
Katsuro
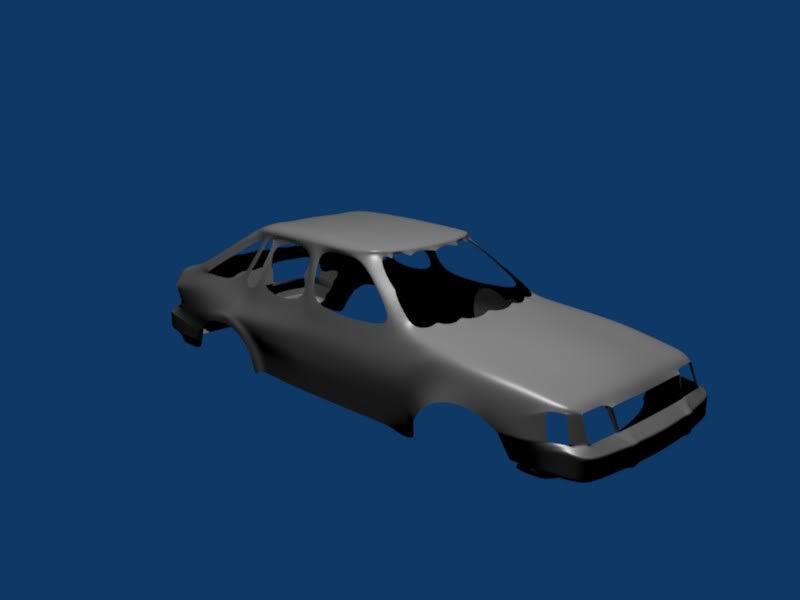
Another update, I added all the glass(headlights are plastic) and swaped over to yayfray for rendering.
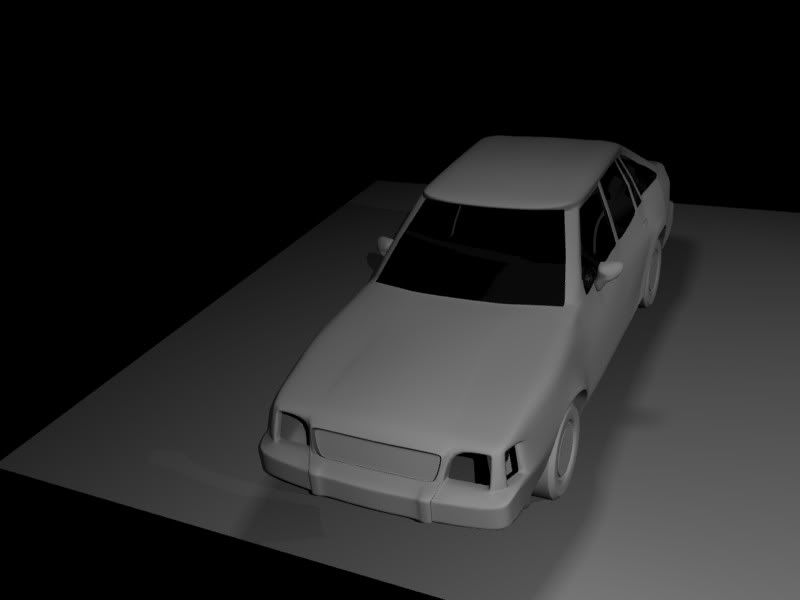
Time is now up to 1:30 (long time for me), and vert count is 907 (839 faces, mirrored). That seem too high? I still am wondering how I make the glass reflect (like in Manica4Hire’s BMW)
Katsuro
To add reflection, go to the materials settings and use ray mirror. Make sure Raytracing is on in the render buttons.
Sorry, i should have been more discriptive, I know how to make it reflect, but how do i make it reflect something, say like Big Ben, wiohtout modeling it?
like p00f said…
just google for “HDRI” images and you will find answers ![]()
(e.g. at deviantart)
when you got one “*.hdr” file…
-open it as a new texture in the world buttons in blender
-set “map to” hori
…thats it ![]()
of course you have to set raymirror on in the car material, something between 0.10-0.30
almost forgot…if you want the car material to look good assign a colour of your choice
delete all lights (or move them to other layers and deselect them)
raise the “exp” setting in the yafray settings to maybe 1.6
method => skydome or full (what you like more)
quality => low or medium for those WIP renders
with these settings it will look pretty cool ![]()