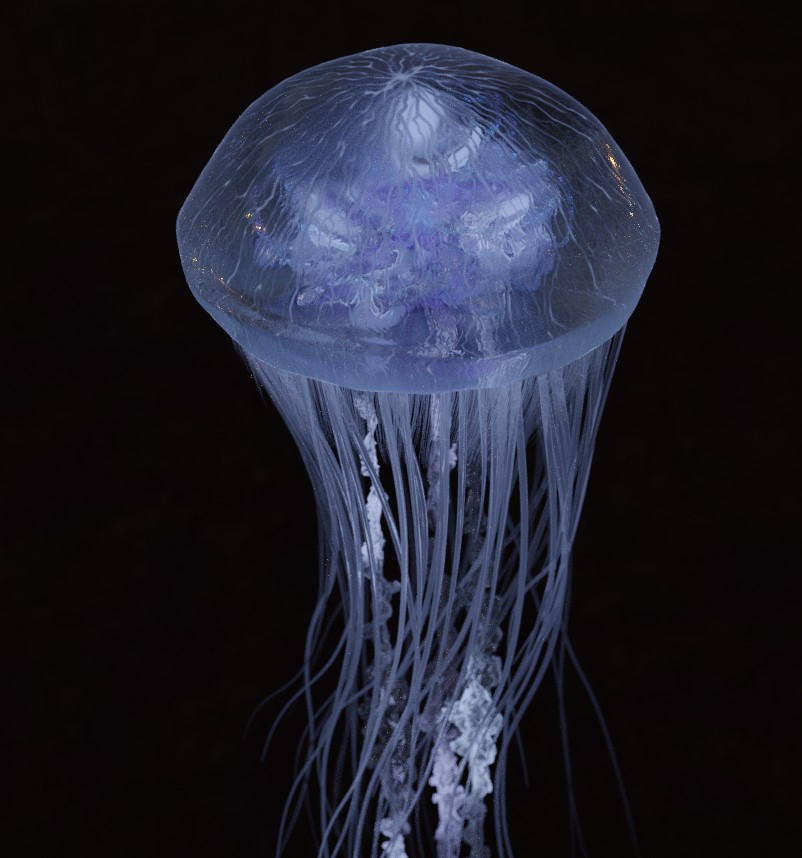
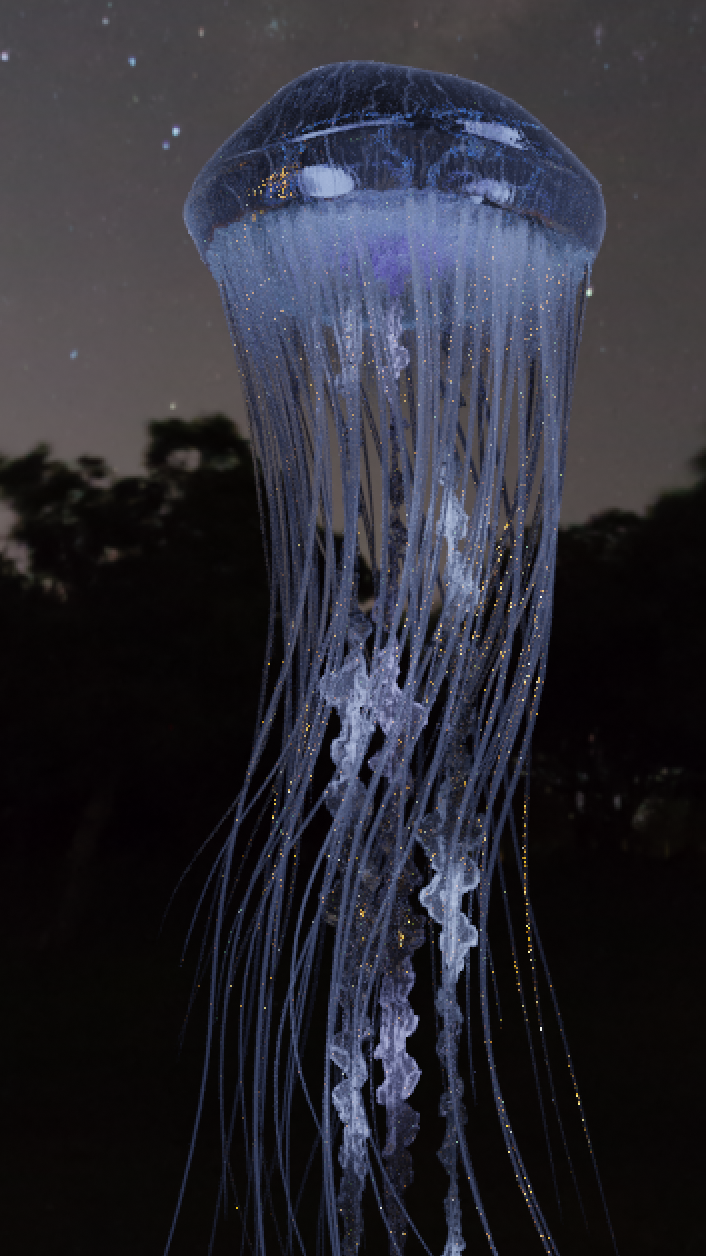
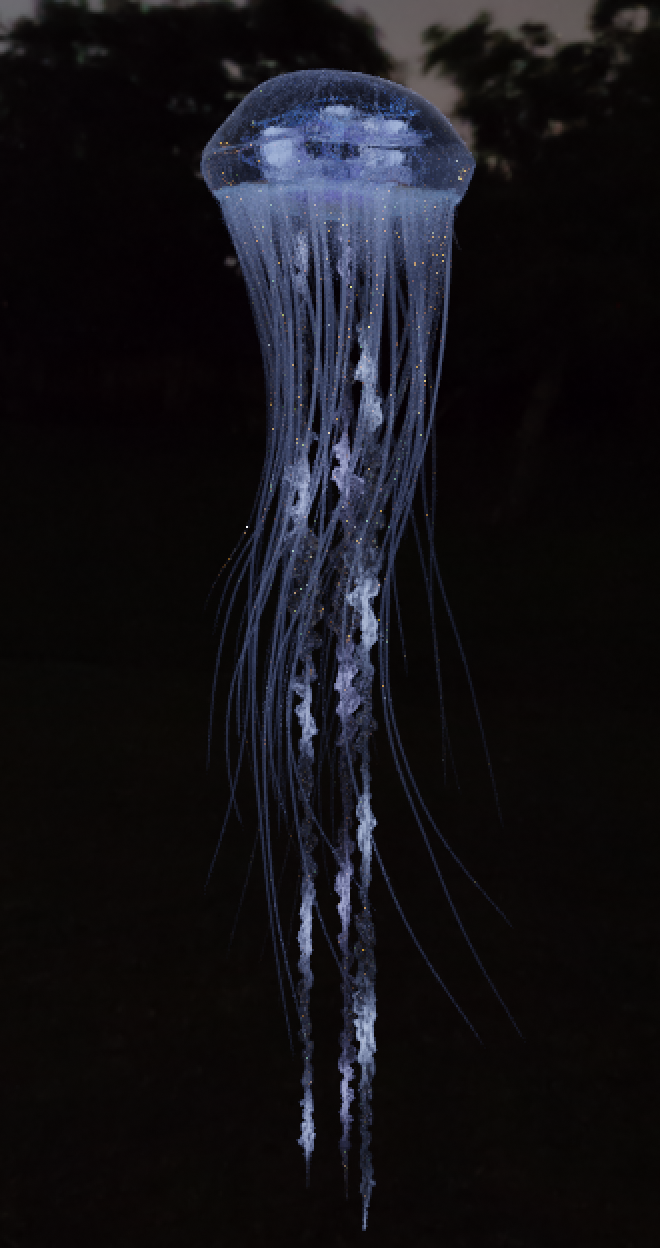
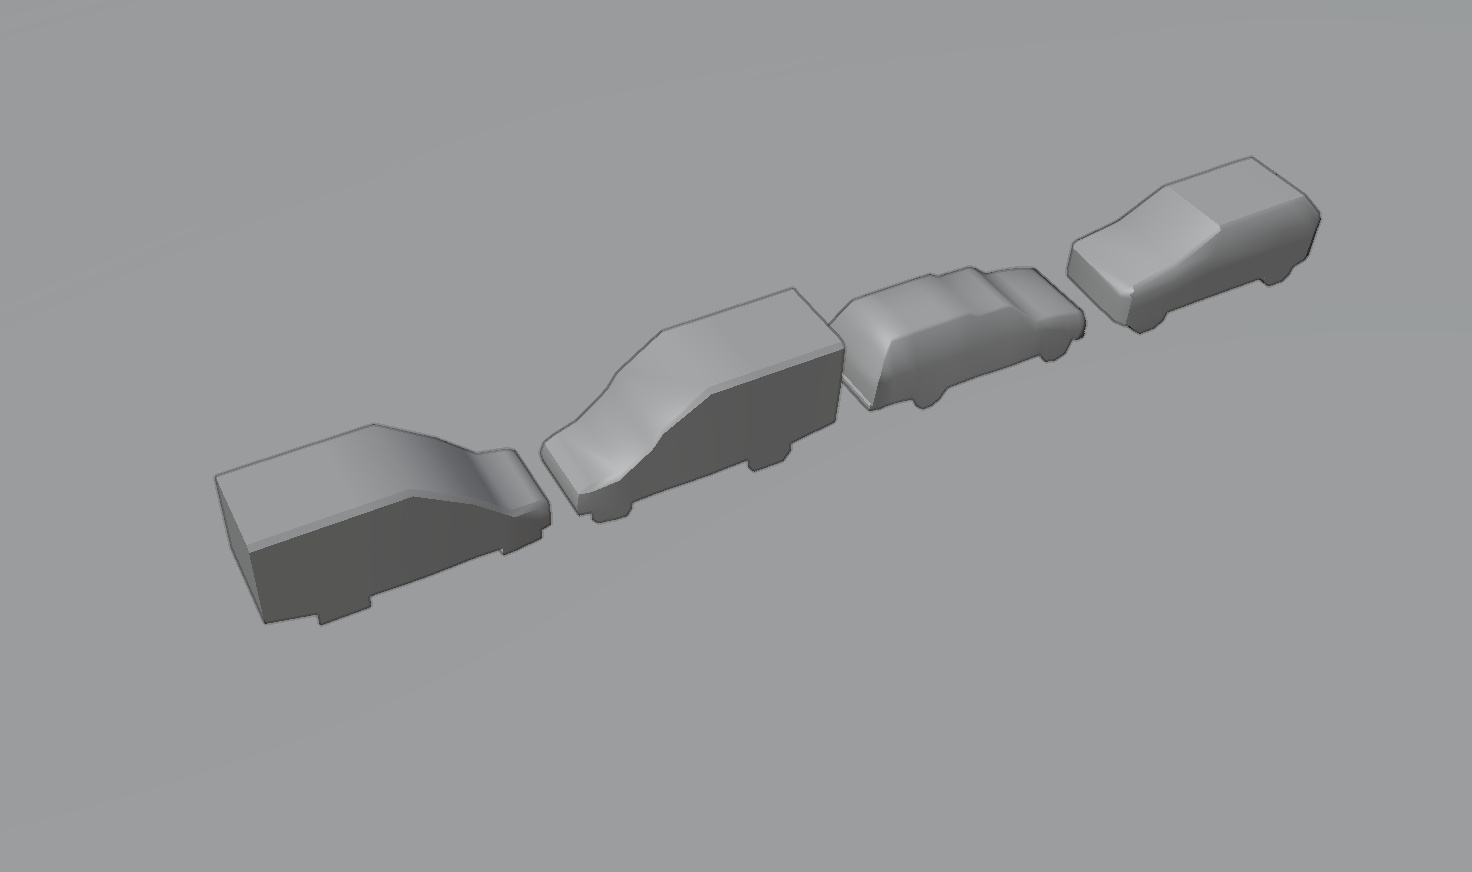
Here’s a little video, what my crazy creatures look like in the film.
(obviously downscaled and highly compressed.)
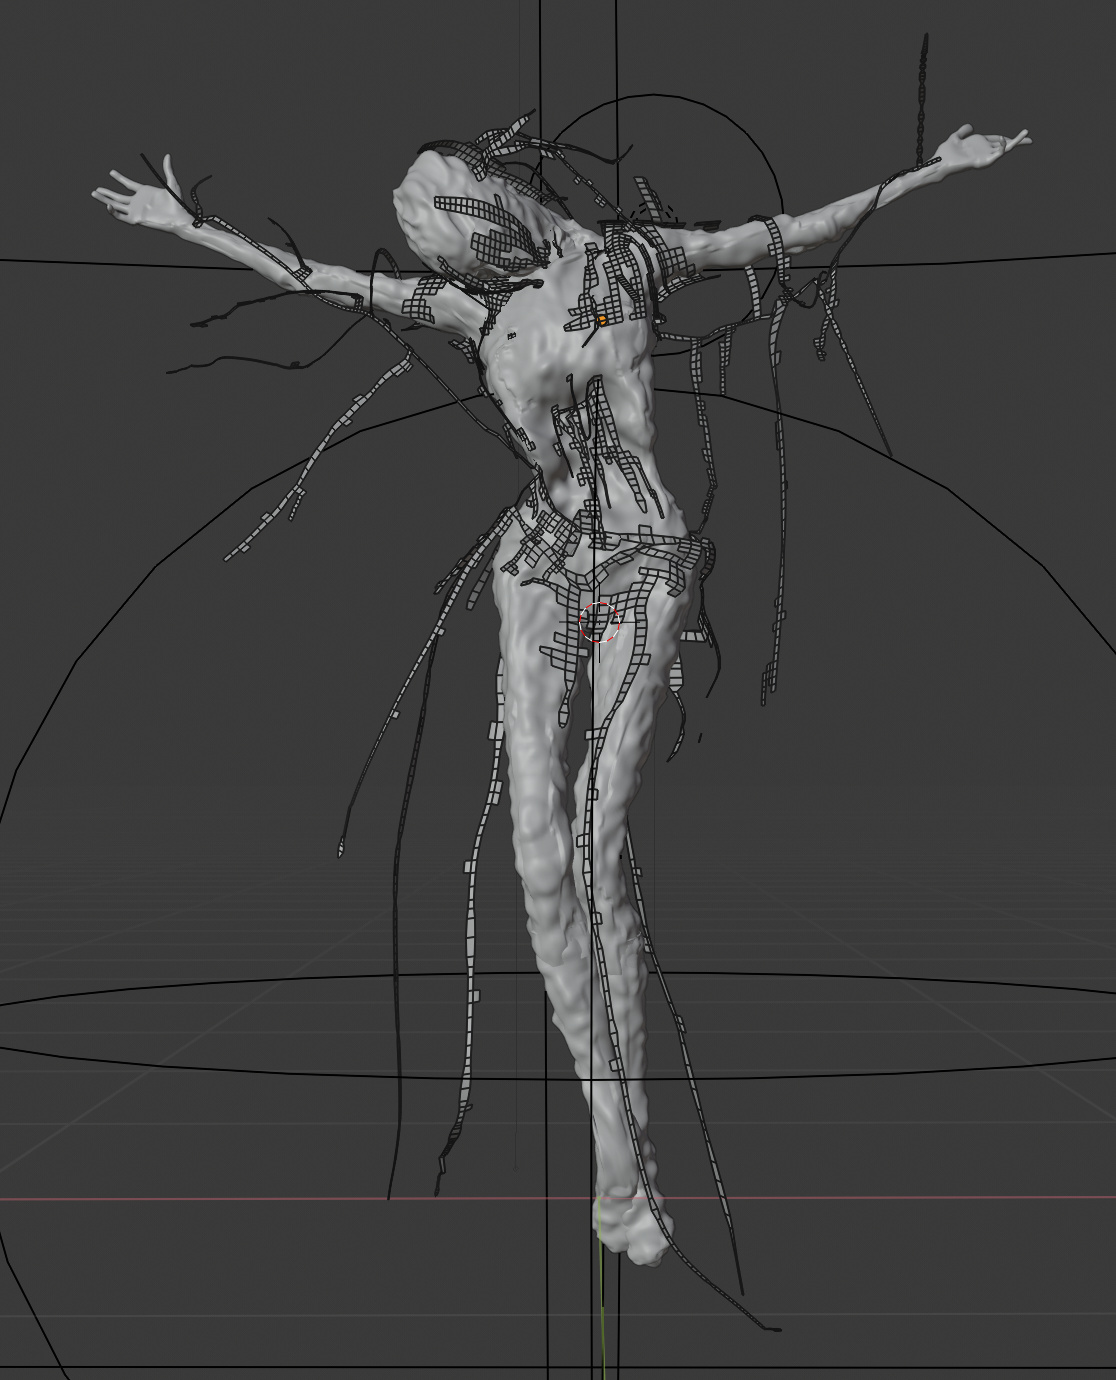
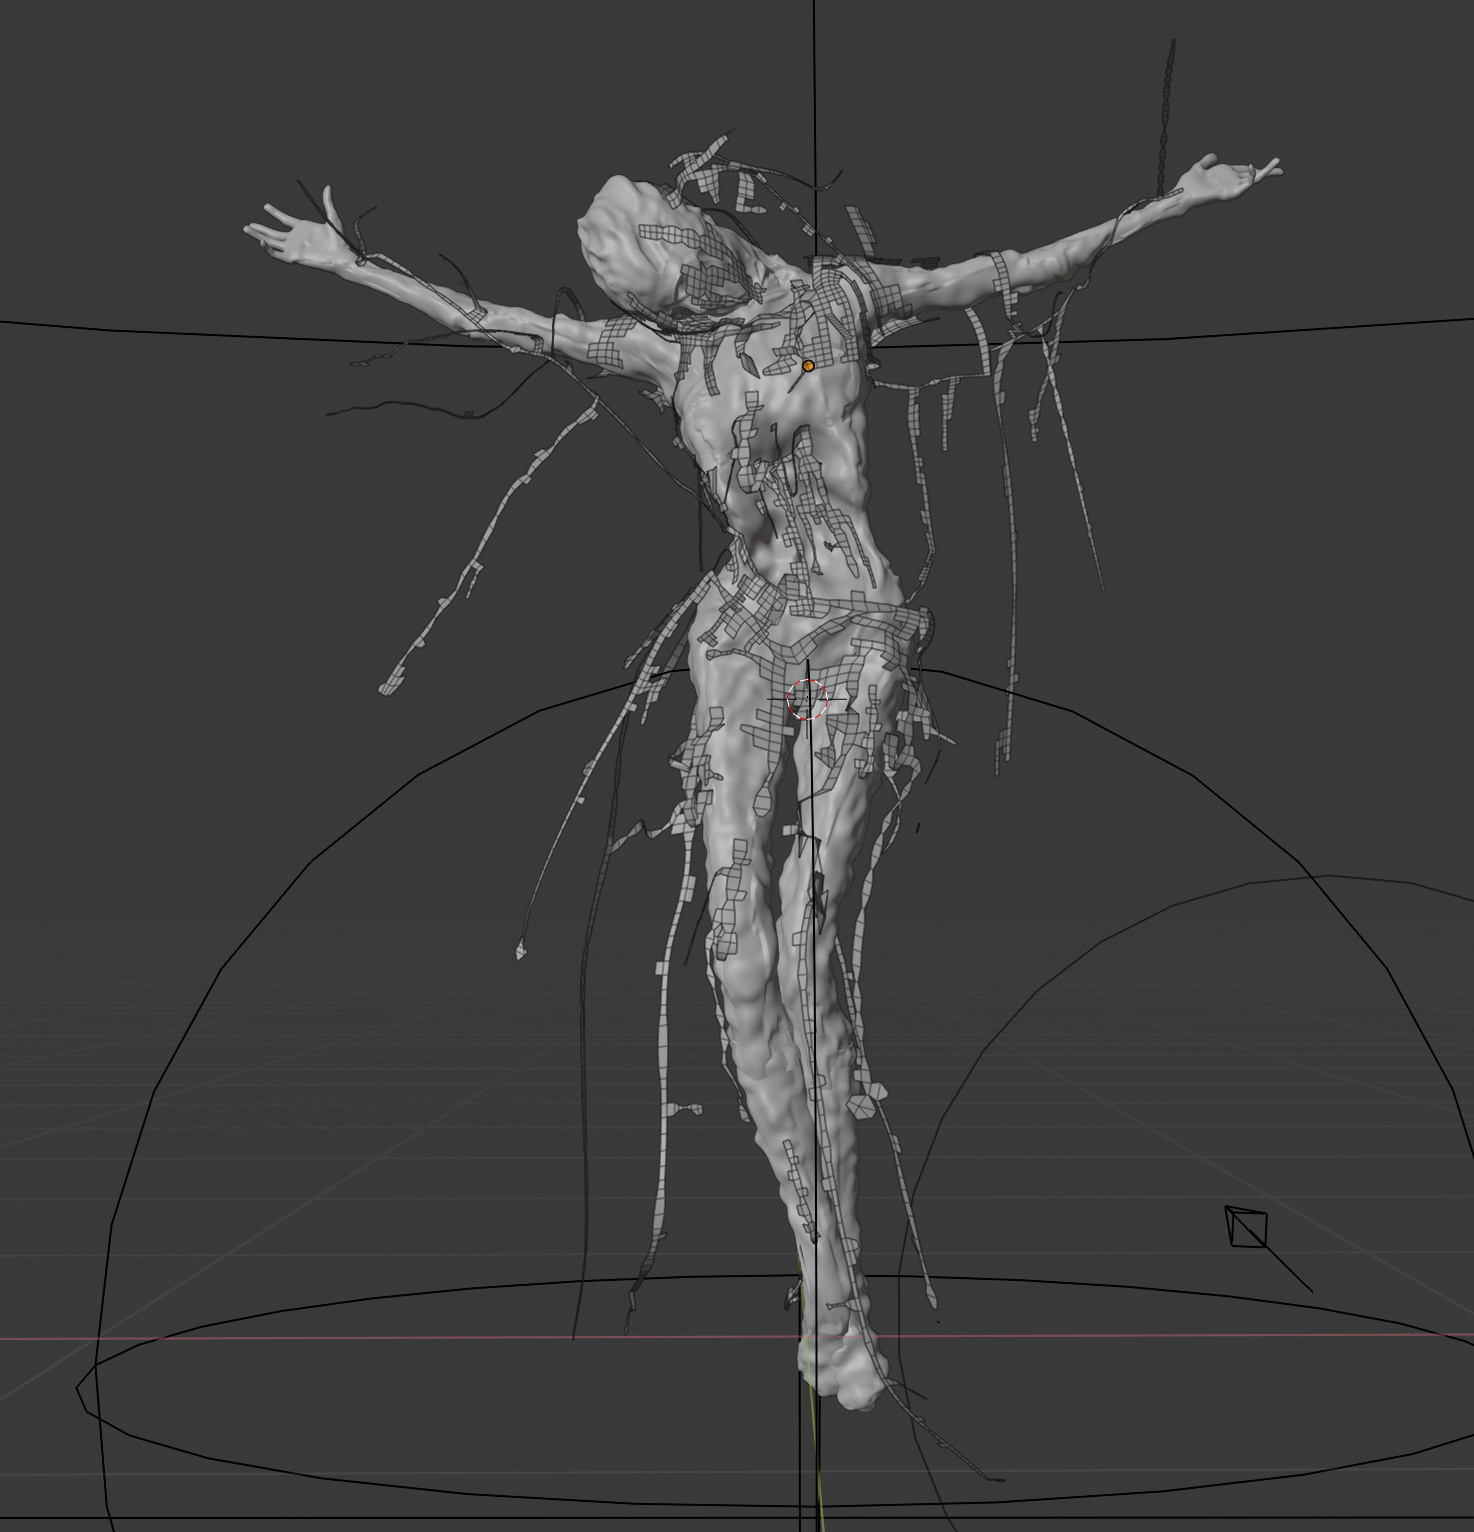
It’s actually great fun using cloth sim this way. It adds so much ‘life’ and chaos to the animation and makes it look much more ‘real’.
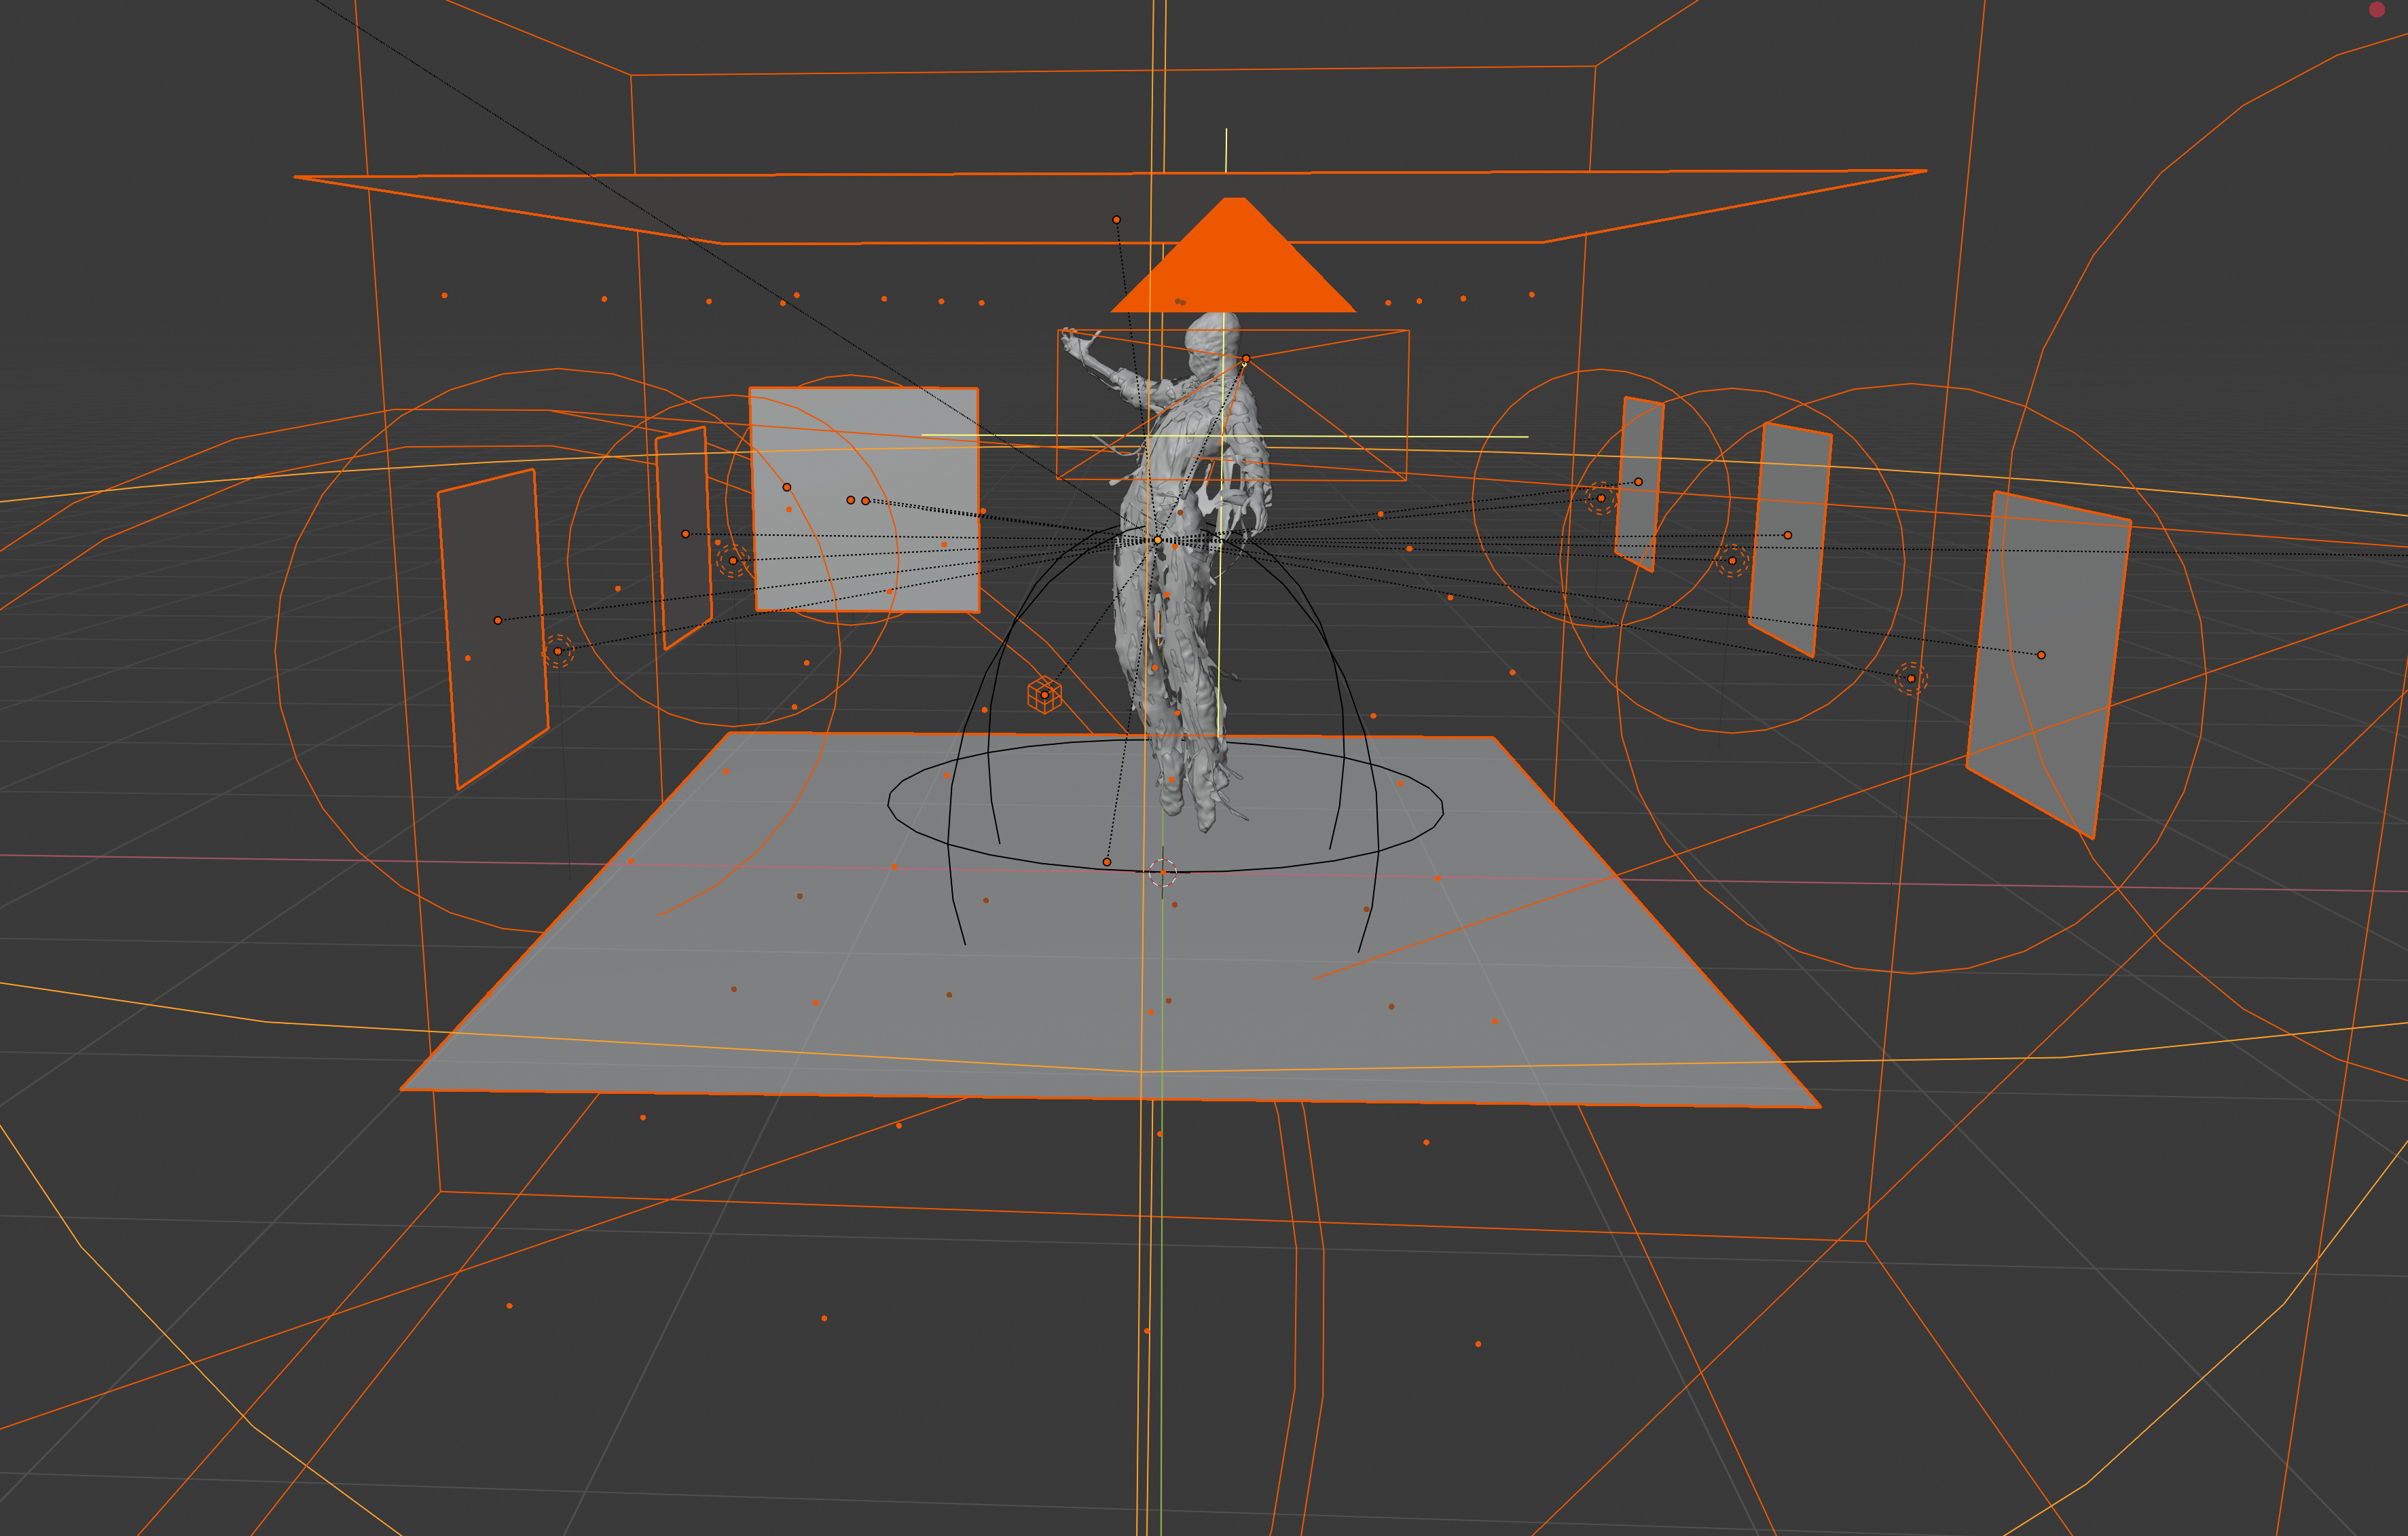
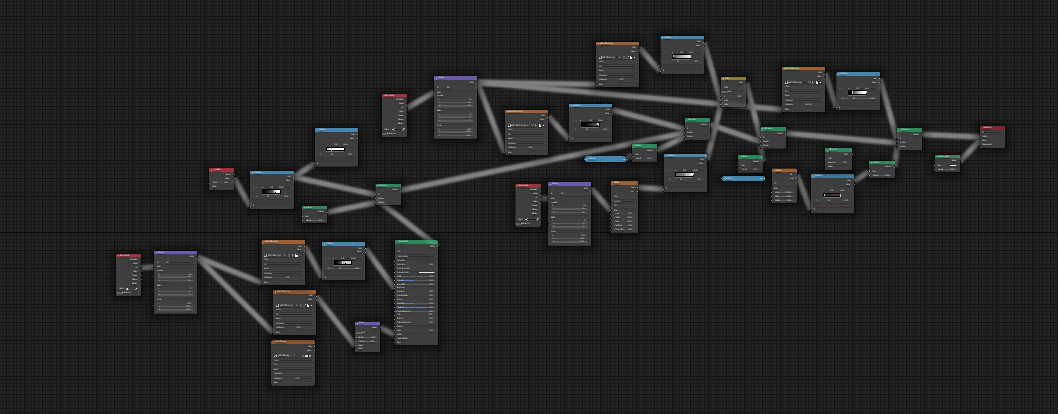
But on the way, to get there I encountered several issues, I guess most noobs bump into. ![]()
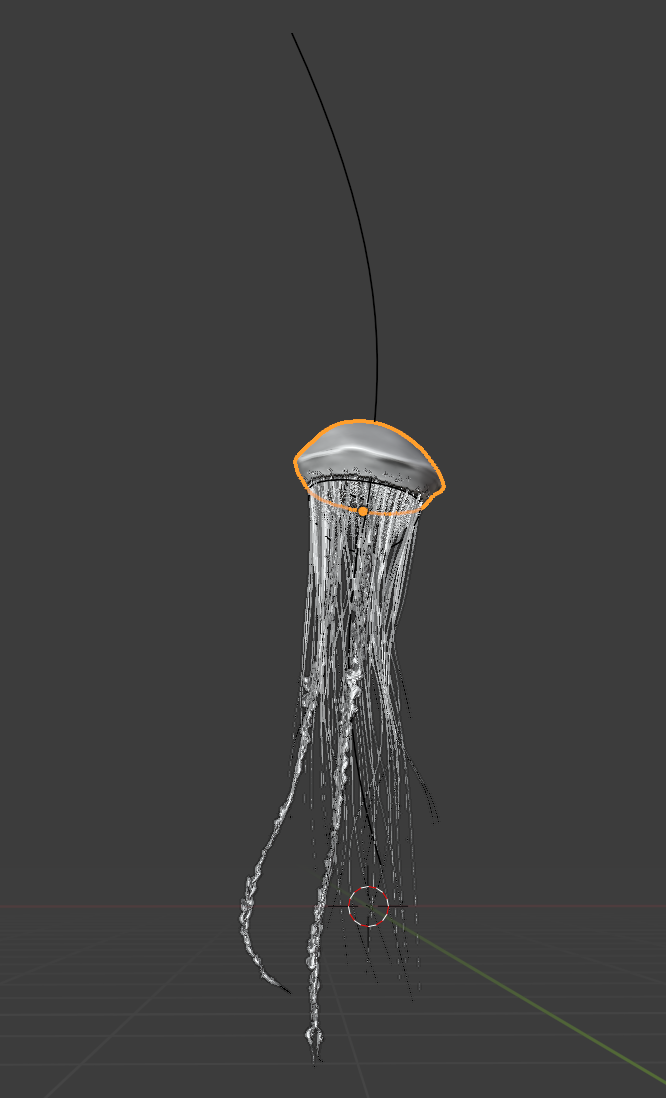
Like having overlapping vertices in the cloth mesh, which completely freaks out the physics system.
Luckily this issue is easily solved, once you found out about, that is. (Just merge vertices by distance.)
Another super simple solution, once you know about it: the subdivision of the cloth has to be identical for the viewport and the render, when you bake the sim!! Otherwise your cloth will go bazooka.
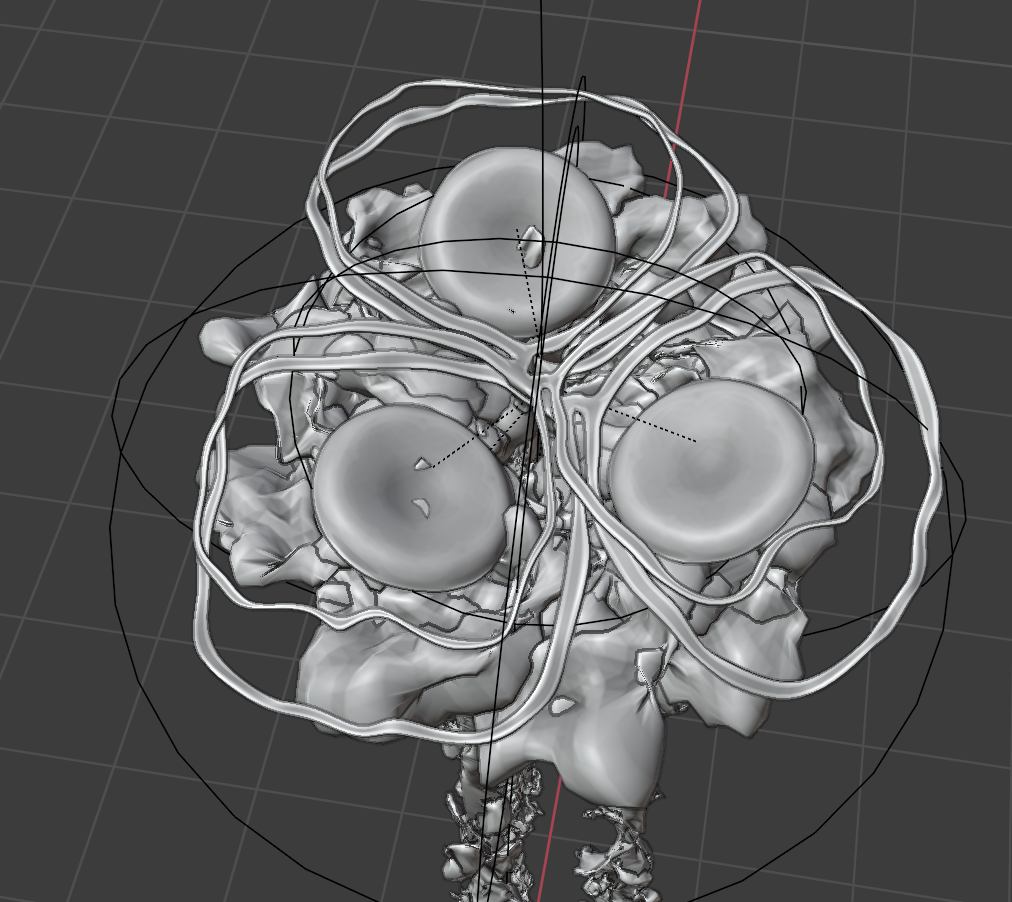
In some less wild scenes I pinned parts of the cloth to the creatures. This was more of an emergency solution, though. It was the only way, to ged rid of jittering parts of the cloth in slow, calm animation. As soon as cloth is hanging it’s perfect. But the parts constantly laying onto a complex collision mesh (the creature), just keeps wobbling slightly. Obviously the higher the subdivision of the cloth the less obvious. But I could never get rid of it entirely. So I had to pin these parts.
If anyone has a solution for this jittering issue, I would be very thankful to hear about it.
In general, it would be amazing if someone could make a tutorial about all the issues you might run into when doing cloth sims (on characters especially). And about all the values and their actual effects in the cloth physics tab.
And hey…if you can fit all of it into one minute…even better! Ha, ha, ha.
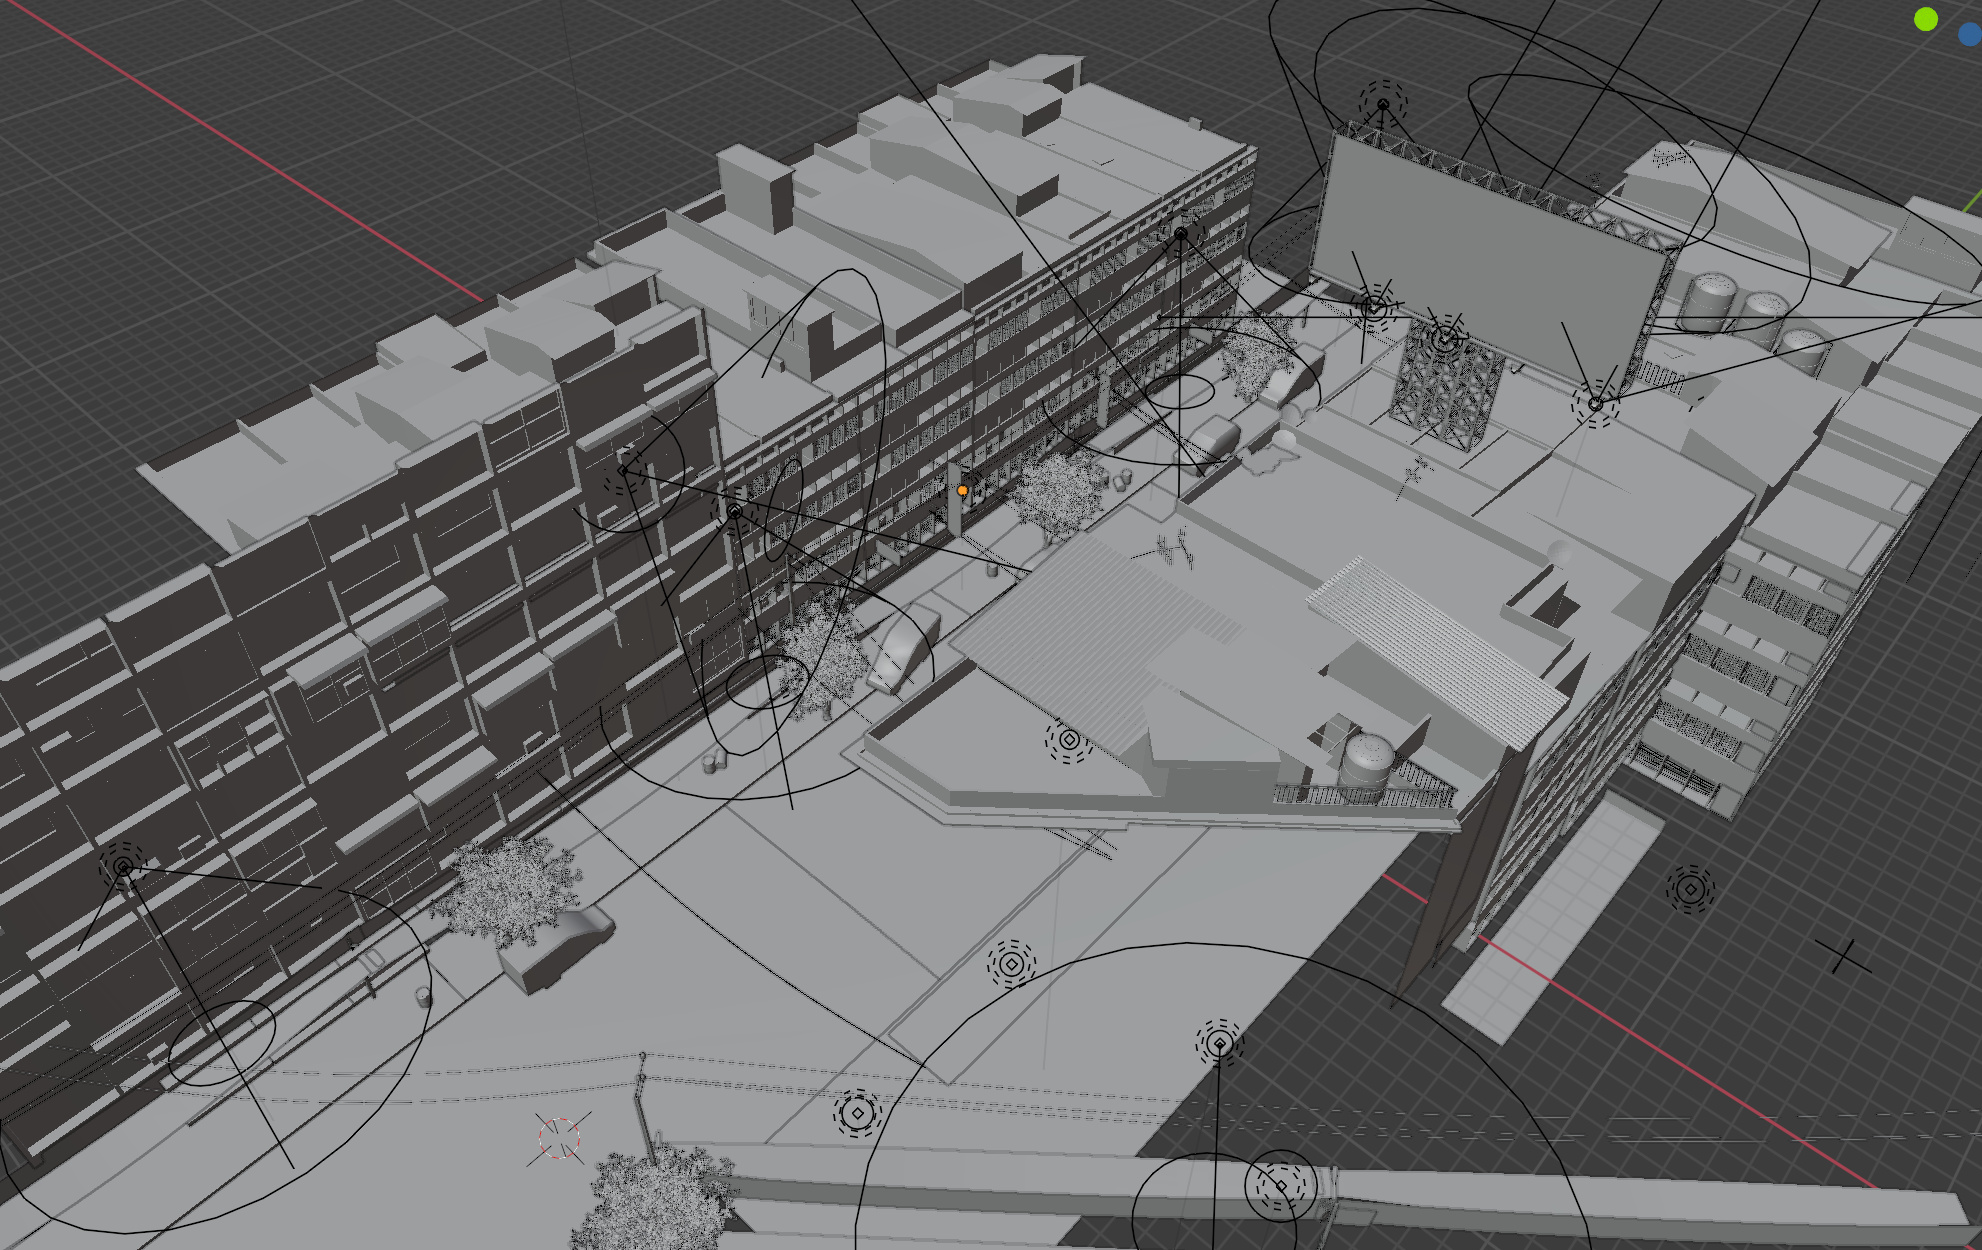
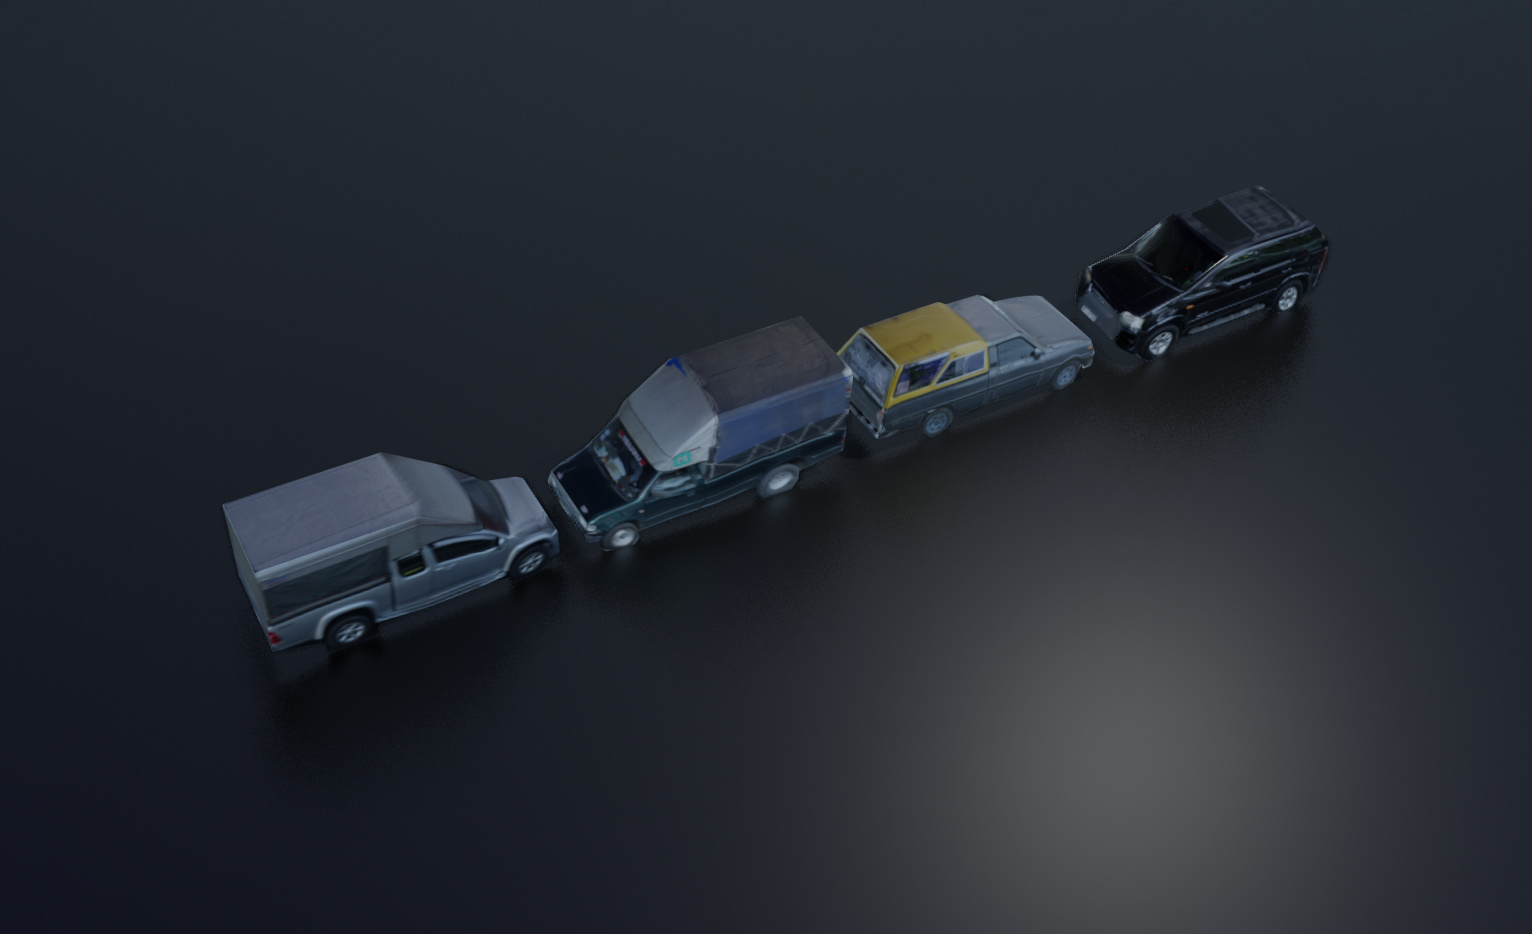
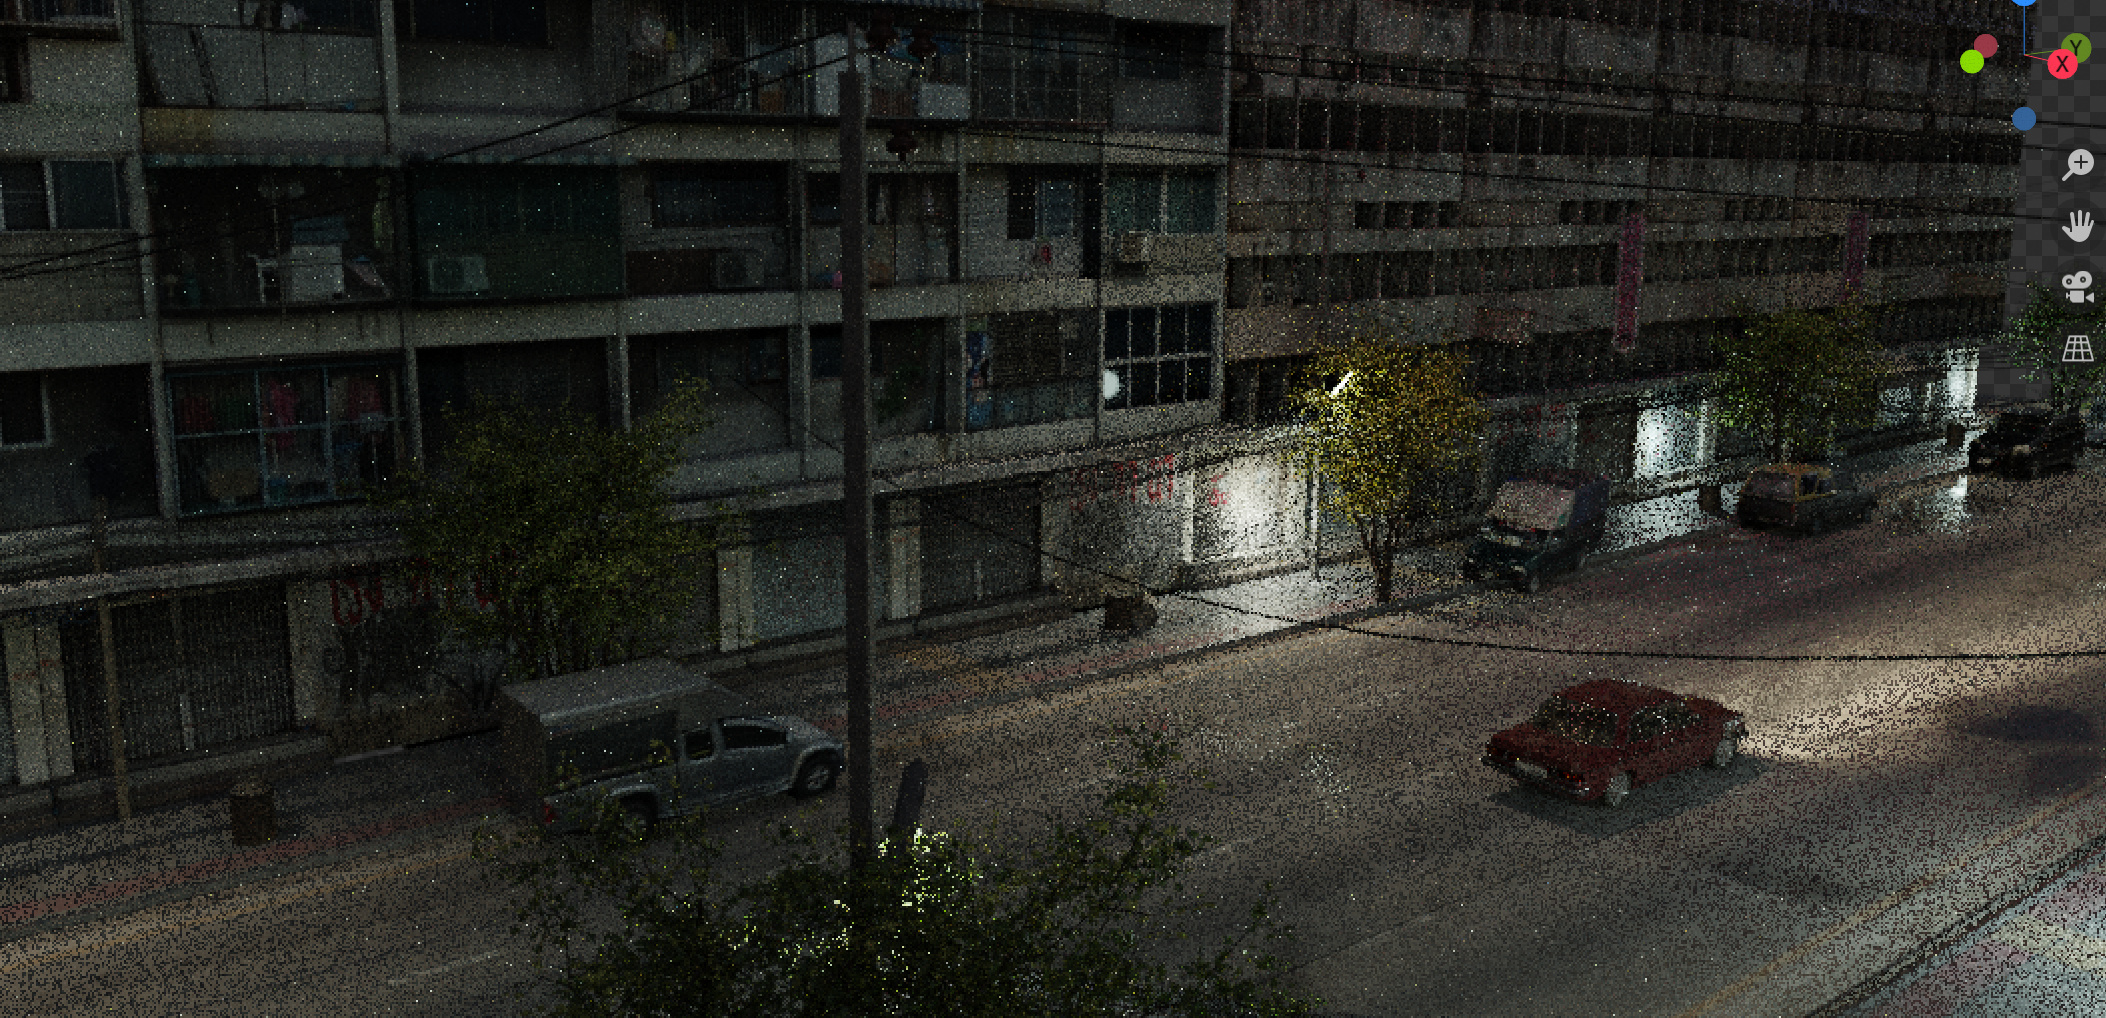
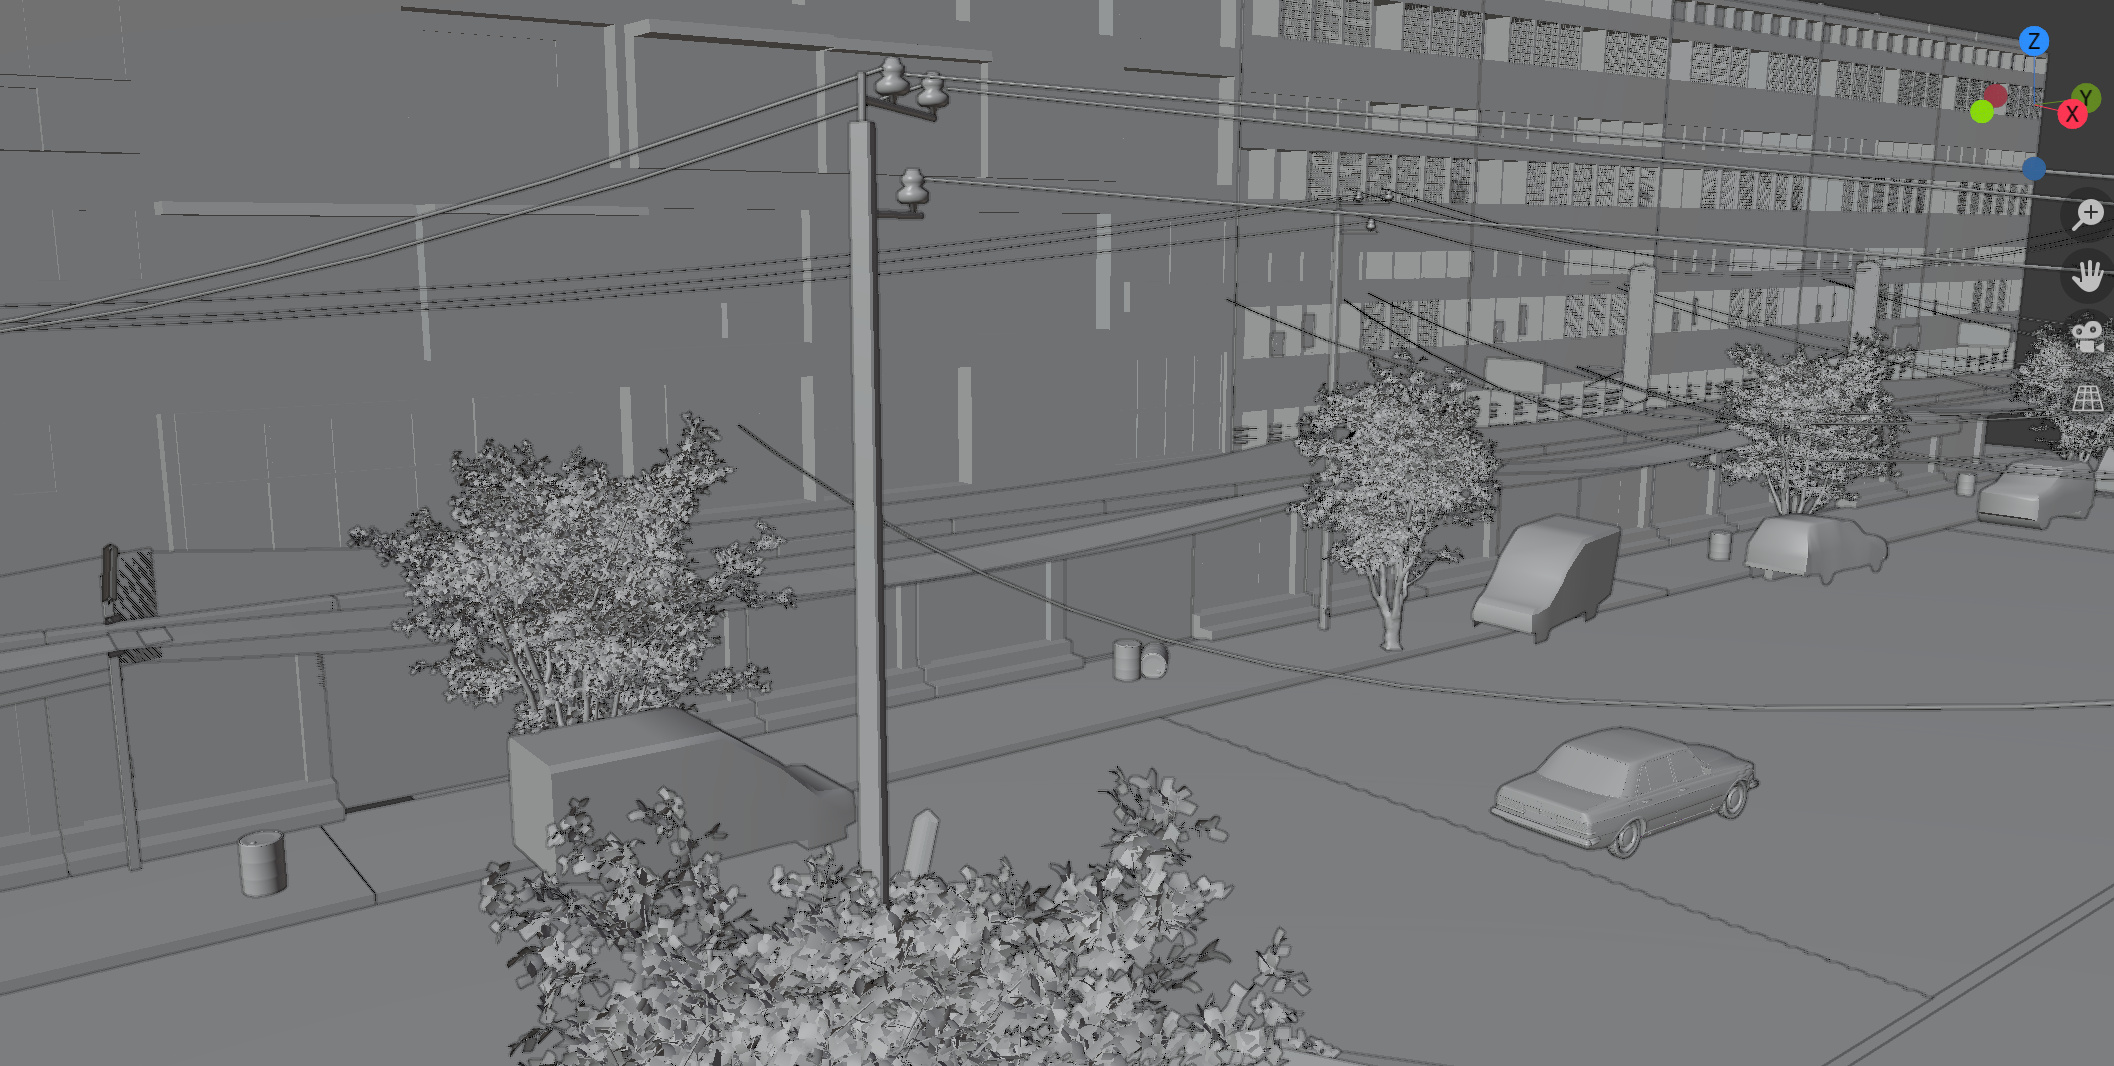
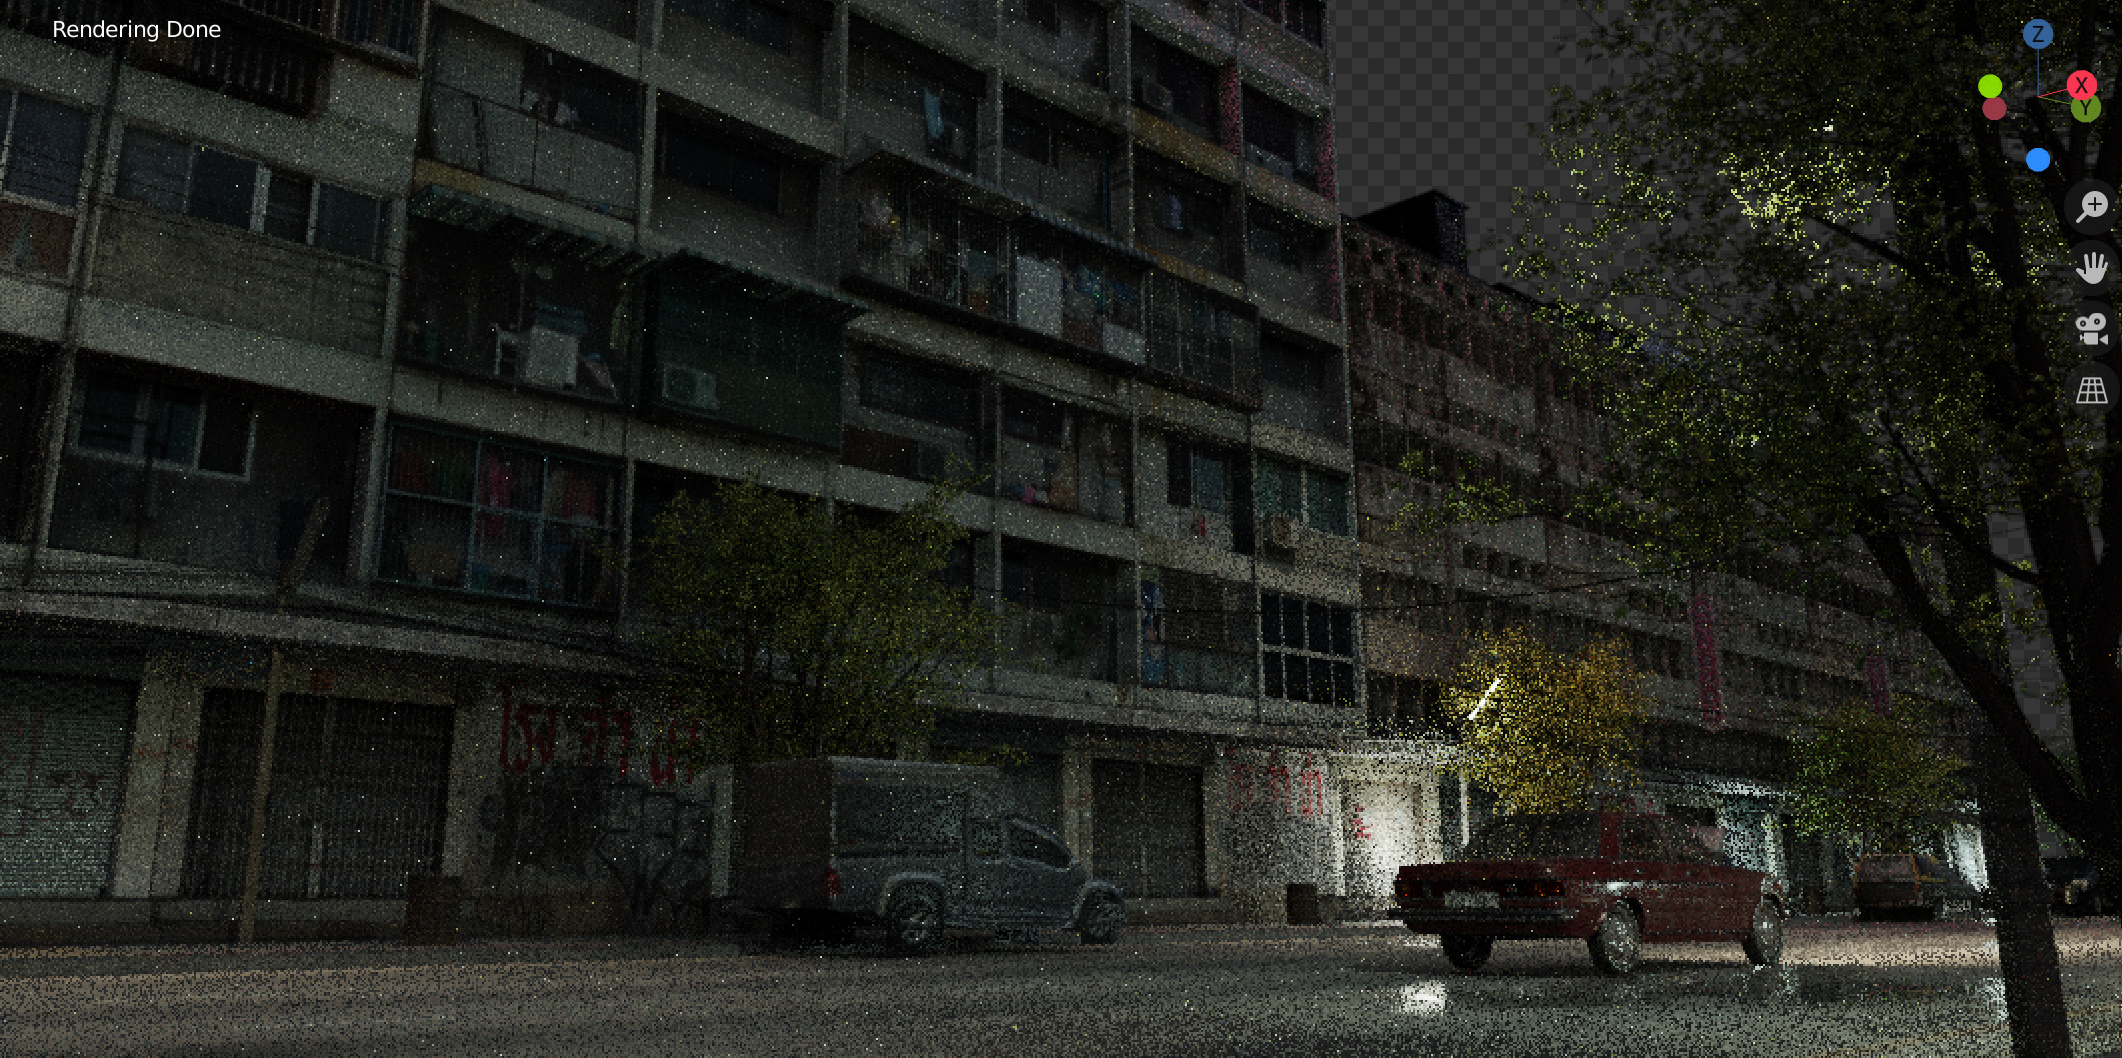
I render the creatures in Blender as transparent PNG sequence - and then composit them in After Effects. I only use the real life footage in Blender as camera background pictures - as a reference for camera lenses, angles and lights.
To render the creatures I have to use Eevee, by the way. (As seen in this clip above).
Cycles render times would be almost manageable, but would slow down the whole process extremely. I prefer to keep moving and experimenting, which is only possible with Eevee.
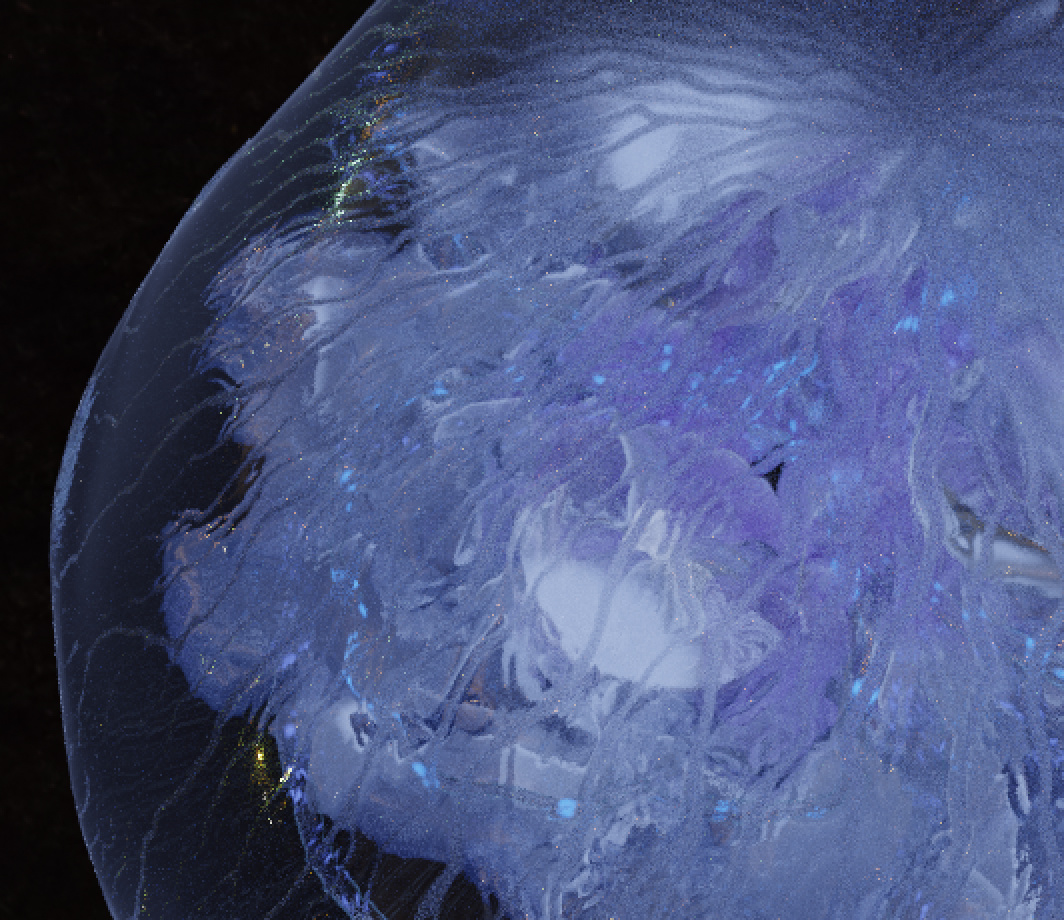
Luckily there is a trick to get object motion blur in Eevee by using a vector pass from Cycles.
(Thank you Dylan Neill for the great tip and tut.)
This instantly lifts the animation on a different level.
Unfortunately the alpha channel is not blurred correctly and the motion blur is not transparent enough. But it works ok in my rather dark scenes. It actually creates a special kind of ‘look’.
But maybe somebody knows how to blur the alpha channel perfectly when using this trick?
Would be super helpful…please…anyone?? ![]()
So…now I wanna have some more fun with crazy, wild cloth frenzies!! ![]()