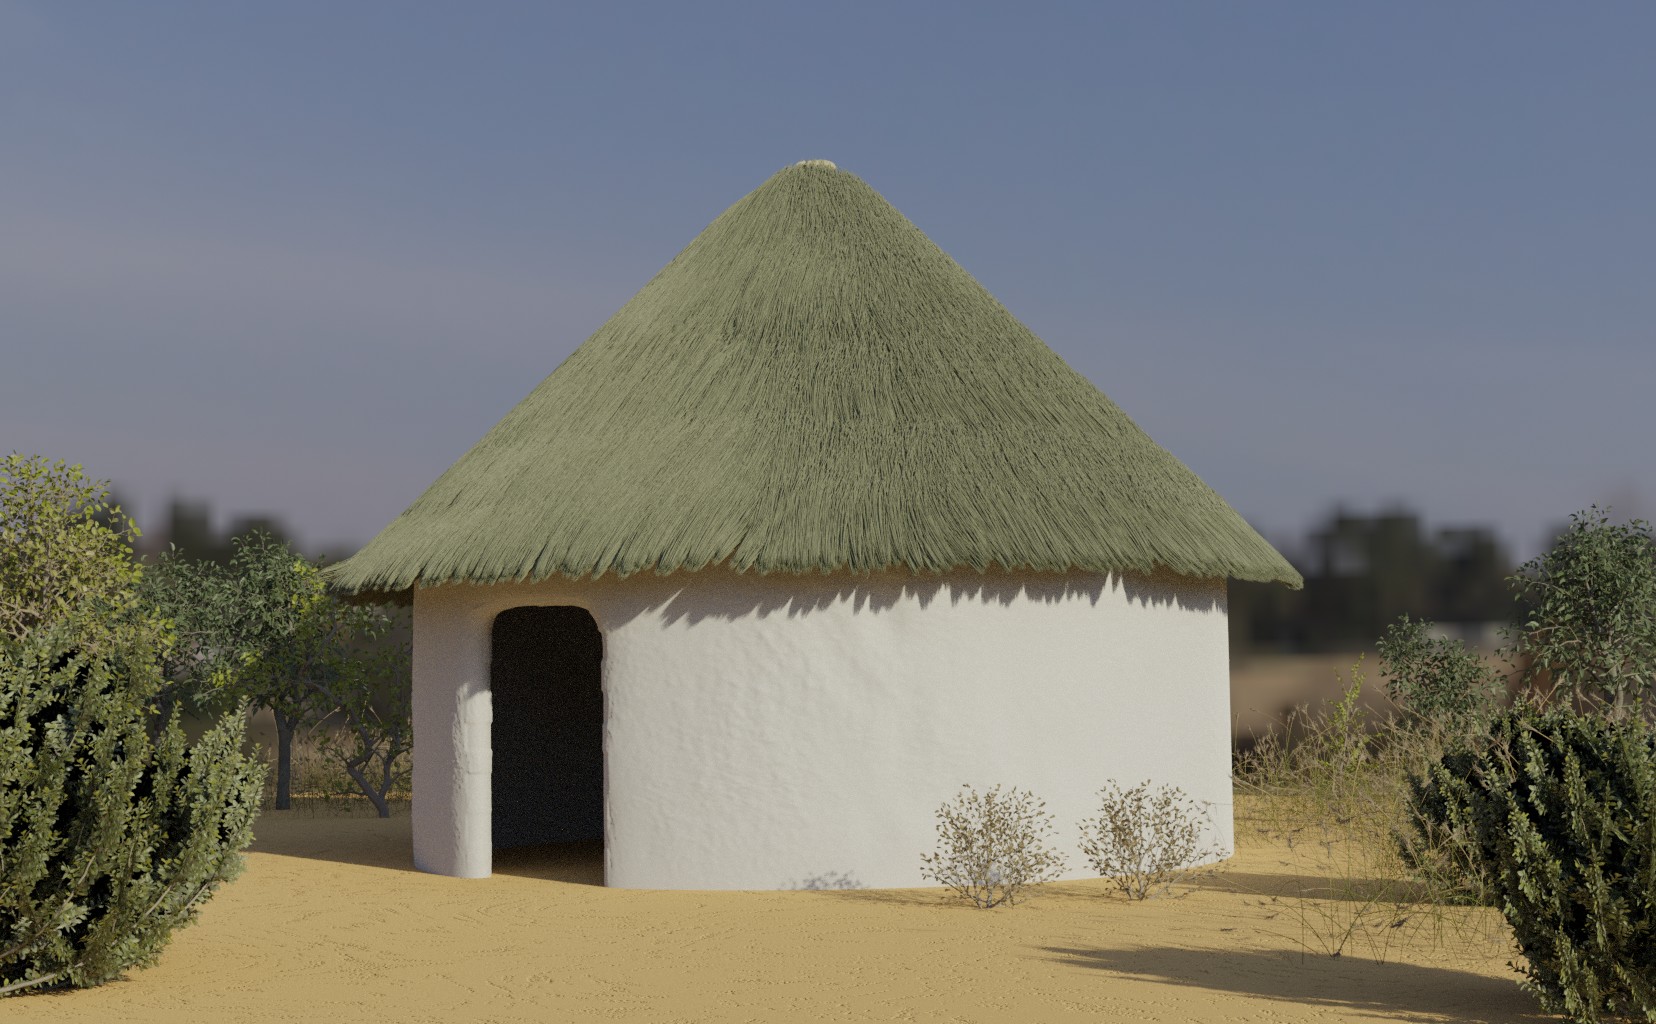
Thatched hut.
1 Like
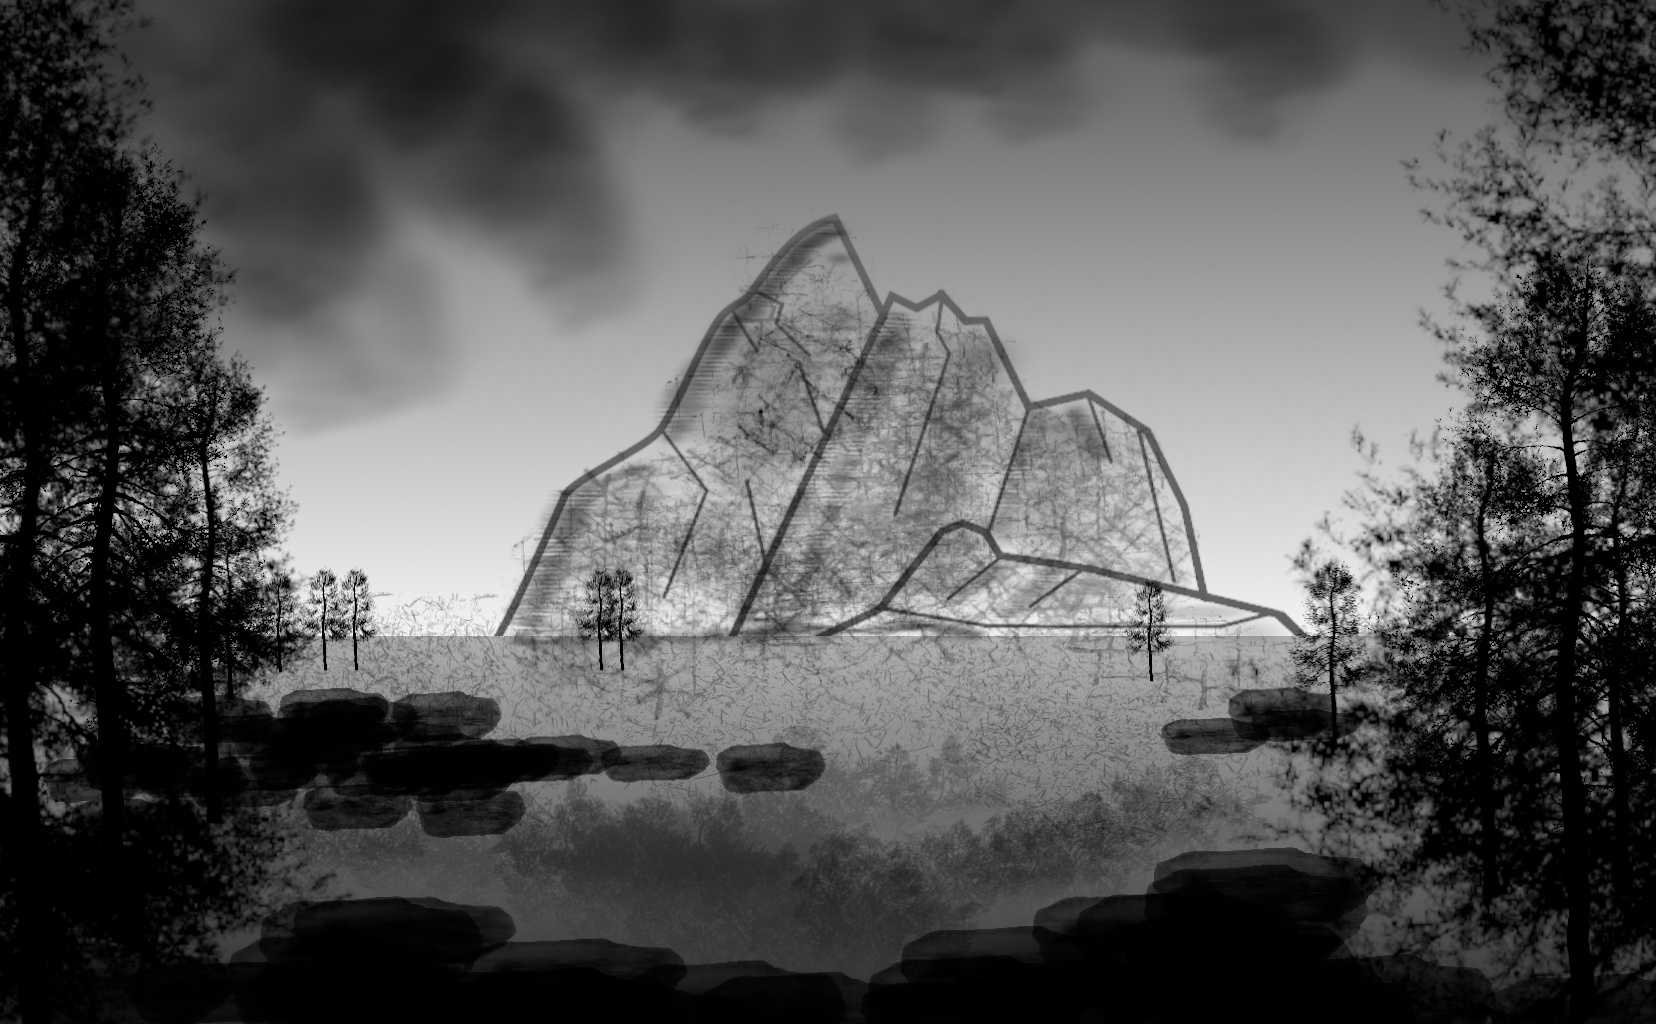
I’m spending some time on concept art at the moment, following a few tutorials on speedpainting with custom brushes (in GIMP). Quite a few concept artists seem to use this approach - build up a library of elements and throw them in to a composition, often in greyscale. Custom brushes can be drawn, created from photos, or possibly renders. For this image I rendered a tree model as an object mask in Blender and turned that into a custom tree brush in GIMP. I’ll soon have lots of trees. The mountain was drawn mostly with the path tool in GIMP. Rocks and clouds were hand painted. The first tutorial I saw using this approach was on Gnomon by David Levy. Quite old now but still useful
1 Like
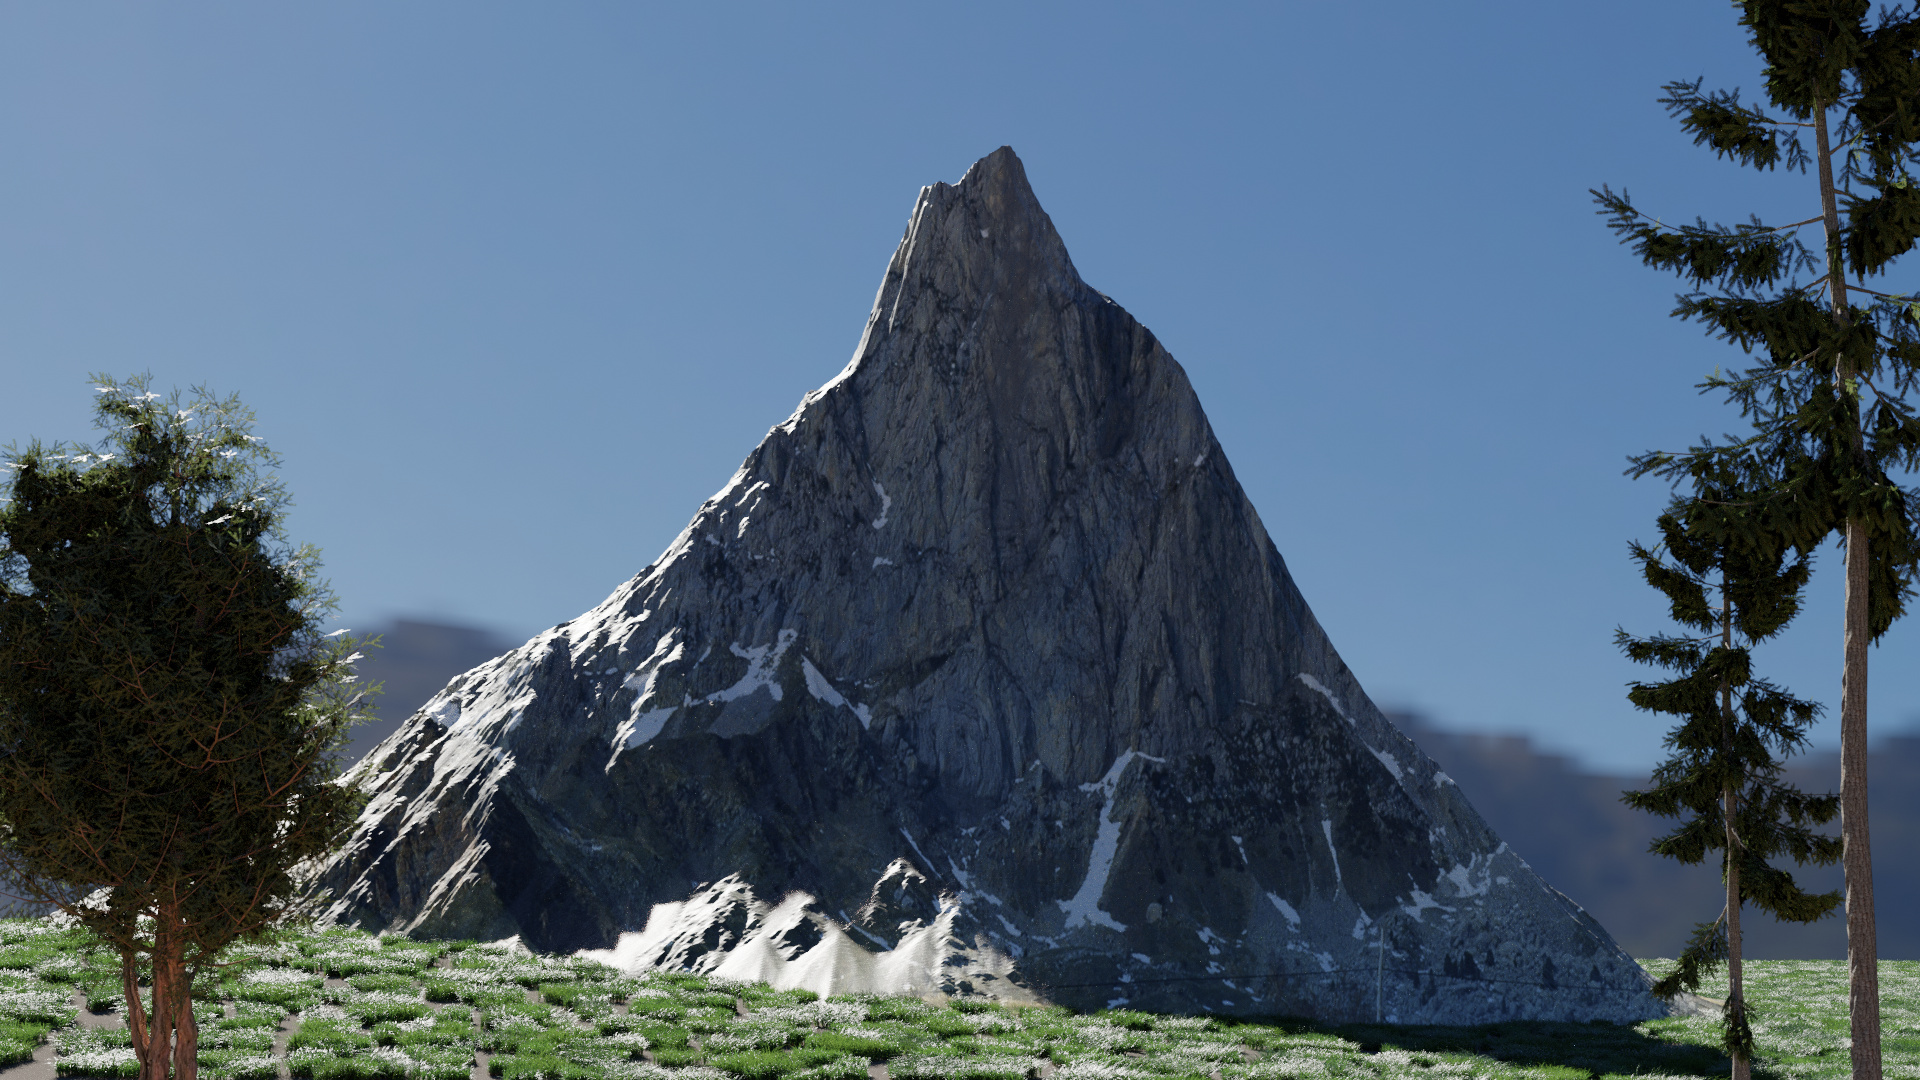
Nearly there. Just need to refine the process, mainly by spending more time on it. Scale is a bit off here, mostly focusing on the workflow.
1 Like
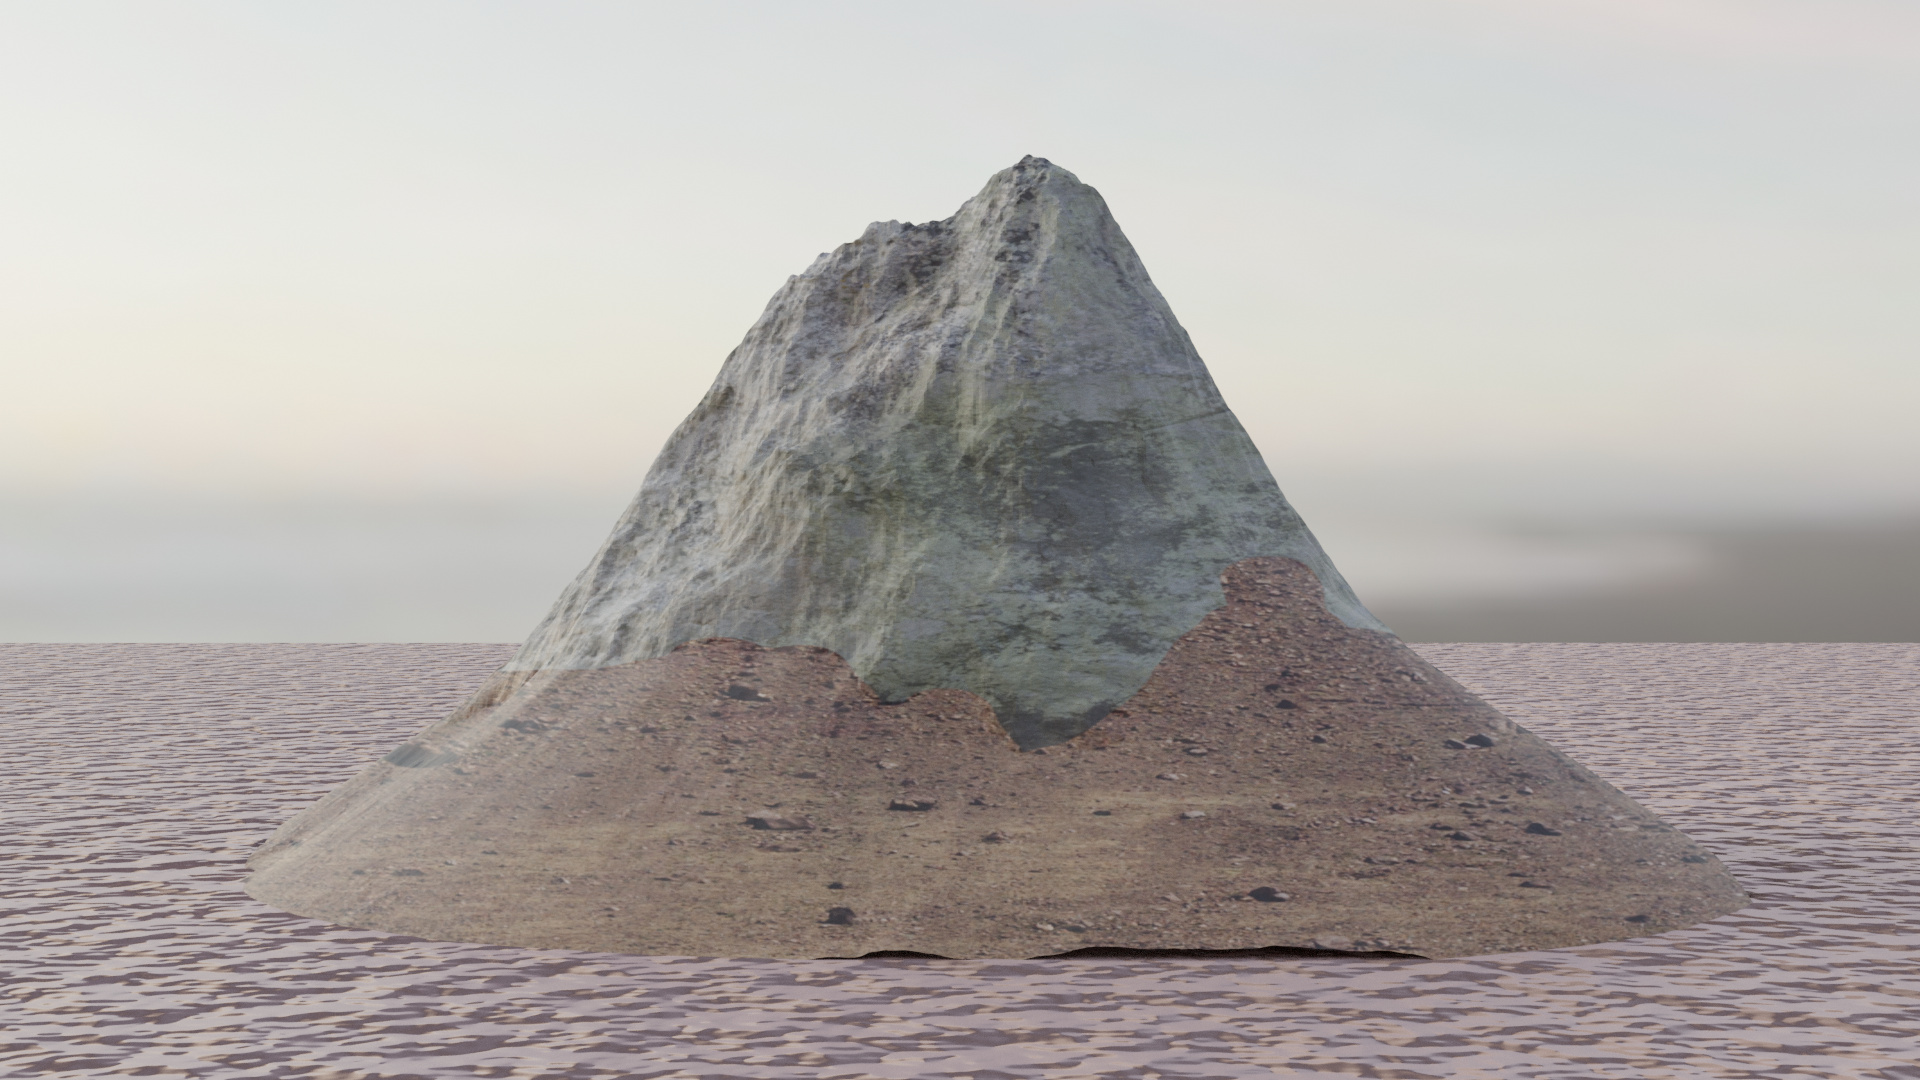
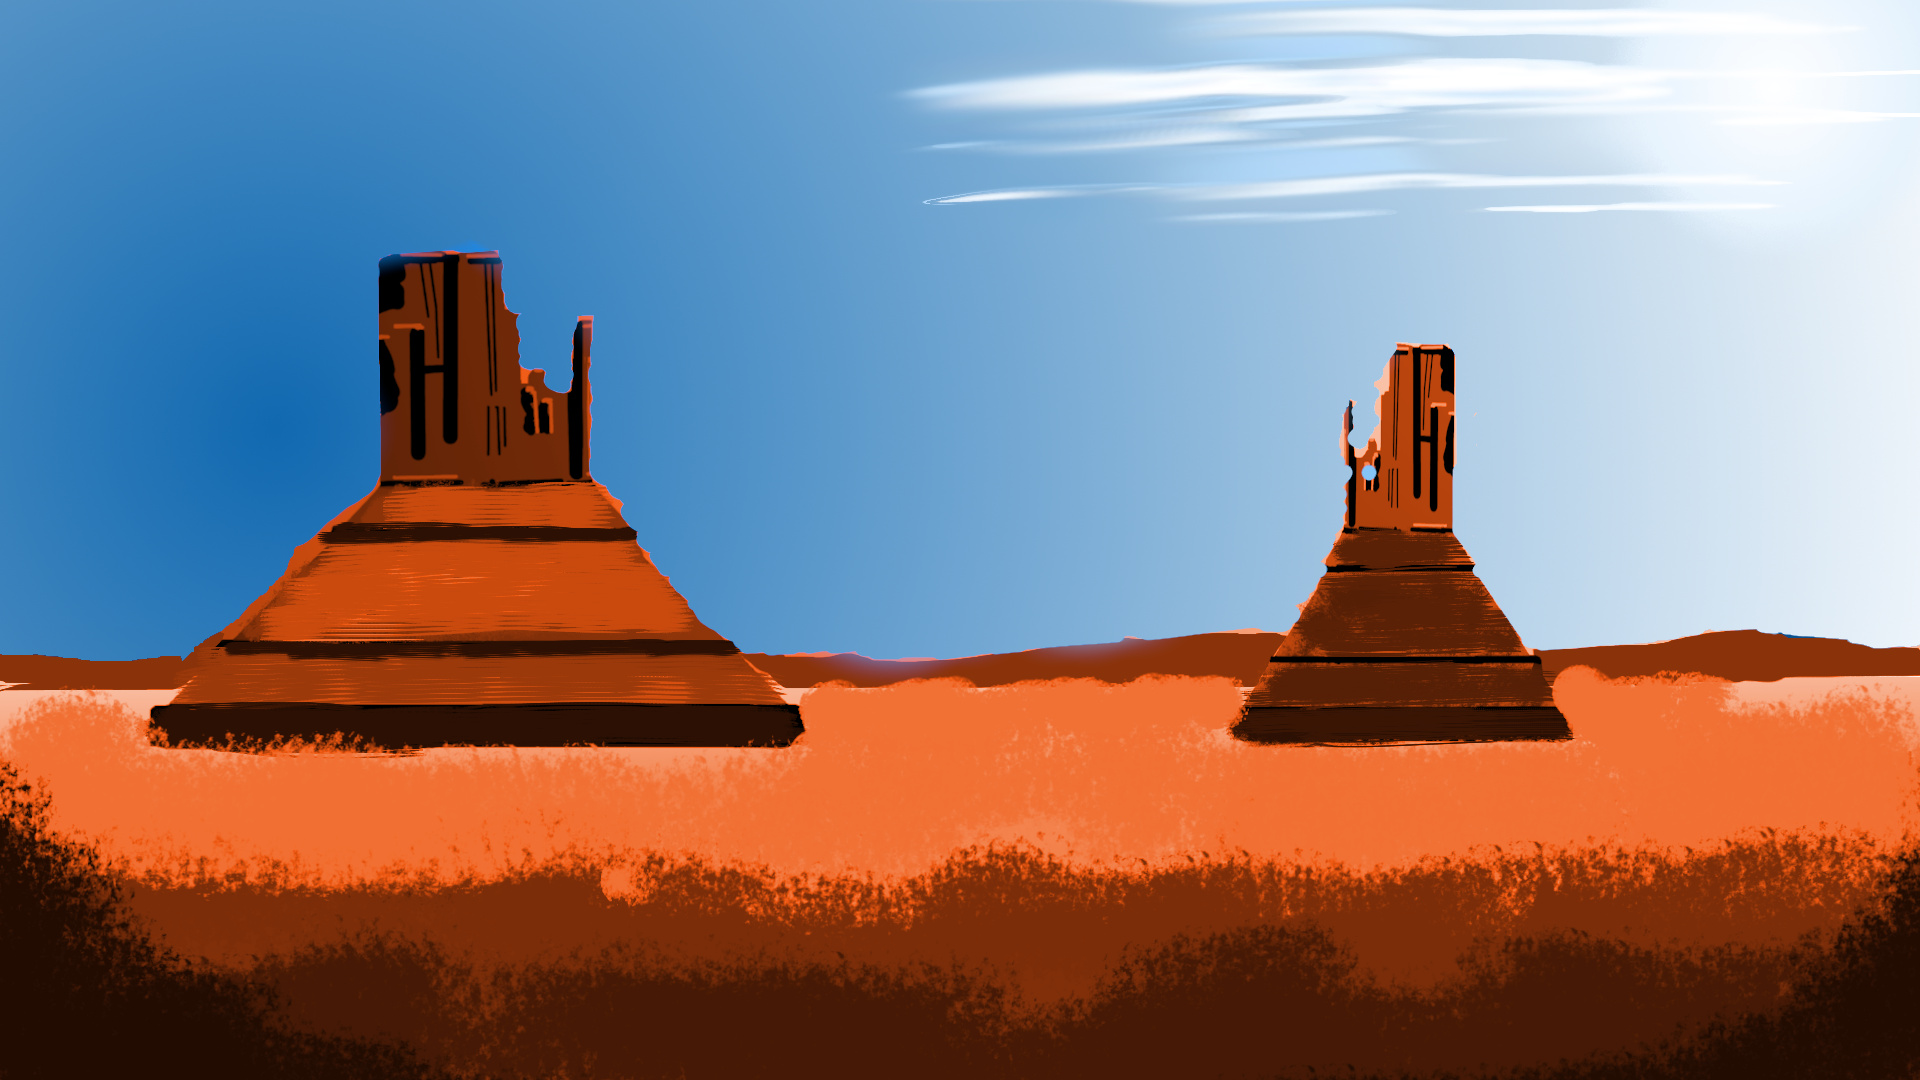
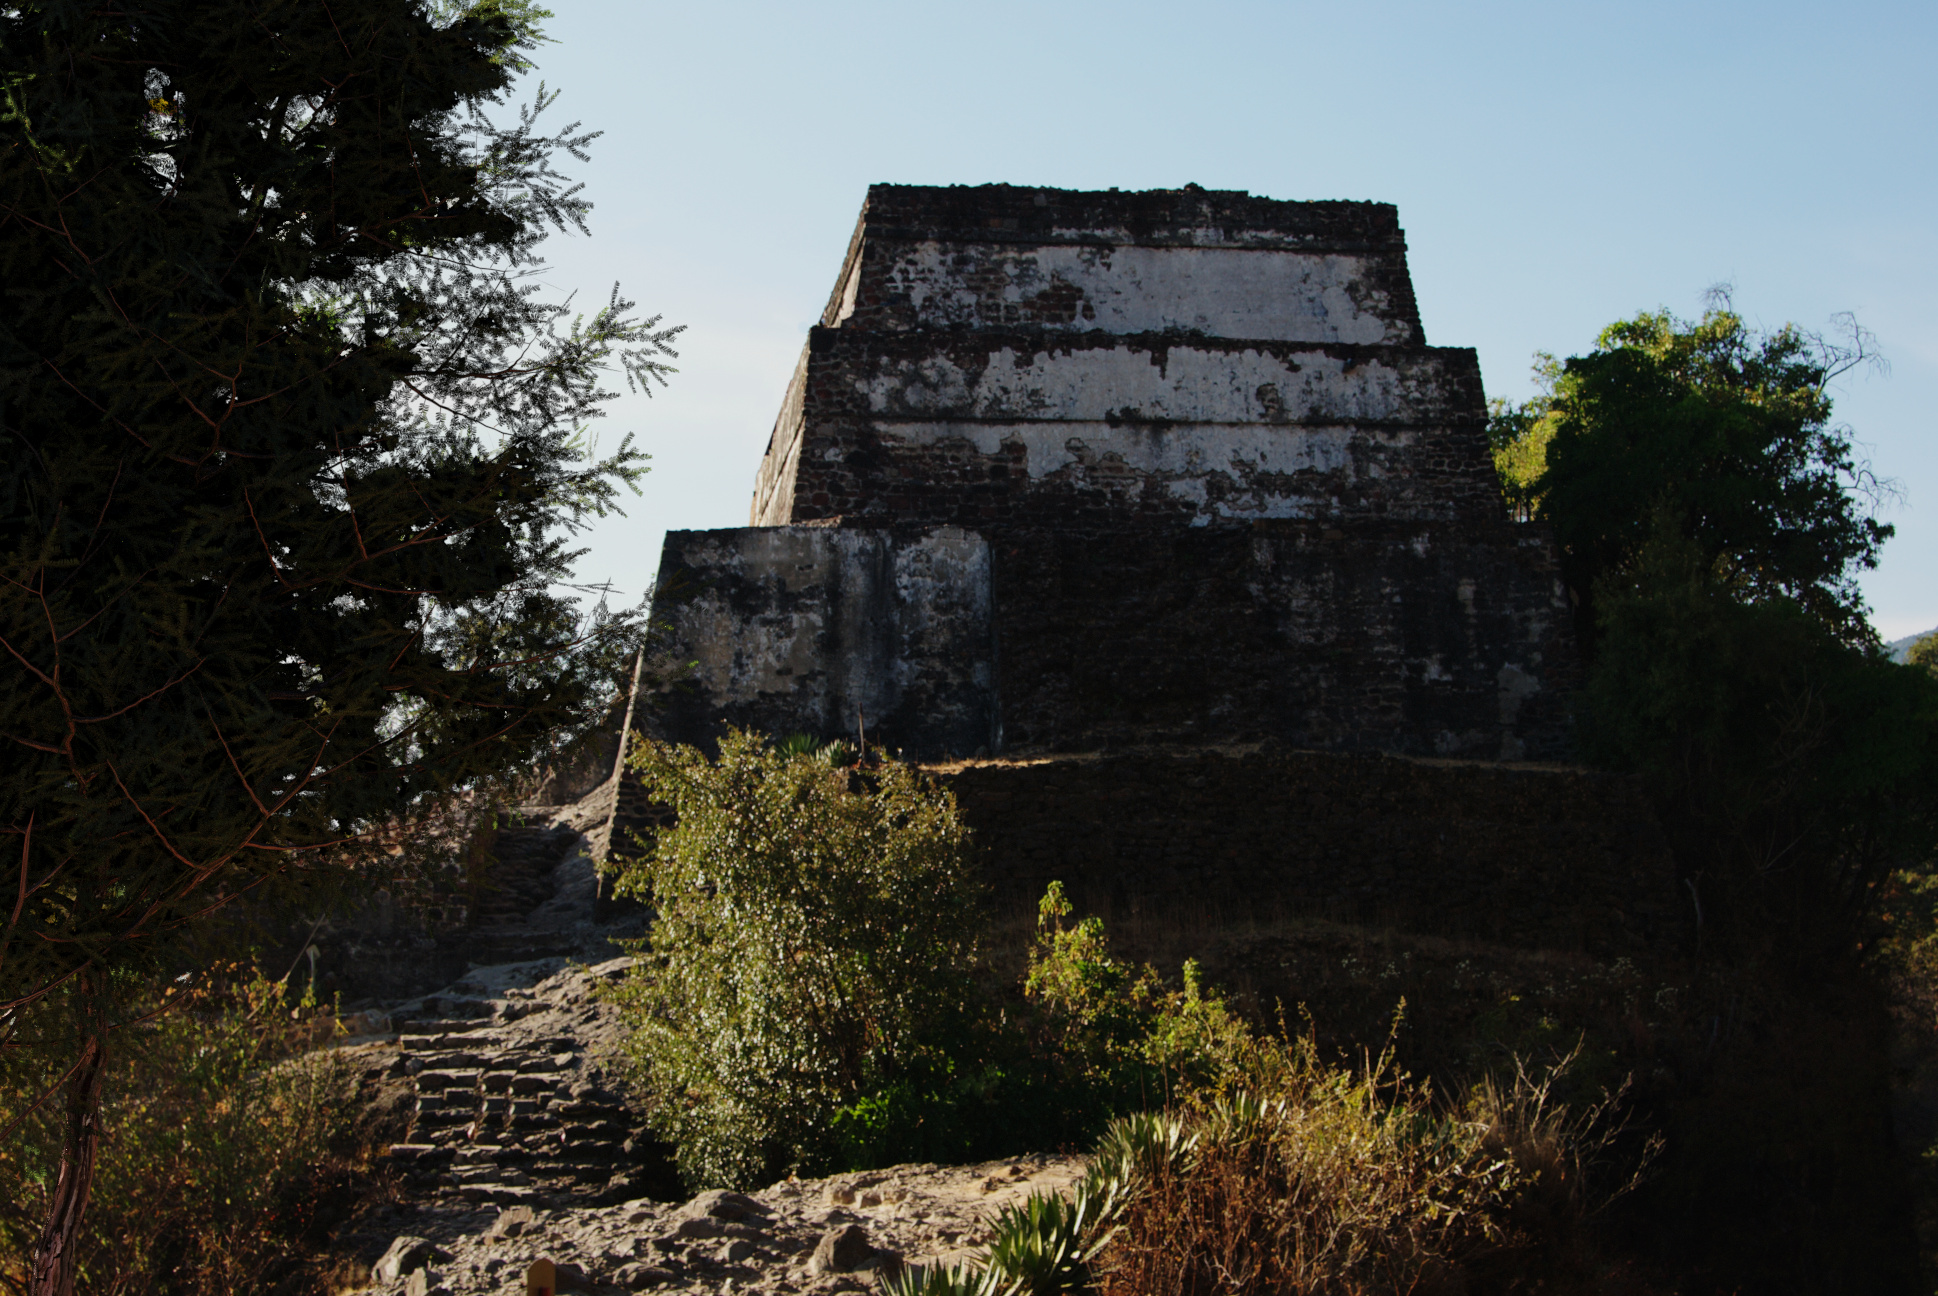
OK, I think I’ve got it. Rock formation created in World Machine, exported as obj and imported into Blender. UV’d and texture painted a splat map differentiating the upper rock portion from the lower dirt portion. Opened this in GIMP to paste rock and soil textures over the relevant parts. Not a very neat job but I was just testing the texture paint splat map approach. The UVs were too dense for an exported UV layout to be much use. Photo texturing is a bit old fashioned but I’ve never been able to get procedural textures that I’m happy with on scene elements like this.
BTW this is not intended to be a good result. Just working out a good workflow.
1 Like
2 Likes
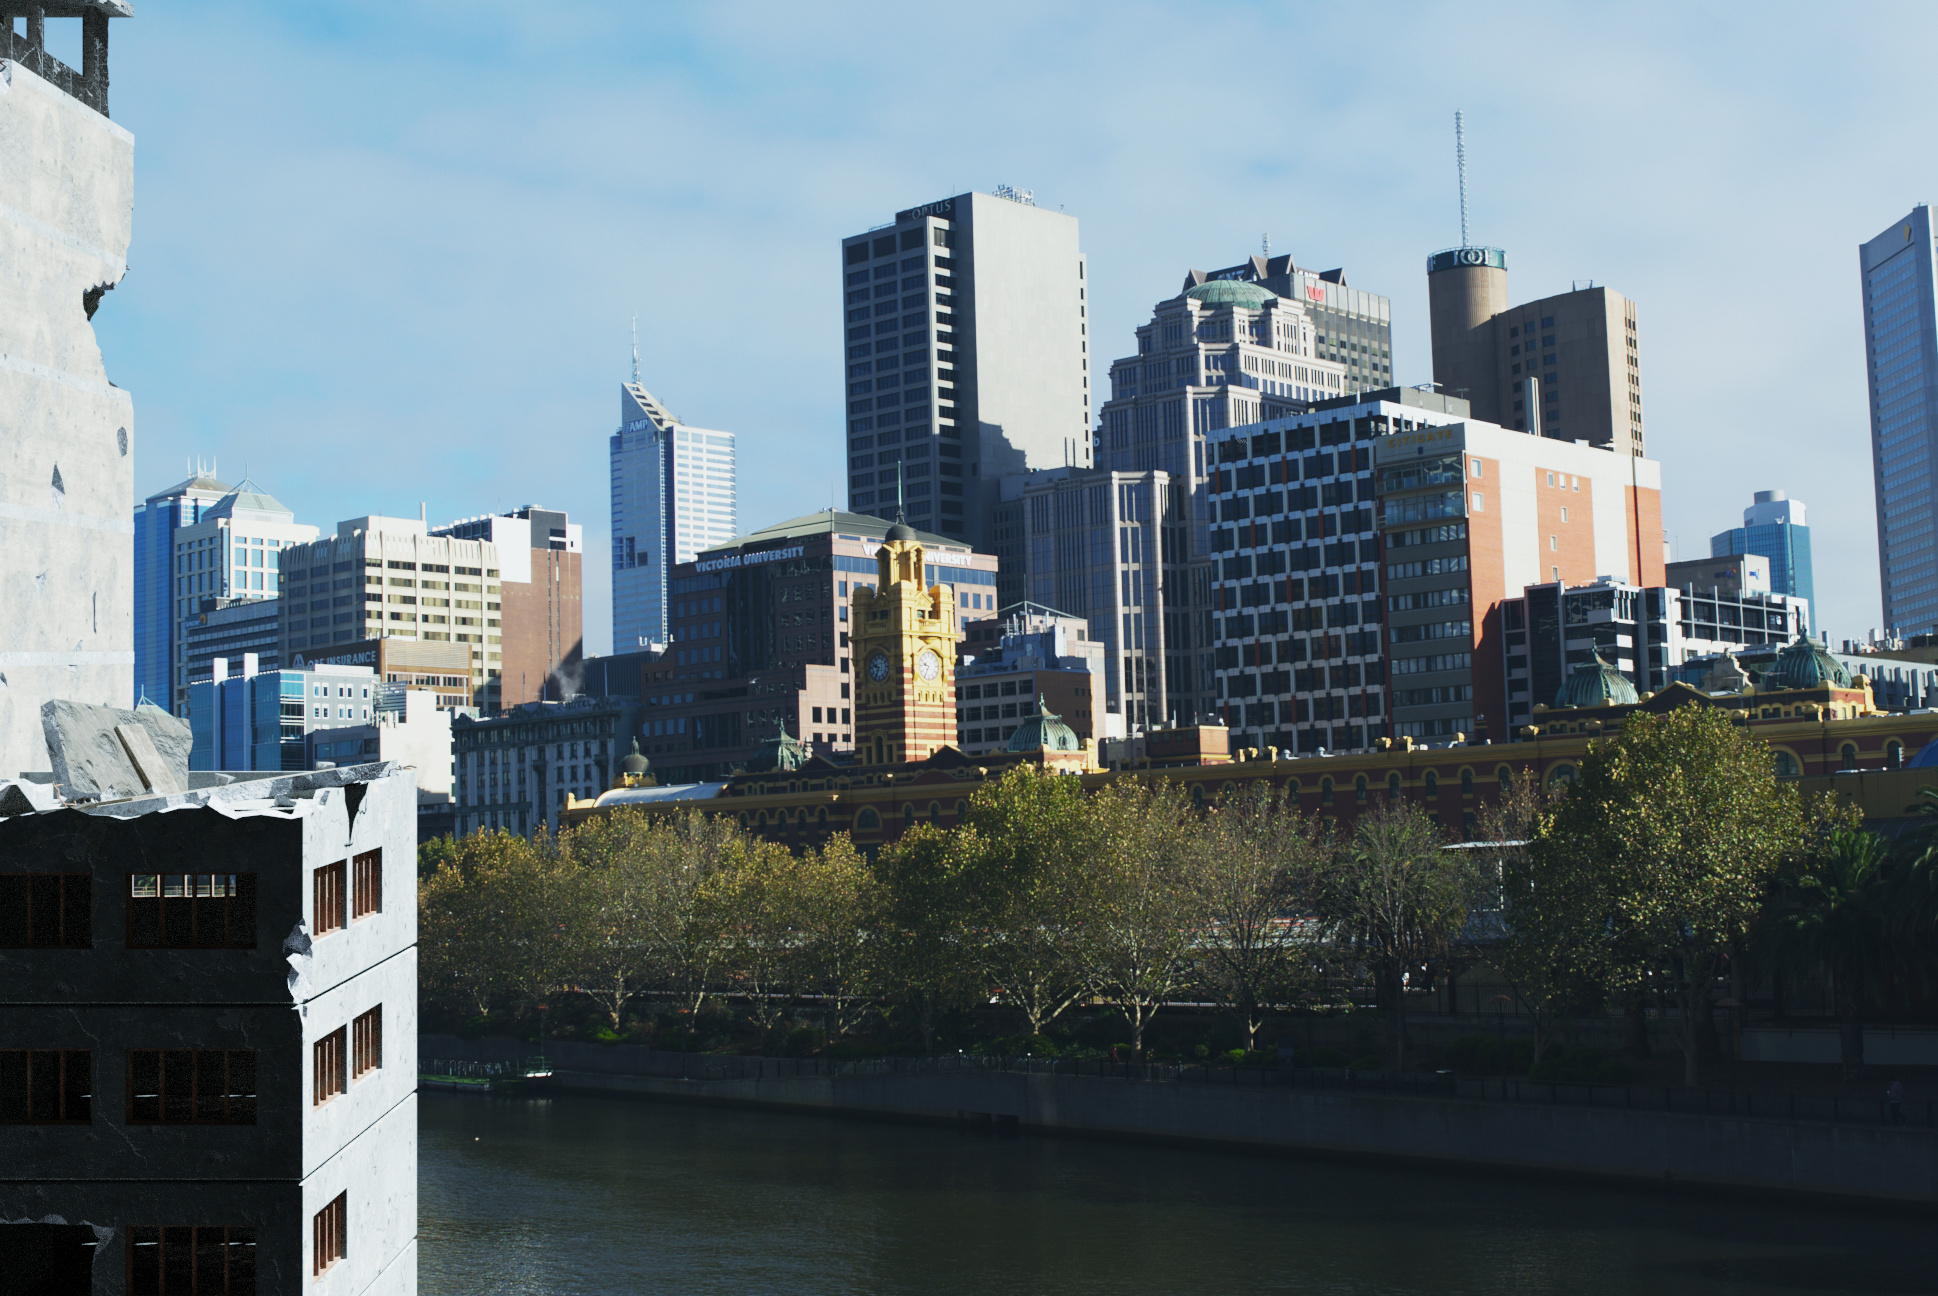
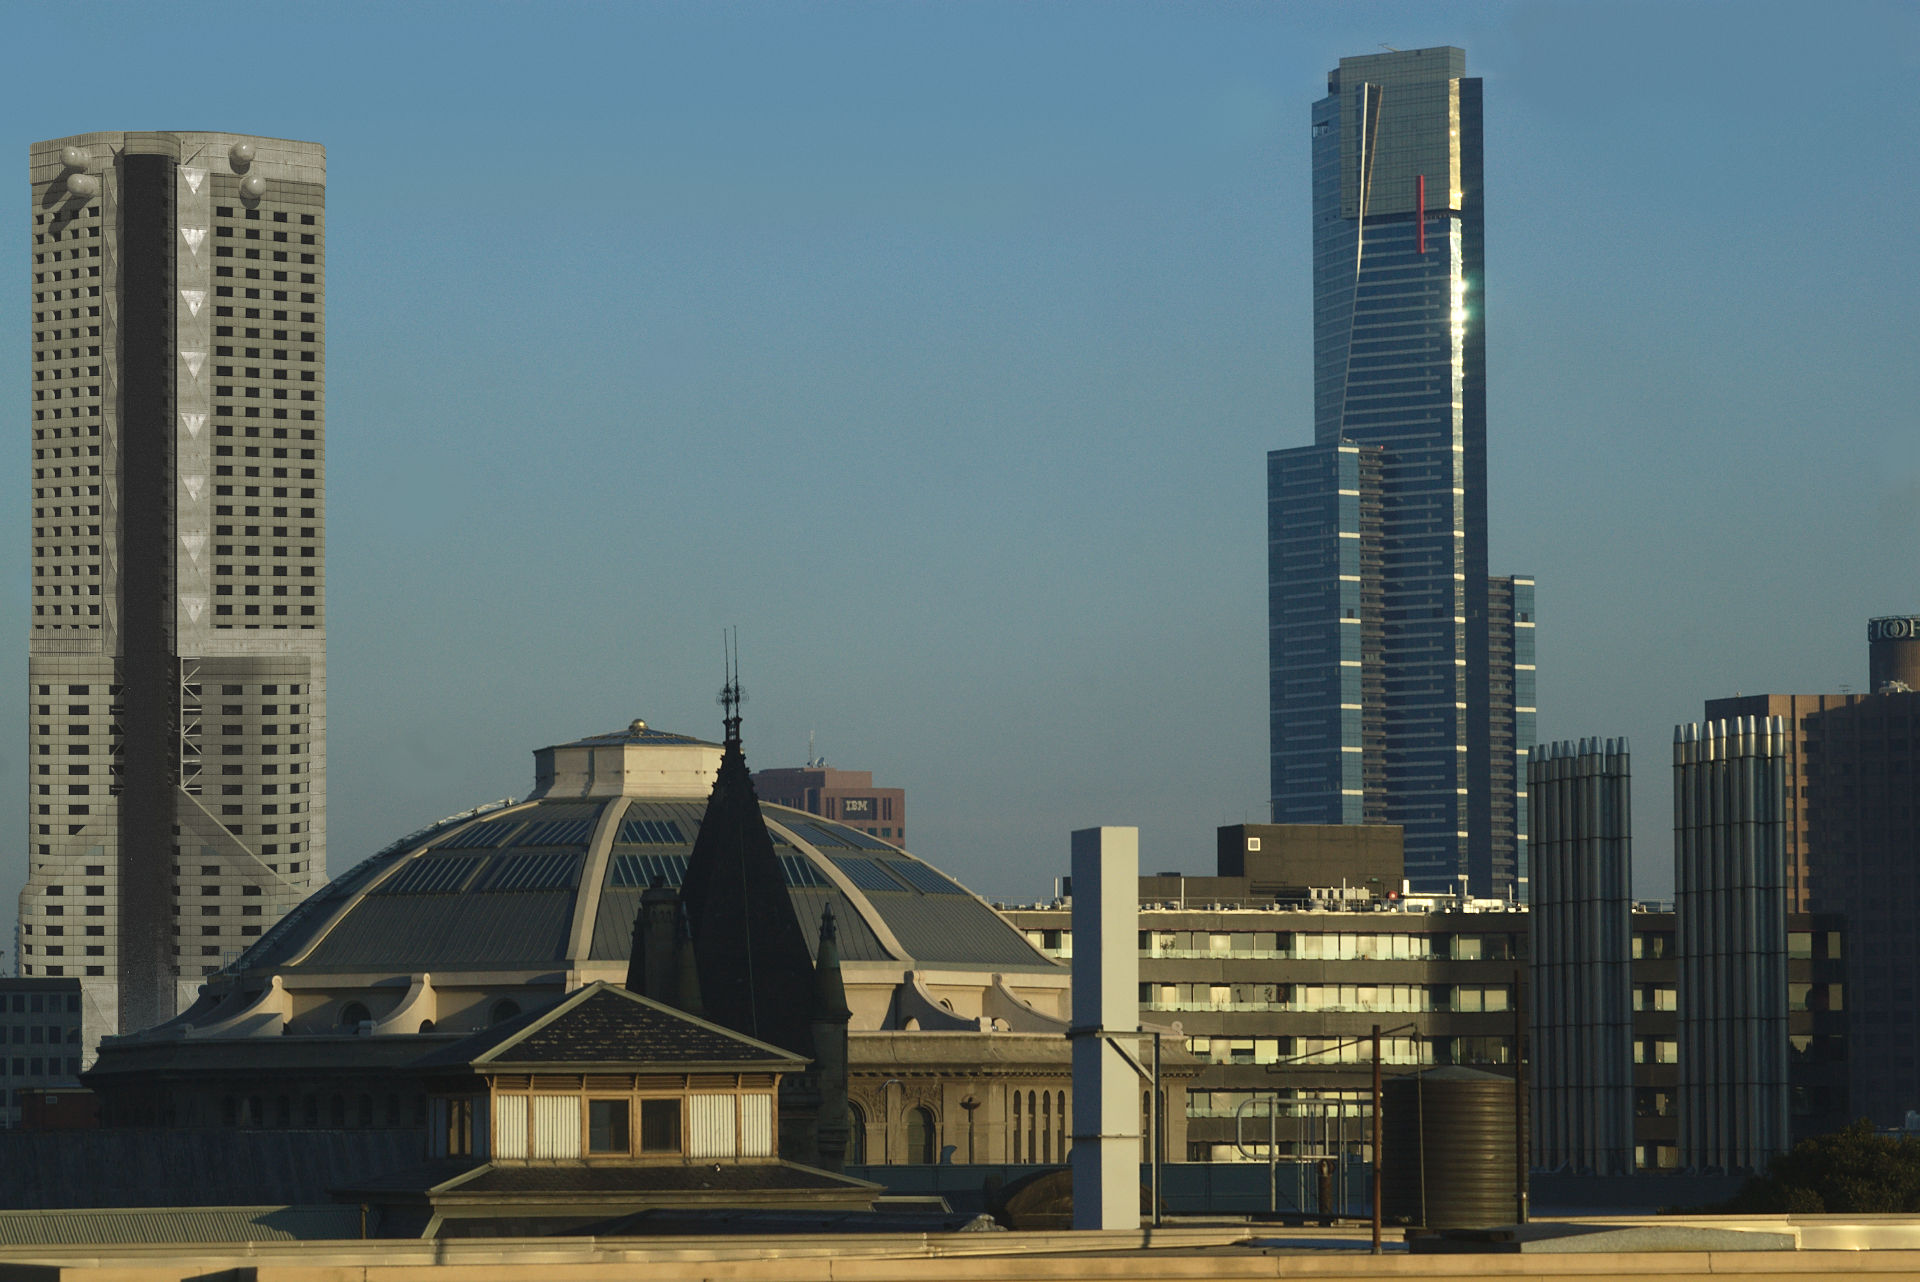
Cool! is that Melbourne?
1 Like
Yes it is 
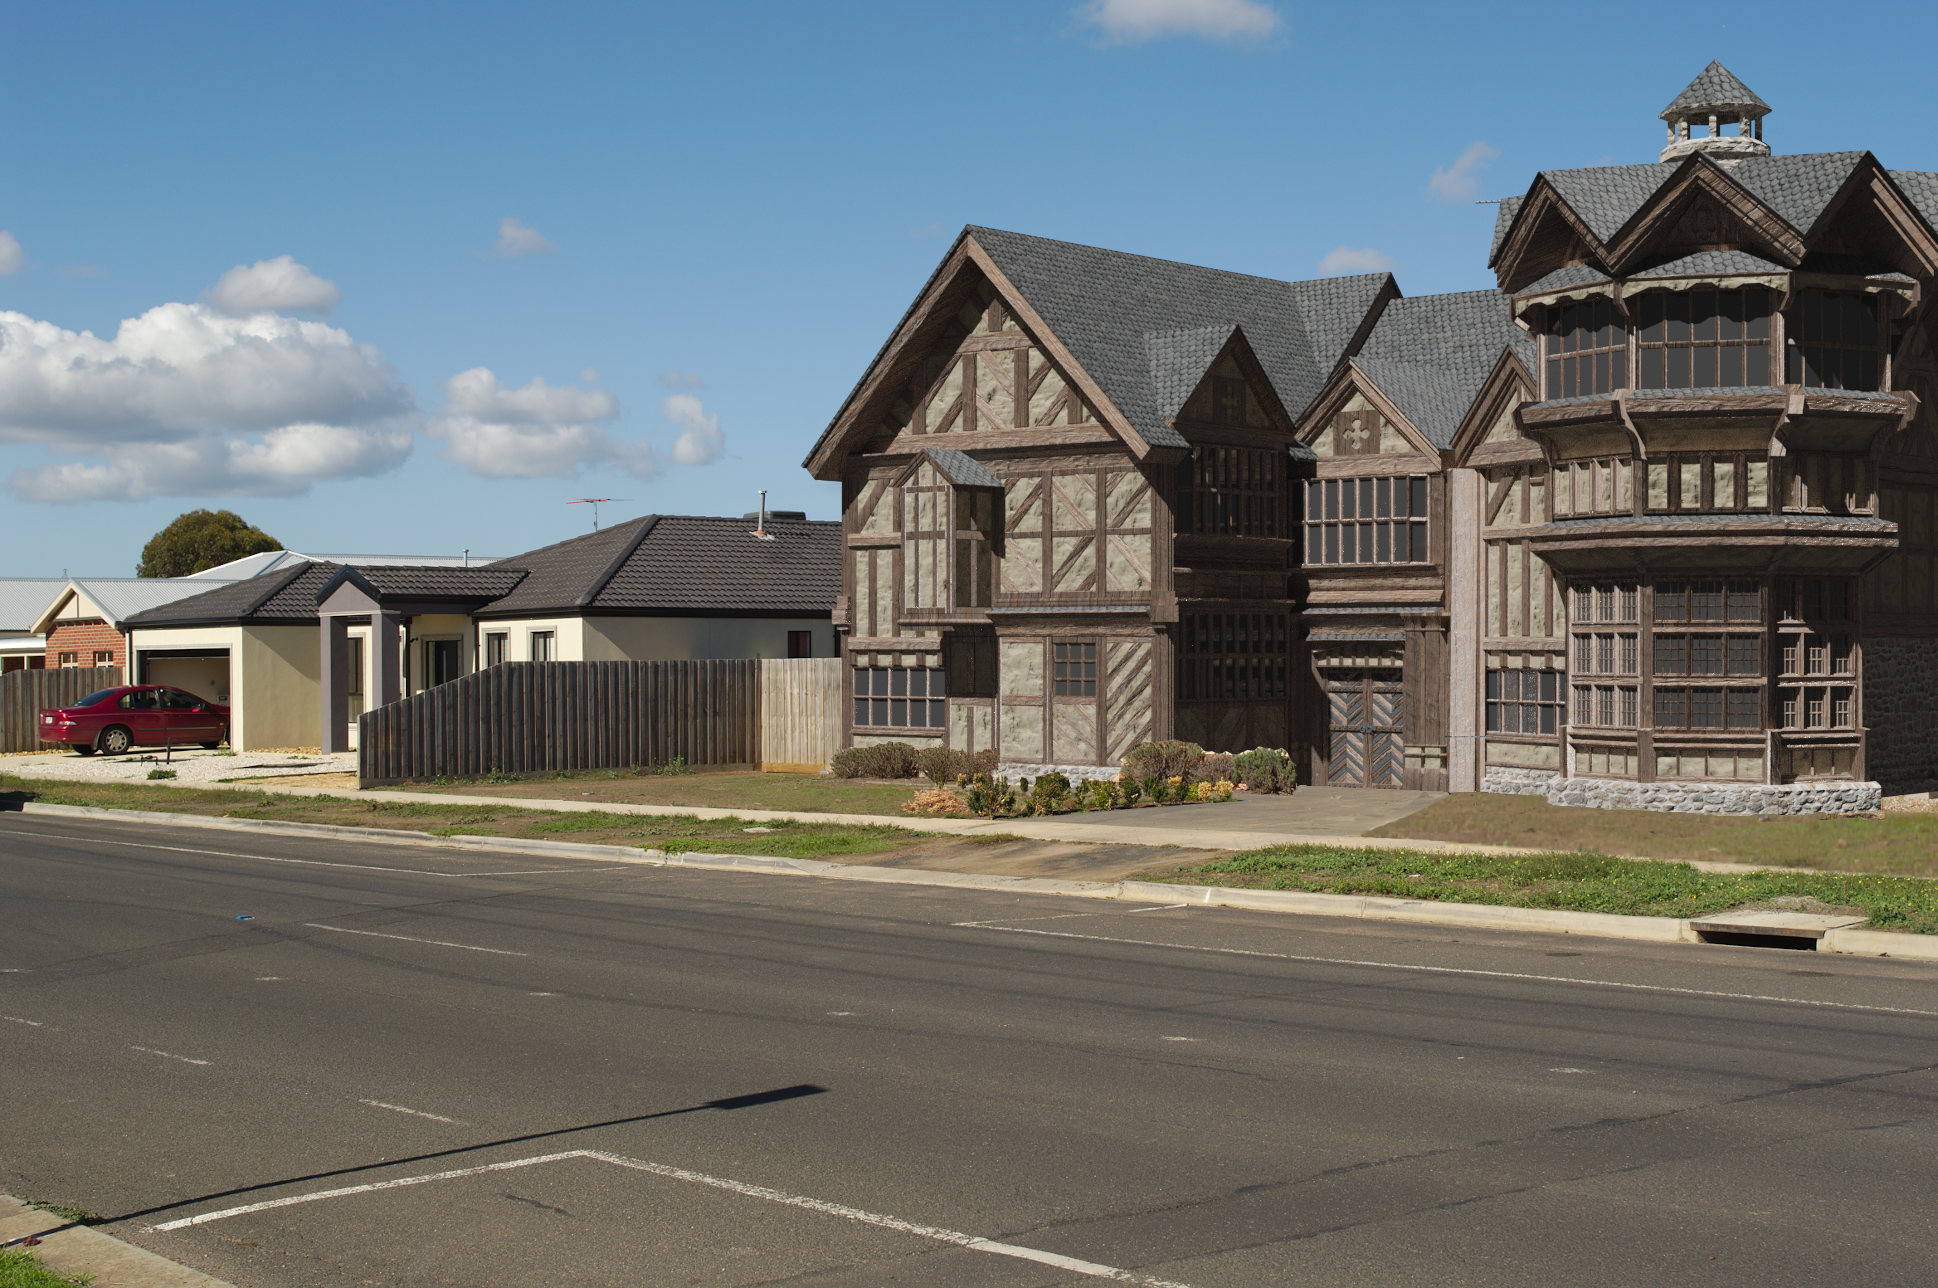
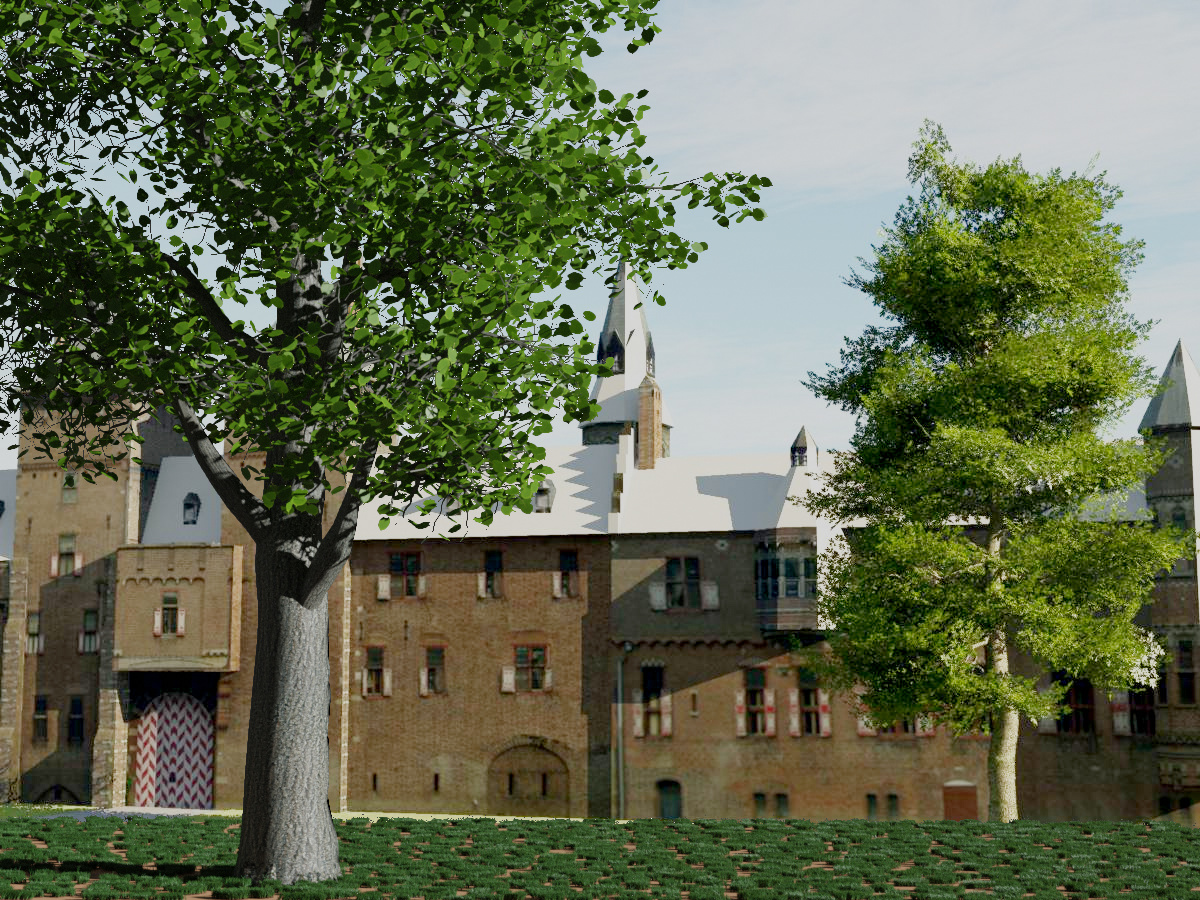
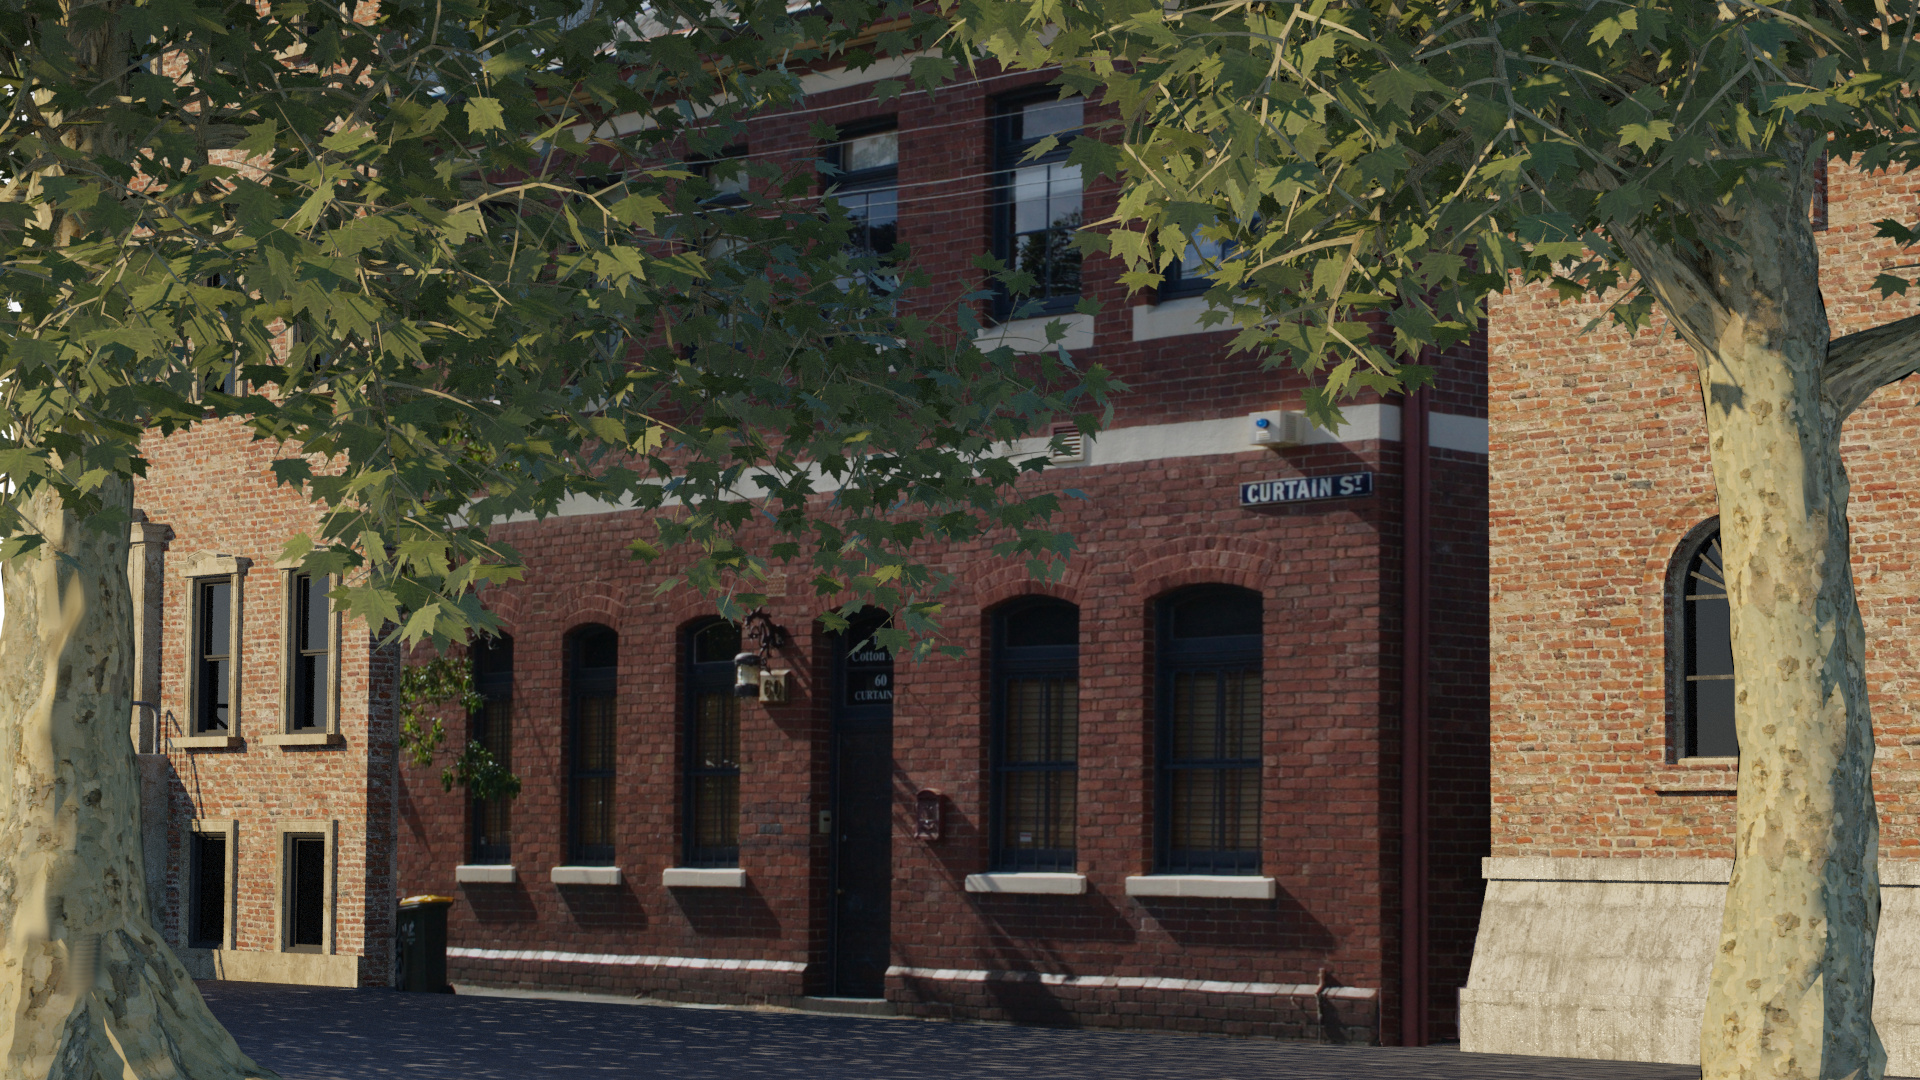
Replaced one house in the photo with a rendered mediaeval-style house. Compositing is a bit sloppy but, you know, sketchbook.
1 Like
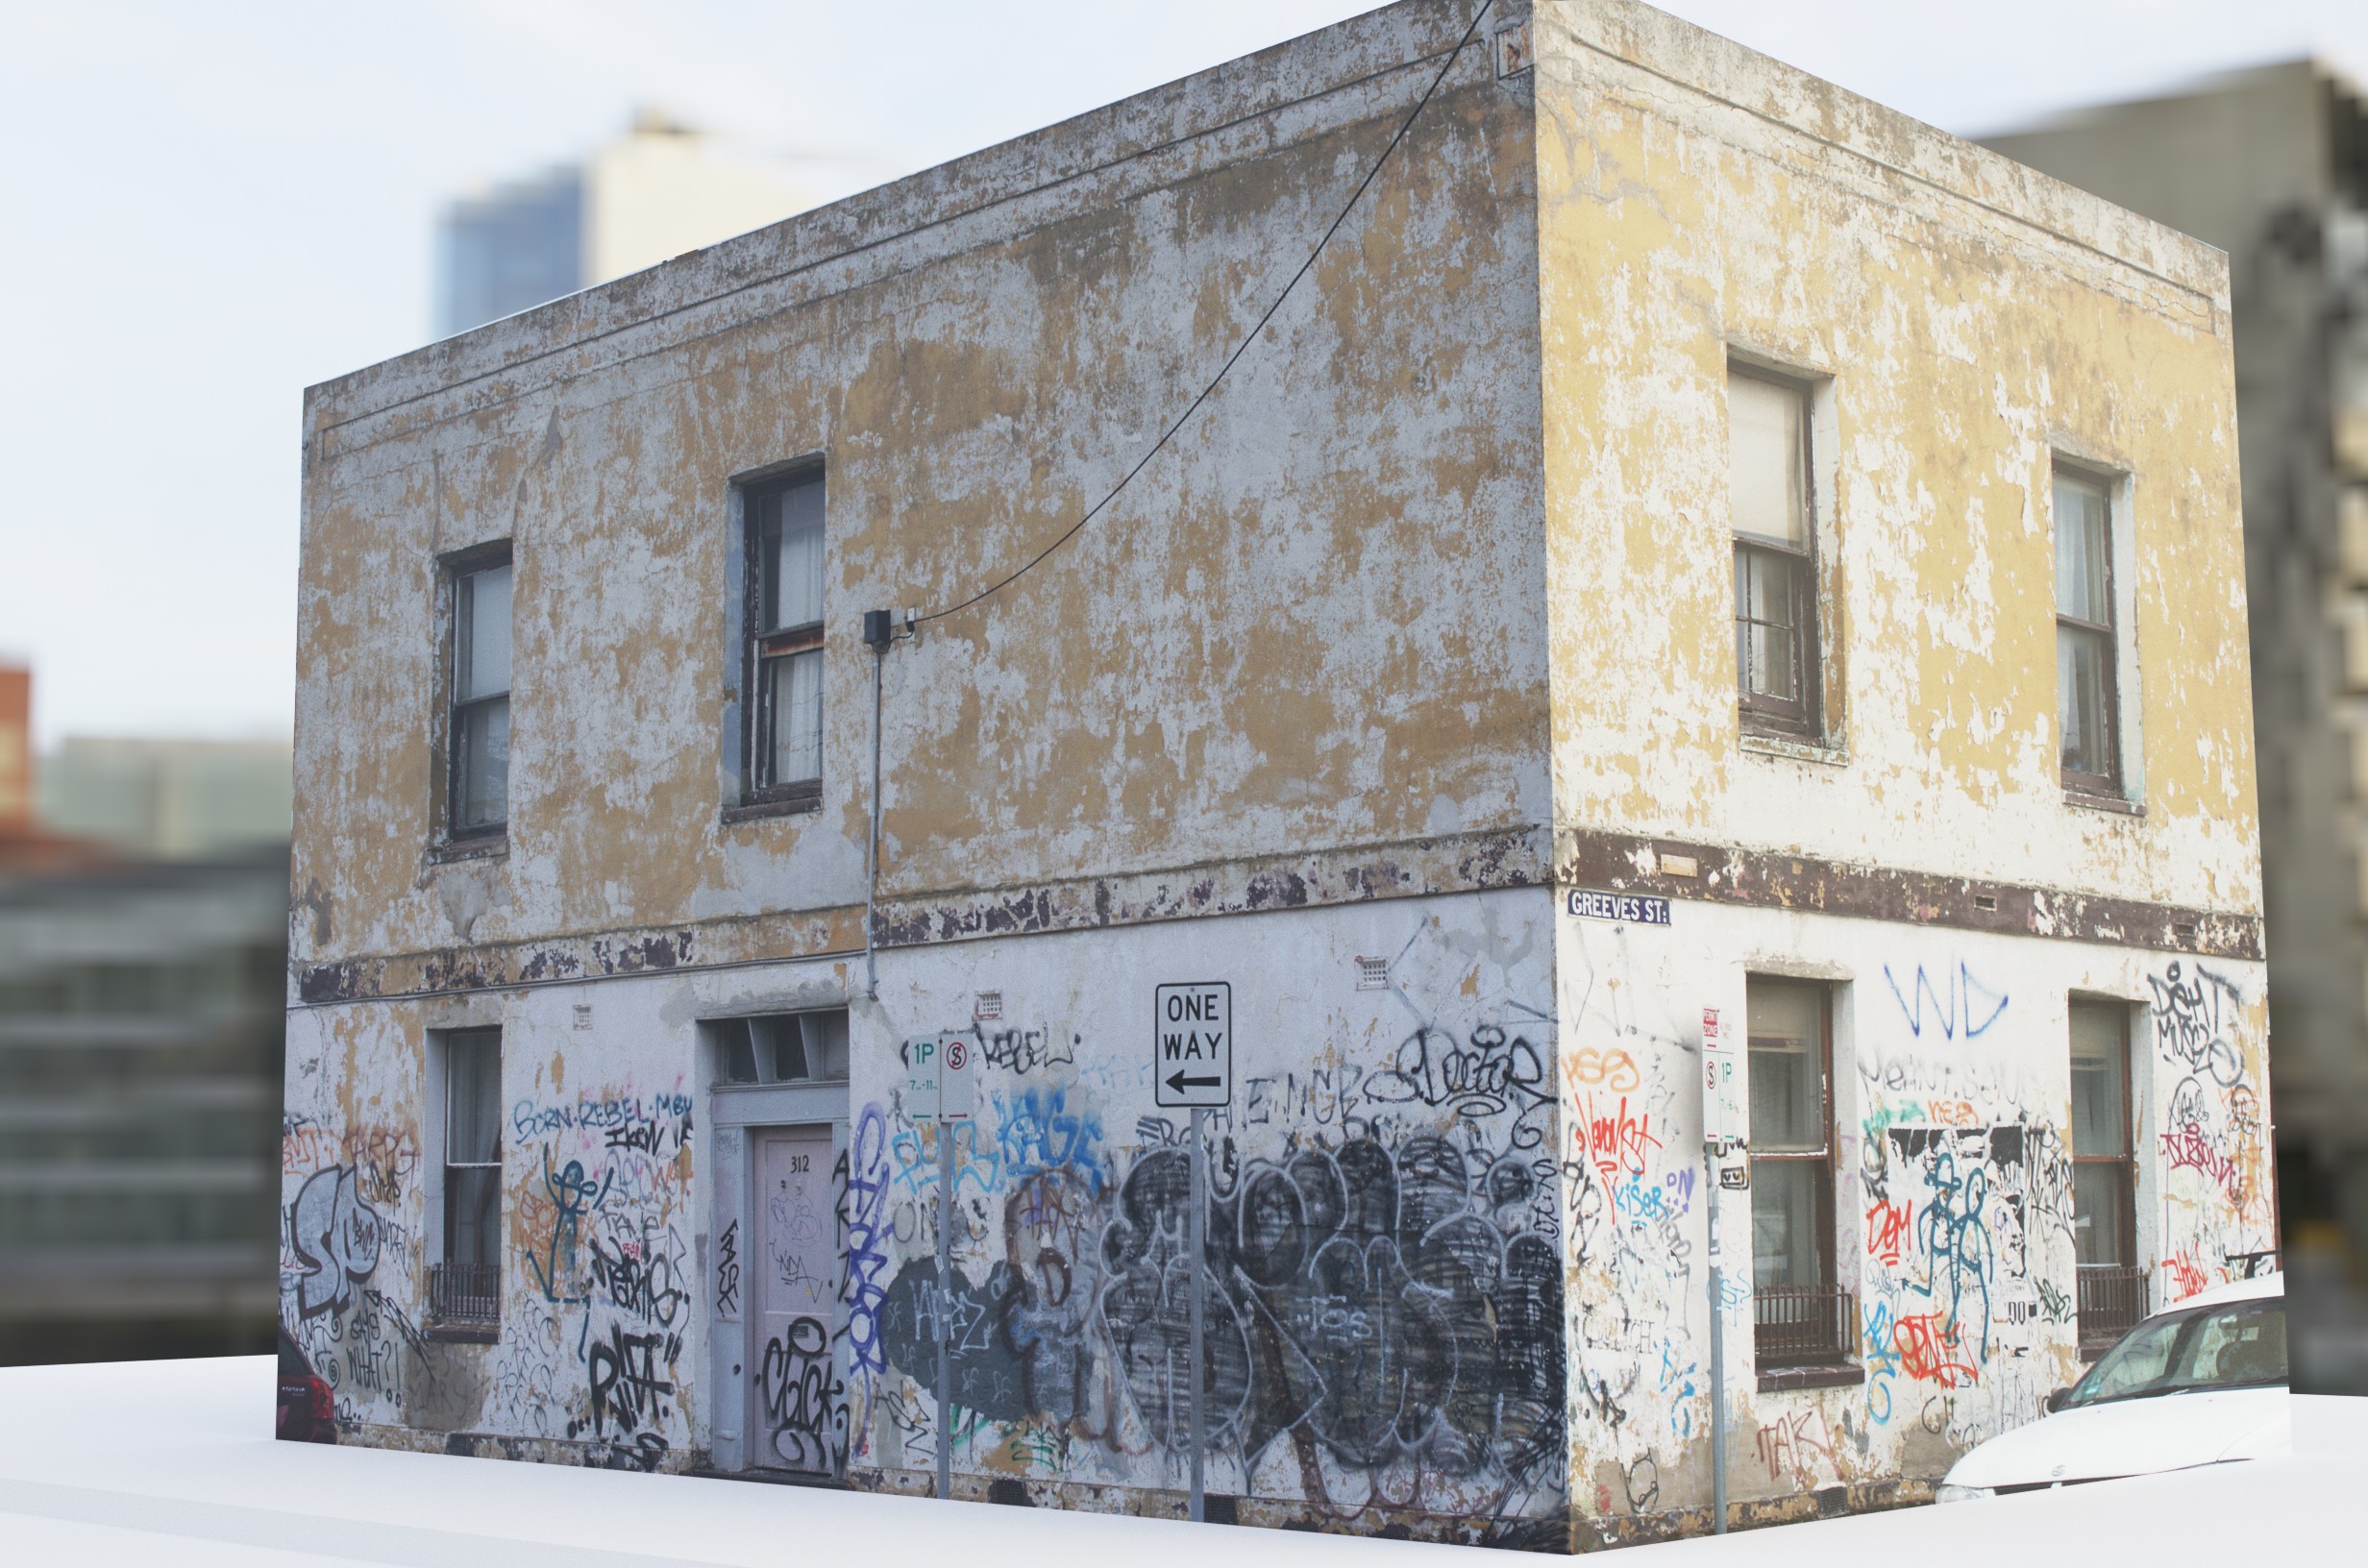
This is about as simple as it gets. fSpy to match camera to reference photo, added cube and scaled to fit, and UV’d with Project from View. Lots more work needed of course, but it’s amazing what you can achieve with very simple means.
1 Like
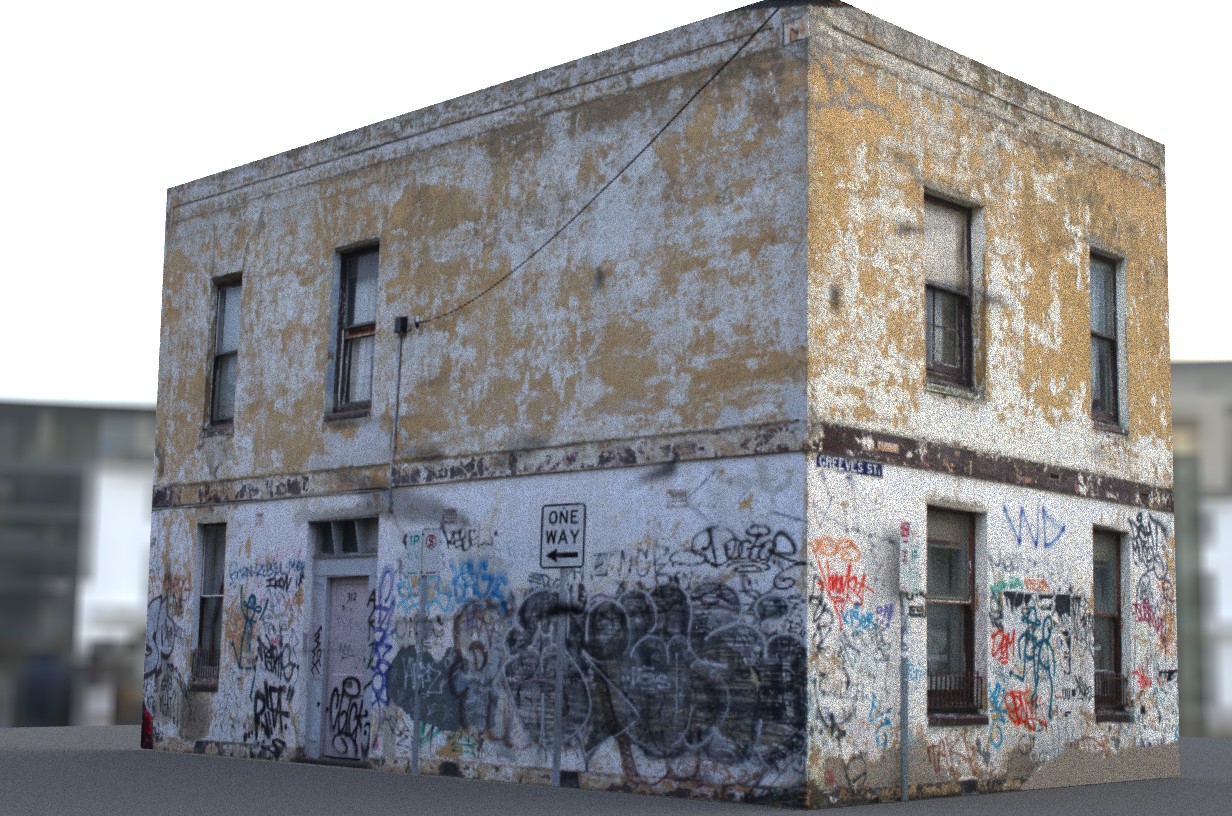
I managed to clone the original texture (the reference photo using Project from View UV) to another texture using an unwrapped mesh UV, and did a bit of editing (rough car removal). I had to use an old version of Blender to do this because documentation is available for the old version (in the form of a YT tutorial by David Ward from 10 years ago) but I can’t find any documentation on how to do it using nodes. I do know how to texture paint using nodes, but not clone UVs.
1 Like
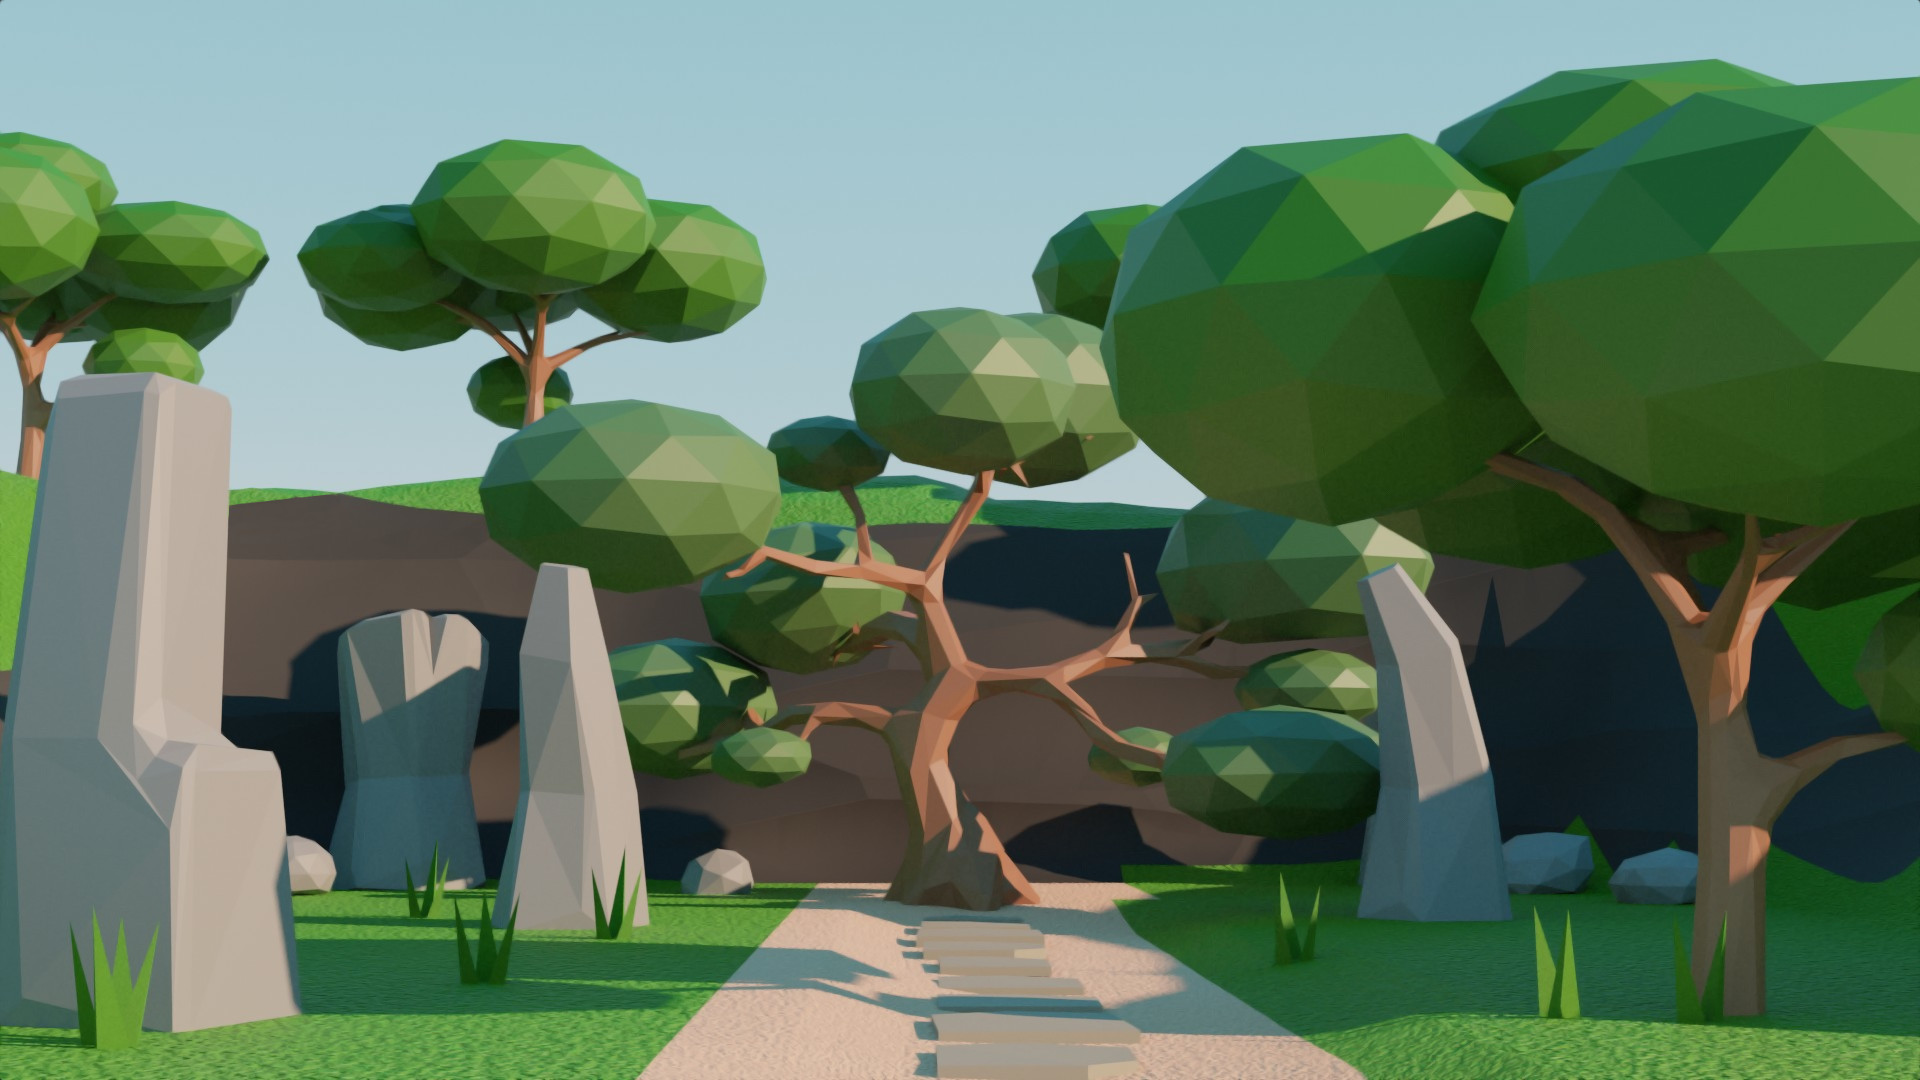
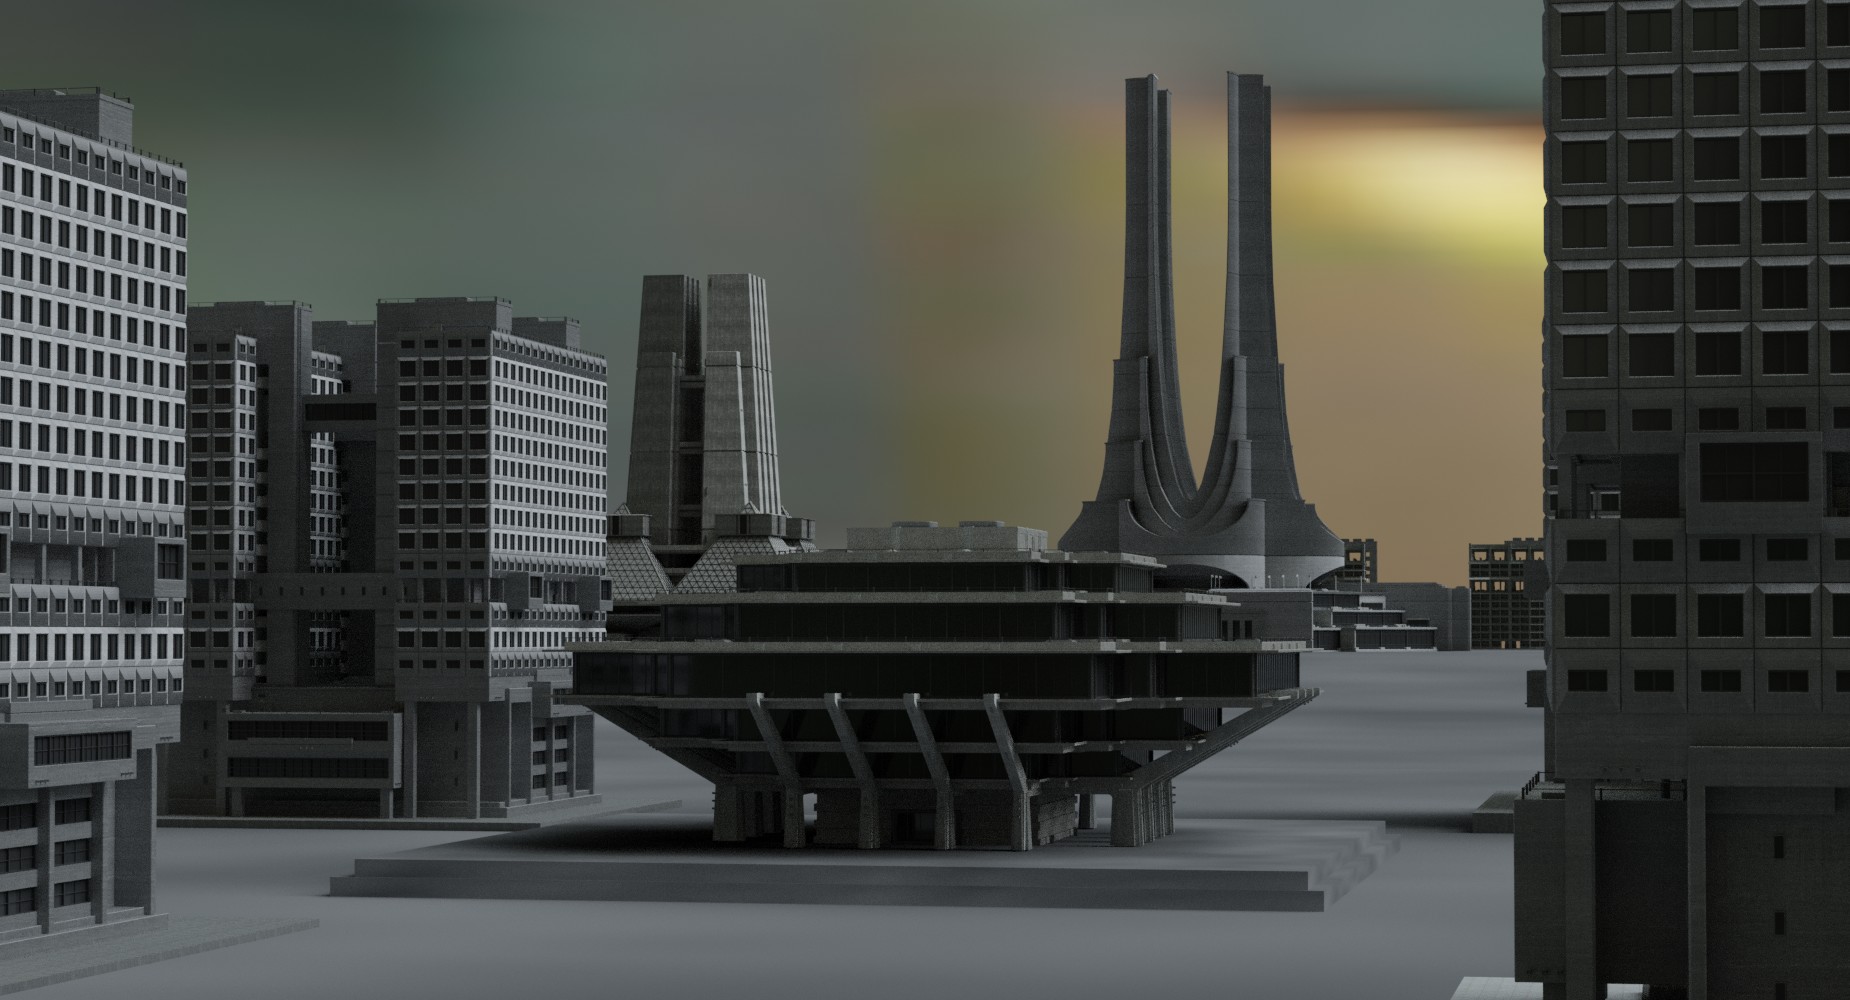
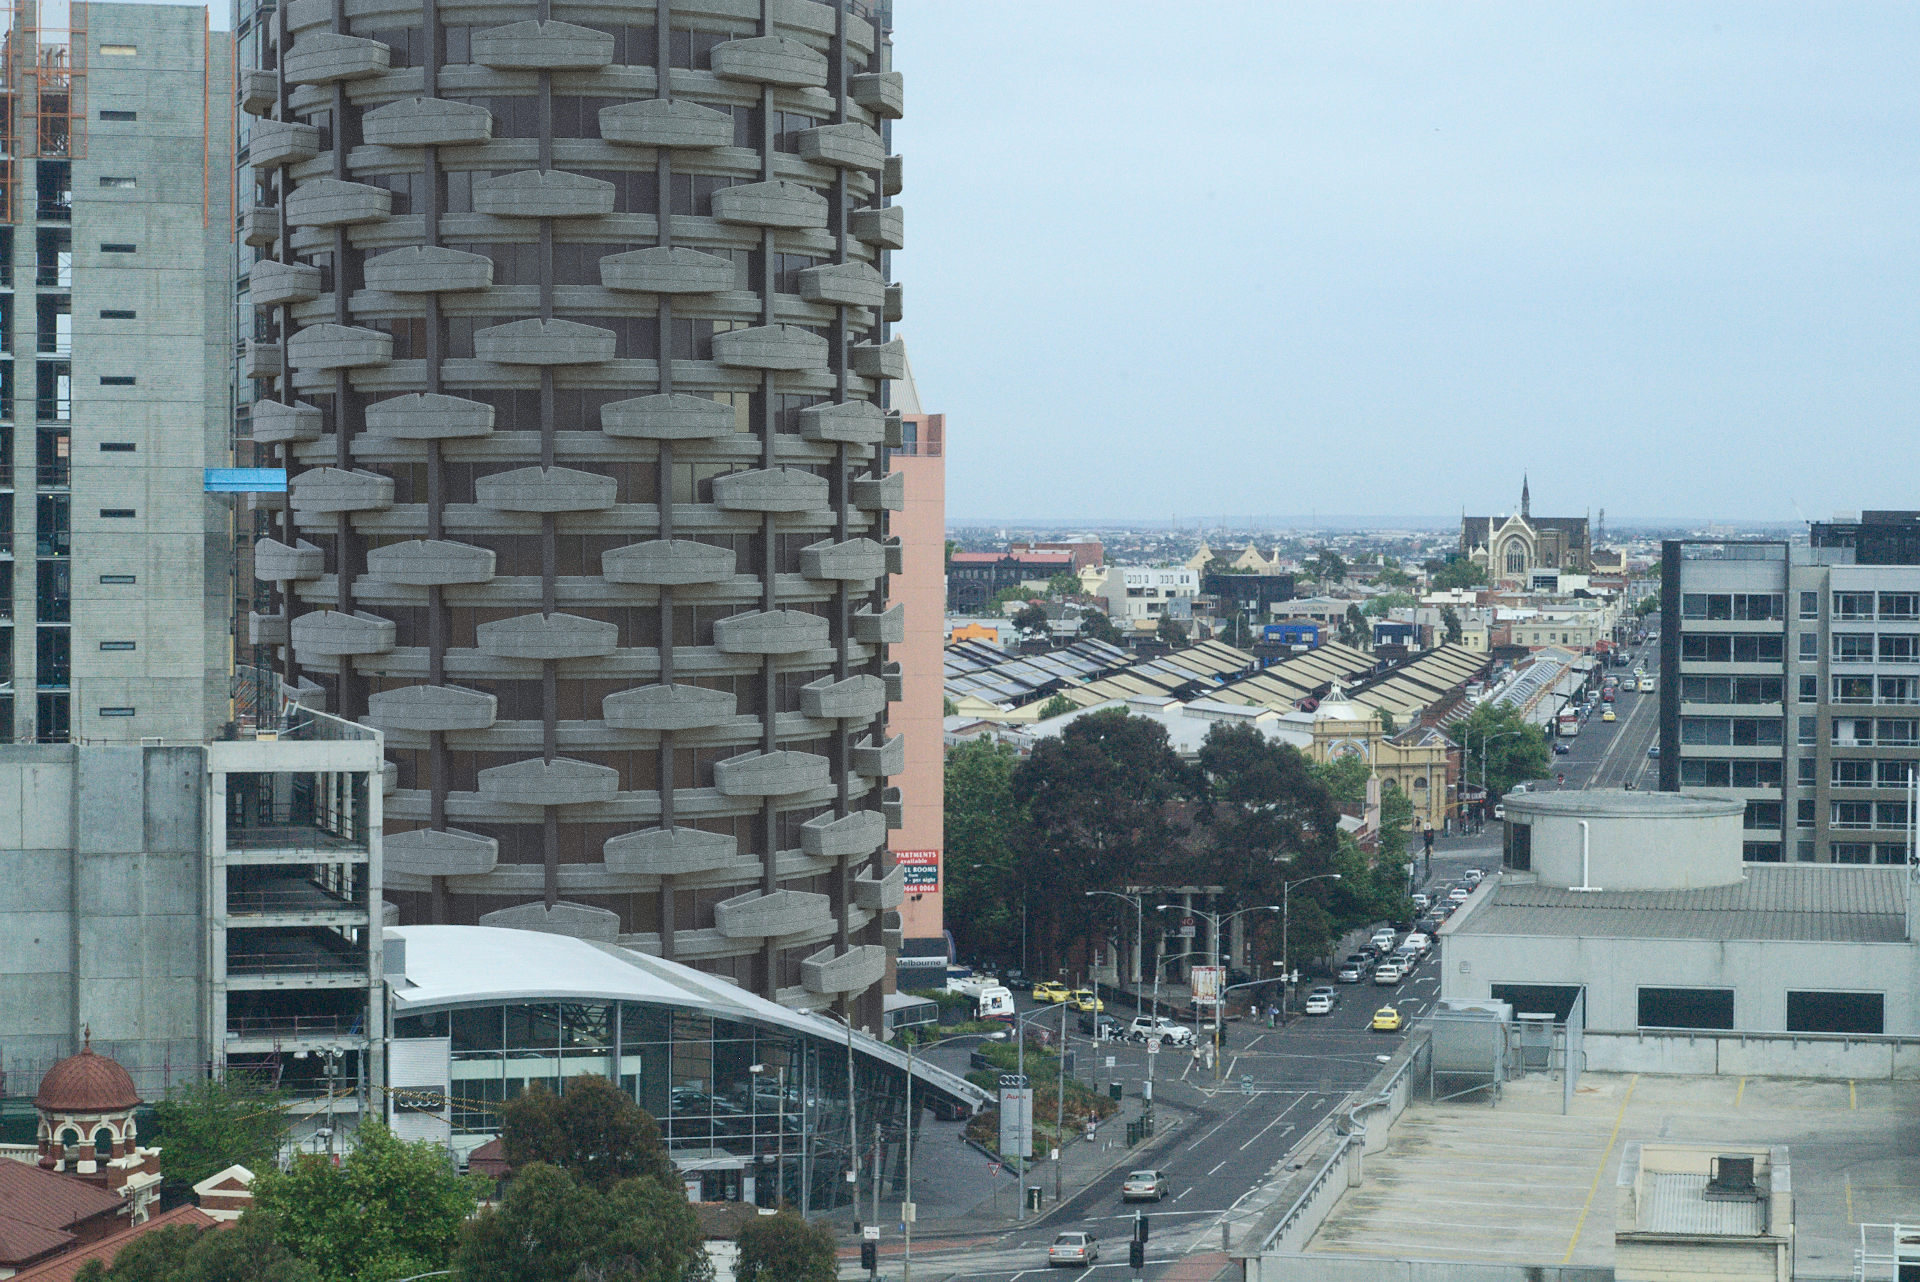
I’ve been doing a course on Udemy on low poly modelling. This is a variation on the scene we worked through.
2 Likes