This is the first of a multi-part series on making guides based on what I learned while working on my latest project, which you can find here.

So if you’re looking to make photorealistic automotive renders, here are the most essential elements for making the perfect headlights/tail-lights.
Start with some thickness

If we want the simulated refraction of real glass then the ray tracer must simulate the lights rays traveling though some solid (will depend on the type of shader as well but I’ll elaborate later in the post). Having just a flat surface also won’t help you much when creating the textures for the glass surface (for reasons I’ll explain later). For now you’ll have to start by giving your glass some thickness and also making sure each side of it has separate UV islands.
Now for the materials side of things we have:
Base Material
Start off with a basic glass material, depending on the look of the headlights you want to achieve they may look more plasticy than glass, you can control this by modifying the metallic-ness of the base material, Metallic 1 being glass, 0 being pure plastic. Once you’re happy with the base material add some slight roughness variation with a surface texture, it can go a long way towards achieving a realistic look.
Height Detail
Thankfully there's no need to model the micro details of the glass (or else we'd all probably just give up at this point)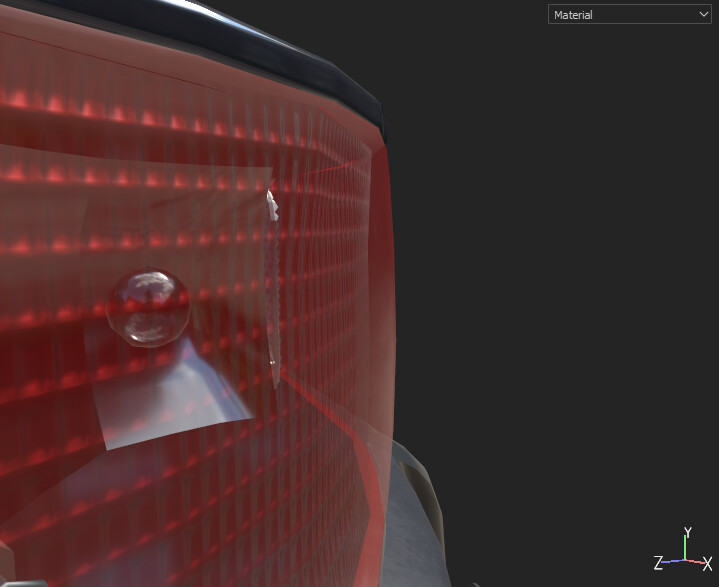
However, the trick is to add the height/normal detail to the backside of the glass, that’s how you keep the smooth reflections of the exterior side of the glass.
Also, I noticed that the inside of the glass tends to have a higher roughness value than the outside (to add more of that frost effect while keeping the exterior smooth).
Depending on your target color and tone of the taillights, you may have different metallic values for the exterior and interior sides of the glass. For the above image, I had zero metallic for the exterior side and a nearly full metallic value for the inside.
Shading
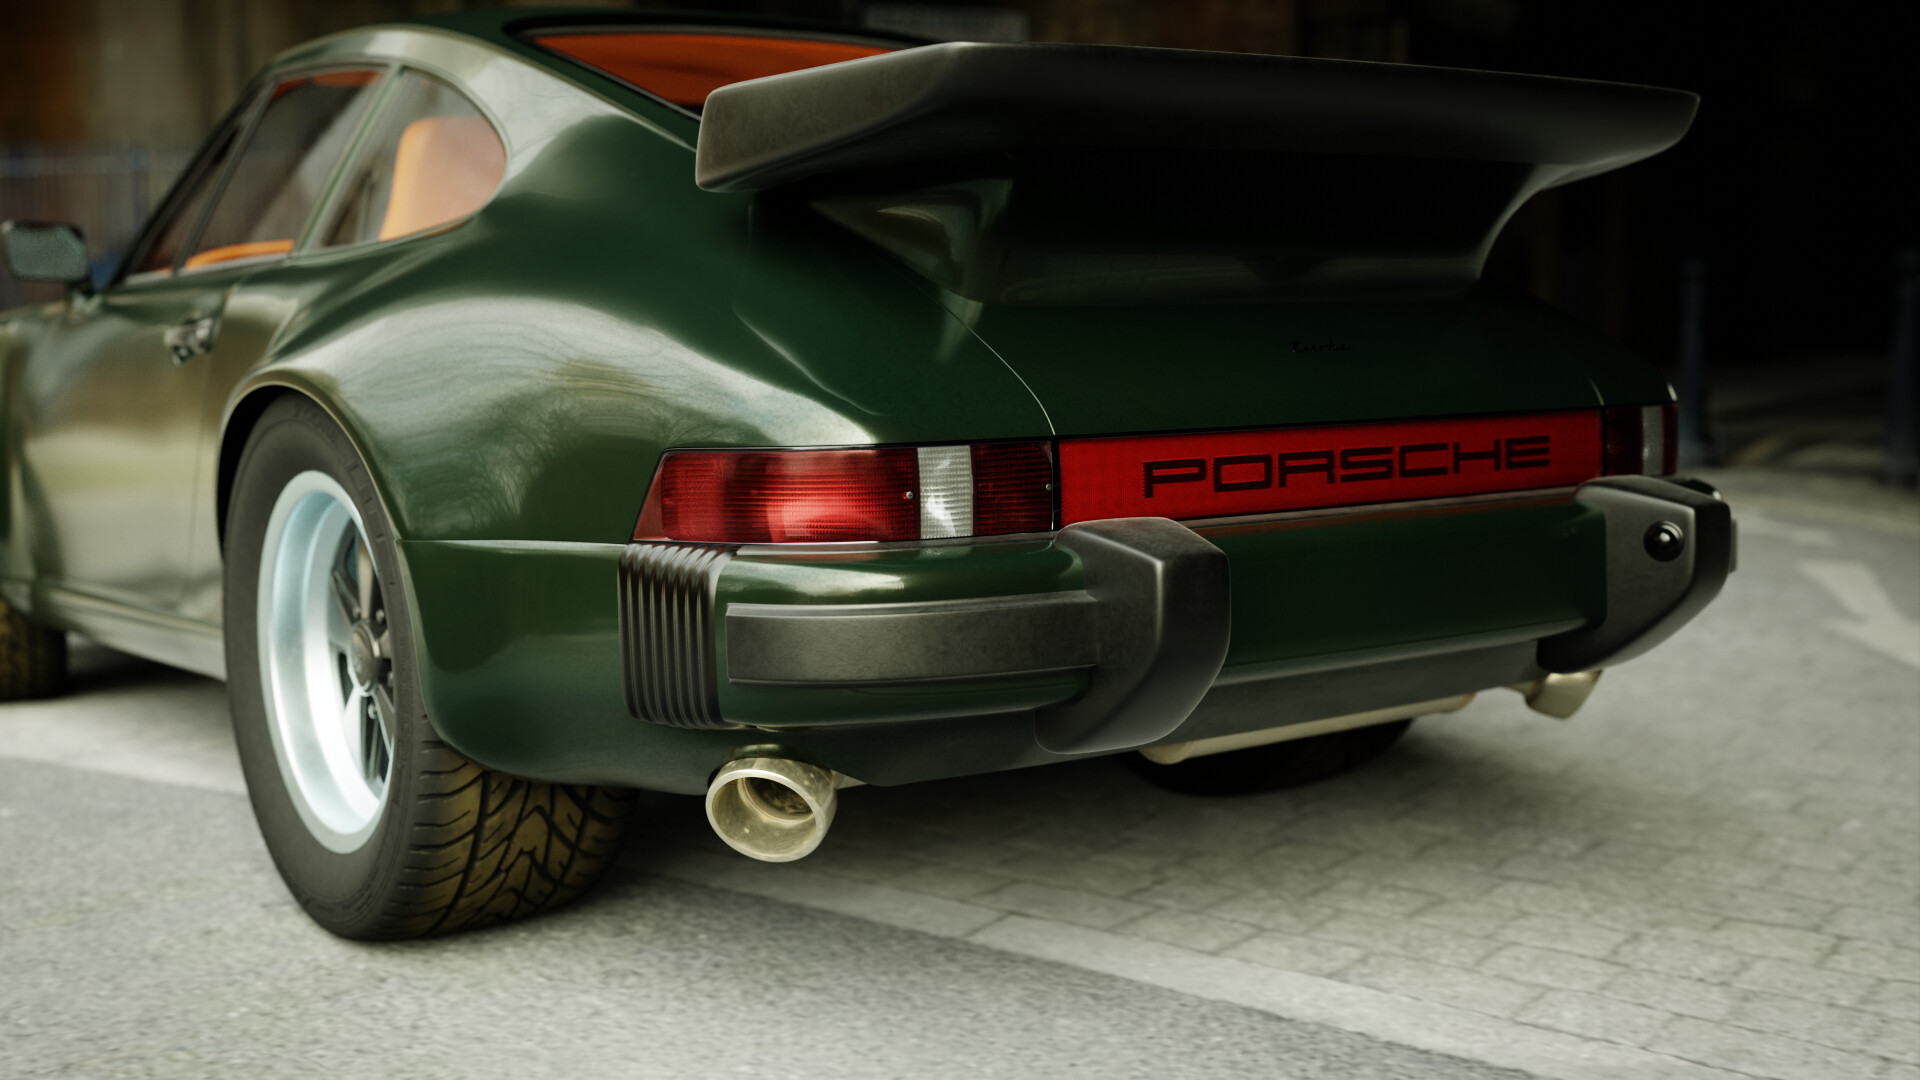
The most important part of this process is using the correct shader. Using the glass shader in blender rather than the default principled shader makes a world of difference. However, I noticed that the glass shader gets a bit too metallicy sometimes and doesn’t go that well with colored glass (gets too opaque).
The solution for that is to mix together the Glass and transparent shaders to get your desired opacity level. To get rid of the extra metallic-ness I just mixed in a principled shader with the same textures to the areas affected, you can go the easy route and create a mask texture or you can go my way and color ramp the base texture to create the mask ![]()
In the end I came up with this mess of a shader:

I found that the ‘Multiscatter GGX’ mode for the Glass shader looked best but beware as it requires considerably more samples to render (and denoising doesn’t do very well with it).
But if you happen to not be using Blender, I’d say just look for a shader made specifically for glass materials, that includes accurate refraction and caustics.
Lights
Once you're done with he previous steps adding lights is just as easy as placing point lights where the real bulbs would be. And don't be afraid to cheat a little by placing many weak point lights where you feel it's too dim, after all it's the look we are after.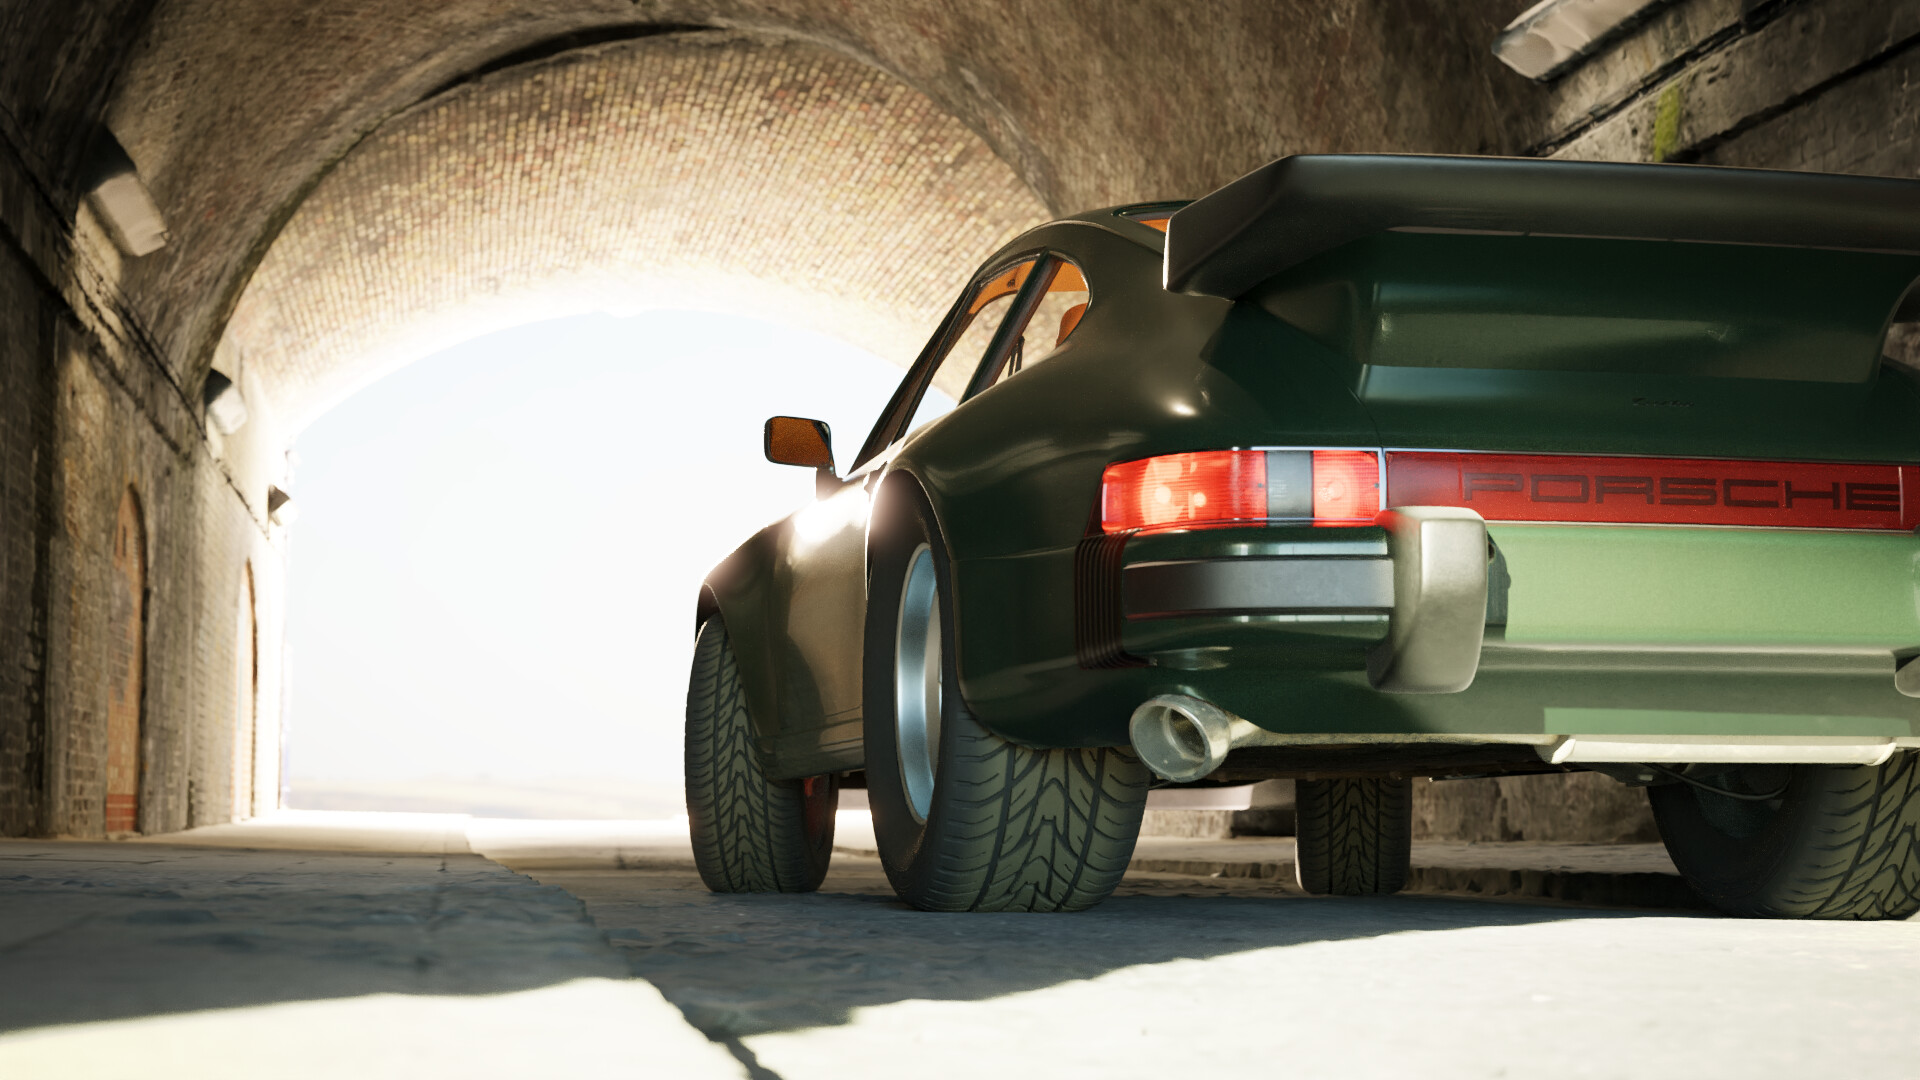
And that’s pretty much it! Hope this guide has been helpful, looking forward to seeing your works. If you have any questions or have your own tips for realistic car lights be sure to leave them below.
Cheers!