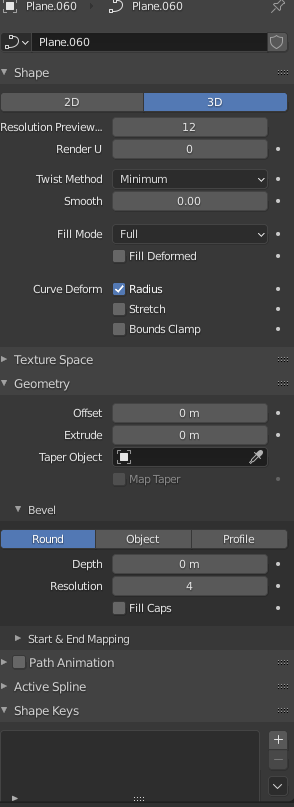
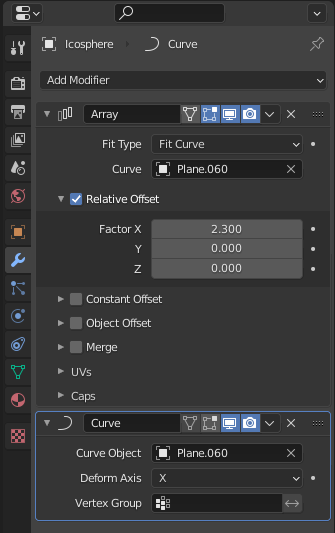
I double checked for normals, applied scale etc…and it all seems alright, the only thing that pops to my mind is that i got the curve object from a mesh but i don’t know if this could influence the outcome of the curve modifier, these are the current settings of the curve
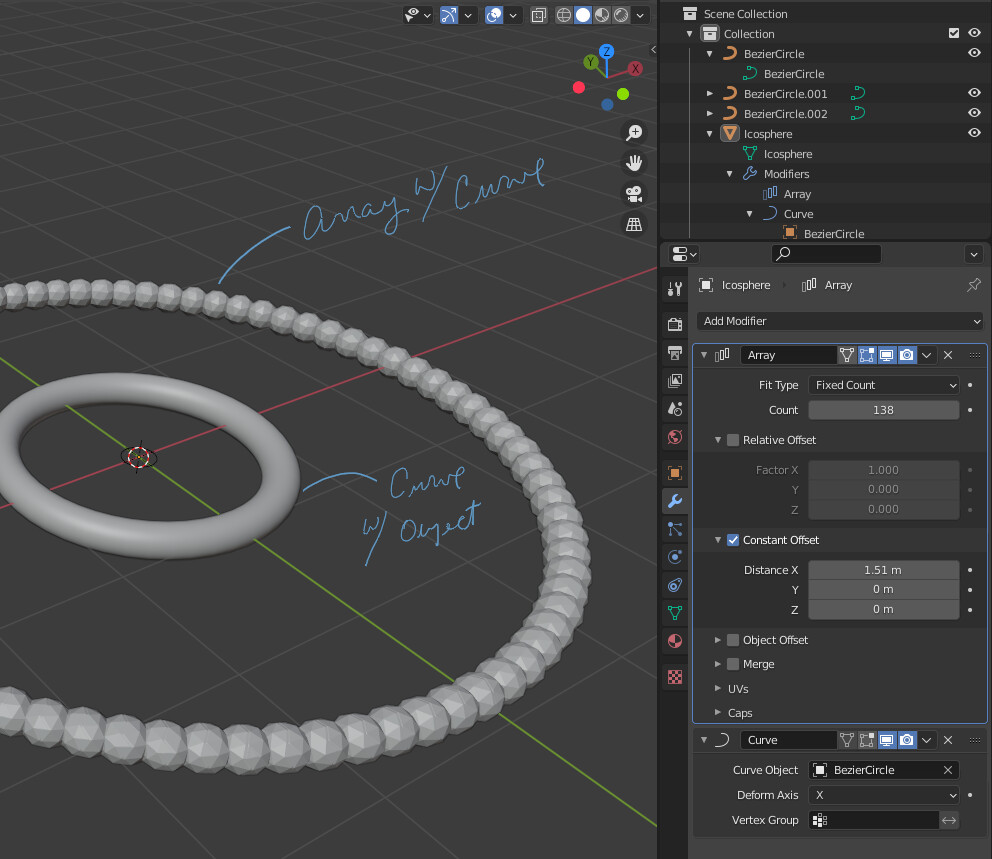
Hey, your 2nd pic is of the ‘Curve’ its self. If you are using an ‘Array’ mod and a ‘Curve’ mod on your ico - make sure array is set to the curve. If you just have an array mod on your ico (un-parented) do CTRL + P > Curve Deform. Make sure you dont have un applied Rot/Scale.
I do this a bit differently…You can’t use an ico-sphere on the curve as you tried…
1>
Use an array modifier and then a Curve modifier…select the Icosphere and then shift select the curve. Under Object > Parent > Follow Path ( all curves are Paths ) Make sure to add the curve AFTER the array…then set your constant distance…
Then hit ‘play’ and see what happens…
If you add an ‘array’ mod to an object then give it a ‘curve’ mod, as soon as you select the ‘Curve Object’ it will instantly jump on the path, same with CTRL+P > Curve Deform, this just adds the mod for you and parents the object to the curve.
Doing it the way you described only works till you change frames - why? because you parented it to a ‘path’, (which has an fcurve) WITH a ‘curve’ mod on it, your telling it to do 2 different things. Remember anything parented to something has the possibility/probability to inherent something.
Ok, so here is what could be happening, If the ico is not parented to the curve, and you move / transform it, distortion will happen. To fix this the ‘Curve’ object needs to have its Loc transforms ‘cleared’ (0,0,0 world space), same goes with the ico - only then do you parent your ico to the curve(Object), then you can do what ever transforms to the curve and the icos stay put.
IF this is not the case then you may have ‘Evaluation Time’ on your curve, also make sure there are no constraints on those items.
Sorry where do i set the radius in edit mode? I’m relatively new to the program and i’m still learning and by the way what caused this malfunction? I thought i modeled the curve right, i didn’t touch any of this radius stuff you’re talking about. Thanks
Just follow what @Aj8841 said to do with the radius…and as well you can scale up the icosphere as it is very small…
The radius is under…Select Curve>Edit Mode>Curve>Transform>Radius and set to 1.00 top slot…
Then you can adjust the offset in the array modifier to fit the icosphere better on the curve as there is one on the 90-degree section that gets squashed…you will see it…
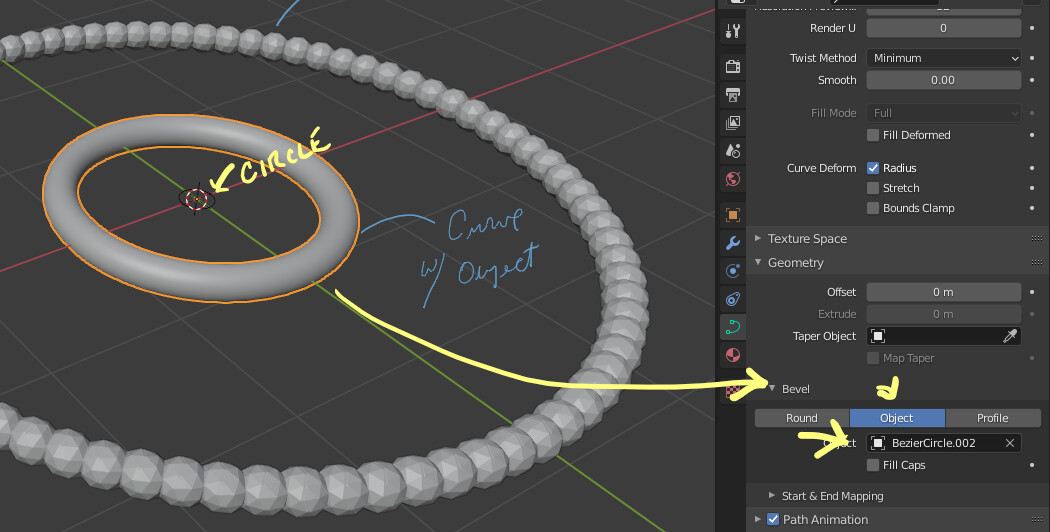
Note if you want the curve to display in render mode…you will have to set the bevel on the curve N-Panel>Curve>Geometry>Bevel>Depth … I set it to no more than 0.001 as everything is very small in this. You don’t have to change anything with the curve.