Who has already tested?

10 Likes
A quick test of pathguiding branch,monkey with glass shader,on plane in a volume,with spotlight.
Standard settings.Filmic high contrast.

5 Likes
Am I missing something - I cannot see any difference in either quality or performance on a similar test (first image is with path guiding active - second is without). This is a simple glass shader, and a point light rendered using CPU.

I tried rendering the BMW test scene with and without too - same result.
1 Like
Same
There was no difference in my tests either.
From what I read, it’s supposed to be more efficient, did one render faster?
Just tried it on a scene that I have with a volumetric material too - similar result, no discernible difference in quality, but the render with path guiding was 3 seconds slower.
Not from my testing, it’s the same - in fact, from the volumetric one, it was about 10% slower for the same quality.
1 Like
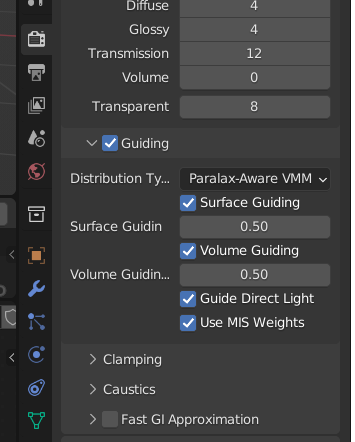
One interesting thing to note - I don’t know whether this is supposed to work in viewport, but usually when you enable or disable an option in the render panel (like adding more samples, tuning off caustics etc)- blender reinitialises the viewport render.
For path guiding - it doesn’t, so maybe it’s just not working yet or there is a bug in this build preventing it from being used.
That aside - it’s exciting to see this is finally getting an implementation. I’m sure they’ll iron out the kinks in due course.
I would love to skim over the implementation or at least the theory behind path guiding. because I have no idea how that works. Literally how does it guide paths? if someone knows enough I’d love to know, also have they linked a paper they used? even though I doubt I could understand it
the build on the bots right now won’t work, i was in a rush to catch a flight and was unable to finish the work completely, i’m suspecting the UI will always show, regardless if the feature is enabled or not in the build.
if you are building from source, the libs are available for windows only, you’ll have to build the cycles_path_guiding branch and (this bit is important, since it’s where the bots went wrong) enable the WITH_CYCLES_PATH_GUIDING option in cmake then it should work… (but no guarantees)
for bot builds, you’ll likely have to wait a few days till either sebastian or brecht makes the required changes and kick off a new build as i’m currently unable to.
10 Likes
Thanks for the links.
The representation of the guiding field is learned during rendering and updated on a per-frame basis using radiance/importance samples generated during rendering.
Does that mean it’s only active over several frames, in the sense that a single shot won’t benefit from it?
I don’t think so, it should also help with caustics. From the abstract [pdf]:
Path guiding allows efficient rendering of notoriously difficult light transport conditions: caustics behind smooth
dielectric surfaces. These production shots from Alita: Battle Angel show its versatility. We applied guiding on close-up shots
of Alita’s eyes featuring SDS caustics as well as on vast underwater scenes with god-rays and caustics at the lake bottom and
on the main character.
SDS paths means “Specular-Diffuse-Specular” paths and these are notoriously tricky because you need to match up specular paths to very specific angles but the diffuse part tries to be random.
Multiple specular paths in a row is easy and multiple diffuse in a row is easy too (relatively speaking) but alternating between them is a big challenge and, up until fairly recently, even pretty advanced path finding techniques weren’t great at these. Like, afaik even BiDirectional Path Tracing struggles with those paths.
A good example scene for SDS paths you might have seen is the glass cube with a torus inside.
A good irl scenario is diffuse stuff behind a refractive surface such as eyes or a wall clock or things like that. - Up until fairly recently, they always had to apply tricks to make eyes come out “right” and not too dark. Frequently the cornea’s material would be fudged to make it easier to render (think Cycles fast glass as people have been using for ages), or the iris would be made to actively emit light. (You can see that in a lot of earlyish Pixar movies for instance)
For such tricks not to be necessary, you need to properly handle SDS paths.
And apparently this is one method to do so.
This also means the suzanne example you used there is probably too simple as far as light paths go to really show up what’s going on. Try scenes were SDS paths are very likely to be forced (i.e. that cube-with-a-torus scene or a realistic eye or something like that)
EDIT:
I made this particularly challenging by also turning off clamping of light (both direct and indirect set to 0) and Filter Glossy (set to 0) - very likely not recommended, though that’s technically a hack. This is not with the build, after 800 samples. You can see how most of the image is converged, but there also are super noisy spots where caustics should be. This is with Shadow Caustics enabled on all materials and all lights as well.

EDIT: I changed the scene slightly and then rendered for much longer. Here it is at 23216 samples (again, this is without Filter Glossy so normally it wouldn’t be quite so bad
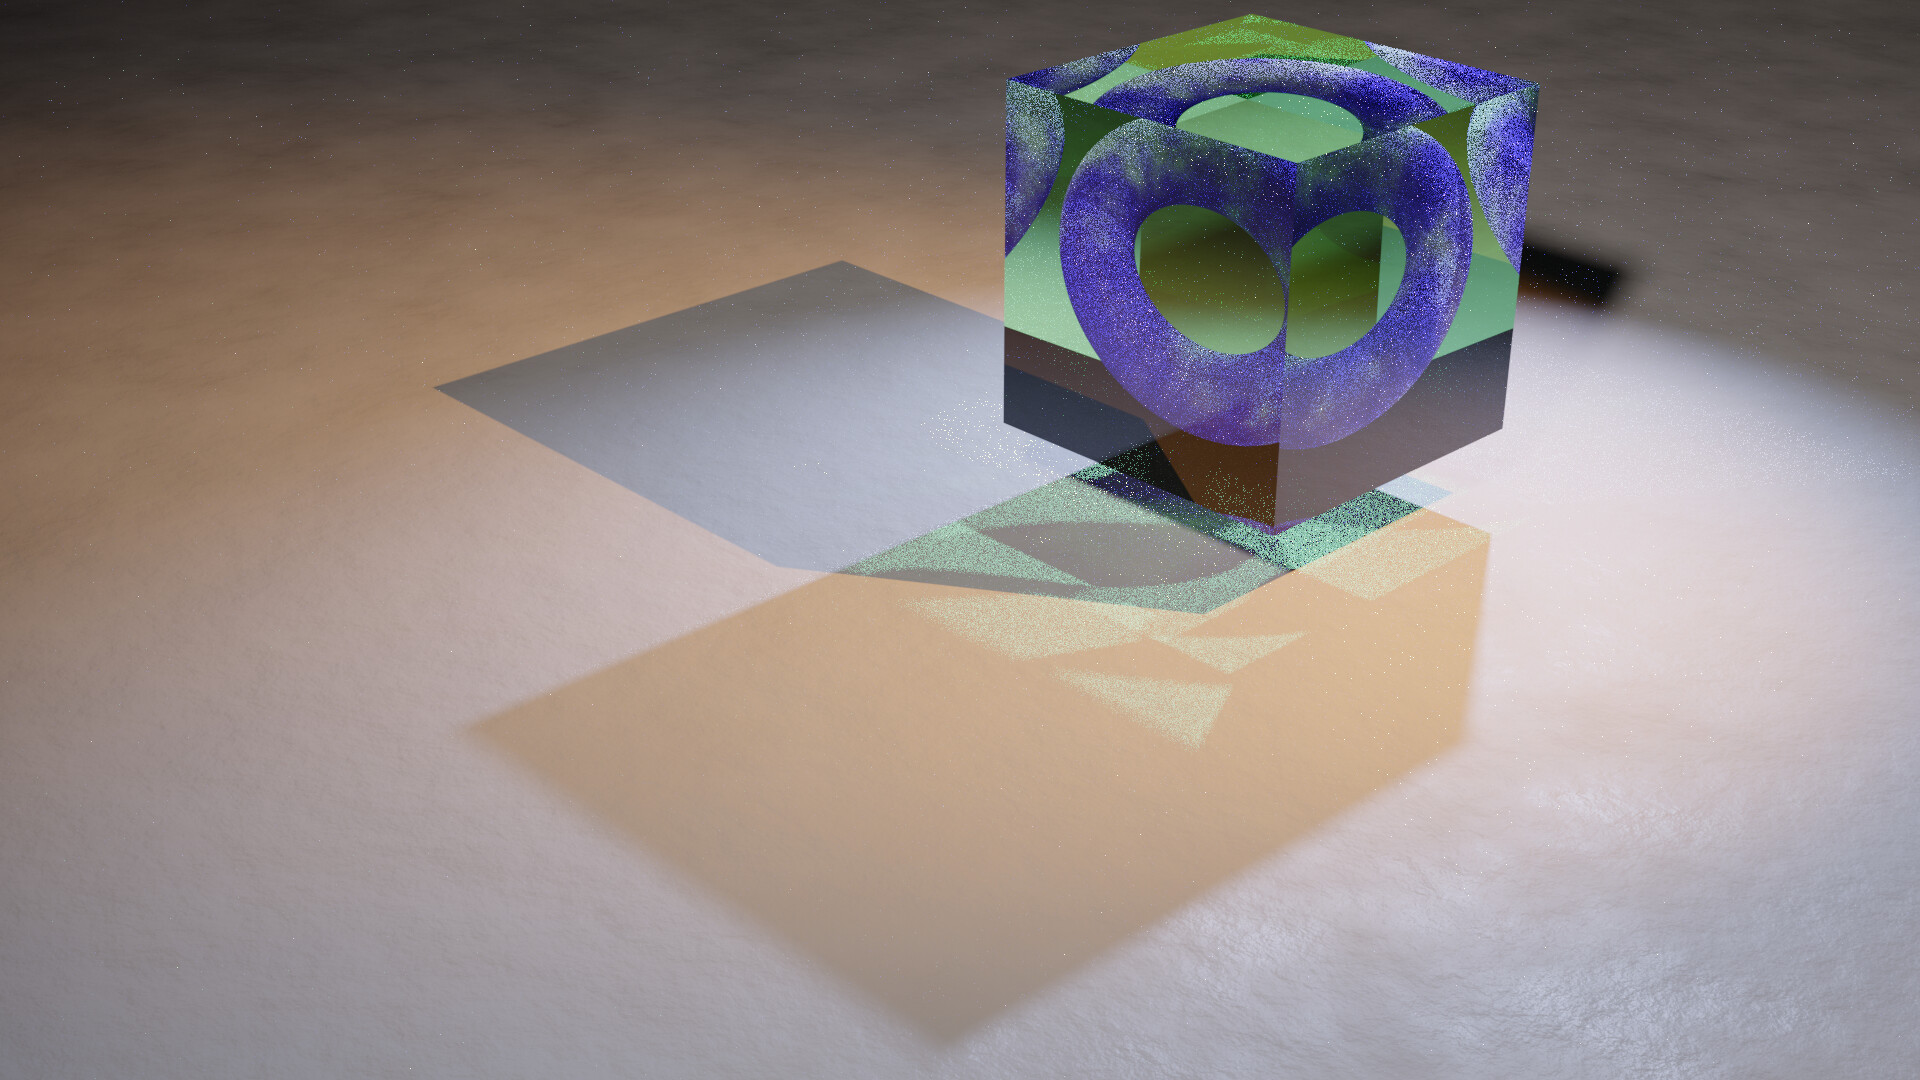
At such sample counts a somewhat reasonable result almost emerges, but even so, the caustics on the torus remain really noisy and so do the ones on the ground.
9 Likes
Doesn’t filter glossy need to be non-zero for shadow caustics to work. It certainly was the case in the early builds I tested. Does it make any difference if you set filter glossy to say 0.01?
Am I the only one finding the viewport does not even refresh when I turn Guiding on and off? It literally has no affect on the viewport for me, as if it’s an empty UI buttom.
LazyDodo clarified that the current build isn’t working a few posts above. We’ll have to wait a few more days for a new build in order to start testing it.
2 Likes
Does someone know the command line to load the pathguiding branch?
I have tryed …
git clone git://git.blender.org/blender.git -b cycles_path_guiding
It loads and if i check branch with …
git branch
its shows path guiding (in green chars)
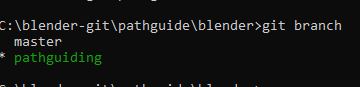
but if i make the files then no GUI of pathguiding appears in the build,and in cmake there is no path guiding option.
So i guess with the command above i just downloaded the master and switched to the path guiding branch just as name?
What is the command line to load a branch? @LazyDodo
Hi, I am no building on Windows but I guess you have to get the master branch first to get all necessary libraries and then use the “checkout” command tho change to the cycles_path_guiding branch.
git checkout cycles_path_guiding
Cheers, mib
1 Like
Hi
just a short info. In the current branch path guiding is disabled in the code and has to be activated
with the WITH_CYCLES_PATH_GUIDING Cmake option when building Blender.
This will be turned on by default as soon as we validated that all test run through.
It seems the community is WAAYYY too quick testing this stuff. You did not even give me time to update the Blender task mentioning all of this. ![]()
6 Likes
Is it possible to know what is the path guiding advantage over the system we have now? I am curious to understand what does it mean this incorporation to my everyday life use of Blender. Is it specifically about caustics? is it related to a more accurate light calculation = improved render quality?
Thank you