Also on the decals of the proposal is like Asset Management as a unified interface, the user can choose to attach the library and custom decals storage location, another advantage is that when the plug-in update do not have to re-download the entire repository, you know the map resource capacity Often very big.
Fantastic idea. Any way to make this affect displacement instead of normals?
Have any of you managed to successfully make your own decals?
+1 for the tutorial how to make your own decals from the scratch and add it to your library ![]()
PERFECT! Amazing Extension! HardSurface Style with less Geometry! Big +!
MACHIN3 this addon can turn out like the blender version of ‘Surforge’ Unity3D plugin. +1<3 and waiting news and tuts!
Still hoping someone can answer my questions in the previous post as to why I am not getting the same behaviour as the demo video. Again, all decals are dropped at the centre point regardless of where the 3d cursor is and do not automatically snap to the object.
Attached is a very simple scene with a rounded cube, as can be seen, the decal ended up at 0,0,0 when I added it.
What exactly is the workflow for getting this to behave as the video shows and how, I presume, others are doing?
Also, has anyone successfully added the machine tools addon set? The yjsut do not show up int my addons list.
Hi,
For automatically snap, switch On “Align rotation with the snapping target” and set “Snap to Face” and “median” . . .
@colkai
I guess You need to set up the snapping options in the botom row.

edit : looks like I wasn’t fast enough 
Ahh, fair enough, wasn’t sure if it snapped automatically, thanks, knew it would be something obvious! 
Hello everyone,
Version 1.2 has just been published. . . it’s good. 
But simple question: “How to recover this update”?
I bought the first version but no link is provided to be able to benefit from the updates !!
Tanks. . .
Normally, the author issues an update emial with a direct link, (at least for the other add-ons I’ve bought from Gumroad). Normally, you should be able to log into gumroad and get the update. If you select the product, it should tell you you have already bought it, then you should be able to add it to your gumroad library.

#decalMACHINE
And not rightly !!! I bought this addon using PAYPAL as payment but I have never received any link either from GUMROAD or from @ machin3. . . ?
Today I received an e-mail from @machin3 to announce the new version 1.2 but there still no link to access this new version.
In the past, I have already used GUMROAD to get addons and I always get a link to get the updates.
Maybe now @machin3 is a bit too busy following the upgrade of the addon. . . I will wait a little 
@freeaccess Since you purchased the product you probably got the same mail as me. Log into your gumroad account that you used and access the sales page to get the latest update.
You should be able to view the product after logging in. The email however didnt have a link or attachment so i could understand how that could be confusing.
Thanks for the feedback and suggestions! Adding decals should be taken care of with the v1.2 release. For future versions I hope to automate the baking part and ideally the post work as well. If I manage to do this, decal creation would be a one-button solution
As for your UE experiment, are you saying you’ve brought DECALmachine decals into UE4?
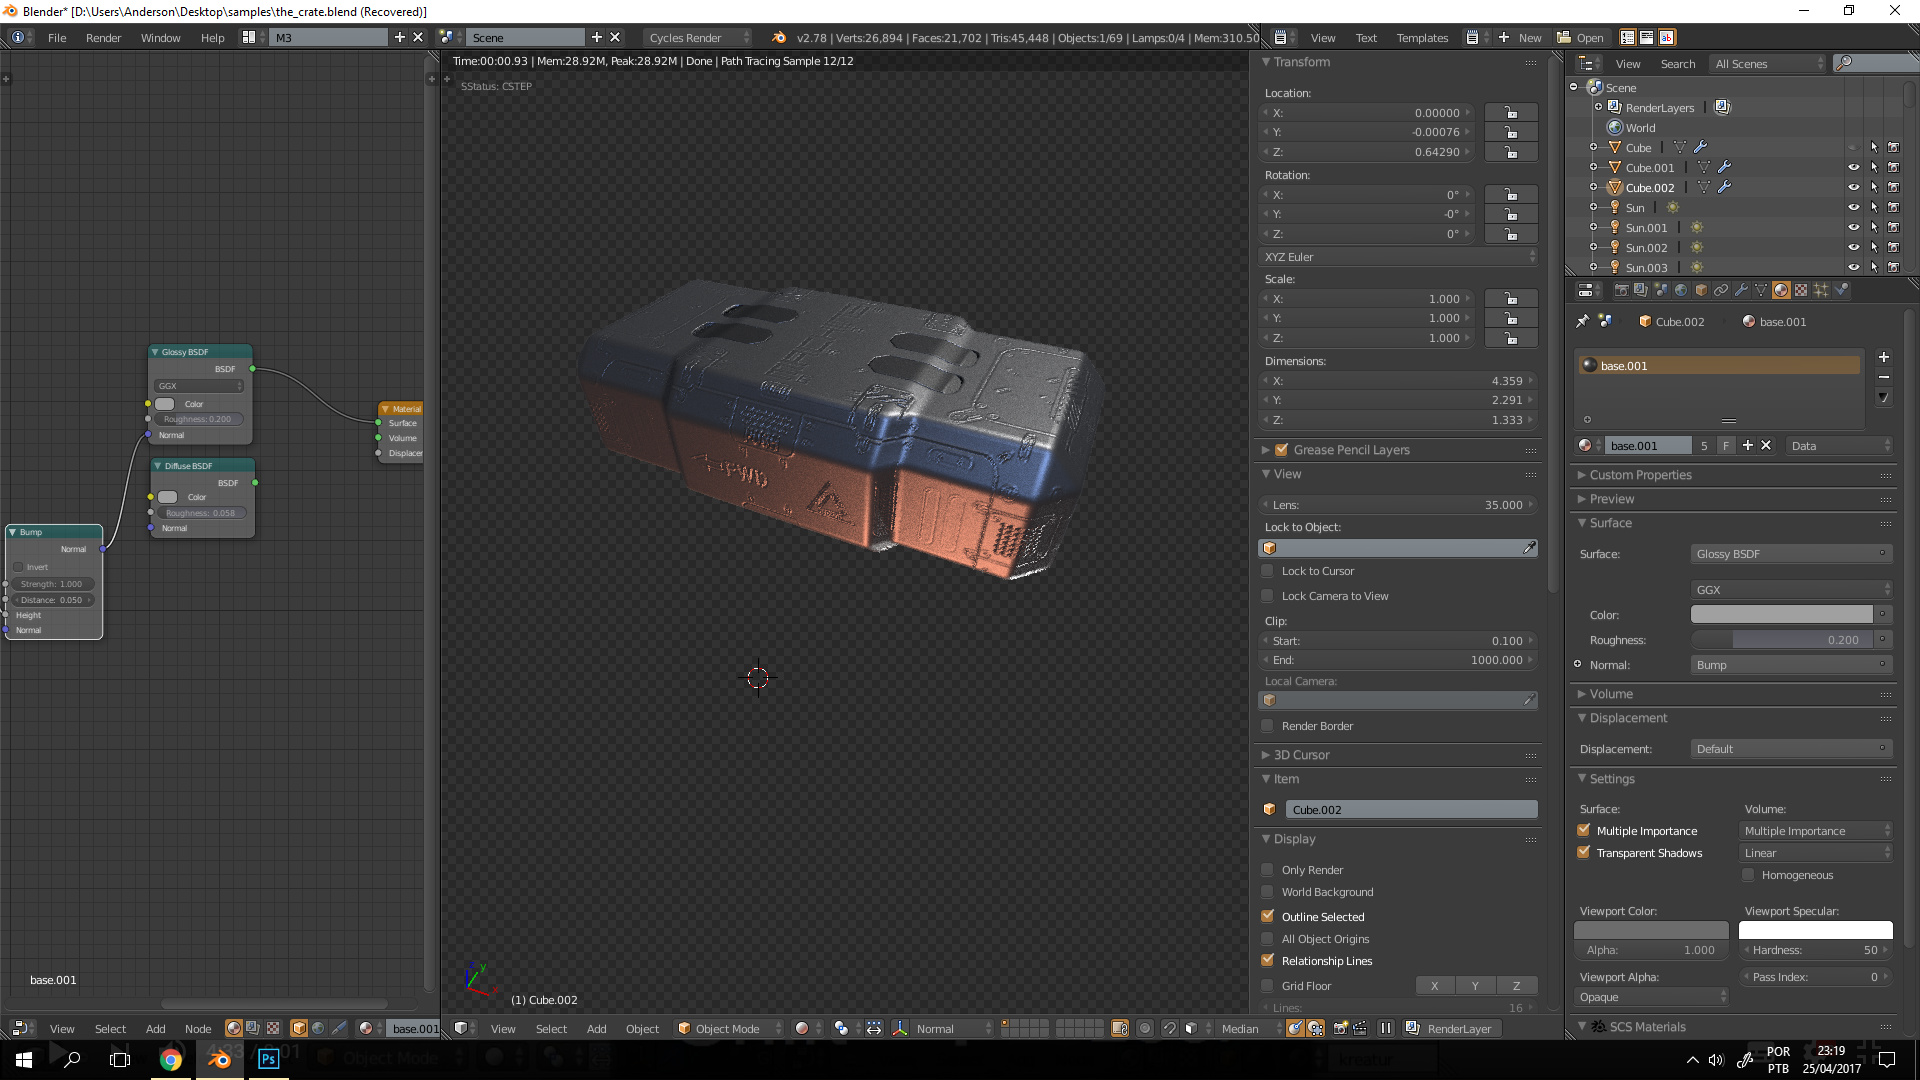
As for the blending masks, do you mean in Blender? I’ve experimented with softer alpha masks but it made no difference for me. That was also before I noticed I could just turn off shadowing, which all decals do now. In some cases, there’s still what appears to be a shadow. Happens more with panel decals. If this happens and pushing them down/closer to the base mesh is not an option, you can always turn of glossy rays as well. With both, shadowing and glossy rays off, there should be absolutely no way to tell the decal is not part of the base mesh. Visible borders are invisible. Of course, turning off glossy rays has a drawback, in that they will be completely invisible in reflections now, which luckily shouldn’t matter in most scenarios.
Have you seen the features playlist and the documentation @ decal.machin3.io.?
Before v1.2, when you imported a decal using Asset Management, it would only be moved to the cursor when you had nothing selected. Not sure why, but that’s AM behavior I had no control over. Now in v1.2 DM has its own asset loader and if you use it, it will always moving decals to the cursor location. Space in the pie menu is tight, so the asset loader will currently only show up when you have nothing selected. Meaning, the process is the same, ha. Unselect all using aand then open the DM pie using d.
Nothing needs to be set in the prefs, in fact prefs are only present since v1.2. But currently it’s only about switching the asset location from DM native to AM. Default is the DM location.
To use most of the tools you indeed need to do the proper selection first. It follows basic blender methodology. First select a decal, then the object you want to act on, i call it the target, internally in Blender it’s called active, then fire the tool.
So, for Decal Project, select a flat decal mesh, move it in position using g first and then holding down crtl while moving the mouse, which temporally activates snapping(face snapping and align to surface are chosen automatically using the new asset loader). Once happy, click to exit the move tool. You can let go of ctrl now too. The decal is still selected, so now shift select the object you want to project on and do the Decal Project, by pressing d and choosing it or quickly doing d, d and click. For what it’s worth, I’m selecting with LMB, but blender default is RMB. So when I say click, I mean left click, but it’s right click when you are using Blender default behavior. The click after d, d is only necessary for decal project, because d also upens the pie and the click closes it again.
Consequently for Decal Slice for instance you just need to press d, s. (or select it from the pie). You also don’t have to snap anything for slice, just use one box to cut another one.
There’s a slight difference in behavior between Decal Slice and Decal Knife in that slice cuts through the object, creating a closed panel strip loop, while the knif only cuts in to it, creating an on open panel strip. I hope to bring both toghether into a single tool soon.
MACHIN3tools is currently just a loose collection of scripts. They need to be dropped into the addons folder(not a MACHIN3tools sub folder) and need to be activated individually in the add-ons tab in preferences. I’m going to extend MACHIN3tools a loot in the coming weeks, as I have dozens of unreleased helpful little and big scripts laying around. I’ll properly bundle them and do a menu and everything for it.
Thanks for your feedback, let me know if there are any more questions or suggestions.
Thanks, everyone needs some hard surface modeling in his life
Wow, man, that’s just incredible, thanks for doing this. I need to try and replicate it. I will likely reach out to you in a bit if you don’t mind.
I will take care of the auto-atlasing, it’s my next big feature I’m doing, It will then also allow exporting to ue/unity/sketchfab. I’m thrilled that it also leads to the normal baking baking workflow, which I honestly thought was impossible initially and did not really consider as a path to go down.
If it only ends up being possible using xnormal, than so it is. Doing it in blender would be killer of course.
Thanks again, this is just amazing.
As for the missing linebreaks. v1.2 comes with html docs as a direct result of your suggestion, so thanks for letting me know, I didn’t realize this was happening. To my defense, it’s a notepad issue ![]()
It certainly looks like it’s working.
Please see v1.2 for a decal creation guide, It’s in DECALmachine/assets/create. It’s also on decal.machin3.io and on youtube.
Please see v1.2 for a decal creation guide, It’s in DECALmachine/assets/create. It’s also on decal.machin3.io and on youtube.
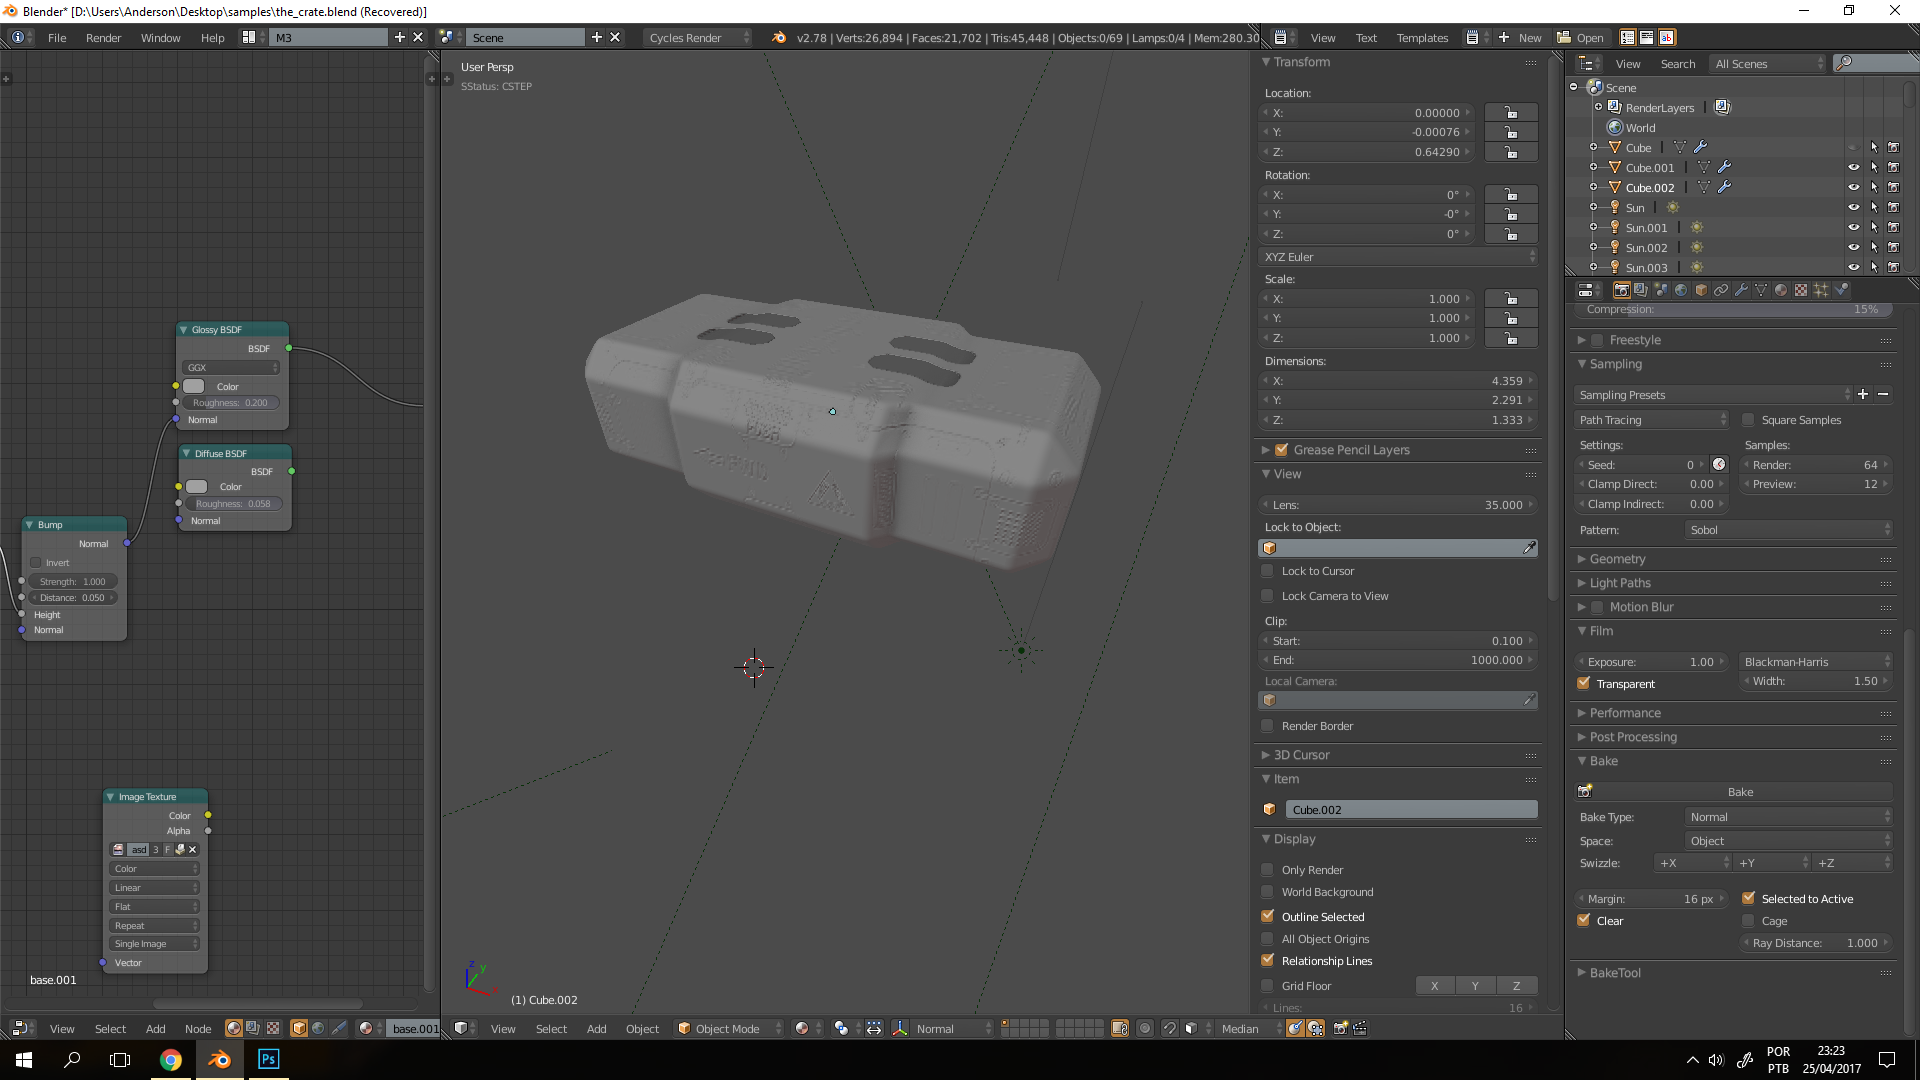
Baking the height map down sould be relatively easy, I agree. Based on my tests the conversion of height to normal is sub par however, when compared to the baked normals.
Yes, I currently depend on the glossy shader, I’ll attempt to move away from this and make material matching more flexible in future.
Very odd @ not finding the path, despite AM being installed. If you are up for it you could try running:
bpy.context.user_preferences.addons['asset_management_V_2_1_7'].preferences.asset_M_library_path
in the scripting layout and show me what it responds.
Depending on your version, the 2_1_7 will have to change. You don’t have to type all of this, the first letters are enough, just keep pressing ctrl + space, after you type the first letters.
Maybe its an older AM version, where the path variable was called differently, I don’t know.
I suggest you update to v1.2 however and use the native asset path in the addons folder, which DM defaults to. You can still use the AM library path, if you want to and if you want to access the decals from AM, but it’s not required and not the suggested behavior.
In v1.2 you can actually check the asset path in the DECALmachine prefs and also see it change, when you switch to the AM path. If you could let me know if this works for you, that would be great.
WIth version 1.2, the addon is half the size it was before. I had some hidden backup image files in the first release. Sorry for that.
Due to a change in the asset folder structure, v1.2 needs a clean start however. So you need to remove the previous assets. For future releases I will optionally split the assets and the code, so you can only update the code, if the assets haven’t changed. It’s a good suggestion, thanks Bop!
So, technically it’s trivial to change the decal node tree to do displacement as the height maps are already supplied. But think about it, a floating decal with actual displacement? First off, the decal would need to be subdivided a lot, which you be done, but 2. what would happen to the displaced geometry? It would intersect with the base mesh the decals are floating above - you wouldn’t see any of the displaced geo, as it is sunk into the base mesh.
What you could do is bake down the height map of the decals to the basemesh, although it’s not a workflow integrated in the addon itself yet. and then use that height map, without the decals for displacement. But you’ll need to subdivide your base mesh even more then.
Please see v1.2 for a decal creation guide, It’s in DECALmachine/assets/create. It’s also on decal.machin3.io and on youtube.
Before v1.2, when you imported a decal using Asset Management, it would only be moved to the cursor when you had nothing selected. Not sure why, but that’s AM behaviour I had no controll over. Now in v1.2 DM has its own asset loader and if you use it, it will always moving decals to the cursor location. Space in the pie menu is tight, so the asset loader will currently only show up when you have nothing selected. Meaning, the process is the same ends up being the same, ha. Unselect all using a and then open the DM pie using d. Inserted decals will be at the cursor location.
MACHIN3tools is currently just a loose collection of scripts. They need to be dropped into the addons folder(not a MACHIN3tools sub folder) and need to be activated individually in the add-ons tab in preferences. I’m going to extend MACHIN3tools a loot in the coming weeks, as I have dozens of unreleased helpful little and big scripts laying around. I’ll properly bundle them and do a menu and everything for it.
Cool looking addon, a bit unfortunate it doesn’t do 3D painting though.
Yes, in my startup scene I had some snapping settings set, that i had assumed were standard. With the new asset loader in v1.2 all necessary snapping settings are set automatically and all of it will work as expected even on a vanilla blender.
Not anymore you don’t ![]() Thanks for your help though.
Thanks for your help though.
Please see your direct messages here on BA, or let me know your email by emailing [email protected], i’ll get you access ASAP. It does sound like a gumroad issue however, but if you have gotten the v1.2 email, than your email is in the customer list. I just need to know it, to re-mail your the dl link!
Just epic man.
Okay, running your code gets me some further info which might help. My AM version is 2_2_0 so if I run your above code with that version I get the correct AM library path. However if I try to get it to autocomplete it seems that Blender thinks I have 2_2_0 and 2_1_6 installed, in which case that older version might indeed store the path differently. Not sure how to clear that up outside of a clean Blender install. I’ll try removing and re-adding AM I suppose.

Sure, happy to help in any way I can ![]() Glad to hear about the automatic atlasing as well, am looking for to it.
Glad to hear about the automatic atlasing as well, am looking for to it.