The Goal of these tests in the first place are, to get a good basic skin shader setup within Blender,and to learn pro and cons of the best methods to setup the best result,with the given reference maps.
Tips and Tricks,CC and Discussion are allways welcome,at the end we can learn from eachother.
I have resized all textures to 3k, because my gtx 970 cant hold all textures at full size.
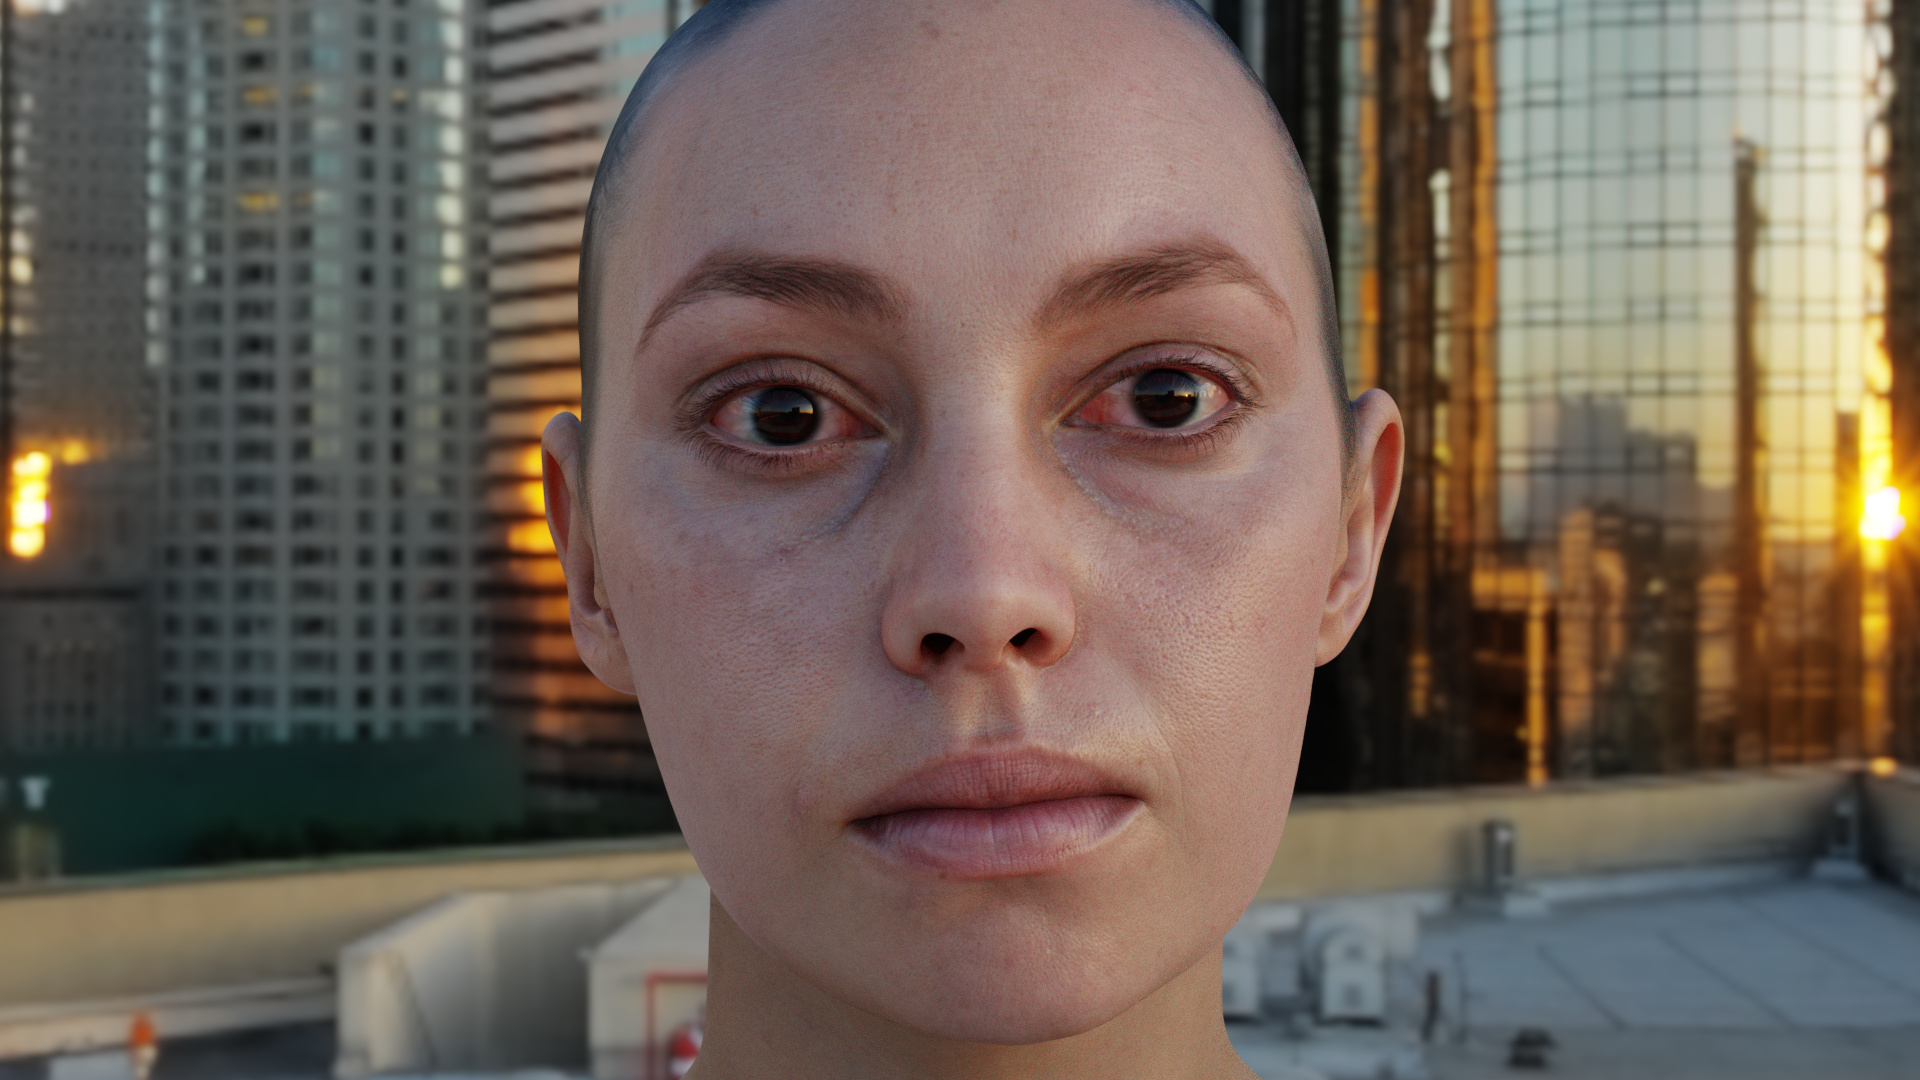
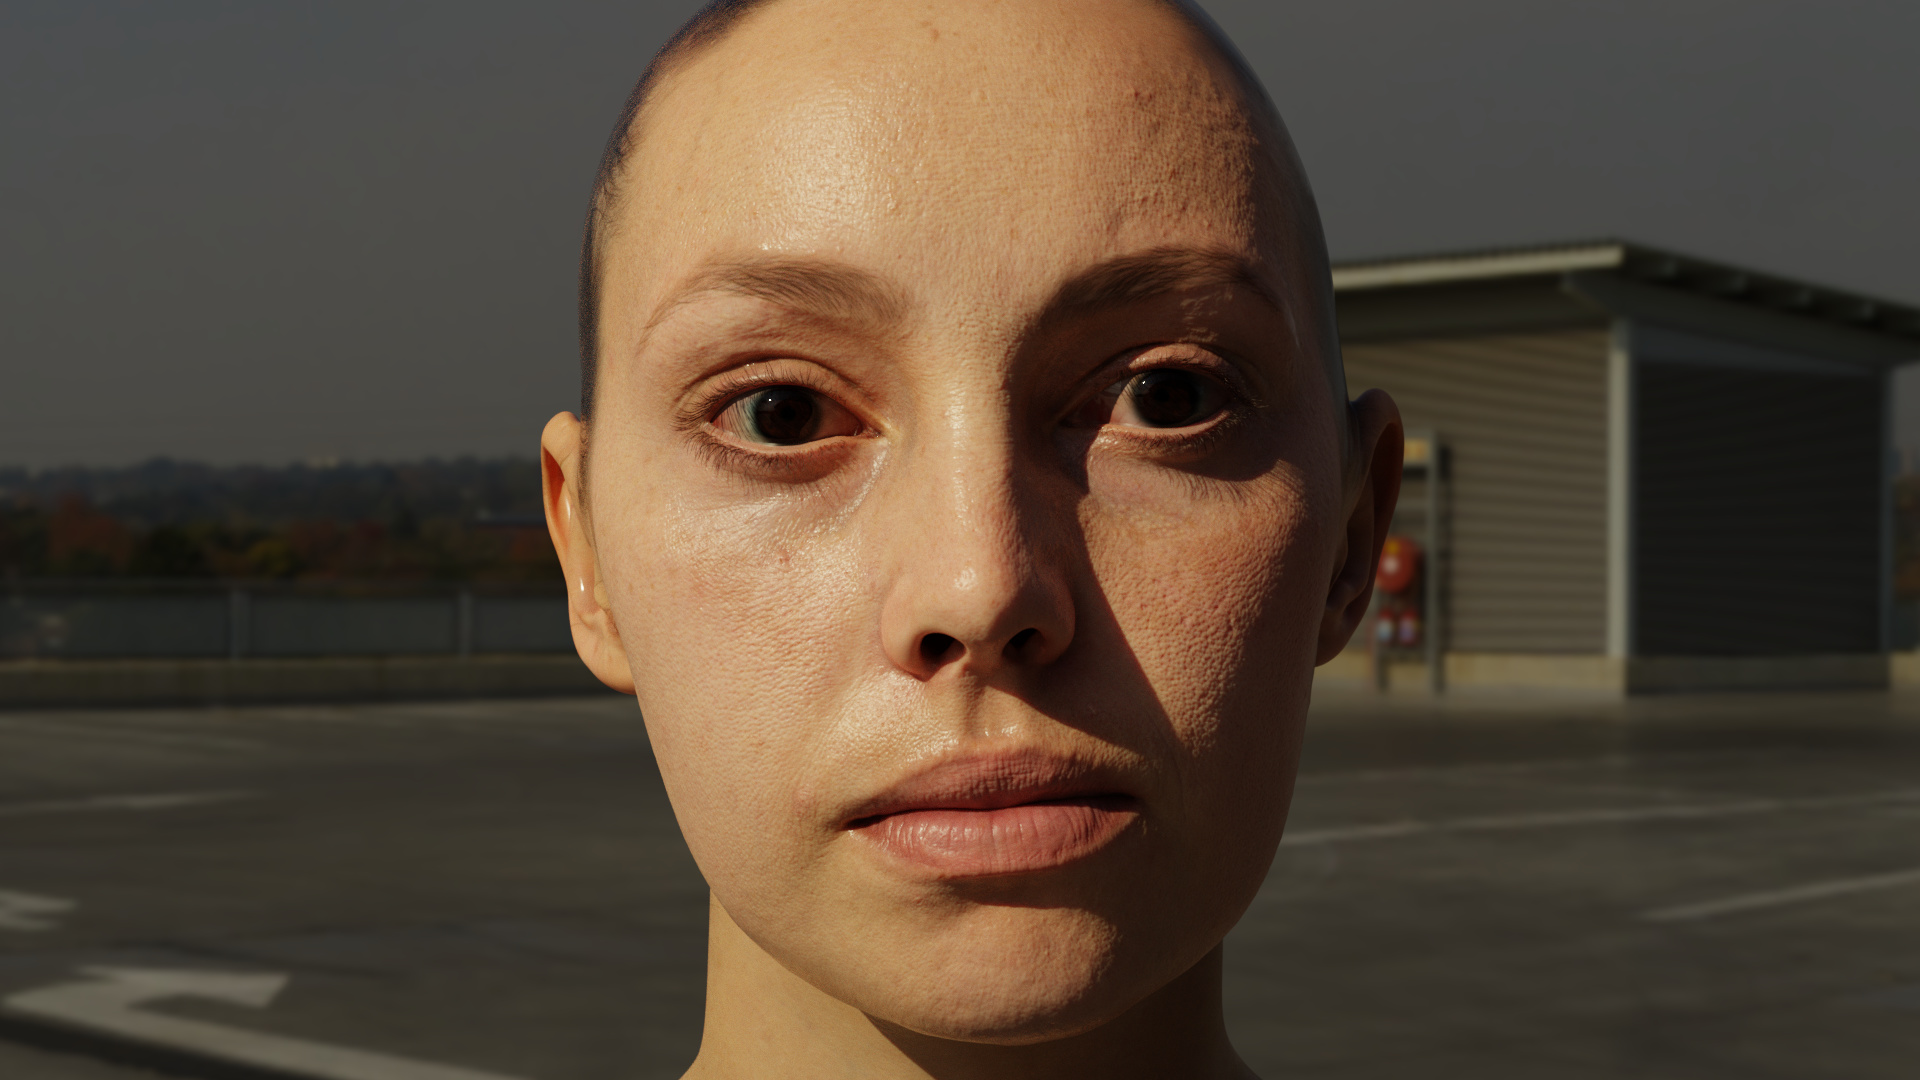
the scene is lit by one HDRI,with Filmic CM.light strength calibrated to .18 grey mat.i have reduced some displacement scale,otherwise she looks like a orange on full scale.for me this looks more nature like.
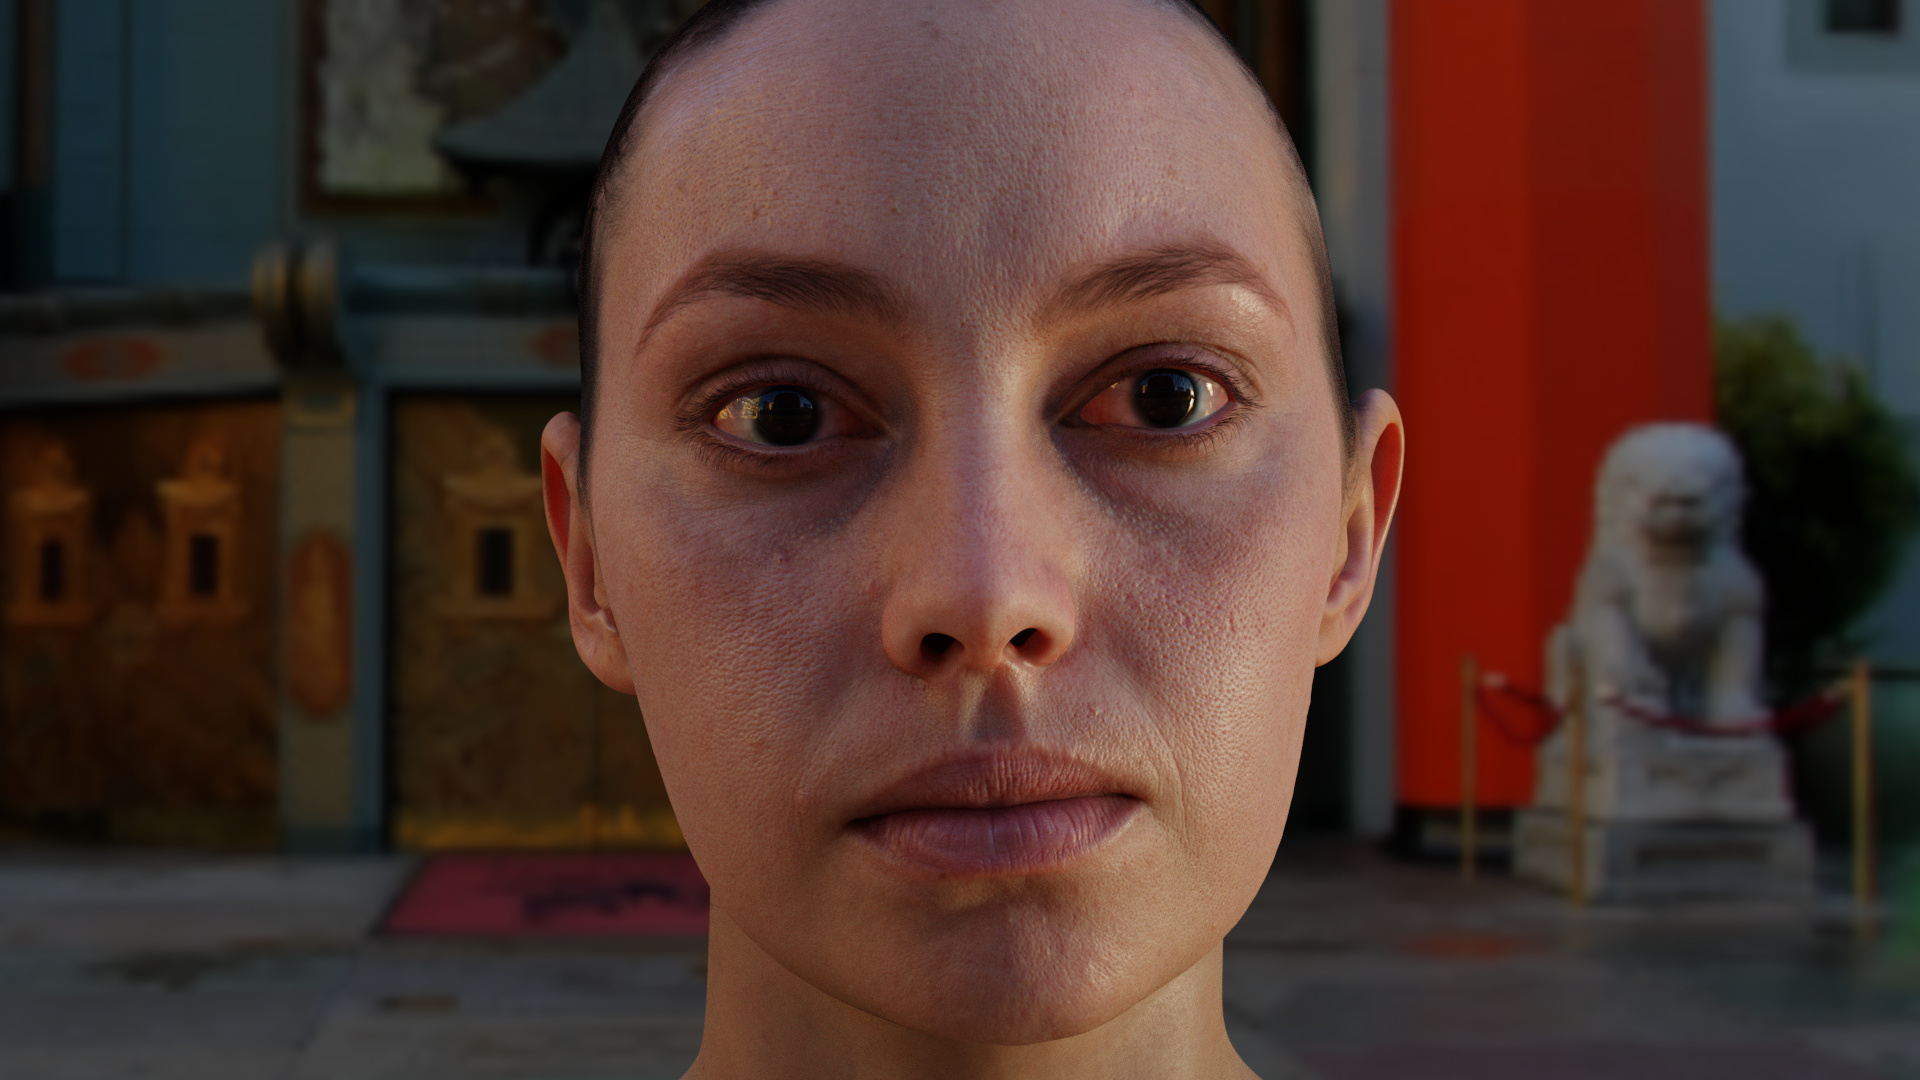
edit,in this next render, i reset the displacement scale to 1 ,to the original value as it was scanned.to me it looks a bit to much ,but left it at 1 anyway.i changed the way the specular map was mixed,like the suggestion at the website.but the roughness values are missing, so i startet experimenting with it.for this, i simply inverted the specular maps ,to get roughness values.
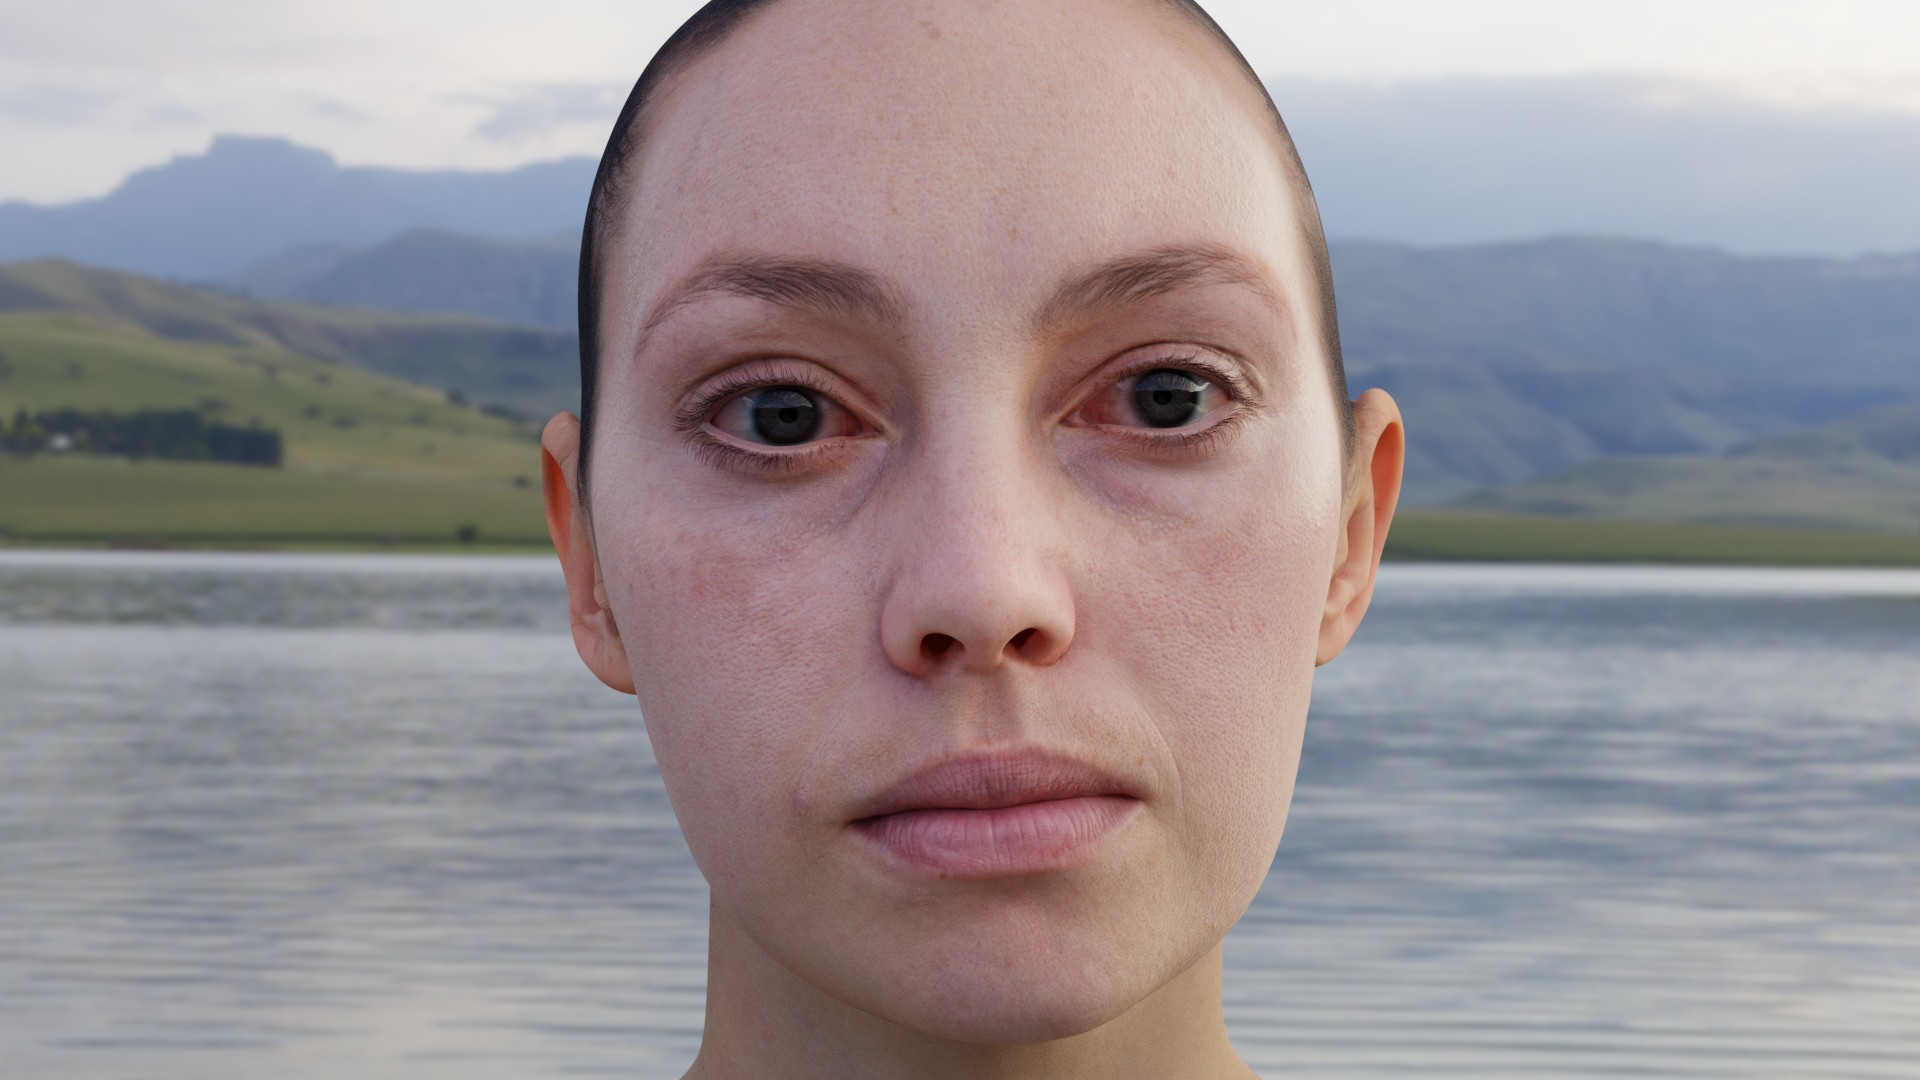
in this render,i changed the method for the SSS strength,i found in the net.
Since the single scatter is a kind of diffuse reflection of the skin,it makes sence to invert the map and use it for the transmission strength,in this case the SSS strength.
i need to find a better method for the specular map,and its roughness.now the specular its set to 0.347 in the principled shader.this is same as a IOR at 1.4 thats often used for skin.
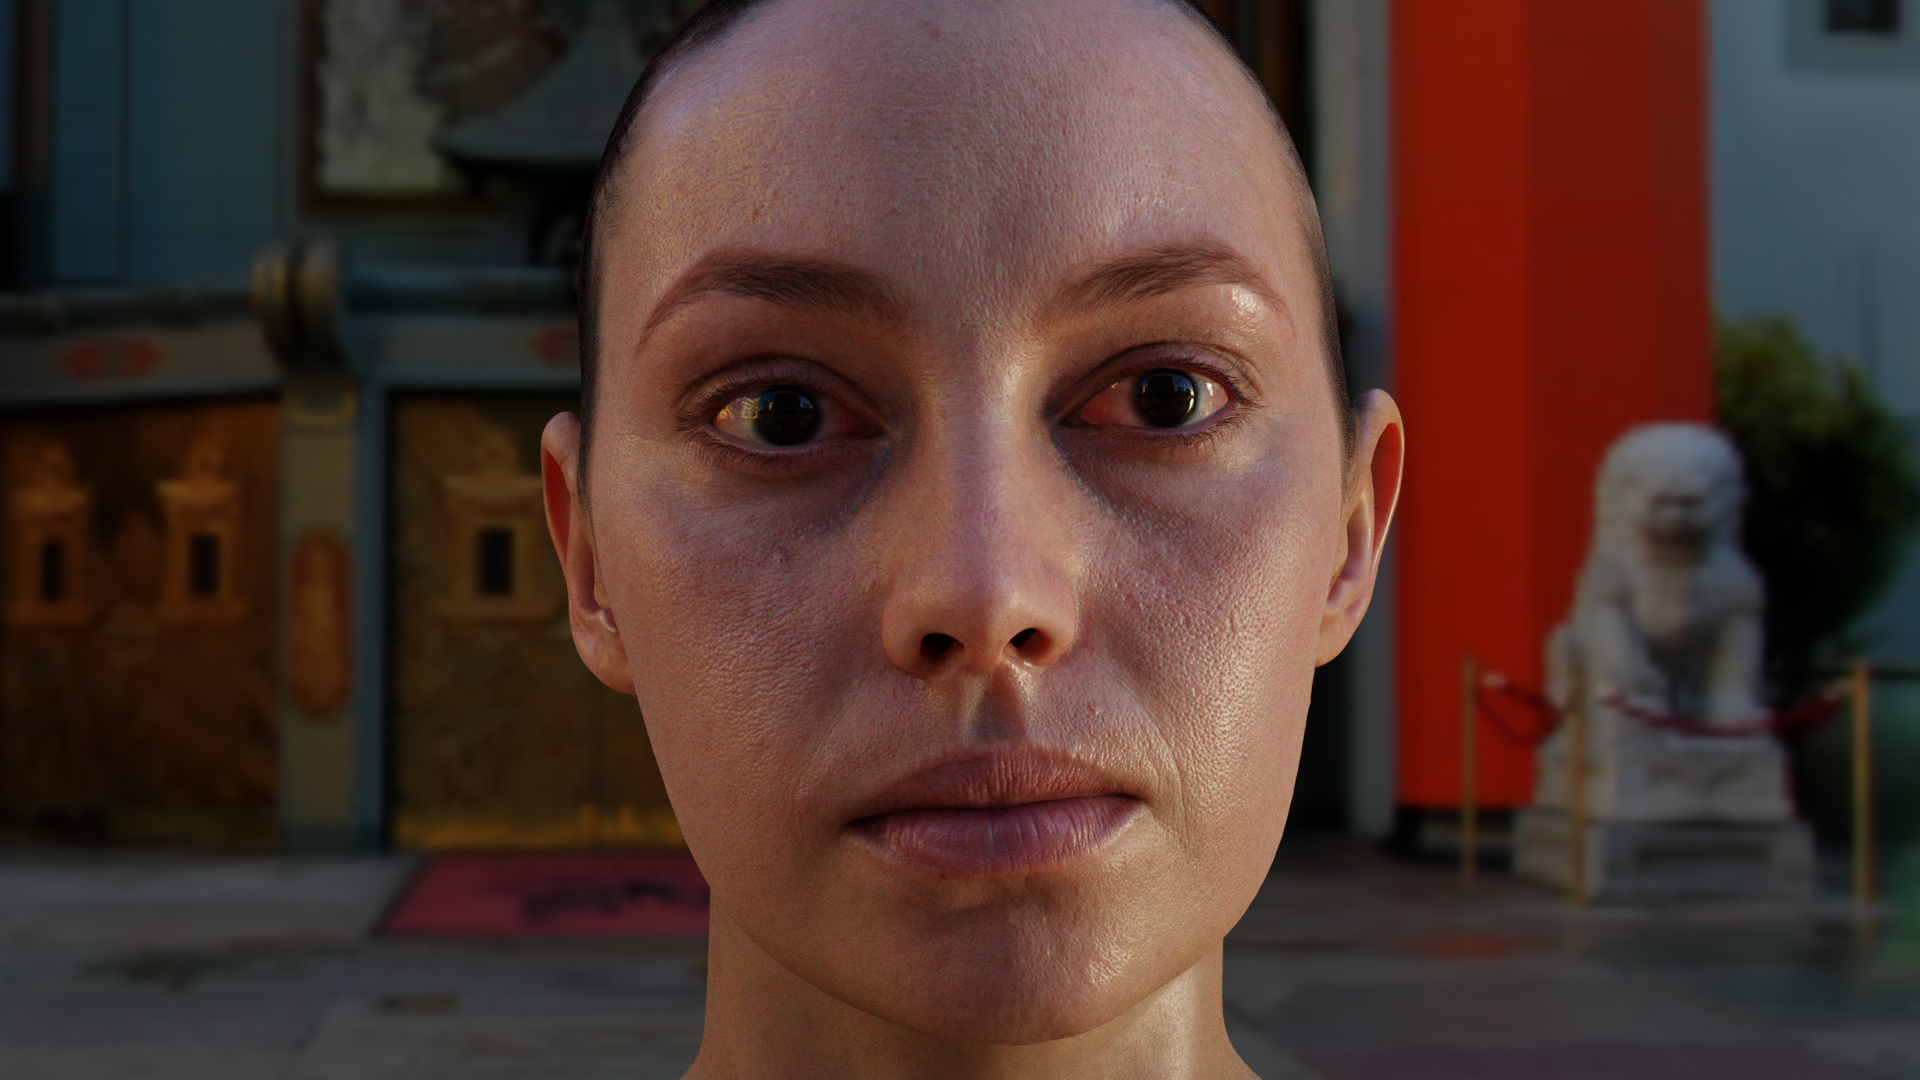
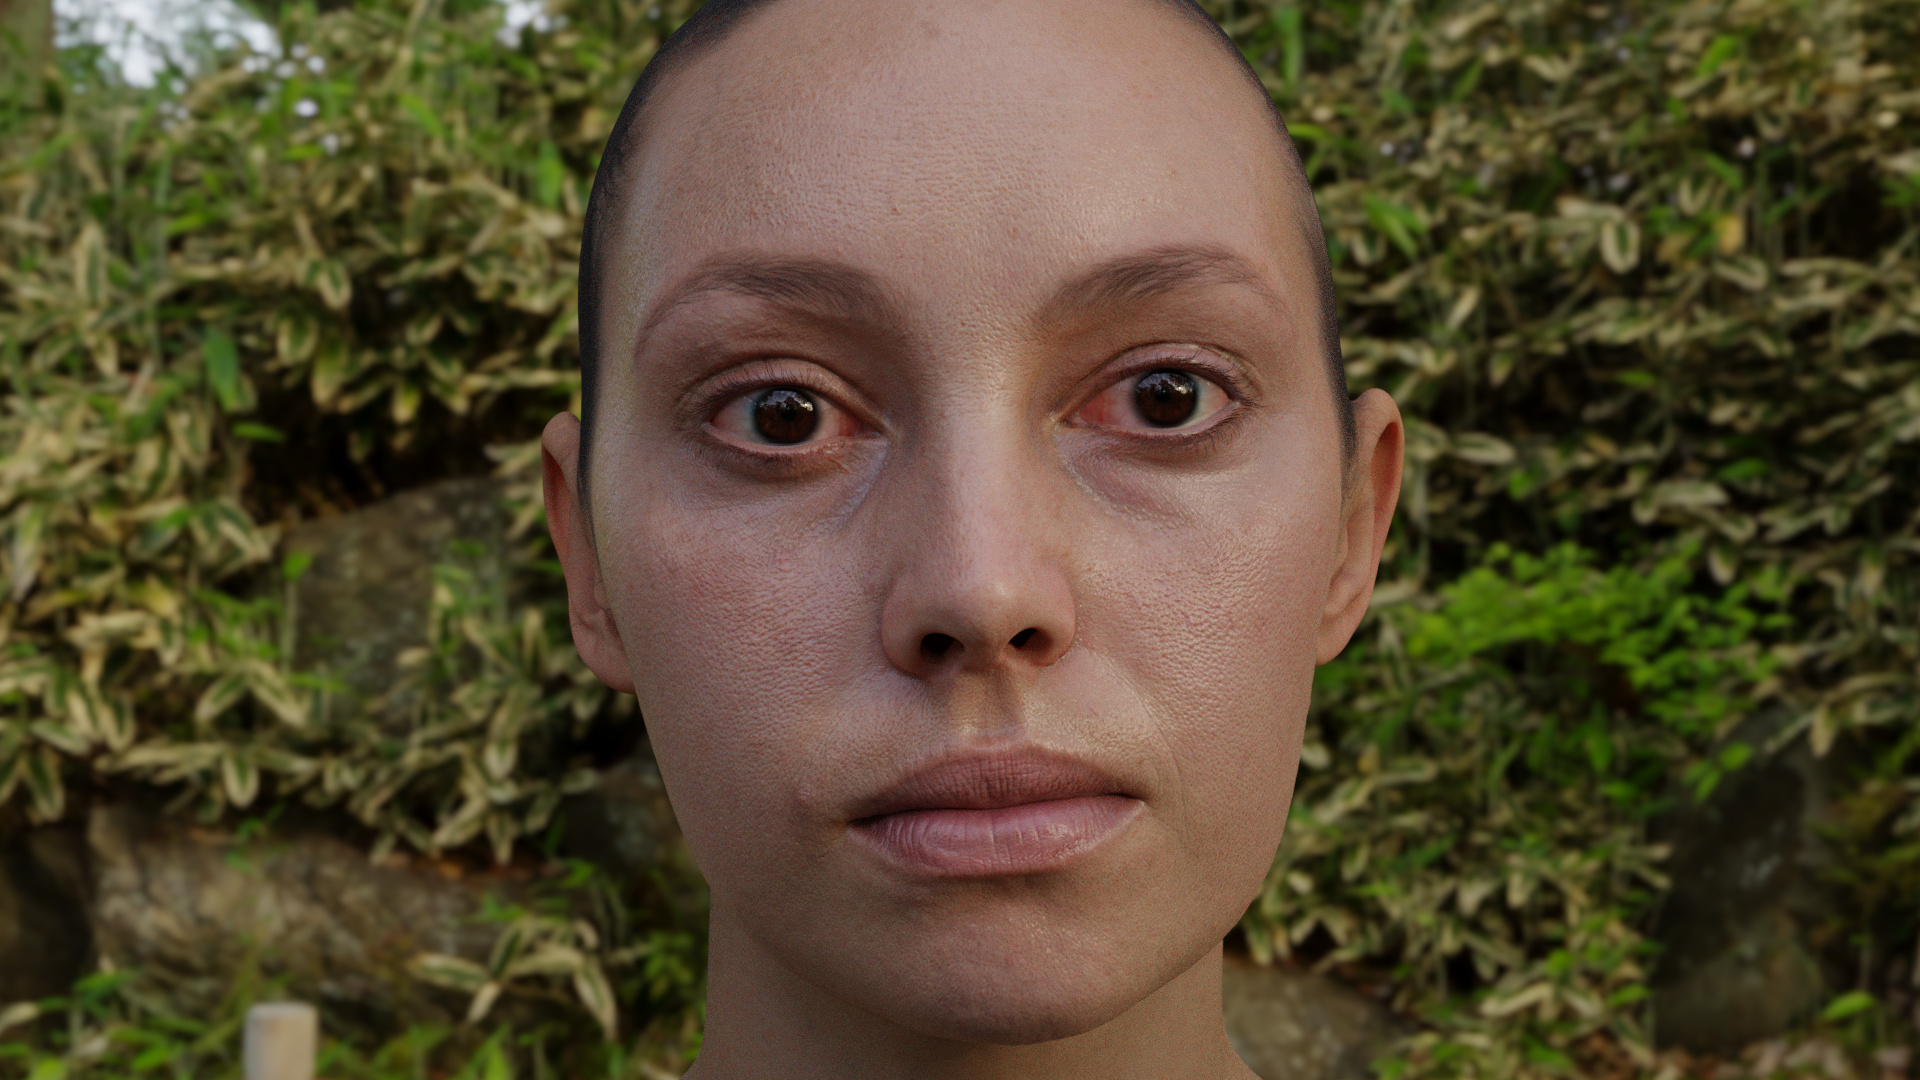
i think ,i found a good radius balance.its starts to fit good, with different HDRIs right of the box, with this settings.with high contrast lighting, the skin looks a bit bumpy,but so is the scan.maybe i try a low contrast HDRI.
i droped the specular map,because it is allmost useless.the specular map is a result from the reflections in the light rig.the light rig is like a light dome,where the model is evenly lit.what we want is a fresnel skin reflection,and not the full reflection everyway.
for this reason i came back to the specular value of 0.35 this is roughly a skin like 1.4 IOR.and used the displacement mask for masking the roughness.i have tryed the displacement maps into a multiply for the roughness,but this isnt very usefull.the mask itself ,with min max values, are enough,and the displacement gives enough bumpmap/shading.
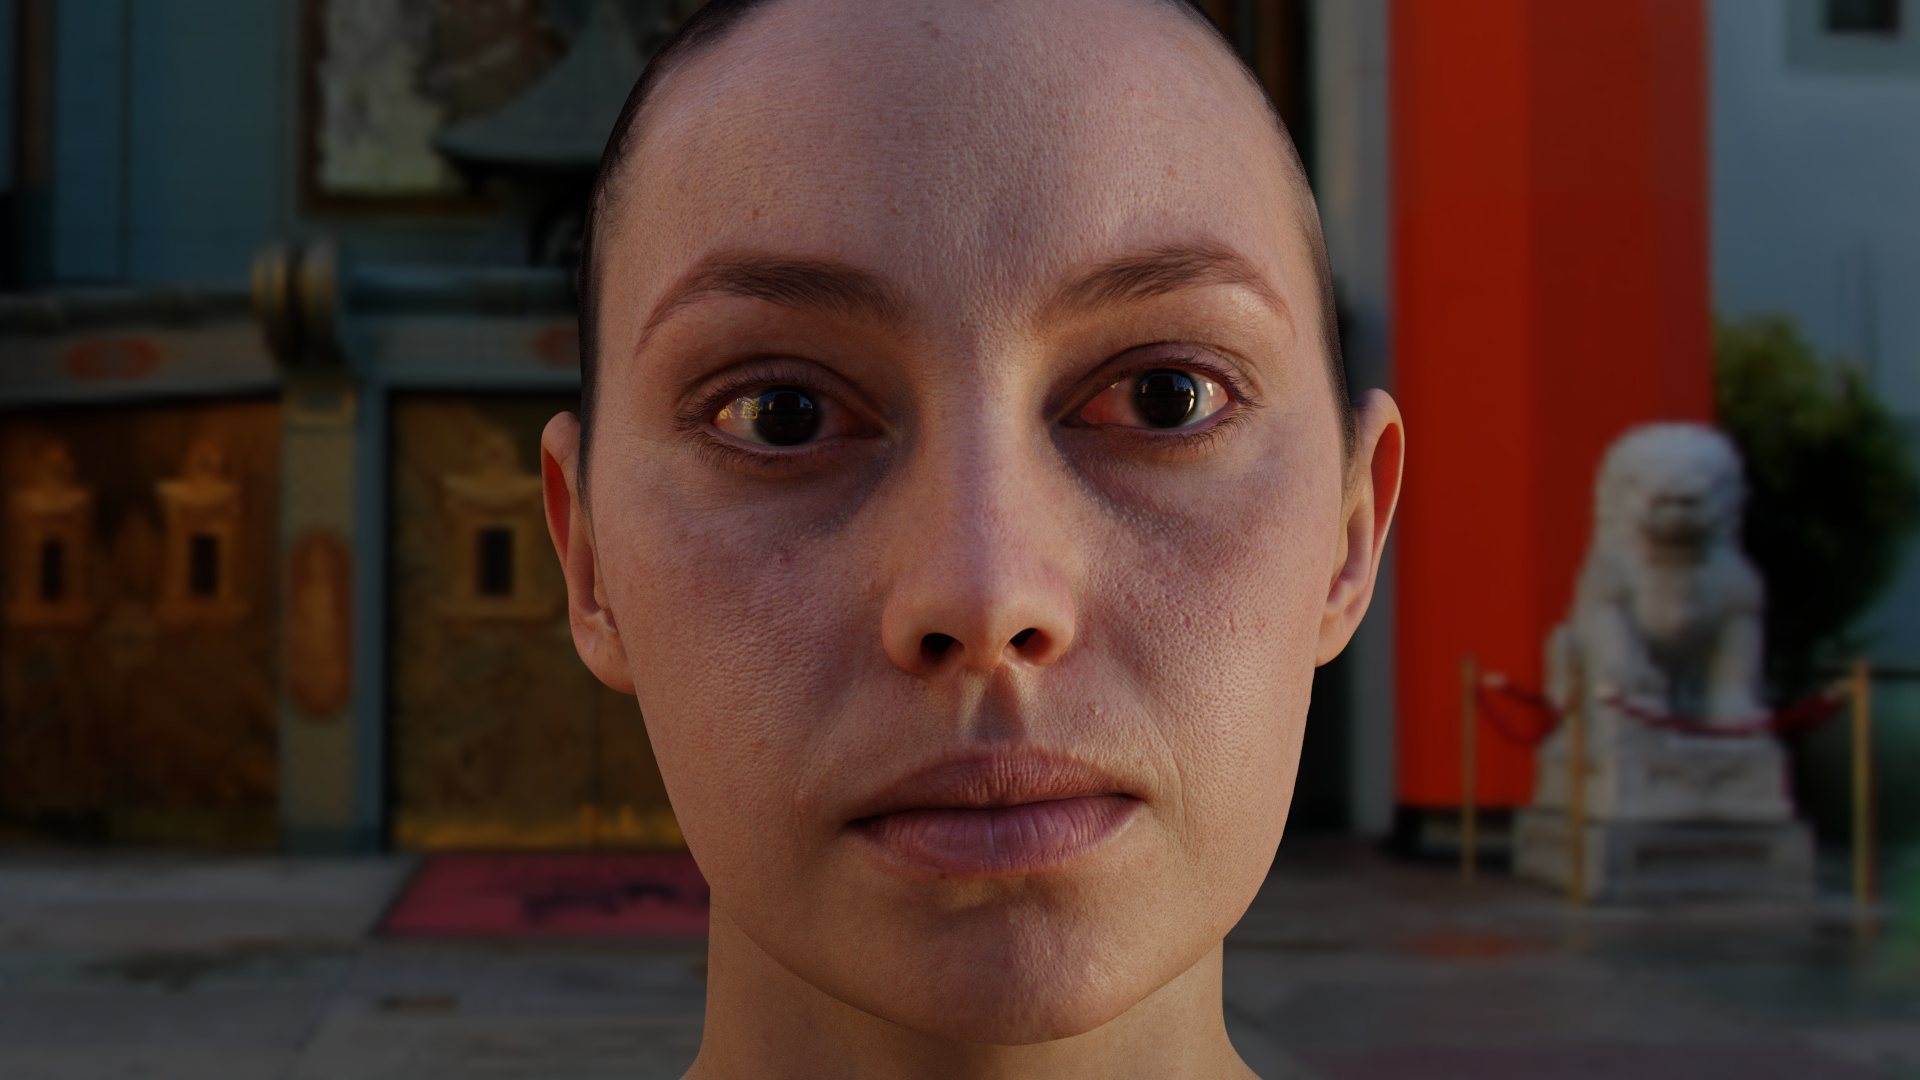
the only usefull data, from the specular map, would be for the maximum reflection.but since the specular formular are hardcoded,we cant do a easy reflection fall off,like with RGB curves in custom shader builds,with the principled shader alone.this would only visible at grazing angles if at all.and since we are tweaking the roughness multiply by eye,i think the use of the specular map vanish even more.
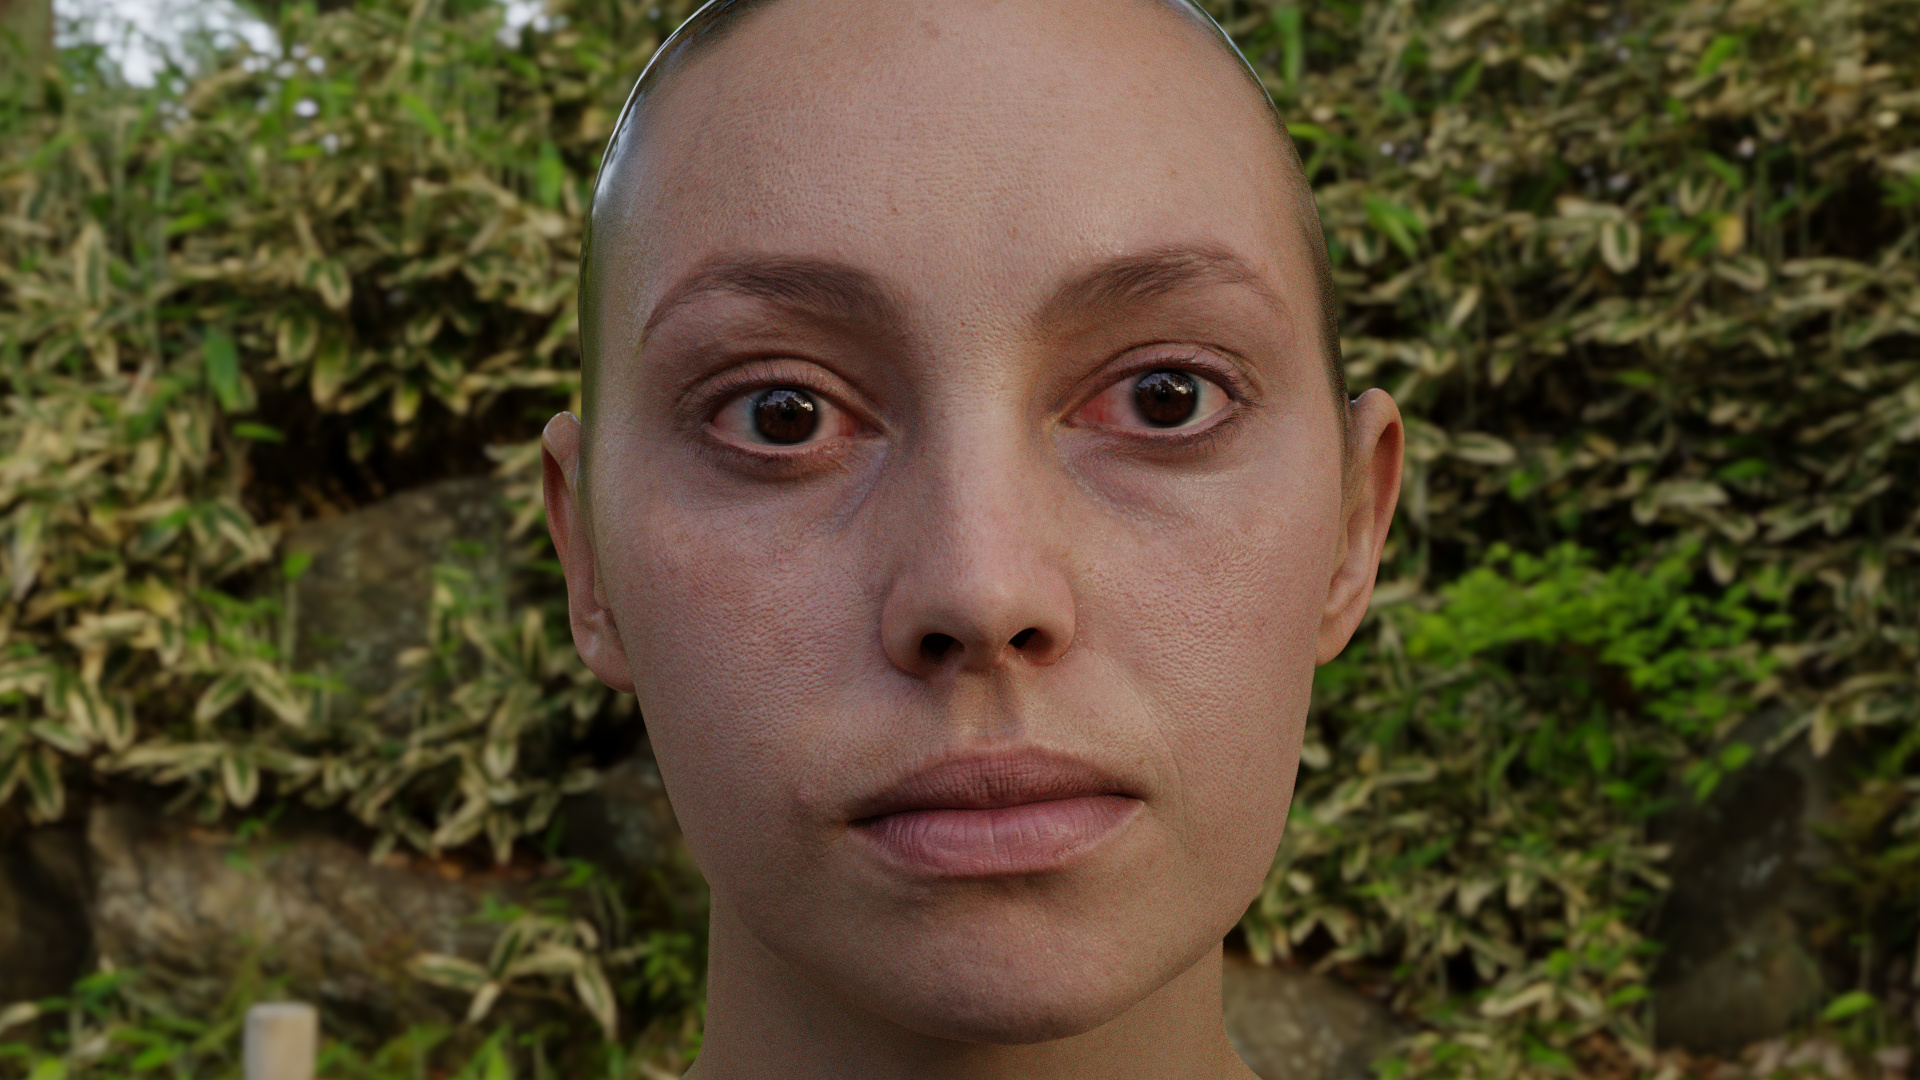
this is a render without specular map. render time ca.7min with 750 samples.to me it looks close to the render before.with slightly more roughness it would be even closer.and thanks to the mask ,the glossy hairs are gone.
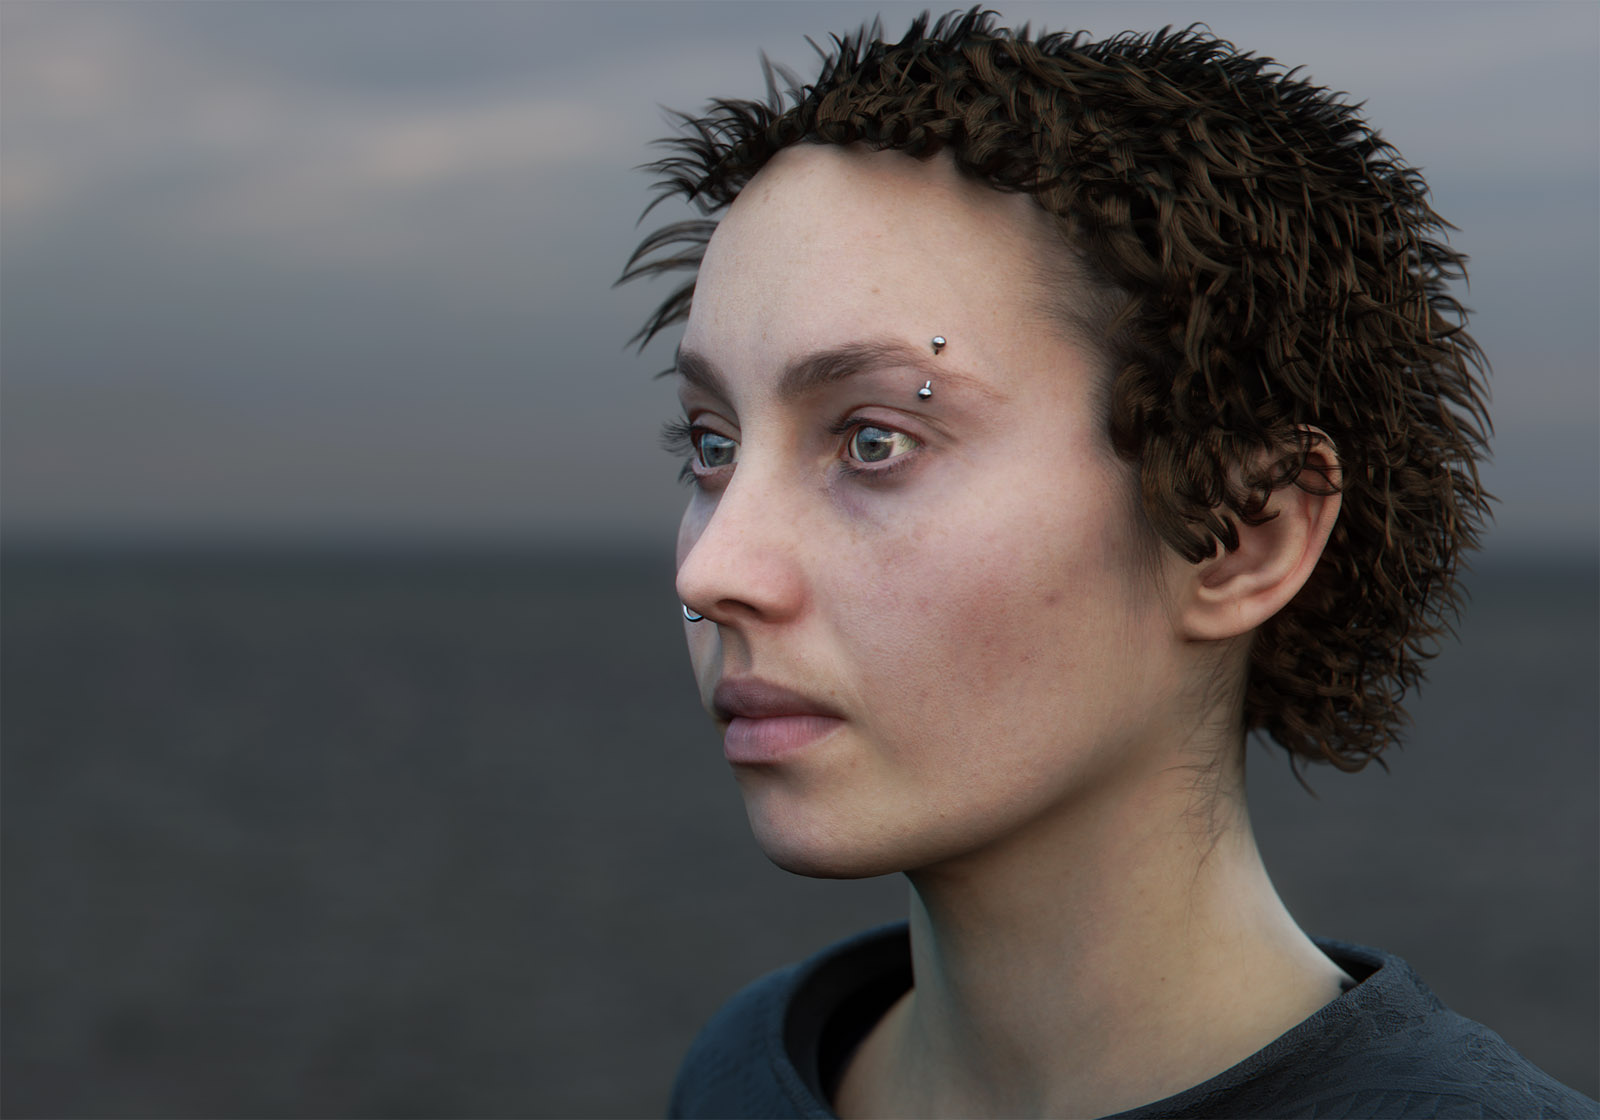
I agree,thanks for pointing it.I increased the pupil diameter,since they are very small.then i made only a slight color adjustment, to the iris, to make the pupils a bit more visible,in contrast,but not too much to get this dead eye look back.
(btw.it exist humans with even brighter eyes)
Like you wrote, the spec-map is somehow useless…
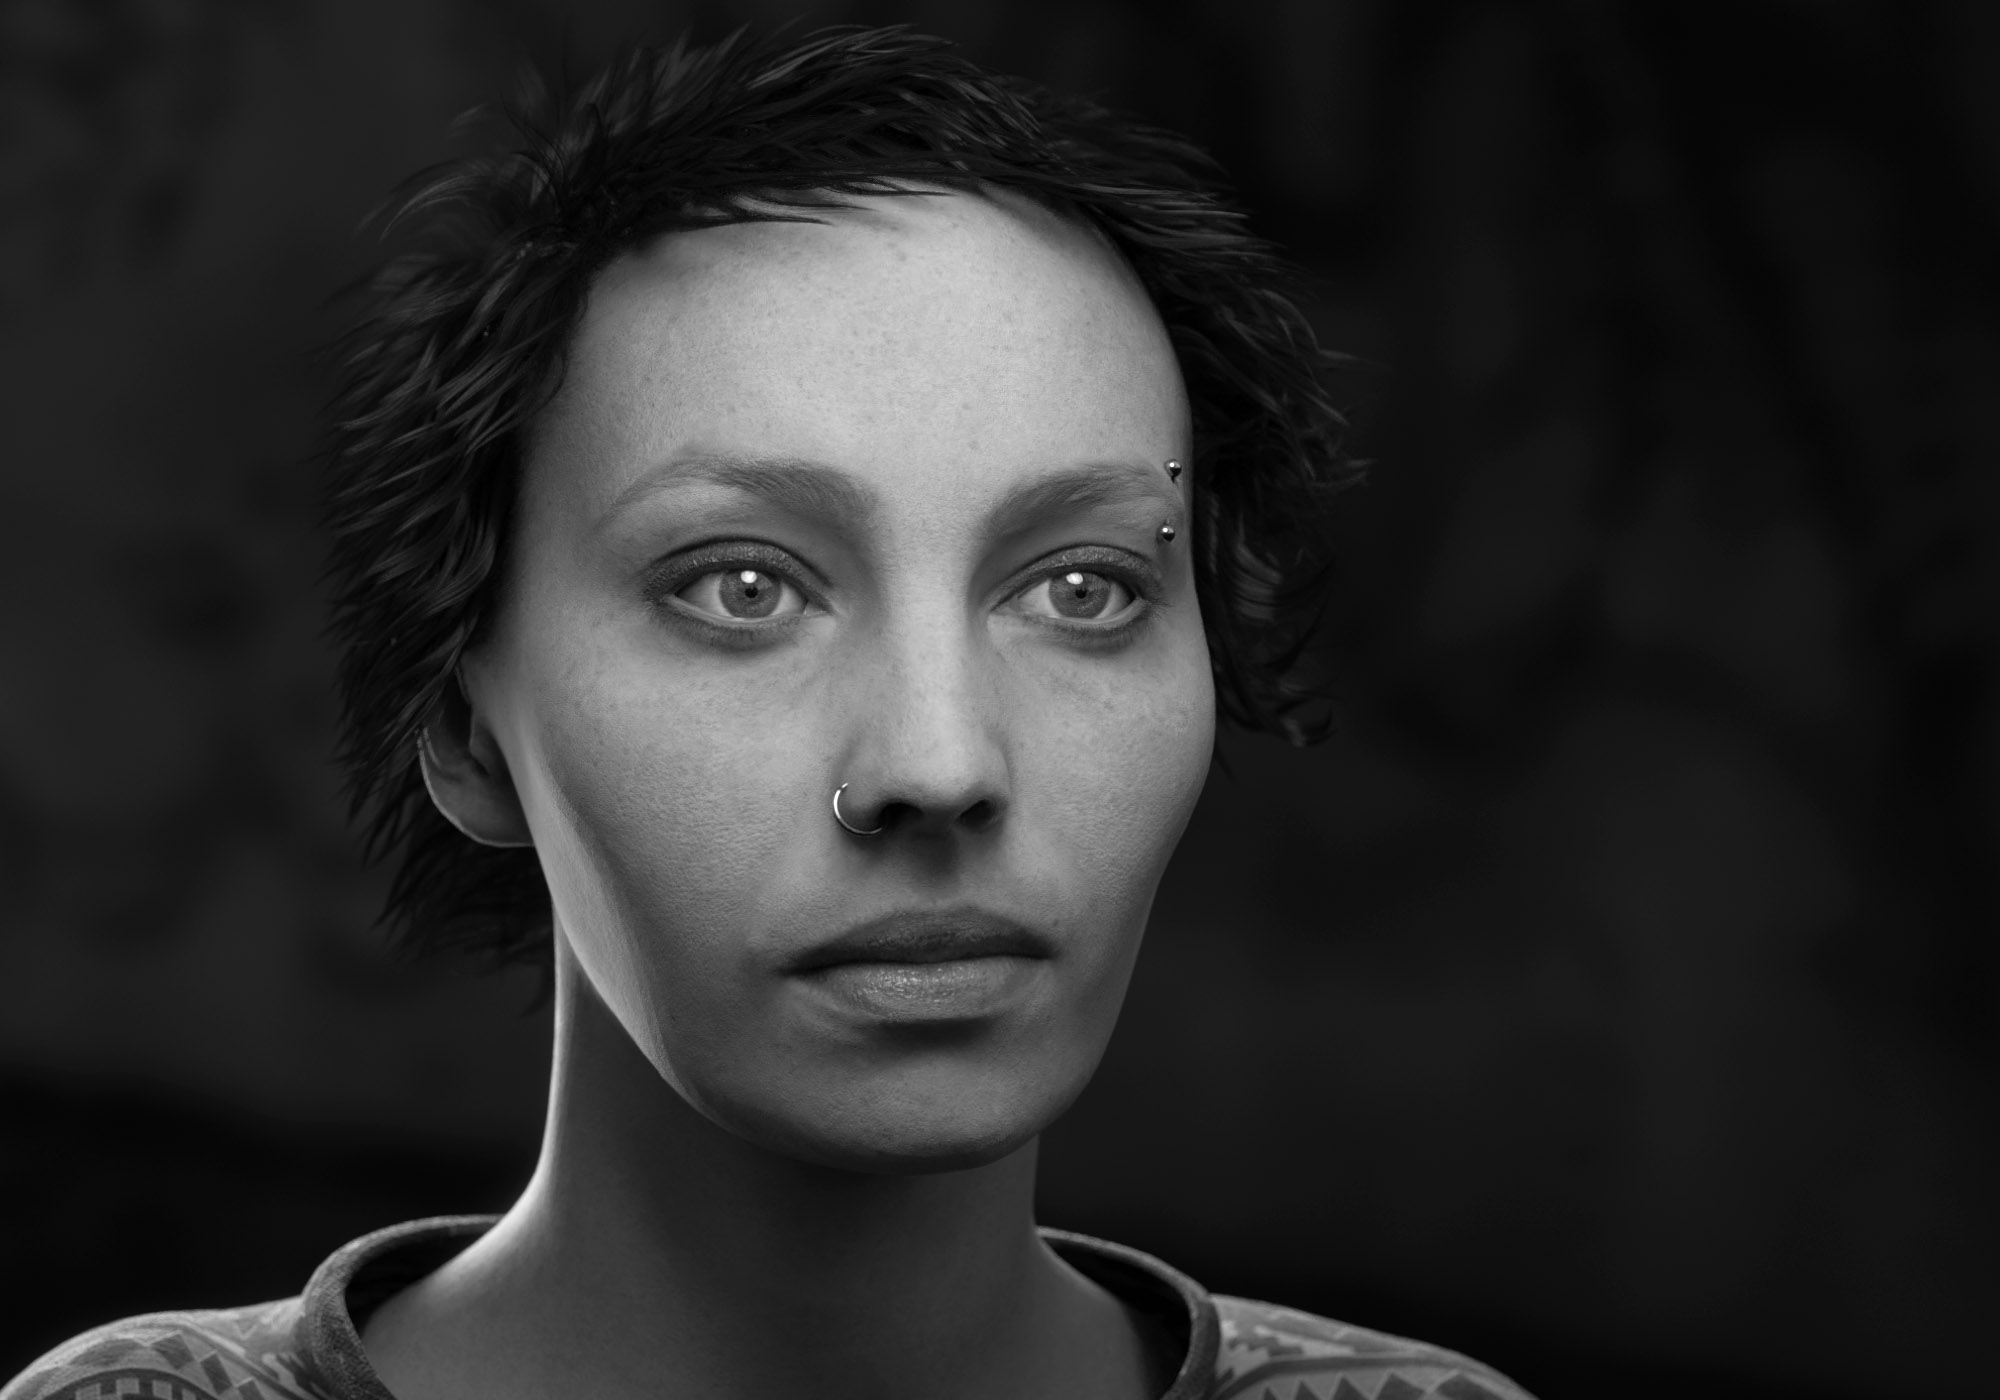
Here are my tests so far: i have deformed the head a little bit, changed the texture of the eyes and added hair.!
I like the overall look of your renderings.The hairs are a nice addition.I think the hair patches can be improved a bit.the hair looks a bit thick and patchy.Nice hairstyle on both renderings.
The skin looks good to me.In you first render, there is a little dark gap between the eyeballs and the eyelid skin.
would be nice to see more renderings.
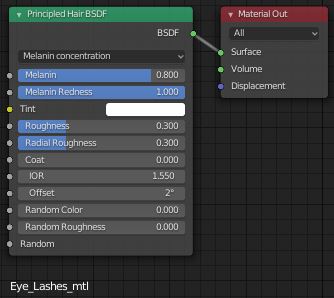
here some hair facts.see the hair quality for thickness values.
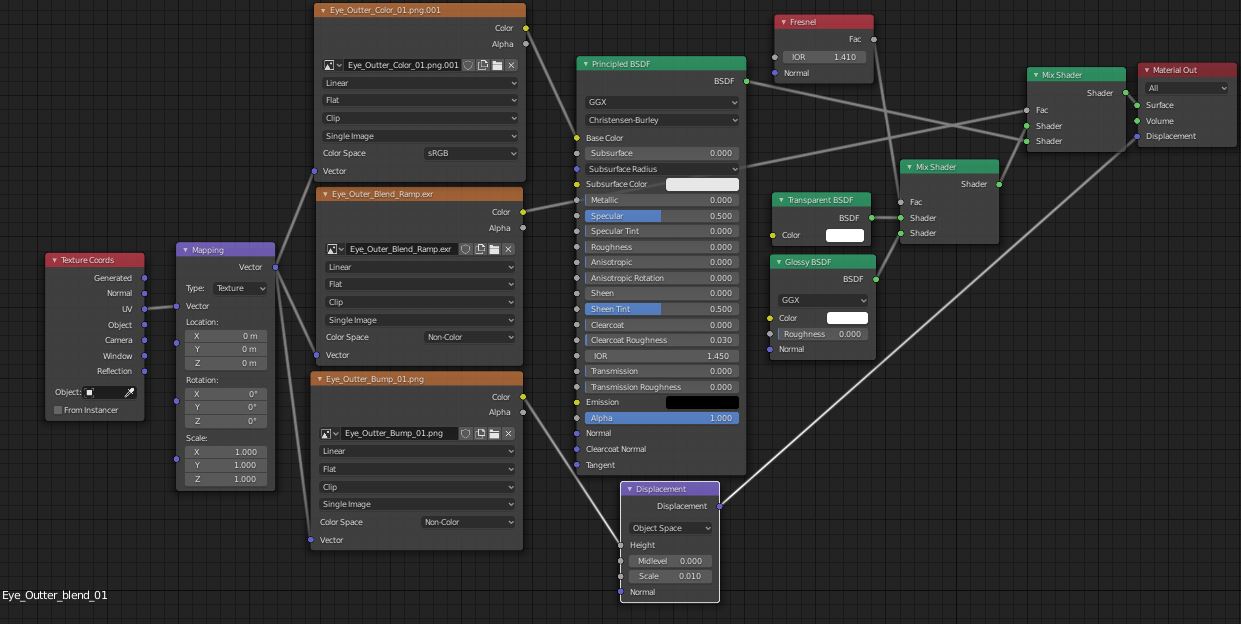
Ok…I have searched every site with Emily and I can not find the Eye-Outer-Blend-Ramp.exr…
Could you point me to where you found it…it is not in any of the download packages…Thanks.