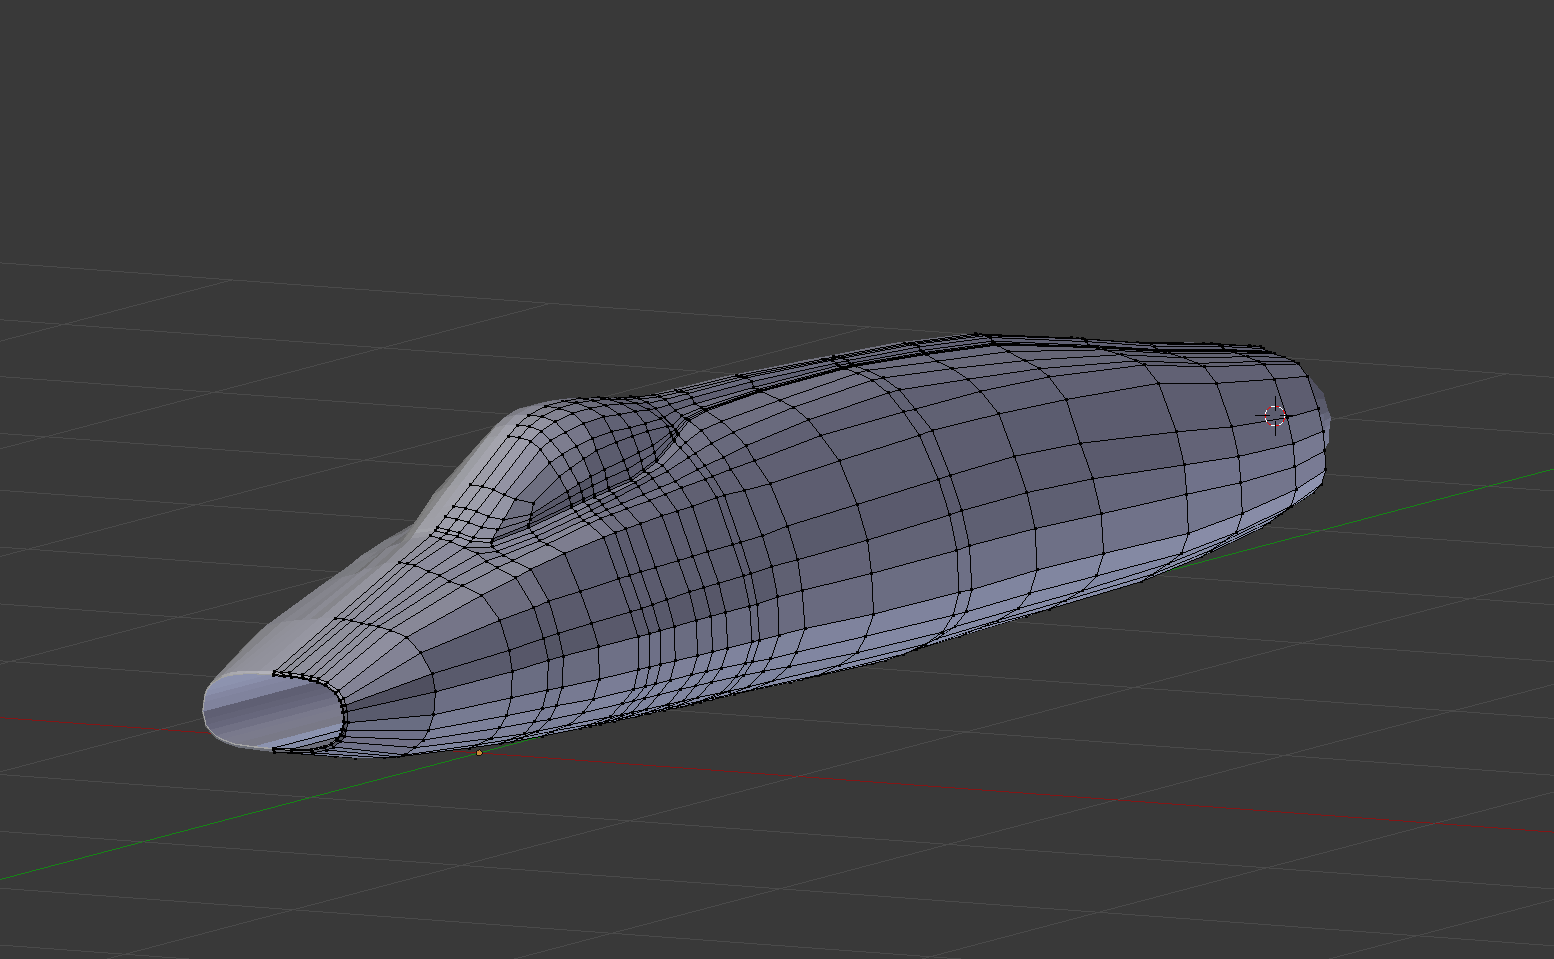
So I’ve been using Blender for a little bit, but only recently have I really started to actively try stuff. My newest project is a North American F-100 Super Sabre, I’m looking for some advice on various things I could use to make my model more streamlined in terms of how the wireframe looks. Or maybe just advice on how to build the plane itself. I didn’t start with a circle, extrude it out, and scale some sections to make it fit, I picked 1 vertice at a time, and extruded them individually. I don’t know if that’s an acceptable way to do it, but anyway, if anyone has any tips or advice your thoughts would be much appreciated.
to get smoothness then use subsurf
and get some nice blueprint with front, side and top view and more if you can find these
also try to separate parts like the canopy or other weird shapes !
happy bl
Well I do all that already, besides separating stuff. But, there was a cool model, F-100 Super Sabre, I’d like my models to look as streamlined as this, does anyone know how this might have been started, with a cube and they extrude one of the faces and model it like that, or would they have made it by extruding just one vertice at a time? Is there a way to determine that?
could be done with a cube but not the best way!
start with a circle that you deform following some blueprint then keep extruding
the main body
after you can add other parts
happy bl
In my experiences with modeling planes with circles, it seems to be harder to shape into the correct way, and easier to end up with 3 point faces All in all, not really what I had in mind considering most planes look like ovals.
you can use curve circle and subdivide then reshape it to get smooth curve following a blueprint it should work fine.
there are many good threads on airplanes already made
search the forum.
happy bl

Thanks, this will be of great help. I only had two images, one with side, top, and front views, but not the cross sections.
This will give you some ideas on how to build the model utilizing the shrinkwrap modifier

Well worth investing in this training as the shrinkwrap technique and many more are explained in the video which will allow you to create flawless hard surface models in blender that are equally applicable to aircraft.
https://cgmasters.net/training-courses/master-car-creation-in-blender/
Good plans and photos are essential
There are some good photo walkarounds of the F100 here
Using the shrinkwrap technique create the fuselage as one smooth sub’d mesh. Create the canopy as a separate smoothed sub’d mesh. These then become your guide meshes to model over the top of. This will stop the wobbles in your mesh and pinching and should end up with a flawless surface.
Do I have to join the canopy in any way to the main fuselage? Or can I just leave it detached a little bit from the main mesh? And could I do the same for the exhaust nozzle, I was also having a bit of trouble combining that into the main mesh.
I ask this because it would be much easier to create the exhaust and bubble canopy as separate objects, and leave them unjoined, but whence I have to join them, it is difficult for me.
The canopy mesh should self intersect the fuselage mesh. Keep the low poly cage as simple as you can to ensure smooth surfaces. Don’t worry about the fillets between fuselage and canopy, those can be done during the retopology / shrinkwrap process.
The exhaust nozzle should be made separately.
What do you mean by “self intersect”? I have two examples,
I have here the two bubble tops, the one with the canopy fully integrated is the one I have now, by self intersect I take it you mean the separate object of the canopy should intersect with the mesh of the fuselage? That seems a bit messy, and how would i line it up to be perfectly seamless?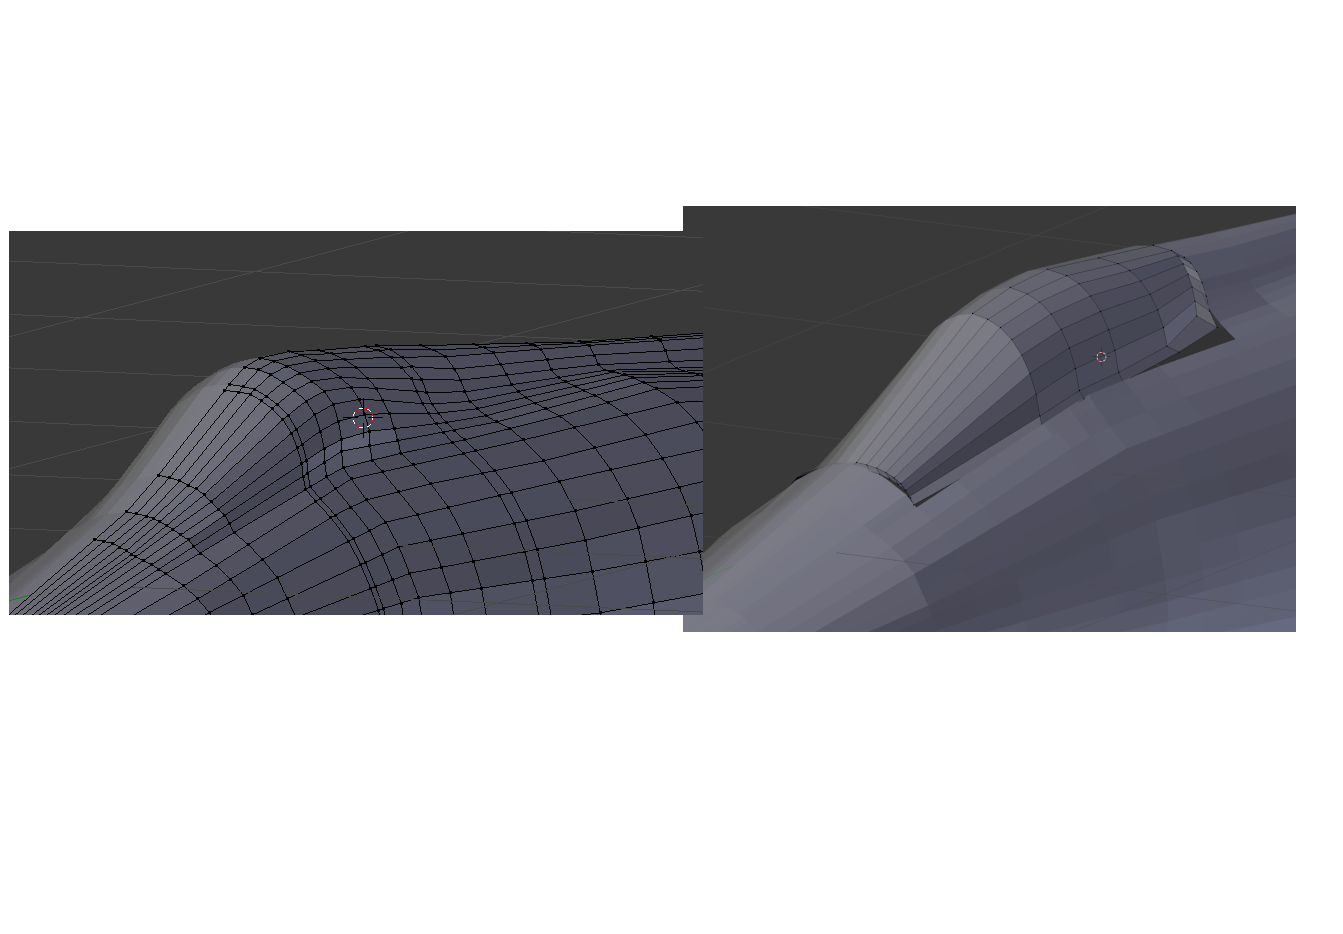
Like this!

You can then join all the guide meshes together and apply 4 levels of sub’d to it. Copy the mesh and use that with shrinkwrap over your guide mesh to add fillets and other details. Best to look at the tutorials I linked to work out how this technique works with the guide meshes & shrinkwrap.
Did you create the fin, canopy and fuselage as separate objects, ctr+j, then add the subdivision?
Yep.
The guide mesh is usually has 4 levels of subdivision.
Your retopo/shrinkwrap mesh normally has 2 levels of subdivision.
I end up with mesh that isn’t properly joined, there’s lines heading into the fuselage from the tail, and same with the canopy. Is this intended?
For guide mesh yes.
For the shrinkwrap / retopology mesh no.
Have you watch the Advanced Subsurf Modelling video ?
It explains how the guide mesh is used to create the final mesh
I bought the guide from the same person, it’s about how to model cars. I assume the techniques used to achieve everything he does there could be applied to an aircraft. Or atleast I hope so.