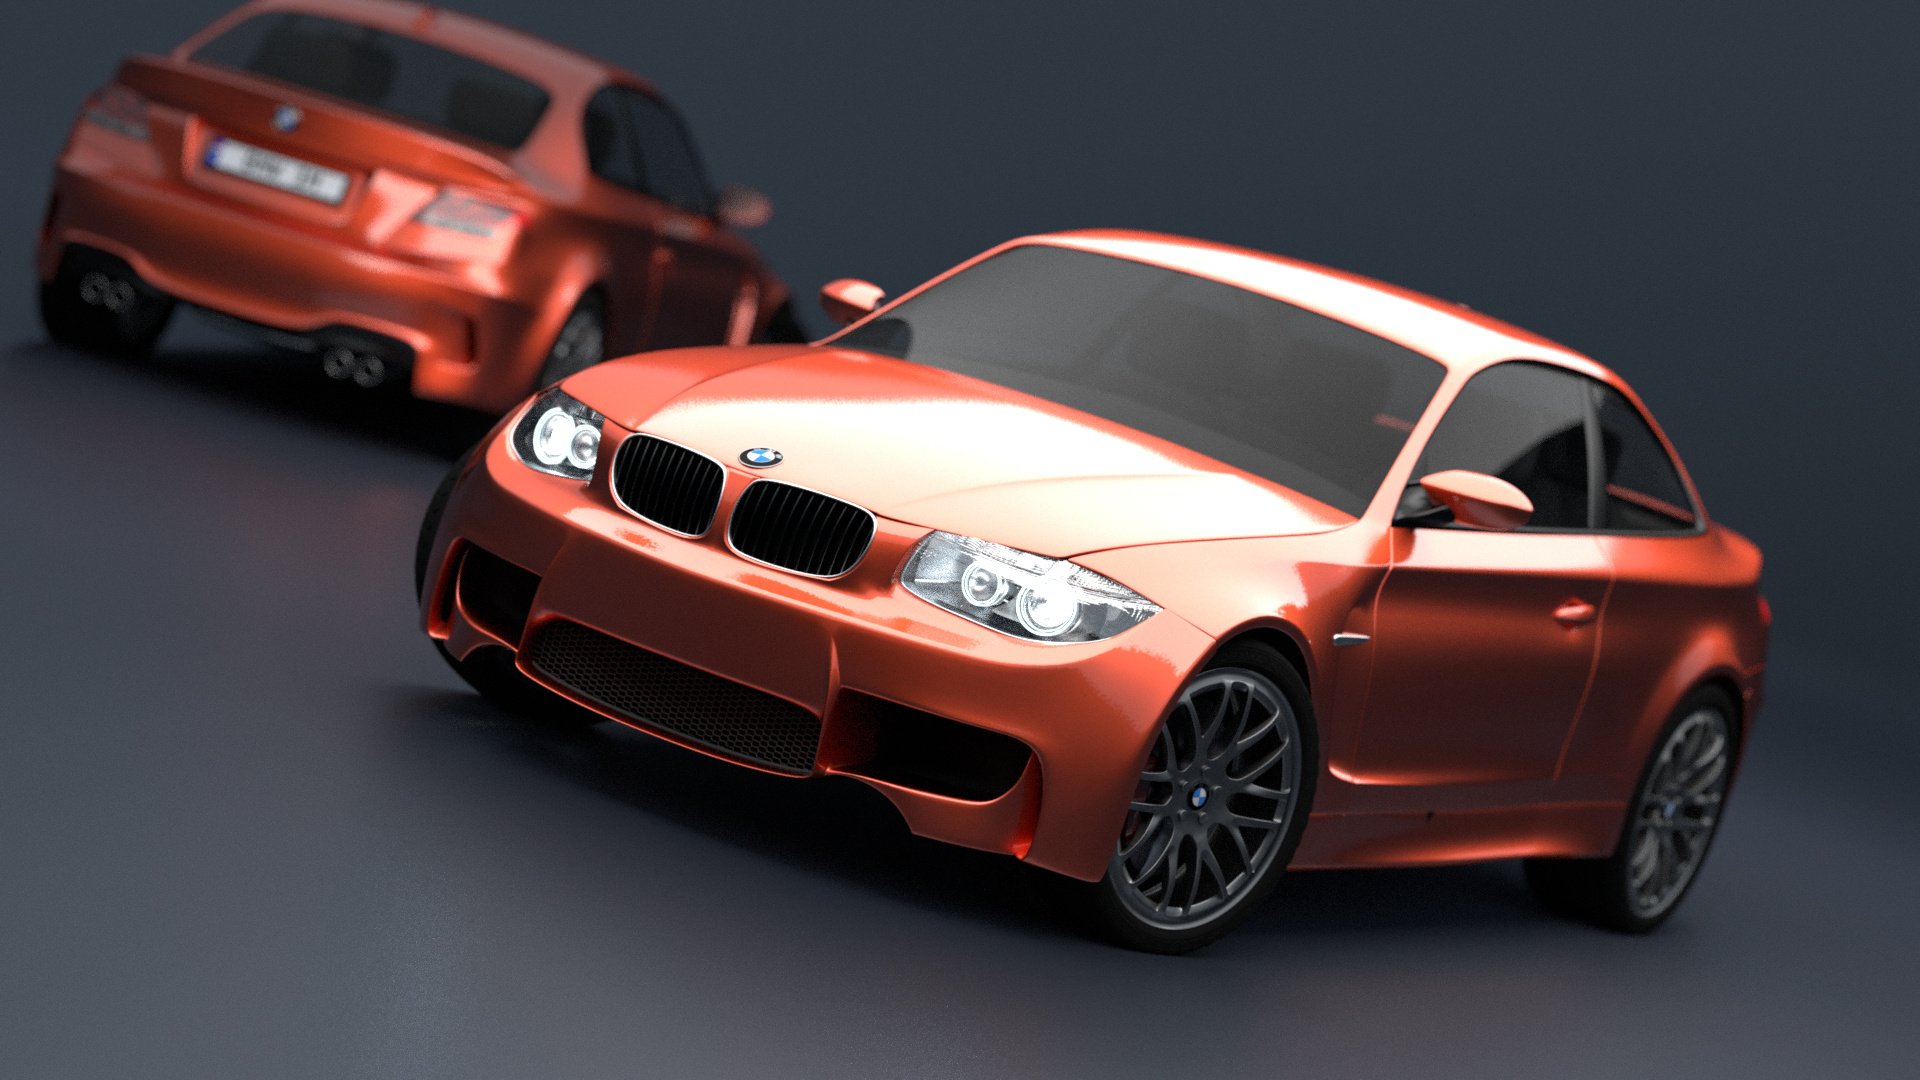
Now that the adaptive sampling feature has being added to the master. This allows for a modern workflow that I use in GPU rendering in V-Ray. That consist of using noise level and max samples to adjust the quality versus performance on a scene to render.
Previously I used E-Cycles pattern/Scrambling distance to improve rendering times. The way AS(adaptive sampling) works it is not possible to combing both methods they are exclusive of each other. I suggest that AS method is better than using scrambling distance. Specially when combine with the improve quality of the denoiser. Of course specific use cases for certain scenes may be different were this workflow may not be needed.
Adaptive sampling allows to control the time of rendering by the noise threshold. AS equalizes or evenly distributes the noise level of the image by expending more time in areas with higher noise. This is important because it allows higher quality denoising for the same amount of render samples compared with out AS. AS performance also depends on the scene content in scenes with large flat backgrounds like the BWM scene AS will perform better than the Classroom scene with busier content.
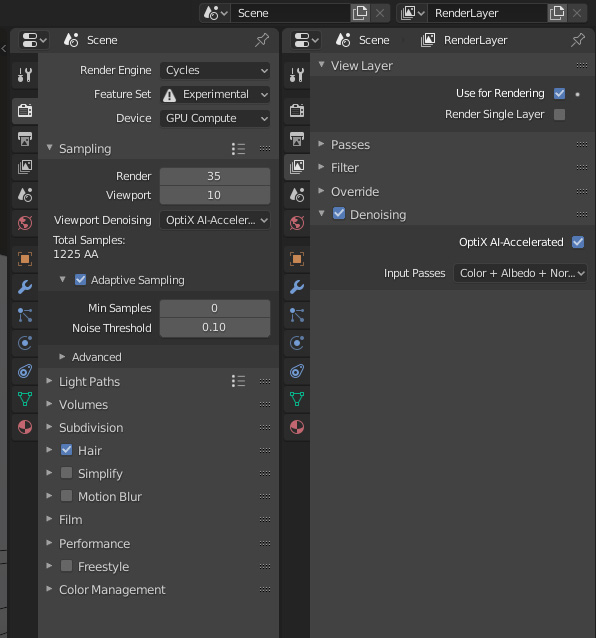
To use AS effectively need high enough samples, determining the noise threshold level required and a good denoiser.
- Minimum good starting rendering samples would be at least 800-1000. Can increase for final image 2000 or greater if required.
- Set the appropriate “Noise Threshold” when combining with a denoiser use 0.1-Good, 0.01-Great and 0.001-Super. See below for times and image samples.
- Denoiser use the “OptiX AI Accelerated” with input passes for “Color+Albedo+Normal”. From my test it maintains better texture detail and is faster than the Cycles denoiser (See below).
- AS also works with “Viewport Denoising”, so have it enable in the viewport render.
Crop from “Barcelone” scene using OptiX Ai Accelarted denoiser with AS threshold of 0.1:

Crop from “Barcelone” scene using Cycles denoiser with AS threshold of 0.1:
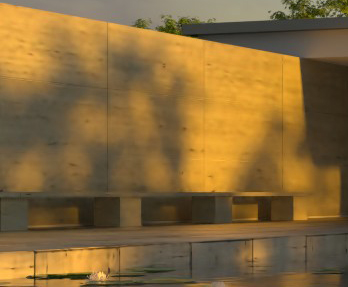
Notice the texture blurriness on the wall using the Cycles denoiser.
For testing AS I have used that standard sample scenes “bmw27”, “Classroom” and “Pavillon Barcelone” from Blender.org. Cycles was set to Optix. Use Nvidia 2x2070 graphics cards. All times include AI denoiser and no compositing.
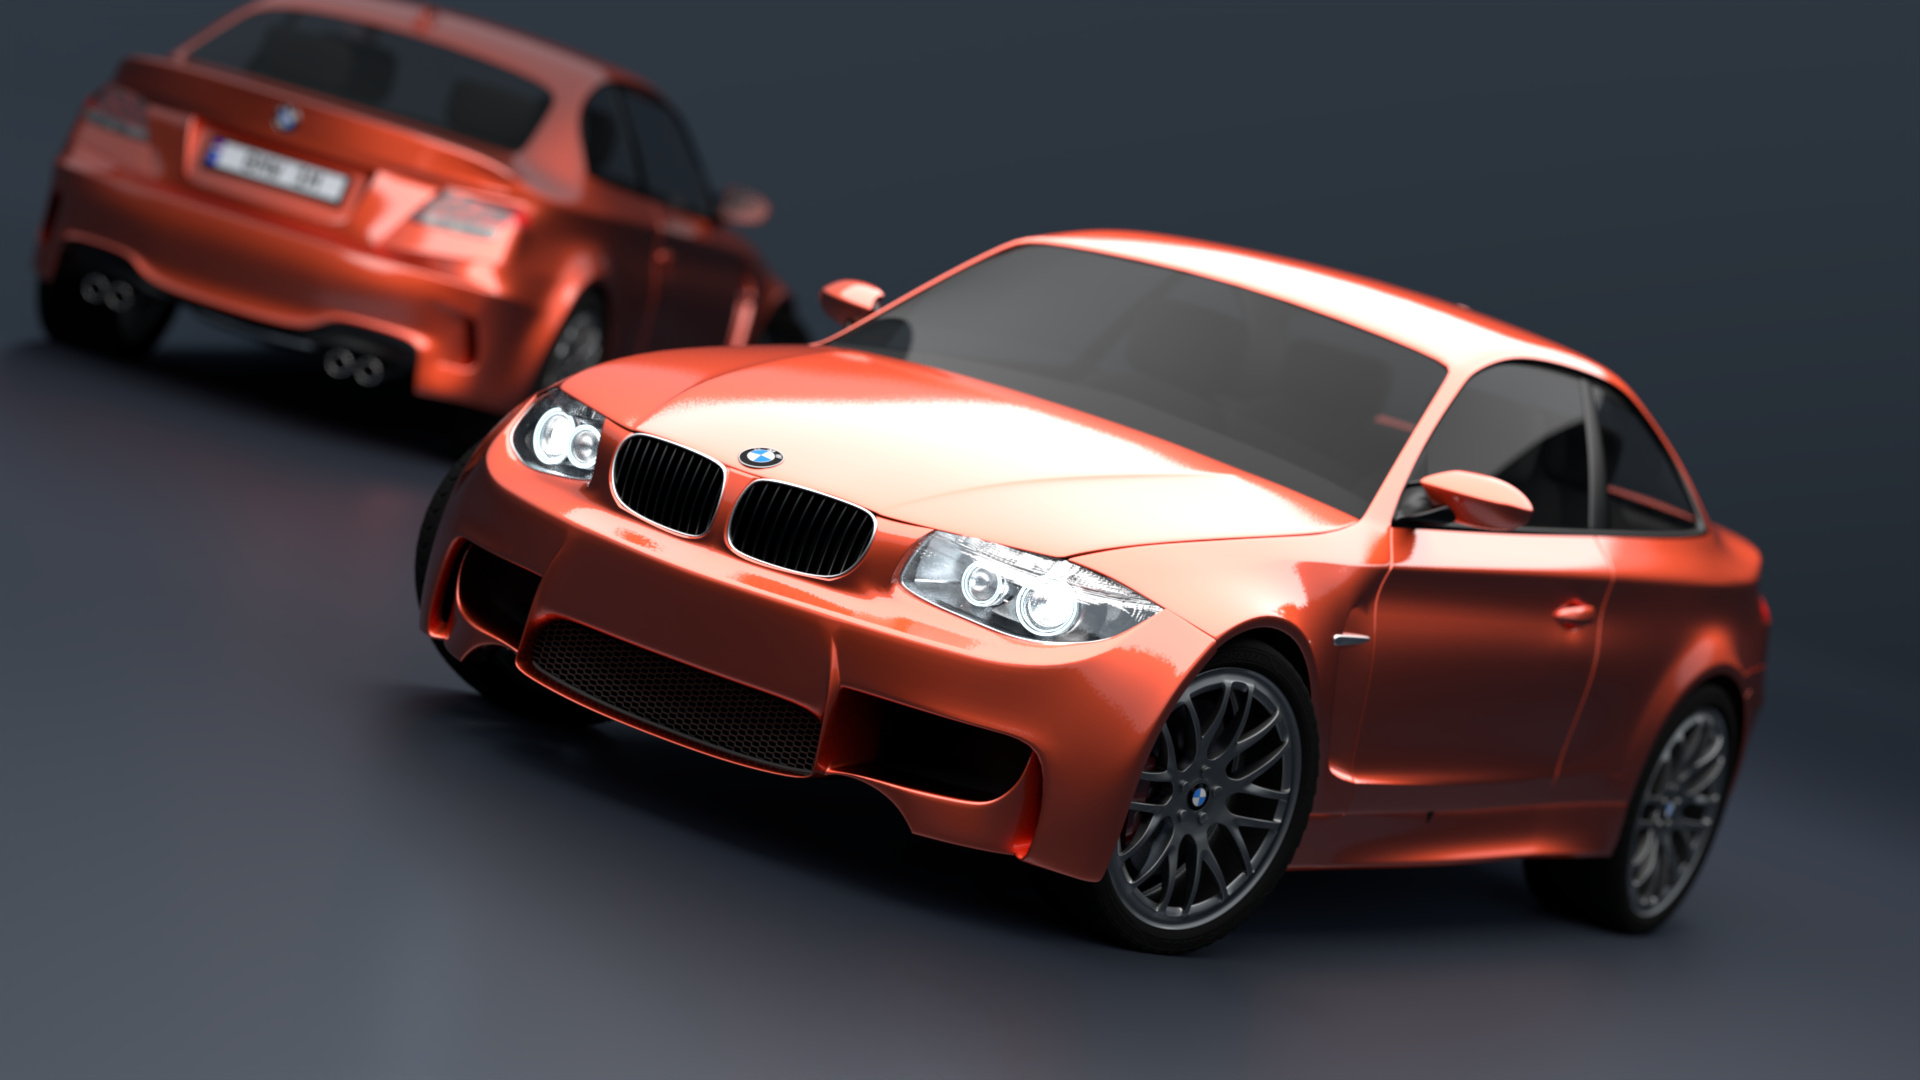
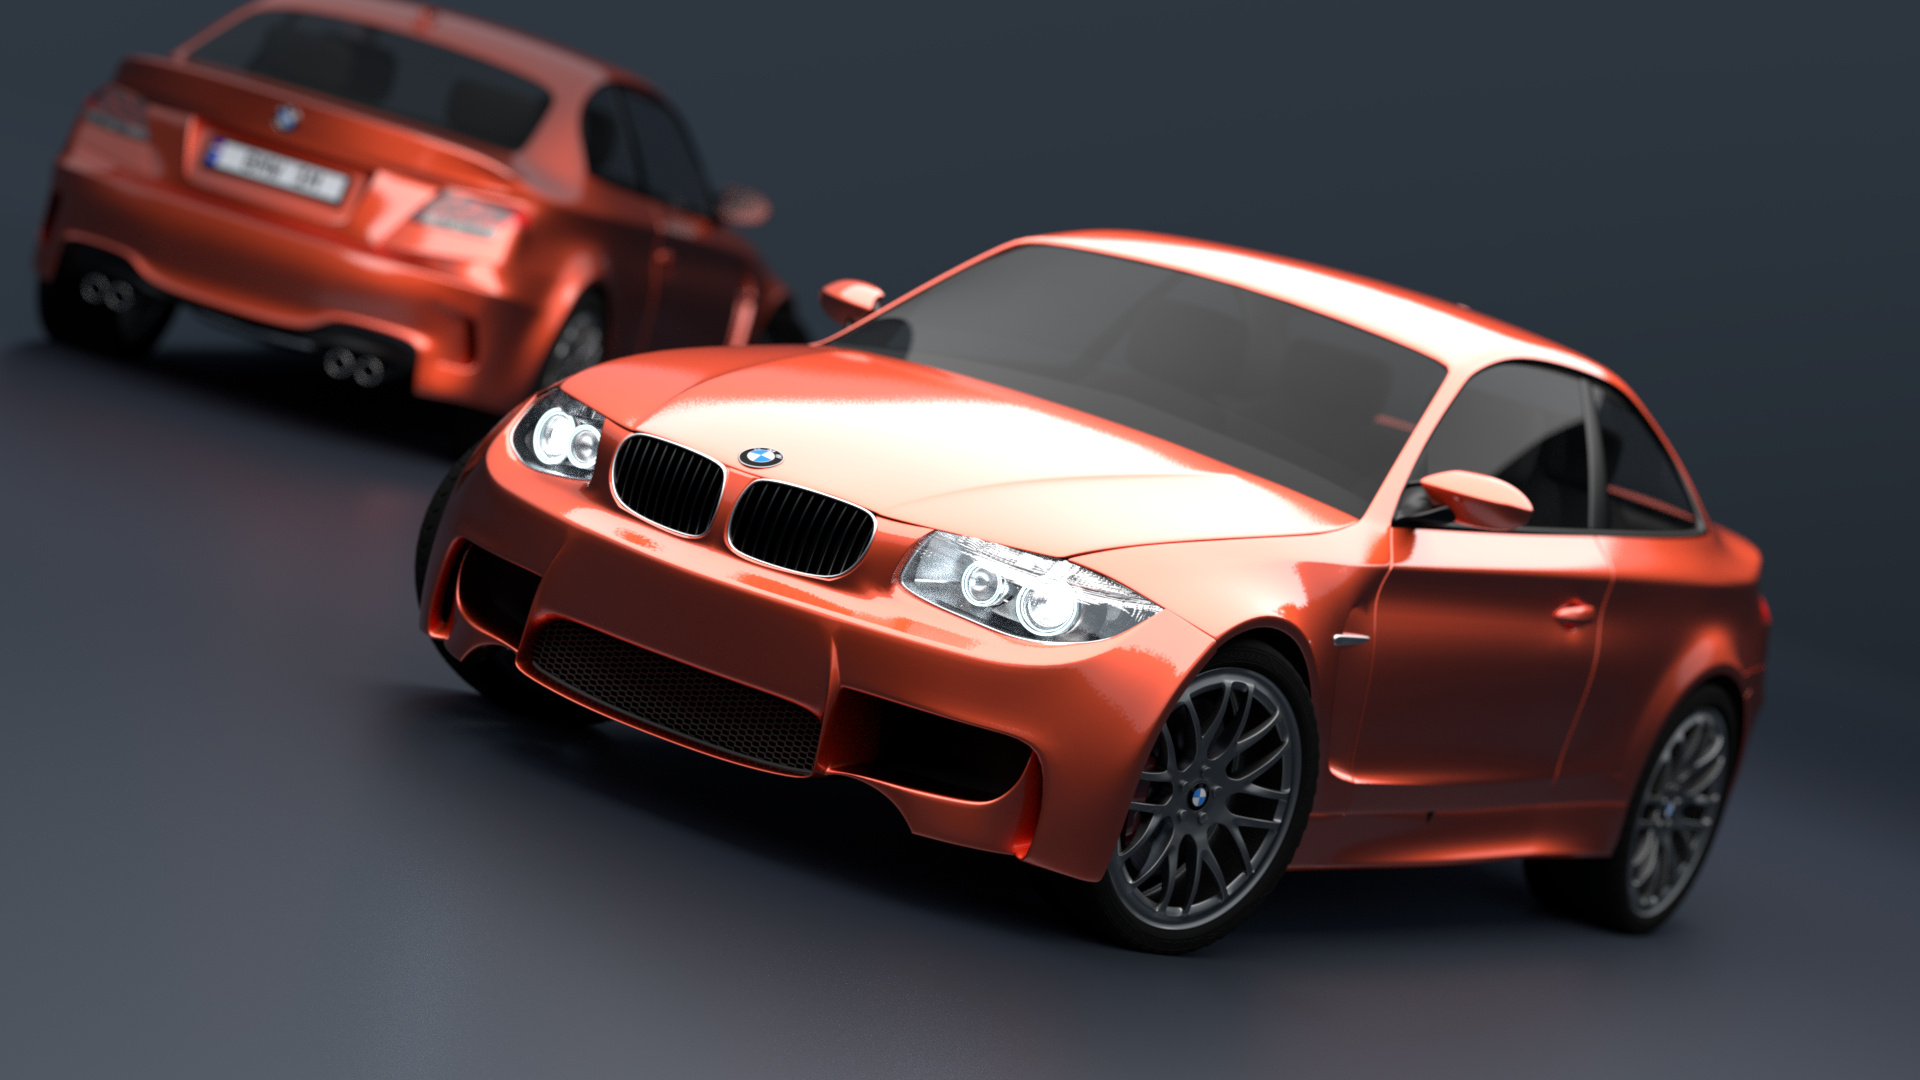
The BWM scene modified by increasing the image output from 50% to 100%, since the render time was too fast at the default of 50% it is 4 times larger the amount of data compare to the original.
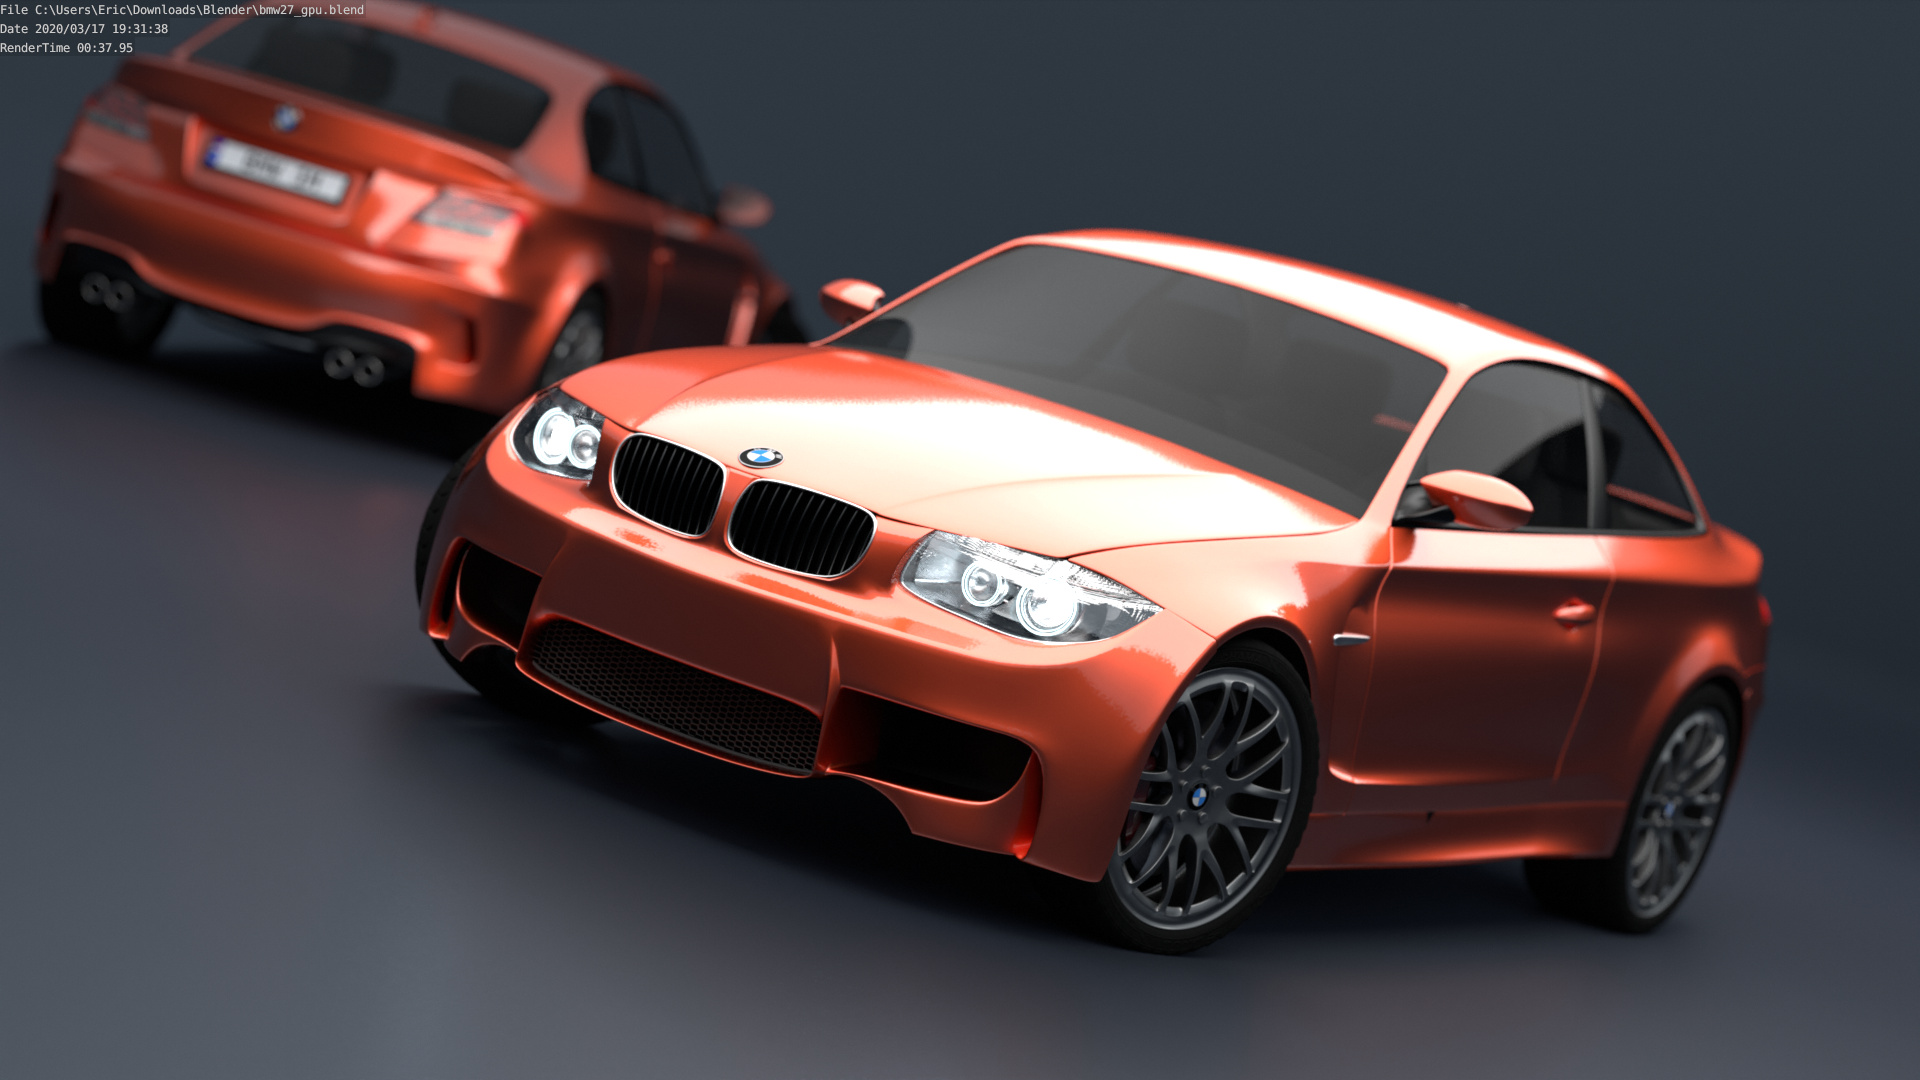
BMW Scene at 100% (1225AA samples, 256x256 tiles and AI denoiser). All times include denoiser time of 2-4 sec.
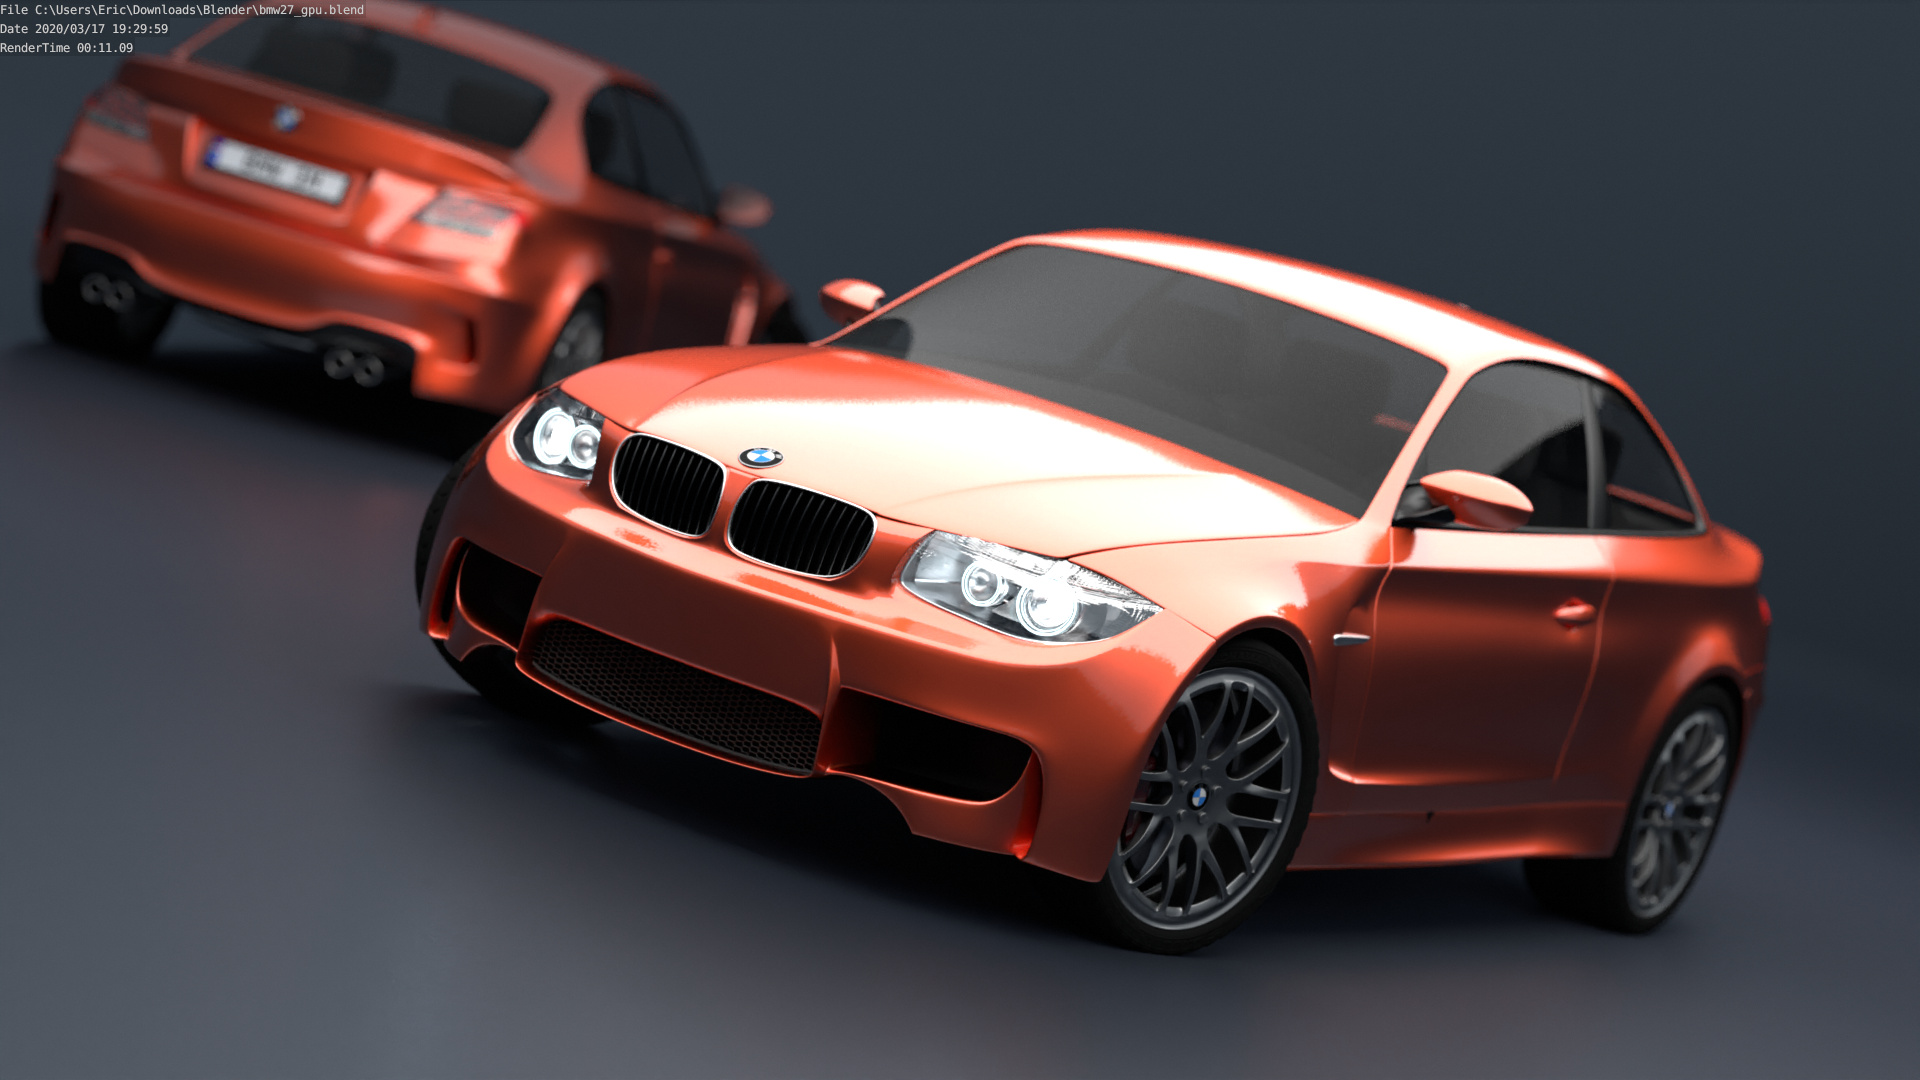
AS with Noise Threshold of 0.1: 07.18 sec.
AS with Noise Threshold of 0.01: 11.09 sec.
AS with Noise Threshold of 0.001: 37.95 sec.
No AS: 1:01.63 sec.
BWM render at 100% AS Noise Threshold 0.1:
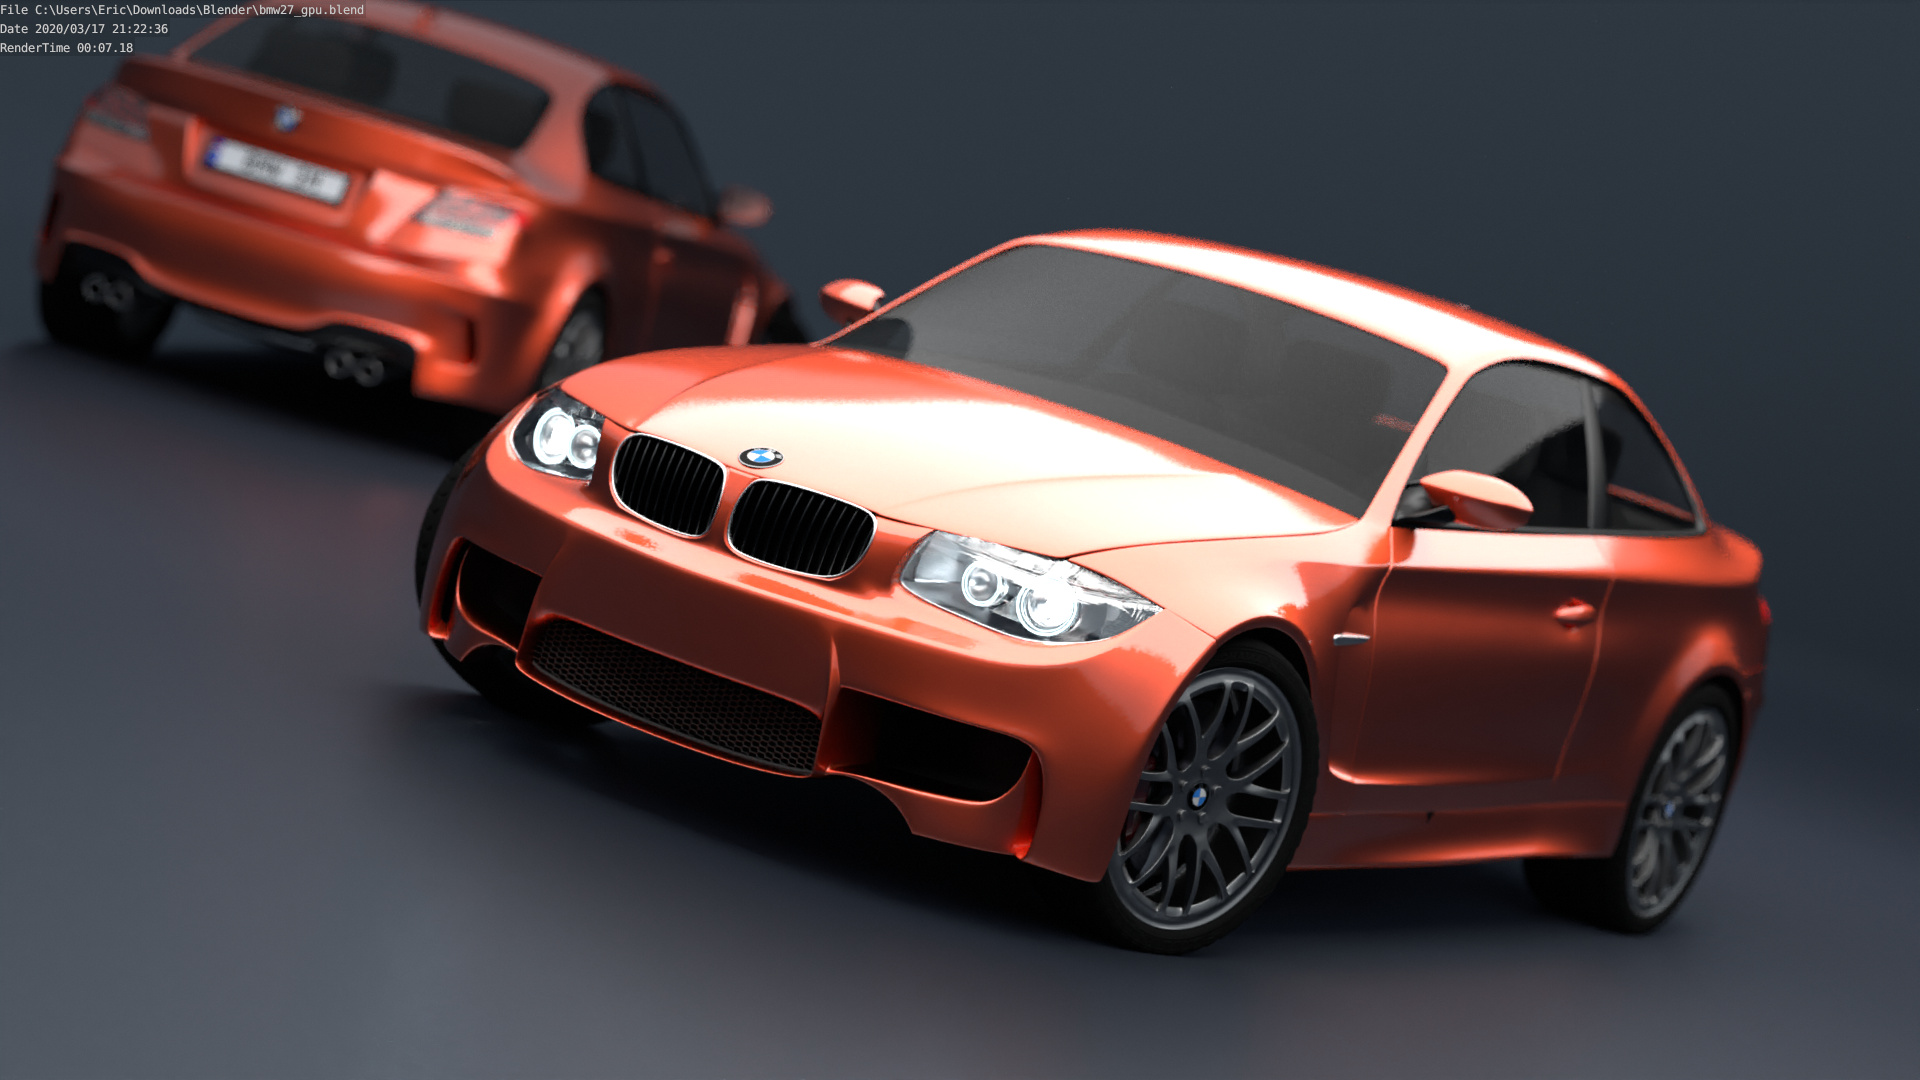
BWM render at 100% AS Noise Threshold 0.01:
BWM render at 100% AS Noise Threshold 0.001:
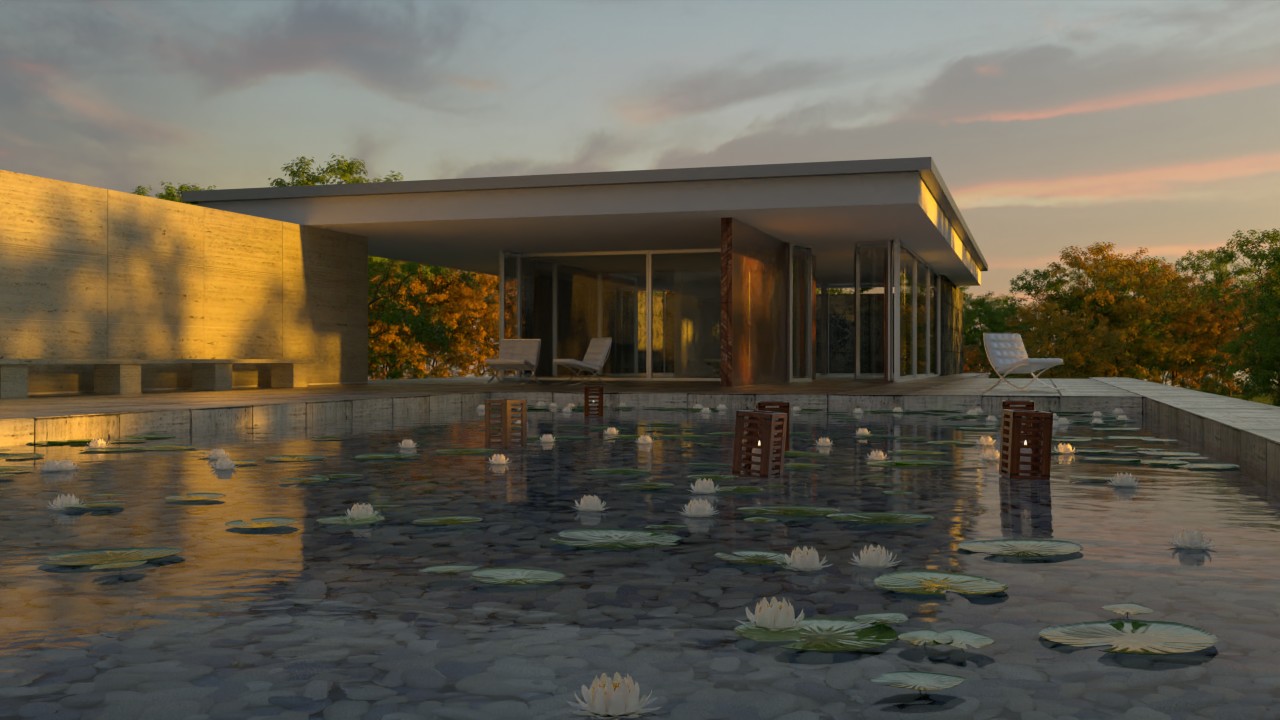
Pavillon Barcelone Scene (1000AA samples, 256x256 tiles and AI denoiser). All times include denoiser time of 1-3 sec.
AS with Noise Threshold of 0.1: 09.75 sec.
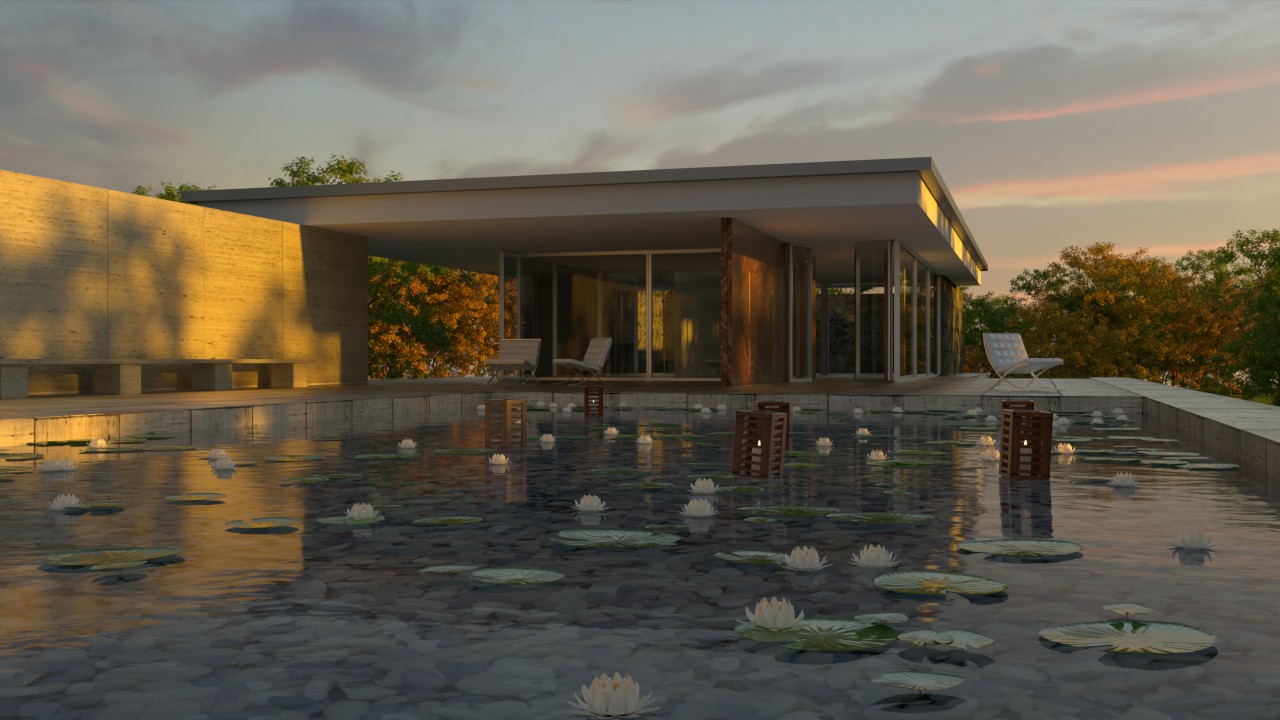
AS with Noise Threshold of 0.01: 15.82 sec.
AS with Noise Threshold of 0.001: 1:23.39 sec.
No AS: 1:36.76 sec.
Pavillon Barcelone render at 100% AS Noise Threshold 0.1:
Pavillon Barcelone render at 100% AS Noise Threshold 0.01:

Pavillon Barcelone render at 100% AS Noise Threshold 0.001:
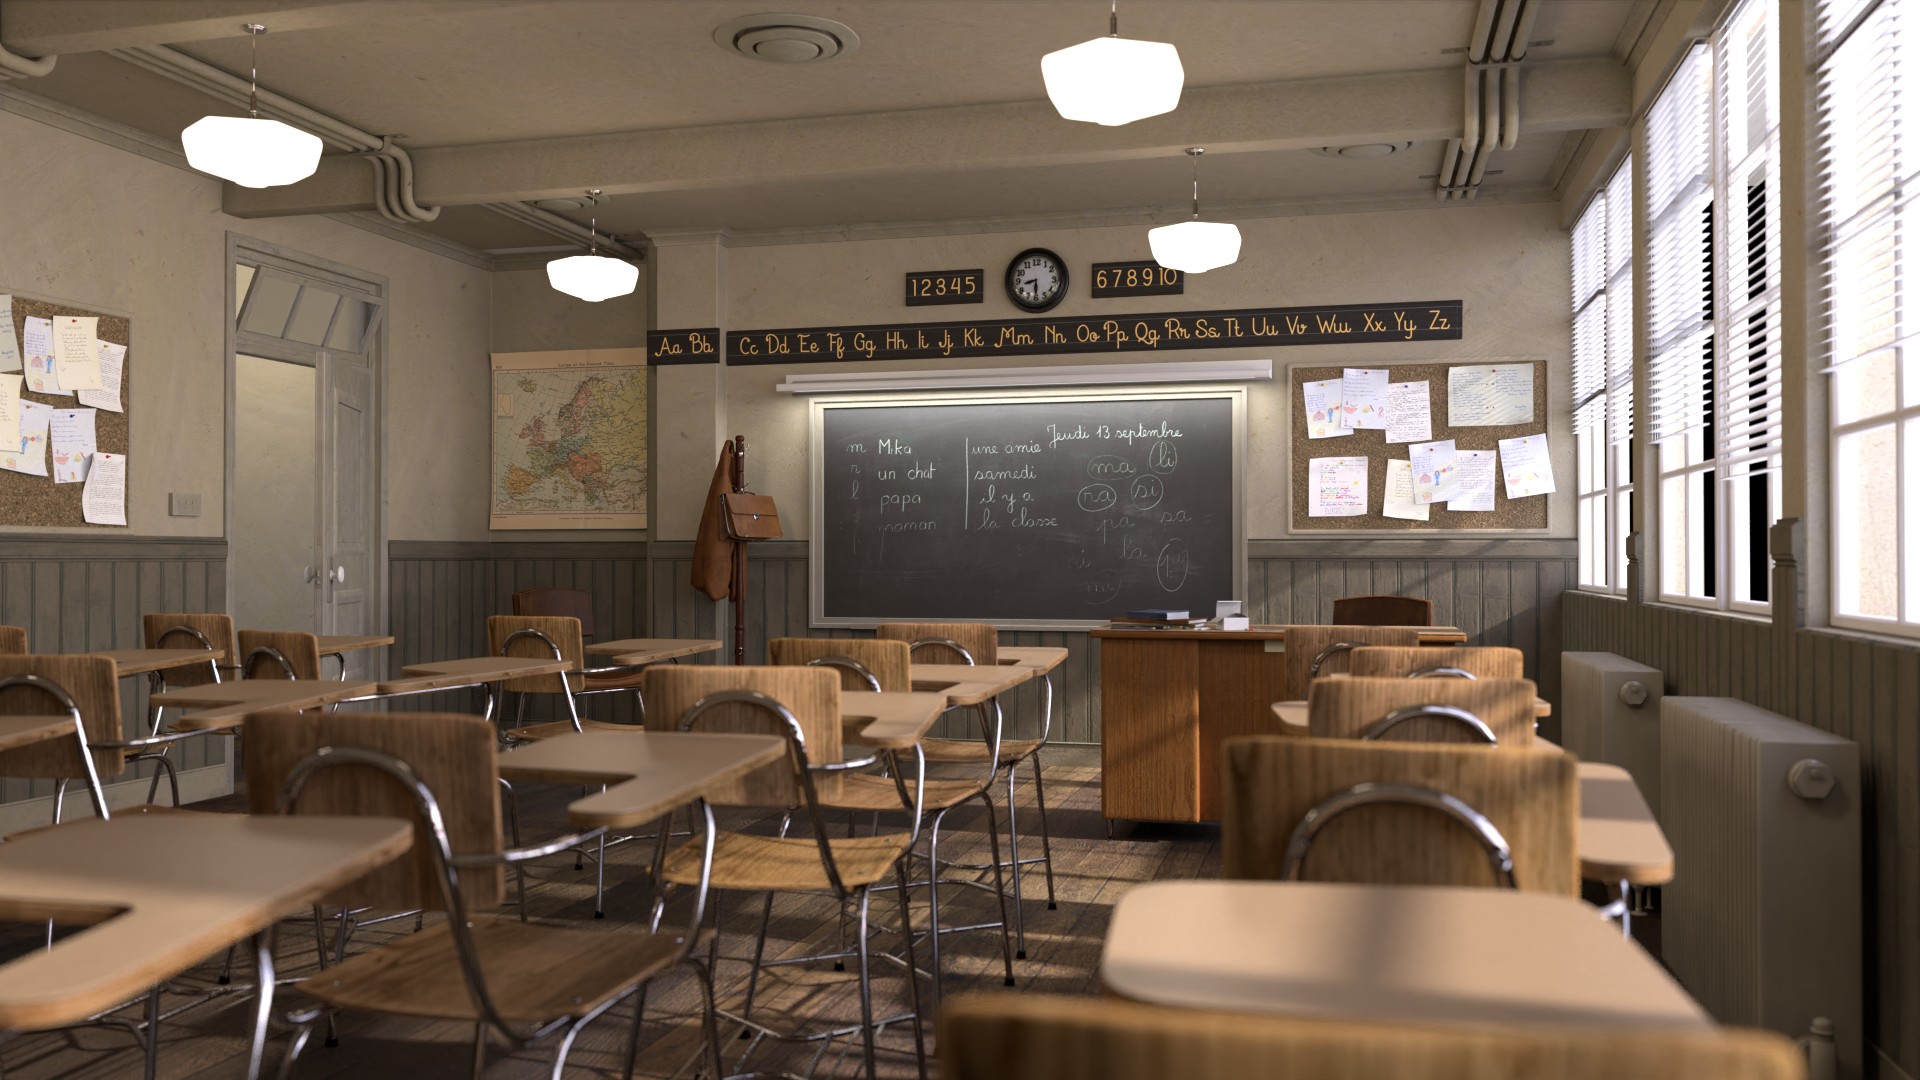
Classroom Scene (Increase samples from 300AA to 1000AA, 256x256 tiles and AI denoiser). All times include denoiser time of 4-8 sec.
AS with Noise Threshold of 0.1: 24.20 sec.
AS with Noise Threshold of 0.01: 1:17.22 sec.
AS with Noise Threshold of 0.001: 4:26.95 sec.
No AS: 4:27.36 sec.
Classroom render at 100% AS Noise Threshold 0.1:
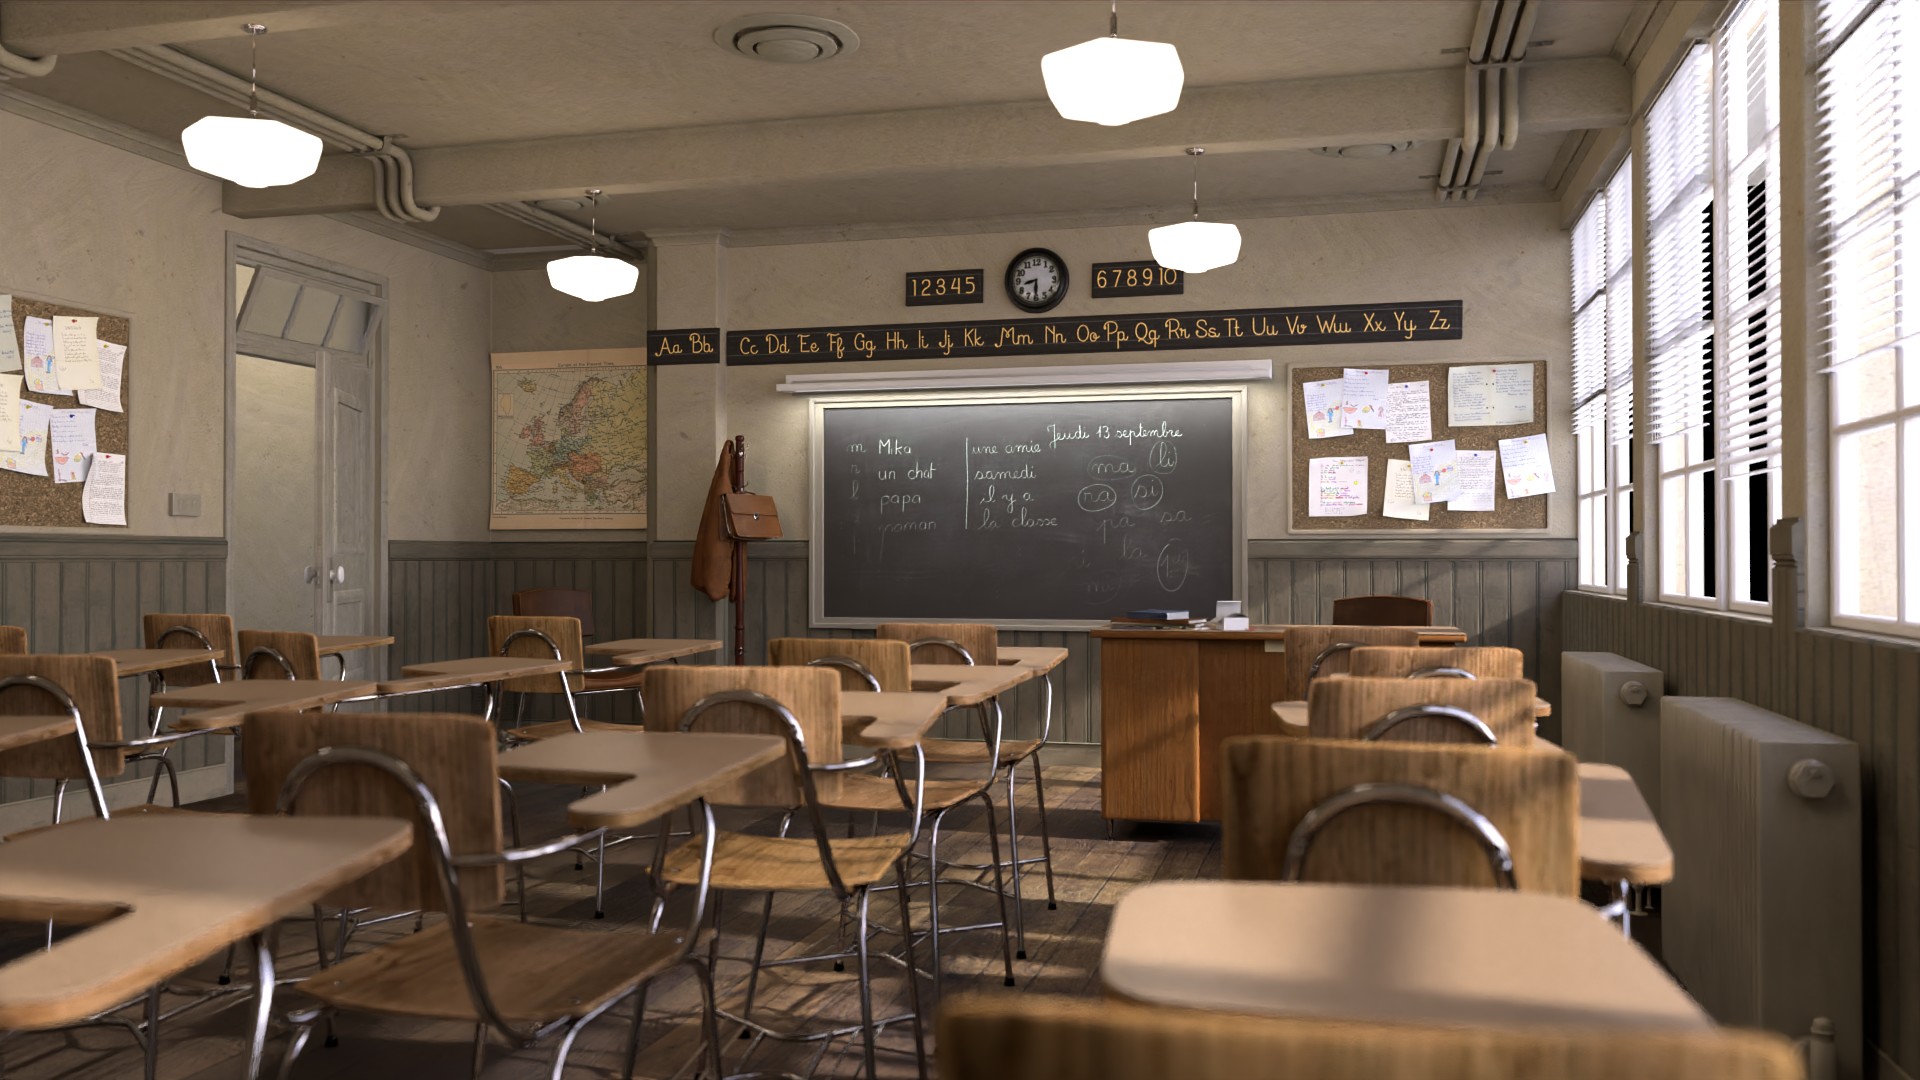
Classroom render at 100% AS Noise Threshold 0.01:
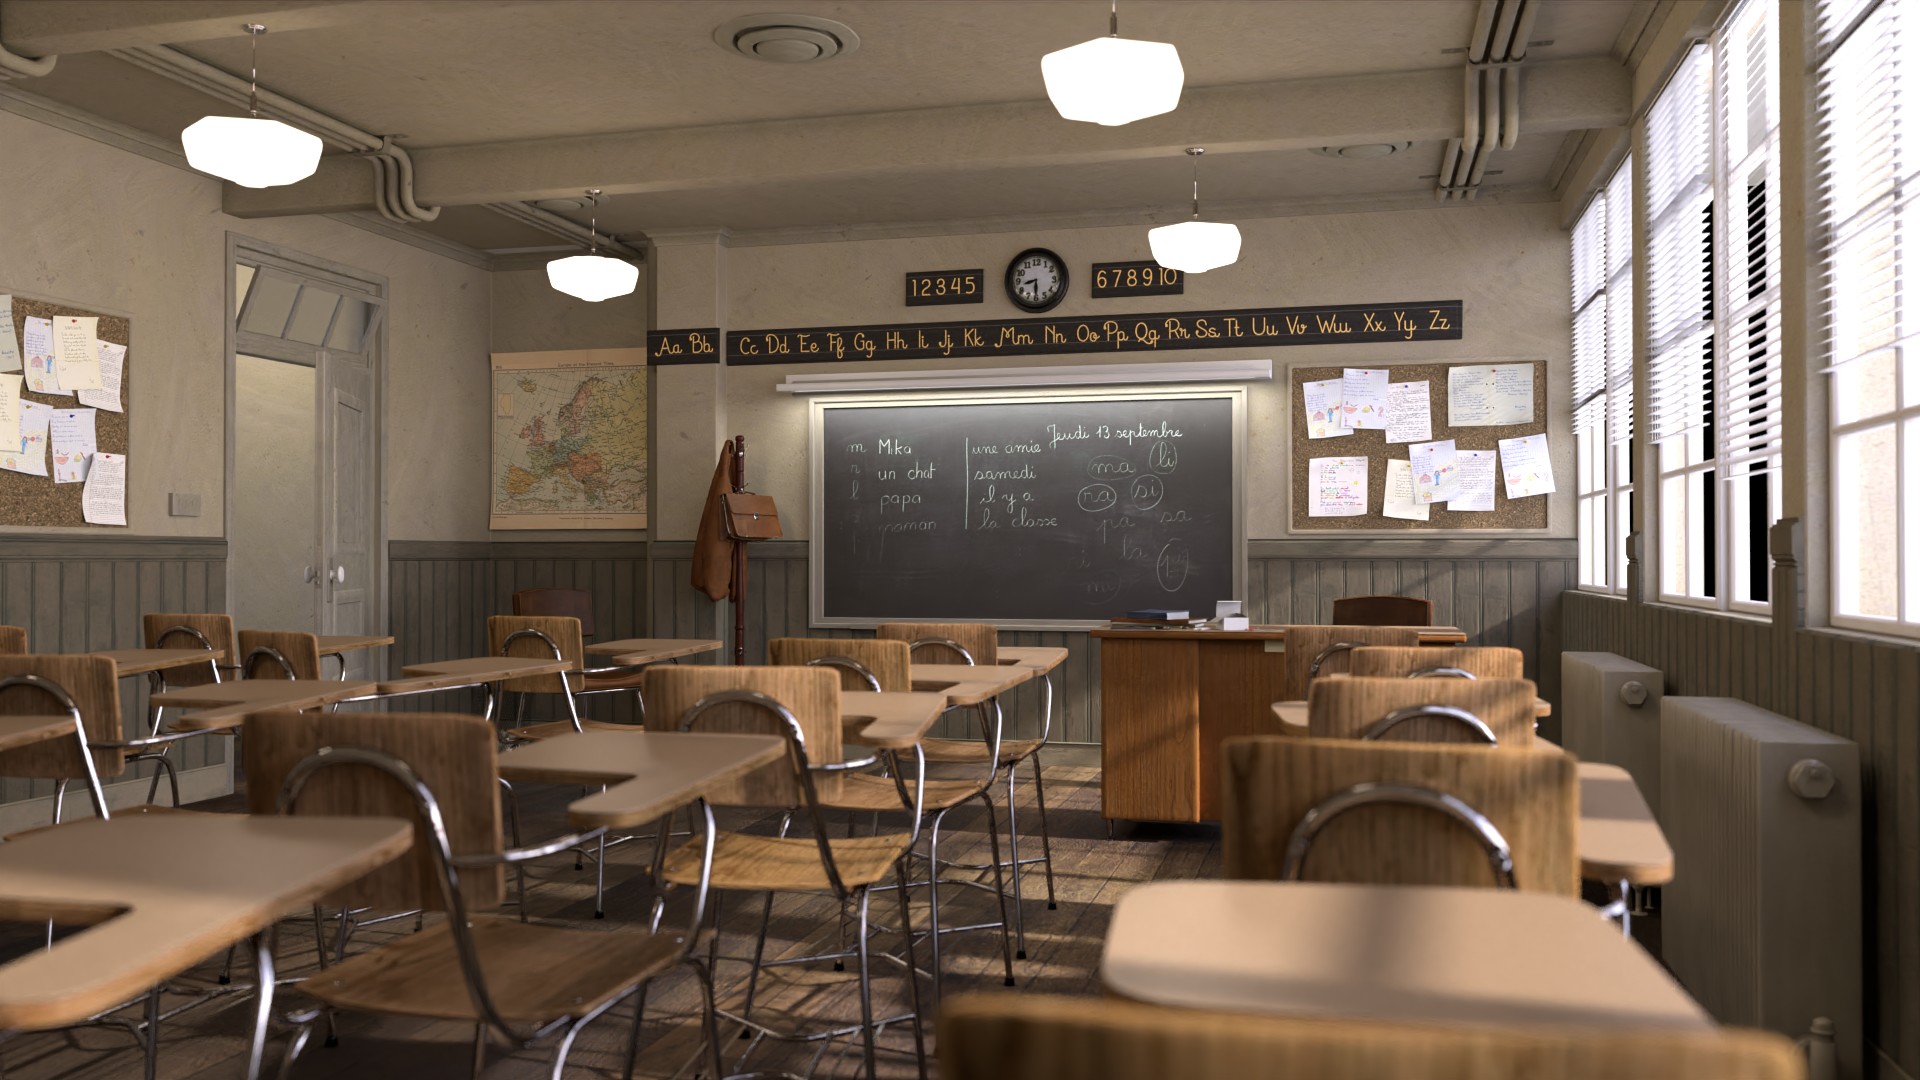
Classroom render at 100% AS Noise Threshold 0.001: