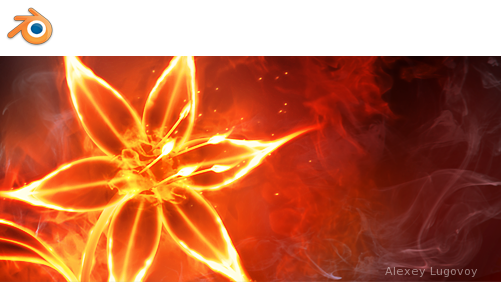
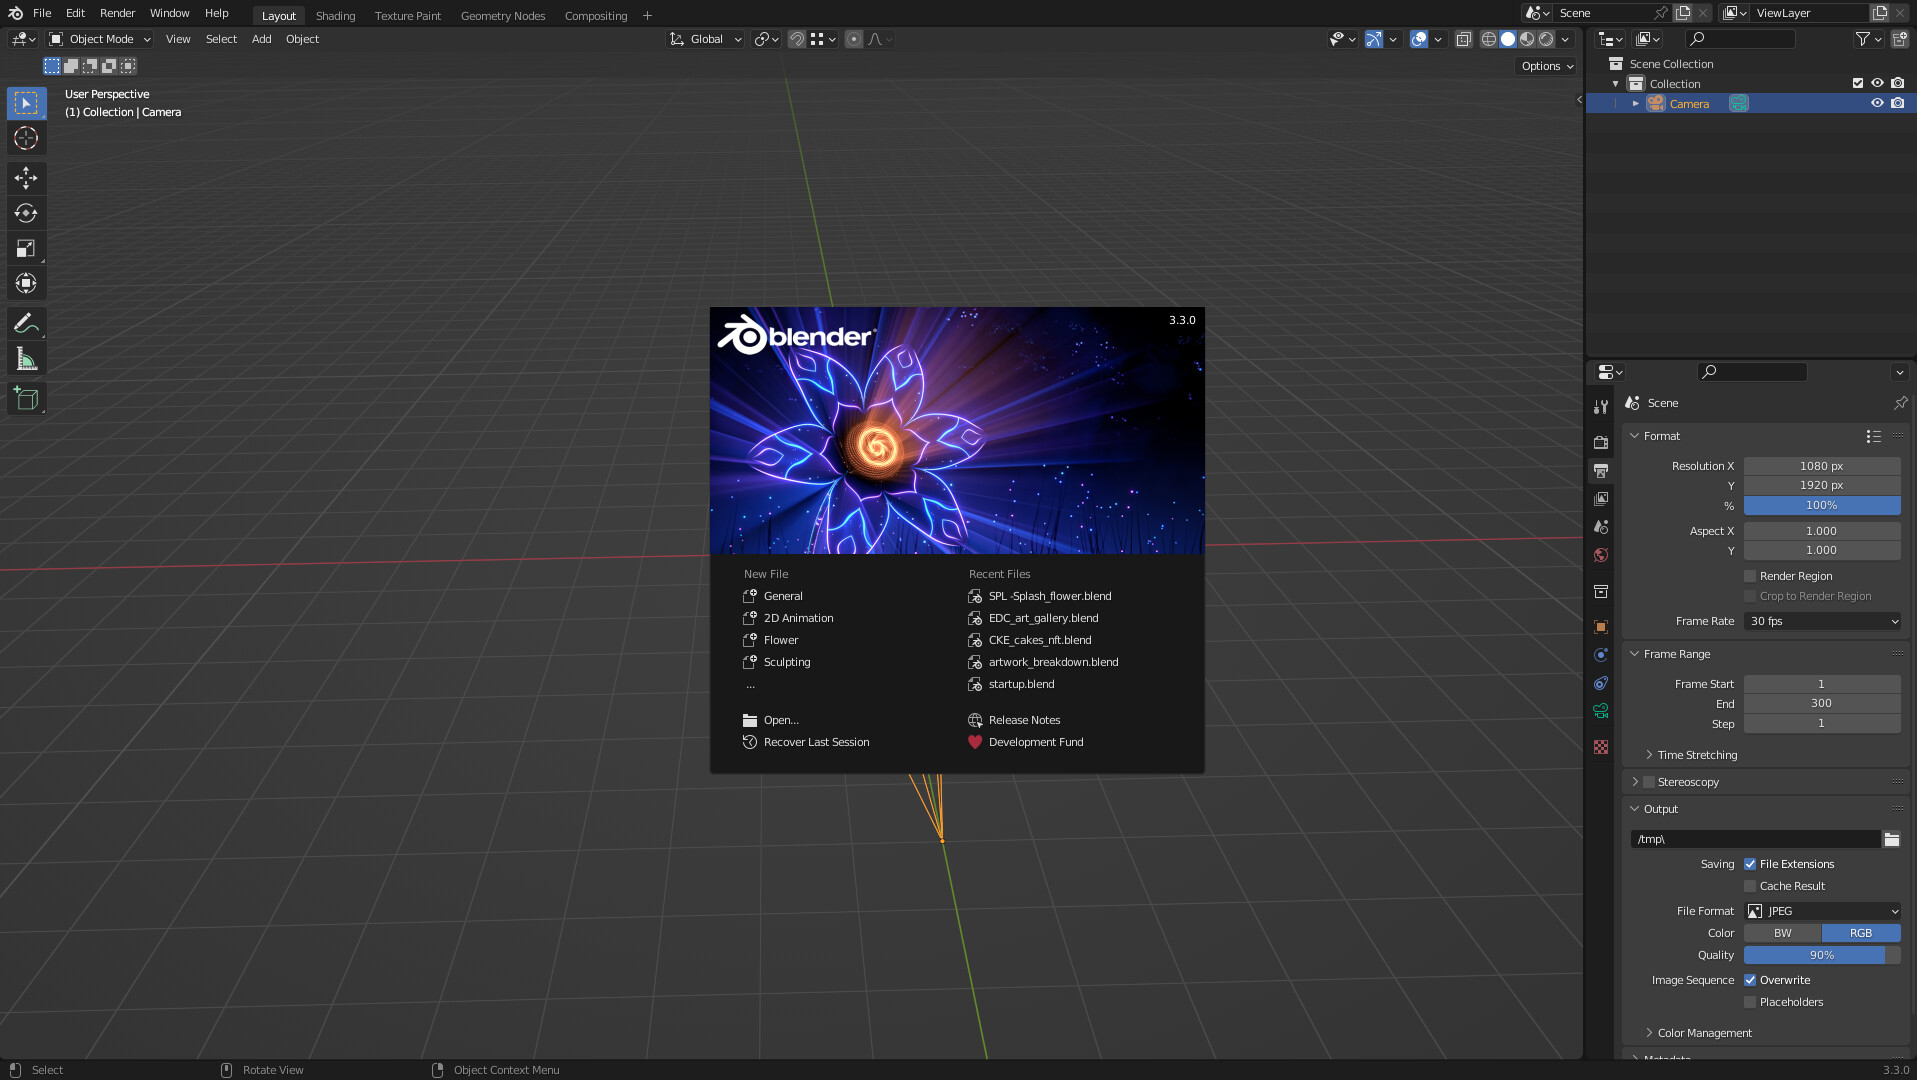
I chose the 2.62 splash screen by Alexey Lugovoy, this one👇
A few months ago I made some Magical Daisies so I thought:
Why not turn this fire flower into a magical one? ![]()

I pasted one of my daisies into a new blend file and started tweaking the scene. I reduced the number of petals from 12 to 6 to match with the fire flower and changed their shape.
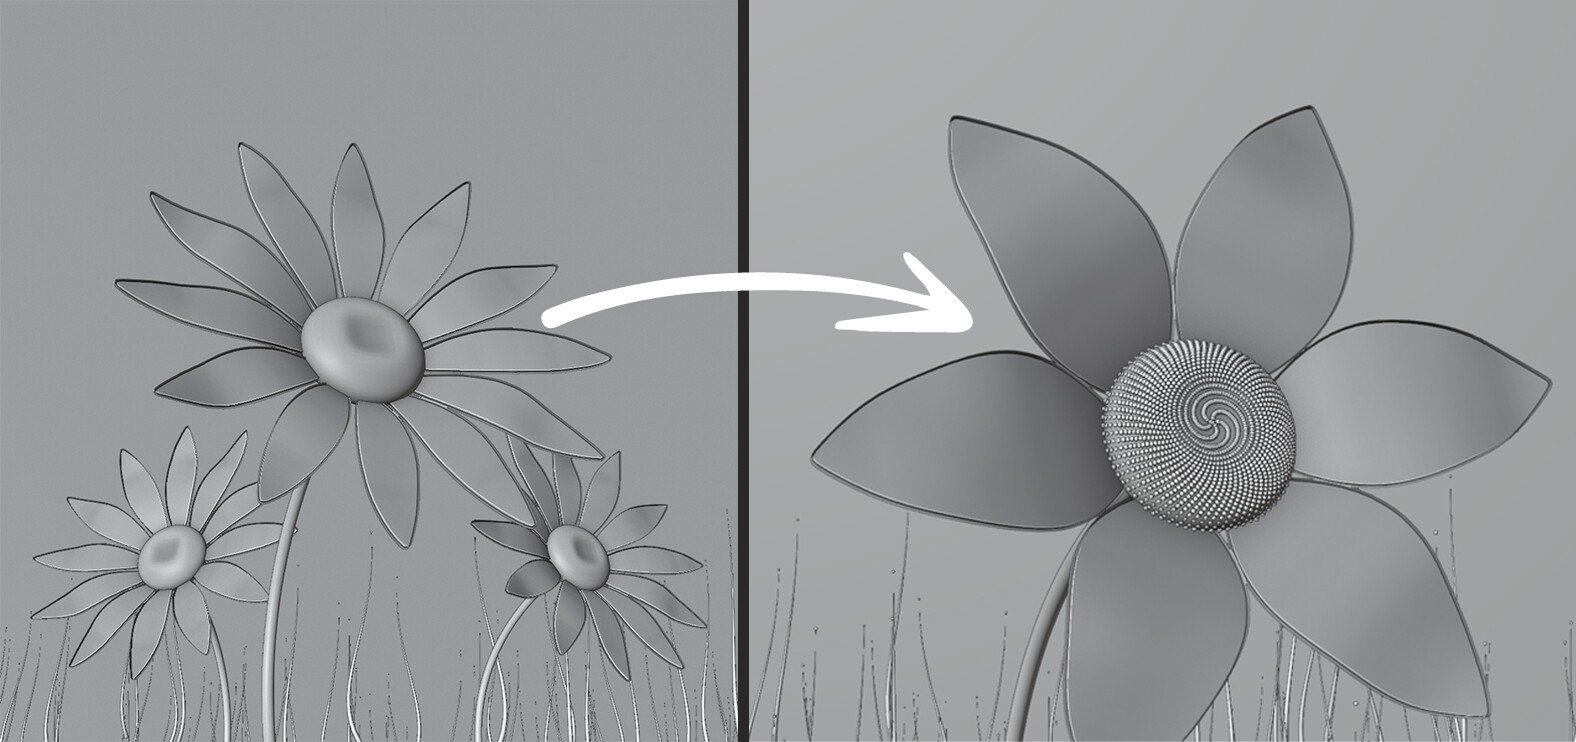
Then I added seeds following a geometry nodes tutorial.
Node setup ![]() (if you want to get a perfect fibonacci spiral change the degrees to 137.5 in the 'to radians node)
(if you want to get a perfect fibonacci spiral change the degrees to 137.5 in the 'to radians node)

I made the original scene in Eevee, as far as I know texture baking in this engine is not possible, if I want to upload the scene to Sketchfab I must bake the textures, so I had to convert the materials to work with Cycles.
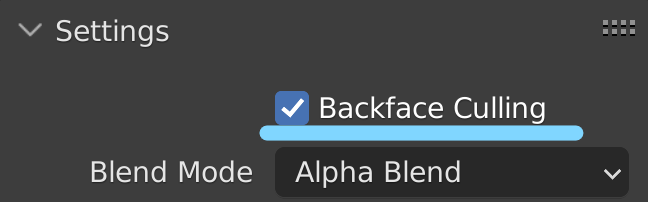
Almost every shader was compatible with the photorealistic render engine except the outline of the petals. Originally I made them using the inverted hull method, in Eevee there’s a checkbox called Backface culling under the material settings which makes the backside of the faces transparent and it’s crucial for creating outlines.
This option is not available in Cycles so I had to create it manually using some node magic. You can recreate backface culling using only three nodes:
- Transparent BSDF
- Geometry
- Mix Shader
The transparent node for the transparency, the mix shader to mix the transparent shader with the outline’s color and the geometry node for the backfacing output to decide which side should be transparent and which should show the outline.
Here’s an example with a black outline, they are doing exactly the same thing the only difference is the render engine (both setups work in Eevee though). ![]()

After I solved this problem I tweaked the textures a bit and started rendering.

I had a problem, the right side of the image looked a bit empty I didn’t know what to put there, so I played around with some post processing effects instead.
I added glare.

Then I came across with a filter called Sun Beams while I was trying out all the effects, and it single-handedly solved my problem.

It looked more magical and the right side didn’t feel empty anymore.
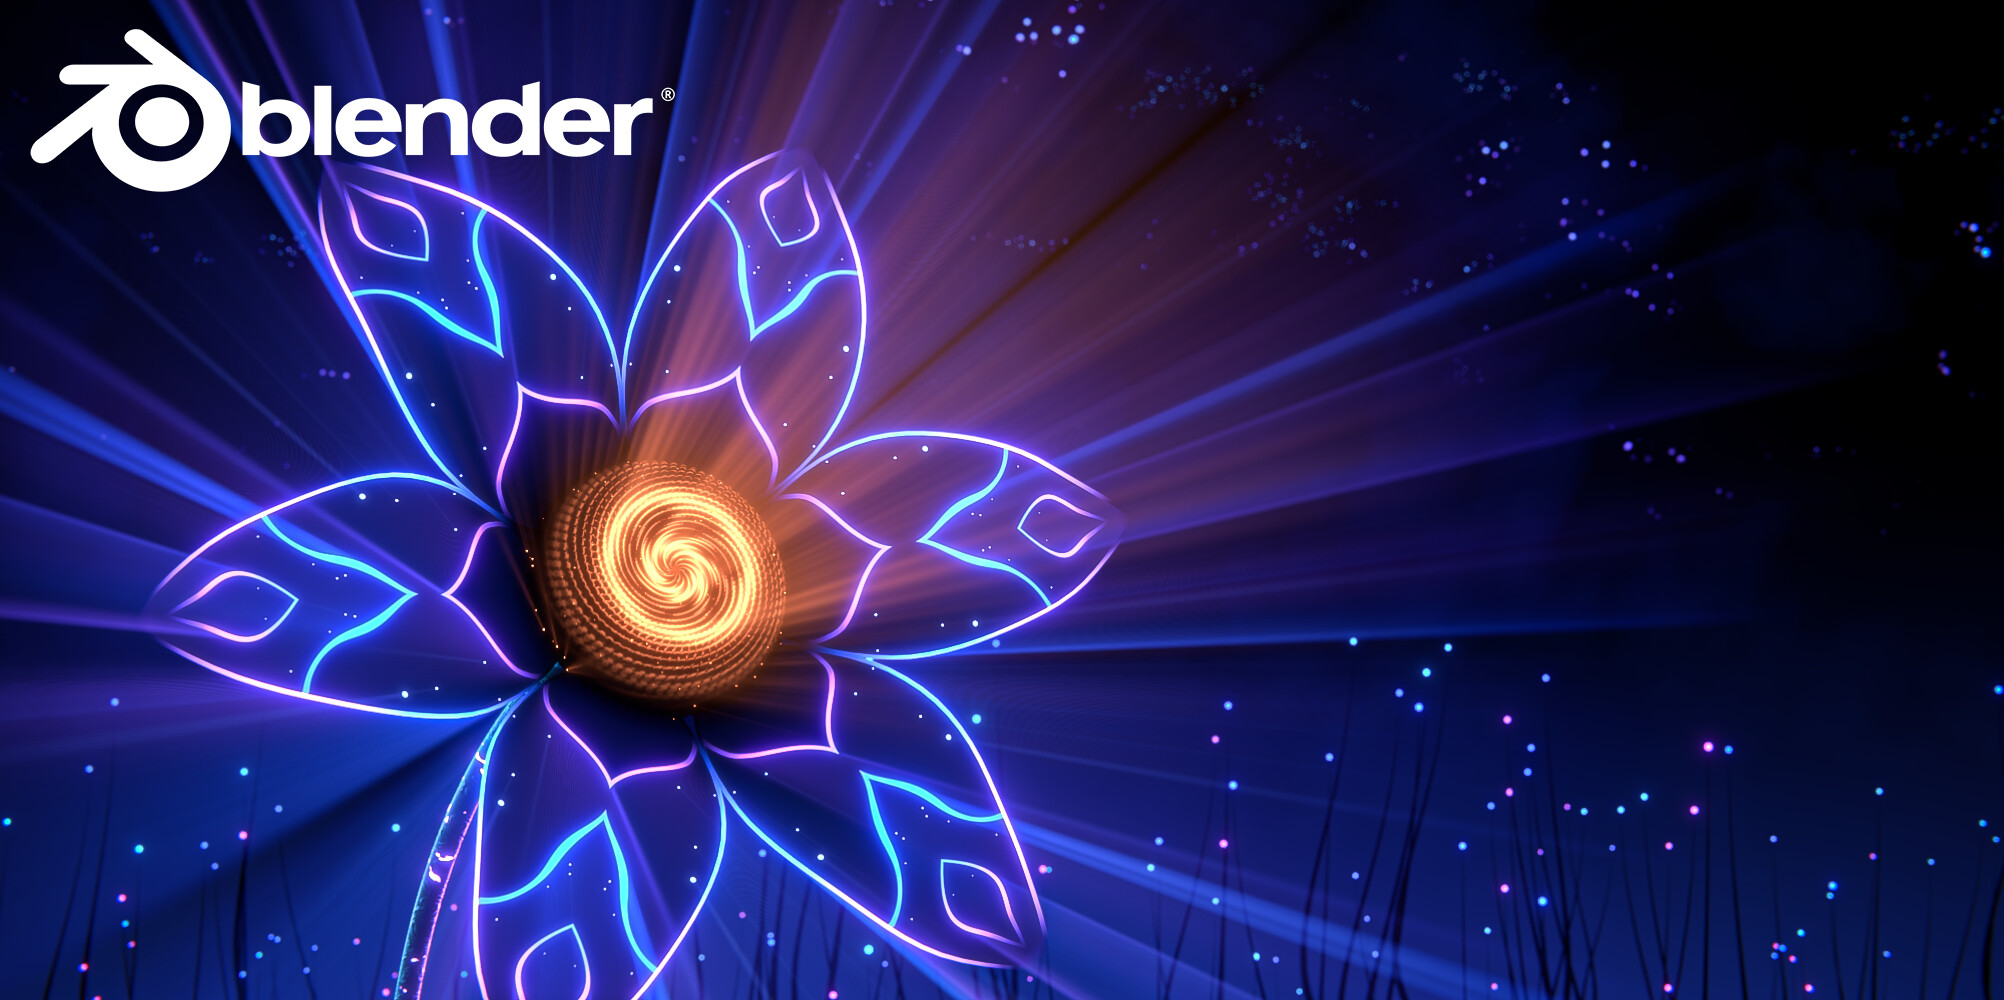
I edited it a bit and this is my entry ![]()

I set it as a splash screen to check out how it would look.
And here’s a bonus animation👇 Hey, Blender, it’s time to release new versions with animated splash screens ![]()

Thumbnail: