Hello there everyone,
I have started working on chapter six of the 3D Environments course on Udemy (https://www.udemy.com/course/blender-environments), I have finished everything for chapter five, and I am just waiting to render it. So you can expect to see the final render soon.
So far I have just been configuring the scene ready to get started, I am once again using a plane as the main terrain, this time scaled to 45m. I used proportional editing to add some hills and general terrain shapes.
I also select some vertices and used proportional editing to create the river that will be flowing through the scene, for the final render this will eventually be animated.
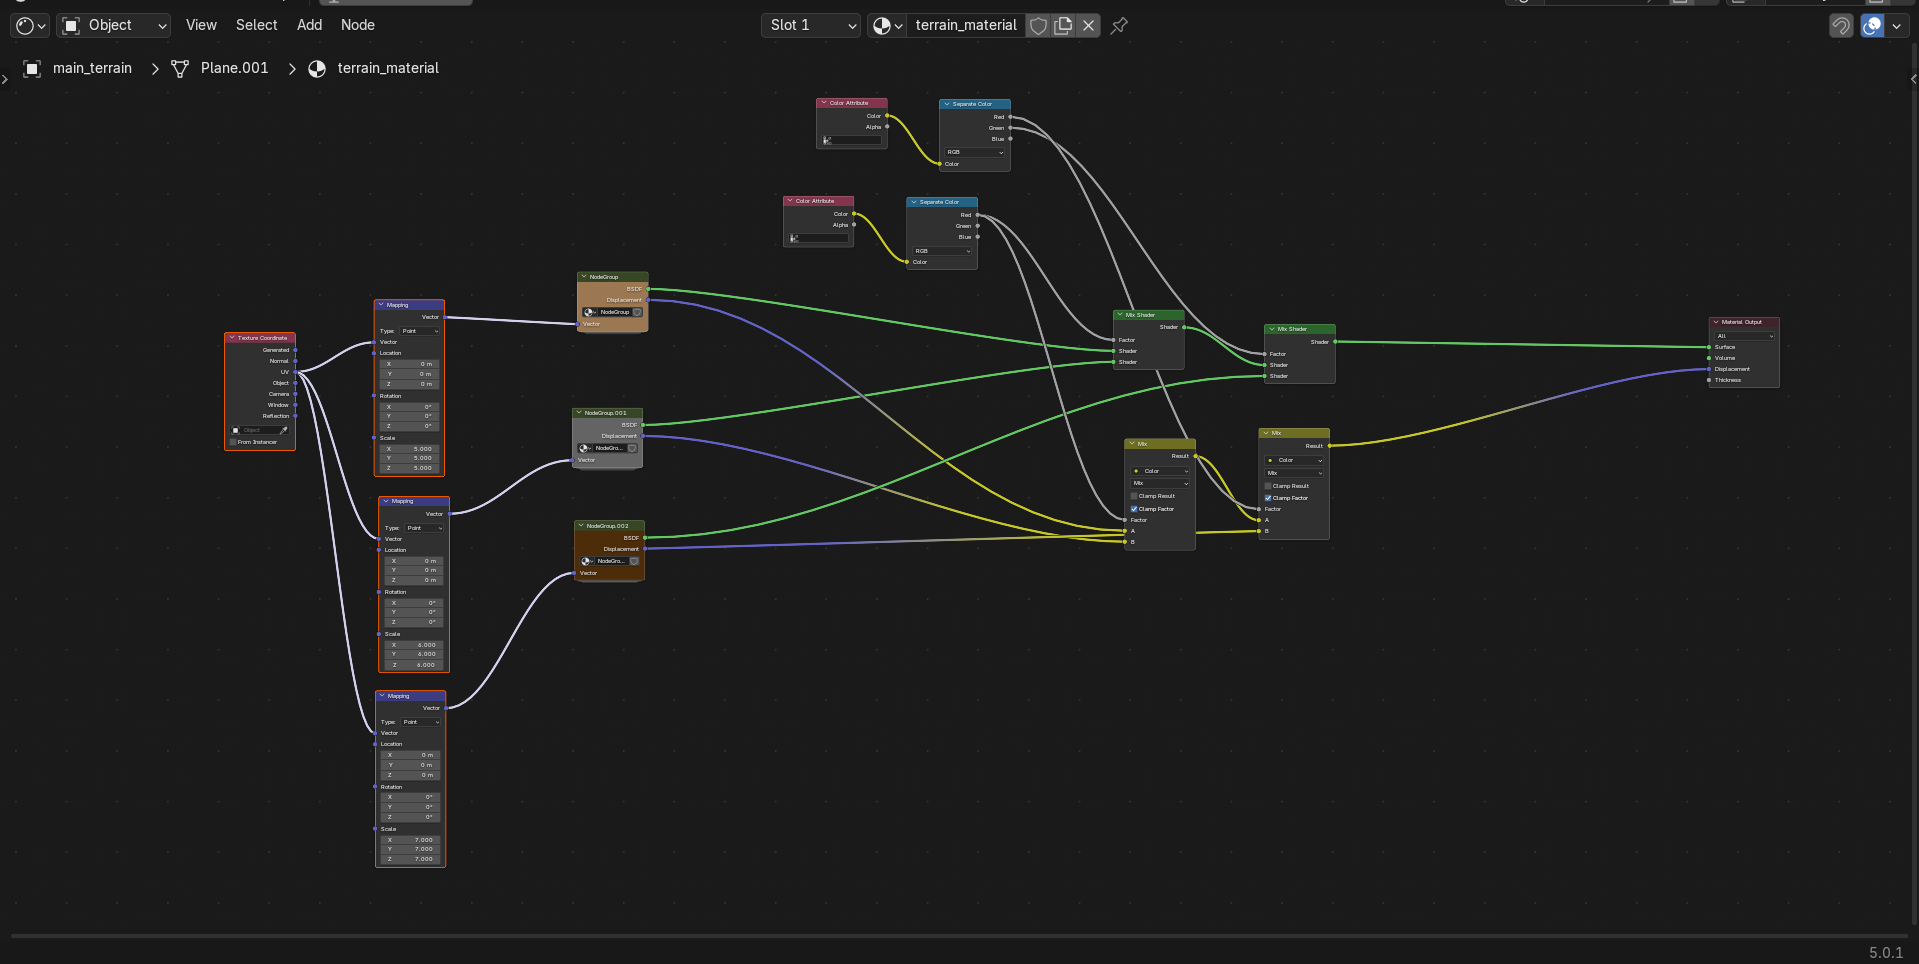
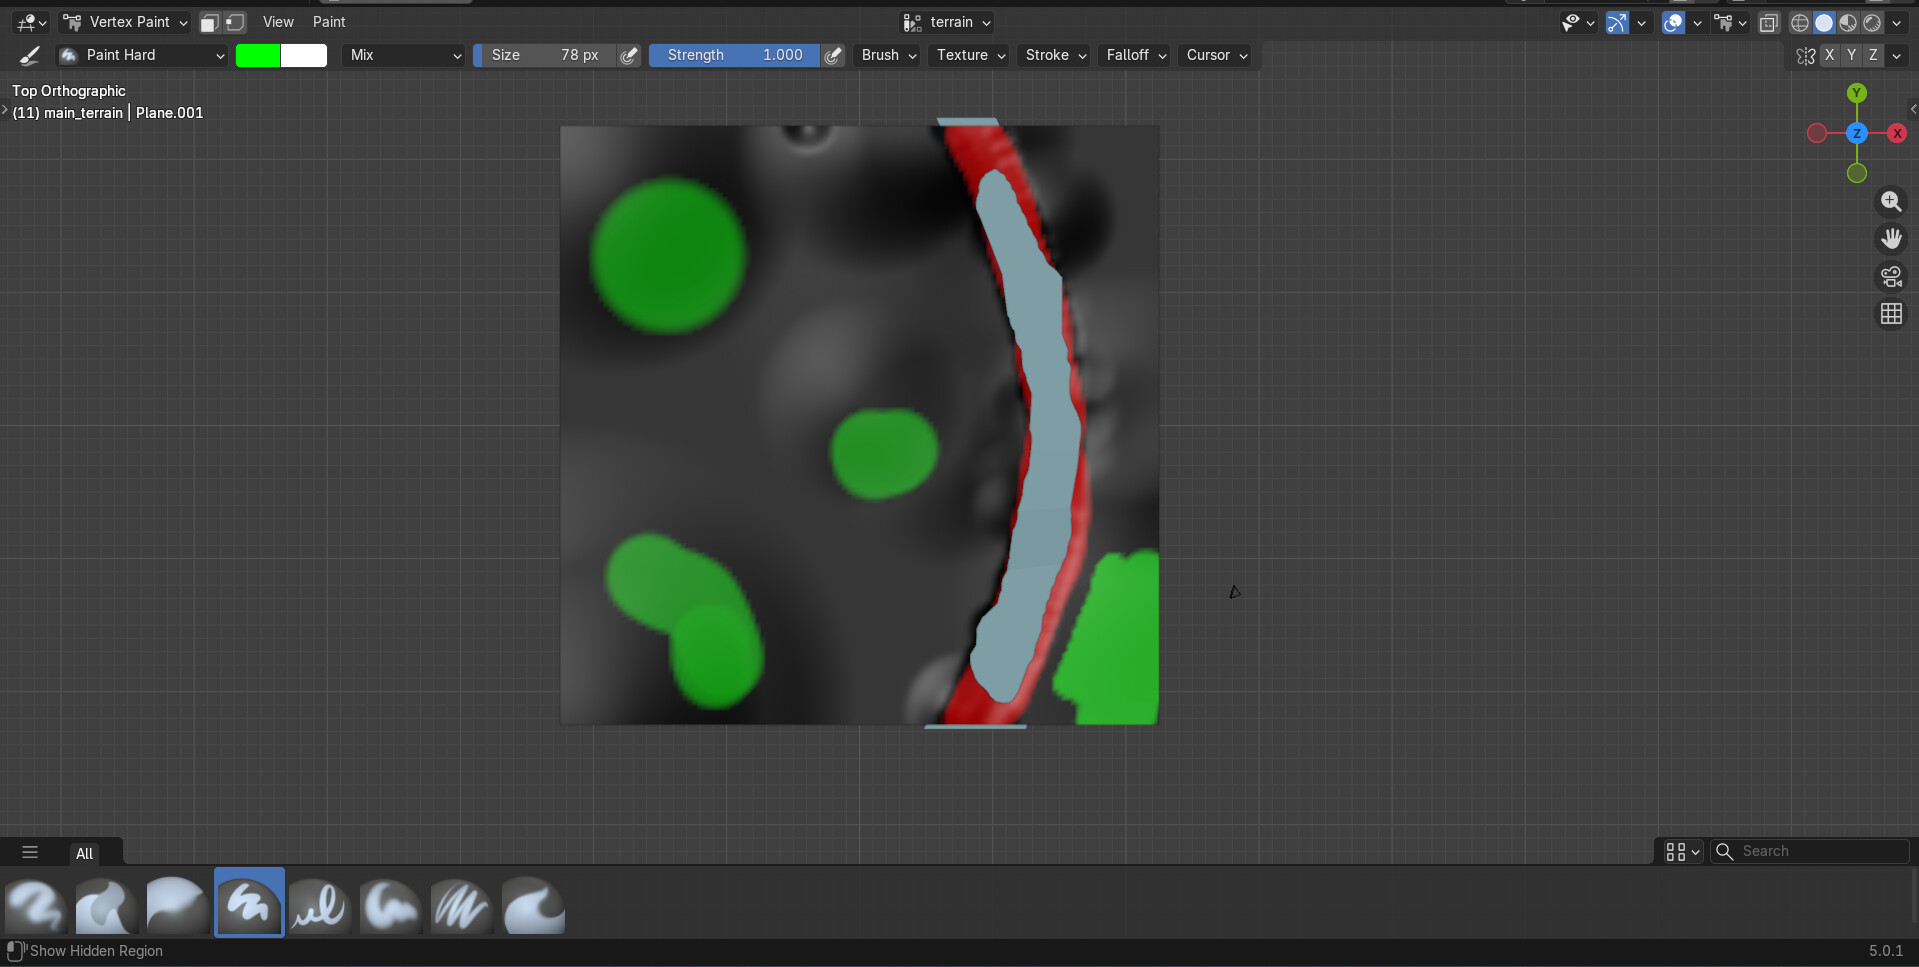
I have applied the provided materials on the terrain, using a mix shader to change the material based on a vertex paint.
Hello there,
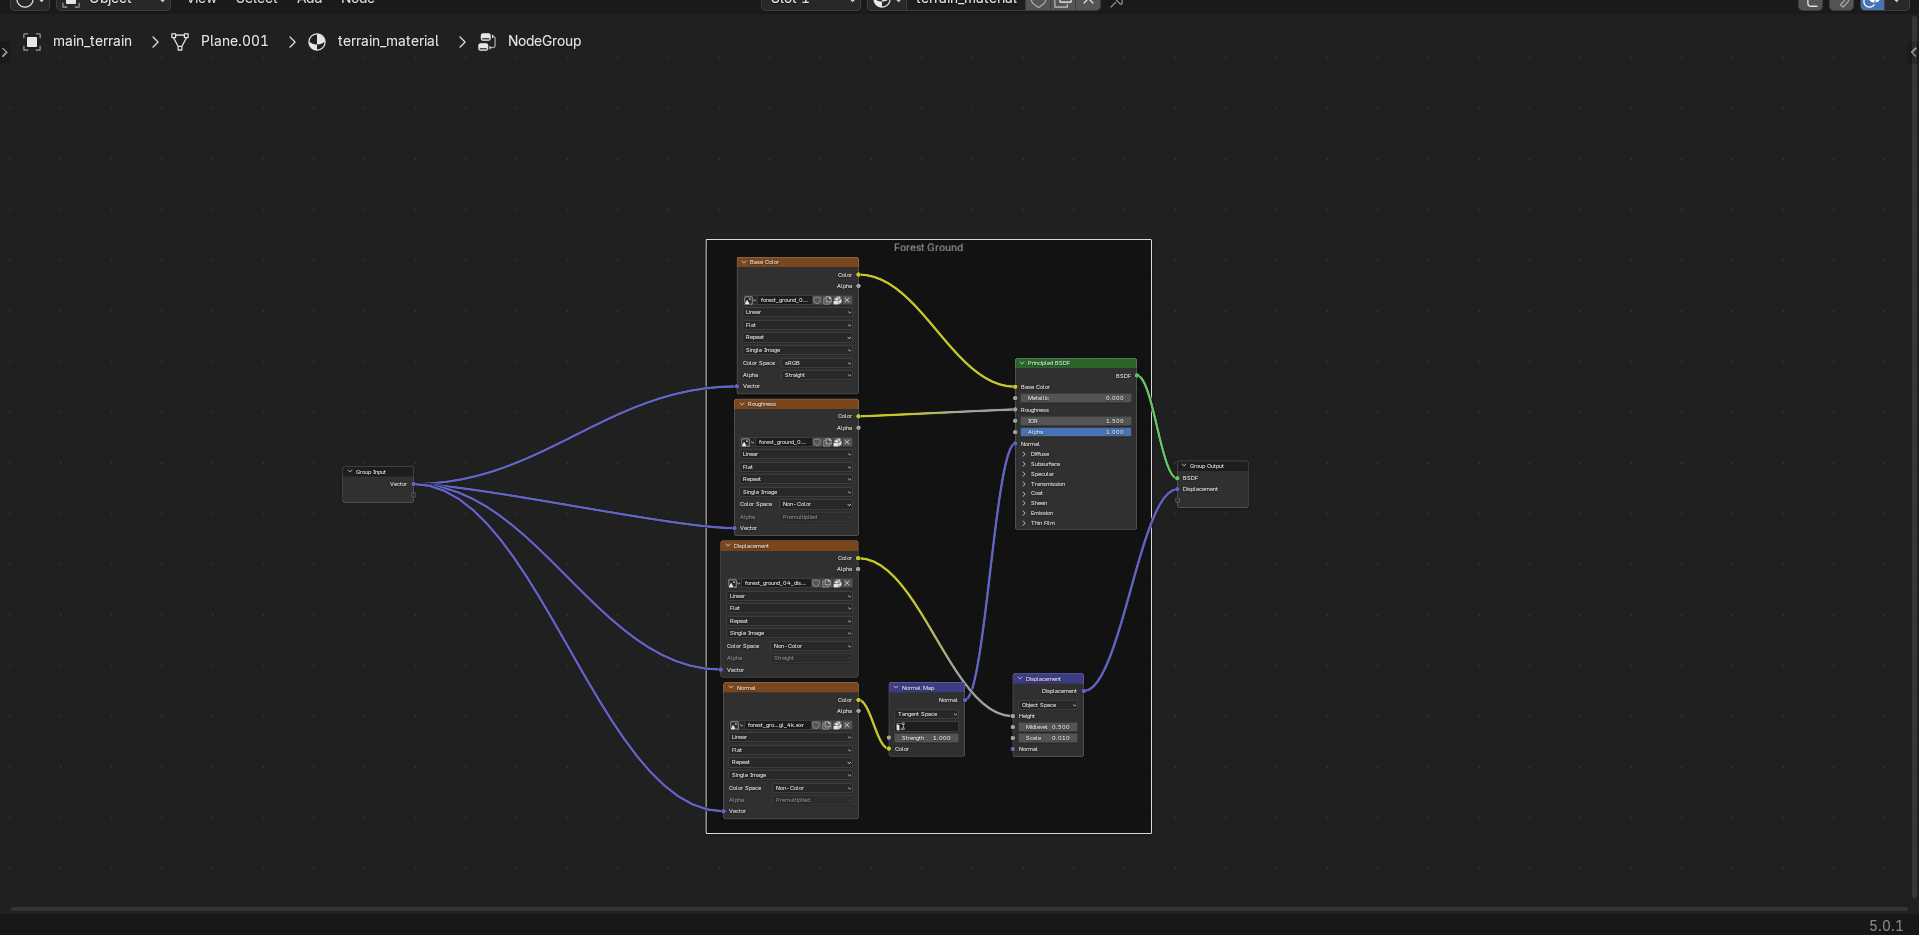
I have been working a bit more on this, I now have adjusted the material settings for the ground, to use a larger scale and to have more displacement. This helps to create the rocks, although I will manually scatter some rock objects later on.
I have also created a shader for the water, using glass BSDF and transparent BSDF with a mix shader.
Hi there,
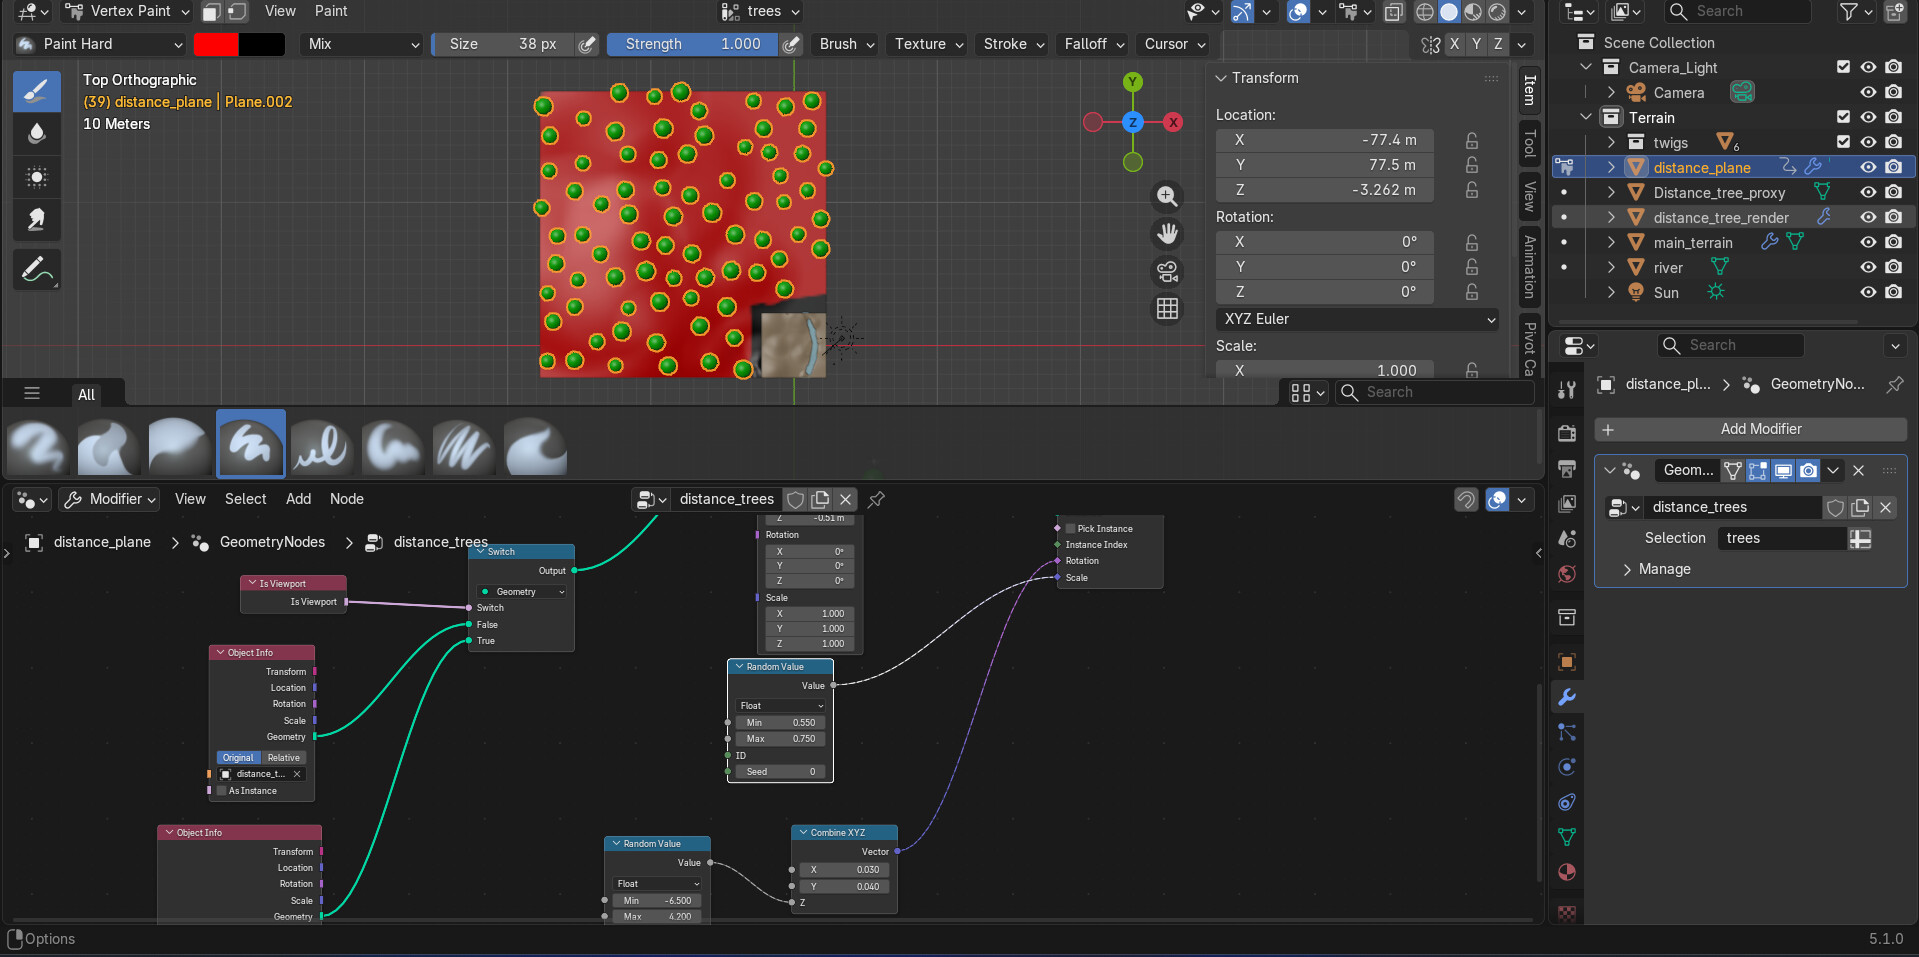
I have been working a bit more on this scene, I have mainly been focusing on adding the distance plane. This goes around the terrain and will have some trees and grass on it, to create a sense of depth.
I have appended the distance trees geometry nodes setup from chapter 4 (Forest path scene final - Blender 3D environments course), and I also did use in chapter five. Since this scene is smaller than chapter 4 I adjusted the random value node, so that it spawns the trees smaller.
I used a vertex paint to control where the trees spawn, allowing me to stop them from spawning right along the edges.
I also applied the same terrain material to the distance plane, just without the blending.
Hi there everyone,
I have been making a bit of progress on this project, but have been very busy lately rendering my other project, and dealing with a drive failure in my NAS (it’s all sorted now.)
I am still working through sorting out the base of the scene, but will soon start working on the new stuff .
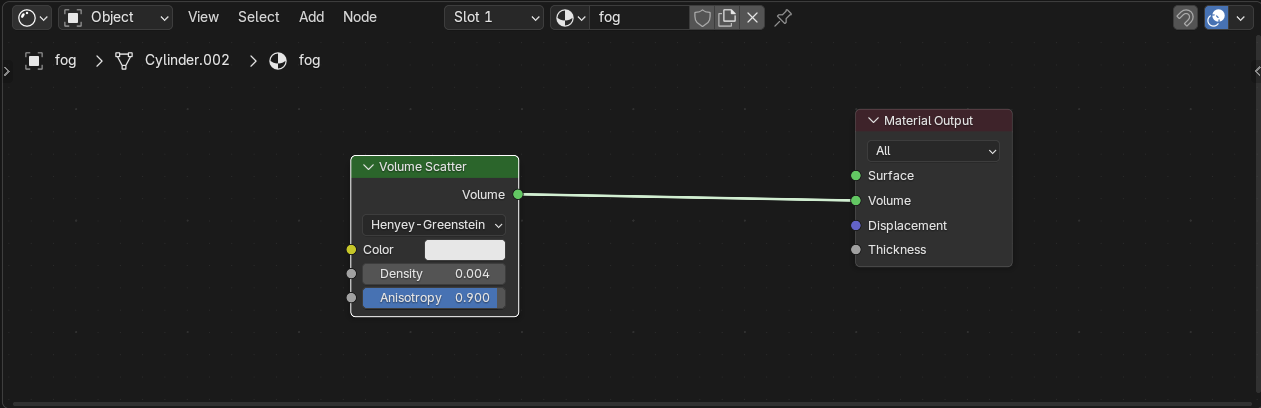
I have appended the volumetric fog, which I have used before, to create the atmospheric mist in the background. This works using a simple volume shader, plugged into volume on the material output. In the end I ended up removing this and using compositing in the previous project (the one that I am currently rendering), but hopefully as this scene is smaller and less intensive I will be able to use the volume shader this time.
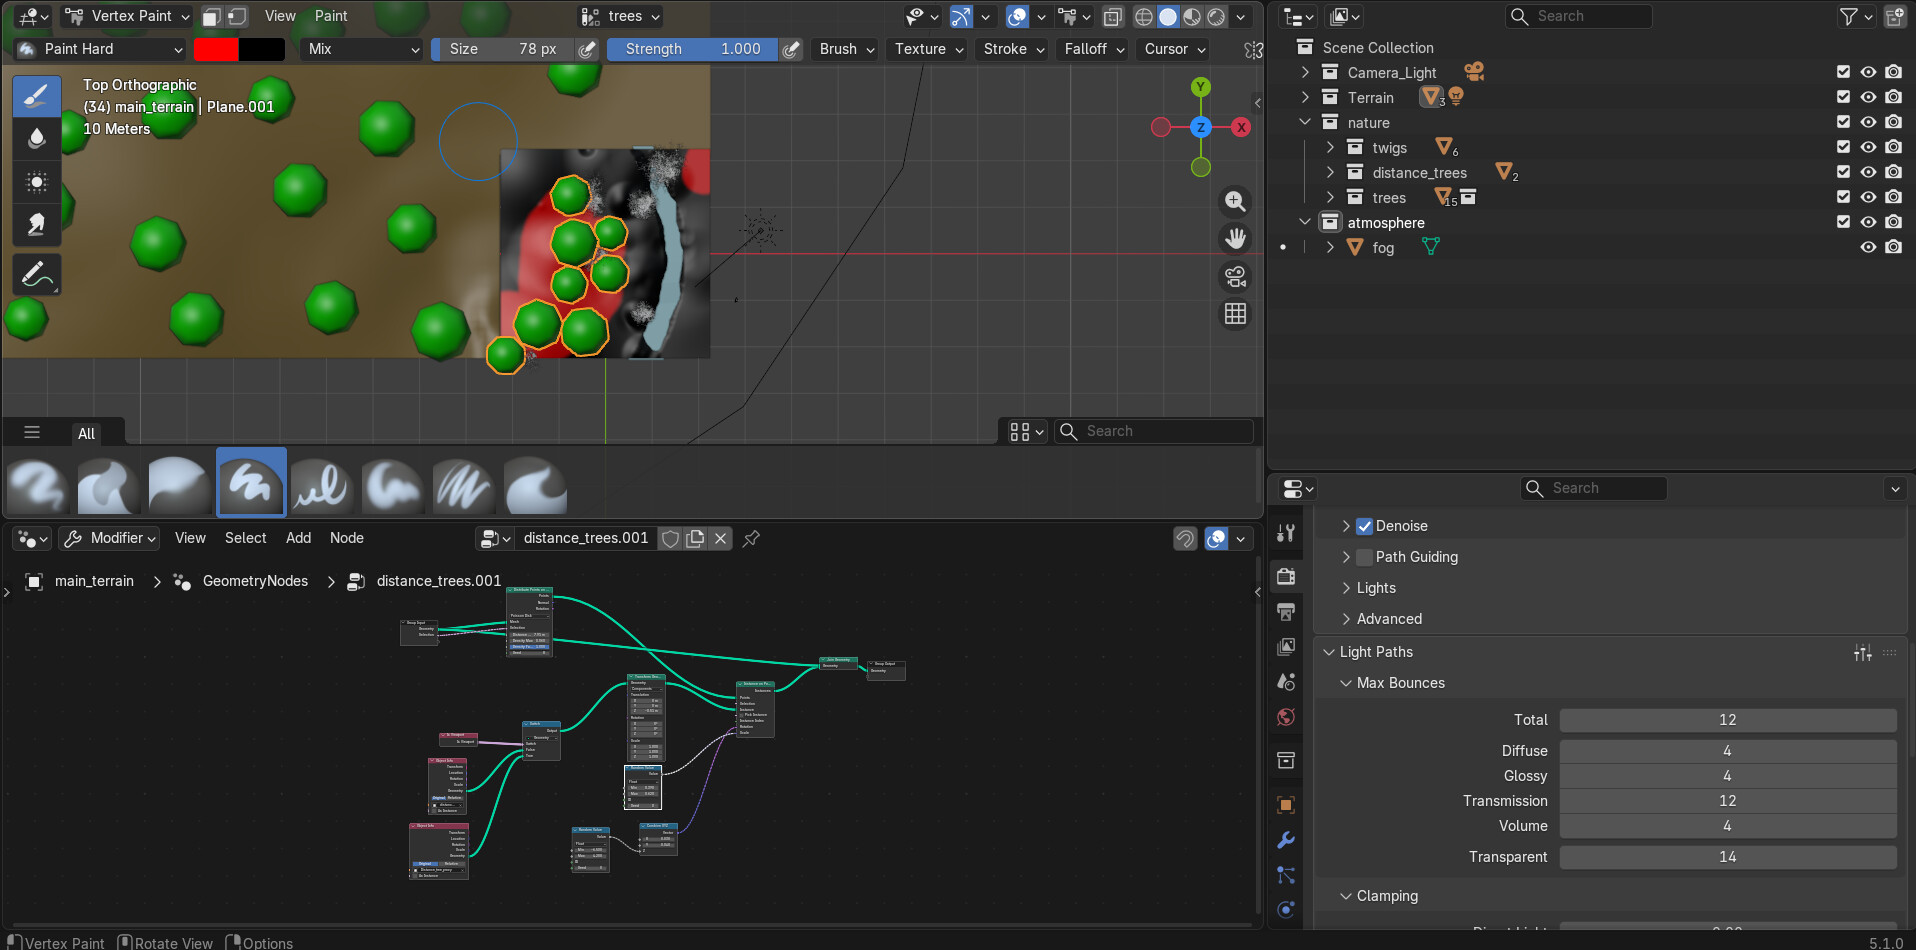
I have also manually placed some of the trees that I created in the forest path scene using Mtree (once again huge thank you @Roberddd for providing some help with getting Mtree working.) These trees help to set the scale for the scene and create the overall atmosphere. I have also configured the geometry nodes tree scatter on the main terrain, to place some more trees, although these are the smaller ones that just help to fill the scene.
Once again a vertex paint is used to control the position of the trees.
Hello there,
I have been working a bit more on this scene. I have finished working on the trees now, and have been working on adjusting the camera and shaping the terrain.
I have also imported the rock collection that is supplied with the course, and started positioning these around the scenes.
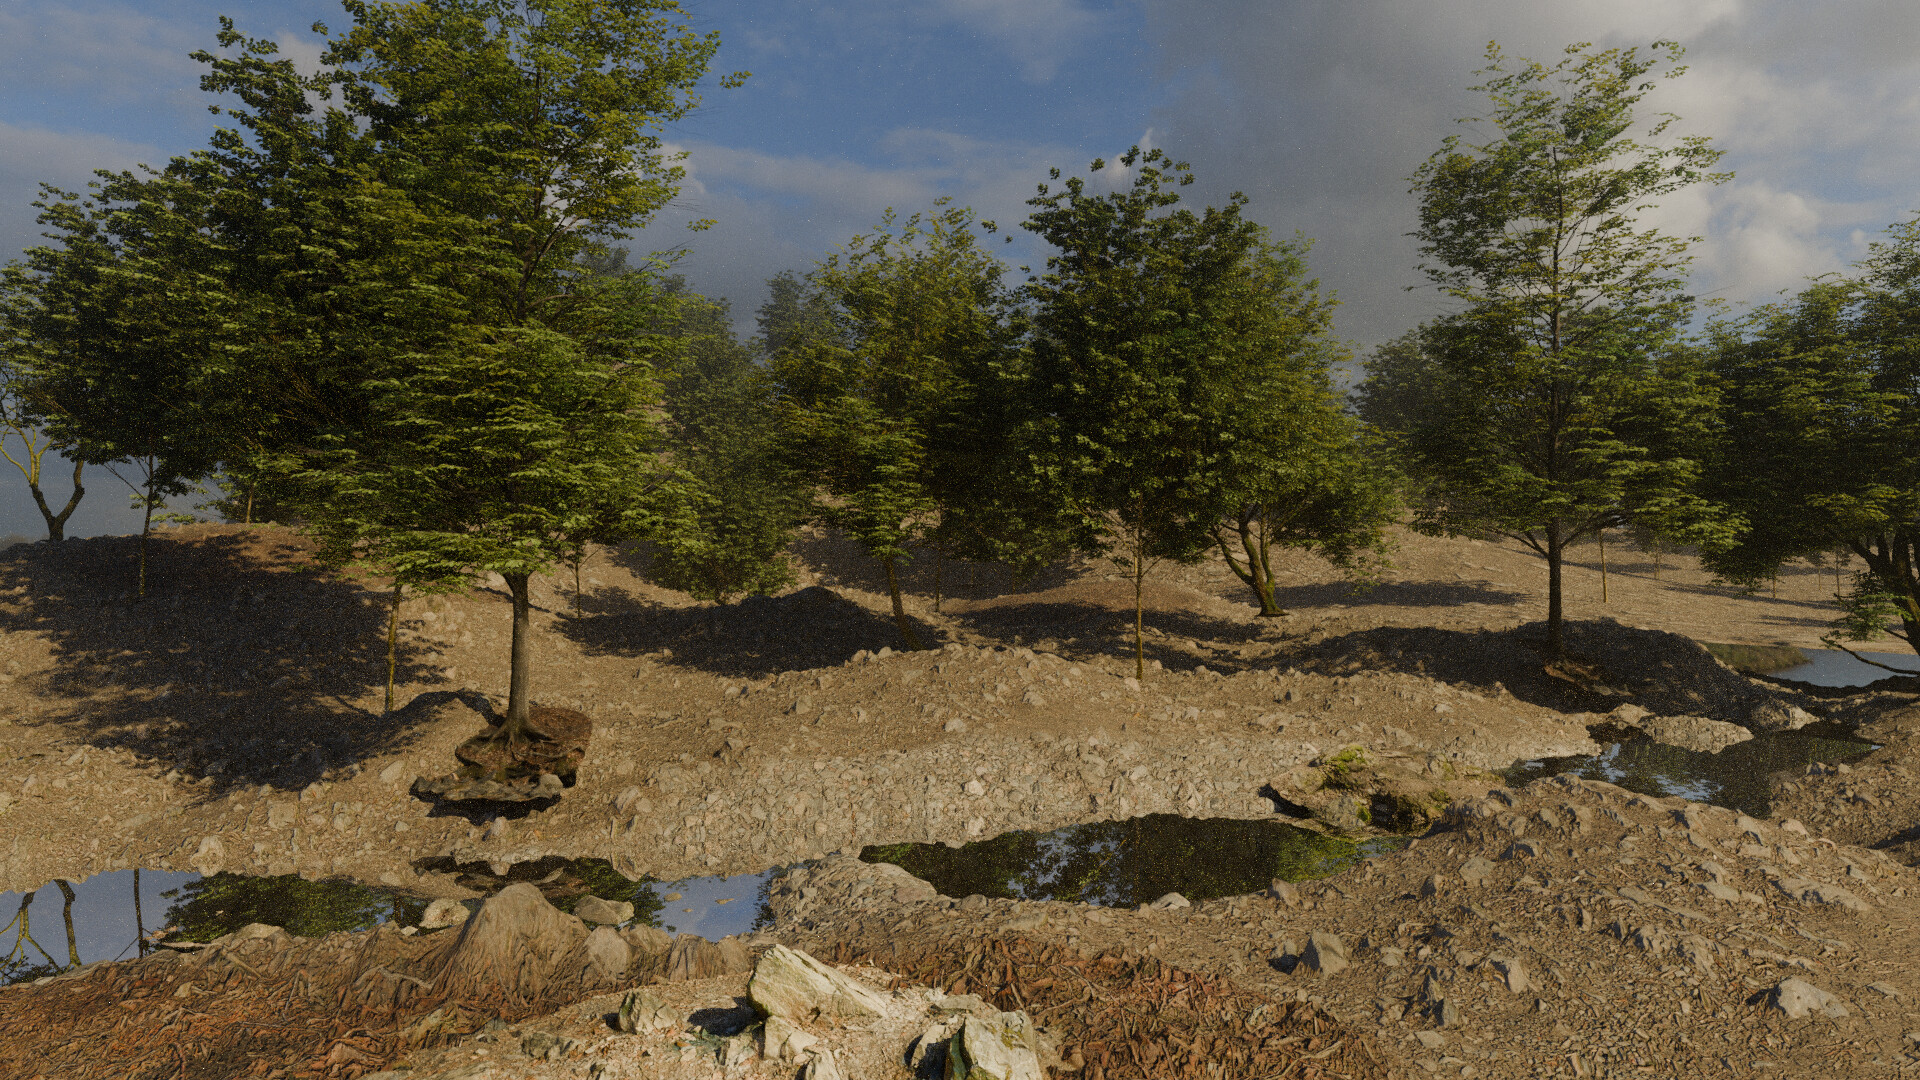
I have also done the first render of this course, it doesn’t look quite right, the water and lighting need some work, but it’s coming together nicely.
I have sent a message to the course instructor, since the water and lighting don’t seem to be working in the same way, so hopefully I get that figured out.
I haven’t had that much time this week, but I thought I would share the first render.
Next, I will start working on the farmhouse, which sounds interesting. I think it will work in a similar way to the ruine from the previous section, using a base model and then the remesh modifier. I will then use a material with vertex paints to make it look abandoned.
Hello,
Sorry for the delay in progress updates, I have finally finished rendering the previous chapter of this scene, so I had to finish putting that together last weekend (Ruine landscape final - 3D environments course).
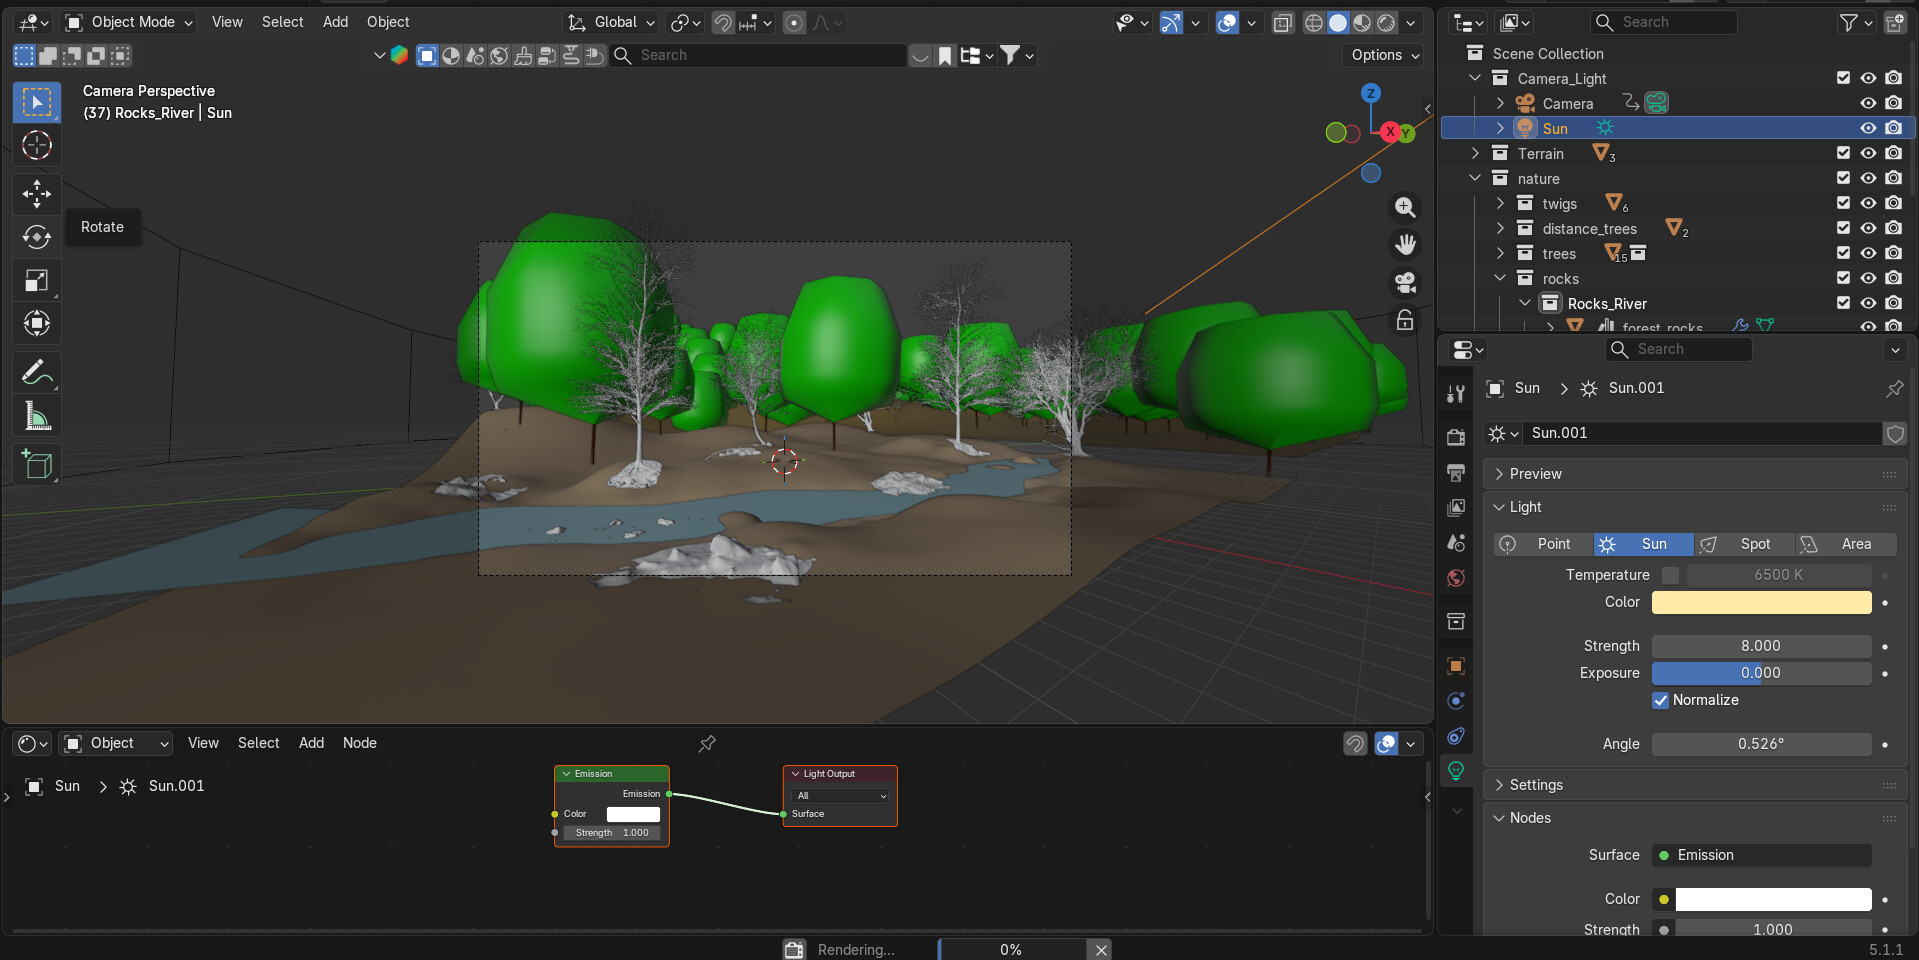
I heard back from the instructor of the course about the issues I was having, I was able to solve the lighting by simply just rotating the light and adjusting the height. This makes it indirect coming from the back and more affected by the fog, which helps to make it look more realistic.
The water issue was that there was a gap between the terrain and the distance plane, which made the bottom part of the HDRI visible, which also has some water!
I also decreased the displacement strength, since it was too high and made it look unrealistic.
There is still more tweaking for the lighting and terrain, but here is the current render:
Hello there,
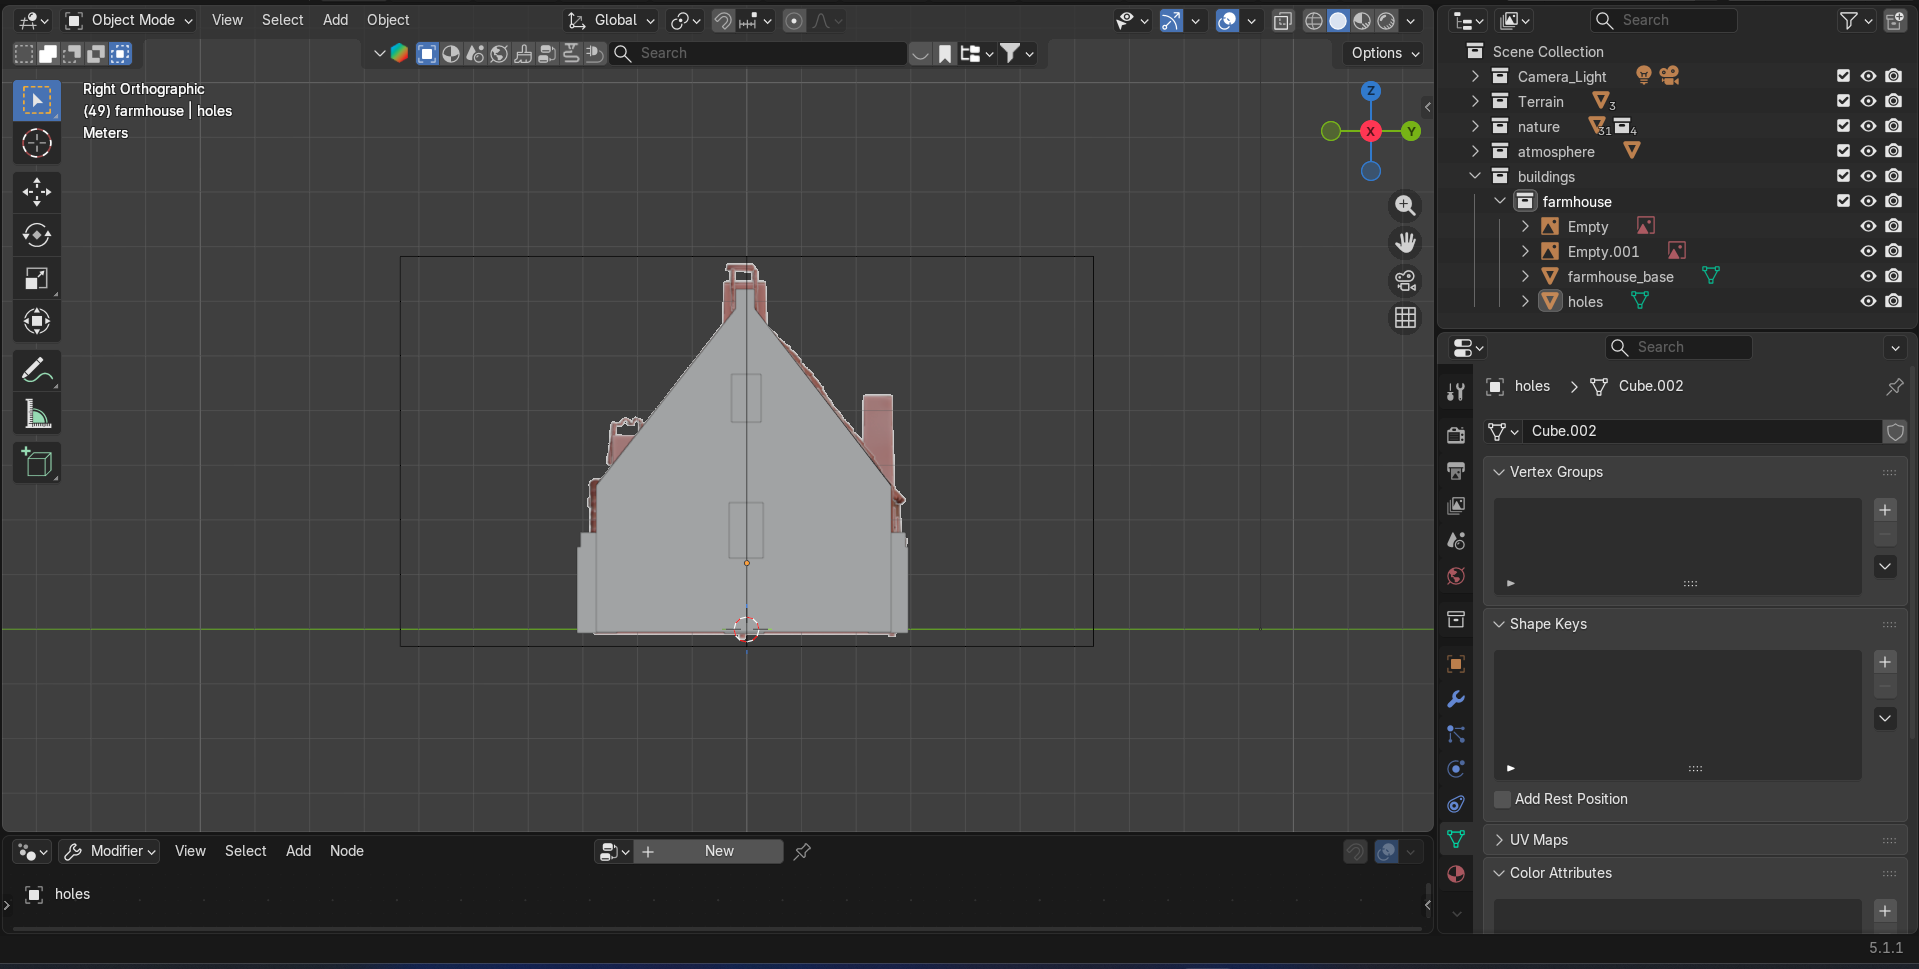
I have started working on the farmhouse for the scene, the course instructor provides some blueprint images to base it from.
I started by importing the reference images and scaling them using a cube, since we want the farmhouse to be 6m high, I can scale a cube to 6m and then use the cube to scale the blueprints. Which allows me to get a to scale model.
I then started blocking out the rough shape of the house using a cube and extruding / scaling. I started with a cube which I then extruded either side of to add the peak of the roof.
I have added an additional cube mesh for the windows and the doors, these will later be configured with a boolean modifier to create the holes.
Hi there again,
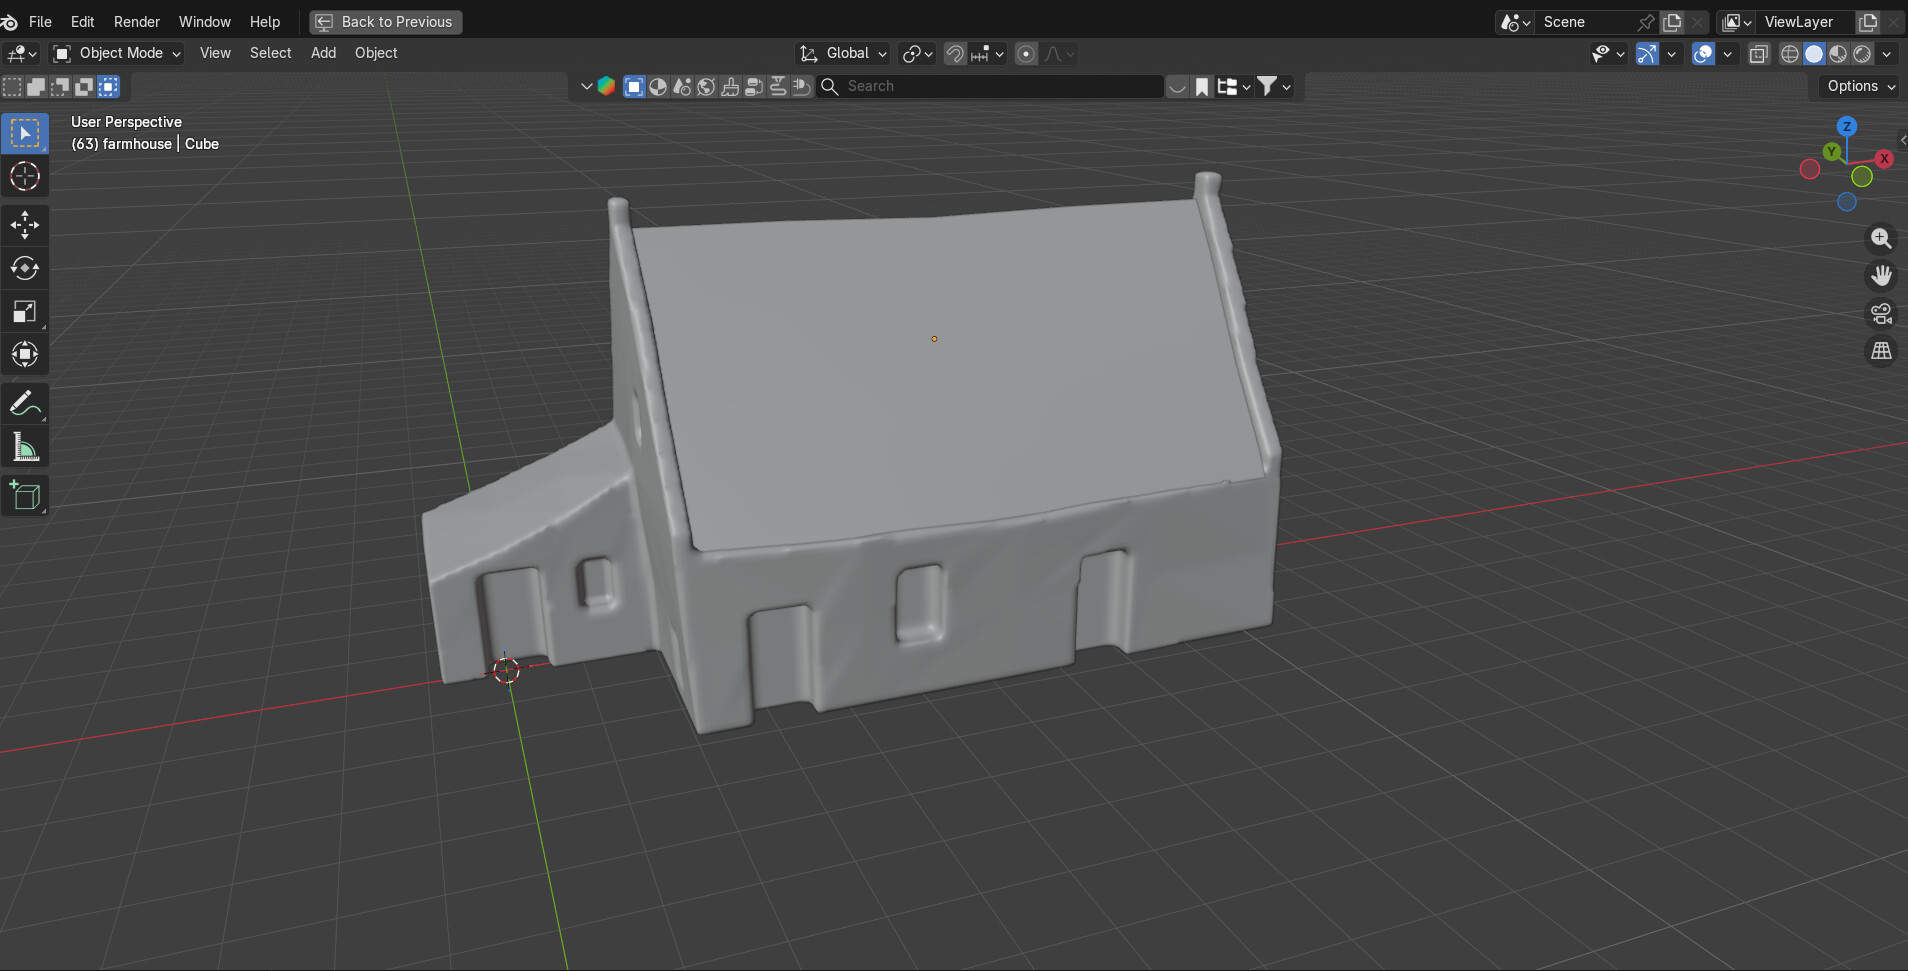
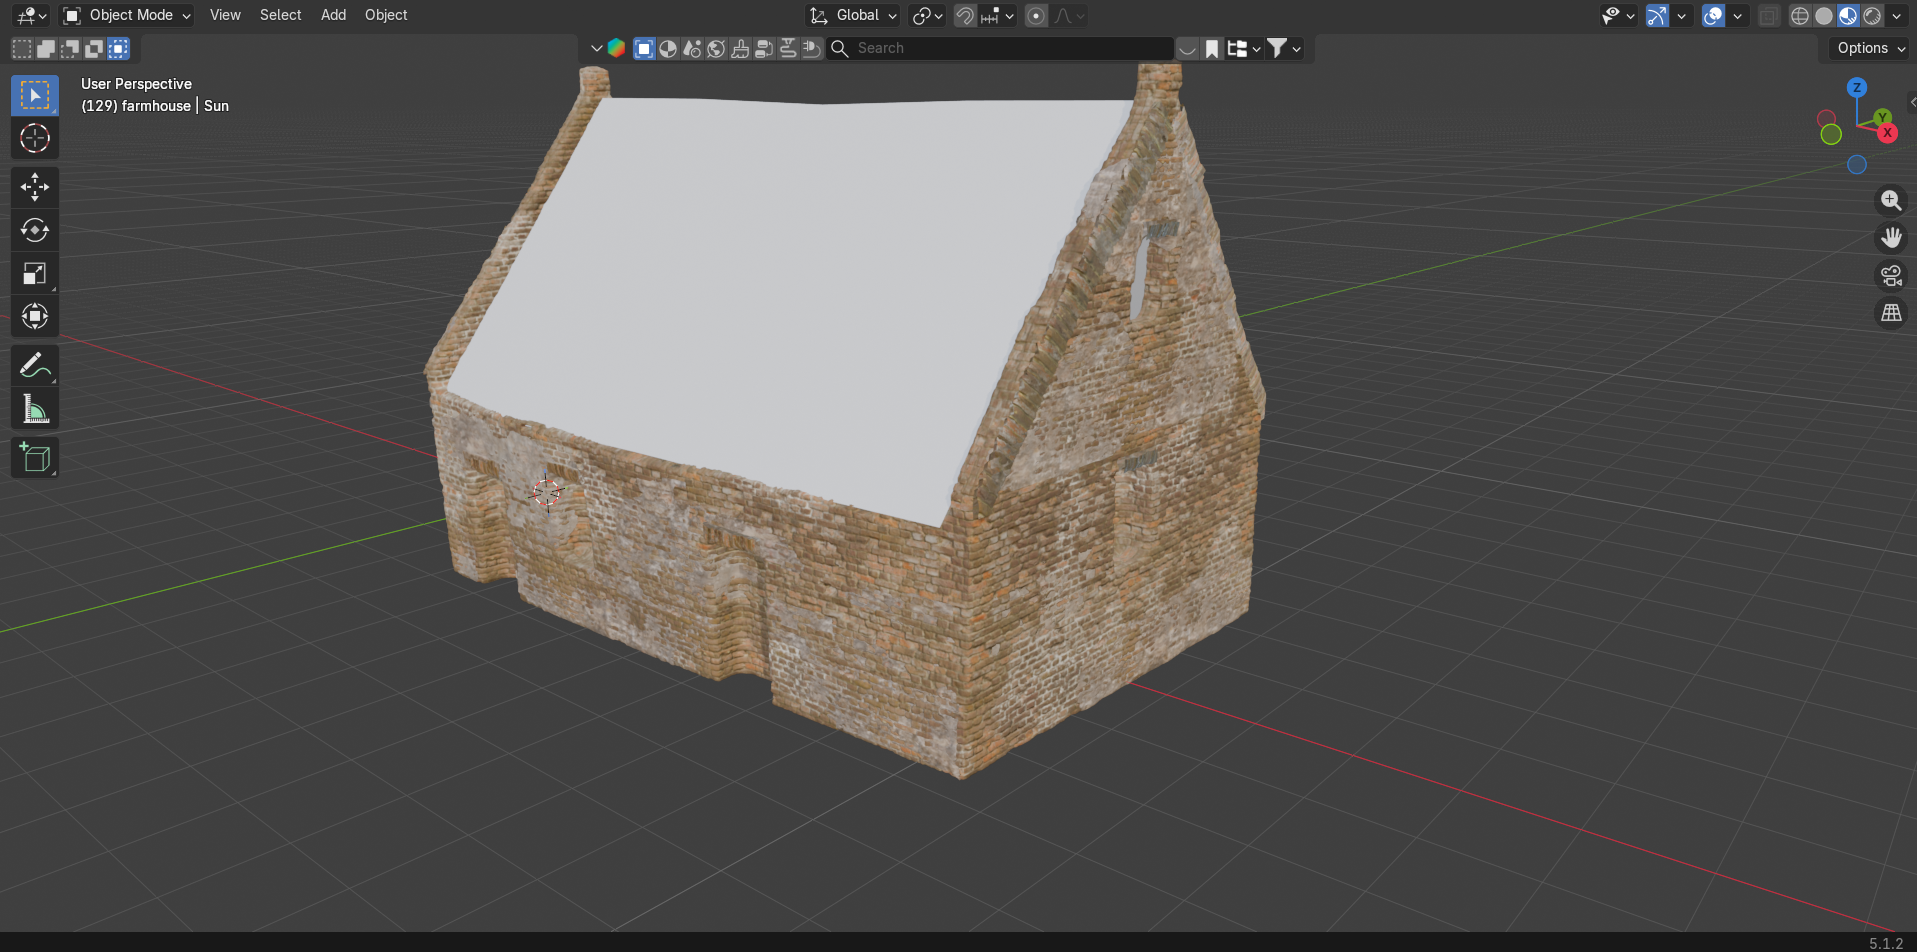
I have been working more on the farmhouse base mesh. The farmhouse now has a roof, which I made using a cube, scaled to the same size as the house, I then just scaled the top edges to 0 to make the point.
I have also been distorting some of the edges on the house, to make them look old and ruined, I did this using proportional editing.
I then applied the remesh modifier to help the topology and make it look better.
Hi there,
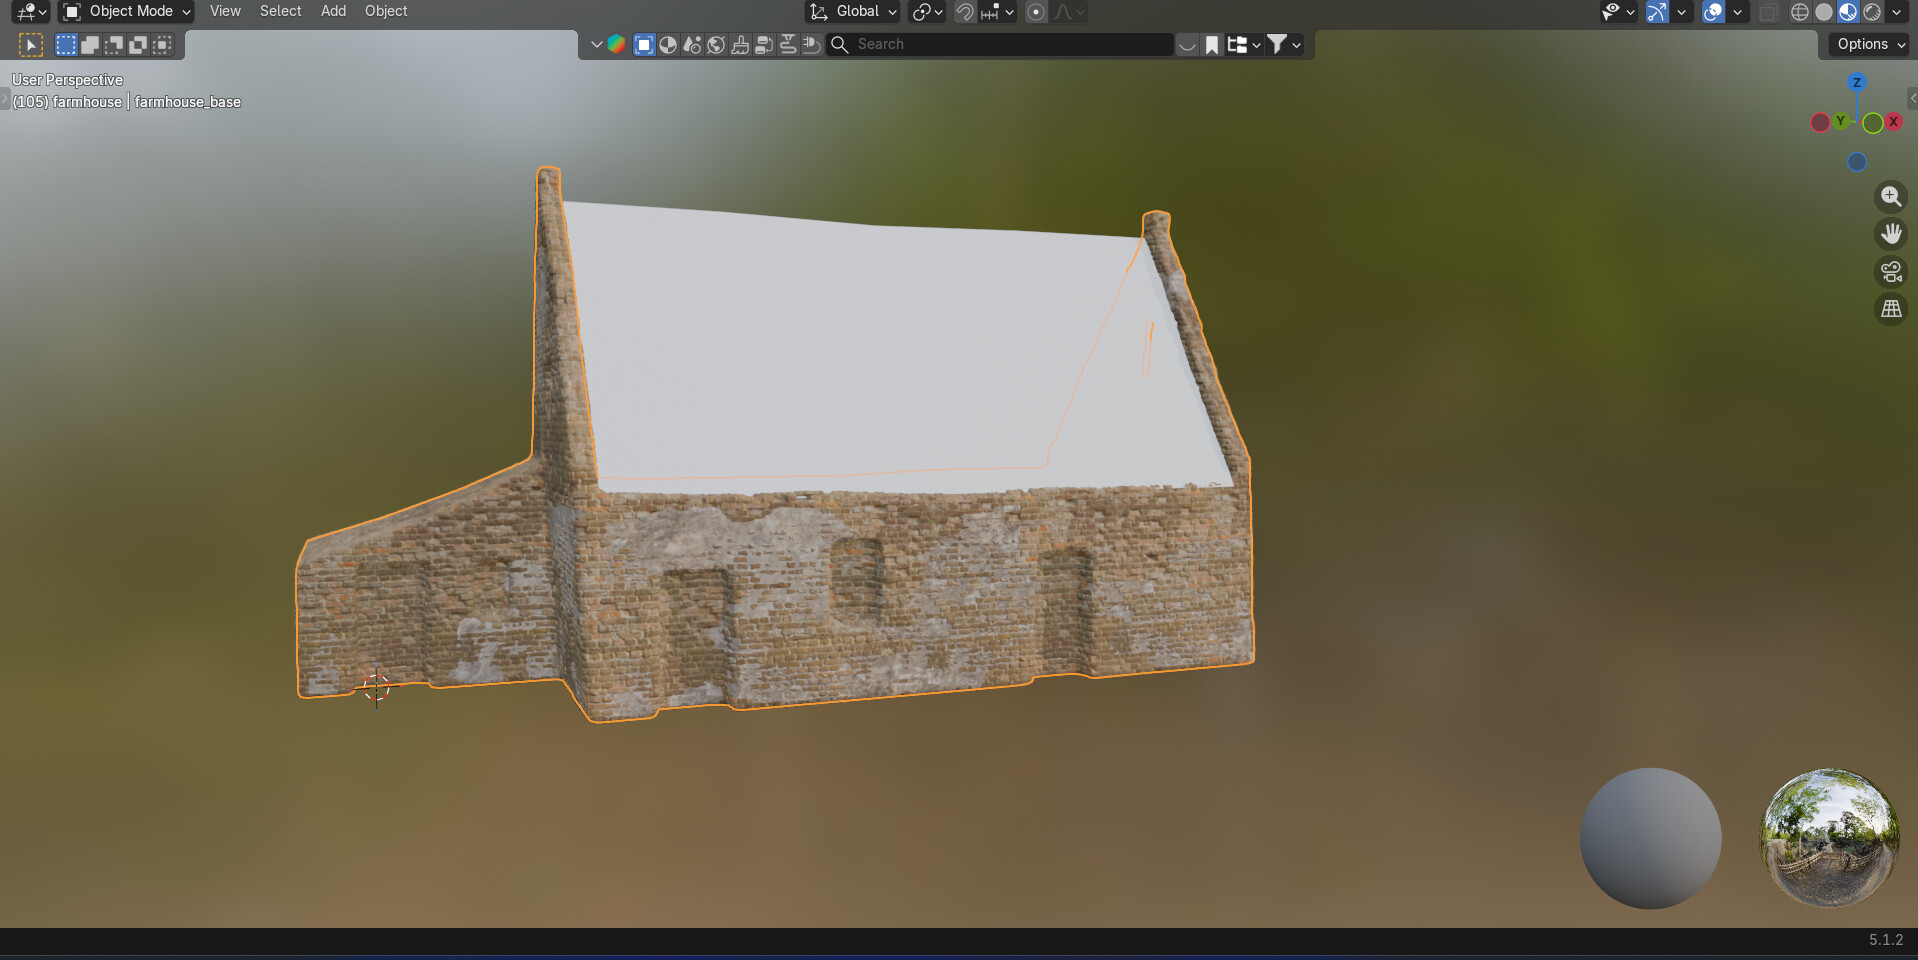
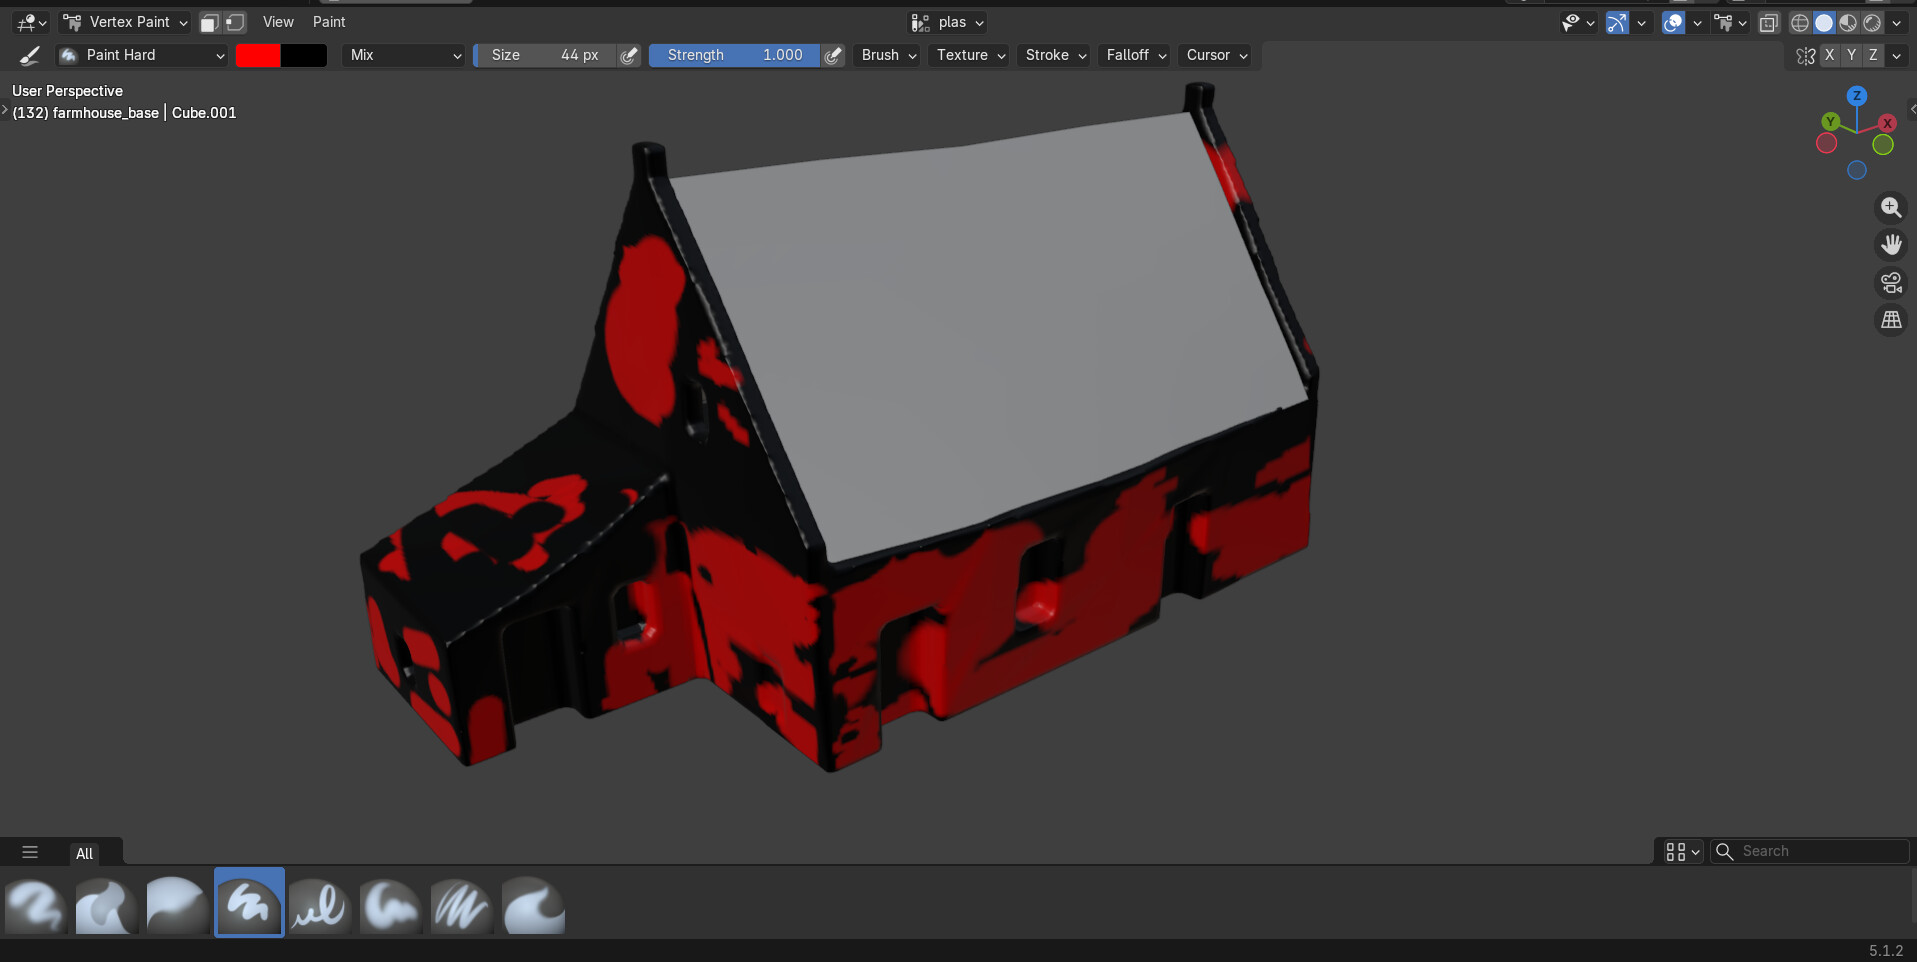
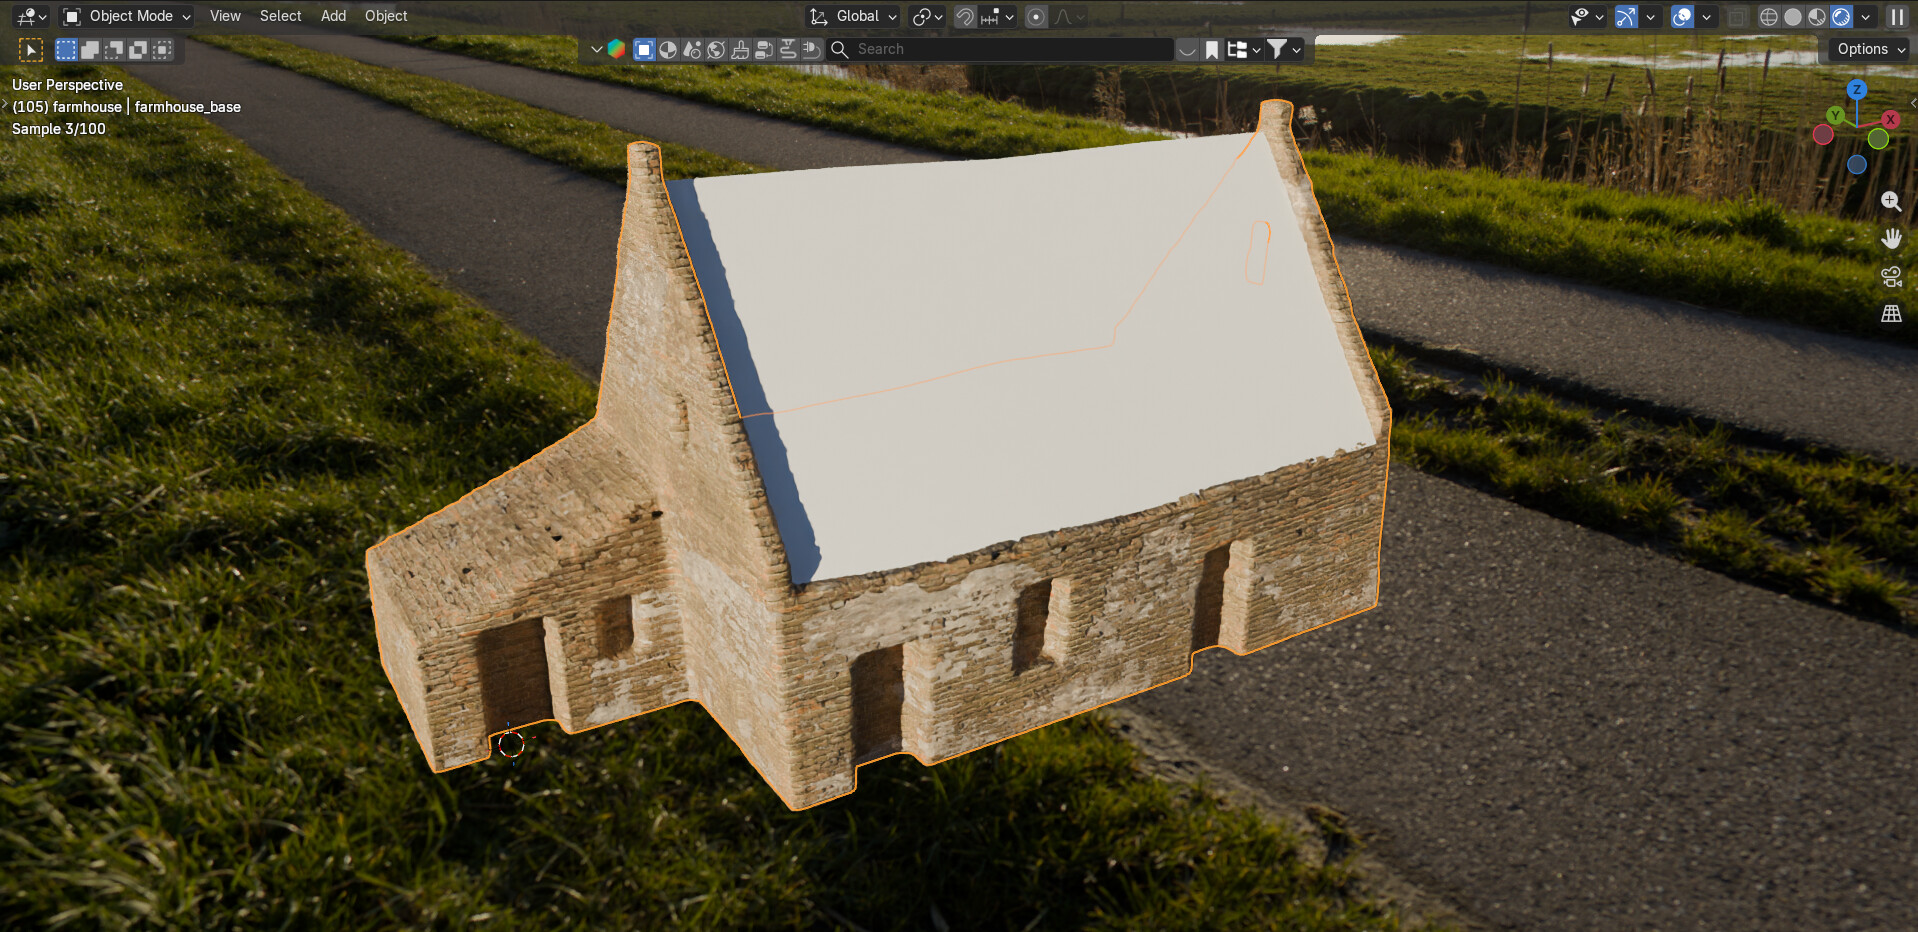
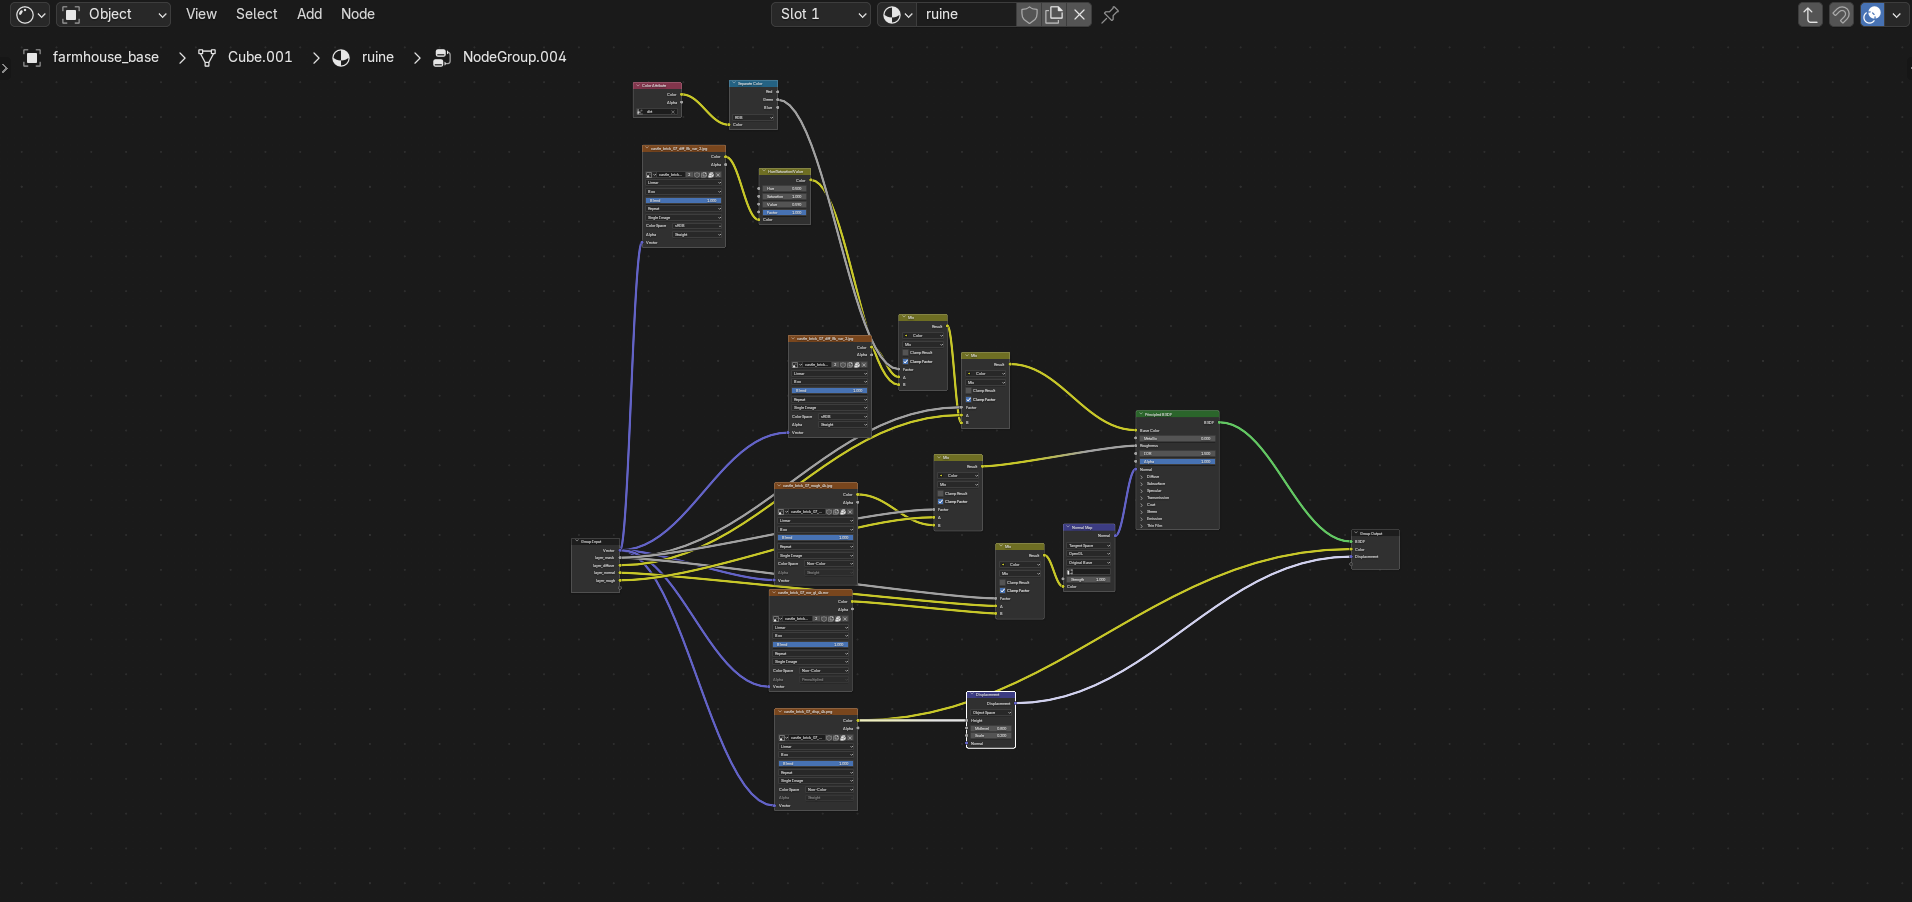
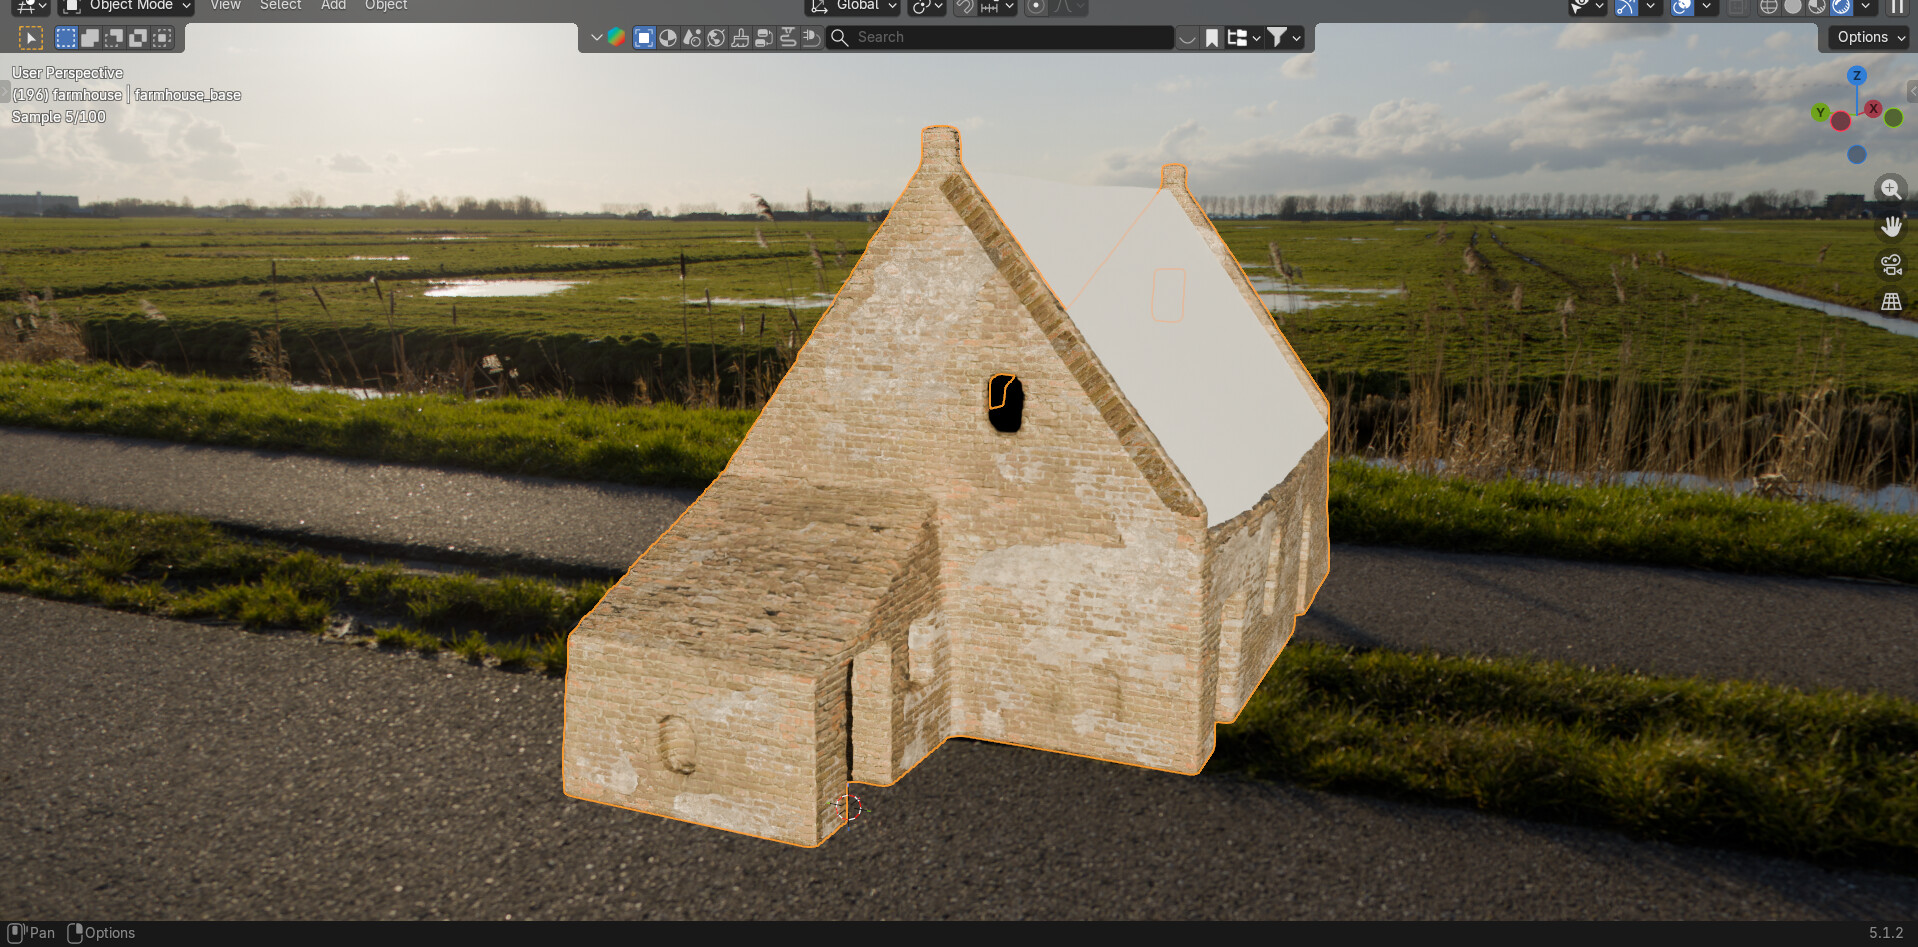
I have started working on the material for the farmhouse structure, I am using the same base material that I used on the ruine in chapter 5 (Ruine landscape final - 3D environments course). The material uses a vertex paint to control where the plaster appears, and uses displacement to add realism.
I have needed to tweak the displacement quite a lot, due to differences in the structure. I am also using a different image texture, which fits better in the scene.
It is looking good in material preview, but the displacement still needs some tweaking in rendered preview.
Hi there,
I have started working on the brick ornaments that will go around the roof. Similar to the previous project, I am using a UV map to control where they will display.
I have also made some small adjustments to the displacement, to make it look more realistic.
Hello there,
I have finished working on the brick ornaments that go above the windows / doors and along the roof.
The material is the same as I mentioned on the previous post, so it was just a matter of determining where they should go, and doing a UV unwrap for that area.
I have also made a few changes to the displacement for the ornaments, which should help to make it look more like bricks.
Hello,
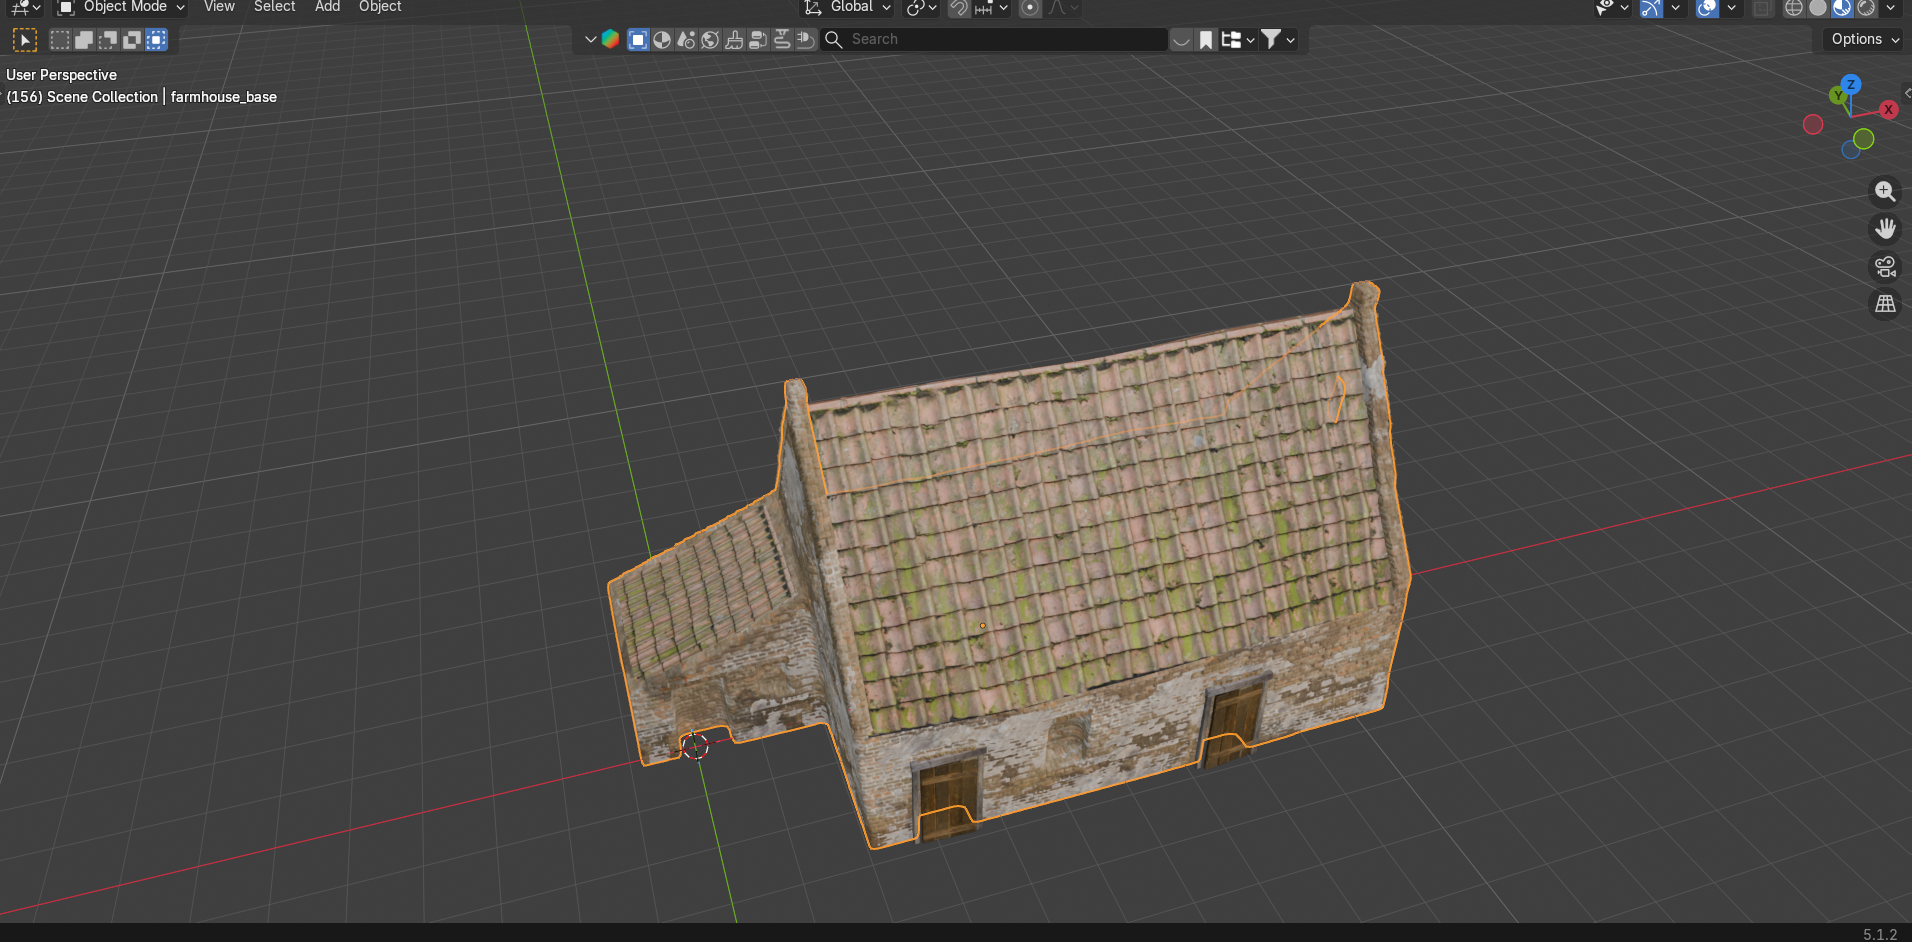
I have now finished working on the roof material, I used a rather simple texture for this, based on the photoscan that was provided by the course instructor.
Compared to lots of the other materials this one was quite straight forward, I just used a project from view for the UV unwrap on both of the roof objects. I did run into some slight issues where the mesh was deformed to make it look realistic, although this was relatively easy to solve by playing around with the UV.
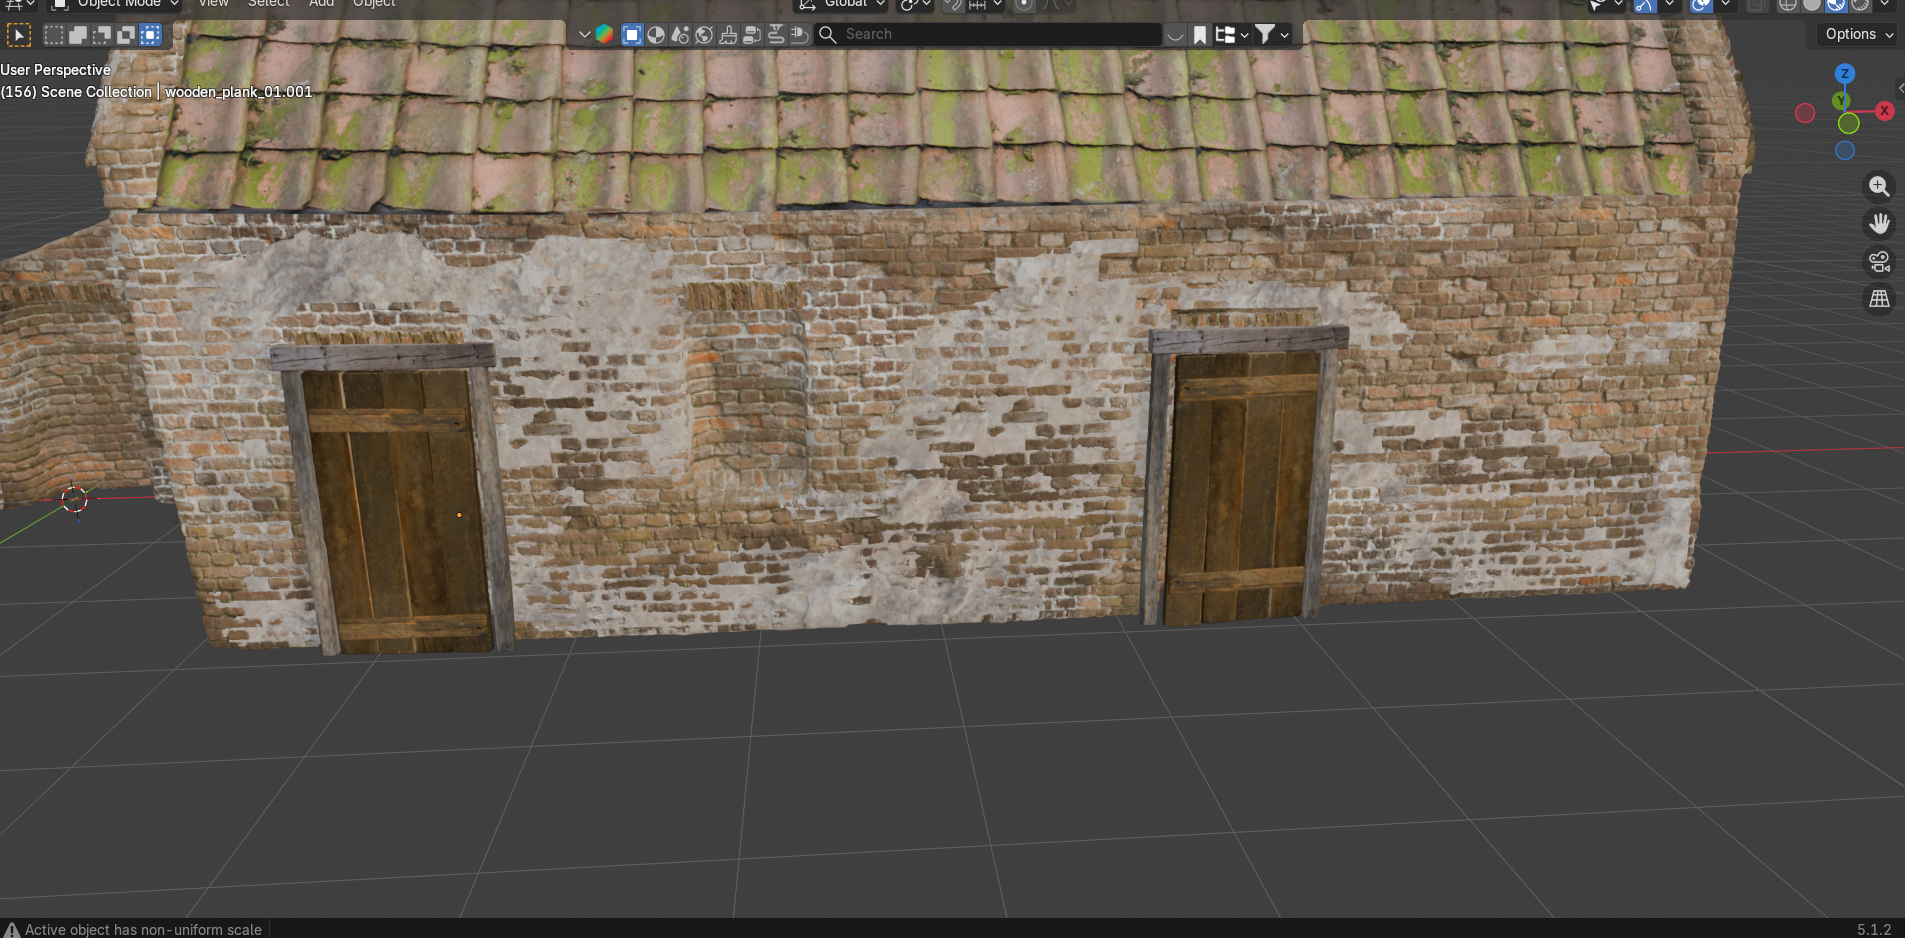
I have also started working on the door frames and doors, these are based of some provided wood assets. I used three of the different wood objects to create the door frame, and then put the others together to create a door. By using some rotation and scaling I was able to make each door look different.


 !
!