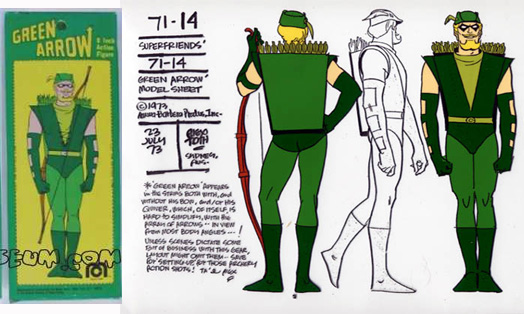
Hi i have been trying to teach myself blender for some time now but i seem to still be a beginner. So, i was going through an old desk and stumbled upon my old green arrow comics, with those in mind i started this new project a few days ago. It’s nothing special but i post it here today in hopes of having some of the incredible artists that are around this forum give me a tip or two.
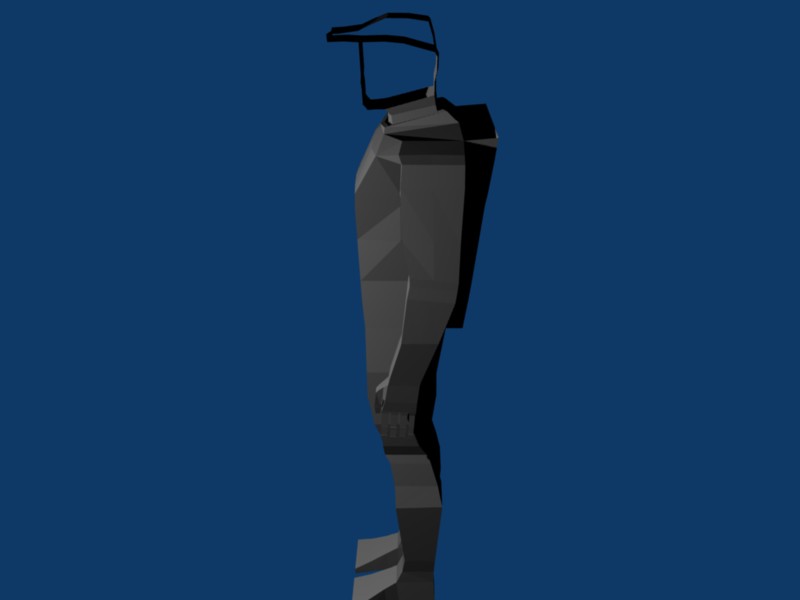
Here are the early renders and the reference image:
Again, C n’ C is accepted and appreciated. (hope the pics show up, not sure if i am doing this correctly)
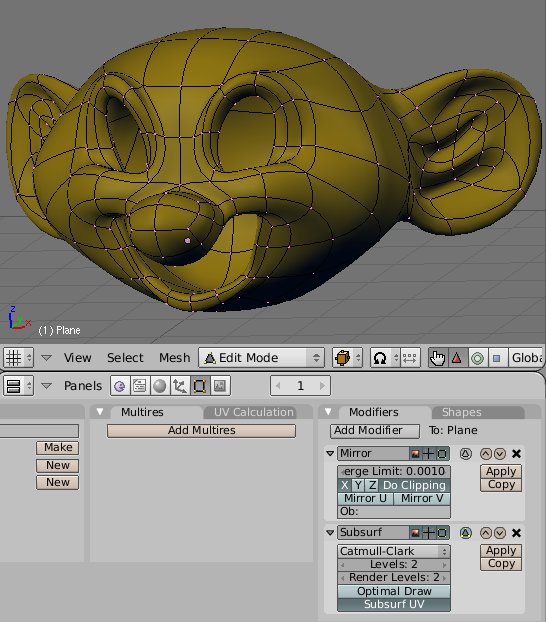
well i was hoping to finish up the head and then put a subsurf on it or something. But should i get an overall smoother object before using modifiers and such?
You never want to rely on modifiers. It should look as good as you can make it in it’s basic low poly form. The secret to a good final product, is a good base. Add some more polygons and turn those box legs into legs with form and volume.
Alright well thank you all for your advice. I’ll try to do some work on those boxy legs and over the weekend become a bit more familiar with topology. But my main concern was the arms, the muscles seemed misplaced. But i think if i add more verts in the right place that could be fixed.
again, thanks all for the help ill try to keep you updated on my progress.
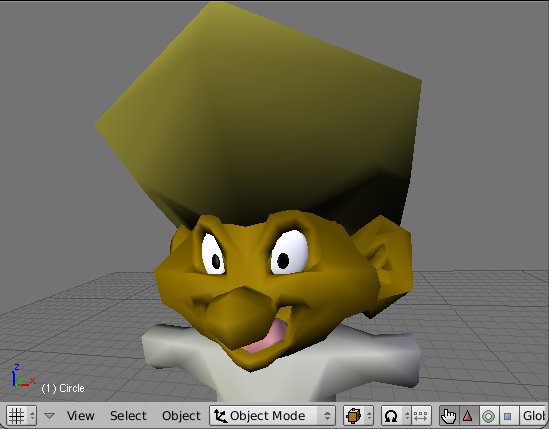
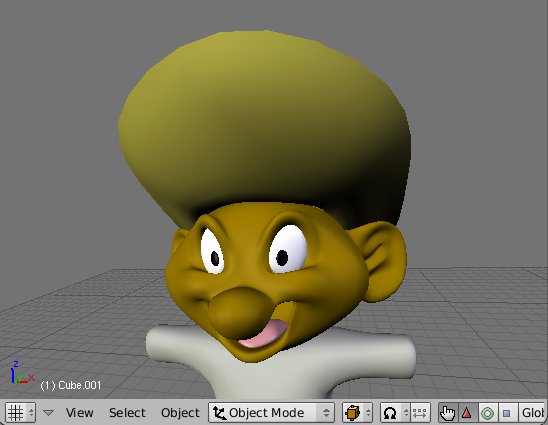
After doing some work on the legs i definitely think they are looking better, a bit more shaped. But i think i’ll have them look smoother before putting up more renders.
It’s looks very low poly. You want to add as much detail as possible before adding subsurf. There’s a lot of projects that I’ve done that have little to no subsurf. Most of my models have a lot of detail. When you add subsurf you’re sacrificing detail for smoothness.
well dont i want it to be rather low poly (of course more than in the picture) so that i can reduce render time and things like that. Or is that just sacrificing more and more quality.
I feel there is a misunderstanding of what subsurf is and does in this thread.
Adding a subsurf modifier does not sacrifice any detail (as i see it). It smooths things out by adding vertices “automatically, on the fly”, be it in viewport or when rendering. Of course, this means your edges will be smoothed as well, which can be seen as loss of detail.
Hance, a model with subsurf modifier will take longer to render than one without, because there’s lots more vertices there, you just dont have to bother with them yourself.
hmm if this subsurf thing came up from “Or is that just sacrificing more and more quality.” i meant sacrificing quality from not using the modifier and trying to keep my poly/vert count low. Either way i think i want to try and make it detailed (hoping it can end up as good as the “cartoon superhero” thread character)
how do i turn of the blue background? did some work on the legs and chest just moving things around trying to get a rounder/smoother look. But when i do post the most recent pics please disregard the hands they are very bad i know and they are next on my list =P.
k so i did some work on the legs, arms, and torso. Hopefully its a bit better, again all c&c is welcome. I am hoping to have this model be a sort of “start to finish” project so i can learn more and get the hang of blender, rather than me trying to modeling things.
For the blue background: Buttons window: shading (F5), World buttons. Then just pick another color.
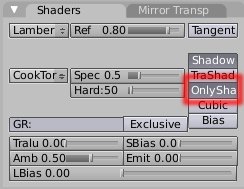
Hint: I like to have my models standing on a plane, with “only shadow” enabled
Considering the model, its … smooth. Legs seem ok. Proportions seem ok, but the body is quite featureless. You might want to study some additional anatomy, or some body modeling tutorial (for any program really) to see how and where they have placed vertices.