My first venture into some hard surface stuff. I’m trying to emulate @masterxeon1001’s workflow.
I decided to choose the helmet of Grey Fox from Metal Gear Solid as it looked (to me, anyway) relatively straightforward. Well, at least that’s what I thought before I began,
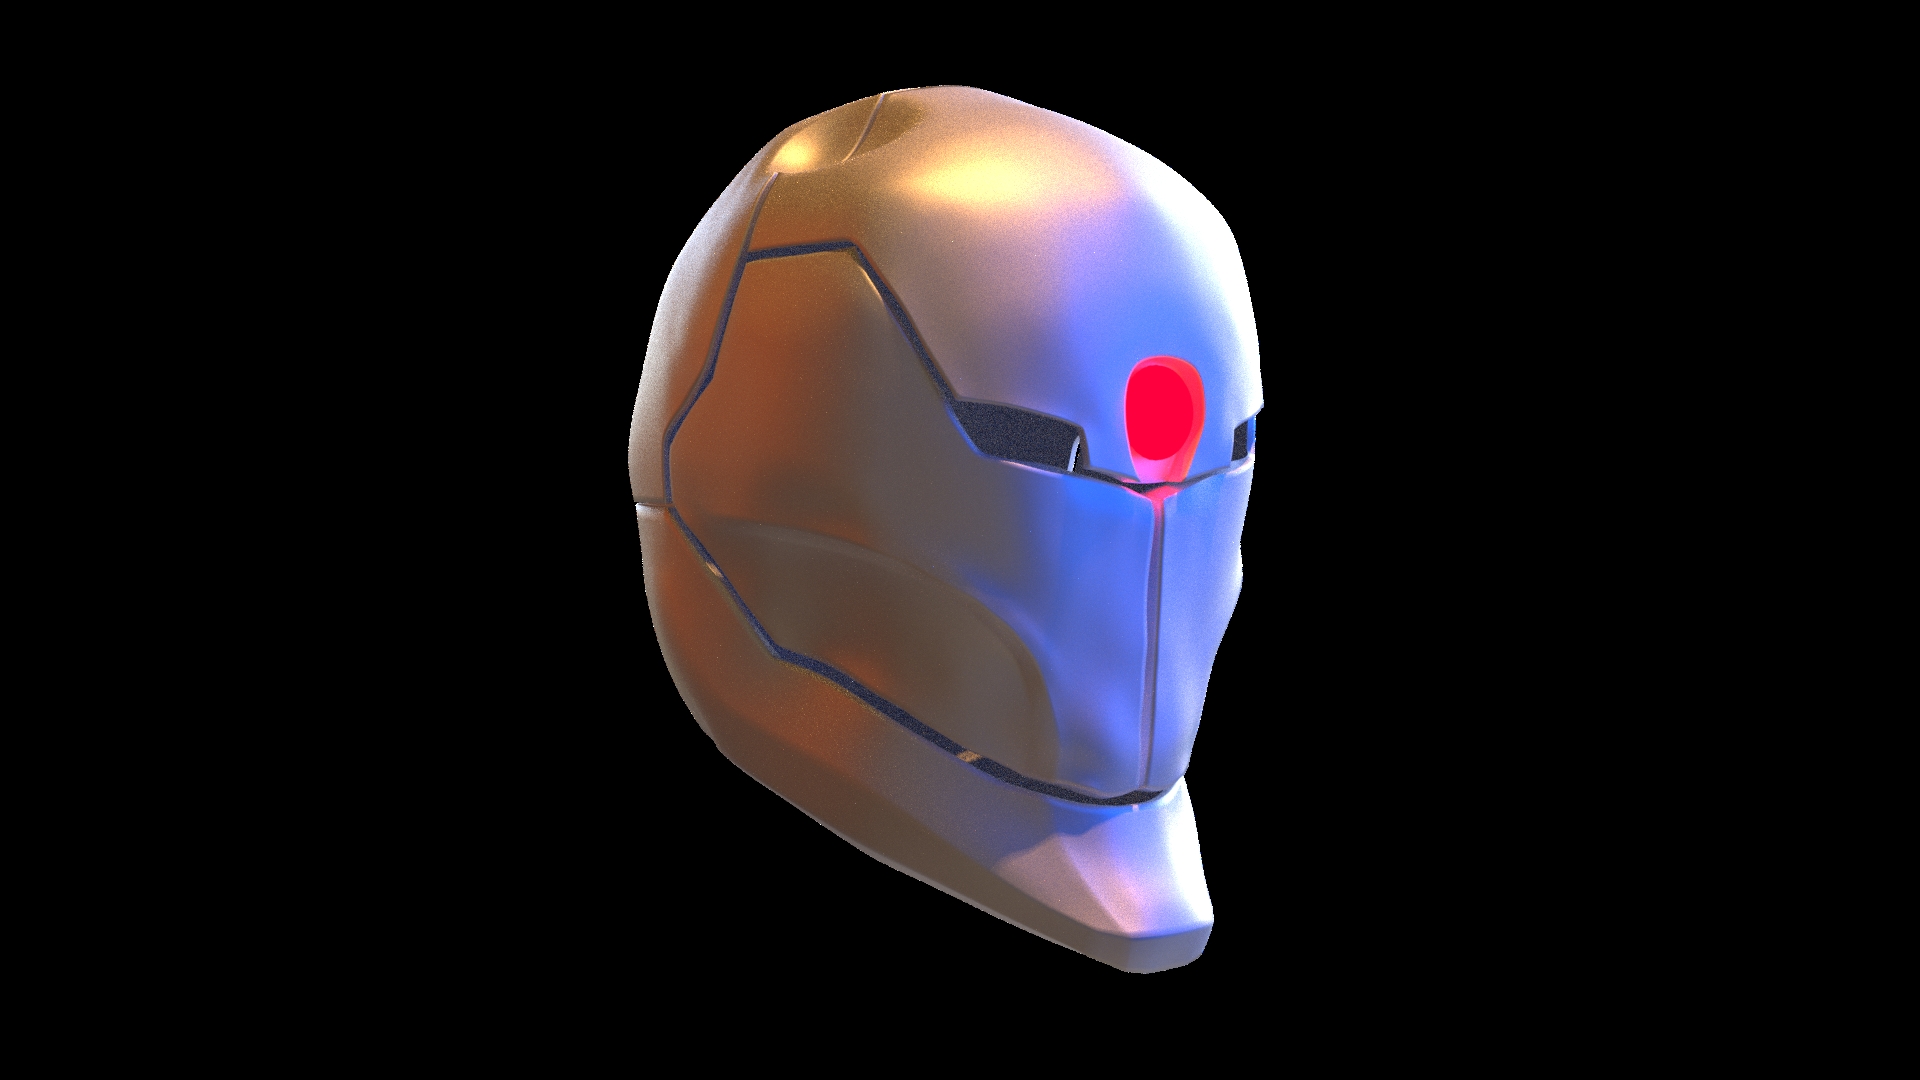
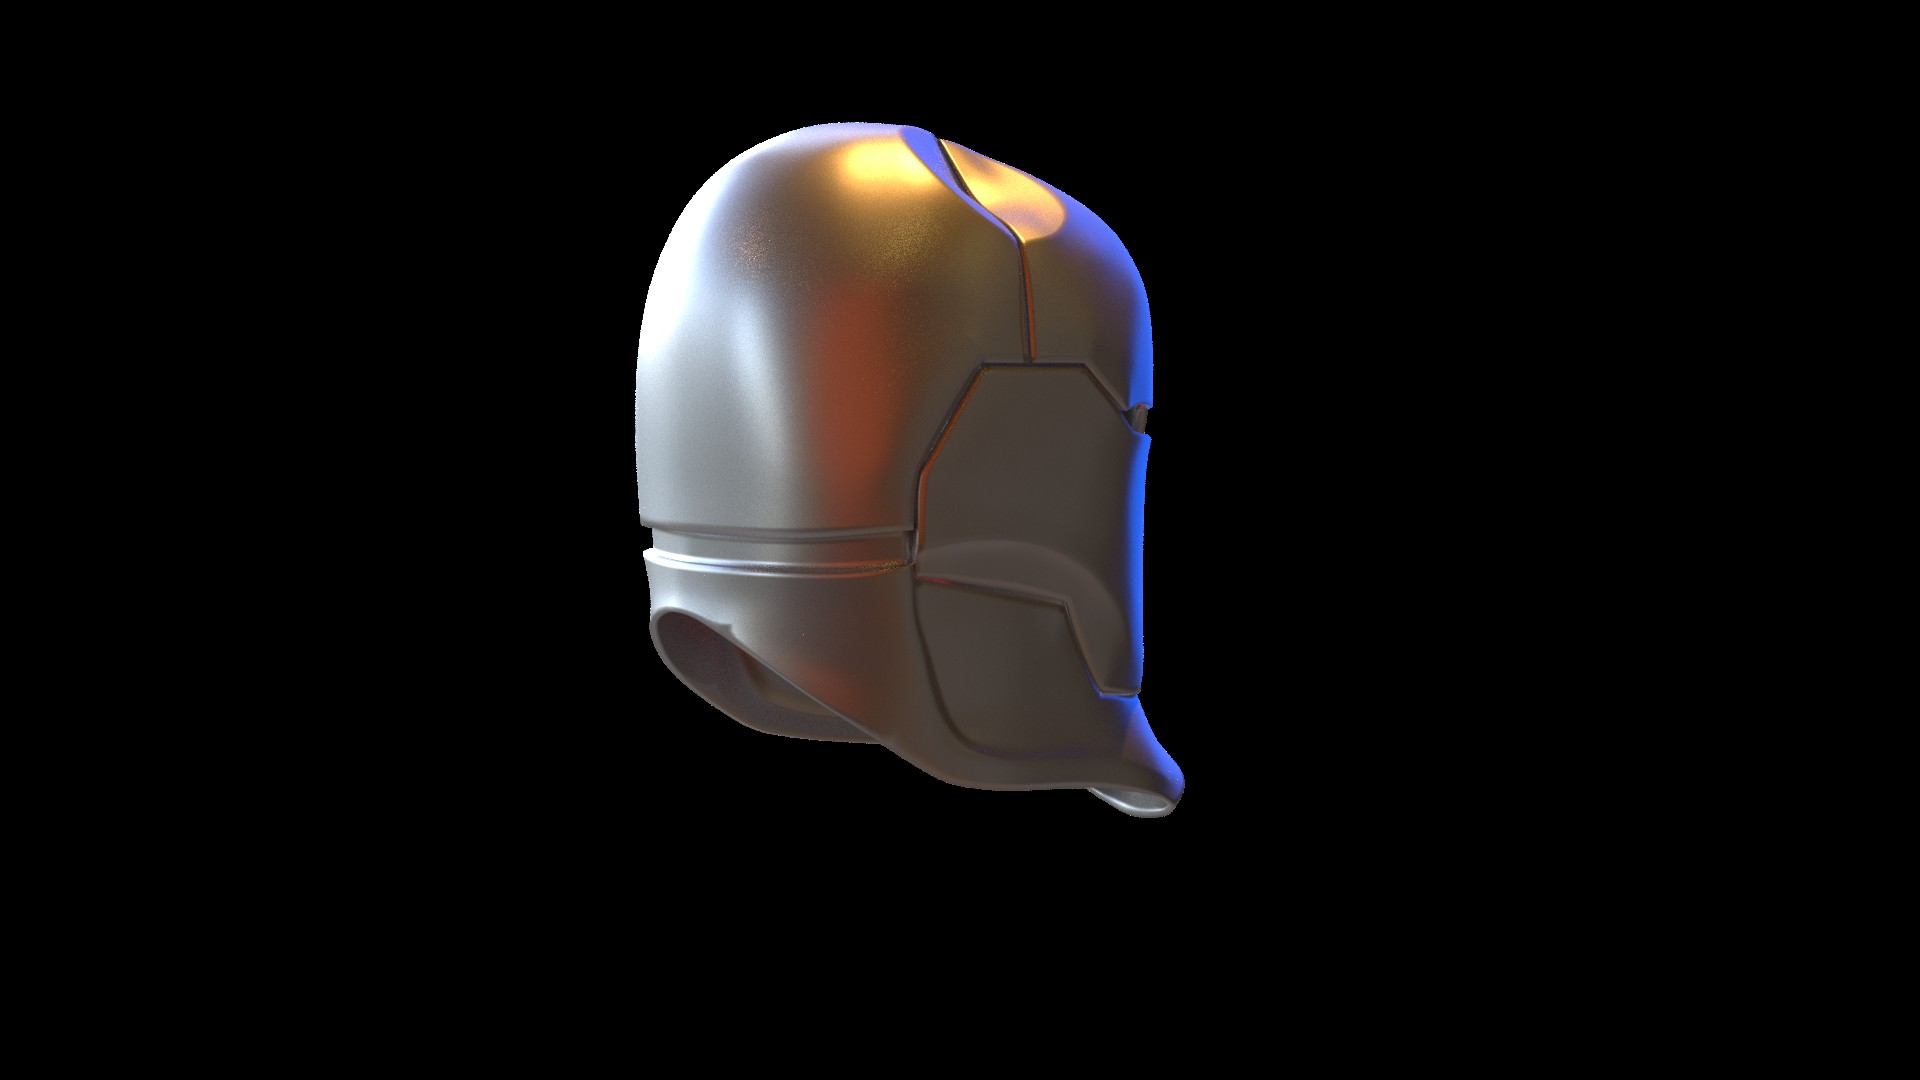
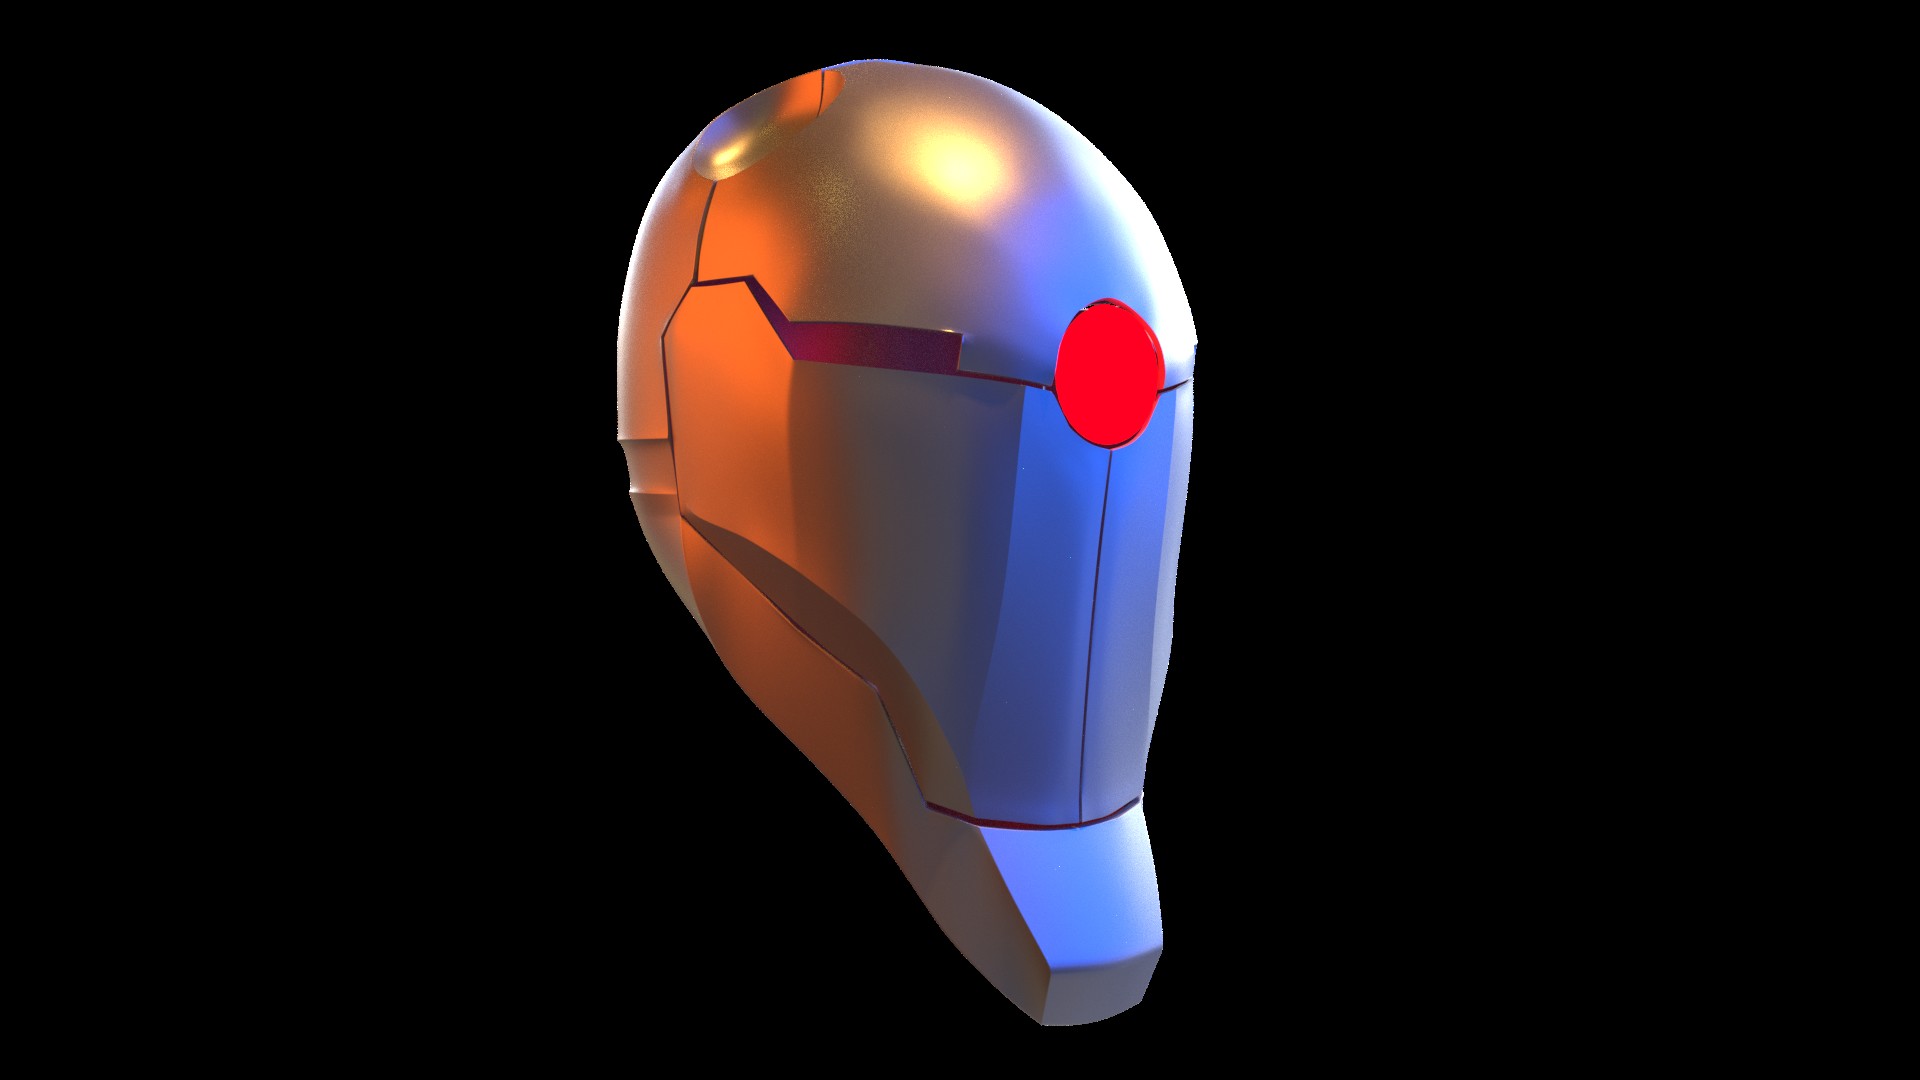
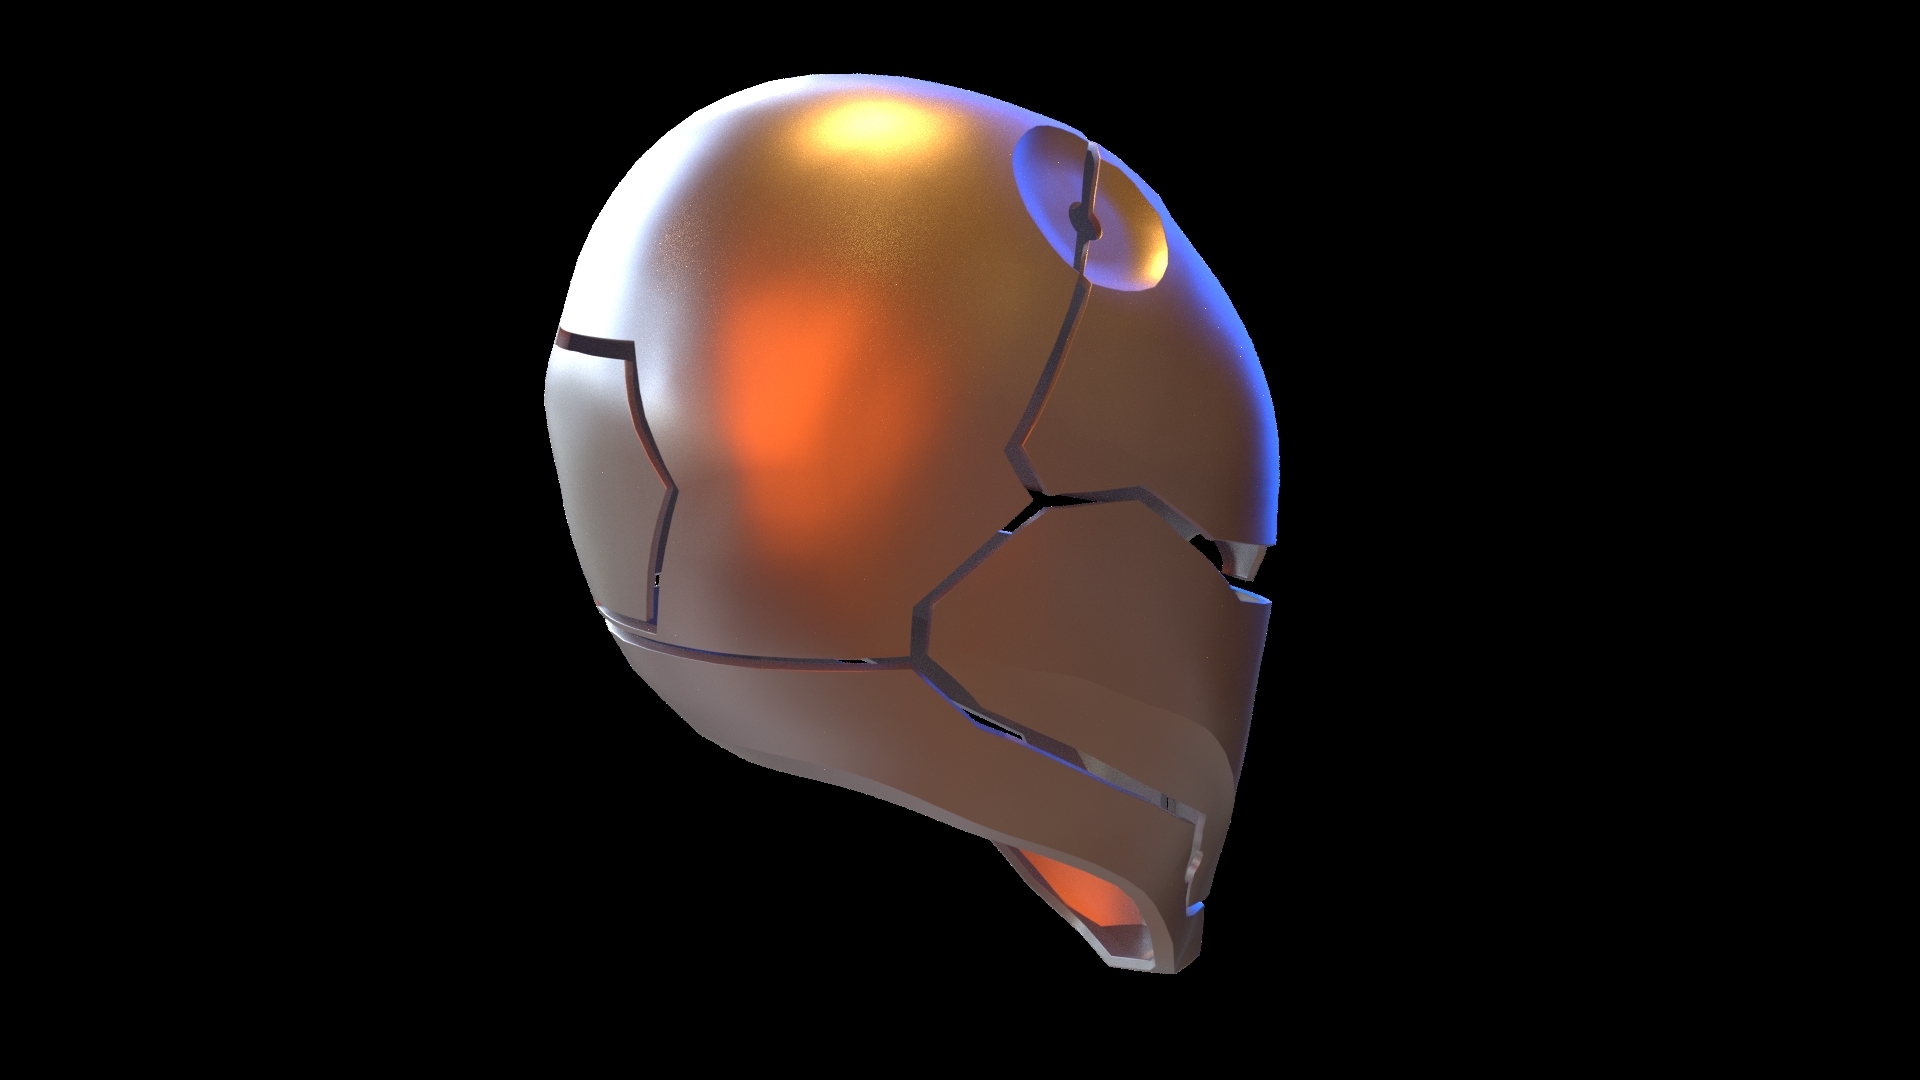
So, below are three versions I did.
The first one is just with BoxCutter and messing about with shapes. Pretty shoddy. Onto the scrapheap.
I then tried to just use Sub-D modelling and using edge loops and creasing, but it got very messy very quickly. Kudos to those of you who can do this. I guess it’s all about practice.
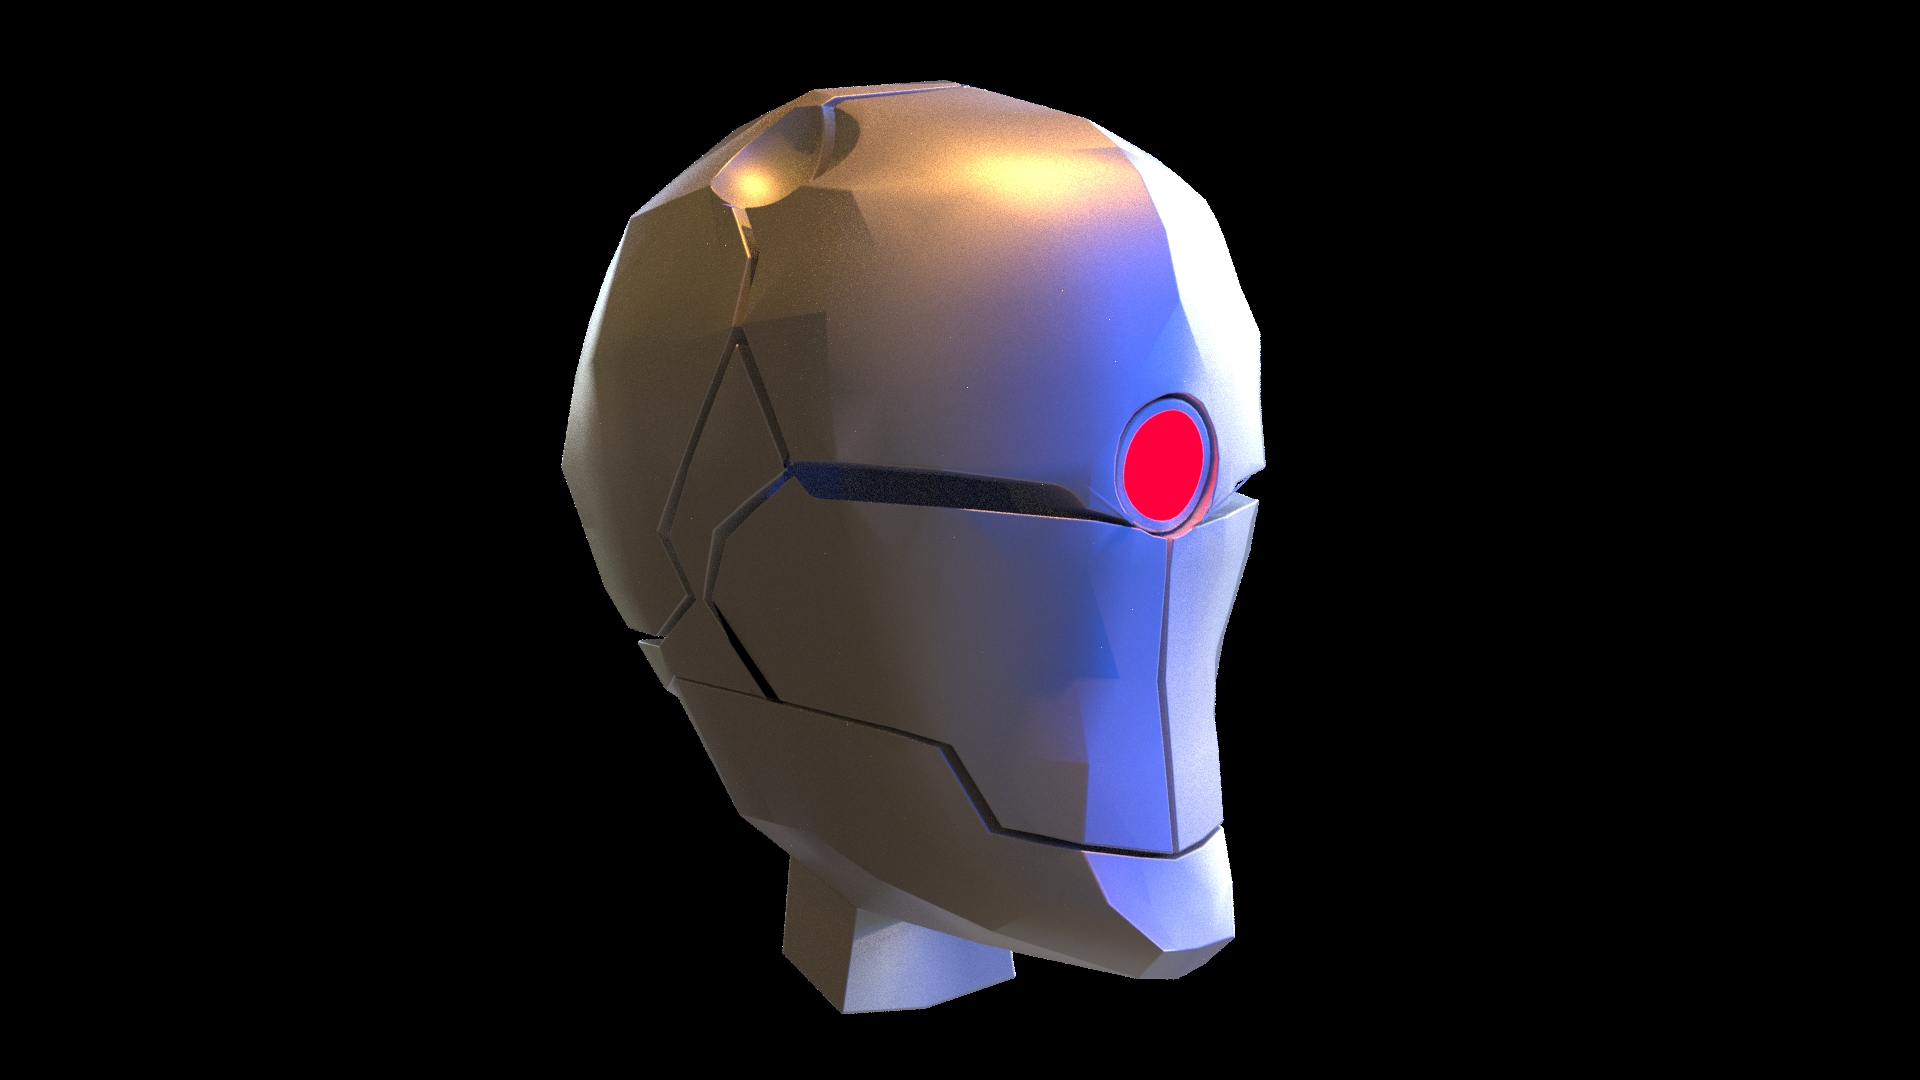
The third one is retopo’d from a sculpt that I did.
The first thing that I learnt is that my sculpting skills are also rubbish
I also did the retopology in three parts and each one got progressively better as I learnt a few new tricks with each rendition.
So for now it’s back to my sculpt to do another version which will hopefully look even better.
Any tips for sculpt/retopo/anything are more than welcome.
Be gentle
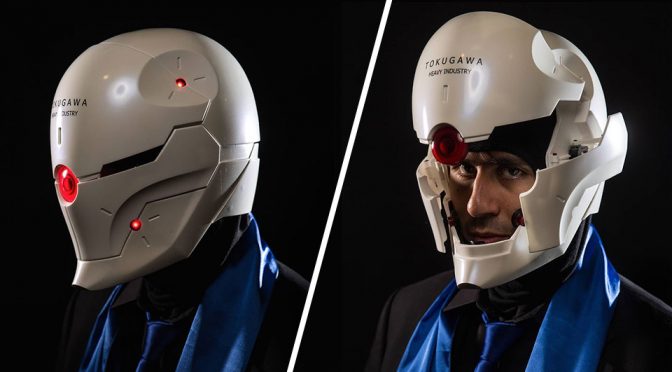
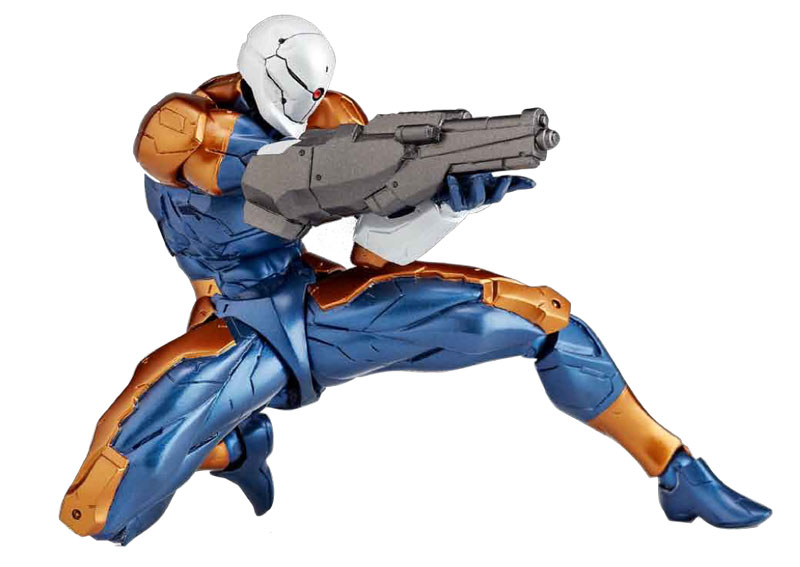
Included are some reference images that I’m using in case you don’t know what it’s supposed to be like. I’m not too worried that it looks one for one with the original, but that, in the end, it’s smooth.
id take it easy on this. First get that surface without detailing just simple sub-d for that smooth finish. Then apply and disect it. I feel like you might have tried to keep sub-d a little longer than needed. I always approach sub-d as a temporary thing for blocking in.
hope that gives some inside. After shaping it like i was I would apply sub-d from there and work with the surface already locked in. But surfacing + cut + surfacing is gonna be tougher imo. I would aim at just the shape and block in without cutting and simplify the work needing to be done here.
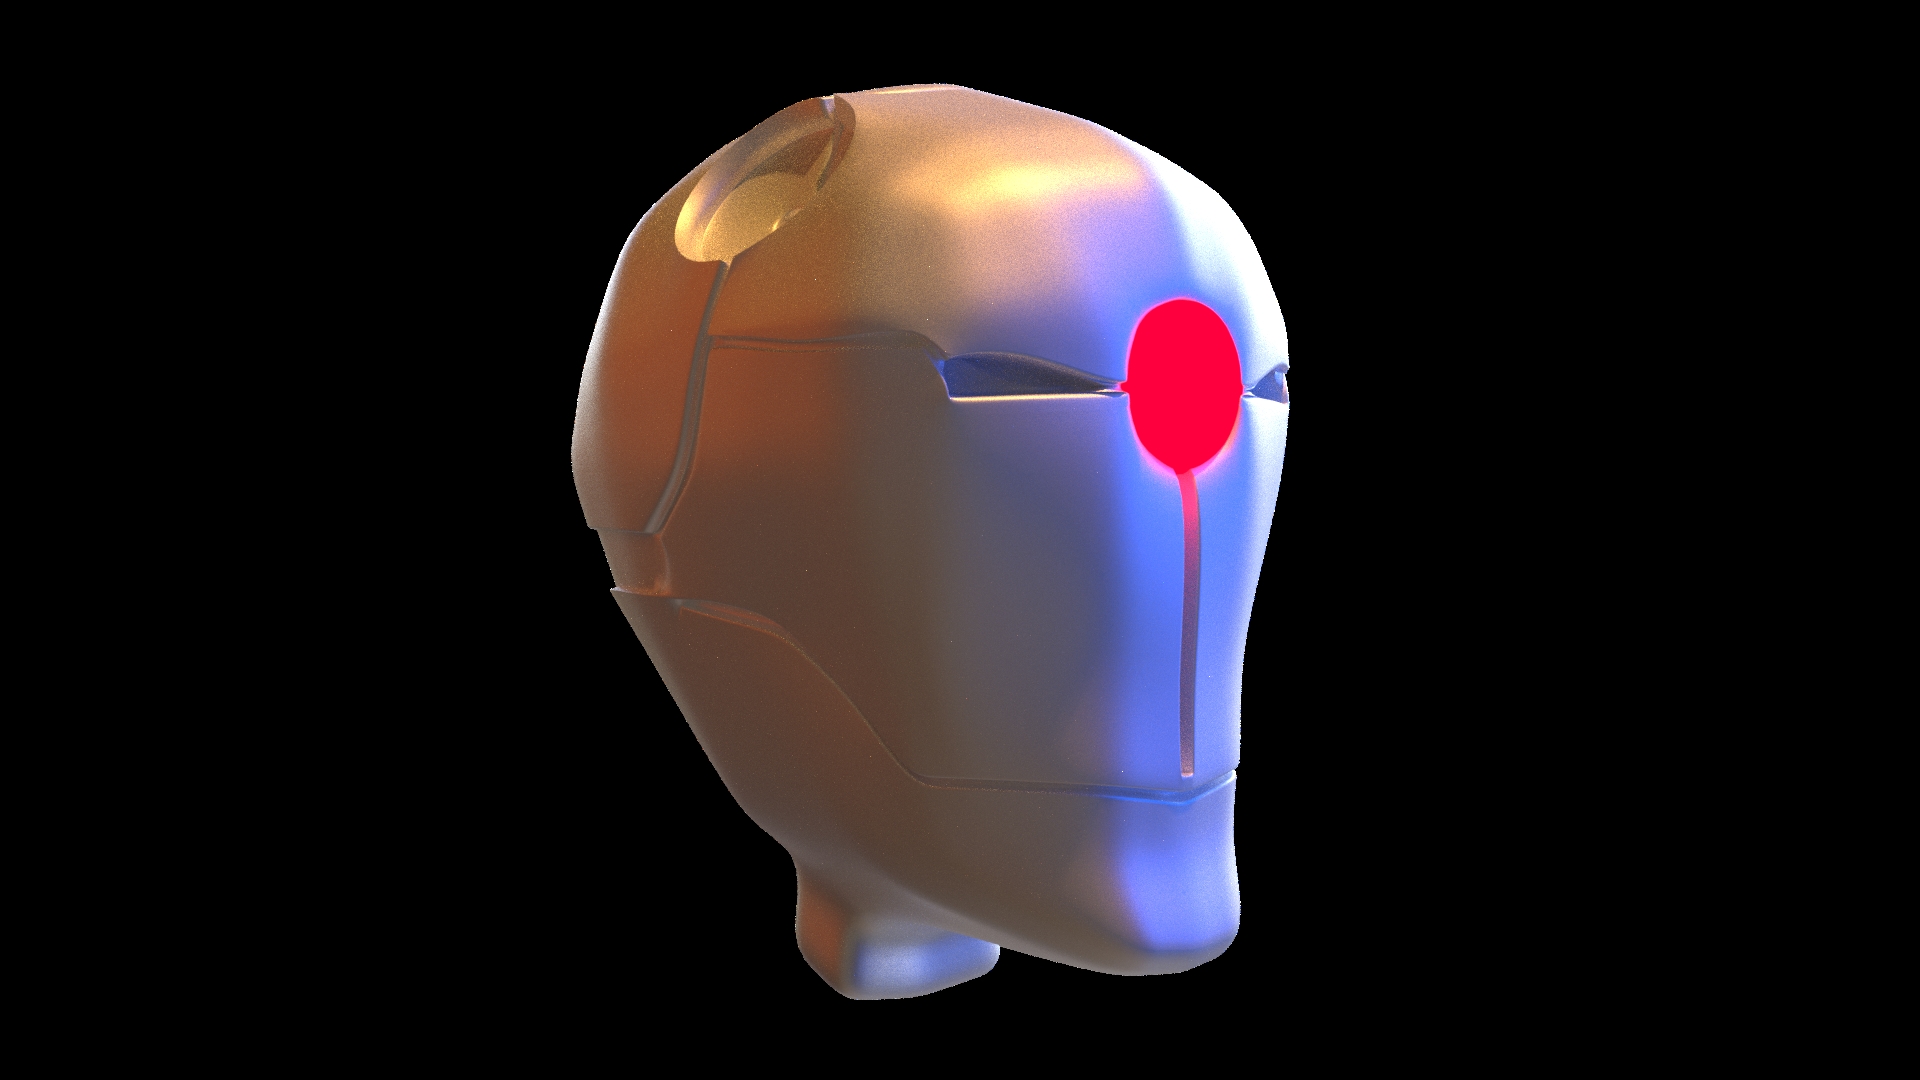
So, after another sculpt last night, I retopo’d that today.
Much happier overall, but I’ll do one more base mesh following the Master’s guidance and then another sculpt.
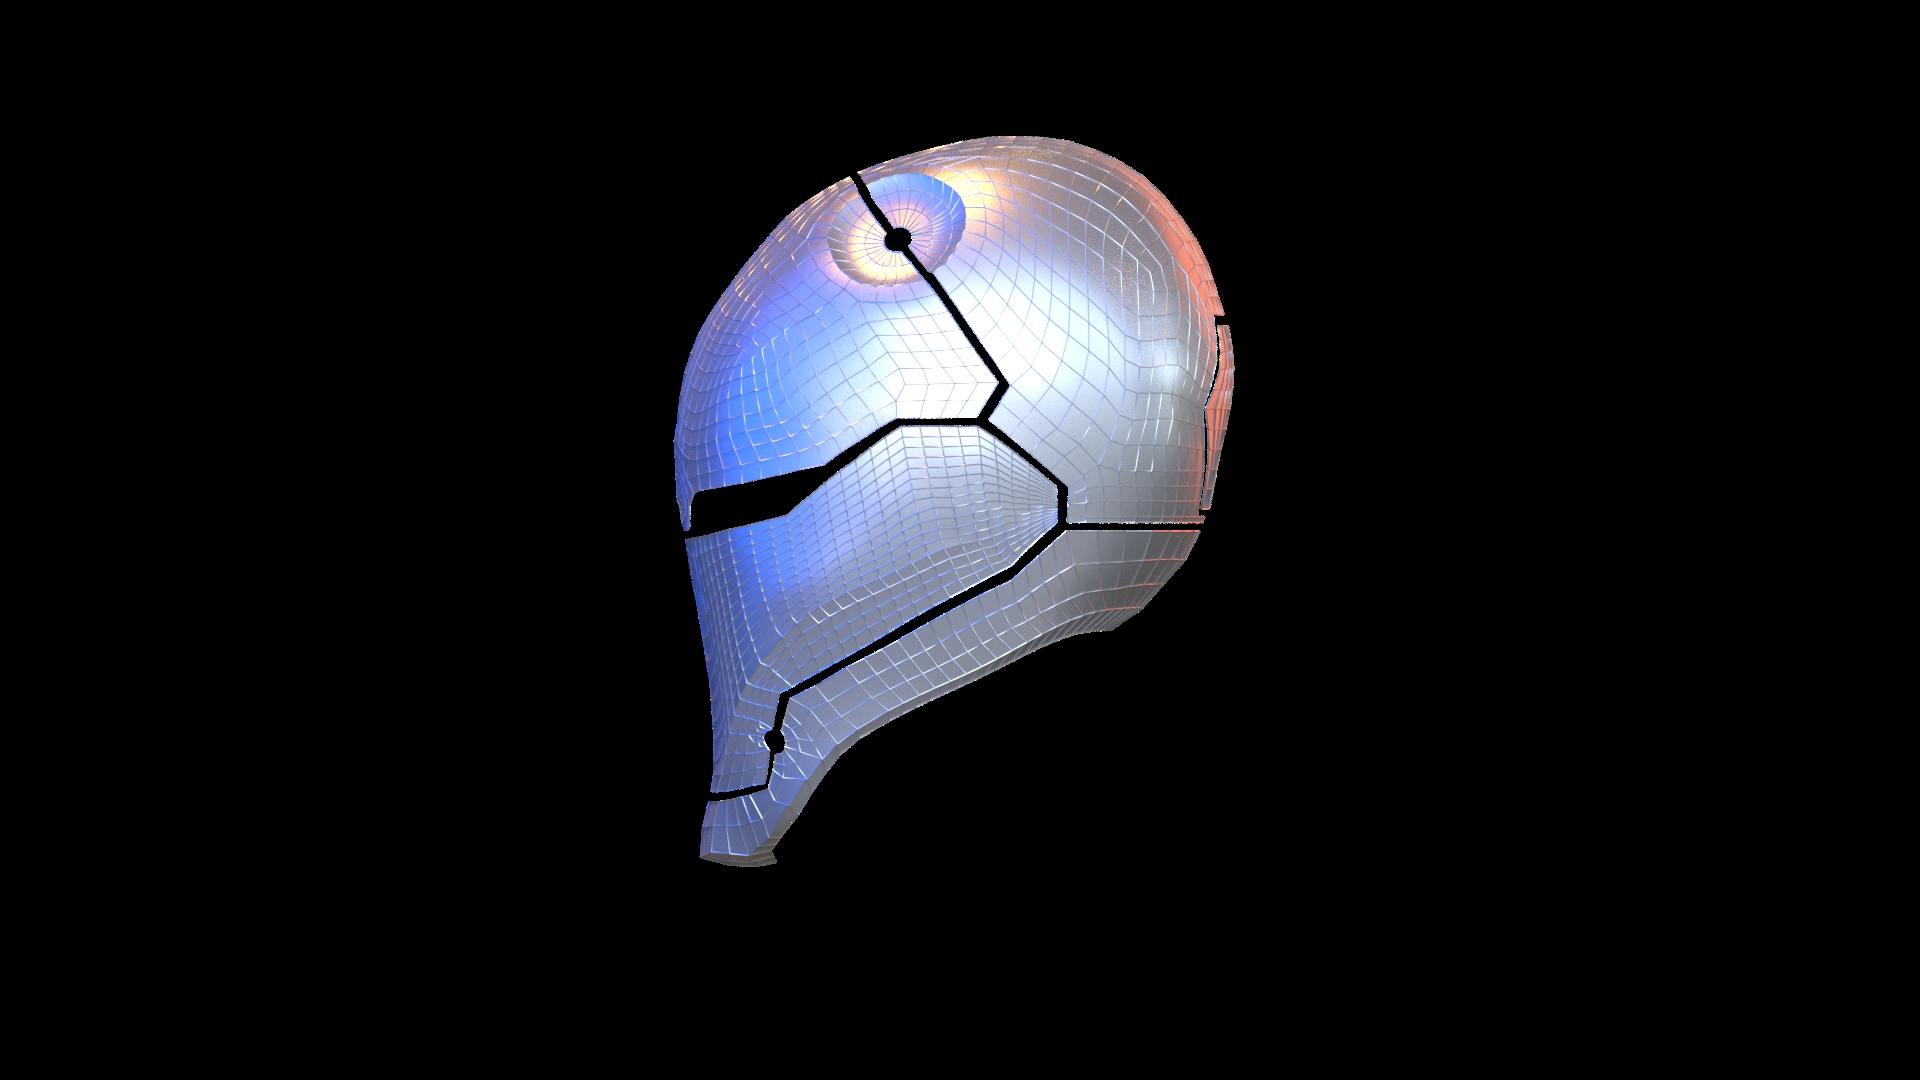
When doing the retopo I didn’t bother with the shrinkwrap this time and bam, way smoother. Leaves out all of my bumps from the sculpt. I guess that’s only really used for organic stuff to get it exactly like the sculpt.
There are a few issues with my retopo, like some ngons and pinching on the edges. The edge pinching is due to having two edges join a vertex on the edge. I’ll have to work on that, but I am feeling much more confident about retopo than I did a few days ago, that’s for sure.
I just threw on a solidify modifier to beef it out, whereas in the next version I’ll try and model in some depth to join the overlaps between the plates.
I still think my overall shape is a bit “fat” for want of a better word, but I’ll try and address that on the next version.
I have to say, this was the perfect model to start this stuff on. Just challenging enough to keep me interested, but not too difficult that I get bored with it and give up.
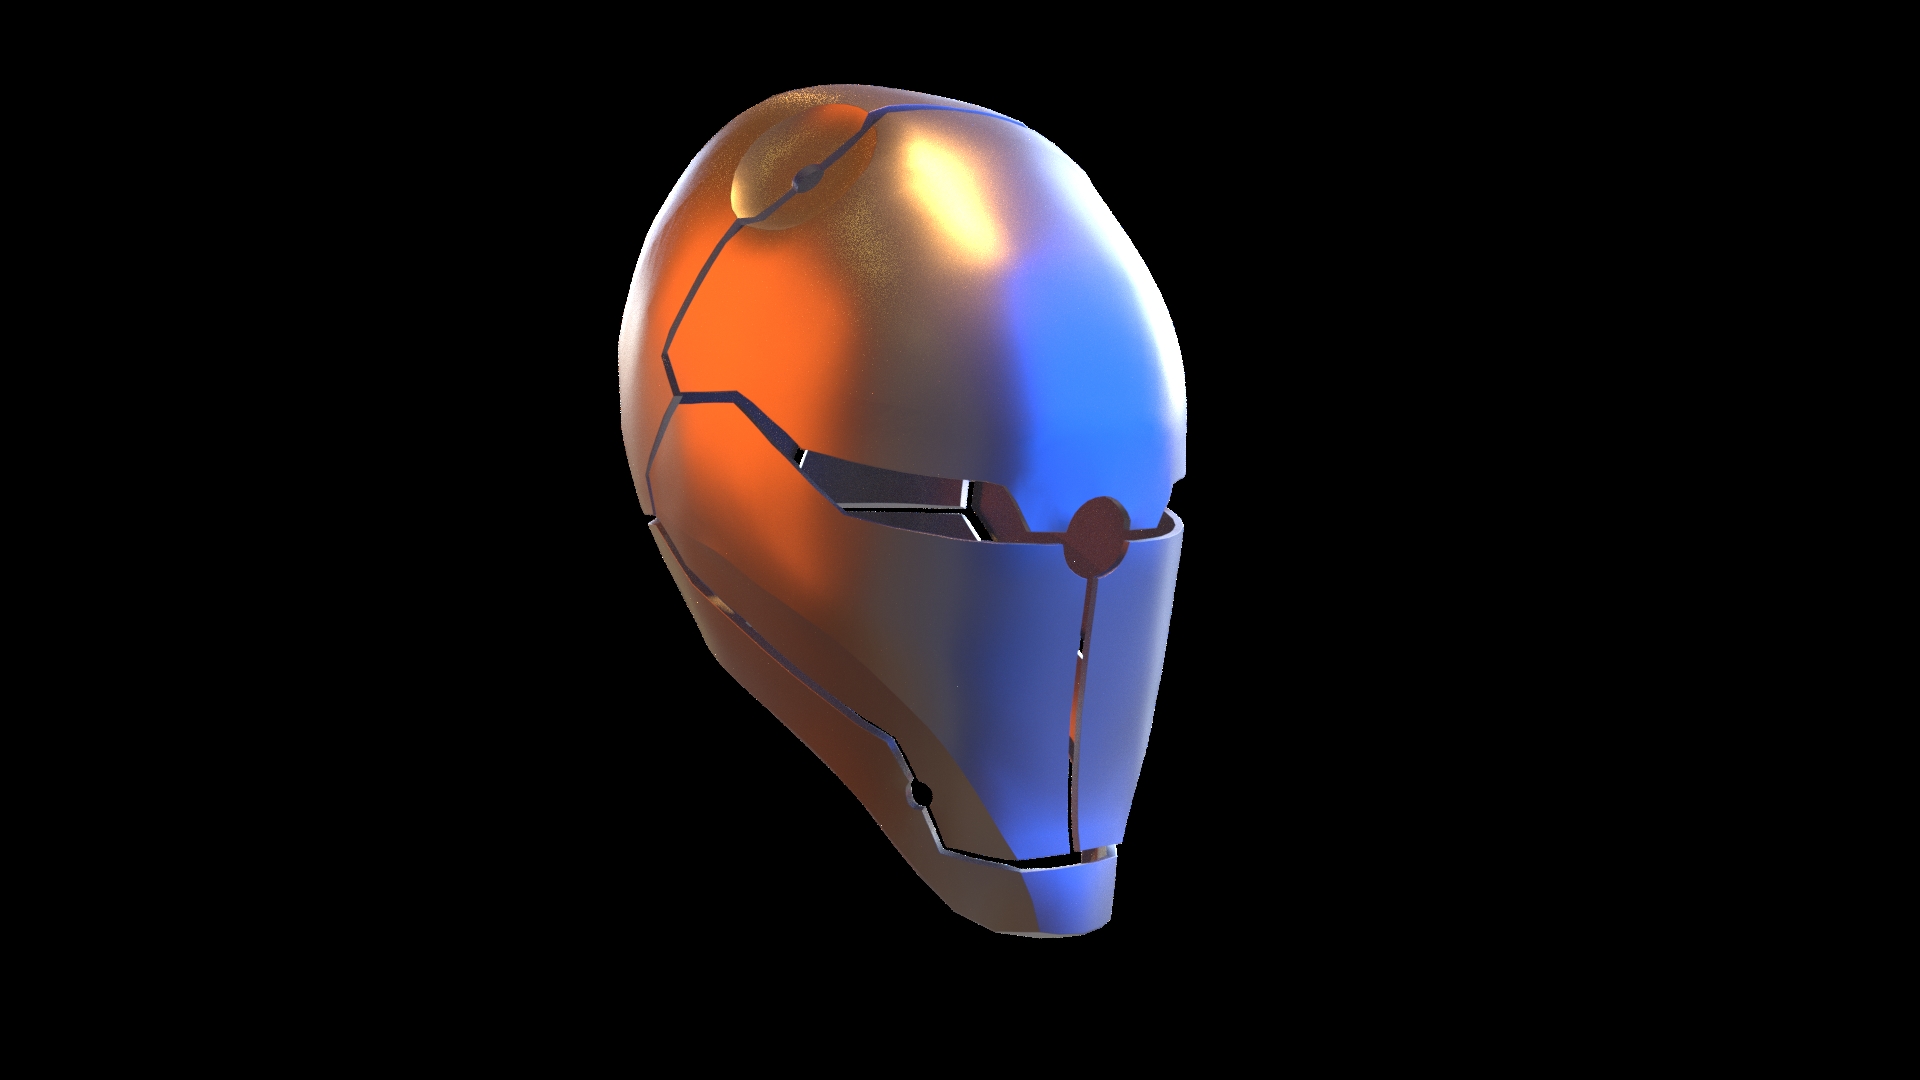
After a few weeks away from Blender (actual work getting in the way!) I’ve finally been able to finish another version using @masterxeon1001’s starting mesh.
Still enjoying this process, even if I do have a long way to go.
the forms are looking more solid. A little mesh shaper action would help refine the silhouette. When the topo is on point like this deformation is the easiest and you have the most surface control. Its progressing!
I can see sub-d getting uncontrollable because its live. I have a different view of subdivision. I dont use it except to apply 1 level and refine. As long as it is kept live it will highlight every surface imperfection. And the tradeoff of surface control for smoothed surfaces isn’t worth it.
If you really wanna get to that next level start applying a level and control everything at mid. Then its easier to maintain corners and form. Also thats where detailing becomes fun and part of the refinement process.
As I said before, I’m always a little unsure when and how many layers of sub-d to add.
It’s a constant learning curve, but I’m having fun with it, so it’s not a bad thing to be making mistakes as I get to go back and do some more helmets again.
I decided to follow @masterxeon1001’s advice of no Sub D. Lots more verts in the retopo, especially to get the curves.
My sculpt was not super smooth, nor were the cuts sharp enough, hence I feel that it’s due to that that you still see the bumps.
Generally I’m much happier with this. I really need to work on my sculpting, but for now I think I’ll start to fill this version out and add all the overlaps and maybe texture it as a “worn” helmet so I can put this one aside.
I’ll try and get a shot of the sculpt and some wireframes up in the morning before I head off for the weekend. Otherwise I’ll post them on Tuesday when I’m back from a weekend break.
ETA: I’ve started making heavy use of LoopTools. Simply invaluable tools. The space option alone is superb.
Oh, and since you’re here, I noticed on some of your HOps vids that you are able to get the modifier options as a pop up panel from the Shift Q menu, or do you use a custom shortcut for that? Looks handy to have.
I also had a look at some retopo videos and I think I’m trying to be too precise by moving almost every vertex so that it sits above the surface. There’s also some other setting that I see a few people use that I need to look at again. Maybe I’ll play with the retopo on this sculpt once more.
Any advice on where to place the poles and how to make the curves smoother is welcome.
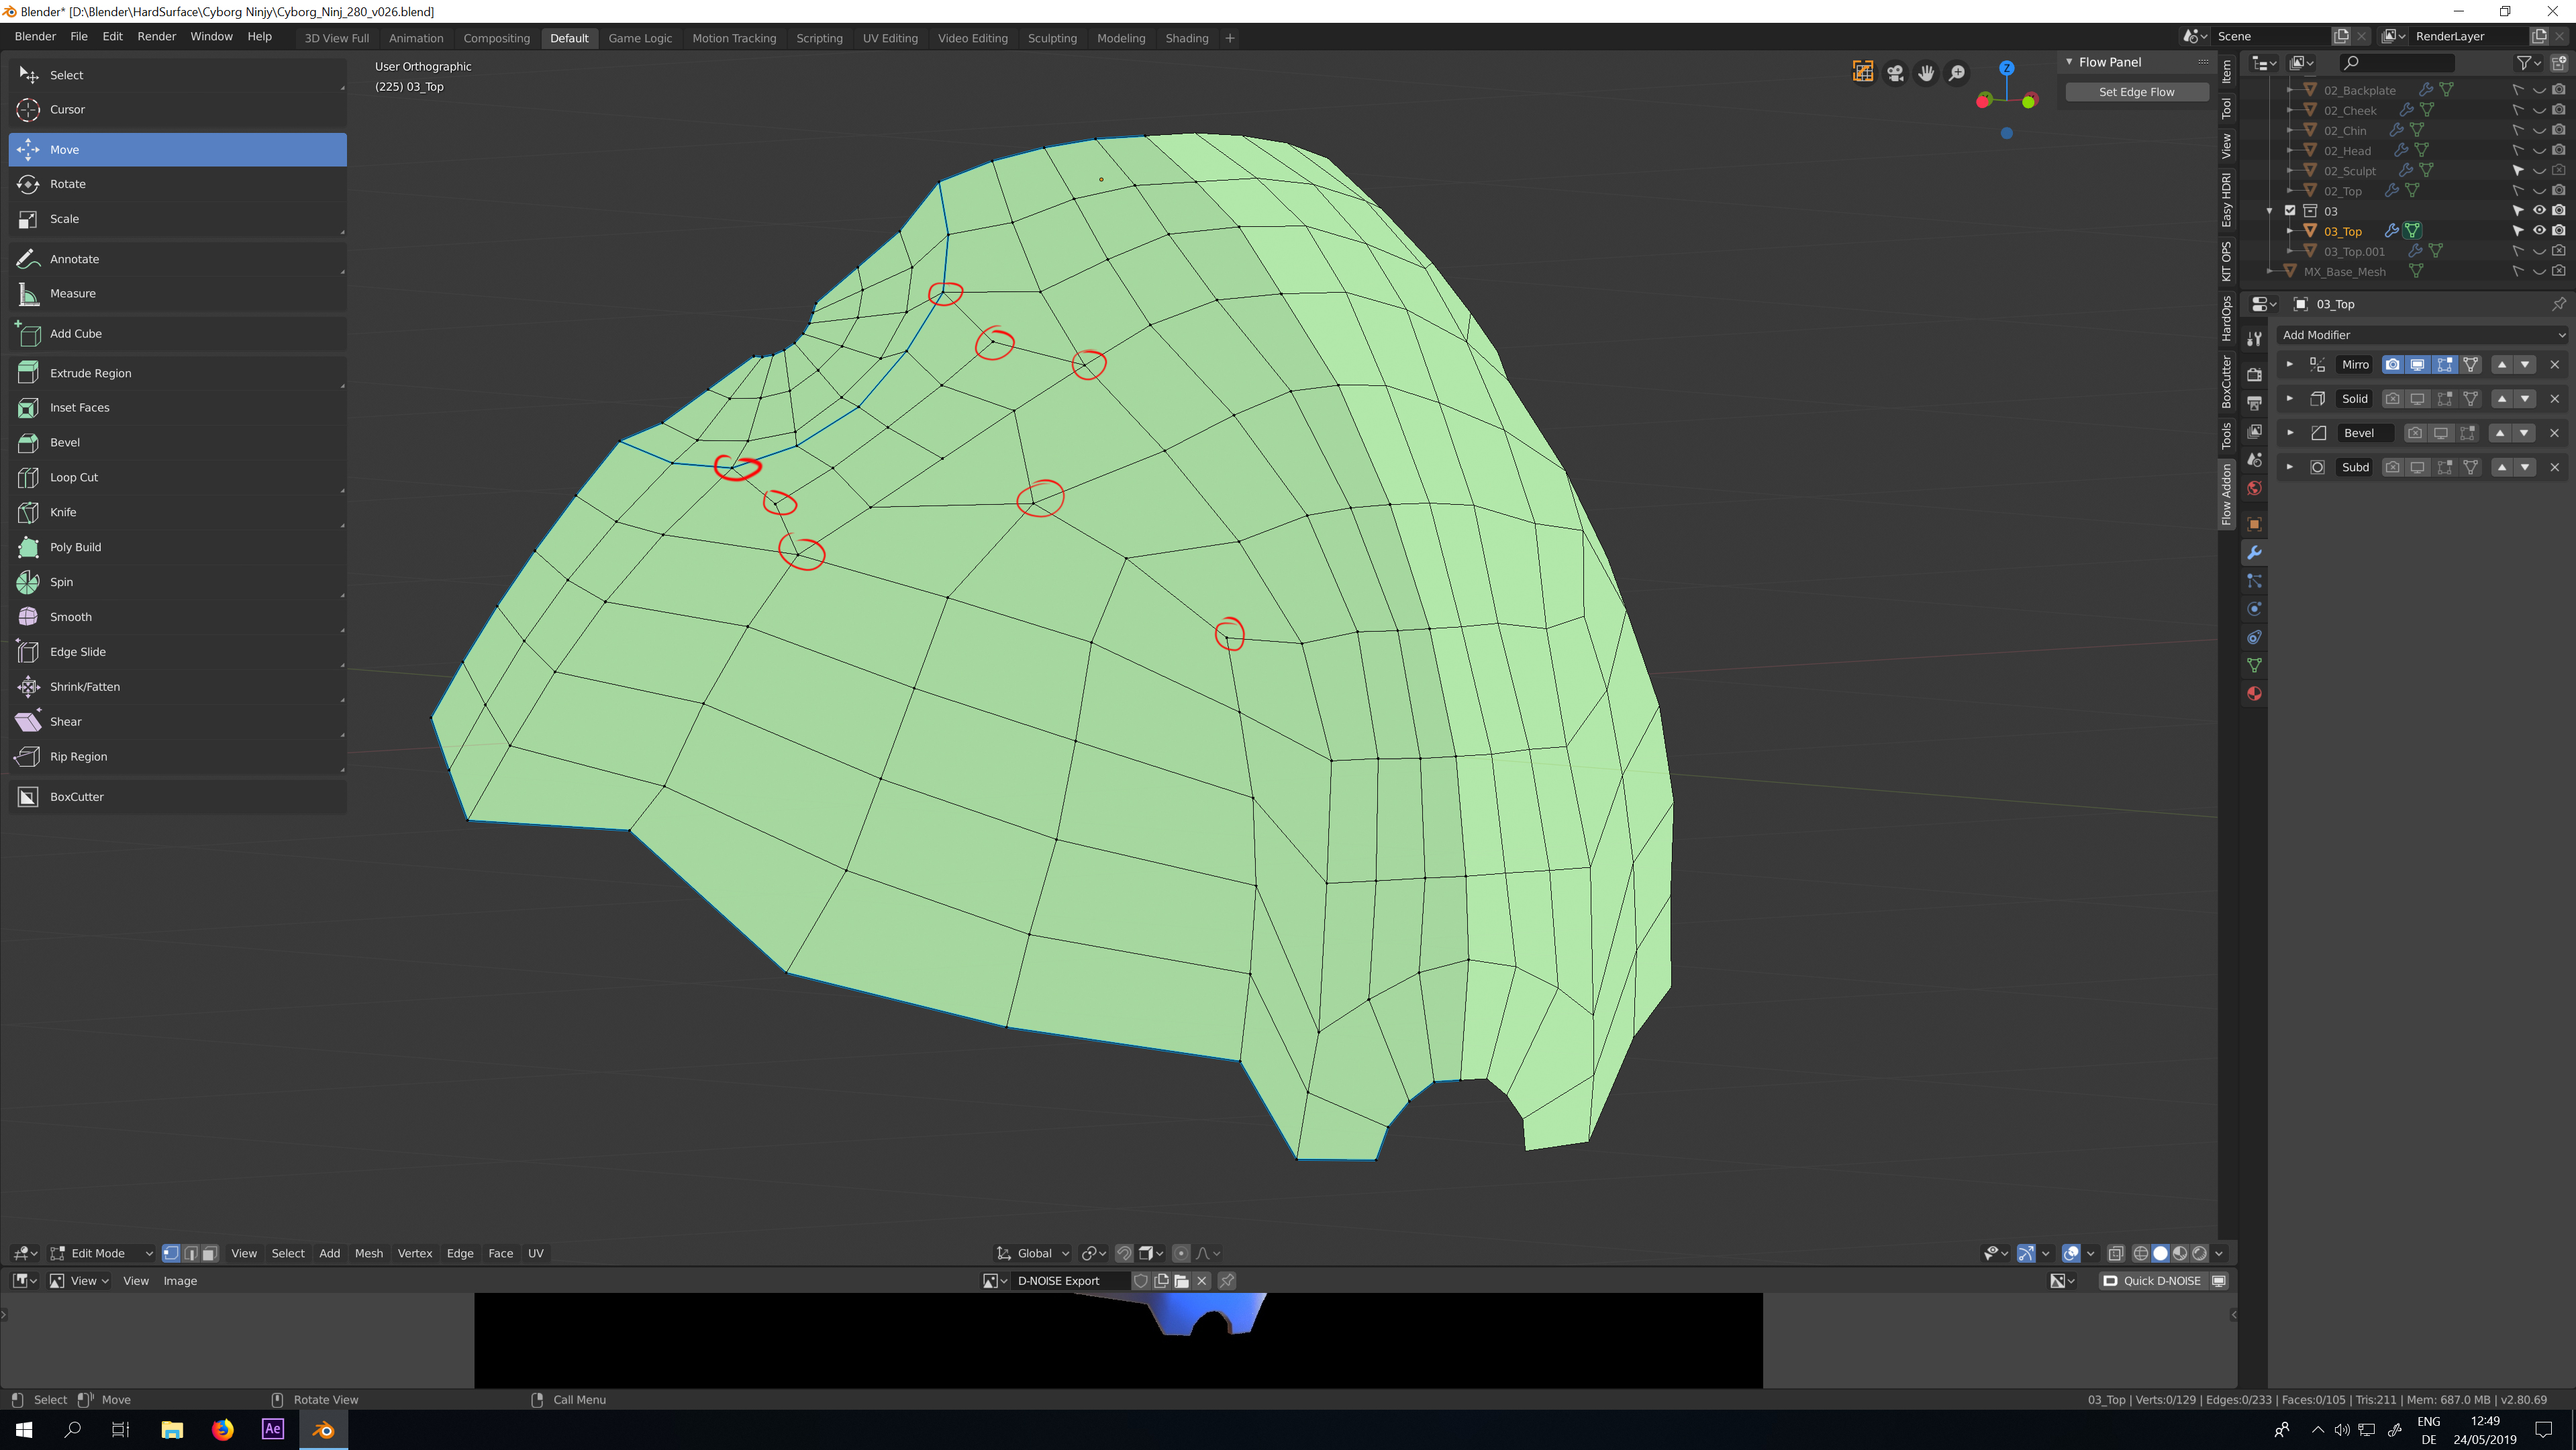
I can already tell you have moree geometry than needed. Dissolving half those non essential loops will make surface refinement and shaping sometime. You have too much geo from a retopo. The simpler you keep it at this point the easier it is to adjust and fix the form since moving 1 vert is easier than 8.
this area shows alot of density for not alot of form. You can hit those shapes and forms with 1/4th of what is present. Having so much geo is going to ensure the retopo looks like the lumpier sculpt. Simplifying it will let you use crease and sub-d to refine things further.
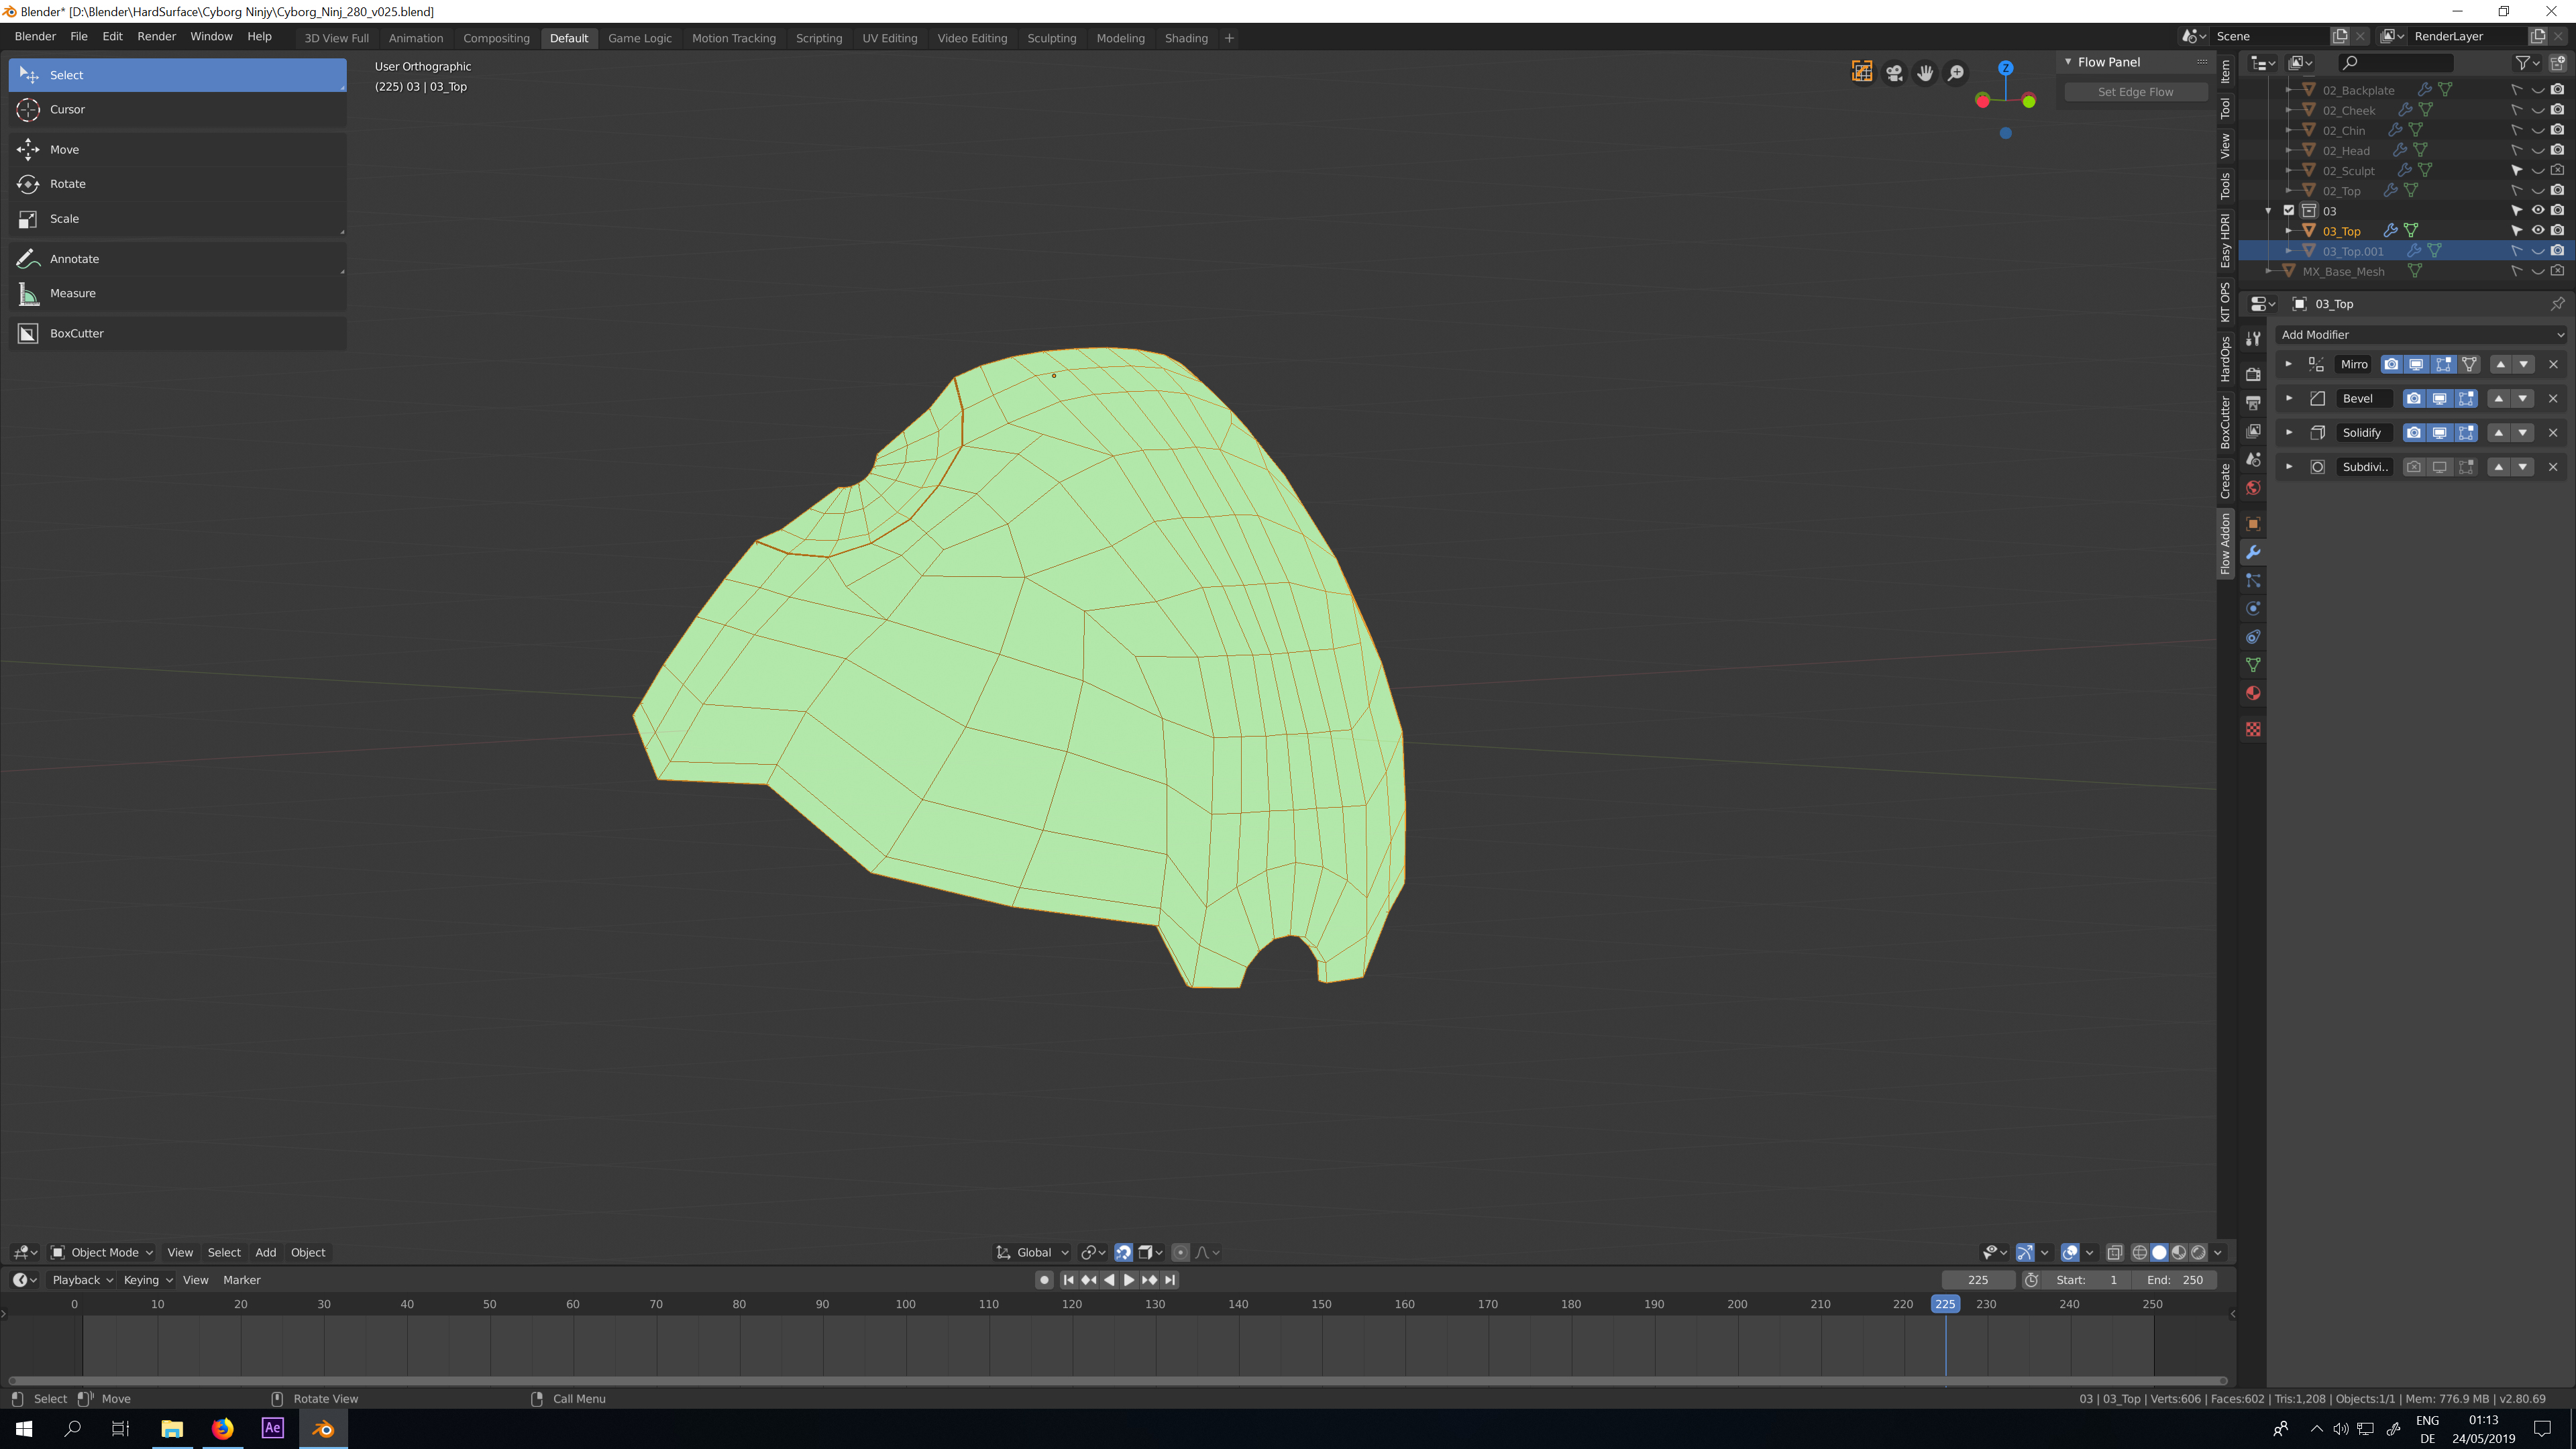
Here’s a quick retopo of the top plate. It’s still a bit messy around the top circular part, but it’s a better starting point to refine. I also threw in a quick render, the second one with sub D of 2.