Info: Baking map saved to internal image, save it externally or pack it
Traceback (most recent call last):
File “C:\Users\VARRYUS\AppData\Roaming\Blender Foundation\Blender\2.81\scripts\addons\Grungit\pbrbake.py”, line 219, in execute
PBRBake.pbr_bake(self,context,materials)
File “C:\Users\VARRYUS\AppData\Roaming\Blender Foundation\Blender\2.81\scripts\addons\Grungit\pbrbake.py”, line 43, in pbr_bake
PBRBake.channel_bake(self,context,material_name = name, channel = channel, samples = samples, resolution = resolution, output_format=output_format , color_depth = color_depth, save_dir = “//Textures/”, name = name)
File “C:\Users\VARRYUS\AppData\Roaming\Blender Foundation\Blender\2.81\scripts\addons\Grungit\pbrbake.py”, line 166, in channel_bake
emit_node.inputs[“Color”] = (value,value,value,1.0)
TypeError: bpy_prop_collection[key] = value: invalid, expected a StructRNA type or None, not a tuple
location: :-1
location: :-1
I don’t know what it is about, but this time I am having a model with 2 UV sets. I need the second one because Grungit UV Mapping is all over the place for all other uses and to use the secondary map i needed a better UV (yes I could have UV unwrapped properly first, but nevermind). Which brings me to another input: How about GrungIt creates it’s own UV map when “(re)create uvs” is enabled (properly named) and uses this for the bake map? Or is this redundant and I just need to watch out more?
I fixed that error (1.6.5)
That’s a good idea, I will add the option when I can, hopefully in the near future
For now, you can explicitly set your textures and nodes to use your second textures with a “UV Map” node, just make sure to leave the first map for grungit set as active for rendering
The grungit mask texture now uses the DWAA codec to compress the EXR image, instead of ZIP. Despite being a lossless codec, I looked really hard for differences between DWAA and ZIP but I didn’t notice anything and there are no apparent compression artifacts, even on noisy textures. File size is significantly smaller and in some tests its was 1/3 compared to ZIP.
Added a secondary mask input for the dirt node (for hand-painting)
Improved Occlusion
Minor bug fixes and improvements
PBRBake :
Textures baked with PBRBake are now properly positioned
Added AO, Specular, Clearcoat and Clearcoat Normal baking. (Note: the AO node will not be connected to anything, but it could be useful if you need it)
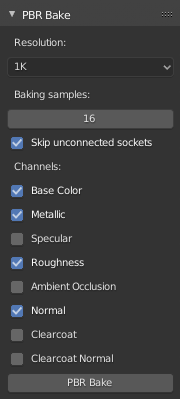
Added “skip unconnected”. It does what it says, it skips the unconnected sockets and only bakes what’s connected to the Principled BSDF node
An option to select the maps you want to bake
Default bake samples changed from 2 to 16 for better results, especially for low-resolution baking (better Anti-aliasing) and for AO maps
Addon looks really great, thinking about checking it out. Quick question: are the scratch and dirt patterns procedural, based on textures, or some combination? And as a followup, can that be customized at all? In other words will all grungit-based materials have very similar types of scratches, or can I bring for instance a custom image that would create a different type of scratch?
I just saw your previous answer where you said exposing this might make the nodes too complex…but does that mean an advanced user can still open up the node group and mess around? Or is it “sealed” so to speak
They’re mostly texture-based with box mapping (ie: seamless).
As for customizing:
Yes, definitely, I don’t want to limit the advanced users, but I’m looking for ways to not leave the beginner and intermediate users behind. I do not employ any obfuscation or lock/protection mechanisms, if that’s what you mean by “sealed”
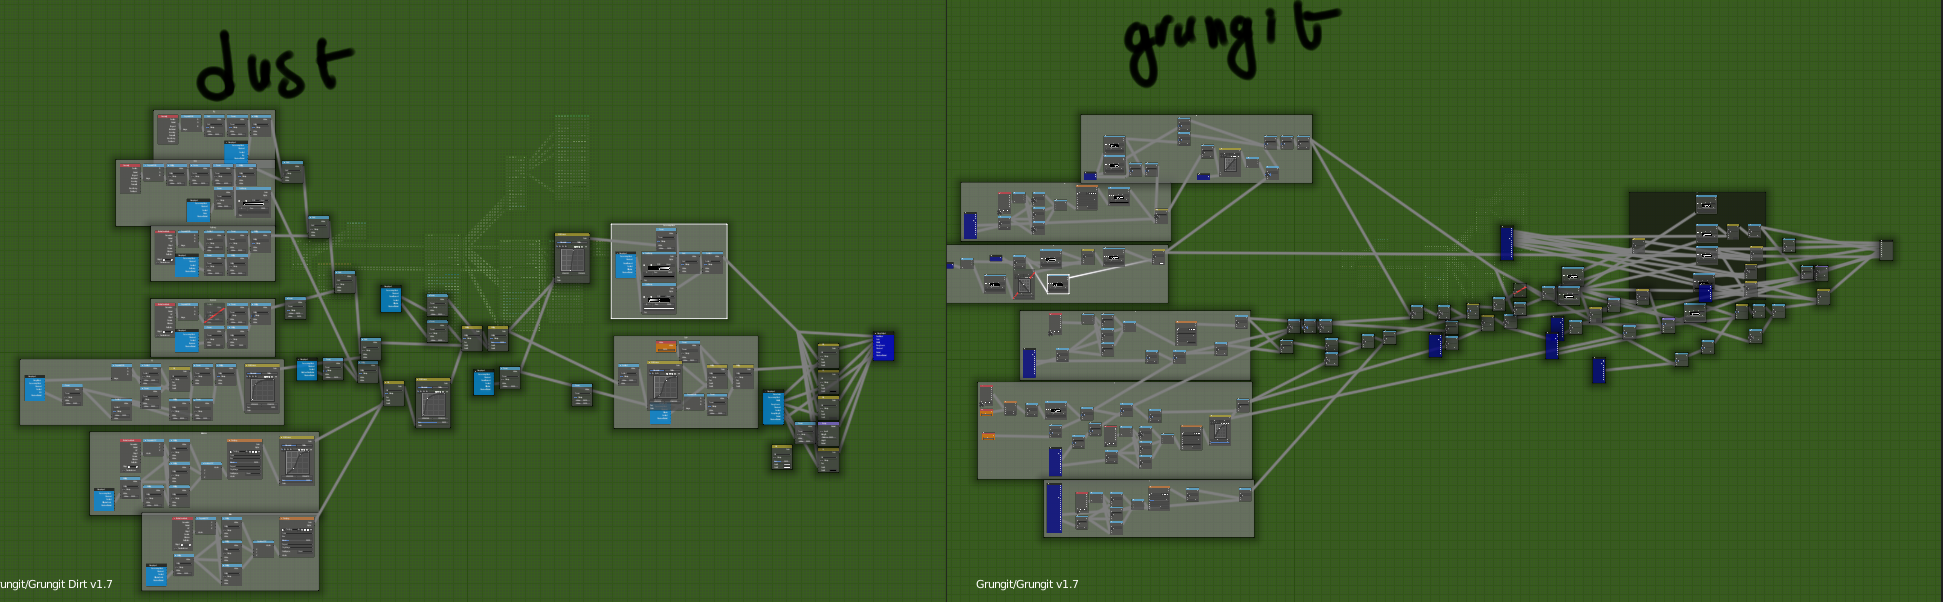
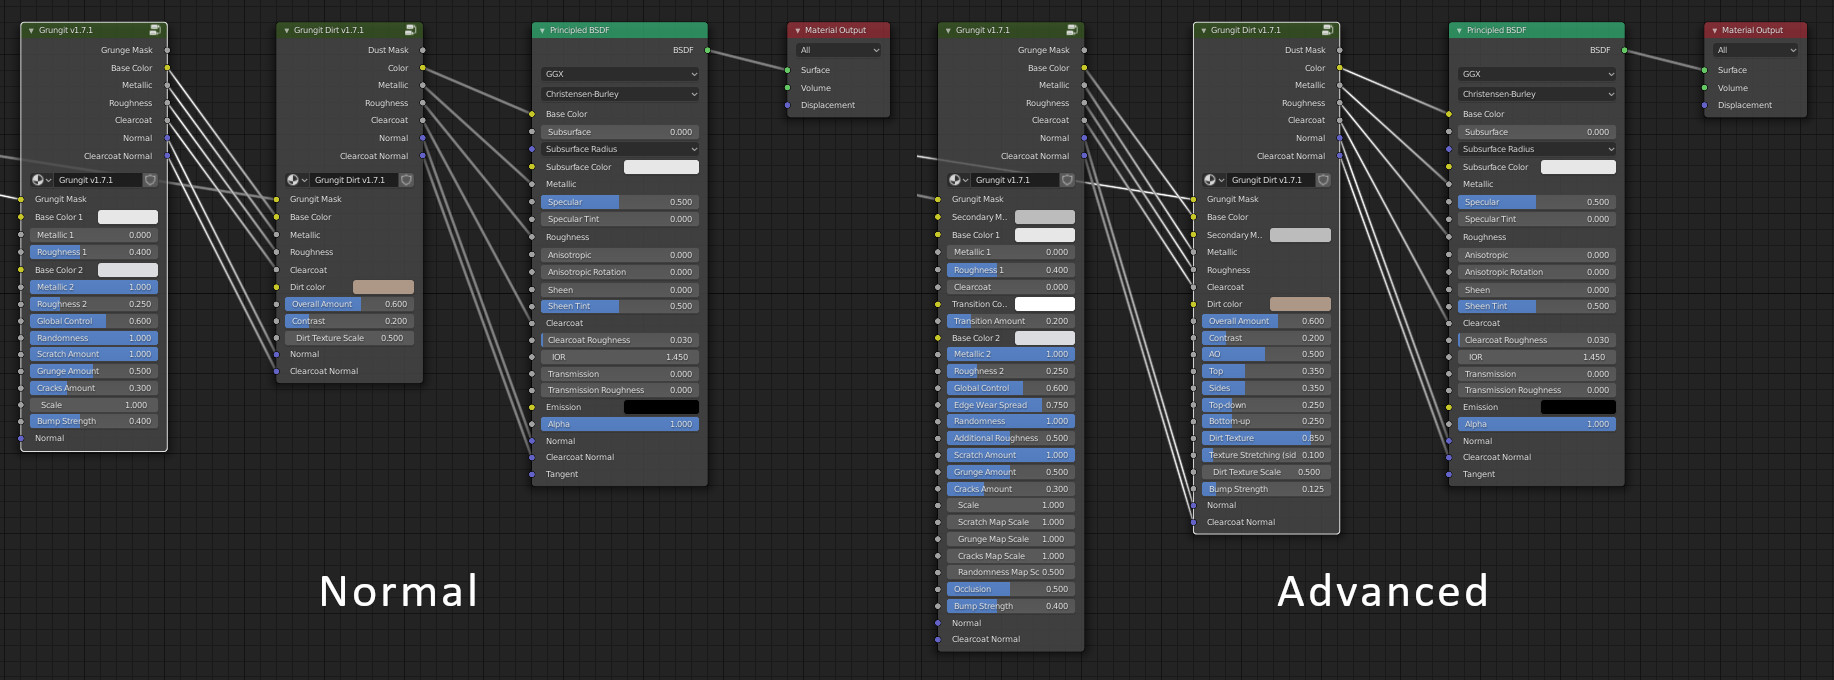
However the nodes are not very clearly organized and documented inside, but nothing too crazy. Here’s a preview of the two group nodes used. I will try to clean things up when I add the option to switch textures in the interface, but I doubt it will be anytime soon, honestly (there are more urgent features)
Oh, sorry for missing that comment. That looks like exactly what I would want to do. Thank you!
I wouldn’t worry too much about cleaning those nodes up too much since as you say there are other more important things to work on. I think anyone who is willing to open up the case so to speak will be okay dealing with a node tree like that. I’ve seen much worse…
You’re welcome, I’m glad it answered your question
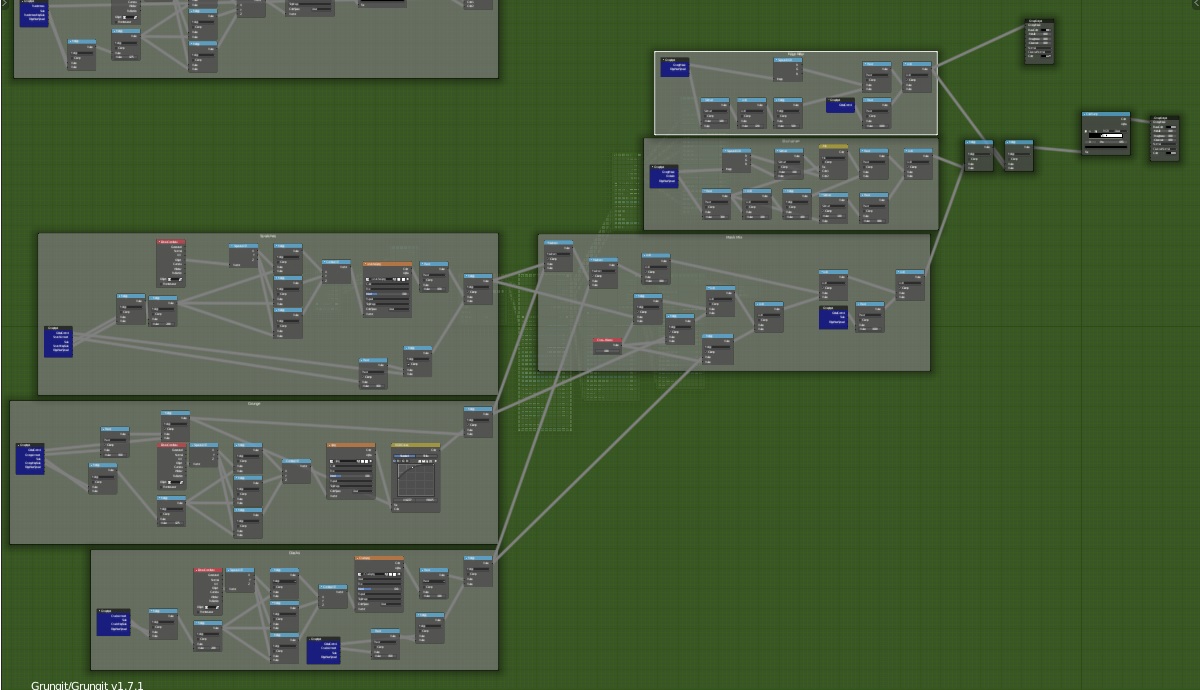
Good news: I am recreating the nodes again because it was inefficient and hard to tweak (and to maintain). I am also fixing some bugs and adding quality improvements, the most important bug fix is the “global control” property that stopped working in 1.7. I will post the update (1.7.1) as soon as it’s ready.
This is how it looks so far.
As a side note, I am adding a “simplified mode” option, this will hide the unnecessary properties in the nodes (basically ctrl+h on the “fine-tuning” properties), this is useful to get started with Grungit while not taking too much control away if you enable it
“Quick Mode” didn’t do anything on objects that don’t have materials applied
Improvements and New features:
Remade the whole Grungit node, the main benefits are : more control, better results, the nodes are more organized inside and easier to edit, and better performance overall.
In my tests, the EEVEE render times went from 33s to 22s (@128 samples), and shader compilation time went down from 24s to 11s. In Cycles, the results were pretty much the same, in some cases it was about 5 seconds slower (compared to 90 seconds total render time) and in others it was 5 seconds faster. I’m not sure if I should call this a “downgrade”, especially if we only focus on the numbers, but the improvements in quality and EEVEE performance and responsiveness outweighs it.
Added an “advanced mode” that exposes all the non-essential node parameters. It’s disabled by default, as the simplified nodes are (in my opintion, at least) enough to give enough control in most cases without intimidating the new users.
If you’ve applied grungit with it enabled and you don’t want it anymore, you can simply select the nodes and toggle hidden sockets (CTRL+H, by default), or uncheck it and click “Apply Grungit” again
New properties : Transition amount, Edge wear spread, a unified “Scale” parameter (in addition to the individual scale parameters, which are only revealed in “advanced mode”).
Adjusted default settings
Added “metalness” and “roughness” to the dirt node (only revealed in “advanced mode”)
The textures are randomly offsetted for each individual object
As usual, if you have questions or feedback don’t hesitate to contact me
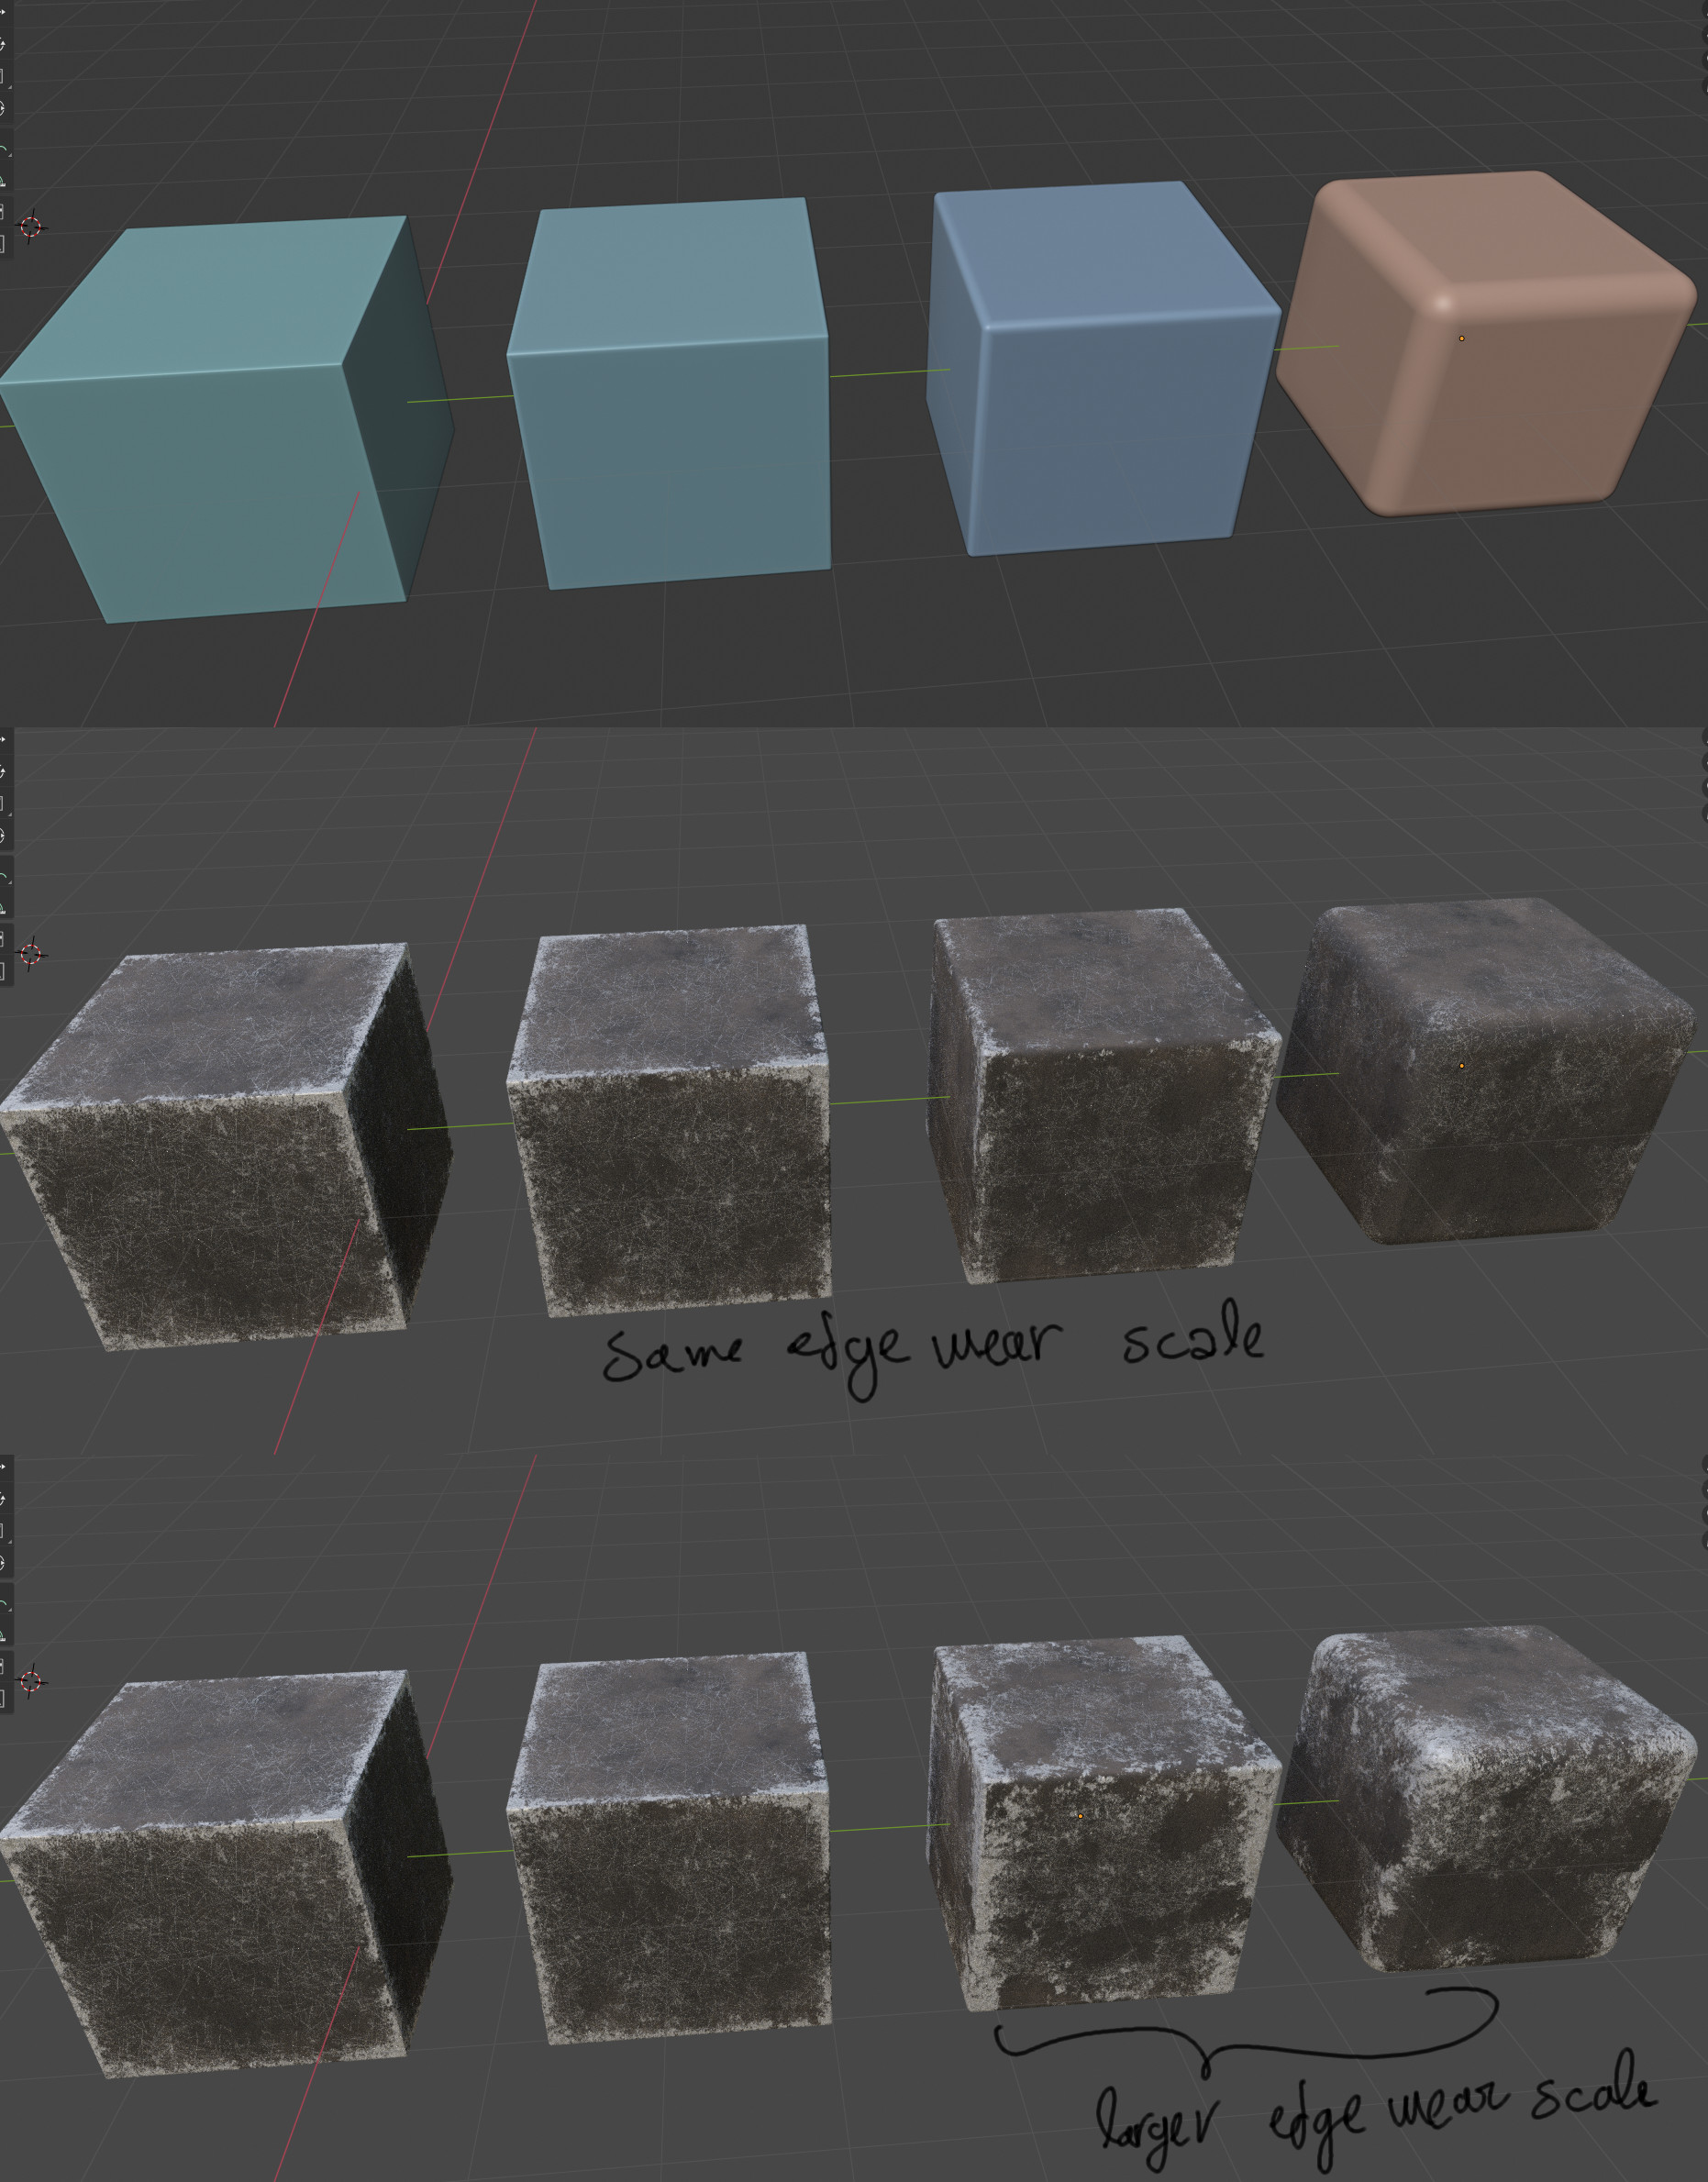
Can you upload, please, some images with such a simple cube corner (and with the same grunge kind and amount) but having bevelled its edges (in various thicknesses)? I am very curious to see in detail the results’ quality in such cases.
Also, I do have another question too: what happens when the edge corner angles are more -or less- than 45 degrees? Does the effect works there too? Would like to see its workings in edge corner angles of various degrees.
Sure thing.
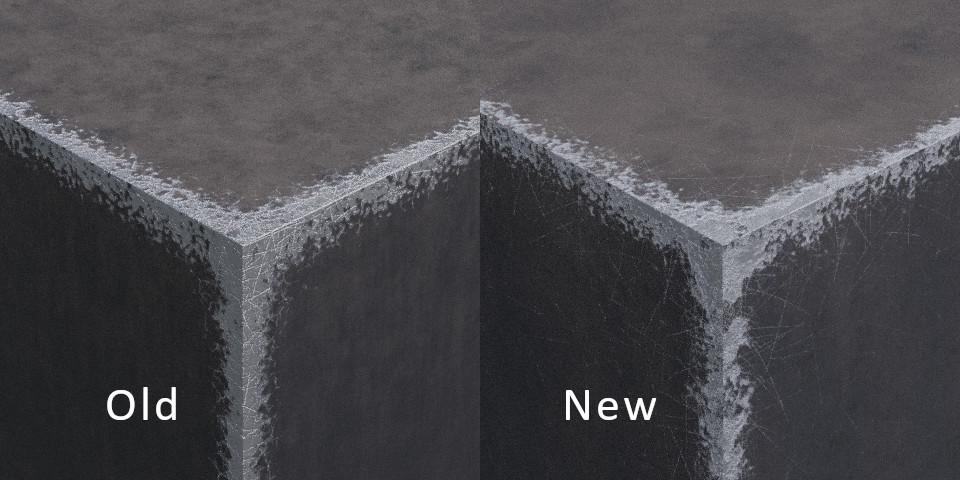
Here’s a comparison with the bevels:
The example in the middle is with the exact same parameters, and the third one with a large edge wear scale which suits the larger bevels more
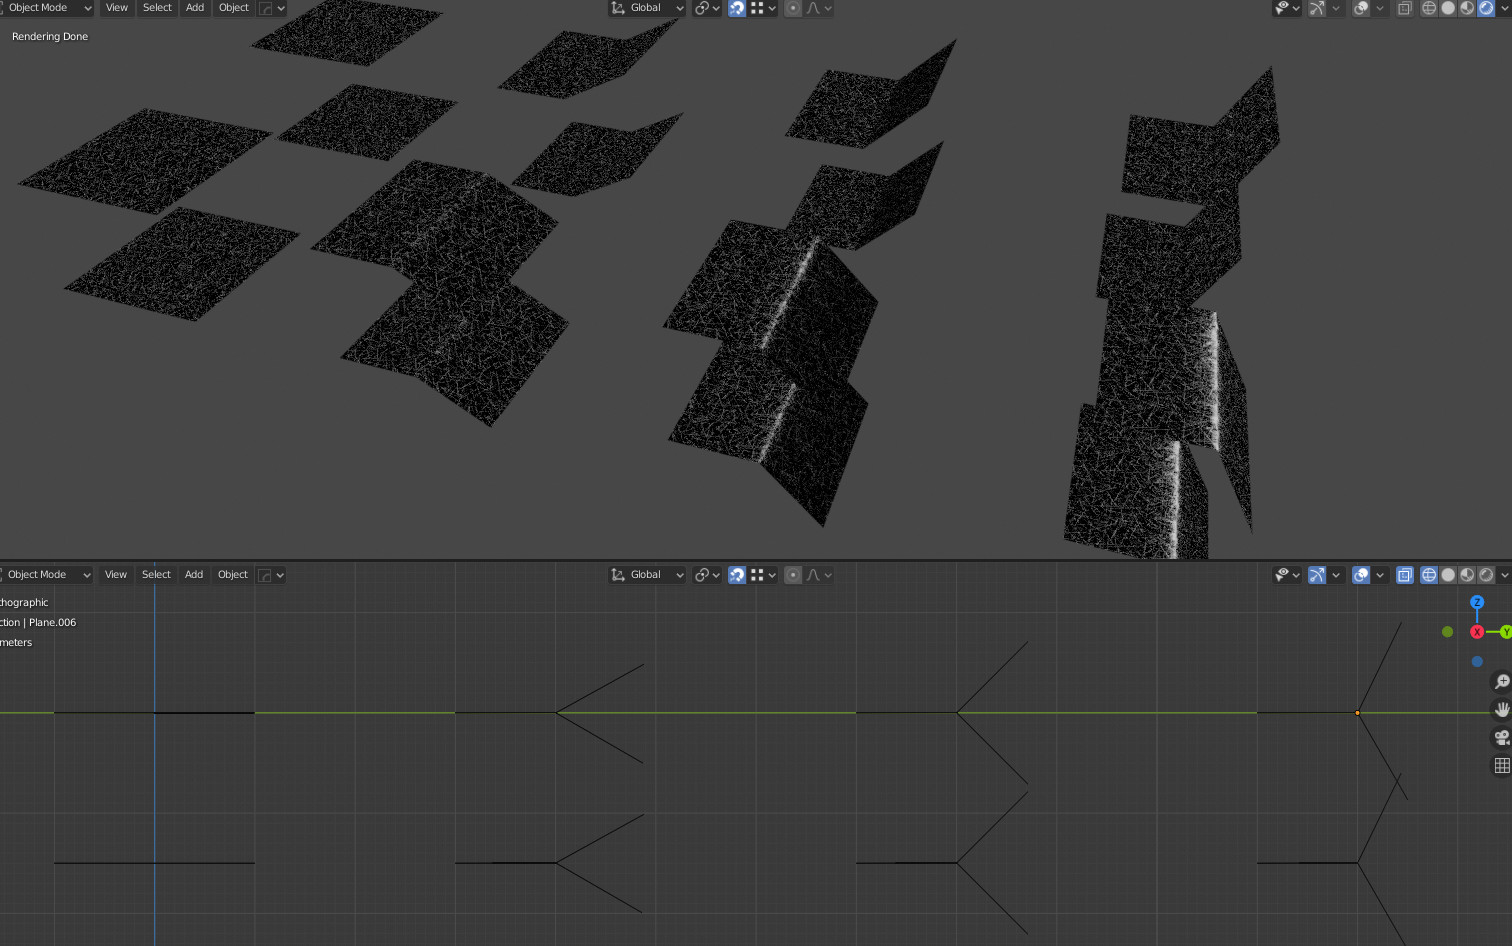
(I duplicated the surfaces and moved them down because grungit doesn’t work well by default with very thin surfaces and you need to tweak it more)
As you can see the effect starts at 30°, it’s more visible from 45° and more. On concave surfaces there is no edge wear. (even without edge wear, you can have “generic” wear if you increase the ammount)
Those samples are great! I did purchase the addon and am experimenting with it now.
One feature that would be very nice (as an option at least) is to rebuild the grungit image without replacing the node structure. Especially for narrowing down exactly the right edge wear scale to use. Maybe this exists and I’m missing it?
Right now the nodes don’t get completely overwritten, but the PBR properties (color1, metallic1, roughness1) will take the values of the Principled BSDF and “global control” will take the value of “Overall Amount” from the interface. I recommend setting the PBR properties of the Principled BSDF first, then you can apply Grungit each time you want to update the edge wear scale
I will improve that and make it leave all the values as they are in the future versions
I scrolled up and noticed a comment about exposing the grunge textures. This would be great! I have a project I have been wanting to add scuff marks to the surface of plastic armor, and the scratches don’t really fit that look for what I am trying to do. I could replace the cracks texture instead and have both scuff marks and the scratches.
Would it be possible to have individual sliders for normal intensity contribution for each grunge type?
It is possible, but I’m wondering, what are the use scenarios for that? I do not want to make it too complicated with too many sliders that would only be useful in some rare cases. It also becomes slower to process and to render, especially with EEVEE.
With that said, if you edit the node group yourself and add those parameters, Grungit will not overwrite your changes in that Blender file, as long as the name of the node group (eg:“Grungit v1.7.1”) remains the same.
If you want a more permanent change, you can change it from “Grungit/grungit_data/materials.blend”, however you will need to do that everytime I update it
Yes, Grungit keeps your textures and adds the effect on top of your existing nodes.
Here is an example with a low poly PBR model https://youtu.be/OE6CCn7-d14
Please note that edge wear is only based on geometry for now, but I am adding normal map support very soon
Thanks for buying!
Both methods have their inconveniences:
Joined models: overlapping thing surfaces might get more wear than you need to, especially if the edge wear scale is set too high
Separate models: Sometimes there will be visible seams, especially if your model is very organic and has smooth parts (margins and bleeding). Also it sometimes takes longer than a single object. It’s not really a problem with Grungit, instead it’s the way Blender handles baking multiple objects, but I am looking for better ways to do it anyway.
I recommend testing both methods, it’s just a matter of joining the models (assuming you have the modifiers applied) and applying Grungit, no extra steps are really needed for multiple objects and materials compared to applying it on a single object