Well, I’m thinking about selling some stuff on TS. =) I’ve never actually really modeled something from scratch and finished it, though! So here goes.
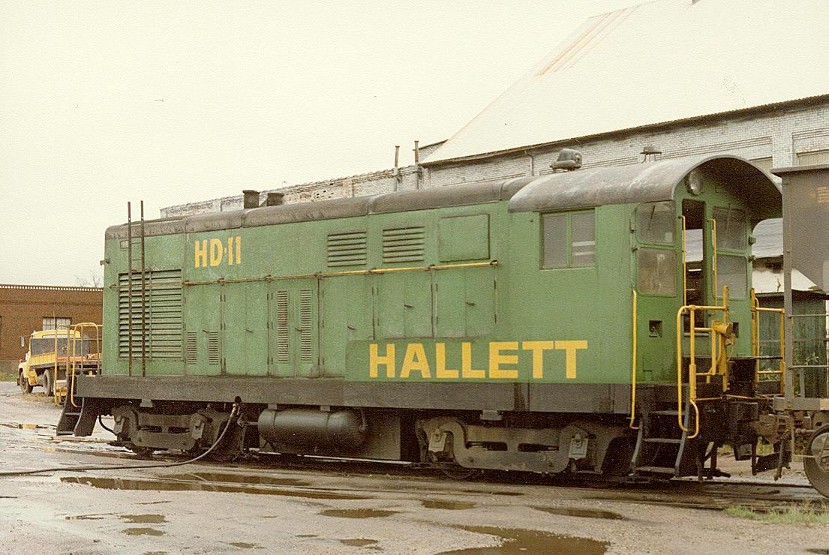
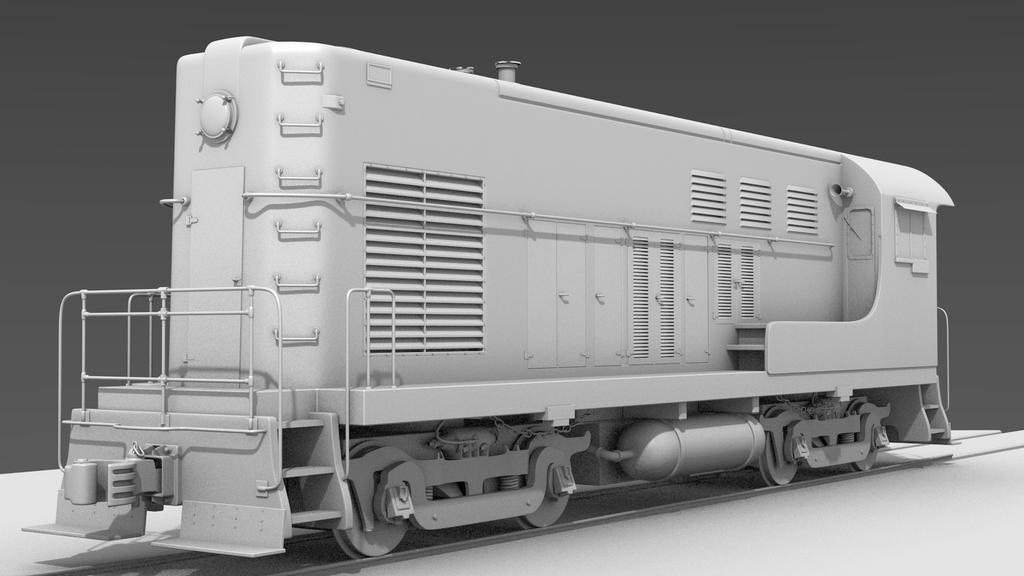
I picked a very rare switcher locomotive which served on railroads here in the States until the '80s–the Fairbanks Morse H-10-44. Now, it’s not the coolest engine, the best looking or the most romantic one, but I have a real life HO scale model of it at home, and I decided to make a 3D model of it! =D Unfortunately, I can’t seem to find any schematics or blueprints of the locomotive, so I’ve got to use nothing but reference photos! =\
Looking good man, I have been working on a locomotive as well (based on the NS2200, fairly similar to what you’re making) so I’ll be sure to keep an eye on this thread, as it might be useful to me, haha. I’m interested in how your undercarriage will turn out.
You’ll notice that it’s an EMD truck and not an FM one. =D Subtle differences, but hey, whatcha gonna do? =) I’ll add the right details as I go along. =)
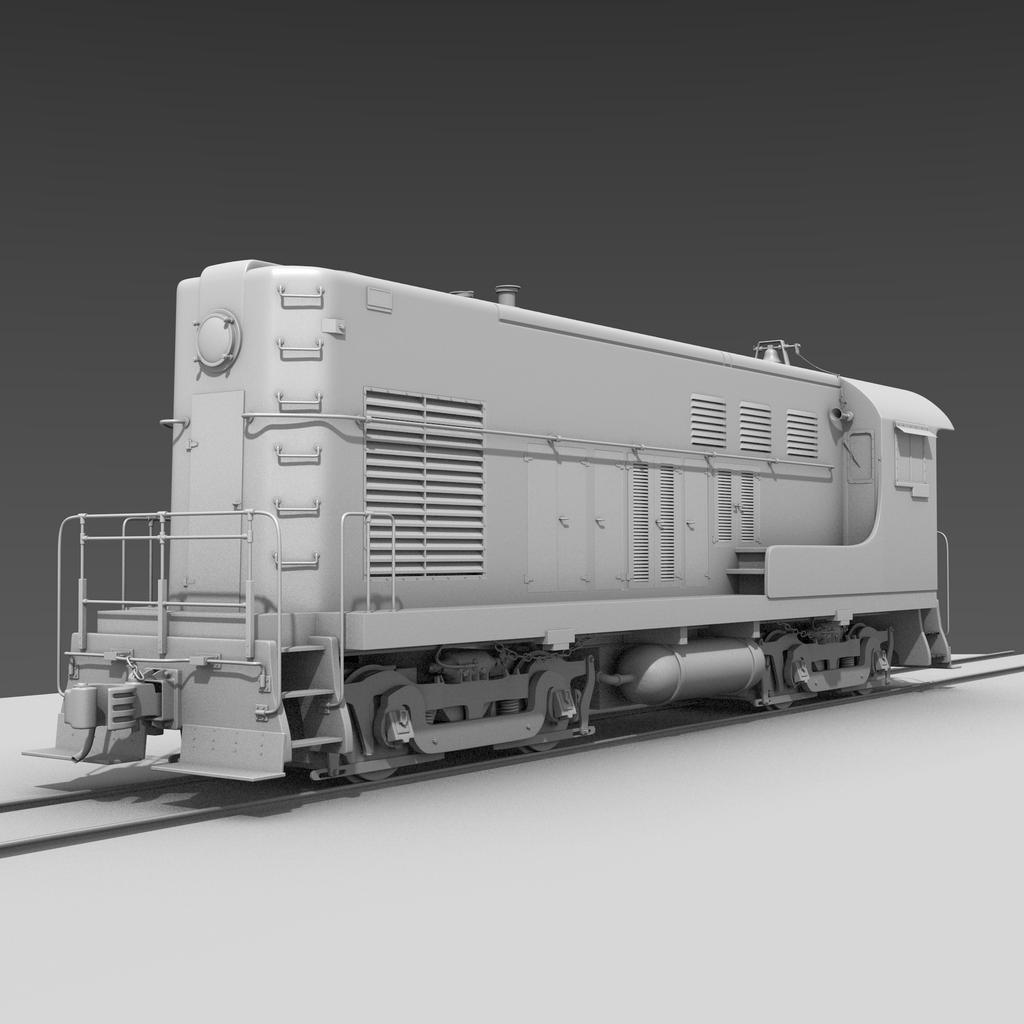
Getting nearly done on the hood. Undercarriage still needs some work. About to start the cab details. Maybe I’ll even put in an interior, if I can find some reference photos of what that looks like! =D
Seems like I’m the only person who actually views this thread. Oh well. I’m having a blast! =)
OK, i like the rail models and the railways too! Your looks real nice even w/o the texture!!! :yes:
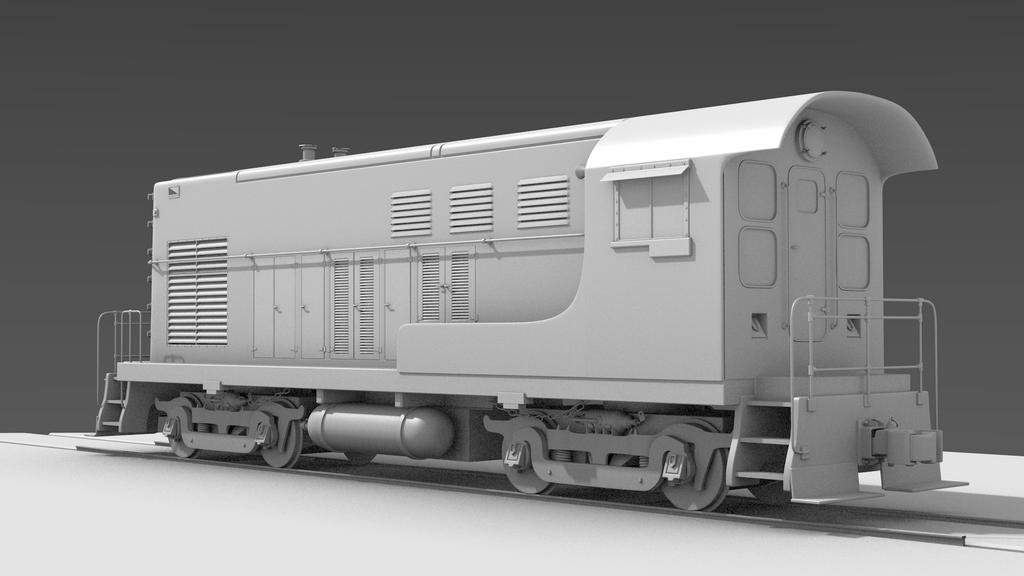
I was thinking for a while what makes it generally different from the reference pic… I think that’s the nose! Your nose of the main body is far more flat than the original. The precise my comment - Im speaking about the front and supposing X is direction of move, Z points above, then ALL Im saying is that the front of the loco is wider on Y at your model while at the original it is more narrow. In comparison with the circle there, front panel is a bit wider at the original while at your model it seems to be almost twice as wide. Then you have different diagonal panels at your model. The angle between the front panel and front-diagonal panels is at your model about 120 degrees, while in the original it goes up to about 150 or more. Therefore, you need to re-work the handle at front too - see the shadows at the original pics, mostly at the third one from posting #1.
I’d also wish to see model side view… cause there may be some more positioning problems that cannot be seen in perspective views.
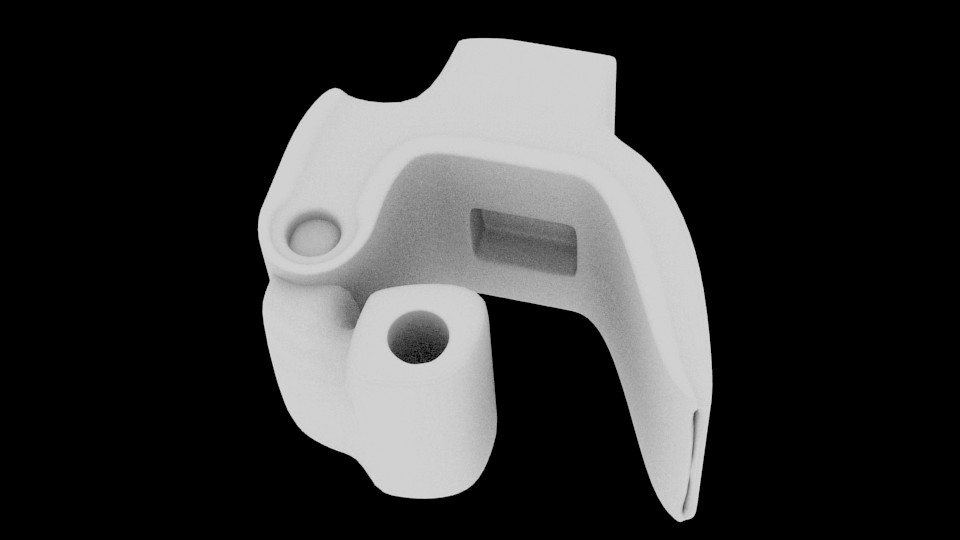
I like that you put so much efforts to even get the coupling unit precise. BUT being an engineer, I can tell that the form is different and the sizes (thickness) too! First off, the part to the right (sorry, my English isnt perfect) is a way thinner than the original and it is also more open than needed, I think. The locker (the other part which is at front-left) is different shape, too! It rotates around a bolt and that area is much stronger at the original - clearly seen at the reference pic. Also the box where the whole coupling rod lies is very thin while at the original it is much stronger! At the original, box edges finish with a square-shaped (at front view) element made of a cylindrical steel rod, This element forms an arc at top view. At your model it is completely missing so may be we can see it soon there. Not that this will be seen at the loco general view afterwards
Yeah, I’m not entirely happy with the couplers, either. =( I guess a little more work on those is in order!
The nose width:
I don’t have any blueprints available, unfortunately. So I’m doing this largely by eye. However, I do have some schematic drawings which I have been using:
Also, I’m looking at my scale model I have, and you’re right, I don’t know how I missed the fact that the nose slant is so pronounced on my model! =( That’s gonna be some work to make look right, with all the edge loops I did. =(
Can’t wait to see the textures on this baby, it’ll make it real man. If you have any questions I’ve had quite a lot of experience with photo-realistic UV mapping and texturing. (If you check out my links in my signature) I’d be more than glad to give you some pointers.
Yeah, when it comes to it, I’ll be looking for help in texturing this bad boy! =) I’ve been thinking about it, and I’m thinking about using the UV texture painter inside Blender in projection paint mode for each side of the engine. Basically stenciling the livery colors onto the side, front and back of the model. Then the rest can be done using images. =)
As I’m hoping to release this and make some money off it (as I could use a little moolah), I’ll probably provide an untextured version, and a couple famous railroads, too.
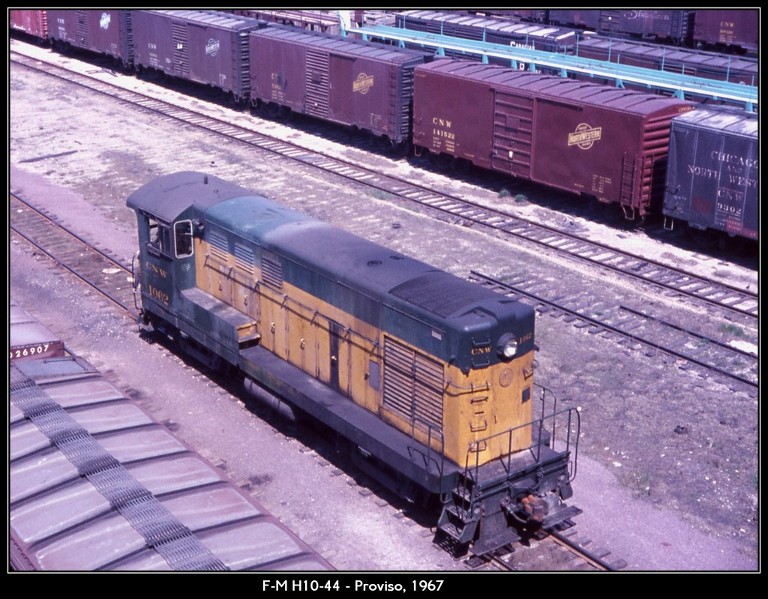
Well, catching a trace of CNW marks from your pics, I tried to find more for their locos…
I found at their site this one - may be they have your target model, too…
Here are two pics of your target model from Wikipedia pages - Pic_1Pic_2… plus one more pic from CNWHS Photo Gallery --> Pic_3 (link to album page)… and one more link to a data sheet plus a pic here.
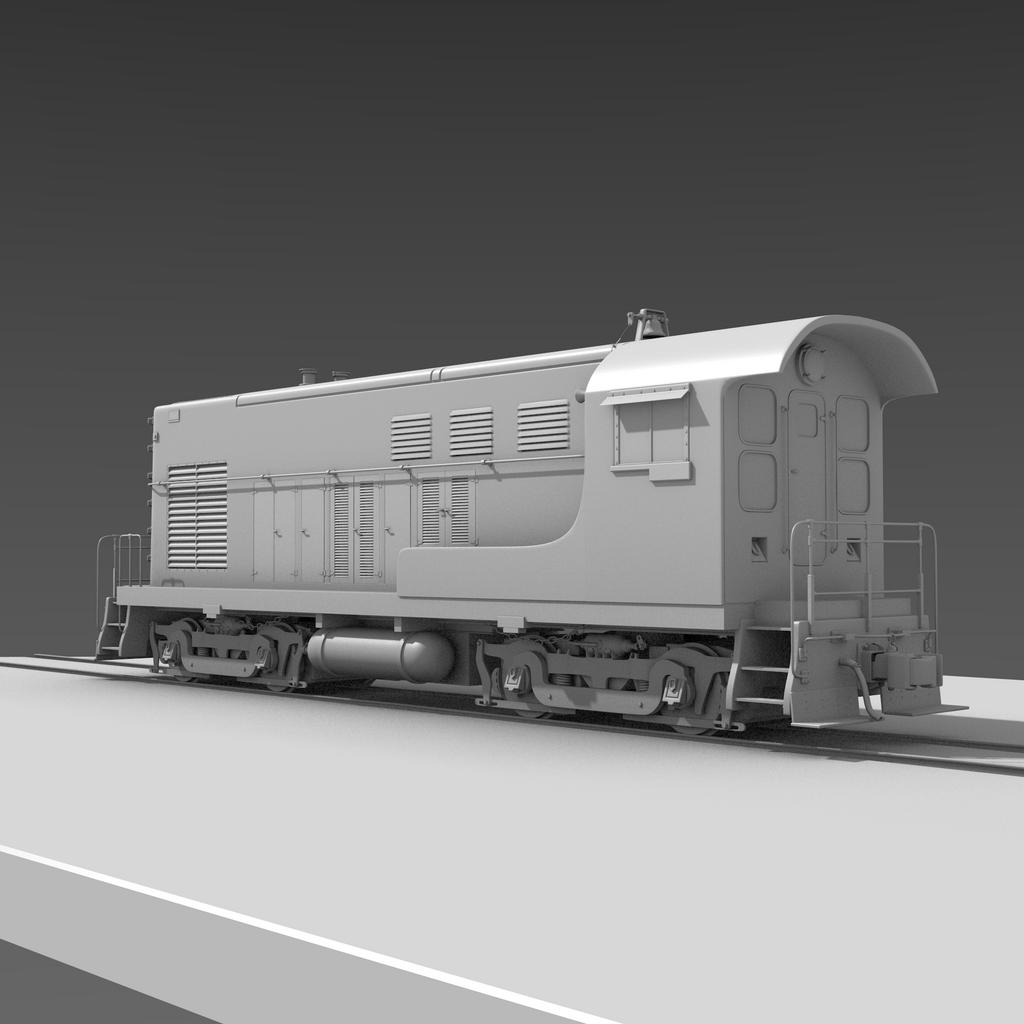
I’m still trying to figure out where to put the bell. I’m not a big fan of putting it on the nose. Maybe on the undercarriage somewhere, like some engines…
@ Abidos: I fiddled with the couplers a little more, and I’m still not entirely 100% happy with them. =( But they look a fair sight better than a lot of the couplers I see on TS. Thanks for the refs on the paint schemes! I’ll be taking a look at those pretty soon, now. =D
I didn’t do an interior for the cab. I don’t know what they look like, and I want to put this up as soon as possible, because bills are coming in! =(


