If you don’t mind, please include some text that actually explains your images and links, please. Just linkbombing with a few images is not really useful.
I’ve tried to make this node group last week and i failed. (For EEVEE)
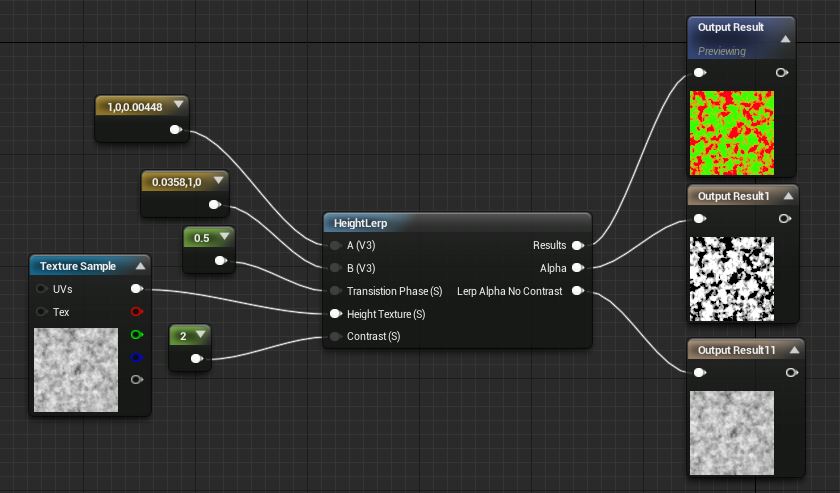
Just to be sure this is a HeightBlend node similar to UE4 one, that uses both vextex painting and height map to determine the blend of the textures?
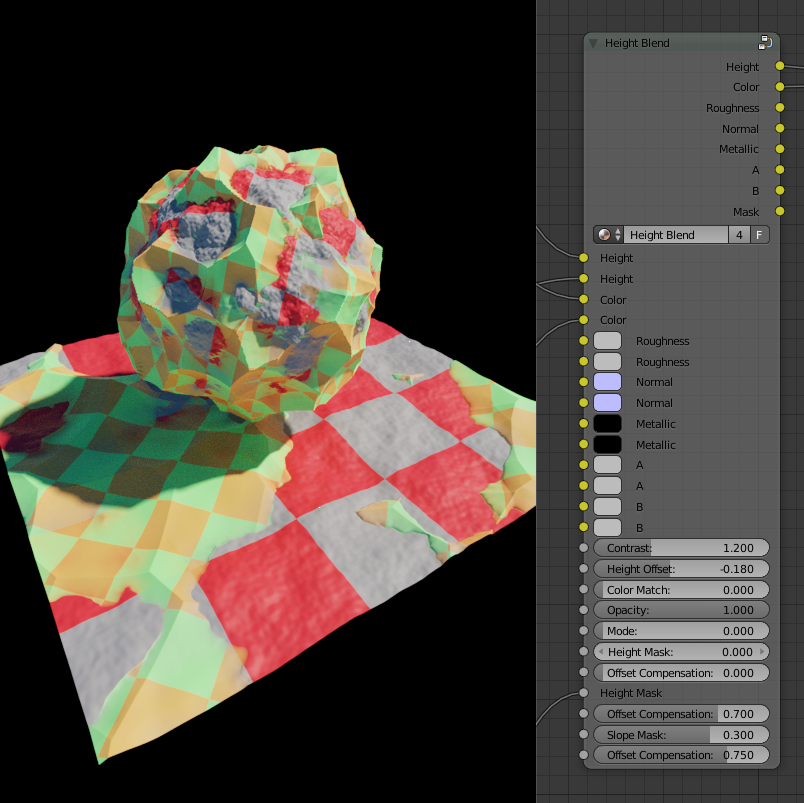
First i don’t really understand what A and B does.
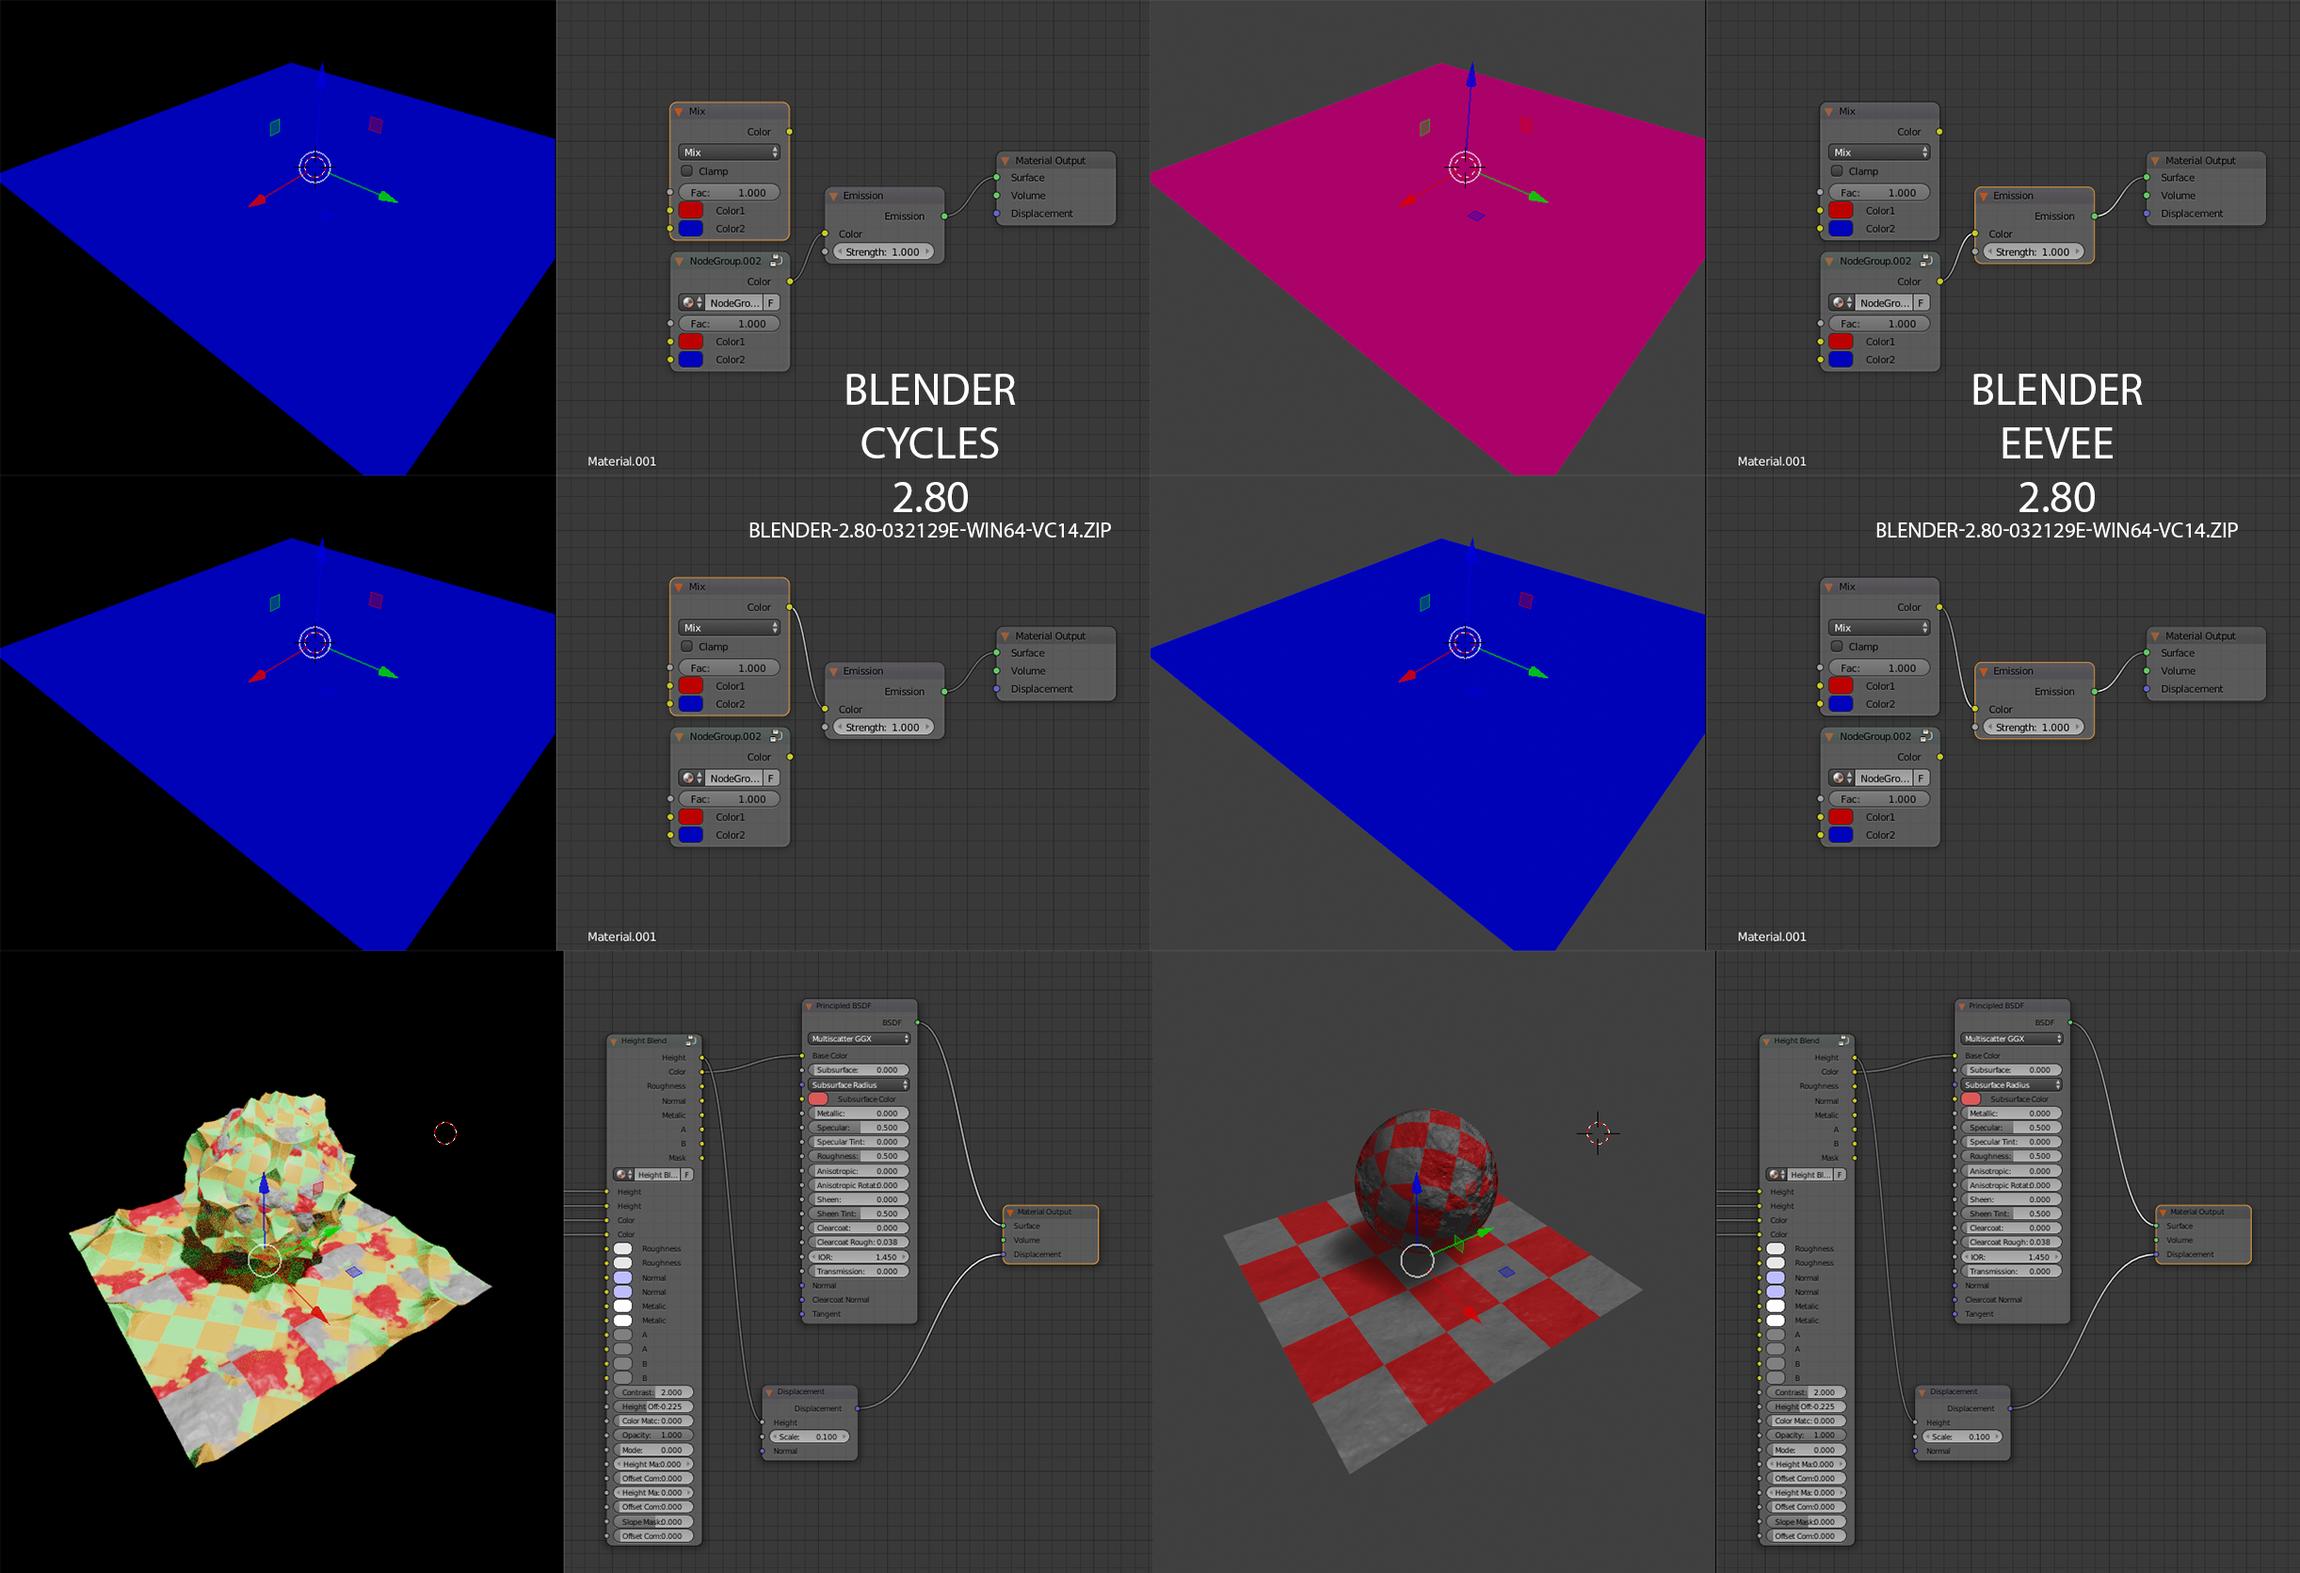
The output of the height is always white. (having 2 full materials assign to the node group )
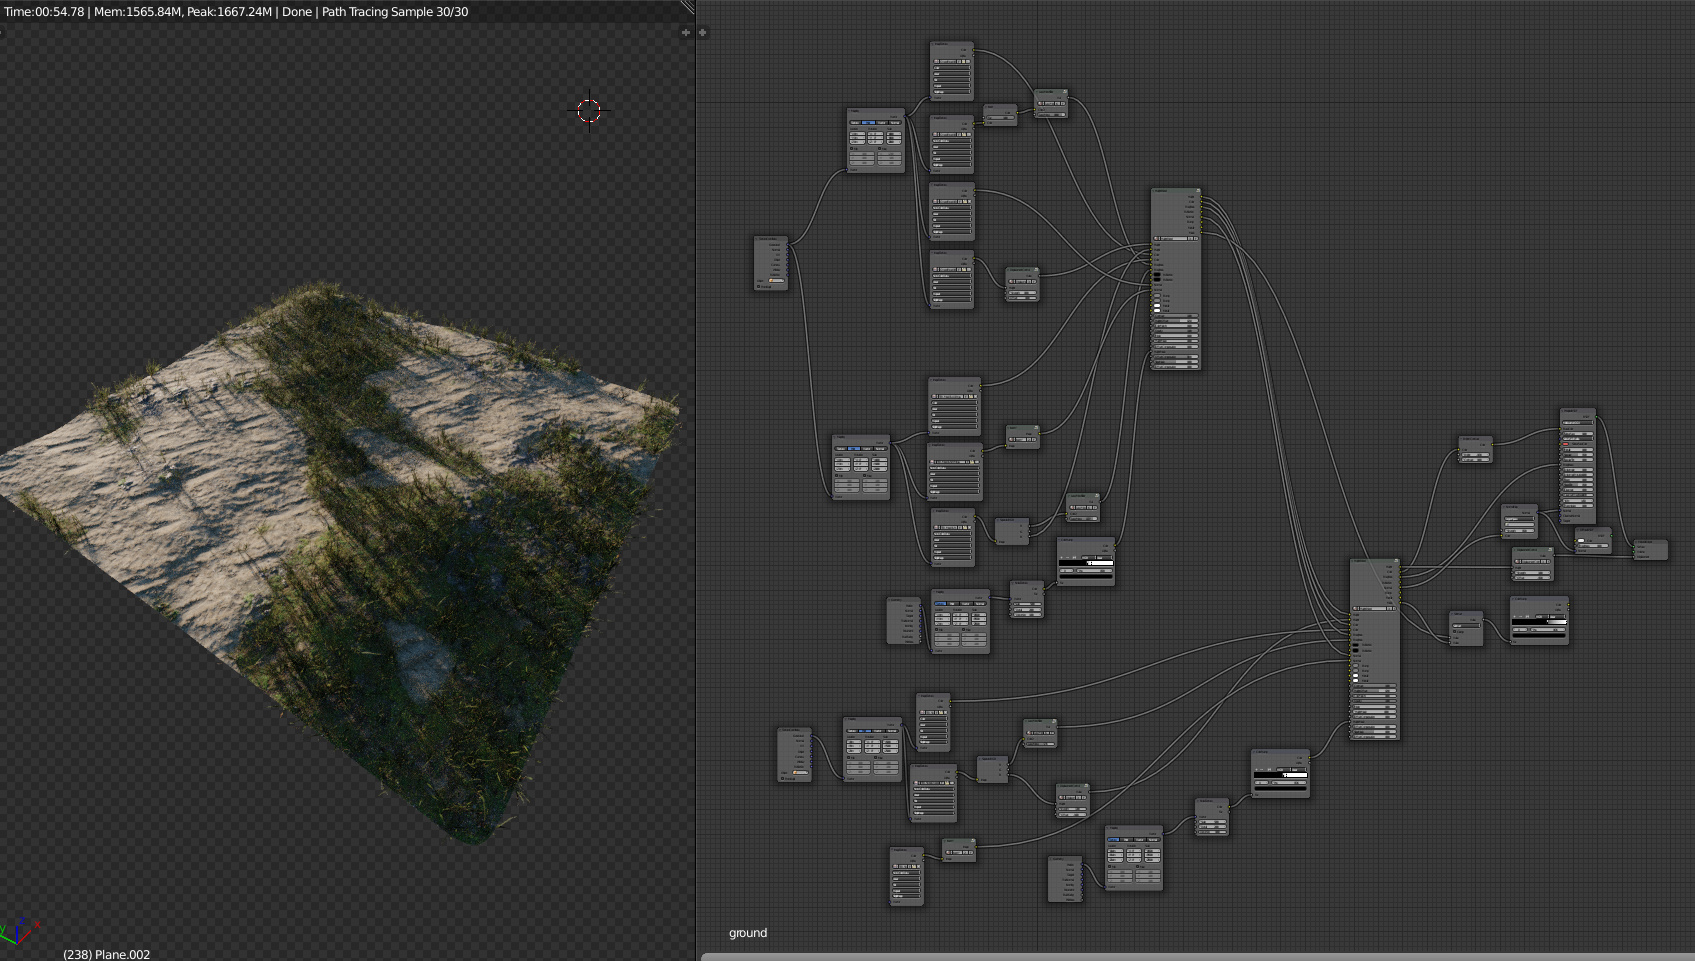
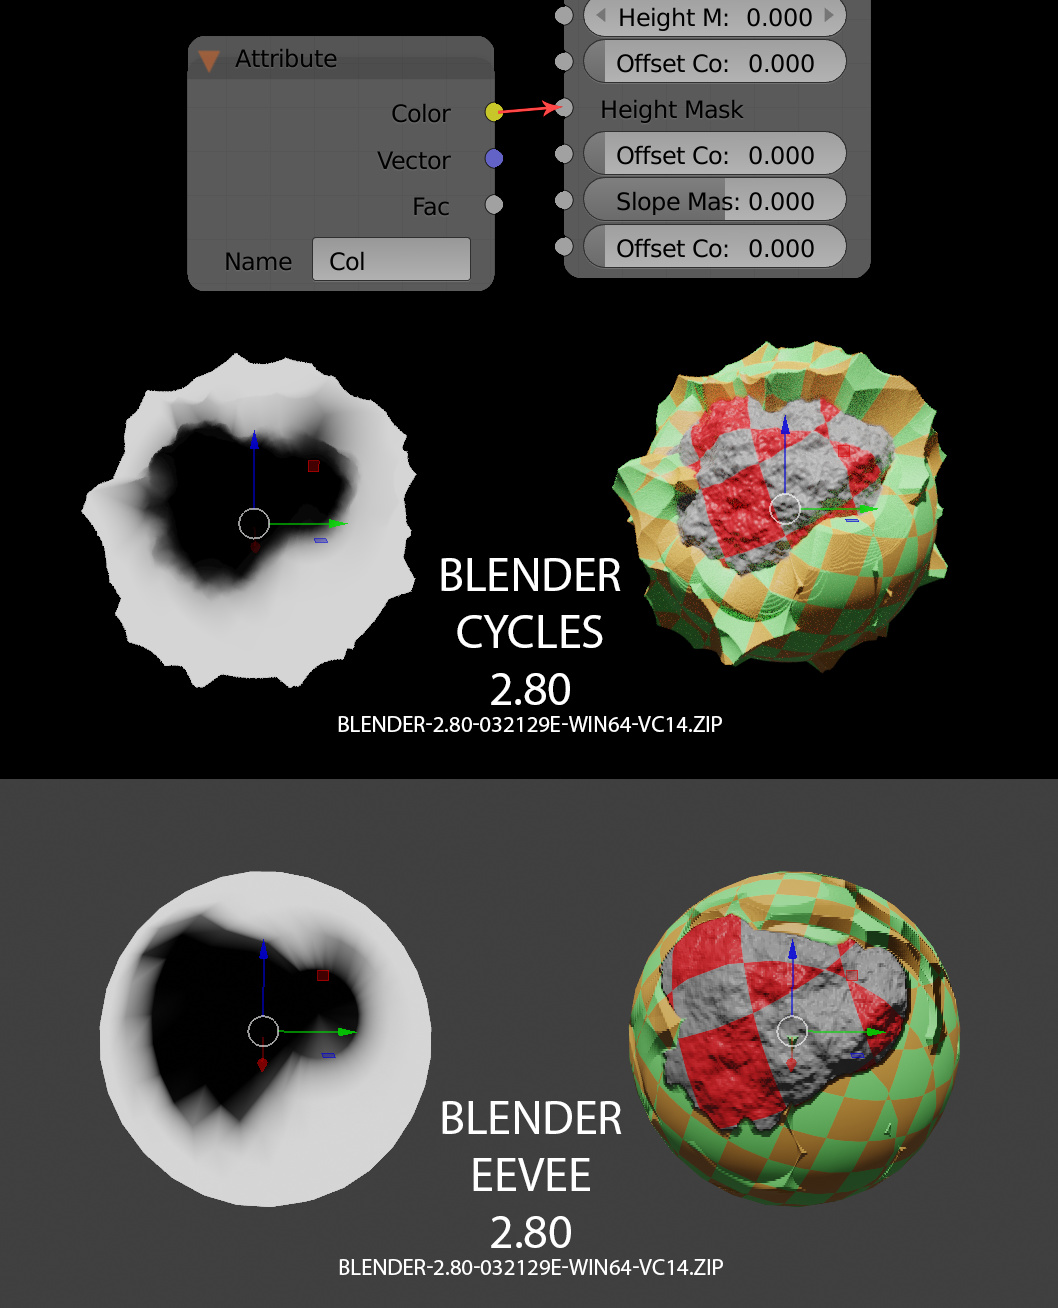
In the second image its 2 hard to really see the nodes, and i seams that you use several masks inside 1 image and separate rgb to access them. I’m pretty sure that instead of masks i can use vertex colors, but still couldn’t find a way to make it work.
Please explain a little more when you have the time.
I’ve test it again and it did work as expected.
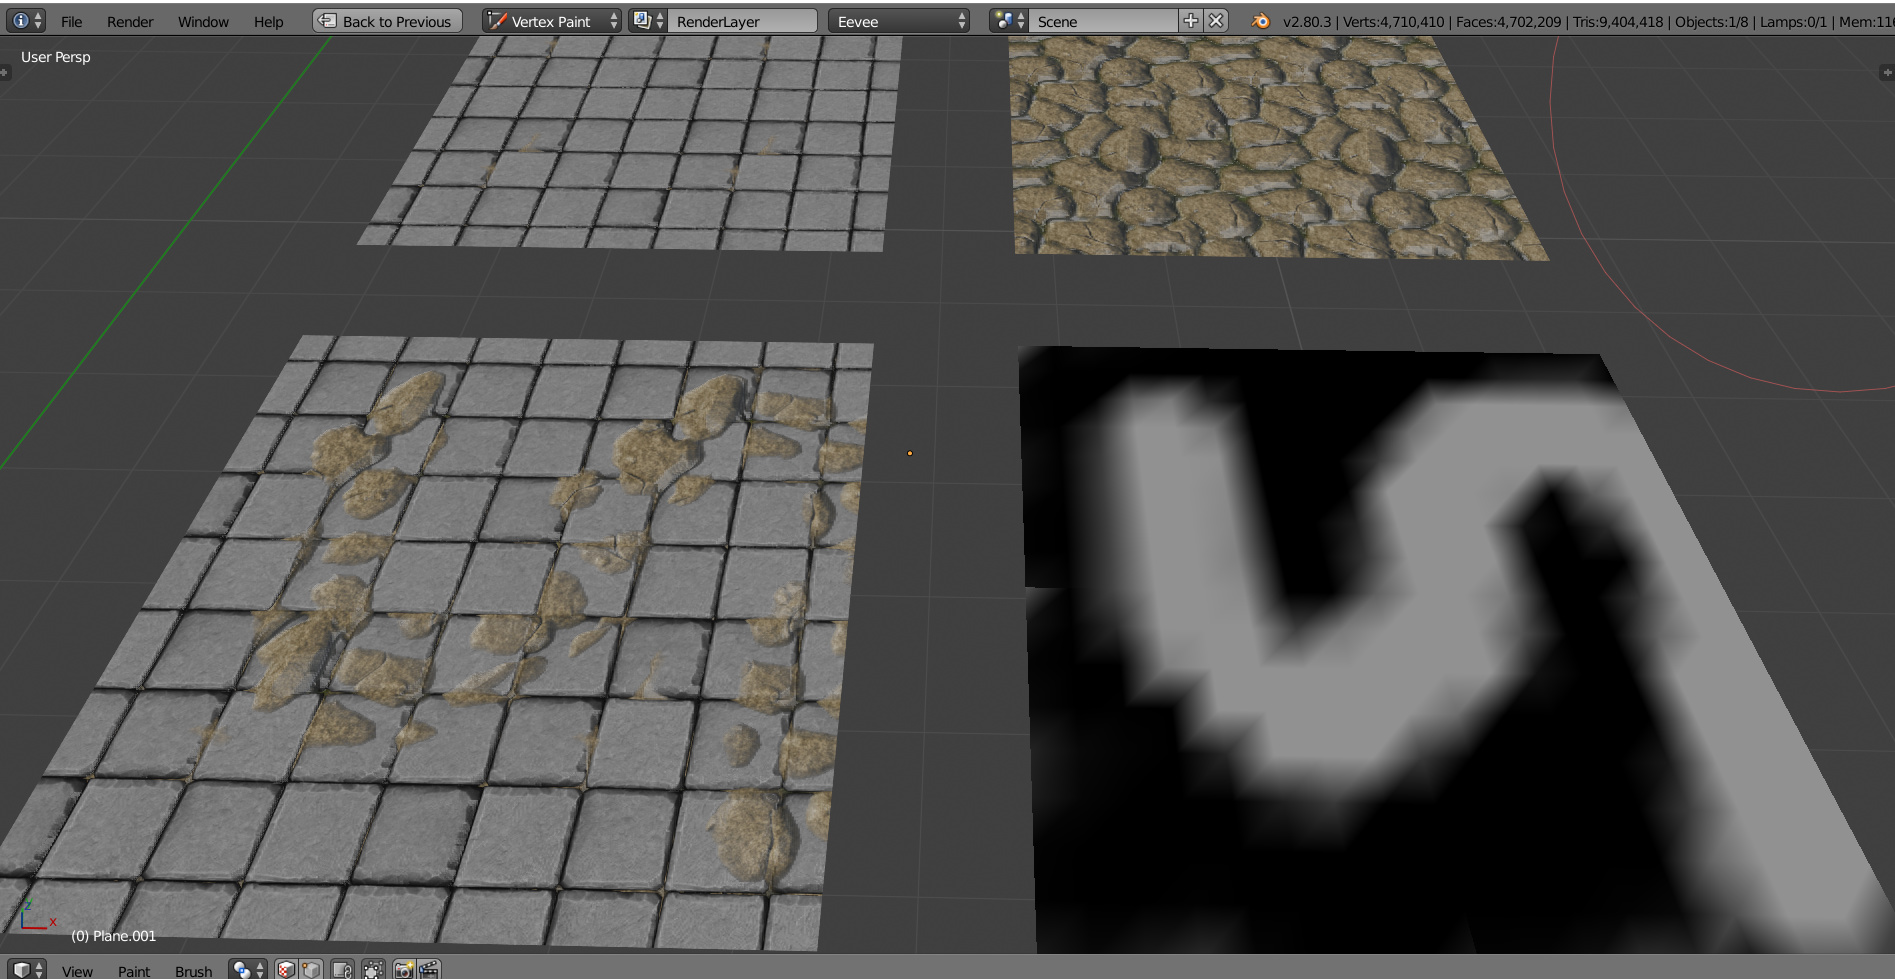
The problem i had was that the first thing i tryied was to take the node to eevee to see if i could blend 2 textures with heightmap and vertex colors like people do with unreal and unity.
I saw this next video 2 or 3 weeks ago, with a simple setup but i wasn’t able to reproduce the same effect with eevee (didnt tryed cycles)
Do you have any idea how to make it ?
Really appreciate your help and work so far
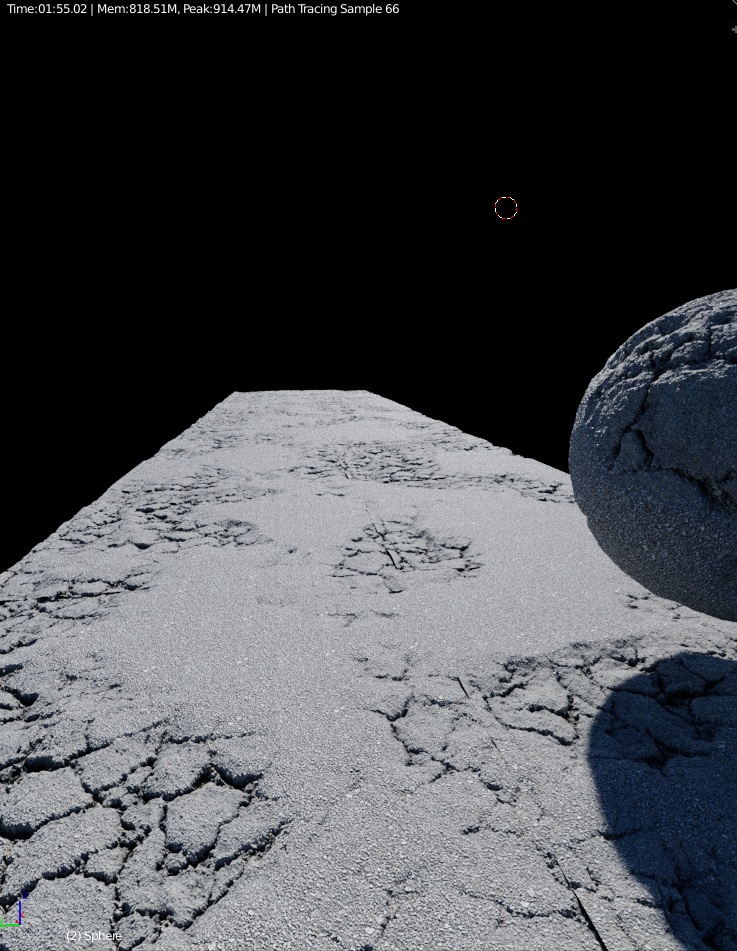
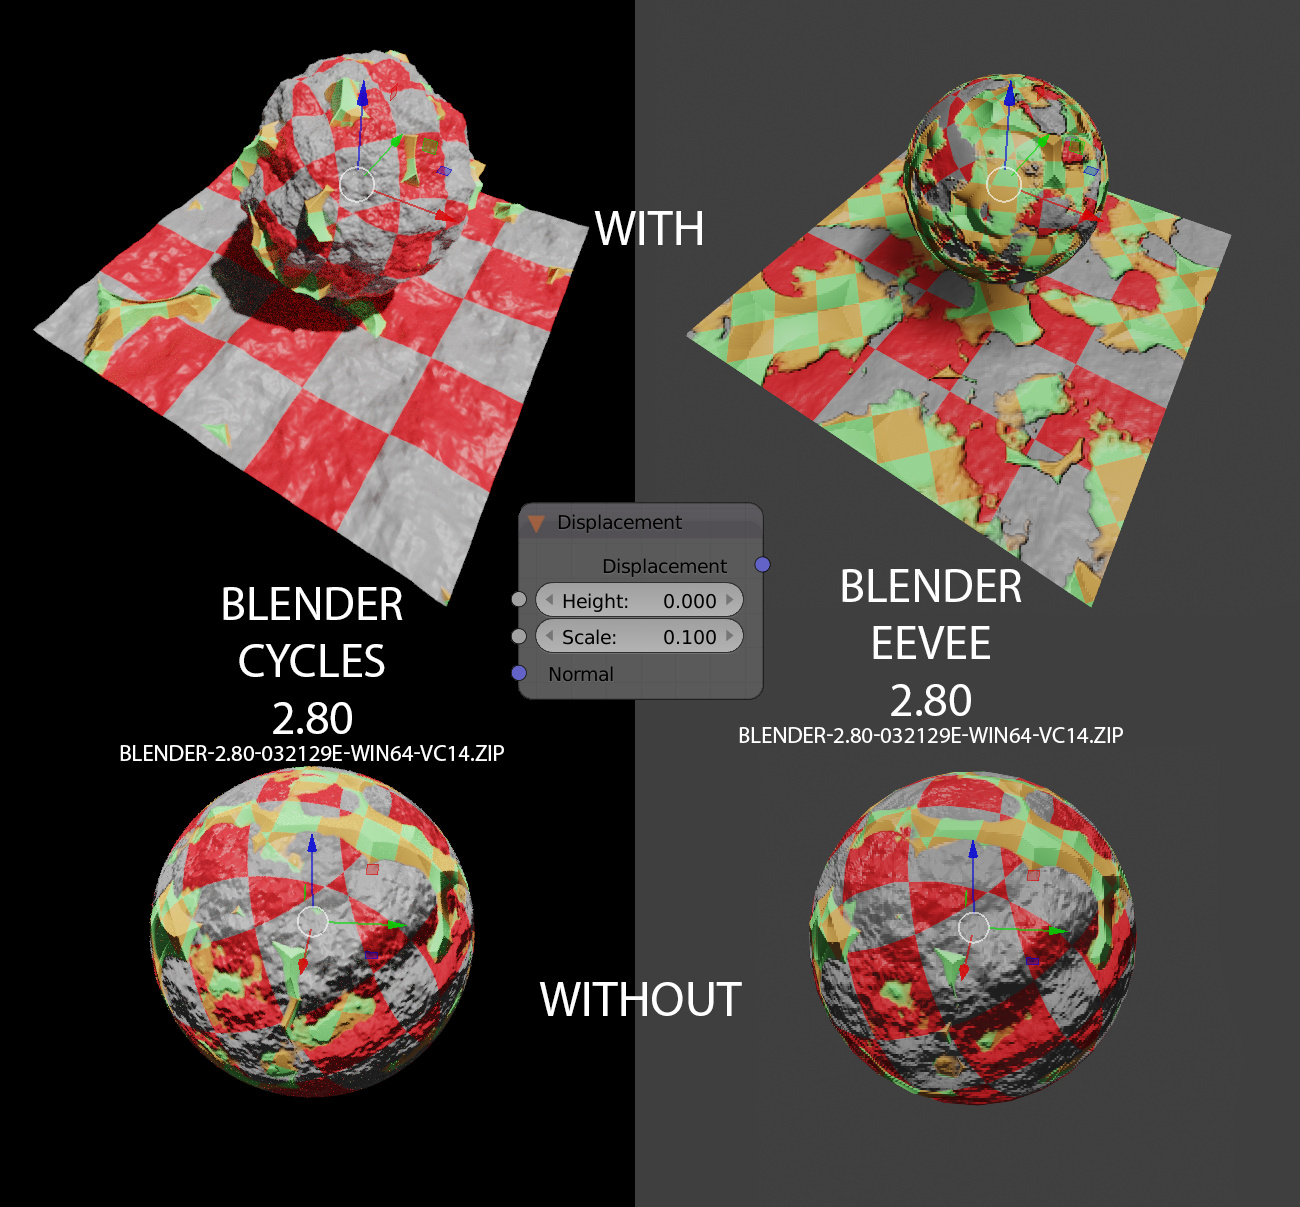
Using of displacement shifts height blending(the same for Cycles/Material Preview(Material Preview cannot correctly display a height blended material))
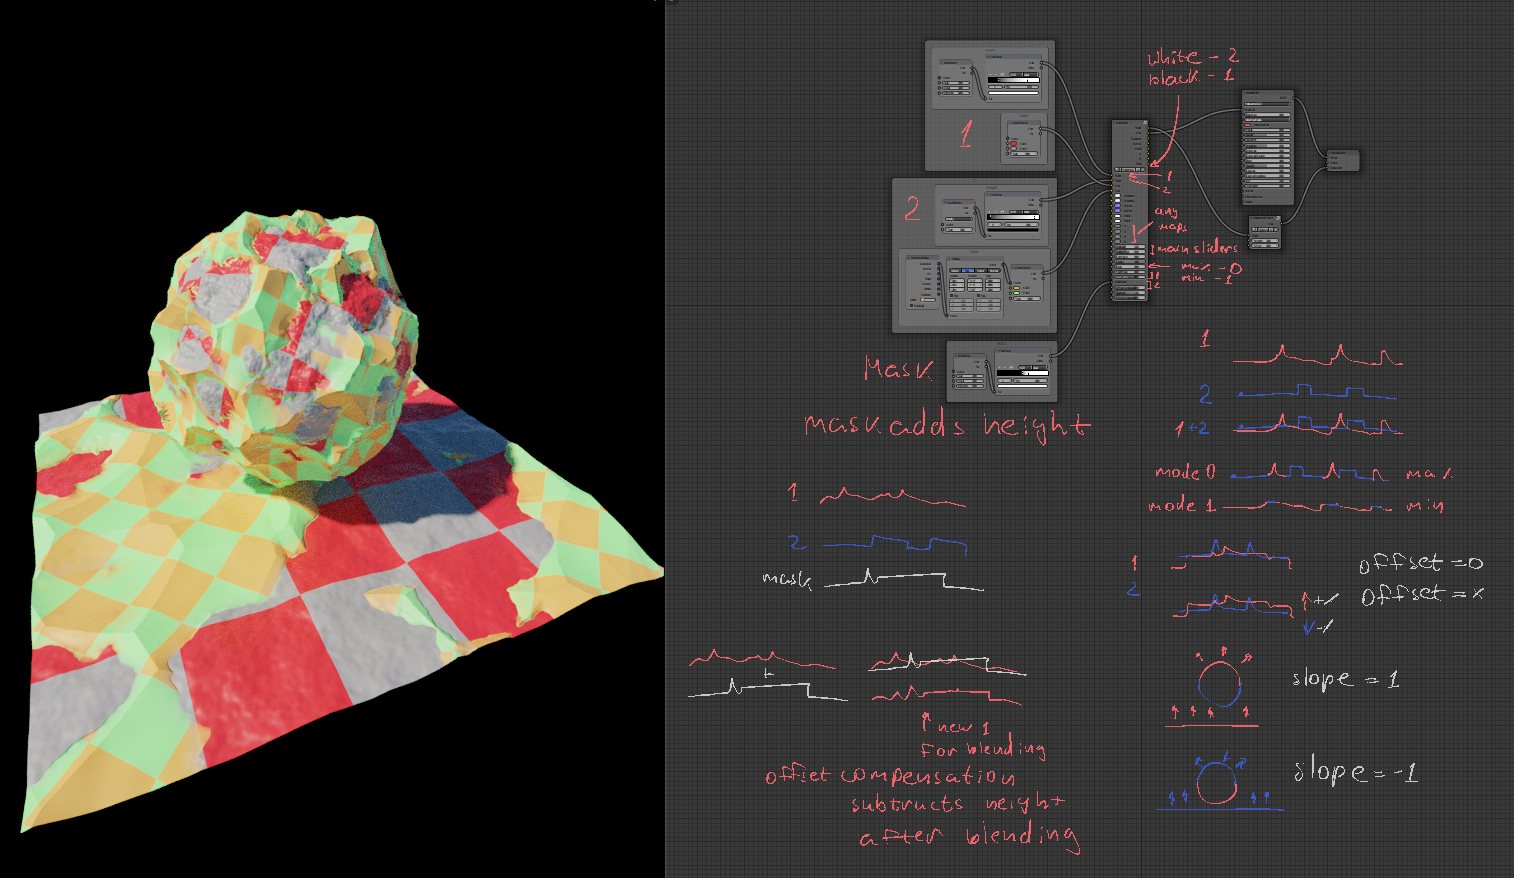
I’ve given up trying to understand the node setup
The node right now seems to use both height maps … although for my case i think i only need one as the ue4 height lerp, at least it would make it easier to control the mask.
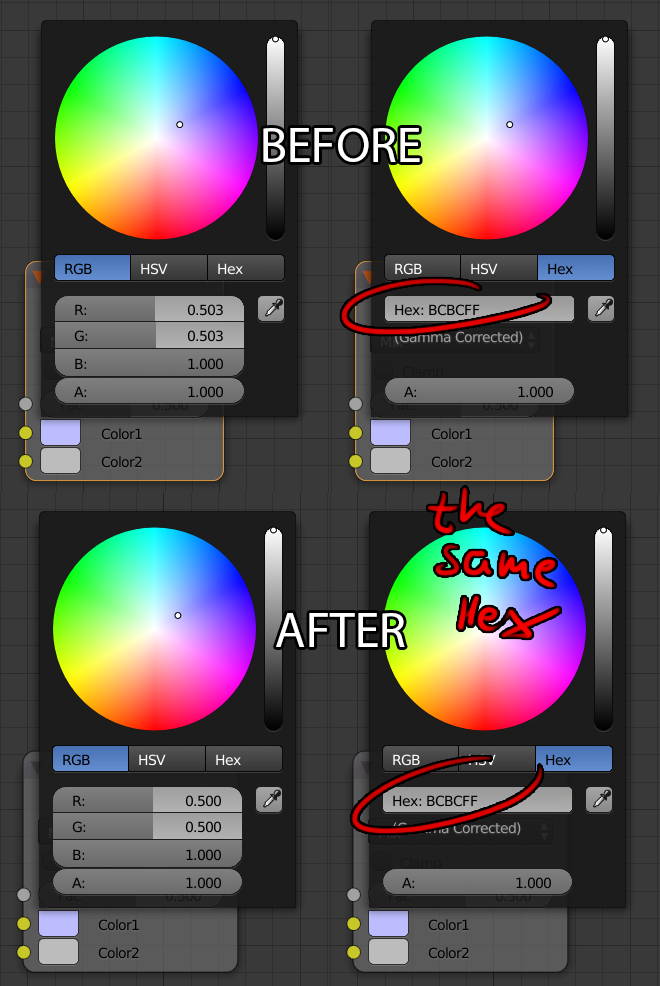
Changes with default values to add usability(middle gray by absolute whiteness(50%), normals pointing directly towards the viewer(50%,50%,100%), metallic = 0%)
Normal maps mixing should be right for 8bit+ maps now