Sorry if this is a silly question. A lot of the files I find on the internet have combined metallic-roughness maps, however I need to import these models into a program which does not have a “metallic-roughness” option when importing, only a metallic map and a roughness map as two separate options. How can I extract just the roughness map from a metallic-roughness map and save it as an image texture, and same with the metallic portion?
All those xy-maps are very dependent on the shader setup and the actual engine… (and i’m not an expert in this) … (but) if you search for this… you can find an overhelming amount of posts… for example:
or (no solution yet… but mayne interesting info to start with…)
.
.
The next is is a bit different topic… but also struggleing with the differences used in different aproaches…
If it is a combined Metal/Roughness map … you could use a split by color node…( you would have to figure out which of the channels the Metal and roughness are in…
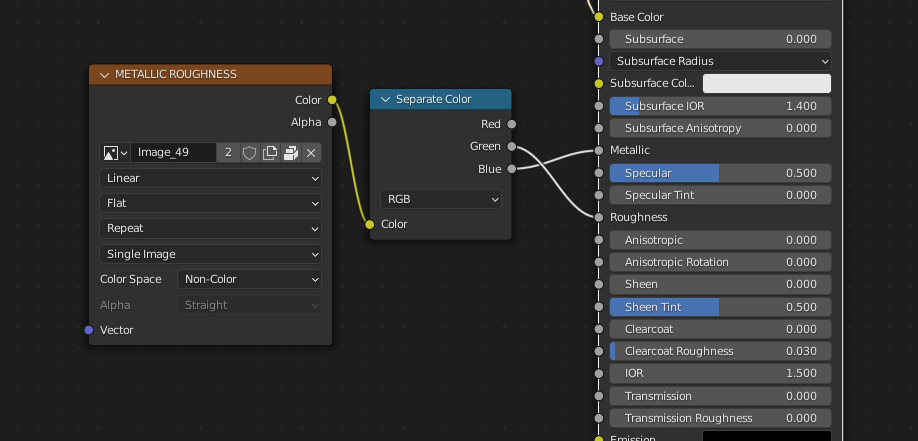
and just output those ( usually in a file like Marmoset, the Blue channel is the Metallic, and the Green is the roughness…It may be different in your file, just output with a viewer node and select the proper channels)…This is if there is actual masking in the channels…a lot of the time the channels are just filled with the color white to black for the greyscale Mettalic and Roughness… This is used in very many Game Models…where a 128x128 color texture is used for the Metallic and Roughness combined with an alpha Mask baked into the Alpha Channel to control them…
If that is the case a simple RGB node plugged into the M/R slots with the appropriate color will do…
1 Like
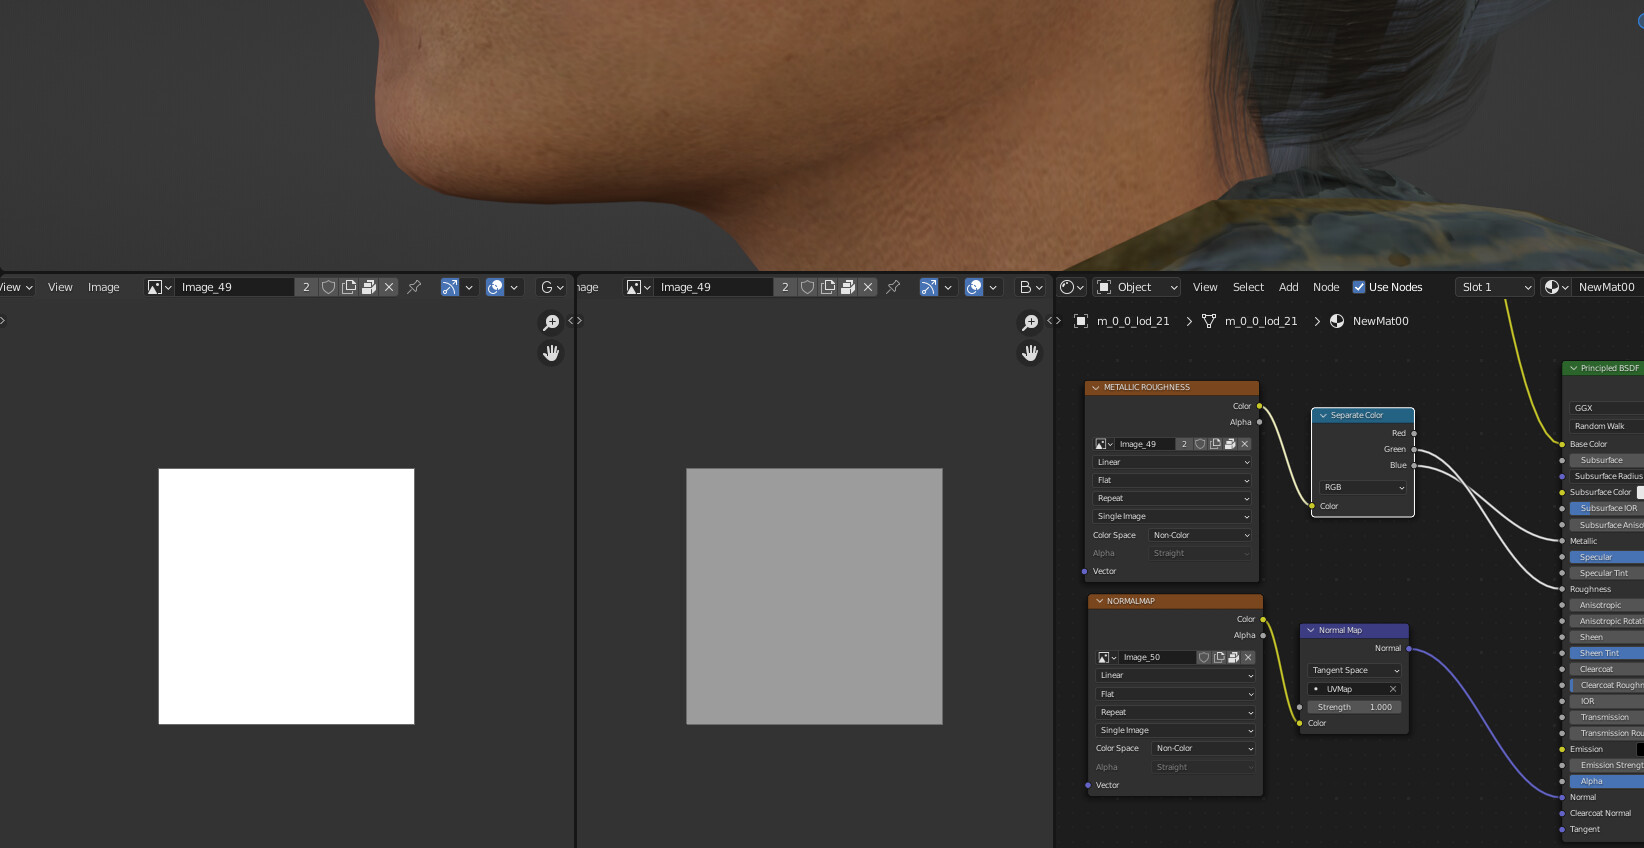
I might not have been clear enough in my post, I’m having a hard time wording this so I apologize. The nodes are actually set up correctly in blender, exactly as you show in the images you provided. Everything works and looks great in blender. However, the program I am importing to won’t let me tell it to use the split color nodes, it’s too abstracted from the user. All I can do is provide it a metallic map and/or a roughness map. The program won’t know to use a color splitter and there is no way for me to make it do that. So I need to take the metallic-roughness map and create two separate image files, one with only the metallic information and the other with only the roughness information.
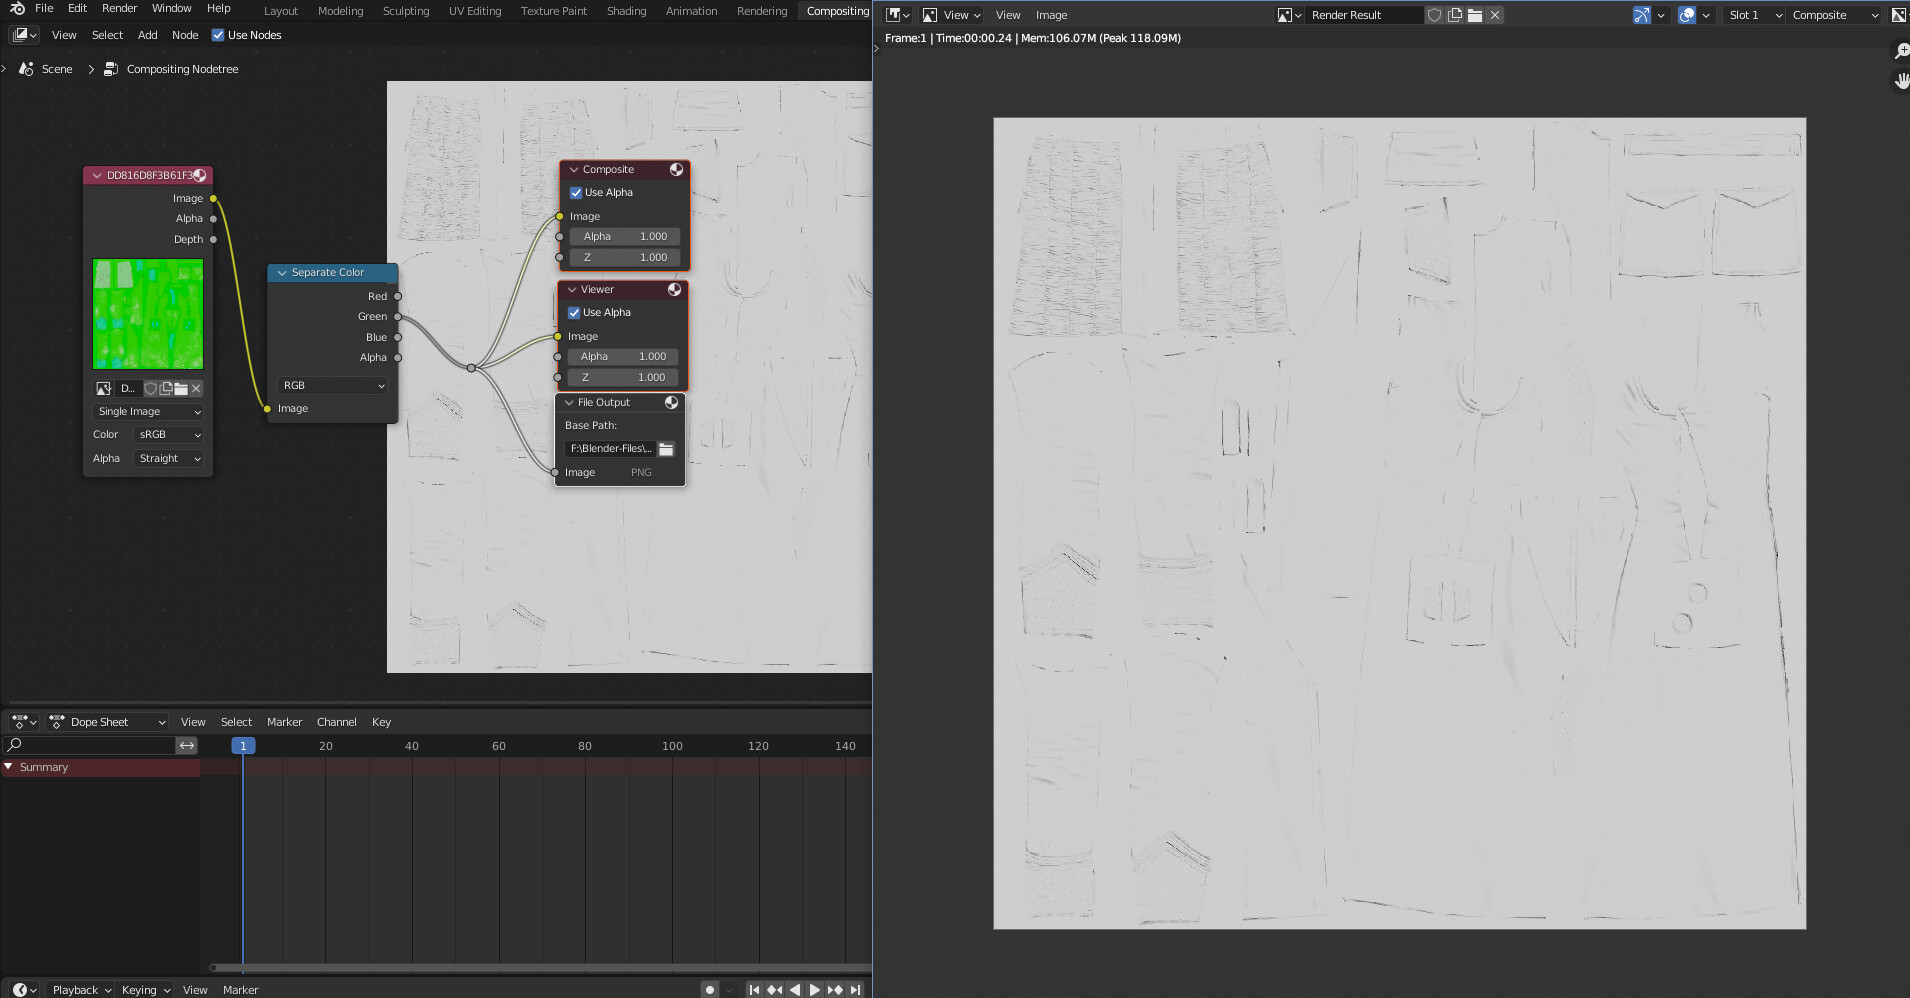
Then send the output of the RGB channels ( or G/B for Roughness / metallic…)
to a simple 256x256 image…In the compositing tab…and render the image to file…
one would be mid-grey and the other Black or there about…
…I find it a waste of resources but it is used in many high-end games…
This one has actual data baked into the green channel…as a real roughness map…
Set your Render File output to the size of the original image sizes…
In general:
Open any image editor, select only one channel (Reg/Green/Blue/Alpha) and export it as separate file.
Blender
Open Compositor and create following nodes.
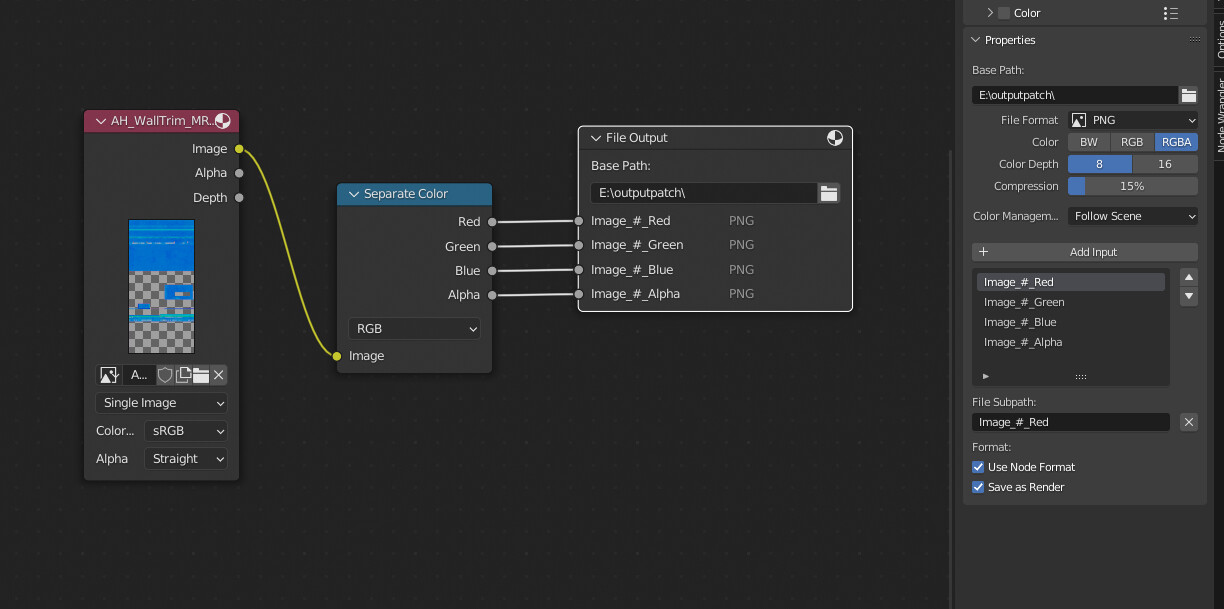
„Image‟ node with your image » „Separate Color‟ » „File Output‟ node
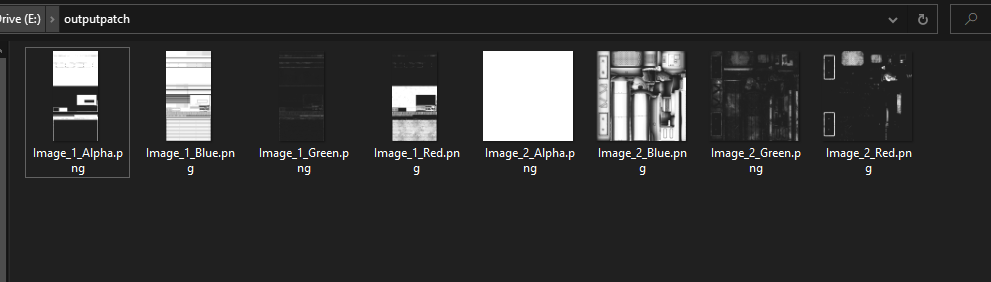
Then, add few image slots (by clicking Add Input, when selected that output node, and name it somehow and select path)
And just swap this input images one by one (in “#” there will be frame number, so you can change frame each time you swap image, so it wont override previous image, cause you cant pass original image name)
And press Render (Your render settings and resolution wont matter, so you can change them to something low like 64x64 and single sample)
Photoshop
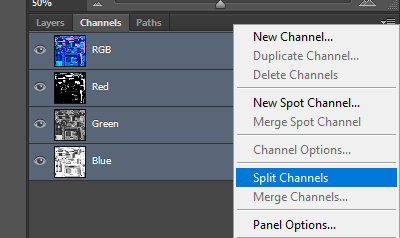
save images
Gimp
Colors > Components > decompose
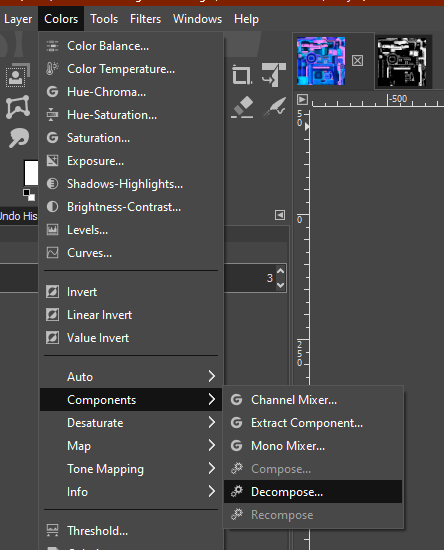
Save those layers as separate images
IrfanView
Image>Show Channel » Red/green/…» and then save

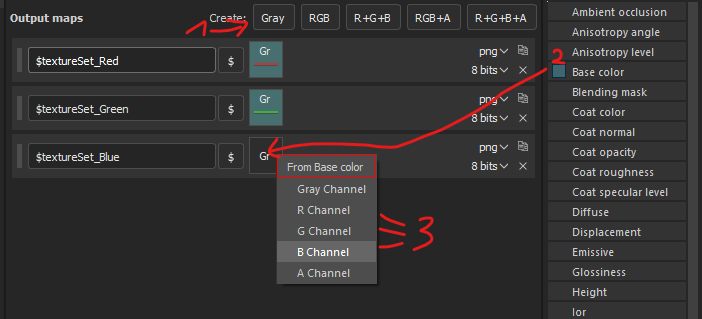
Substance Painter
Open project with just plane
Load your image as BaseColor layer
create preset as in image below:
Similarly in Designer, Sampler, etc
1 Like
Why are you showing me an image Out of Substance Painter?
anyway…Better safe than sorry as I always say…besides…I assume that every question here is from someone with next to zero knowledge…and make my answers as simple as possible…then if they are a total Noob they can figure it out and an experienced already knows it…I don’t really like to muddy the waters by adding an advanced technique of changing the Nodes themselves…that is not a discussion for a new person, at least not until they have a bit more experience under their belts…
But thank you for adding your response, others out there will find this extremely helpful…
![]()
Oh okay I see what you are saying now. I didn’t know you could do that in blender. Thank you very much this is very helpful ![]()
?
Its from blender
Well, it was meant for You ![]() , because maybe You didn’t know that this setup does not need setting up resolution.
, because maybe You didn’t know that this setup does not need setting up resolution.
Ahhh It looks just like my Substance Shelf, and not you say it…I guess also from Blender, but I just didn’t recognize it…since it was cropped down to just thumbnails…
I
I put that in as most would not know that and would just get a 1920x1080 default image, which would not work as a rough/metal map in the UV…
But all is good the OP got what they needed, and others will benefit also!
Happy Blending!