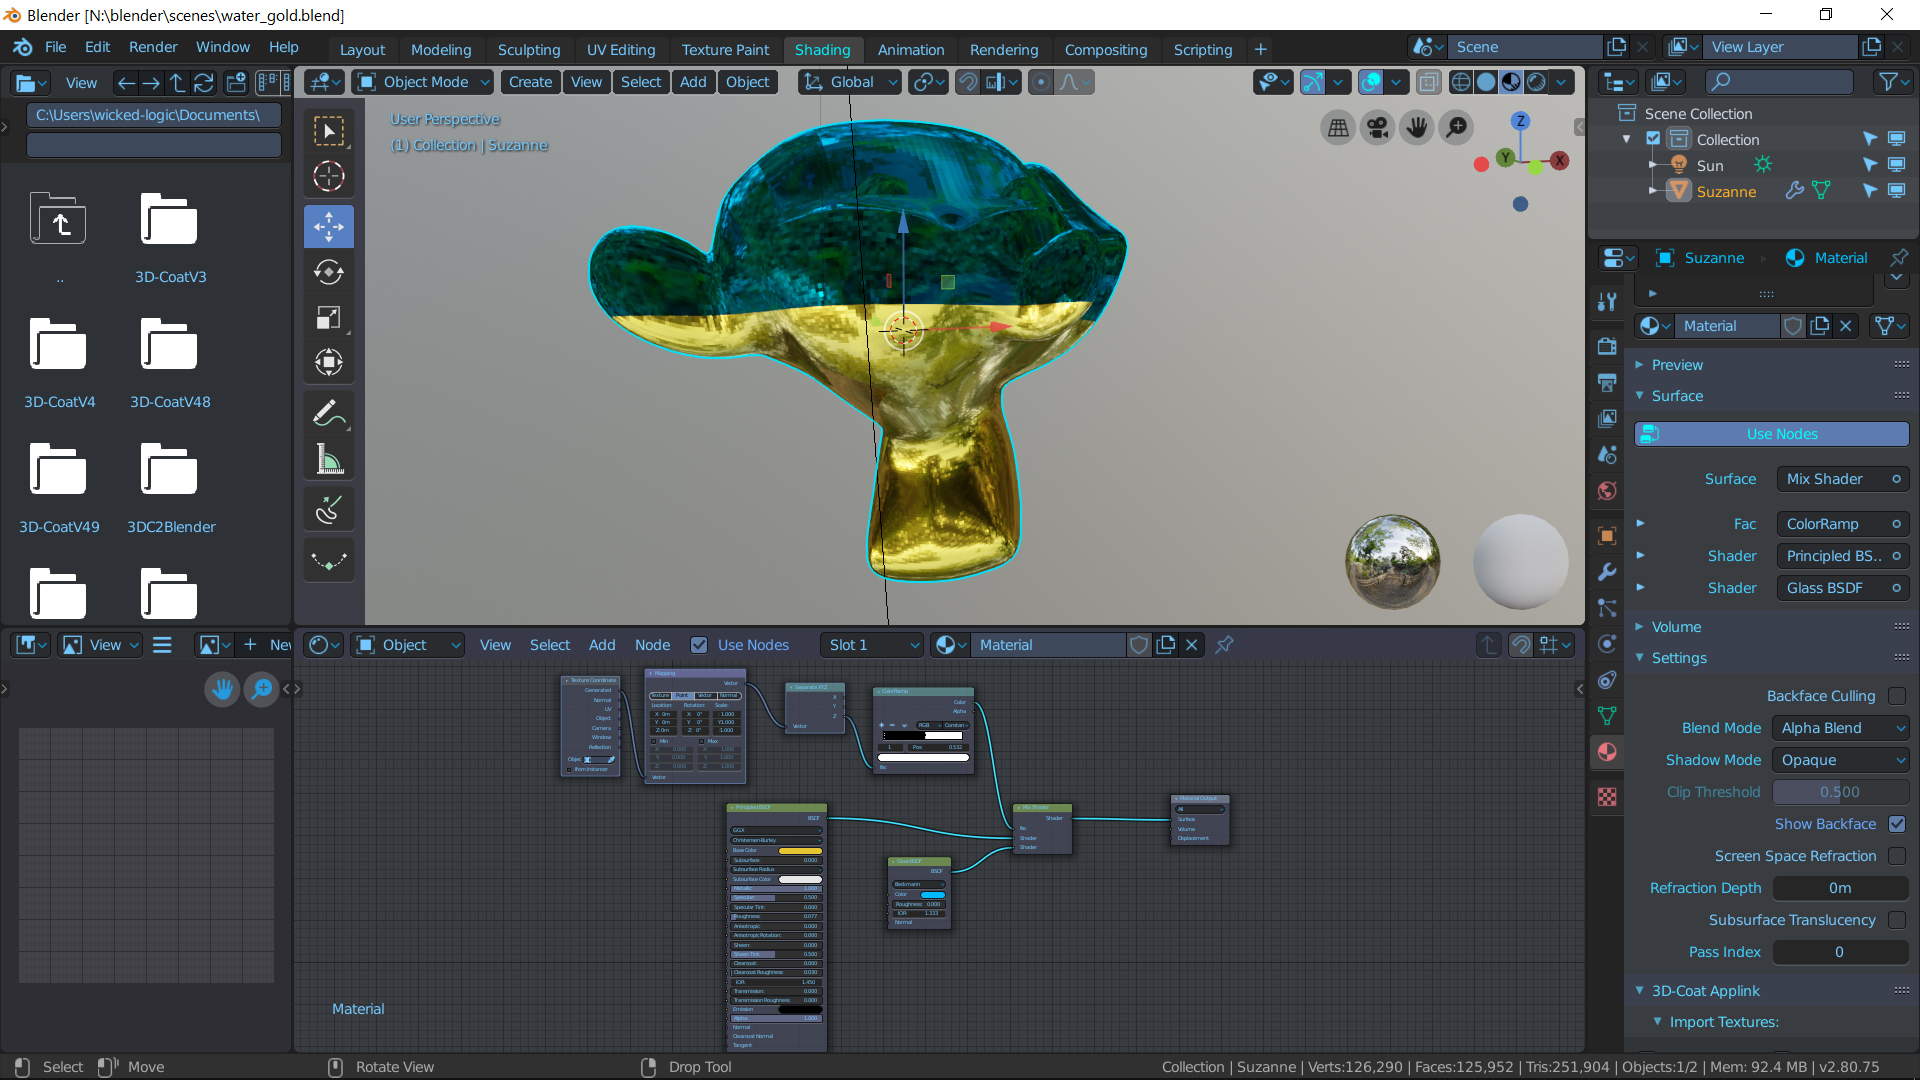
and another part have a water color and texture?
is making it so they reflect light as if they were gold and water possible?
1 Like
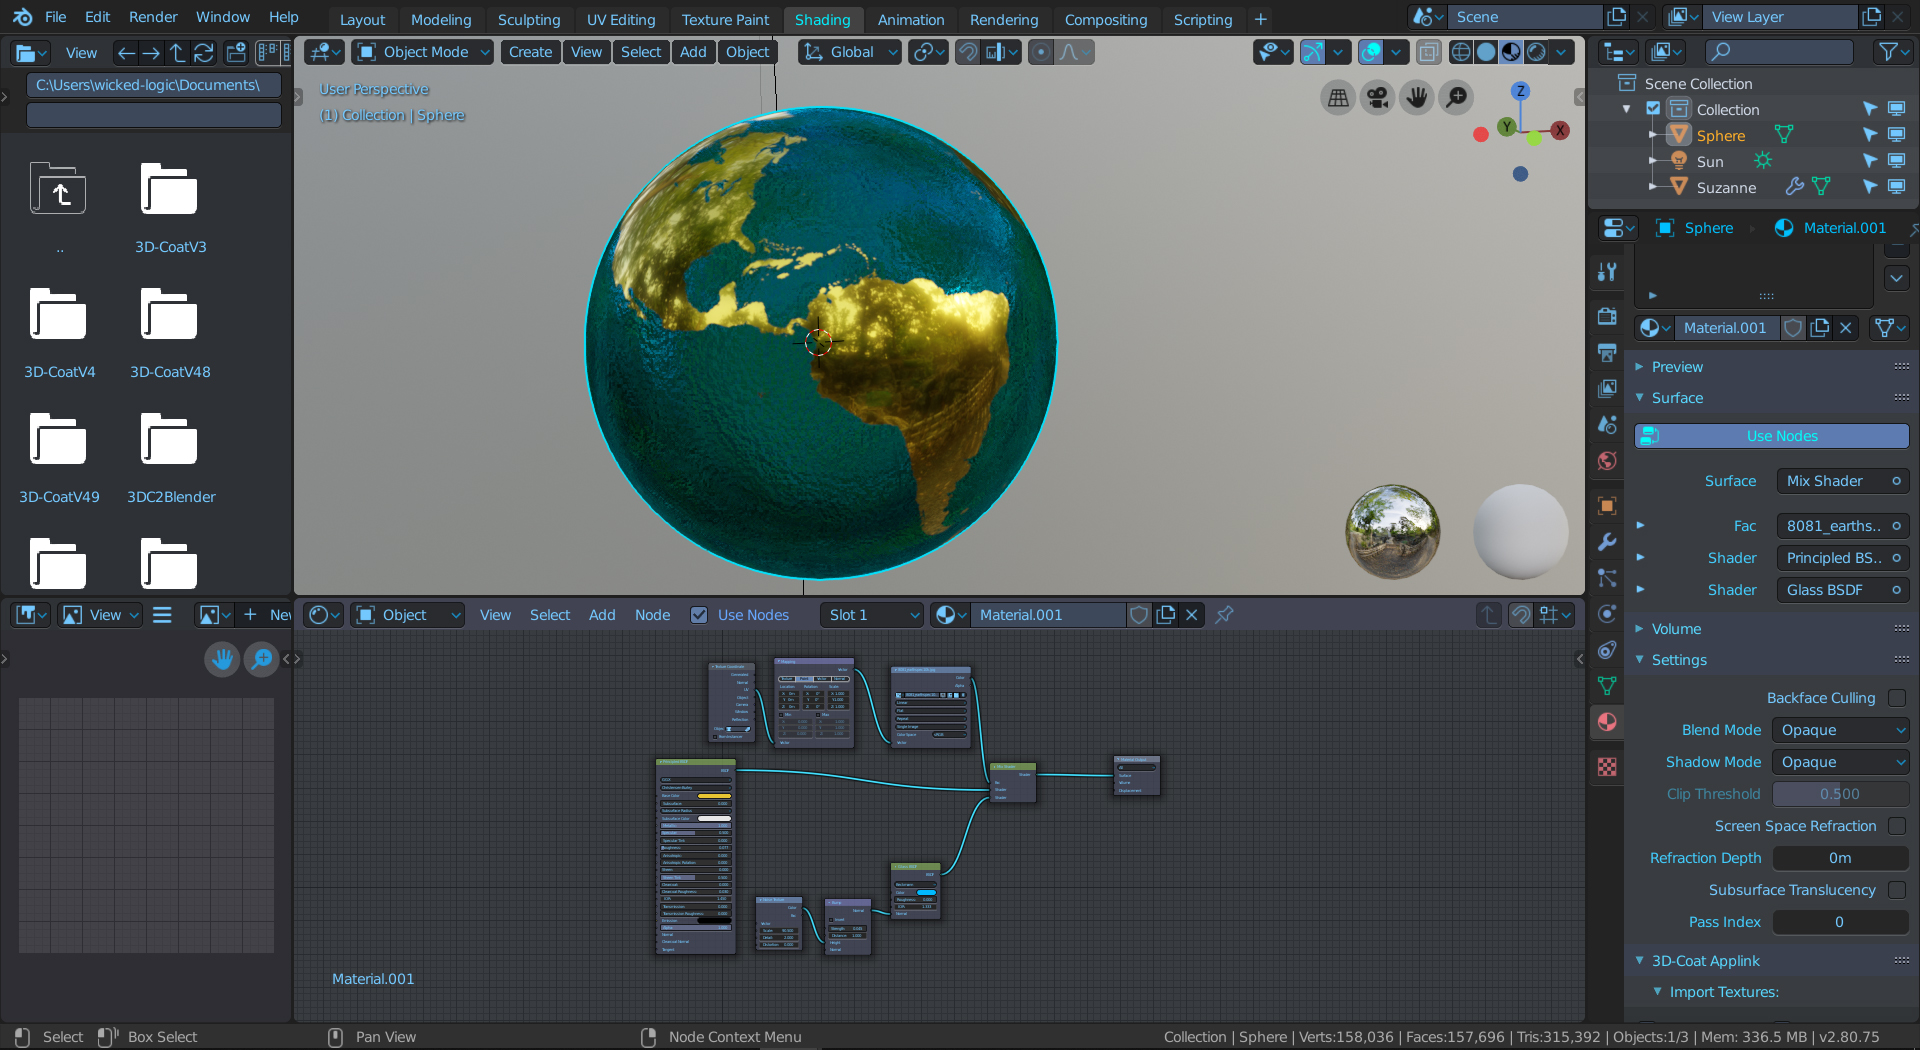
that’s exactly what i want. is it possible to use a map of the earth where the land is white and sea is black, and make the land be gold and sea be water colored? i’m very new to blender so explaining how to do all of this simply would be appreciated
Hi Isaiah,
Yes it is the same graph nodes setup except you would replace the color ramp with the black and white mask of the earth.
I had to apply a decimate modifier on the sphere because of the limit of file size but it is not necessary.
Here the .blend
water_gold_earth.blend (4.1 MB)
thanks so much for your help! if you feel like helping more… basically i’m making a heart shaped globe, and as it is the gold texture looks very stretched from the heart shape. any clue how to make the gold texture look more natural and not stretched?
also, how do i change the image that’s being reflected off of the materials?
Without seeing your file it’s hard for me to tell you but it is probably related to your UV mapping that have some distortion in it.
I don’t know what is your level of experience but i presume that you are probably just starting so if that’s the case i suggest the Blender fundamentals.
Not that i don’t want to help you it’s just that i may bring concept that you haven’t learn yet and it will be impossible to explain clearly for me.
Here the Blender fundamentals link ;
this is my first project, and i’m trying to finish ASAP because im making a logo for a charity and it has already taken quite a while.
do you mind checking out my file and telling me how to fix it, or if it’s complicated, which tutorial(s) to check out?
The only problem was the way you unwrap the UV, if you want to be close to what earth look like on a very different shape than you can simply use uv sphere projection on the heart and then simply moving the uv island until you are happy with the continents placement.
Depending on the viewing angle sometime projecting from view is enough but in this case i use uv sphere projection method.
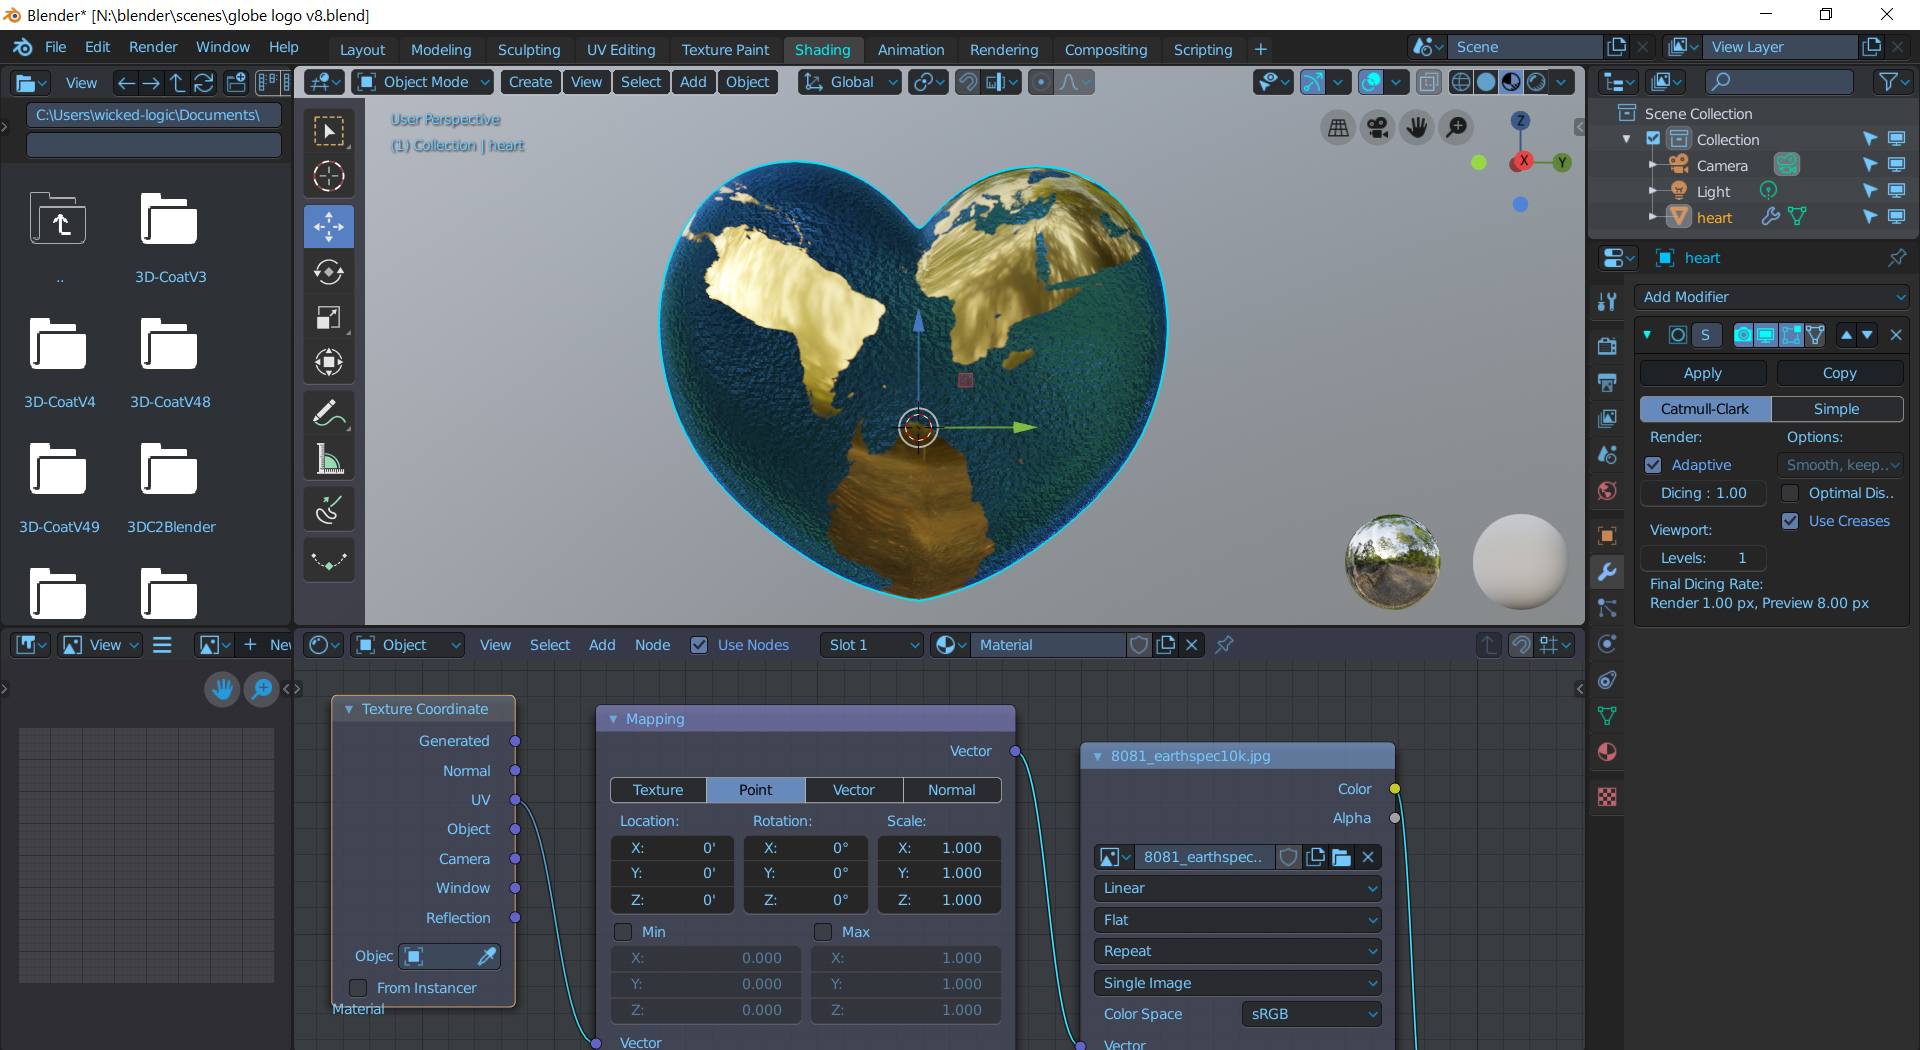
globe logo v8.blend (4.1 MB)
i tried moving around the uv island in UV Editing and it was super distorted when i tried to put the US Europe and Africa on the front. sorry but i have no clue what to do. here’s the map image i’m working with:

I am afraid that the heart shape is not going to be easy to get exactly what you want since the heart shape is not at all similar to a sphere.
Putting all continents on the front of the hearth will probably look like a mess more than anything else.
I just use project from view and i have scale the uv island a little bigger and move the uv island until most continents fit on the front.
Play with it if you want to have more control by simply scaling and moving the uv island.
The last solution i could see is to do a smart unwrap and to paint the continents you need on the heart 3d model with texture paint but unfortunately i don’t have the time to do it so you will have to look at texture paint tutorial.
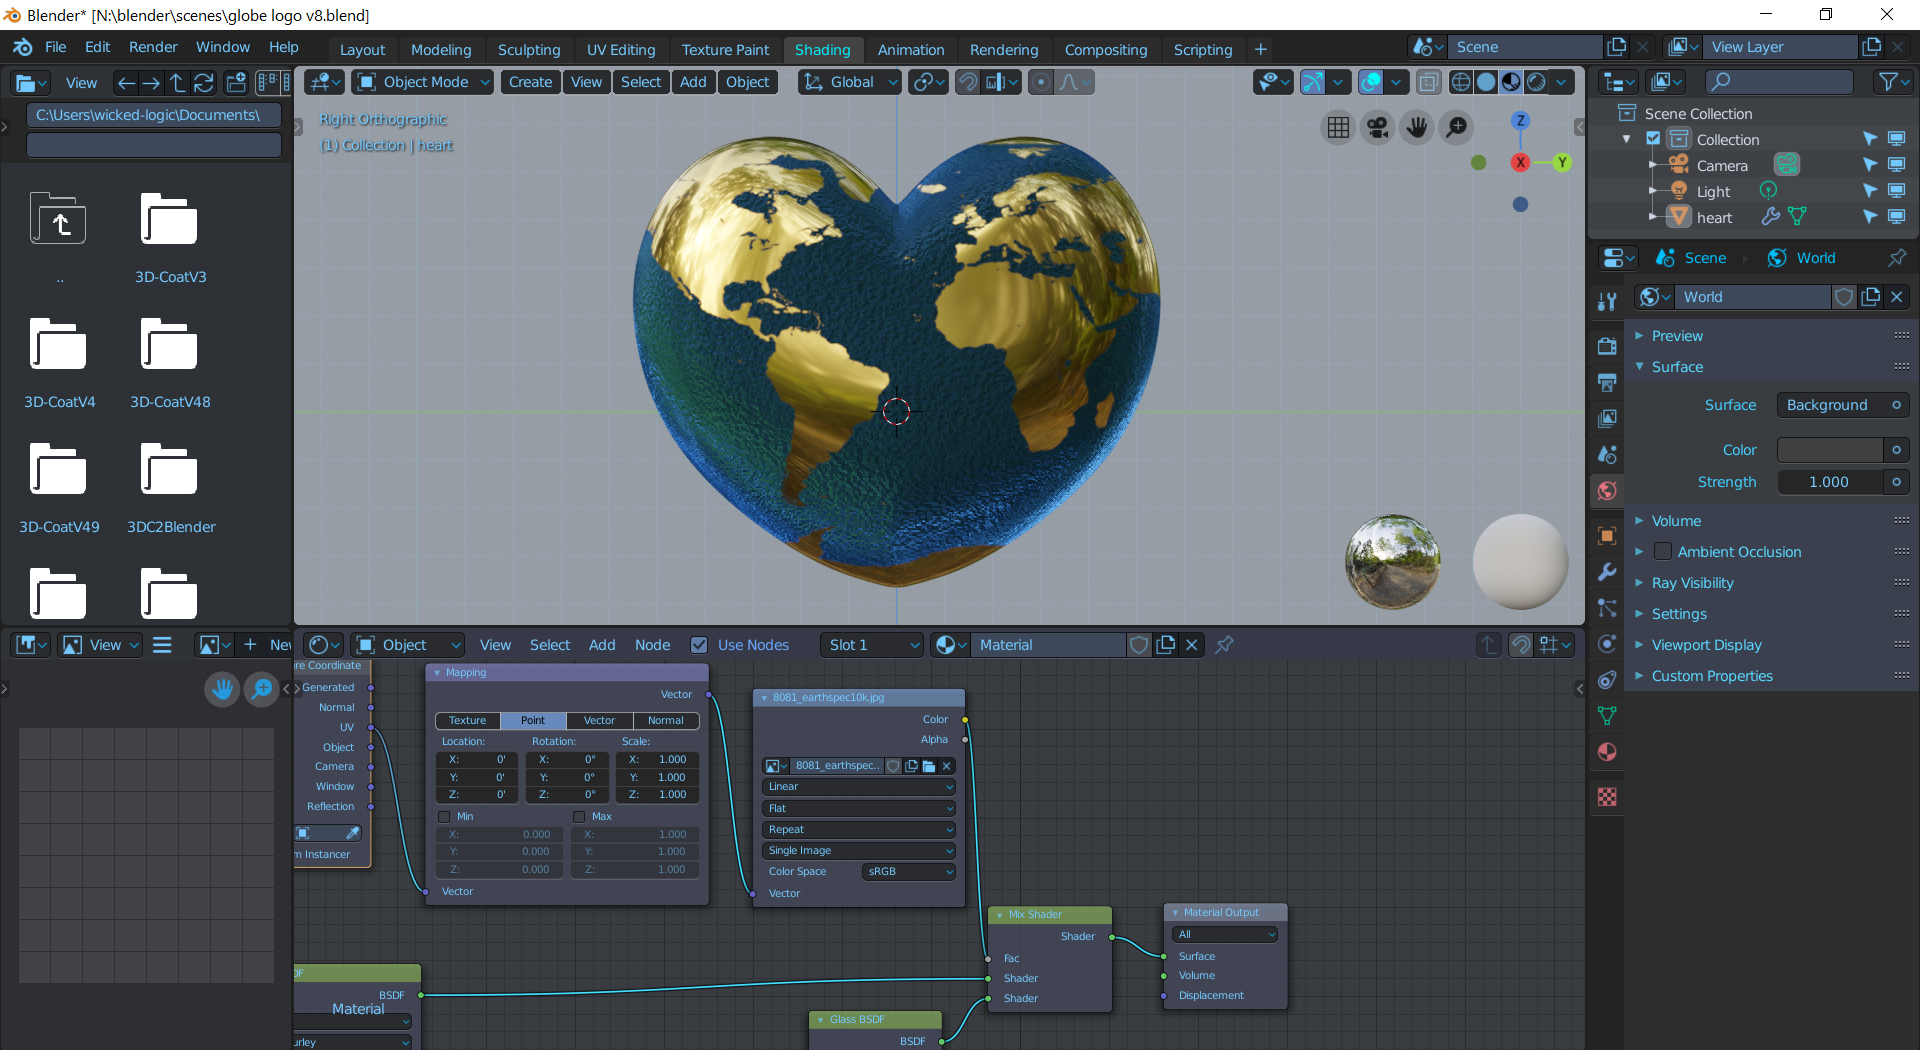
globe logo v8.blend (4.1 MB)
it looks great! i tried to find an answer but couldnt, how do you change the image that is shown reflected on the gold texture? it looks like trees are being reflected. do you know of a good tutorial for lighting and final touches?
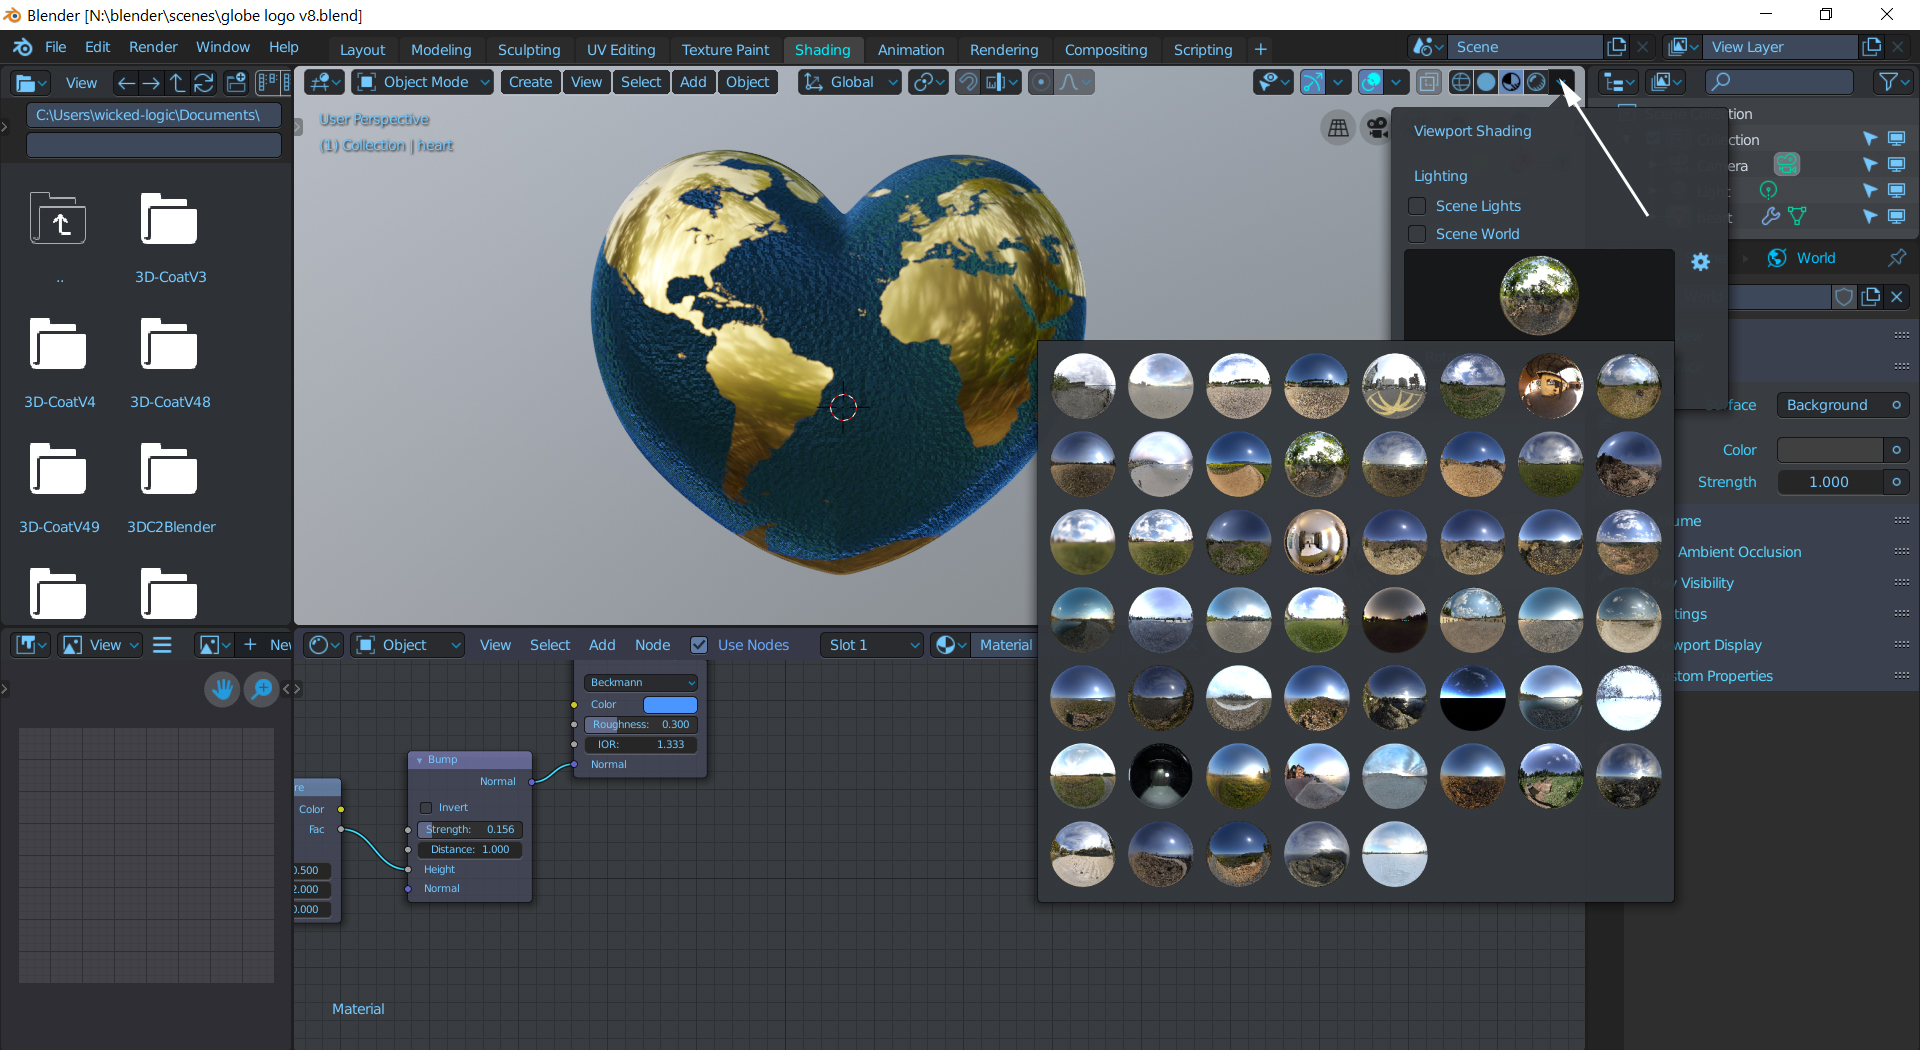
Yes it’s the hdri that give you those trees in it, to change it you just have to click on the shading button and to click on the sphere to get more choice, by default blender only have 7 or 8 i think but you can get a lot of high quality hri on hdri haven ;
Lighting and final touch can vary a lot according to scene but for a simple scene like that you can only use a good 8k hdri and you can add a sunlight to the heart and play with the intensity and rotation to get the look you are after. Final touch is often tweaking materials until happy and maybe adding ground like normal map to the gold continents.
you’ve been amazingly helpful. thanks so much! i don’t mind if you don’t reply again, but if you feel like helping more i have a couple more questions.
how do i add a rough gold texture to the land? kind of like this:
https://images.app.goo.gl/1epXXFqA7KuGGTkf6
would it be possible to make the land look higher than the water like in the sample image i gave too? i did something like that with a displacement map before, but i don’t know how to add it on to what we’ve already made.
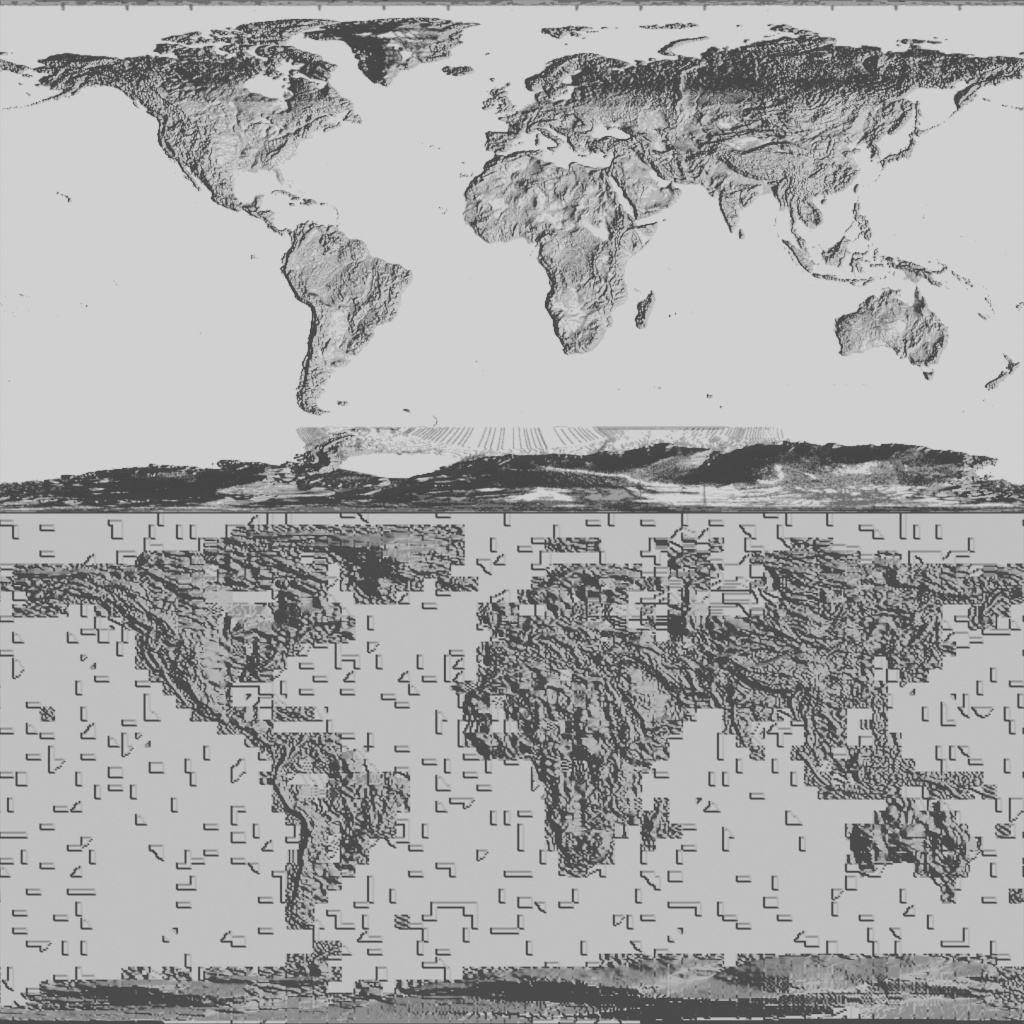
here’s the image for the displacement map:

here i tried adding the displacement map but it didn’t turn out so great:
also, why does it look good in “Look Dev mode” but horrible in “render preview” mode? when i render it it looks too sharp and the lighting is way off
You shouldn’t use textures in jpeg format, specially when some sort of bump mapping is involved.
Jpeg artifacts get very pronounced when derivatives are calculated, and that’s the main problem with your texture.
Here’s a quick comparison between a uncompressed texture (top), and the jpeg you’re using (bottom):
oh man i was wondering about that. thanks for your help!
Hi Isaiah,
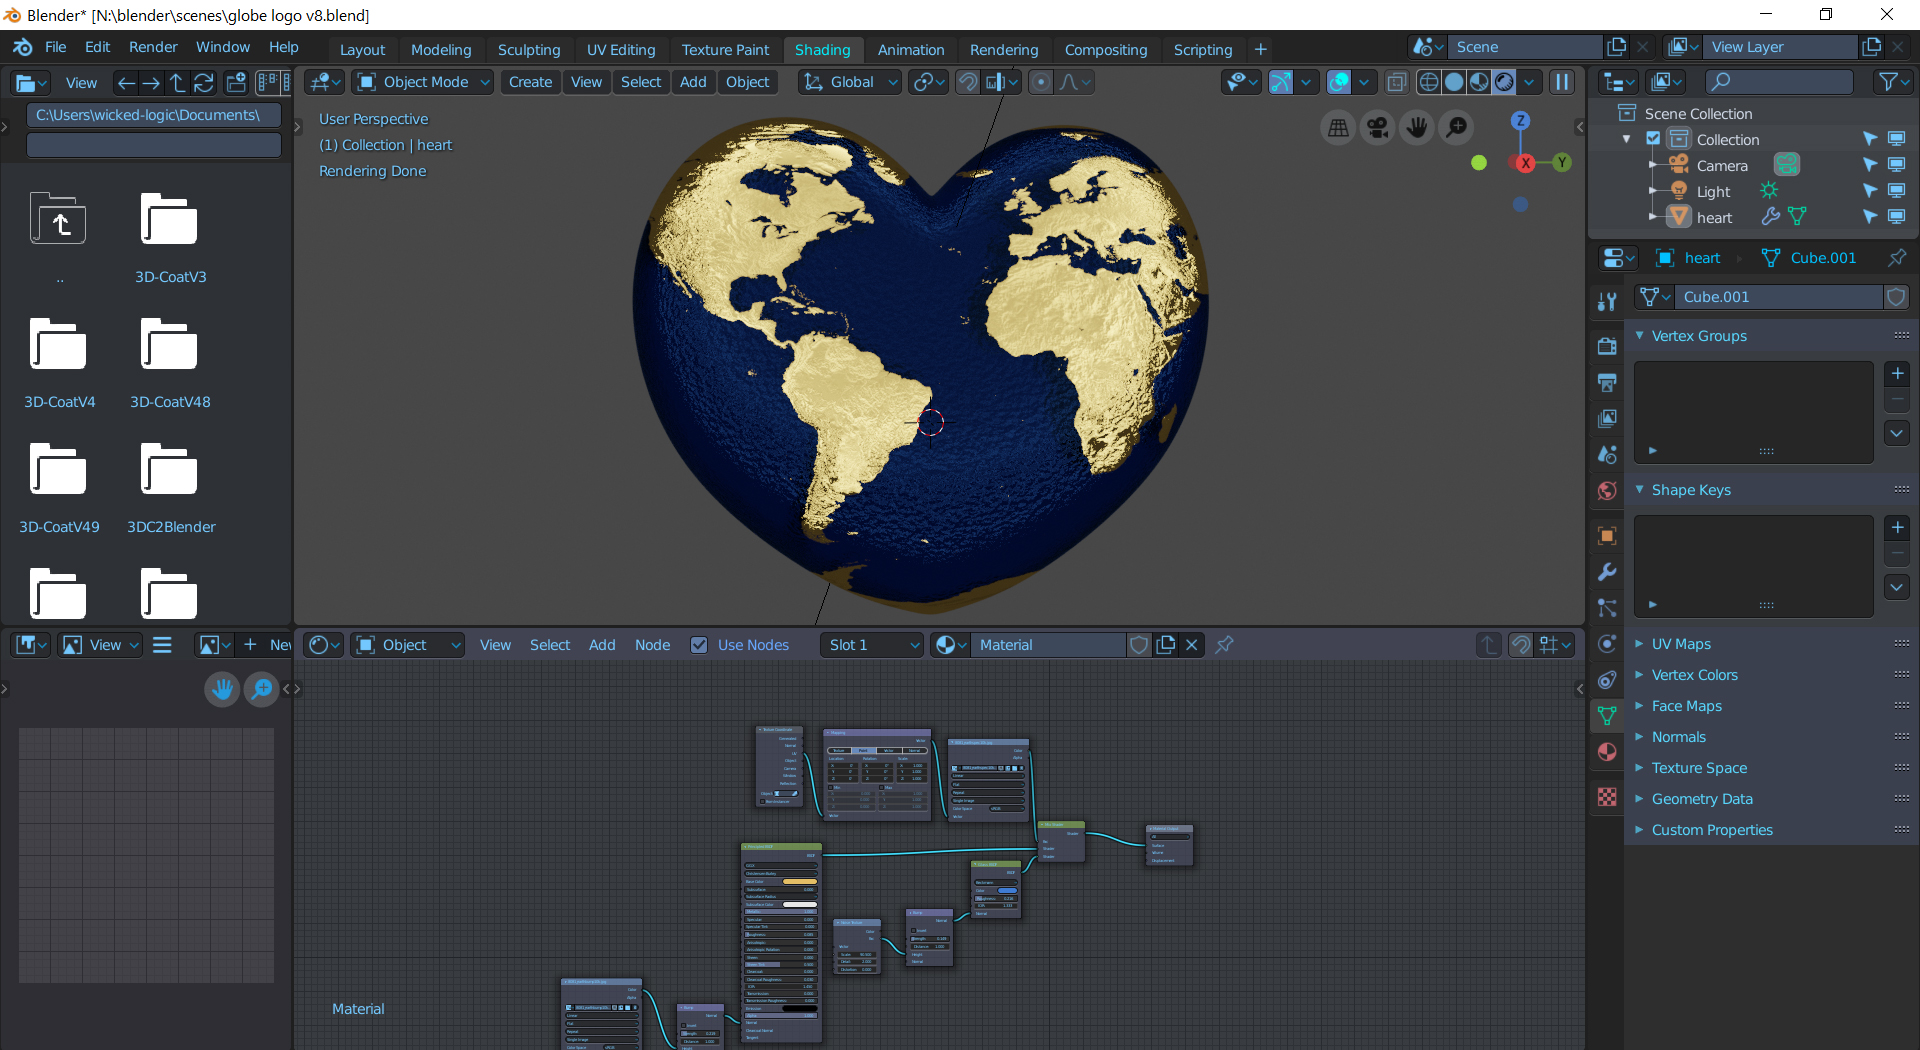
I just use the bump node instead of displacement since i didn’t find any displacement map in a proper format and the result is very good.
Lookdev is just approximation and the scene need better light, i use a sun for this shot and you have to tick scene light, i also reduce the reflection bounce since the continent were reflecting in the water and it didn’t look right and from that distance the water still look good.
Here how to activate scene light ;

Here the result in Cycles and keep in mind i have only experience with Eevee so far so my knowledge of Cycles is limited for the moment.
Here the .blend and this time i have include the image texture in the .blend so the scene should be identical;
thanks for helping! it’s looking better, but i still like how the colors and lighting look in Look Dev move better. any clue how to make it more like that? also, i think it looks better with the render engine Eevee
Hi Isaiah,
Look at this one i just use Eevee and to be honest i don’t like the Cycle version at all.
You can still play with the light settings and position + try various hdri until you hit the sweet spot and don’t forget to play with the hdri rotation to change light direction.
At this point it will be up to you Isaiah just play with the settings until you like it and you should get what you want.
that looks amazing, but you’re viewing it with Look Dev mode. the lighting kinda sucks in render preview mode. i think it needs to have the same HDRI as look dev mode has. do you know how to do that? this tutorial says how but i really can’t find the HDRI file on my computer.
Hi Isaiah,
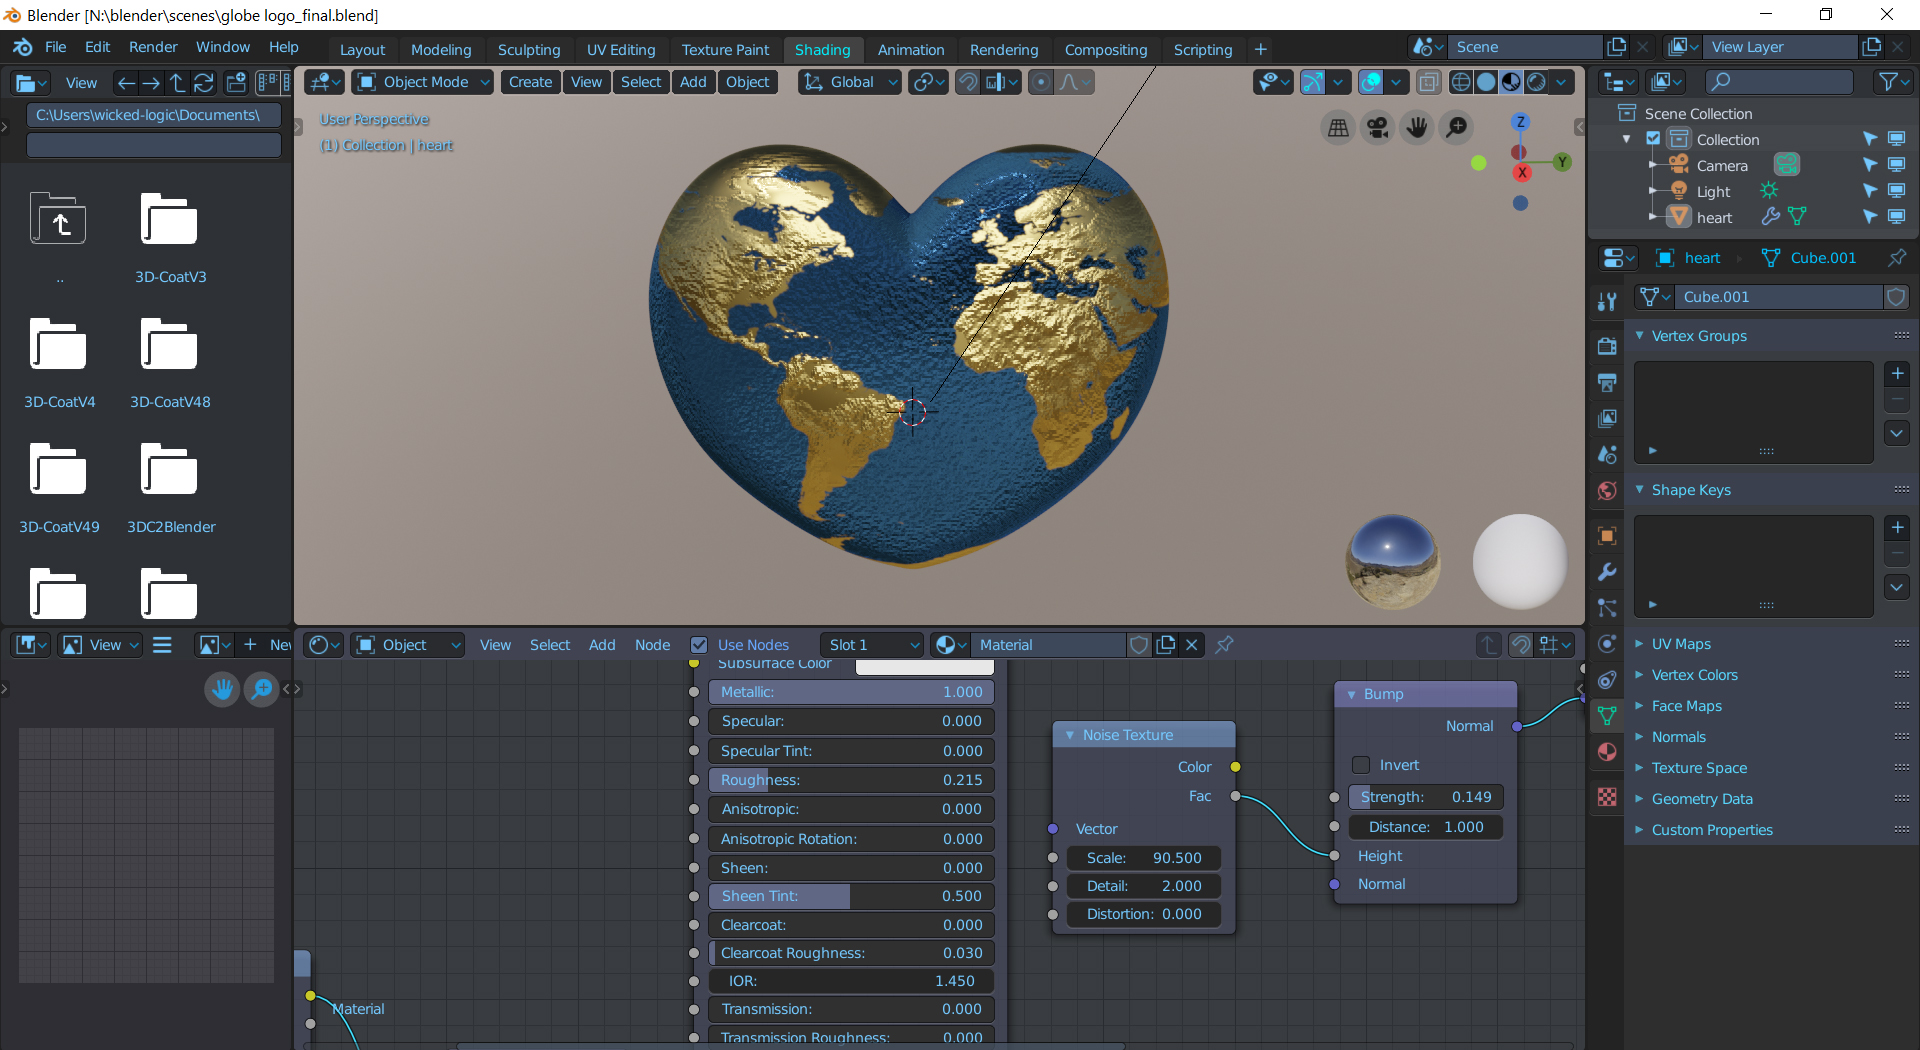
Sorry i have upload the wrong file since the final version i made included an hdri load in the world mode and this is the final result in Eevee rendering mode ;

If you still prefer the look dev more then simply render from the look dev here how to do it ;

Here the file ;