a common method to apply interchangeable cloths to character is to parent empties to bones and dynamically parent the several devices, weapons, cloths.
Unfortunately the new clothes are solid as steel an do not bend with the character.
This is perfect for weapons, armor and devices. Smooth clothes as pants, jackets, shirts can’t use this method as they should bend with the characters animation.
In-game there is currently no method to armature parent objects to armatures. (Or I simply do not know the right method).
But it is possible to change the mesh of an already armature parented object.
It is not necessarily a good idea to replace the skin mesh with pure cloth (except no skin is visible ).
But you can have multiple objects armature parented to the armature. E.g. skin mesh, boot mesh, pant mesh, shirt mesh, jacket mesh, hair mesh etc.
The idea is to add dummy meshes that can be replaced via replace mesh actuator.
No it follows the same rules as each other skin mesh:
vertex group names = action channel names
You do not even need a modifier at the object that holds the mesh. It uses the armature modifier applied to the original skin mesh (hook).
The hook does not need to have a vertex. It can be empty (but not an empty object).
The restriction on this method is: you can’t add new skin meshes. They have to be present already. With a little ahead planing this shouldn’t be a big deal.
The alternate way as crumpet suggests needs additional armatures. They have to play absolutely synchronous. And they eat twice as much processing power.
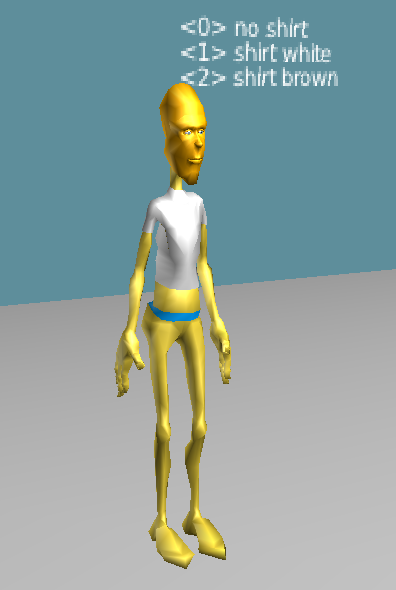
To make say… a shirt on a character. I would highlight the model/armature and Shift D dupilicate and enter. I slightly scale up the duplicated model. I go into edit mode on the new model and delete all vertices except for the shirt area. Then you scale it to fit perfect. And when you move your original armature in pose mode. The shirt moves perfectly with it. They both use the same armature. im not sure if this is what you are talking about though :D. I have an example of it, though im not so good at rigging :D. Apologies if im even talking about the wrong thing
Because you would need ALL possible meshes present at once.
This is hard to manage when designing the character.
And it is very inefficient as all meshes needs to deform regardless if visible or not.
Thanks for this little pointer, Monster. I’m looking into customization for a project, and didn’t even think about using replaceMesh() (even though I used it before). That should work out nicely.
Is it still the case that if you replace the base mesh with another object (of a different shape) the collision hull remains that of the first, original mesh?
This method doesn’t seem to work using LibLoad. If I load an external mesh:
bge.logic.LibLoad(Path, 'Mesh')
and try using replaceMesh():
object.replaceMesh('LoadedMesh')
I get this:
warning: ReplaceMesh() new mesh is not used in an object from the current scene,
 you will get incorrect behavior
The new mesh loads. The old mesh is replaced by the new mesh. However the loaded mesh will not deform with the armature.
Perhaps this is what Monster meant when he said:
The restriction on this method is: you can’t add new skin meshes. They have to be present already. With a little ahead planing this shouldn’t be a big deal.
Yep, that’s exactly what Monster meant. So you’ll have to reload the scene to bring in new meshes. Or possibly you could load in an armature with the mesh you want on it, then delete the original armature tree. Haven’t tried it, but let me know if it helps if you would thanks.
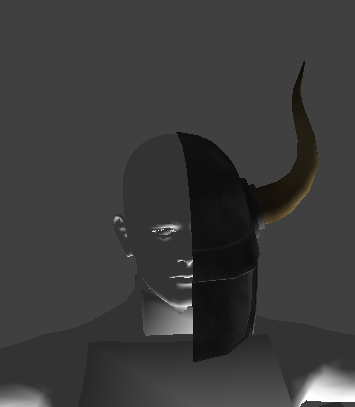
As a guess, you didn’t apply the Mirror modifier on your helmet. Also, ensure that the ‘destination’ blend file has the same shading as the helmet’s (GLSL, for example).
 ).
).