I forgot to mention negative lights , you can use negative lights to help take away light from an over saturated scene, just click the negative button and use lights to suck out the rays 
I’m sick of lighting tests no one else has commented and with limited skills there’s not a lot to do…
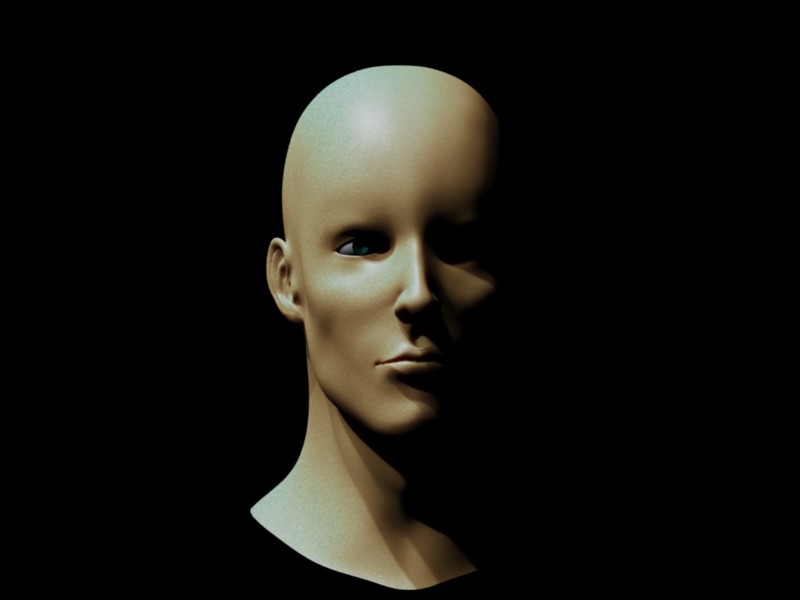
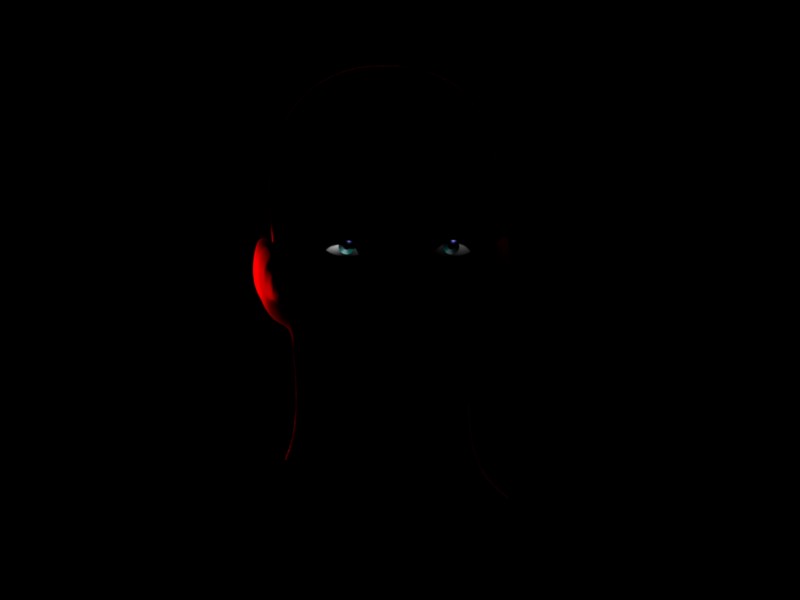
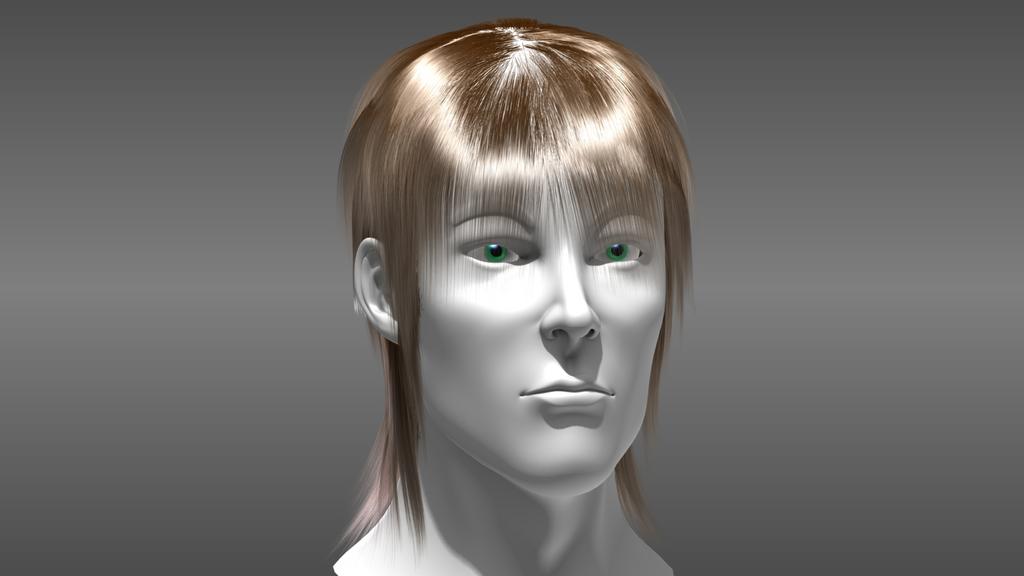
Here is my new render, hope someone can comment on this.
(thanks you so much Sudai for your help):yes:
Diffuse Lamp :yes
Main Lamp :yes
Rim Lamp :yes
Texture :yes created so it doesn’t look so flat and eyes are working yay.
Attachments

yeah lighting can be a pain, renders looking nice, guess what more lighting tips lol
turn off the shadow option for your diffuse or fill light and the rim and also turn on the no specular for for these lights and you might get another improvement but it it all comes down to personal prefrence at the end of the day,
good work
Sudai
Put your image on the focused critique thread and say you want crits and advice on the lighting.
Okay thanks Sudai, Will update this with some hair test over the next week and trying to get more of those textures perfected too.
Thank you.
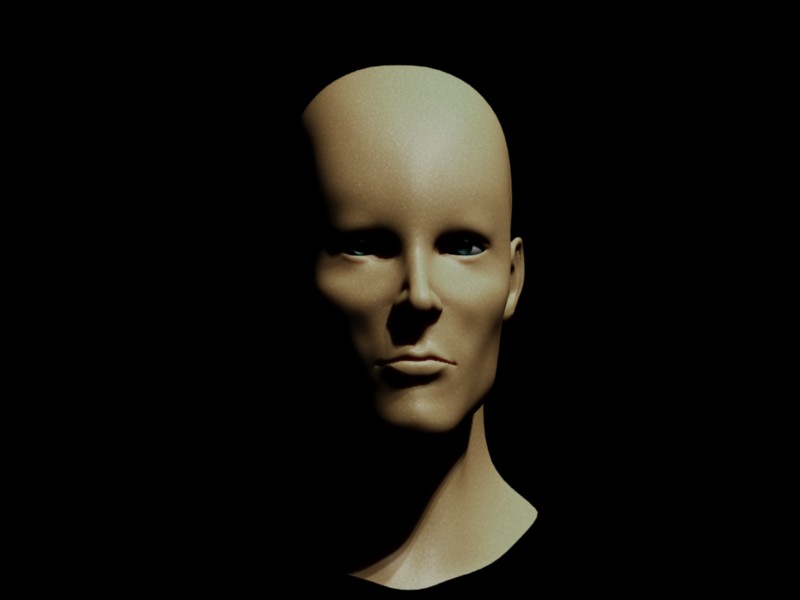
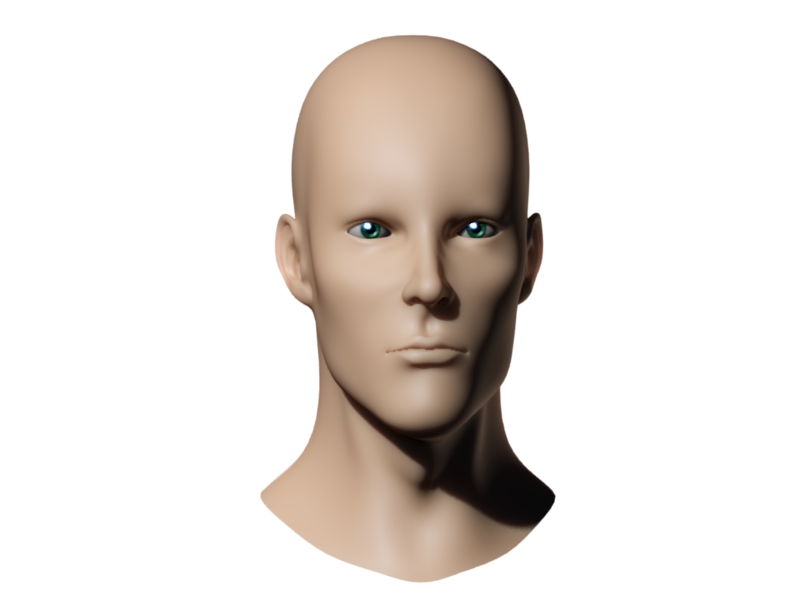
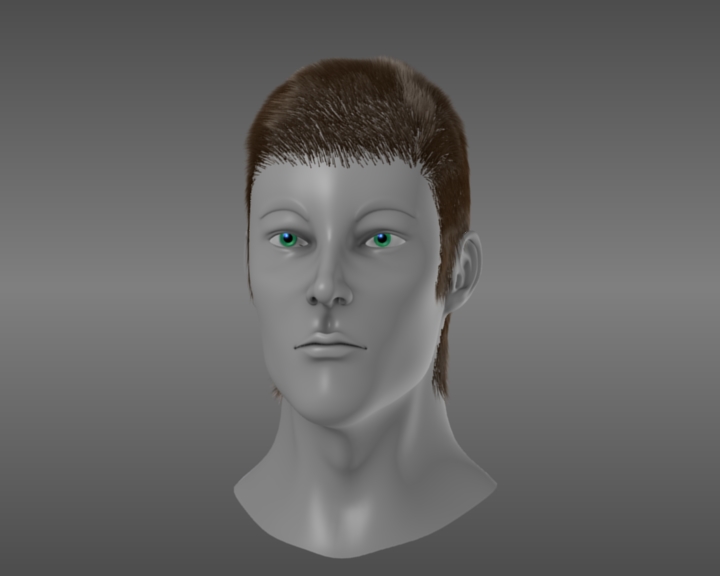
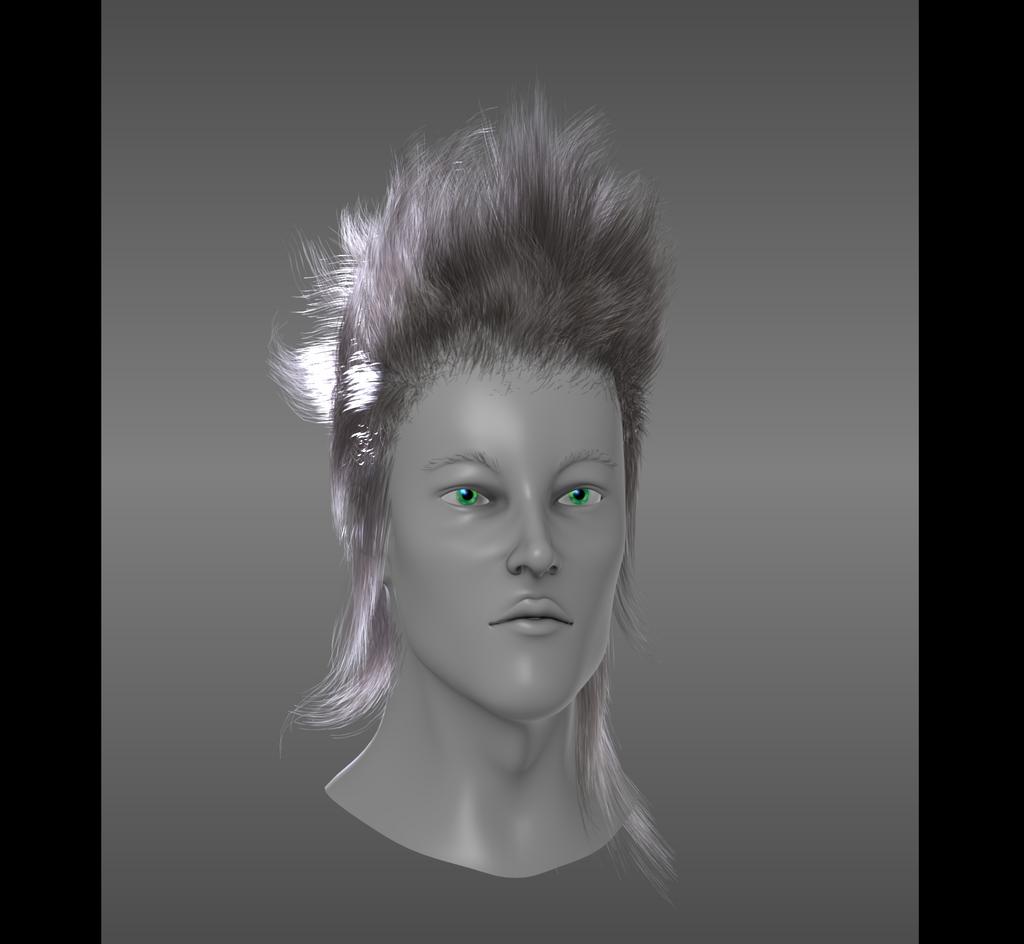
Anyway suddenly edited a few things and came up with this render, what do you think I think he looks some what …sad.Are my emotions portrayed through my very own creation… hmm interesting
Will update more tomorrow, after being told to check a thread out by "jay it’s 3:36 am and I’m getting extremely tired as you would at this time of the …morning.:eek:
Attachments

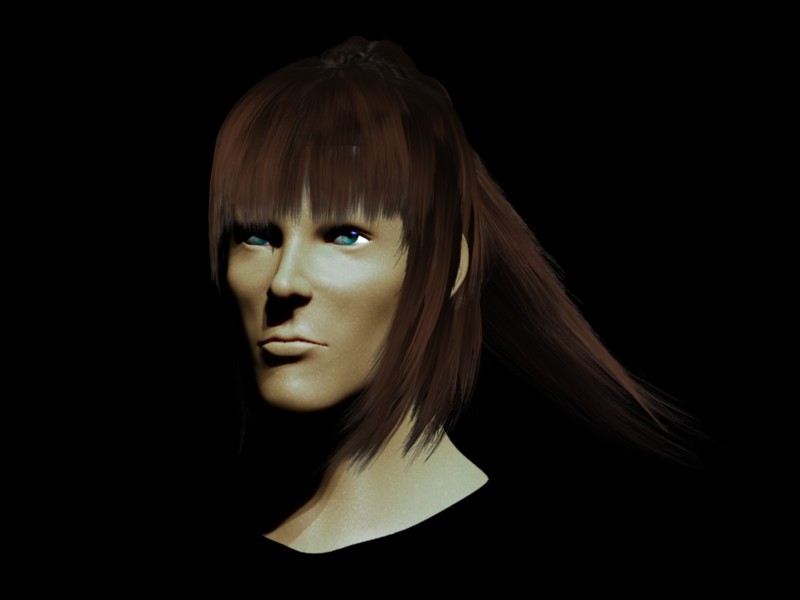
I will edit that chin loop tomorrow and I’ve got to sort out the alpha on the hair and mess that fringe and side burns up a little more …also I will make sure there’s a bit more shadow to the left side of the hair but I’m happy with that result considering hair is usually the most stupidest thing for me to do…
oh if you only knew how many millions of hair tests I’ve done just to get this close to “good enough” I want all the hair to be the same as the right side of this render, I have personally accomplished some result I like and a lot of the frustration
has been thrown from the window…
he he If you could critique me a bit I wouldn’t mind at all!Any ideas would be really appreciated.
Will post more tomorrow of my updates woot!So stocked.
Attachments
Get that girls wig off of that cool dude.
Hahaha, funny Noobie, I’ll check ya thread out soon is it the dino one??Barny hehe
I know it looks random but it was just a test i’ve gotta really find some “cool dude” hair doo’s ya
Happy blendering cheers.
I suggest a haircut like this.

That really is a" man doo" haha, nah I’ll find one if it comes to it, Ill take this offer with gratitude.
Thanks for the suggestion Mariabo, plus my guys ya know not all so stocked on that adrenaline, he’s one of those modern day guys take care of his puffy hair haha … jokes you’ll have to wait and see what I’m going to do next ya.
(I’M STILL LAUGHING HISTORICALLY FROM NOOBIES COMMENT)
-Ops A.o was on for this render, next update will be without again.
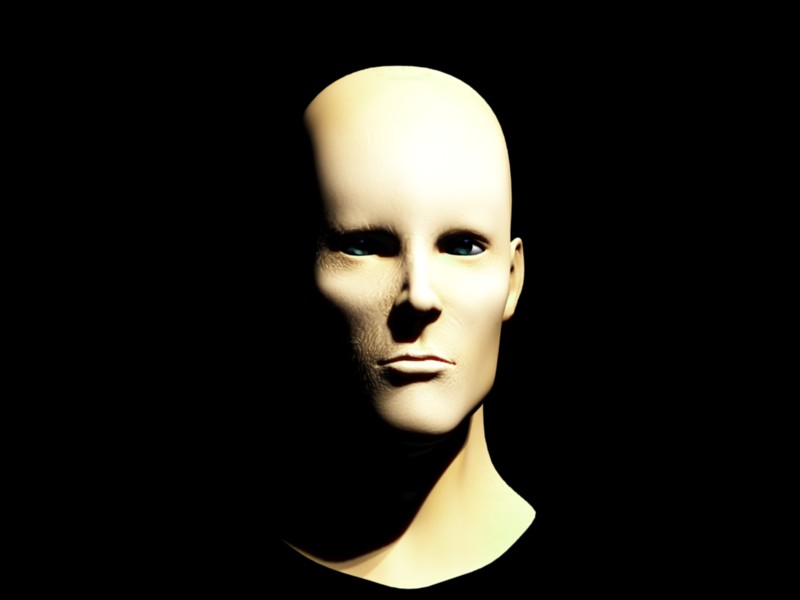
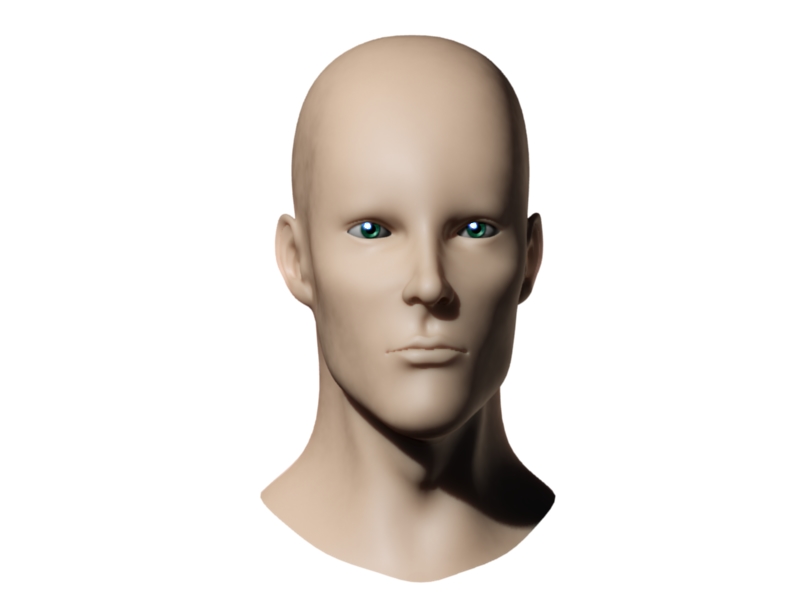
I have not yet used my own face, as im waiting for my photos from my shoot to be sent to me, how ever, I have done this really extreme sculpt in blender, then baked it and edited in gimp to get bumps and displace plus some emboss…
Well with gimp or photo-shop but this is an example not what i was actually going to do, so tell me if it looks good as an example until I put on the maps of my face, oh question do I apply each map to each different shaders how could I go about this?
I think once I have my images then it will be all for the better…
will try to keep updates -soon.
(will add moles and freakls to the uv map… to give him more features.:RocknRoll:
The other render is to show the correction with pours on the skin, I’m not aiming for a realistic or grunge look but okay some what a realestic believable character…
But not scary and wrinkly and old, more youthful, softer.
Attachments

Update with the BACK_SCATTERING is still a very hard effect but would like it to be flowing and soft, I wonder how I could do that but no one else really has many sss, or lighting tips for the rim_light…will continue with going over the material settings.
Attachments
Hey even if your a noob your allowed your say, so comment!
Am uploading 2 SSS render stills, one with no materials=SSS-Mat and one SSS test with mix-screen and overlay effects which creates a stupid whitening effect, I dislike it ,but anyway at least its an update.
Well about to do some particle tests on my model, brushing curling and some straightening and a bit of shine hopefully,…
finally figured out how to separate the mesh from the hair without using MAT settings -oh yeah hope the results are good enough.
Could someone be kind enough to find a link or tutorial for making eyes-
:The texture of my IRIS is just a random texture set up with nodes…
so yeah help me with that…
Okay will update again soon, liking the responses.
Attachments
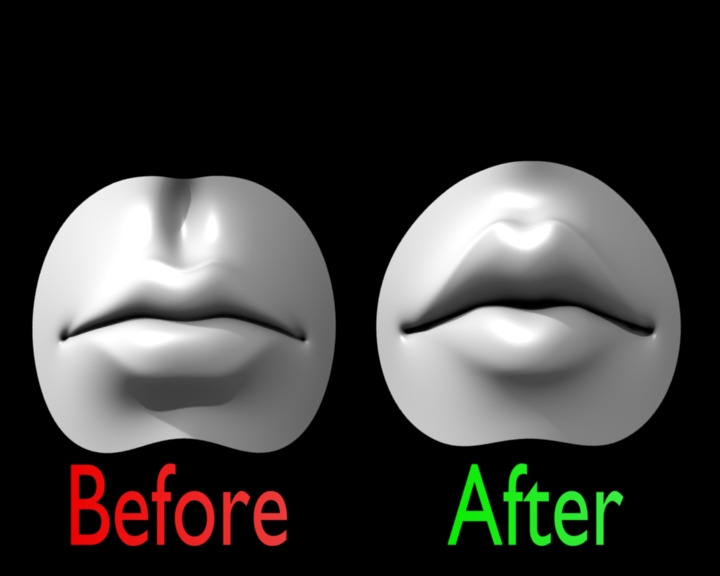
You should reshape a little the mouth , it’s too pinched , he pouts
but good work, impressive
:DYes totally agree huge problems with the mouth due to not editing it ha ha, i think taking the break from the mouth has brought me back to it finally thank you so much edddy, will look over some topology flow and get that mouth in good shape-the inside is a infinite mess that why I decided not to touch it.Okay back to blending here are some updates of the hair. Impressive well I think that’s a shock to the effort to how much all put into there work of art.
The flat shiny hair was rendered in 2.50 alpha- I hate this render it simple is crap.
the second render was done 2.49 and the particles are playing up so had to edit it a bit more,

(Removed the skin until I get this part sorted a little, can take up time I don’t won’t when just testing results, hope some one can help me with the particles-I’ll try anything!)
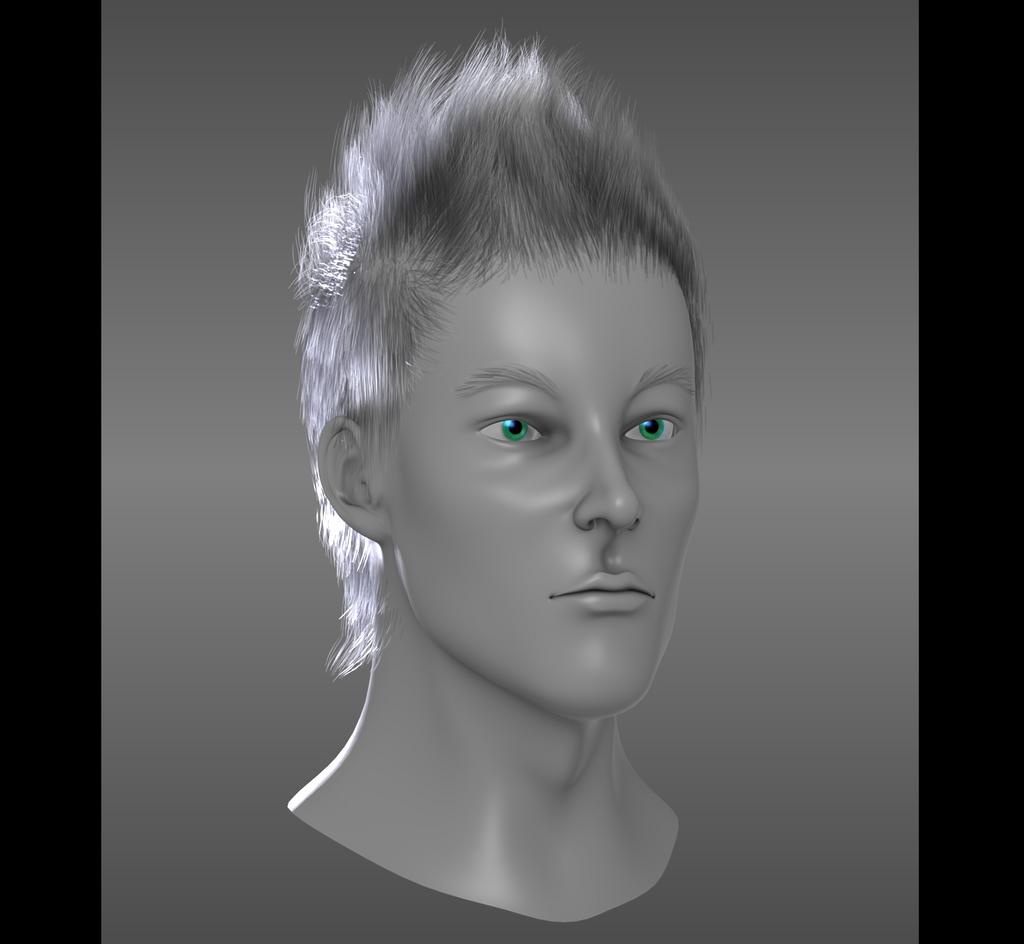
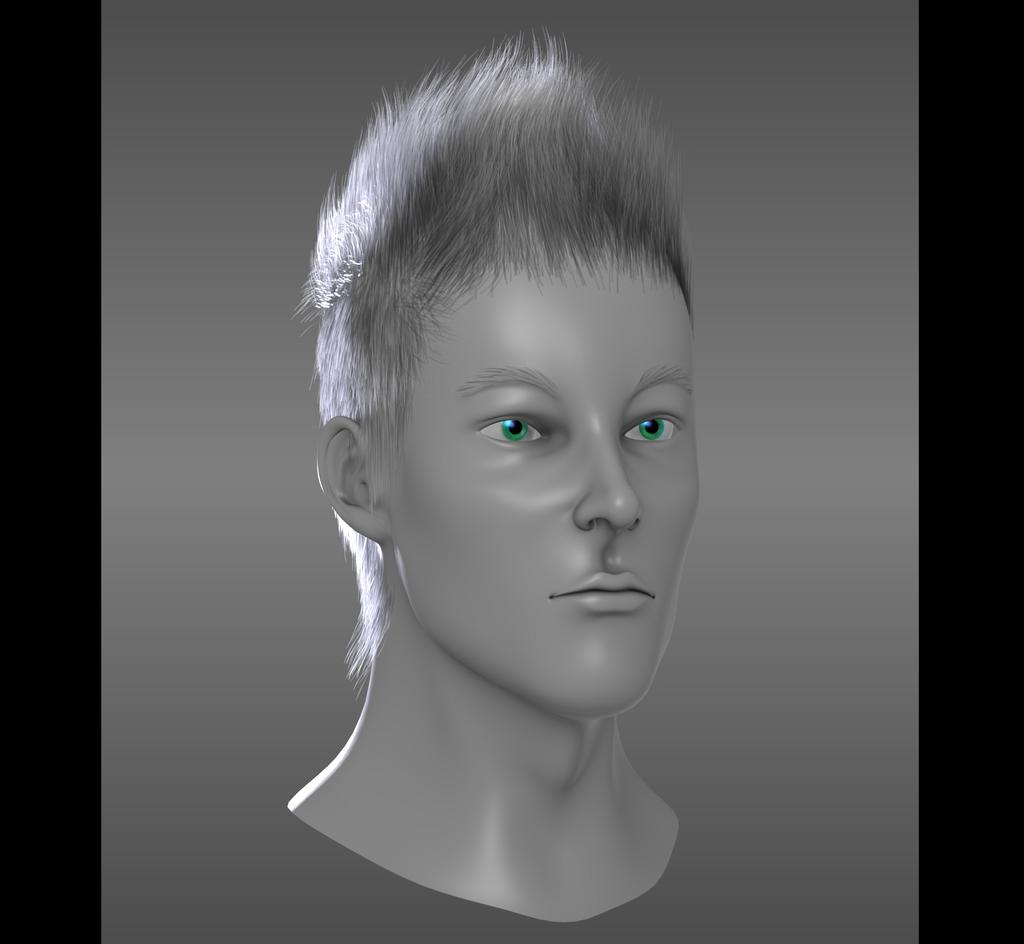
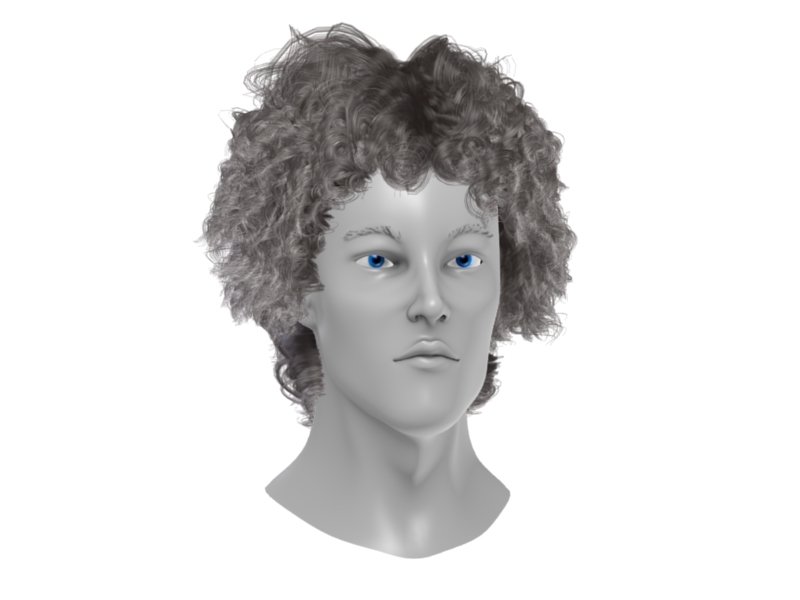
last but not least some think I like a little more then the others but I’m not liking the cut or the style at all… some how he looks feminine…

Oh and another render of the same model no changes in 2.50-somehow it correct the combed hair and cleaned and the clumps.
Still dislike where the hair line starts might have to double the particles to hide it…hehe:)
The Original hair render was not mesh it was particles but appeared to look mesh like, disliked the mess it made so this is what I came up with.:spin::RocknRoll:
Attachments
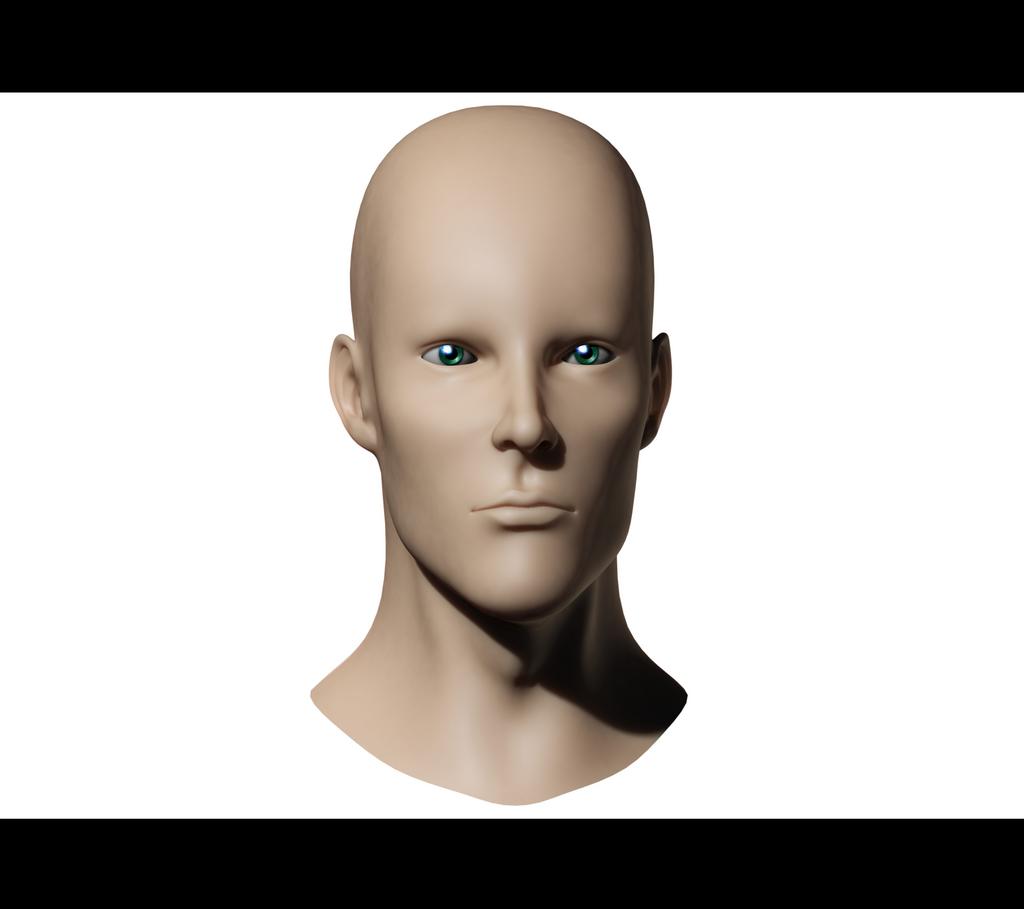
;)Here is an update of the mouth, before and after a bit of collegian or cosmetic surgery always helps the lives of an animated character, so thanks for the advice Eddy.
I’ve done some research and figured a name for this CGI head, with my next update I will reveal his name and I will change the thread title to his name with brackets of (change of name):o
:RocknRoll:So my days have been really free and so I’ve been trying my best to get results as much as possible switching from 2.5 back to 2.49 for the easiness of my know knowledge.
:evilgrin:Happy Rendering!
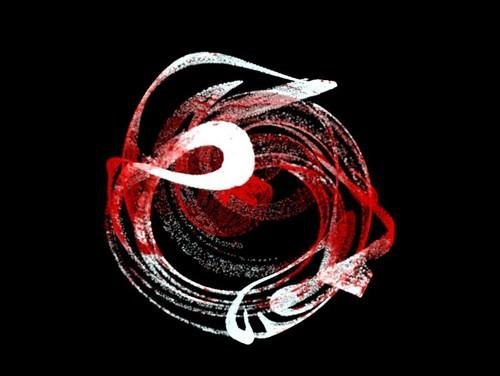
Personal Blab:
I found the very first render I had ever done in my life, white and red mesh twisted and a plain black back ground, the face count was like a trillion and in that result my pc had blown the graphics fan., I had always played with blender but never done anything serious until now, I always use to drop my projects, some never started, so this would be a first and I think I might never want to stop this project ha ha.:ba:
Attachments
so funny yours haircuts :D, me neither, I can’t resist to play with this tool.
your reshape of the mouth is funny too but  not so realistic, when I said it’s too pinched, I was meaning the sides and I said “a little”, in my advise from side view, we see it better.
since you put the sss, volumes are very blur and we can’t see his eyebrows
keep it on