Hi guys, I have trying to make some light beam emmit from a car headlight.
However, the light always been scattered too much and cannot achieve the look I need.
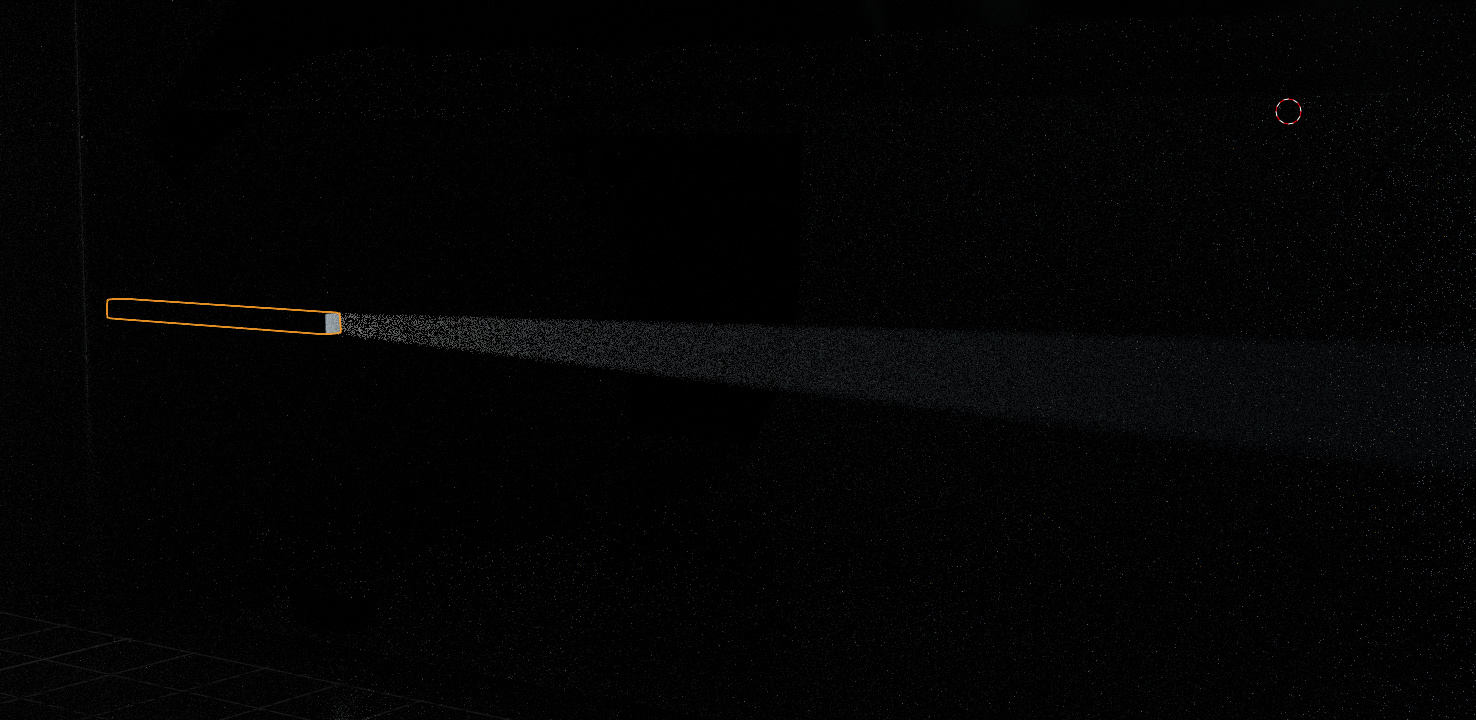
I tried to constraint the light path with a cube, by making a long cube, I can finally make it work like this.
but the problem is, the light source has to be in a very long cube, which is not possible for car headlight since it’s too short. So I was wondering if there were any workaround to make the same look in cycle?
Or maybe some other tricks?
Thanks in advance!
Cycles is not optimized for this kind of situation, so the result will be a bit noisier than normal…
But the workaround would be to change the light strength based on the incoming vector.
For example, if you use Dot(Incoming, Normal), you’ll get the cosine of the angle between those vectors, so if that value = 1 it means the incoming vector is parallel to the normal vector. In the same way, a value of 0.5 will correspond to an angle of 60º…
Thanks, i think it’s pretty good solution if no environment light. But i think i may need to put in a poor lit environment rather than no light. Which will be different. Thanks anyway. Now i know how to do it without env light.
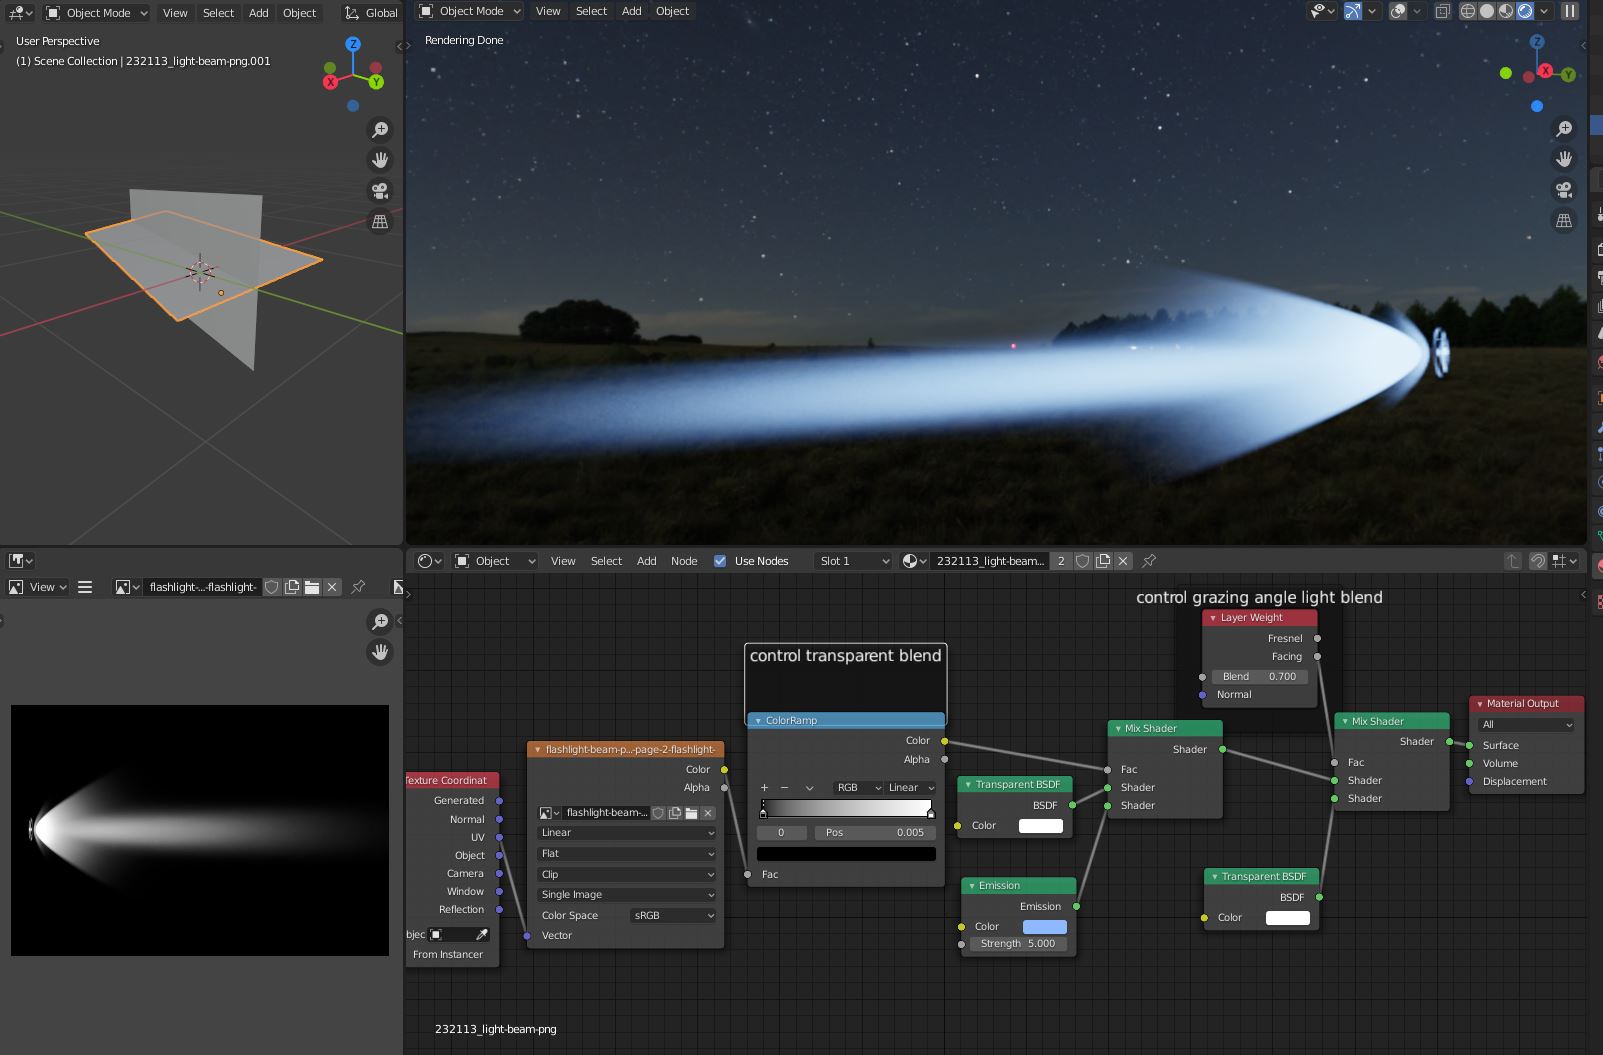
A few years ago the raceing sim GTR2 had faked headlight beams as textures.IIRC 4 sides,4 textures each headlight,positioned like a cross (top and side view), like double sides planes, if that makes sence.
they looked similar to this.
the beam into a emission shader with transparent backround.
So this Texture should be plugged into color node of a emission shader?
I have not used this before, but it seems to be used more like in post-production? I mean in ps, using this texture as a layer to fake the beam?
Sorry but i am still a little confused,
The map is the shape of the light beam, if i plugged into mix factor, the white area(the beam shape) will be the emitting source, like how we create a leave using texture map.
Is there anything i am mistakenly understood?