Ok,
So lets take this one step at a time.
First, you need to determine the “sweet spot” for your audience. This is the point where the spectator should stand to experience the full effect. It’s always good to know how high up the screens are, because that will determine the angle of your camera.
Next, if you can, you should get a photo from the Sweet Spot with as little distortion as possible. Use a 100mm lens to take the picture.Alternatively, if there is no way to get the photo, just recreate the scene in Blender with the info that you have. Judge distances and angles.
Once that’s done create your fake volume where the character needs to come out of. Model the screen first (USE REAL WORLD MEASURMENTS) and then extrude the volume inwards, like a box. The limits of your screen are the limits of your volume. Now there are some things you have to keep in mind: In order to have the 3D effect, you need have a visual border the character can pass. Also, make a duplicate of the screen surface and put it in a separate collection for later. Hide the collection with the duplicate so it doesn’t render.
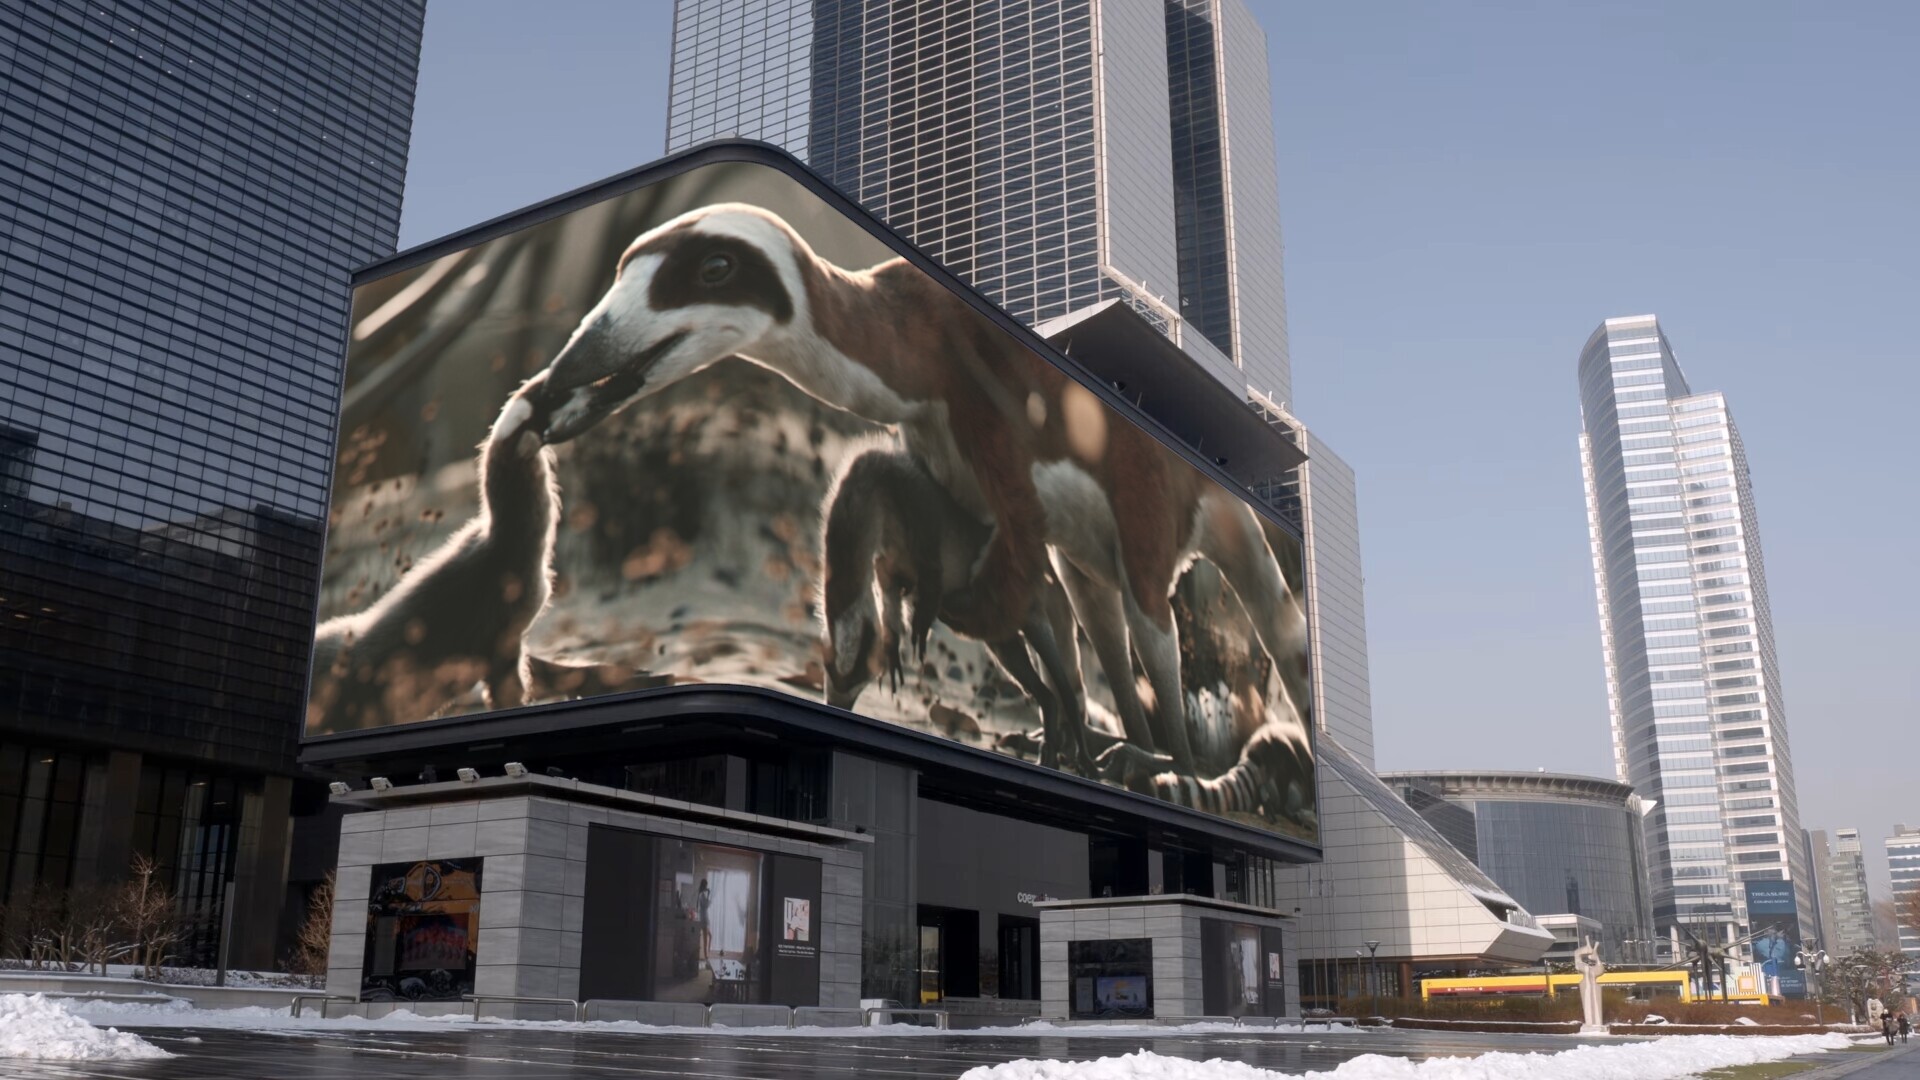
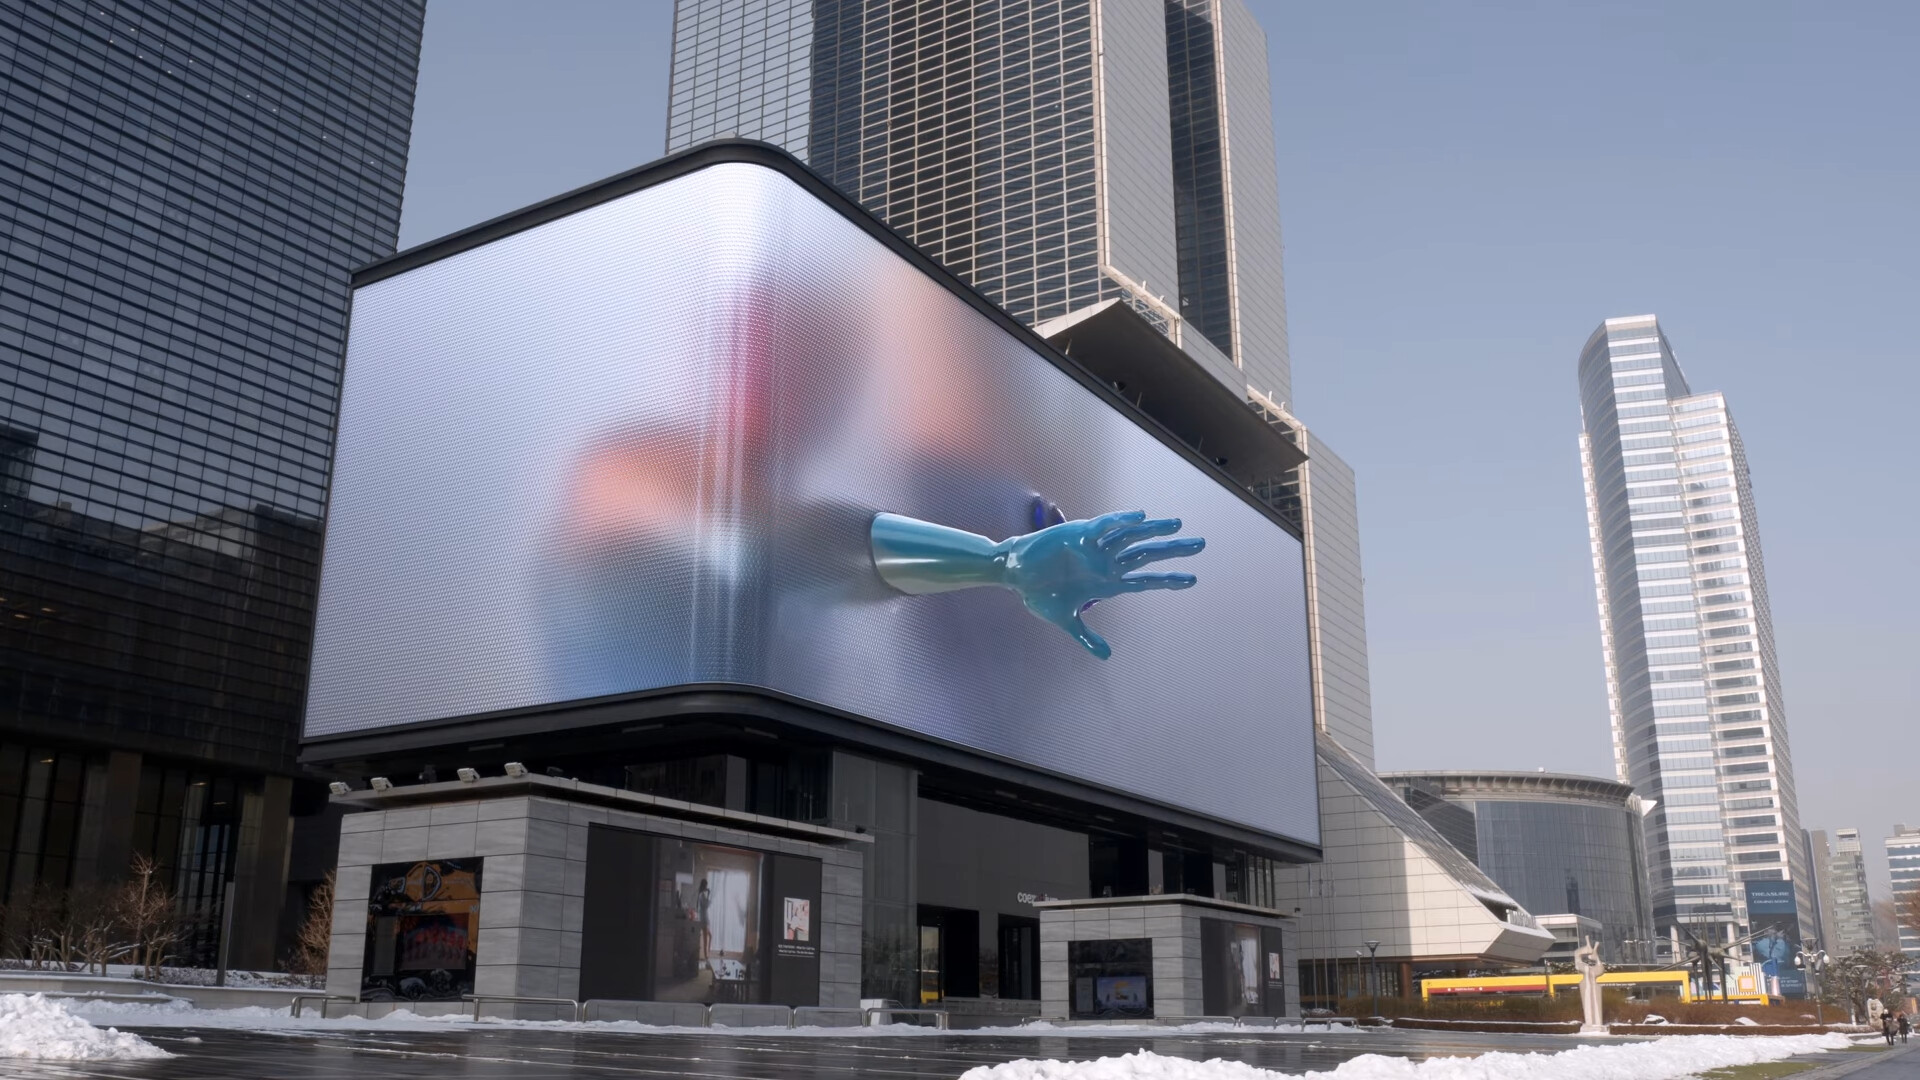
Take a look at the image below:
As you can see, they’ve created a virtual extension in order to make the character “come out” of the frame. Note that the frame and the virtual border are at the exact same location, meaning the occupy the same position in space. You can do this for all borders, but it works best for the sides and the bottom.
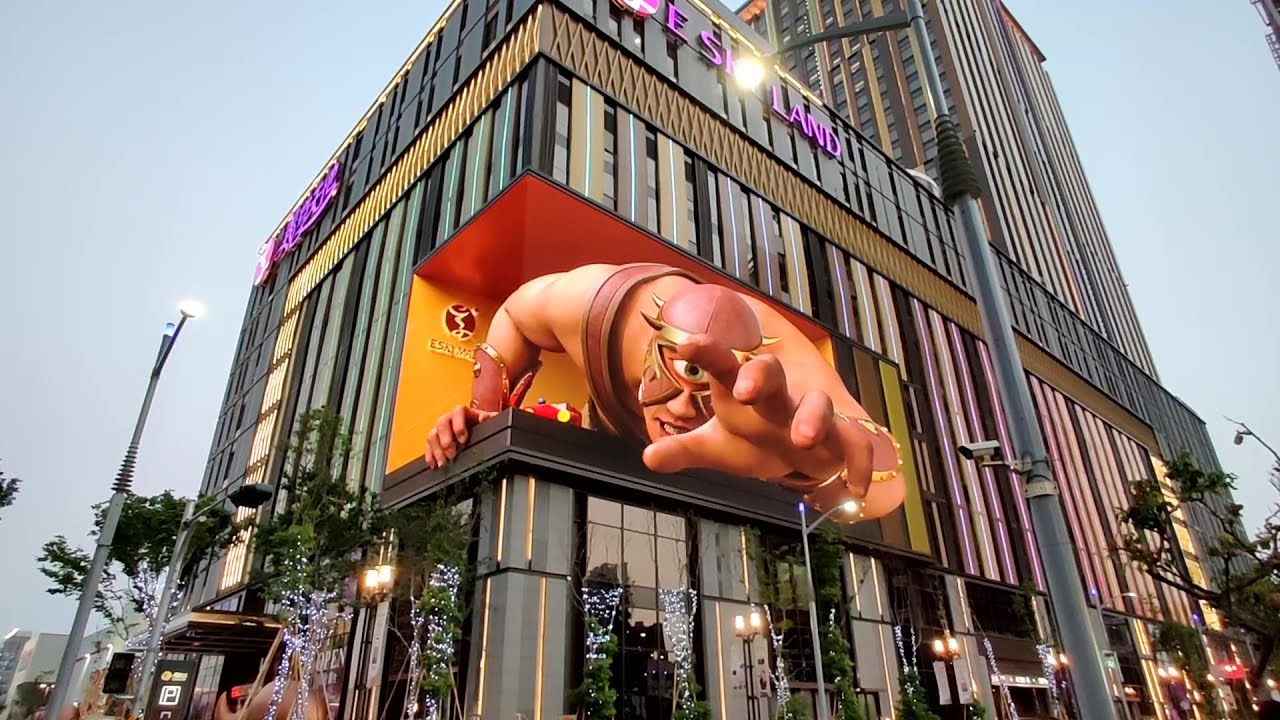
See? They did it in the old days too!

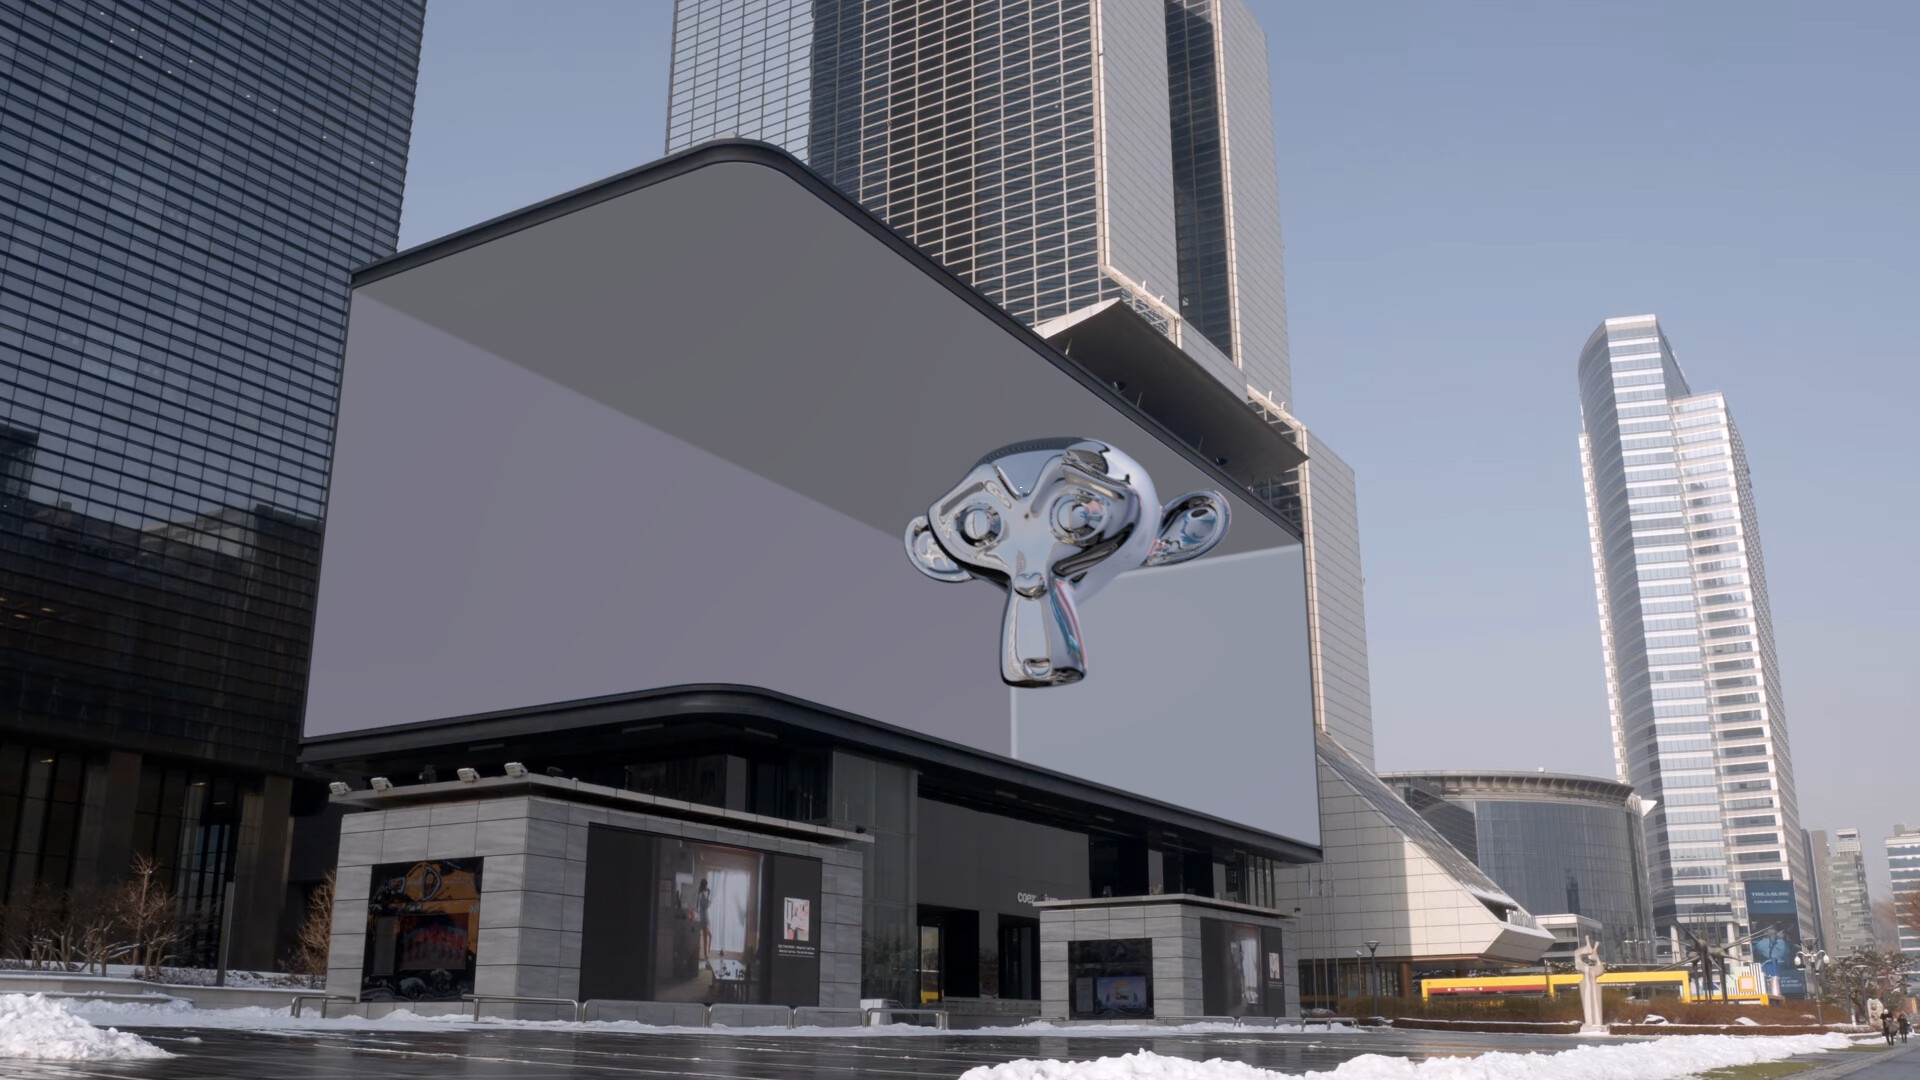
Next, animate you content in all its glory! Go wild! Just make sure you content never crosses the edge of the screen or it’ll ruin the effect.
Done? Great! Render out your content from the angle you’ve chosen as the sweet spot. Wheeeee!
All right, that’s that. Now comes the tricky part. How the heck are you supposed to get that perspective view on a flat plane? Fear not, for I am here with the answer! This is where the duplicate of your screen comes into play. Make u UVMap of your screens, if you haven’t already. Next, add the Project UV modifier to your screen object. Point the modifier to the UVMap you’ve created for the screen. As projection object you take your render camera.
Make a material that uses that UvMap as coordinates. Import you renders as an image sequence and plug that into the Emission color.
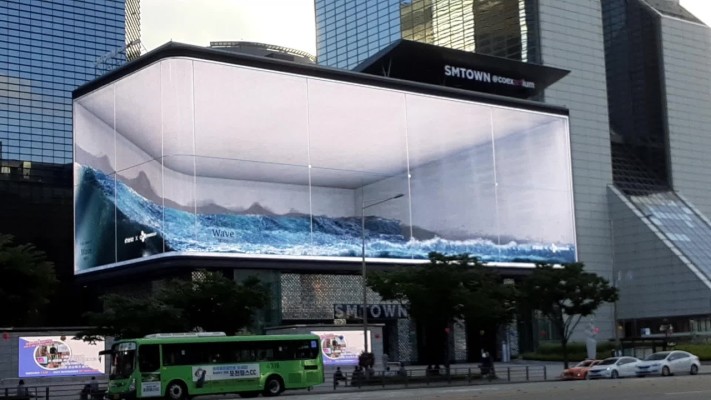
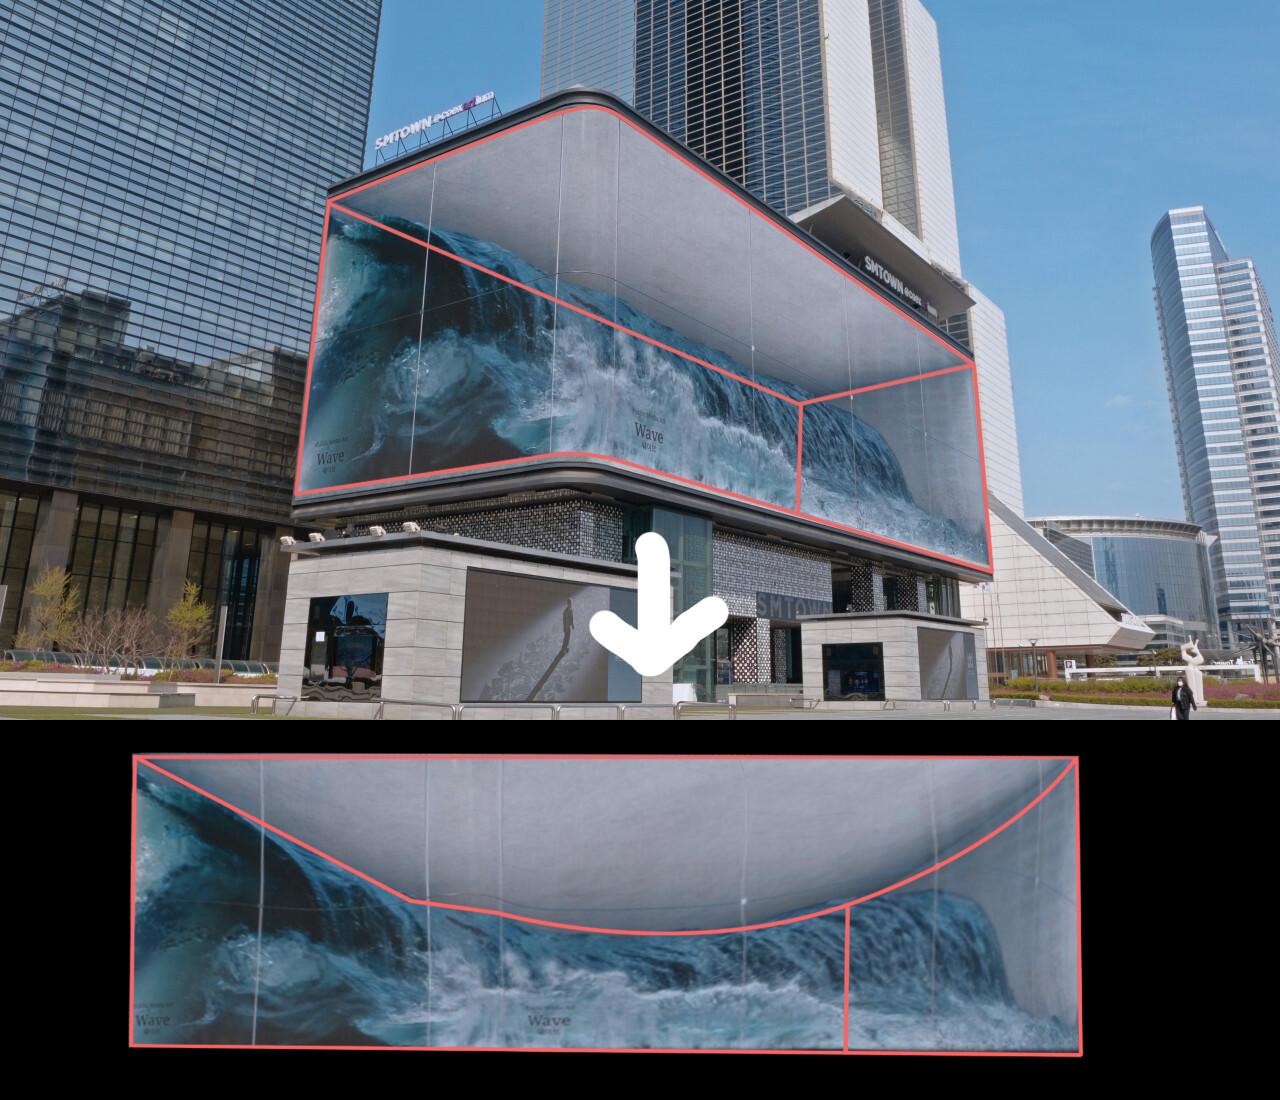
Almost there! Alas, now comes a tricky part… Make a shape key for your duplicate screen and FOLD it open until it’s a flat surface. By this I mean you have to ROTATE, NOT SCALE the vertices to a flat plane. You can use the 3D cursor for that. Once that’s done make a second camera that has the exact resolution of the content your client needs. If all is done right the folded open screen and the camera should lign up just right. Think of it lie filming a television screen. Remove and lights from the scene and turn off the collection that you used to make the first render. Only the duplicate screen should be visible. If everything went right the image should look distored, kinda like this:
Now render the view from the second camera. Convert that image sequence to a movie.
BING BANG, you’re DONE! Congrats! You’ve just made your FIRST 3D ANAMORPHIC ILLUSION!
That’s how it’s done. If you get stuck, just ask and I’ll help.

")