If I remember correctly, it was a white voronoi texture mixed with some other procedural textures. I made everything black and passed a large blurry texture through the model so it turns white, and that texture was fed into the parameters of the smaller textures so the voronoi cells shrink etc. It’s done in Lightwave, but you could probably do something similar in Blender.
I rendered it out and used it as an alpha mask in Davinci Resolve to composite the finished render with the clay one.
I think it was the cell border thickness that was animated, so the cells appear to shrink. I haven’t actually used a depth map before, and am not very familiar with Blender’s compositor (assuming that’s what you mean), so I’m not sure what’s possible there.
I’ve been looking through this thread but could not find any information regarding setting up eyebrows, eyelashes and hair for this rig specifically. Has anyone had any success with it?
My attempts so far have not been great so any nudge in the right direction would be appreciated.
I duplicate part of the body mesh into a separate object and add hair to that, and then bind it to the body using a Surface Deform modifier. If there’s an “invalid polygons” error you’ll need to add a Triangulate modifier to the body at the bottom of the stack. You can apply vellus hair directly to the body since it covers most of the surface area anyway.
Geometry hair is unusable for animations, so we’re stuck with hair particles and their symmetry bugs for now. Also hair doesn’t respect displacement nodes, so if you’re using wrinkle maps you’ll need to make shape keys to prevent the skin passing through the hair.
I’m still relatively new to Blender, so I’m sorry if this question doesn’t make sense or is dumb. But for the hand on the Universal Human Rig, how did you make it so that the fingers can use the IK rig that was implemented into them, and also be to seamlessly switch into their copy rotation rig with the control bones above the metacarpals?
The finger bones and IK targets have Action constraints on them, which reference pre-made animations of the fingers curling. The controls above the metacarpals essentially scrub through those animations.
Oh I’m an idiot, I thought the fingers used copy rotation in each of them to get their curl. Also I have a question for before buying the Universal Human Rig Body rig. When I get it, is it just gonna contain the armature/rig itself, or will it also come with a base mesh? Or will I have to buy the base mesh seperately and then parent it?
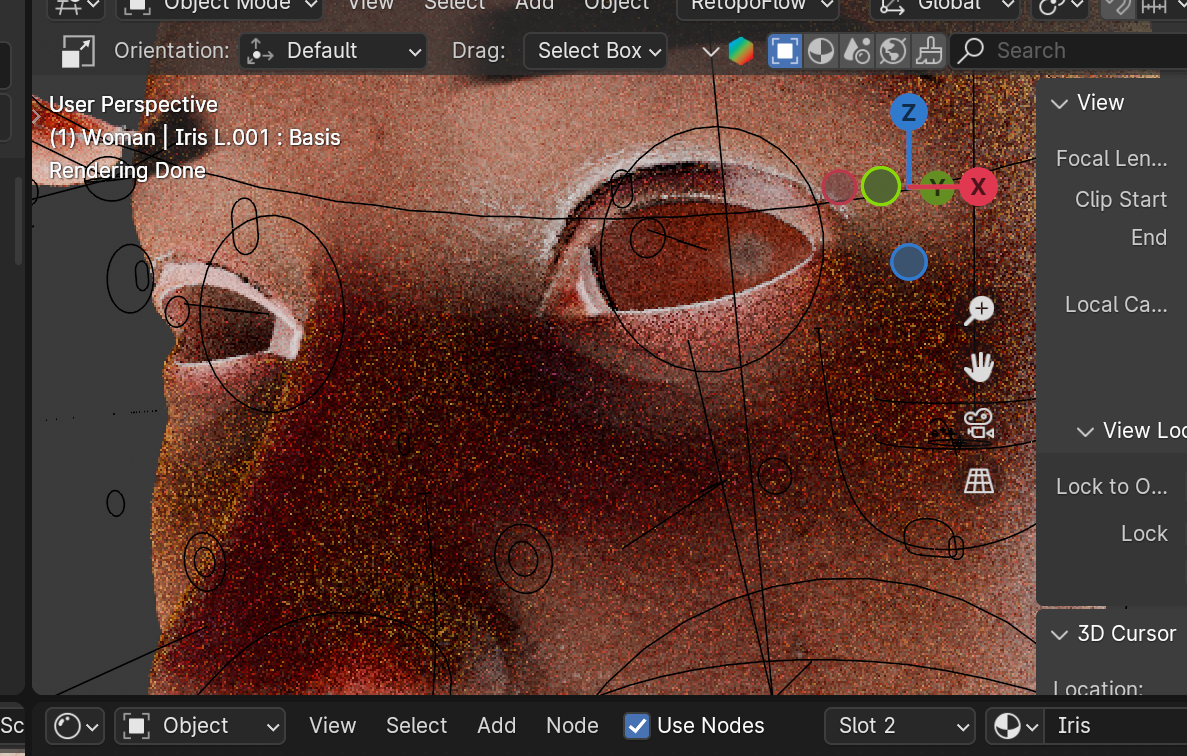
Not sure what I’ve done here but the settings appear to be normal. I’ve lost the pupils and tweaking the scale in Pose Mode does not yield results. Wondering what might be the cause of this?
If you’ve scaled the body mesh instead of the proportion controls or root bone, that will cause problems, and you’ll need to reset its scale. If you’ve reset the position of the eye objects, that will send them back to the world origin. Otherwise it’s hard to say.
If you can’t resolve it via process of elimination you might need to load a fresh file, otherwise send me an email with some more details (and the file itself if necessary).
Hey Chris, I’m in the process of adding eyebrows and eyelashes. I used mesh deform for the eyebrows which seemed like the best option but with the eyelashes it seems I have to crank up the precision way high, which takes ages to bind. I don’t mind the wait but I was wondering, as the master at this kinda stuff what techniques and settings do you use? I made a duplicate of the head mesh and trimmed it down to just the eyes, then subdivided it a bit more and used the mesh deform modifier, but it’s hard to get good results.