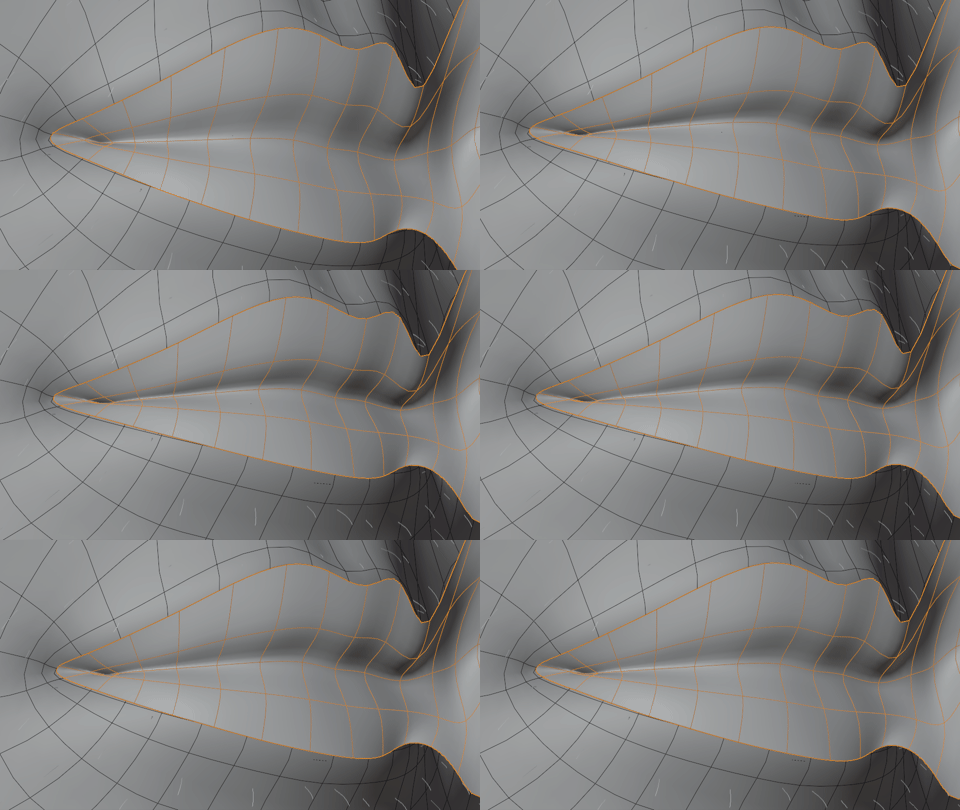
For sticking the eyebrows, eyelashes and scalp hair to the head.
a mesh portion of the head with surface deform mode targeted to the head model right? and without this what would be the difference when applying it directly to the character model?
Yep. It’s less memory intensive since it only has to calculate hairs for a small piece of geometry instead of the whole head or body, and it provides a means for distributing hair assets and applying them to completely different geometry. Applying hair directly to the character still doesn’t get around the node displacement problem though.
Hi, Chris 
Here you have a video of “Perfect Face”, but what about the opposite? You’ve done a lot of research, collected a variety of types of faces and studied them carefully. Have you noticed any inherent imperfections in the faces that give them realism?
The only thing I have been observing for a long time is that usually the left eyelid is slightly lower than the right one.
Sometimes the nose is also asymmetrical and shifted in one direction or another, but I don’t want to use this specifically 
I want something insignificant that is not so striking.
All the asymmetry you need can be added using the various texture & bump/normal etc maps. This is not what a lot of people will tell you, but I have seen it work so many times that it’s all I would bother with except for characters that are meant to look extreme in some way.
For a reusable base mesh (which is what the Perfect Face video is showcasing), it should be as symmetrical and “character-less” as possible. Custom characters would need imperfections added of course (textures would suffice in many cases as Fire_Angel suggested, provided there is some displacement).
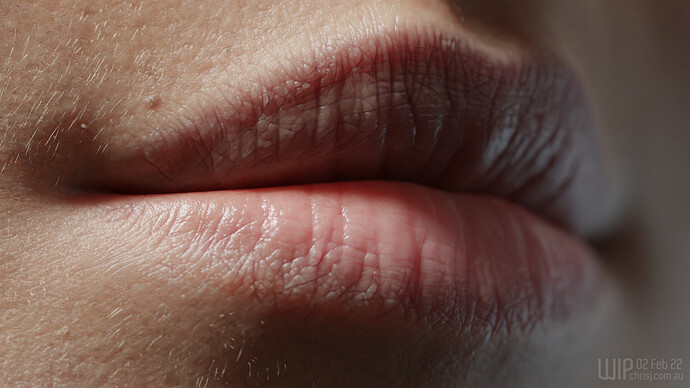
This shot is on about its third re-render…
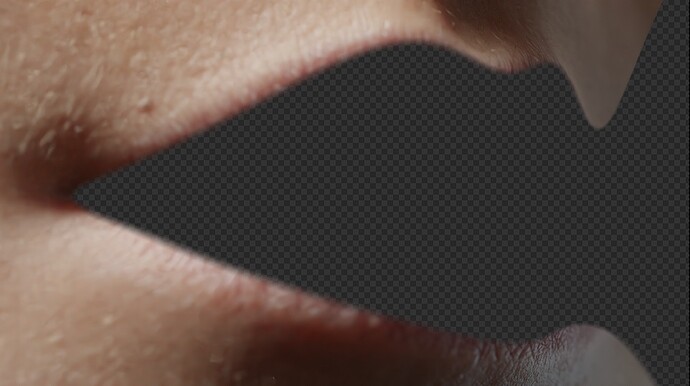
Speaking of which, here’s a trick for patching up partially botched renders to save re-rendering the whole frame. In this case I wanted to redo the hairs, so I duplicated part of the lips to a new object and gave it a Holdout material. Then I moved the object in front of the lips and extended it to cover the out of focus portion on the right.
Since the weights and shape keys are retained in the duplicate, I don’t even need to animate anything - the holdout mesh keeps the lips blocked from rendering, and the DOF even blurs the edges of the resulting matte, dissolving seams in the event that anything spills over into the masked area.

This effectively halves what would otherwise have been an overnight render.
For patching a smaller area like a pimple, you can cover the whole shot by putting a plane in front of the camera, and give that the holdout material. Then make an object big enough to cover the pimple, use it to cut a hole in the plane via a Boolean modifier, and animate the object to stay in front of the pimple.
Thank you for the trick! I just came home from school, i’l try it
Chris i love your work so much, i genuinly feel horrible whenever i see you having to use methods like this to cut on your render time just because you are using older hardware. is there no way we could organize some GPU/CPU horsepower for you ?
Can you tell me how did you create the lips texture?
@Sock_Wave Nope, no way. ![]() A modern GPU/CPU won’t work with my system anyway, the whole shebang has to be replaced. Besides, more power means I’ll be able to turn up the samples/resolution/detail more, and I’ll be right back to the same render times again.
A modern GPU/CPU won’t work with my system anyway, the whole shebang has to be replaced. Besides, more power means I’ll be able to turn up the samples/resolution/detail more, and I’ll be right back to the same render times again. ![]() So I think these kinds of time-cutters will still be relevant.
So I think these kinds of time-cutters will still be relevant.
Hand painted in Krita.
Amazing. Can you tell me what you mean by hold out material? I’ve never heard that term before.
The manual says it best:
https://docs.blender.org/manual/en/latest/render/shader_nodes/shader/holdout.html
Hmph, “Sorry, we were unable to generate a preview for this web page, because the following oEmbed / OpenGraph tags could not be found: description, image”. Anyway you plug a Holdout node into the Material Output and it cuts a hole in the render.
these lips textures are definitely not 8K
I’ve been using blender forever, how have I never heard of this node?! This sounds like the most useful thing ever…
One more question, how did you render the smooth wire frame in flexpressions?
So, higher or lower?
Exported the UV layout and mapped it back onto the model, made everything black except the wire, then revealed it by passing a plane through it and composited that onto the final render with some grading. If I remember correctly.
i would guess they are 4k, but also could be 8k if they really have more detail, something like it had the every pore cavity textured, wrinkles or something else…
Higher I’d Say 
You may have already considered this - but does your skin shader include any nodes to simulate microroughness (i.e. changing roughness value with angle of incidence).
Thea render includes this out of the box, but currently Cycles does not.
Through a collaborative effort with some other users - we created a Cycles node group to simulate this effect in the following thread:
I find it add’s a subtle additional level of realism to many materials.


