I don’t follow. It handles simulation and colllision well now? In the past, hair always fell through mesh when simulated.
Or are you saying simulation is no longer required?
it’s straight up not implemented yet lmao
there’s workarounds but there’s nothing out the box yet
Ok. Thanks for the info. With the new Blender open movie in the works, we might get something better than what we have currently. I think the devs might approach the hair strand animation through rigging. I think rigging particle hair is possible now in Blender.
It gets to over 40°C here during the warmer months, so putting it in a shed would be a sure-fire way to melt/combust it. Putting it in an adjacent room had crossed my mind, although extending all the cables even that far wouldn’t be be cheap I don’t think.
Not as yet, geo nodes are still a mystery to me…
You can groom hair without any geometry nodes knowledge. You can also download some pre-made node trees that Blender Studio gave away for free here
Would be good if you caught an airco manufacturer using your images for commercial purpose ![]()
Hello Chris!
We have been working with UH for a year and a half and we have some questions ![]()
-
We record the Motion Capture data and use it for Universal Human. And we ran into a problem when retargeting from Mocap Armature to UH Armature.
When we retarget the bones of FK Forearm and FK Upperarm, we definitely need to bake the animation and clear constraints. It’s industry standard that FK controls are constraint independent - that way it’s easier to transfer FK controls animation data without breaking the rig.
In UH, FK bones of the Forearm and Upperarm has the constraints that are needed for the IK to work, and we cannot bake animation because then we will loose the constraints and it will break UH Armature.
So we need to somehow bake the animation on those bones without breaking the rig. What would you advise in our case? -
UH does not have FK/IK switches on the torso and neck. Because they work entirely on IK, we lose the ability to do retargeting normally.
How would you suggest to add FK controls for torso and neck? They also has to be constraints independent - so that they can be baked. -
UH’s neck is made up of 2 IK bones. Which creates inconvenience in mocap cleanup and additional inconvenience in use.
Could you advise how to add one FK bone on the neck? -
We make our custom Shapekey for UH.
Blender export SubD0 base mesh → ZBrush sculpt on SubD4, bake displacement, export SubD0 mesh → Blender import SubD0 as Shapekey and add Displace modifier with displacement map. And the result is unique character model.
But there is a problem with the eye area. We try not to touch it at all so as not to damage it, because the smallest changes can bring unpredictable results.
What would you recommend for sculpting the eye zone so as not to break the UH system?
Since I don’t have mocap experience, and the rig is made explicitly for hand-keyframing, I’m not sure I can be of much help with any of this… however, I normally suggest using a separate FK armature that is already configured for your mocap data, and binding the main rig to it via Copy Transforms constraints on the control bones (I haven’t tried that myself, but since nobody has told me yet that it doesn’t work, I can only assume it does ![]() ).
).
Reconfiguring the rig to work with mocap directly would be a bit of a nightmare, so driving it with a secondary rig would be the first place I’d start. Theoretically that could also give you the luxury of tweaking the main rig on top of the mocap rig.
The eye area is indeed sensitive to modifications. Assuming the blinks and eye movements are messed up, you’ll need to edit the Eyelids 1-6 and Eyes Down shape keys in particular. The easiest way to locate the ones responsible is to pose the rig so that the deformation is at its worst, then scroll through the shape keys and edit/sculpt the ones with the highest values.
Hey, Chris, any updates on your work? Have you encountered any problems that you are trying to resolve?
Looks so real that it’s beyond the uncanny valley.
Unreal model, I’m the big fan of your work ![]()
Want to see your emotions when you’ll try rendering on 4090 the first time)
@Skarrob I’ve been trapped in a vicious merry-go-round of problems for most of the year now, mainly revolving around the iris. I’ll try to explain later.
@MichaelBenDavid Don’t know if I’ll get around to looking into that again, interesting that it’s still being developed though.
Thanks @josfaber & @Panthalonik
@LighToueR A budget GPU from a decade ago would blow my current card out of the water. I may need to be sedated…
btw there is now open path guiding in cycles, i am not sure how this can improve or fix the problems with that you were having with eye materials, there is a thread in BA about the developments and test on this, for example it improves caustics of glass even though is just a side effect from path guiding…
and general dev thread Cycles Development Updates - #3246 by claus
Indeed, caustics have been a key contributor to my iris woes. Just testing this now.
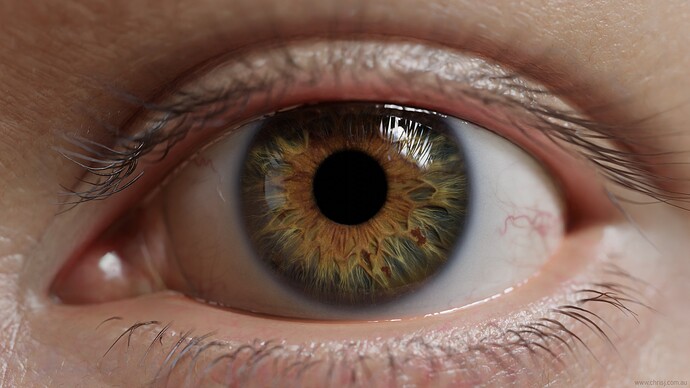
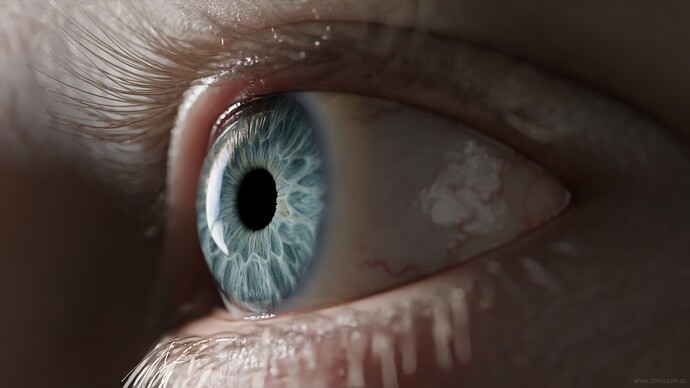
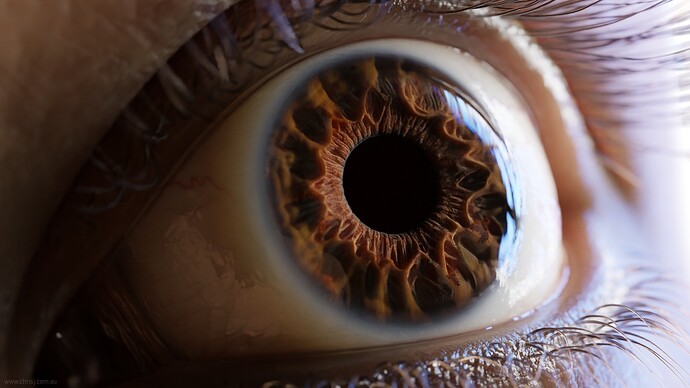
I think it’s safe to say the iris has surpassed the plica semilunaris now in terms of time invested per square mm of geometry.
Not that you can tell by looking at it though.
In short, it largely boils down to the excruciatingly slow caustics (Shadow Caustics failed to deliver the goods); the denoiser interpreting the colours to be darker and more vibrant when it only has a handful of caustics fireflies to work with; and the ensuing wild goose chase of trying to make the the high sample-count renders look more like the low sample denoised ones, but without the details being smeared away.
My self imposed limit of one albedo and one displacement map (with which to cover the entire gamut of iris types) probably didn’t help alleviate any of this, and ultimately I had to split the albedo into two maps, and add a couple of displacement variations.
Ironically, just as I’d given up on caustics altogether, along comes Path Guiding, which renders caustics so much faster that I might as well have just spent the past several months in bed waiting for it to be implemented. ![]() At least the upshot of all this is that I’ve made enough refinements and iterations now to the textures and shaders for them to probably equate to a version 3.0 or 4.0.
At least the upshot of all this is that I’ve made enough refinements and iterations now to the textures and shaders for them to probably equate to a version 3.0 or 4.0.
Absolutely amazing, Chris. Caustics are a complete pain, but I think it’s safe to say that all of it was worth it, I would have never suspected it was fake. Keep it up!
Thats not a bad deal though!
It just got even more not bad; now they’ve decided to cover the cost of the rest of my PC build as well. ![]()


