After 6 months of work, I think I made a really cool Blender add-on, and it’s really useful! Now I am facing a new problem that there seems to be an ocean of add-ons currently on superhive.com
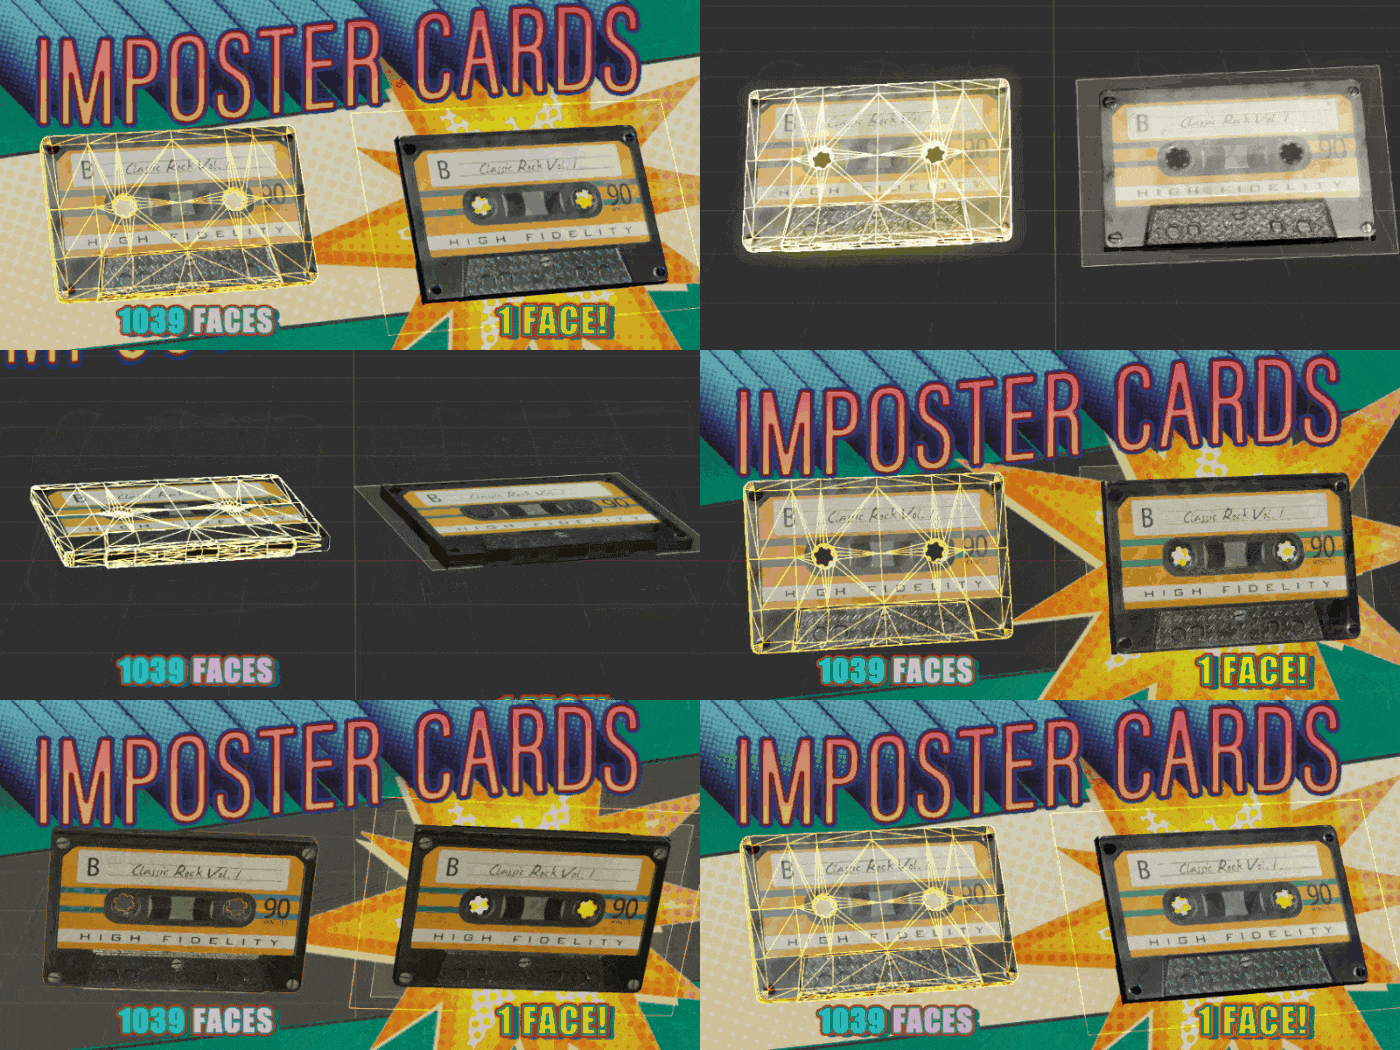
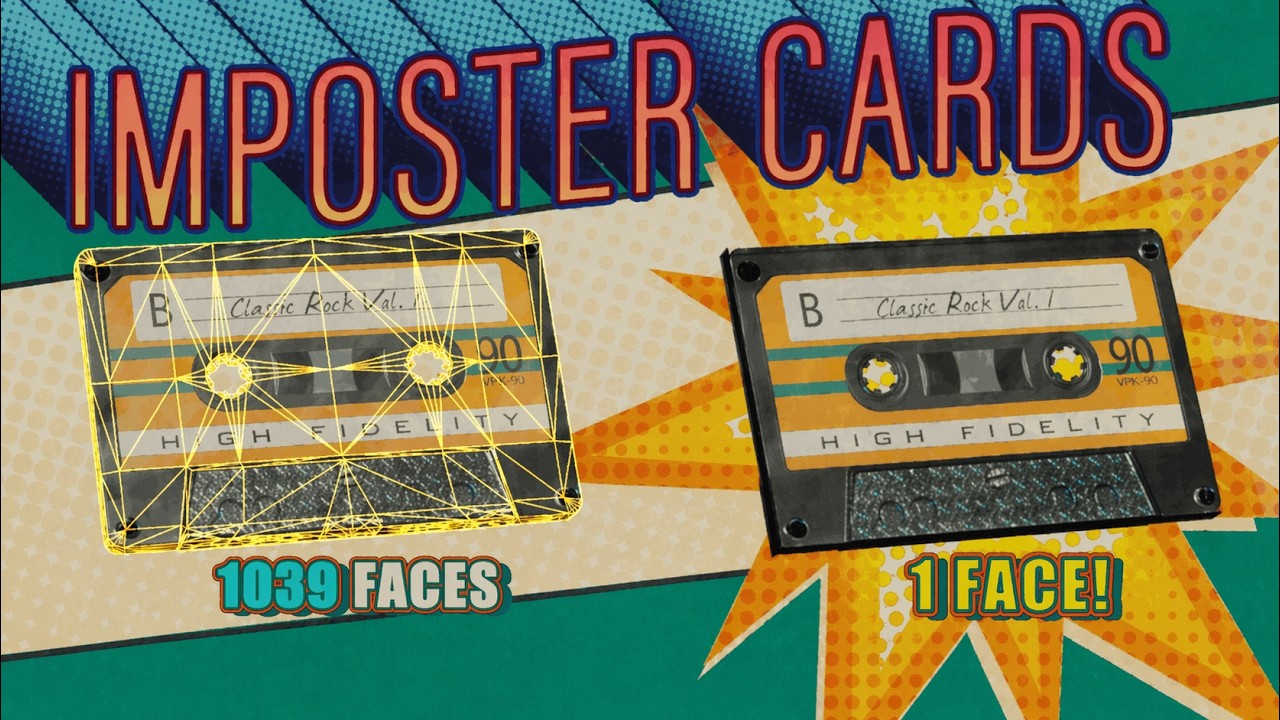
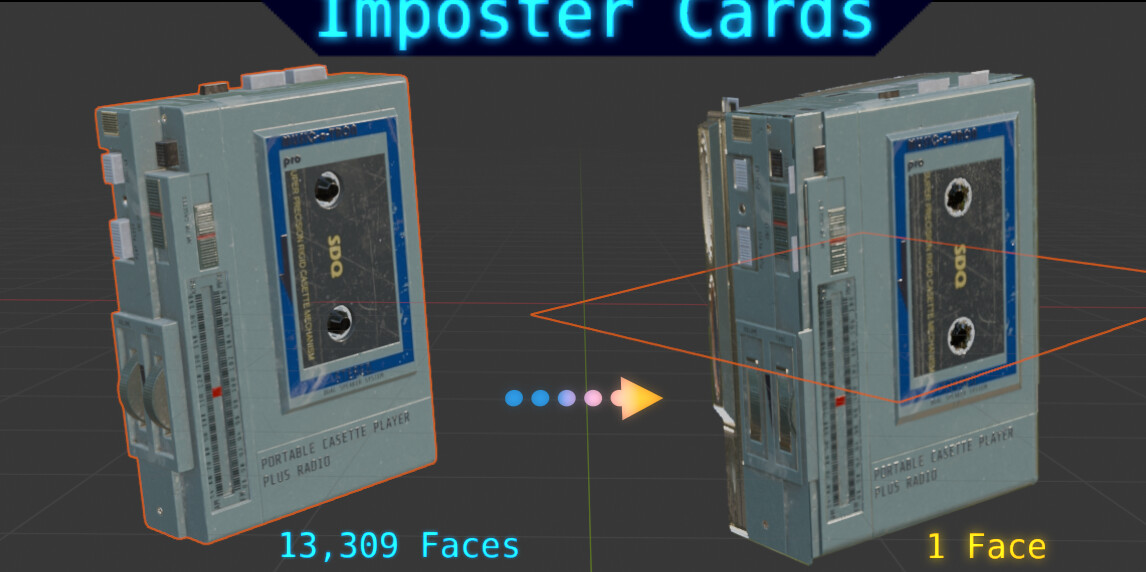
My addon is a new kind of “imposter card” that massively saves memory and removes the need for polygon reduction in games and rendering.
I think it helps when you make a post like this, that you include images and information about it within the post itself. Instead of lots of links that I have to go click and look at.
Like, you haven’t even given us any information here that really tells me what it does, and why I should be interested in it, and how it might improve my life.
Not like this. Rename your title to actually be about your addon, and tell us what it does instead of begging people to look at it. Currently, this post is low-quality and feels spammy. I’m closing and unlisting until you improve the quality
Marketing a product (or service) is often the hardest part.
You have to consider the size of your audience:
at the top level: Blender users! there’s millions of them!
More specifically: Blender users, who are willing to spend money on an addon. This is a huge cutoff, the draw of blender being free instills a sense of entitlement that needing to pay anything rubs up against.
Even more specifically, blender users who are willing to spend money on an addon who need this particular optimization tool.
It’s not actually that big of a pool of people, and 20 of those people already bought it.
My advice is to make cool scenes and animations and post them here. Get a good attention grabbing title and show how you were able to make this massively complex scene (using this one simple addon)
Ultimately, it’s hard. Selling products is less profitable than selling services. And you can’t expect one product to be a huge success, you’ll need to crank out multiple products (which can then be bundled) target multiple use cases, make them all work well together and keep adding things.
activity is a big attention getter.
Good luck, it’s tough out there. You aren’t failing if you are experiencing issues at this point. You are on the path, but the path is long.
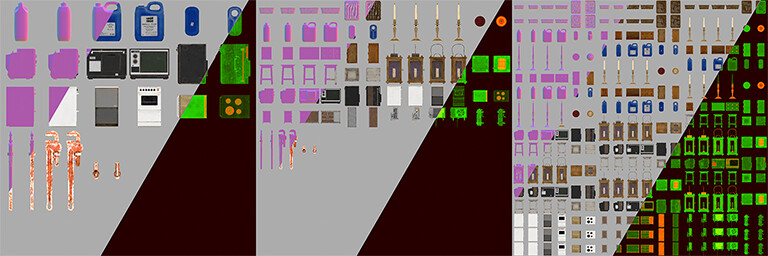
It converts all your in scene assets into Imposter Cards that use a single shared texture atlas.
That isnthe simplified explanation I can do, but I am worried that most users don’t really understand how this b benefits them.
Did you get a chance to watch the video? I tried to make the improvements as clear as possible.
I also posted the full feature list and documentation, but I think the video may explain it better.
It isn’t superfluous its acrually pretty essential. It’s a stronger version of a workflow that already exists in Unity, Unreal, Maya, and Pixar’s pipeline.
Hey, I found your addon on Mastodon and had the time to try it out now.
Cool addon in general, can already be quite useful. The shader seems very complex.
Here are some problems and improvements it needs to become “production ready”.
In Blender:
name textures with custom prefix and suffix and according to active object or with a custom name
name created imposter object when only one is created
use full texture space
creating one imposter at a time breaks already existing imposters. Existing bakes get overwritten and existing imposter objects get reverted.
I managed to improve the results on some non boxy objects A LOT by moving the uv coordinates by hand. Maybe the average depth could be used to better determine where the planes should be. If there is a spike in the depth histogram, that could also be used to determine where a plane should be.
accurate raycast reflections with ultra shader complexity does not work for me. The planes seem to be offset far into the distance.
maybe it would be useful to have a simple parallax mapping option (no layers). Also parallax occlusion mapping would be useful to reduce the visibility of the layers (now it seems to use steep parallax mapping). See this article for the comparison of those techniques: https://learnopengl.com/Advanced-Lighting/Parallax-Mapping
allow generating imposters on their original positions and with their original hierarchy, Ideally with a custom suffix (_LOD1…)
it might be useful to just support a 6-planes mode that uses a simple shader and places 6 actual planes. This would drastically reduce shader complexity but double triangles. Its a tradeoff and for some projects would make more sense.
In Unity:
For me, in Unity all objects just were black cutouts rendered on a vertical plane. Looks like something is broken. Unity 6000.3.6f1 with URP 17.3.0 and Vulkan.
For me, the unity export is important and needs to work reliably. From a quick look into the unity shaders it also looks like you only support one set of textures for all imposters. Also very complex shader again.
In general some of your naming and folder structure is not very clean.
Thanks for your work and good luck with marketing!
Thank you so much for all the helpful feedback! I really appreciate you reaching out!!
Yes, you are right, I am going to handle that immediately! That’s a really good idea.
Yeah! That’s an interesting idea! Maybe I could add a bit down by the filepath that automatically sets a suffix like “_LOD_1” at the end of all imposters generated. Then people could edit or change that suffix.
I recently updated it to dynamically scale based on the number of items you are converting (to maximize texture space). It’s a limitation of the shader that the items need to be locked into columns at the moment. In the future I might be able to have the individual columns break up, and work even better.
Yes, It is meant to convert all selected objects and keep them under one shader (for games performance, 1 draw call == super performance boost). Having this generate a duplicate shader with different objects rather that overwriting the existing imposters may be a better way to go about things.
Maybe I should make an opt-in check-box to make the new objects generated “single user”?
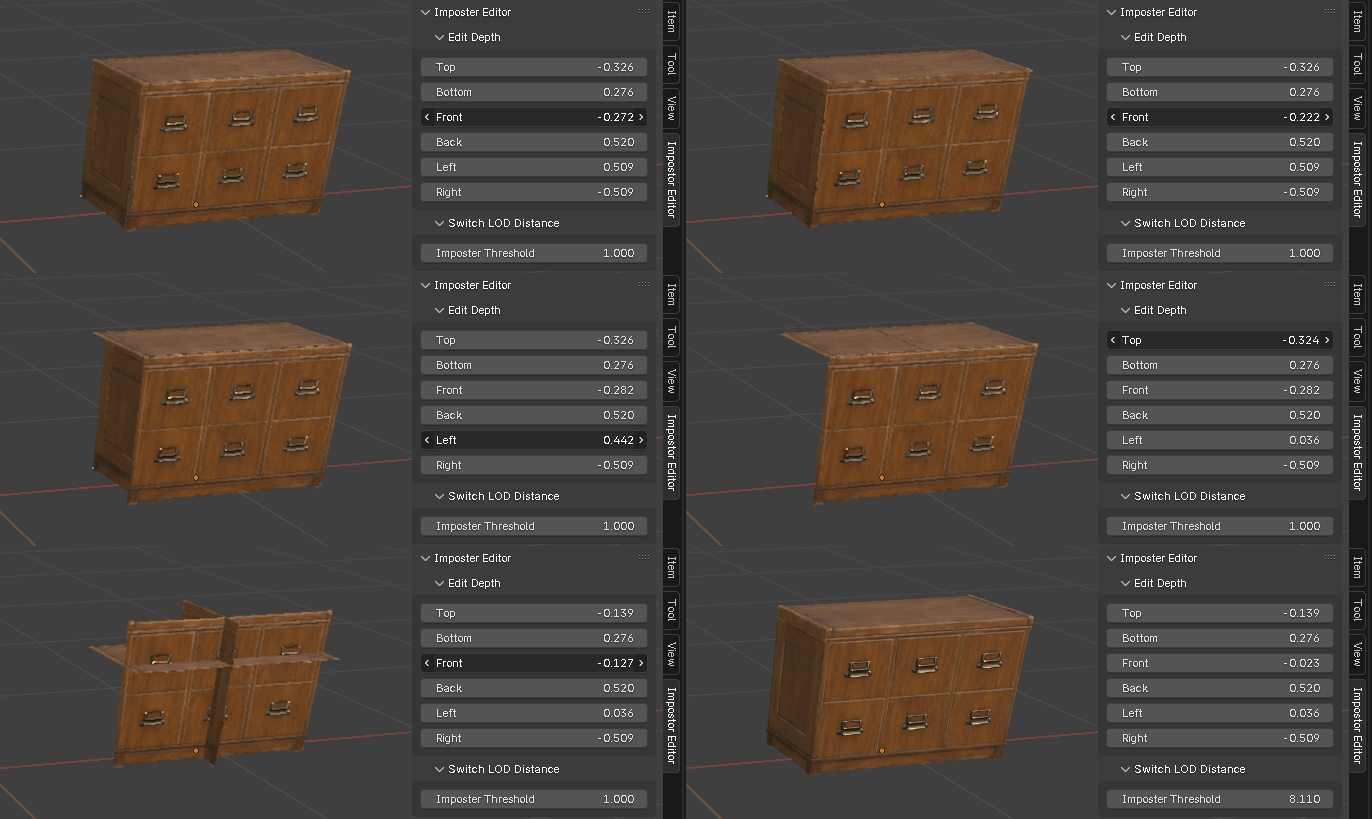
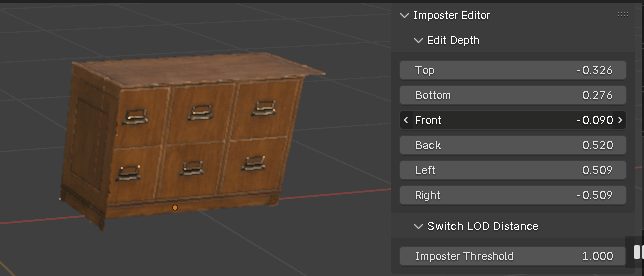
When you select an imposter that has been generated, you should see the “imposter editor” appear on the right side of the 3D view-- using this you can update the depth of the pseudo 3D faces. This way you can avoid editing the uv_layers by hand. It’s a failure on my part, maybe I should add this ti the imposter cards tab, rather than being it’s own separate menu.
yeah currently, under the hood, the addon does a tri-planar raycast() at the object to approximate the depth, buy with certiain shapes it doesn’t work perfectly.
yes. I am fixing this currently. Currentl the “accurate_raycast_reflections” works only for low med and high resolutions.
YES! I am working on that, unfortunately it’s very difficult and the results can be less impressive, but I a pushing on and trying to make it work!
currentlym imposters generate alongside the original object, (+2 blender units to the right) you want the object to be generated directly on top of the original object? I can do that!
You are thinking exactly the way I am it seems! I just finished a version of the “accurate_reflections” to consolidate al lthe vectors before image sampling. This reduces the number of image sampling from 9 to only 3 (or if you choose low quality (from 6 to 2). Also, beause the new solution is tri-planar, there is no need to calculate plane intersection withing the shader, and yes, the only extra cost is the two extra faces!
Ohhhh nooooo!!! Checking my addon right now. Alright I see the error. currently the tri-planar reflection object, AND the depth slices don\t work AND it doesn’t work with the dynamic atlas scaling.
If you render out a minimum of 25 items (because it only works with default 3 column texture scaling) then it will currently work in your unity project. Here is my screenshot, I just tested:
Yes. The reason I have to do it this way, is to accommodate the cs script folder that automatically assigns the materials and mesh objects in Unity, so the user doesn’t have to click anything. For example if you make 60 imposter cards of unique objects and export them, then the unity user has to manually assign the new mesh and material to each object exported to the unity project directory.
Do you think I should re-order the folders to just be a single folder? I could have the script run, and then delete itself after assigning mesh and materials maybe?
Either leave the Prefixes and Suffixes empty, or use the following defaults, as they are commonly used in Unreal and Unity:
Textures:
T_MaterialName_Base.png (not _Diff, that would include lighting)
T_MaterialName_ORM.png (Occlusion, Roughness, Metalness)
T_MaterialName_Nor.png (Tangent space would be useful for a default shader)
Material:
M_ObjectName
Object:
SM_ObjectName_LOD1 (Unity expects "_LOD1, _LOD2, etc)
ObjectName might be custom or from active object.
A lot of people are using .gltf to publish 3d assets these days. This is why I included AO in the Occlusion Map. AO would be very useful for the look of an imposter like this anyway. You can get the AO from whatever is connected to the gltf Material Output group in the blender shader. White if it doesnt exist.
Thats fine, but it is very unexpected behavior that existing imposter objects you created earlier are beeing altered and overwritten when you create new ones from different objects. Imposters from obj A and B are lost when creating some from C and D at the moment. This also implies fixing the naming, so exported textures dont overwrite each other.
It would be most useful to expose the three used textures in the top level of the material. In Unity too, expose the 3 assigned Textures, then you can create one material per imposter set. Maybe look into creating Material Variants with a master material for more control when you have several sets.
Yes, I found this after I was done. Its a nice utility, thanks! Better automatic placement of the layers would still be veeeery useful.
Yep, I generated a script that moves all of them back for my usecase. It would be cleaner to put the generated objects into their own collection. Even better if they keep the parenting and hierarchy (while still appearing in their own collection).
That sounds good, but I was thinking about actual UV mapped planes with a default pbrgraph. That would also be useful if you want to use this addon with some other program where you dont provide a shader. Its still very useful to be able to generate all these planes and bake the textures.
I think you should create a Folder with your Plugin Name (ImposterCards) in the main Assets directory containing your scripts and shaders. Not sure if this is safe, though. Usually I get Unity Plugins from the Unity Package Manager. The rest of the assets should be exported to the user selected folder.
Models directly in the Folder, then a subfolder for Textures called “Textures” and a subfolder for materials called “Materials”. Thats pretty standard.
Again I am working on the add-on to incorporate all your requests. The first fix is in, and now low, med and high render settings will work with UNITY export now! Currently the Ultra and the “Accurate Raycast Reflections” settings only work in Blender for the moment.
Now I have included the AO pass. This doesn’t add any extra memory, it packs this into the blue channell of the metallic and roughness texture. This feature now works in the Blender add-on shader, this evening, I will update the UNITY shader to also support the ambien occlusion.
Well, it’s very clever but is it really useful ?
There is a lot of limitation to your system, yes it can save polygons but it needs to store the textures in memory… If you need to have close-ups you’ll need massive textures that can’t be shared between objects. While regular mesh can use shared trims, decals, or tillable.
Also since the object is a plane it’s hard to see where it sit in 3D space, so say if the object needs to be manipulated by a character it’s super challenging to animate.
Also what about shadows ? will they even work ?
All that said, I can see that something like this can be useful in some places, you definitly made a use case for your game. But it looks to me too much trouble to be worth it, in a “studio” / animation scenario.
There are different strategies for optimizations but in a rendered pipeline I’m not sure people bother making LOD unless it’s super necessary.
Another thing that would prevent me using a tool like yours unless I have a very good reason to do so is that it adds another step of conversion which needs to be automated . So any change to a props would trigger an update, it’s not a big deal but still it’s something that needs to be accounted for in a pipeline.
What about if we change the lighting ? would two objects (orginal + imposter ) would render seamlessly in various light conditions. I suppose no-self shadows at least ?
Finally, it’s impossible to have the props rigged so non animation either.
All these parameters accumulated leaves those imposter cards a very niche usage in a case where you reaaaly need to save resources and it pass all the side-effects check list. So in my line of work we’re talking much more about the exeption than the norm. And on top of that there are other strategies like cards for distant trees, renderlayers , LOD… that are more universal and flexible…
Anyway, as said it’s super clever and there is a lot of work, it’s definitely useful for the case you demonstrated, probably in video game it’s more used. I find that super cool anyway and inspiring… But don’t expect people to massively use that in various scenarios for some reasons I mentionned …
Yes, very useful, but it’s useful in a specific lane.
This is not meant to replace hero assets in close-up shots. It’s a form of LOD / imposter-card rendering, which is a well-established optimization technique used across Maya workflows, Houdini/Solaris, USD pipelines, game engines, and NVIDIA-style rendering approaches.
Right, and that’s exactly why these are not intended for close-ups. They’re for mid/far-distance assets, background density, heavy scene optimization, forests, crowds of props, set dressing, viewport performance, and render-time reduction.
The textures absolutely can be shared between objects. That’s one of the main points of generating the data into an atlas. Instead of every object carrying separate texture memory, the cards can share packed atlas data.
The card still exists as an object in the 3D viewport, so its transform, origin, scale, and placement are visible like any other object. It is a plane visually, but it is still positioned in scene space.
Yes. The add-on has a tri-planar mode that helps with shadow behavior and scene integration. It is not trying to be a perfect replacement for full geometry in every possible case, but it does support lighting and shadow workflows.
That’s fair as a concern, but this general technique is already part of serious production thinking. USD itself has a built-in concept of card draw modes for representing complex assets more cheaply.
USD, or Universal Scene Description, is a 3D scene framework for storing, layering, sharing, and assembling complex scenes across tools like Blender, Maya, Houdini, and Pixar-style pipelines.
So the idea itself is not unusual. What I’m doing is making this kind of workflow more accessible inside Blender.
Exactly. When it’s necessary, it matters a lot. This tool is for those cases: heavy scenes, repeated assets, forests, dense environments, background objects, game-engine export, previs, and scenes where full geometry is overkill.
That’s actually the point of the add-on: it automates the conversion step.
If the original asset changes, the imposter card can be regenerated or updated. So the workflow is not “manually rebuild everything by hand”; the tool is designed to handle that process.
The cards include normal data, so they can respond to scene lighting rather than being purely flat baked images. Tri-planar mode improves that further.
That’s the goal, yes. It will never be mathematically identical to the original geometry in every possible close-up lighting condition, but for the intended LOD range the match can be very convincing, especially with normal support and tri-planar mode.
Self-shadowing is something I’ve considered. For now, I’ve added ambient occlusion support, partly because multiple Unity developers specifically asked for that feature.
Do you mean deformation through an armature, like a character rig?
For rigid props, environmental objects, trees, rocks, set dressing, background assets, and LOD swaps, this is already useful. Deforming animated characters are a different use case, and I agree that is not the primary target for this tool right now.
Cards for distant trees are actually one of the main use cases here. This add-on makes cards.
That’s the exact family of workflows I’m targeting: card-based LOD, render-layer-style optimization, and texture-atlas-driven scene reduction.
I think the main disconnect is that this is not meant to be a universal replacement for geometry. It’s a production optimization tool for cases where full geometry is too expensive and a flat billboard is too limited.
So yes, it has constraints. All LOD systems do. But the technique itself is widely used in games, USD-style workflows, viewport optimization, and large-scene rendering. My goal is to make that kind of workflow available to Blender artists in a direct, automated way.
I’m also curious what kind of Blender work you mostly do, because depending on the pipeline, this tool may either be essential or completely unnecessary. For dense environments, repeated props, trees, background assets, pre-vis, and game-style optimization, it can be extremely useful.
Hello and thanks for the throughout answer ! This helps to understand better your tool and sorry if my answer could be felt a bit offensive !
I work on animation projects generally series or feature films, and while it requires optimization strategies generally it’s not as demanding as real time games workflows. On top of that super complex scenes that breaks computers in the projects I’ve done are more the exception than the norm. As I generally don’t work on blockbuster grade type of work. Anyway, there is always some shots that became challenging and where a tool like yours can be a good tool in the box, but as I see it, it also come with a set of constraints which might makes me pick another approach…
Yes ! That makes sense ! Multiple trees share the same atlas. What I was thinking was more about sharing textures between materials. Most of the time my bottleneck comes from textures taking too much space and I manage to mitigate that by reusing generic textures mixed with procedural across materials. So I can have very detailed materials with a relatively low memory footprint. But it’s true that I don’t use dense geometry either. Anyway, your use case with trees make sense and the demo you showcased is pretty neat !
Yes what I was referring to is that within a team you might not want to micro-manage which asset should be exported as a plane, but rather make it so that modeler don’t have to care about that and pipeline tools handle what should be converted or not. Obviously it depends on how much it’s used. If it’s just for a few assets maybe micro managing them is good, if it’s for a good chunk of the workflow using your tool adds a step in the process that add technical complexity down the line.
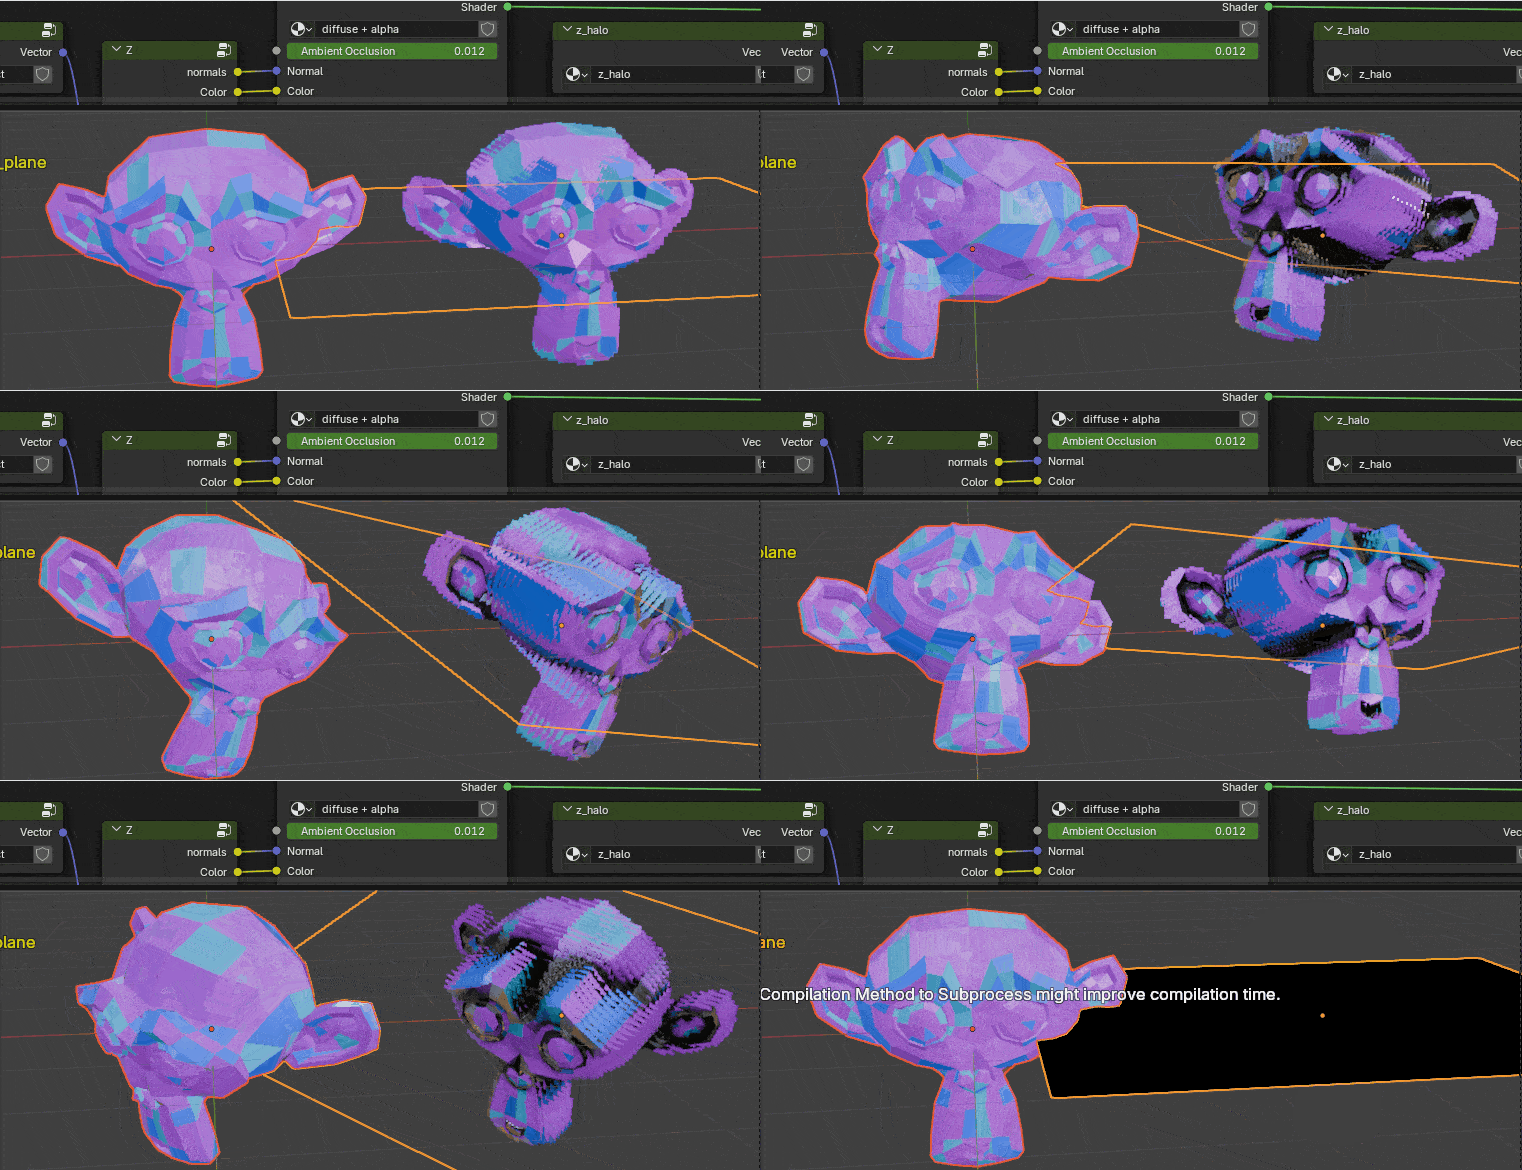
What is tri-planar mode ? it’s something a bit like that :
This is the kind of situation where these objects could be manipulated and they’ll need a rig. This looked more like hero assets to me but now with a fresh mind I see that it’s just examples rather than actual showcase. I have to admit that I didn’t watched the complete video but rather watched it quickly and I probably missed a few information and examples.
Maybe to be more easy to grasp some very pragmatic studio like scenario example could help to better understand the tool and why it’s better than other techniques.
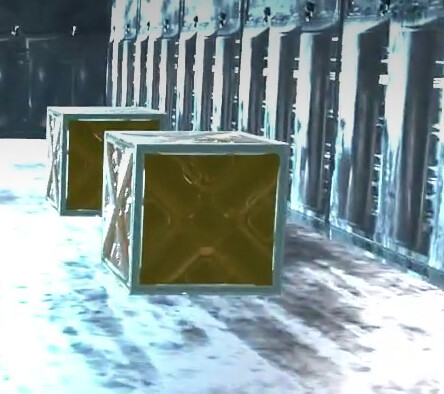
The gif with the trees for instance make a lot of sense, stuff like that a bit less :
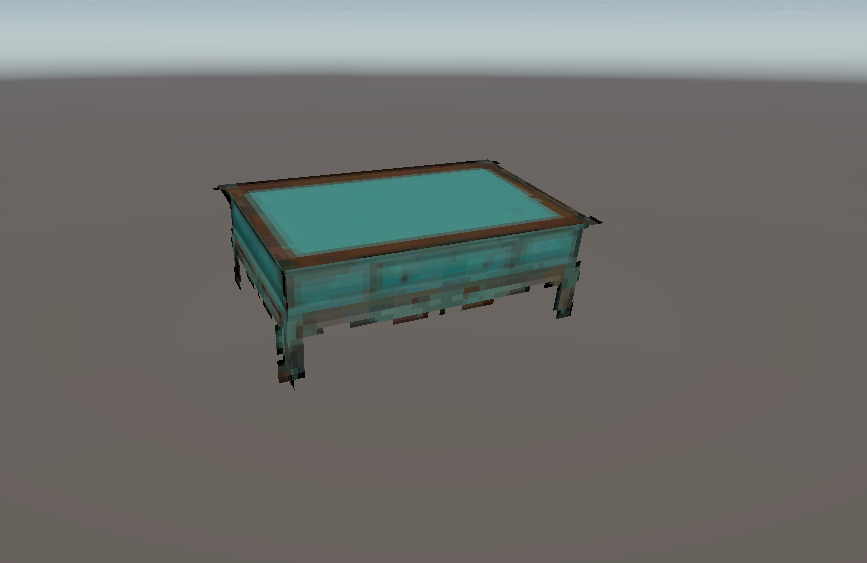
Because in a case like this, you save some poly count, but it makes maintaining the props very difficult, impossible to animate the drawers or share the wood texture with other wood assets. You probably need a big atlas for that , where maybe in the same memory budget I can have the actual 3D model and since some textures can be shared across materials ( wood , dirt) I might end up with something that take less space in memory and that is easy to modify, rig, and do whatever I want. Rather than having to manage the impostor setup.
Also , using a LOD switch when used multiple time helps to save some performance but memory wise you quickly end up storing both geometry and textures for impostor and original model. So you get better real time performance but you may not save memory for a massive scene scenario.