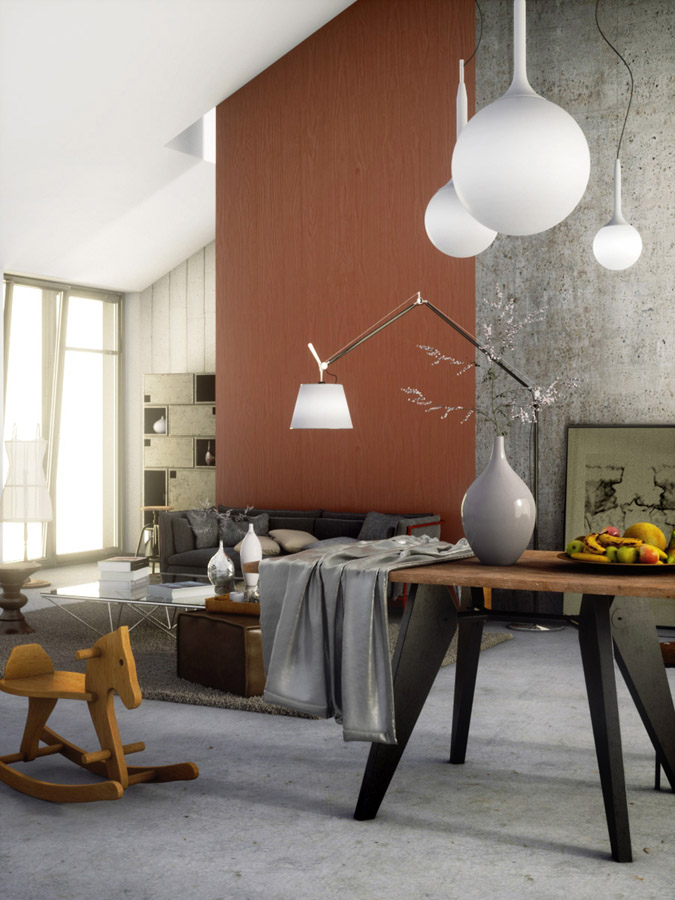
I had a second serious try with the Blender to Octane integrated plugin, this time in an interior environment.
For this exercise I mainly focused on the lighting, playing with emitter planes behind the windows to increase the light entering in the room. I also avoid the usual mix of hdr and sun renders to get the result in one single pass.
I mainly used direct lighting diffuse and a bit of pathtracing, render time was relatively fast, about 30min to 1h in a quite small res of 1200x900 on two gtx580.
All the images were post processed mainly to get a better contrast.
As usual everything was modeled with Blender.
Excellent work though I’d prefer a more subtle post production (the contrast is quite strong is some images), but that’s totally a matter of taste.
I haven’t tested Octane lately but I think the quality of your render makes me thinking that I should try it again soon.
A question:
Isn’t 1 hour of rendering too much for two GPUS? Let’s suppose you don’t have two of those babes then the render times will just blow out?
IMHO for archviz render times that go over 1.30 hours are not acceptable.
Carpet, lighting, rendering, and texturing are superb! speaking from a photography pov, the contrast and saturation mix are a great combination to compliment the scene. Great work!
You are right and I changed a bit the particle size and distribution
Sure 1 hour is too much but even the fastest renderers would probably require more than that for an interior scene. I’ve tested some others and it’s hard to get better results unless you have a render farm. If you want to do archviz animation, the directlight ao mode would probably do the job and in this case, 15min per image should be ok.
I’m must make it clear that I’m not trying to start a debate here.
But 12hours, 2days even 2moths is OK for somethings (though I can’t imagine any).
My concern is that if this are acceptable times in a professional archviz work-flow, since my experience shows that clients tend to change their mind even in the last minute.
More than this is 1200X900 is not a production acceptable size at least for printing, so the times for a 300dpi print will multiply render times.
On the other hand the cost of two GTX580 is about $400 plus $279 more for octane+blender addon for one position makes me wonder if it’s worth the cost.
I have no idea how things work in the States or in Belgium, maybe customers are more polite and full of sympathy and understanding for the visualizer but that’s not what I’ve experienced so far.
Maybe I’m wrong but I think the archviz industry standard renderer, you know which one I mean is capable of delivering similar times or even less.
Not fighting here I just try to establish a pipeline different from the standards that doesn’t bloats the cost, it worths investing and if it’s open source and free that’s ideal.
Cycles or Octane are slower with interiors for finale rendering if you set up VRay etc the right way through for example baking the GI map once and only adjusting textures etc.
However without Cycles or Octane you spend a lot more time on preview renderings.
For really intensive renderings I only use render.st anyway. At home I only have a 570 and thats fine.
Very nice work and deserving of the top row appearance.
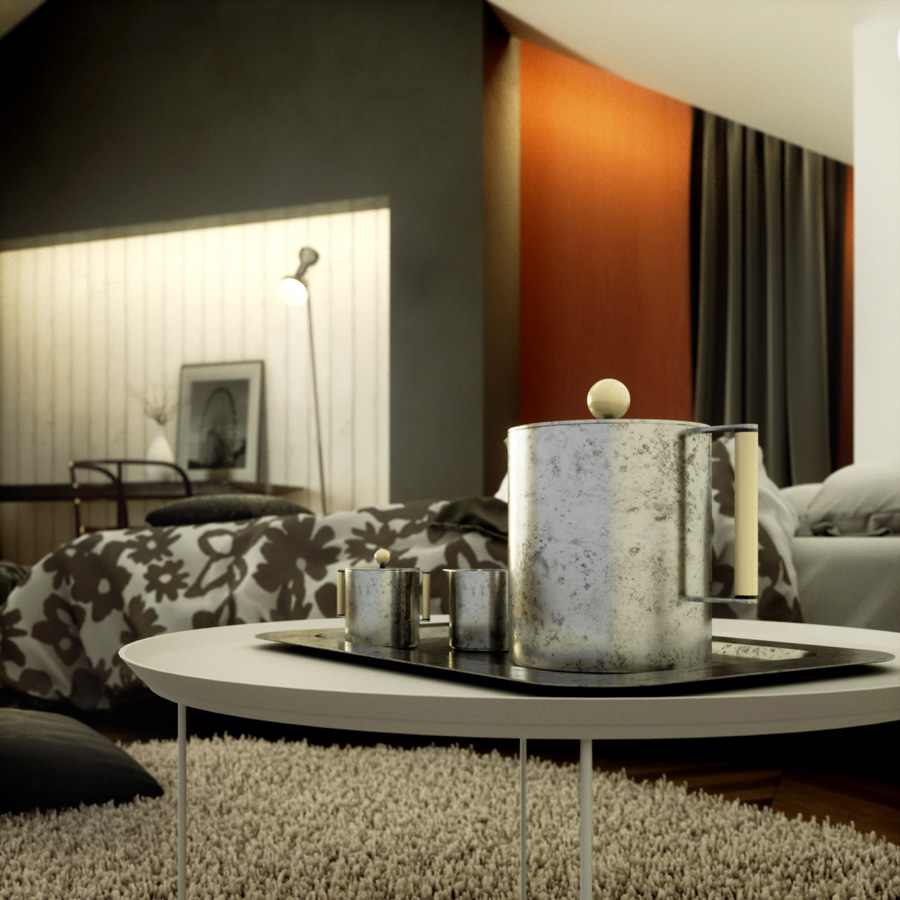
If I might offer one critique (from my untrained eye) is where the wood and concrete walls come together (as shown in the 1st, 4th and 10th image), the change seems to sharp. I don’t see any kind of shadow or edge trim to indicate a difference in material or depth. I guess the best way to explain it is it look like one texture, (for instance the wood) is on one layer of a editor program and the concrete is on the second layer, and you cut part of the wood texture on layer one exposing the concrete on layer two. Just my opinion is all.
I think it is really important to make every edge soft with bavel or something else, becaurse it not realistic that a edge is so sharp. But the compositions are great and the colours too.
And the wood texture is in my eyes a little bit to flat . All on all a fantastic collection