So I figured that, having just watched Jurassic World and loved it, it was time to return to an old monster concept of mine. =) I call it the iocarric. Essentially a massive sauropod dinosaur covered in bony armor plates growing from its skeleton.
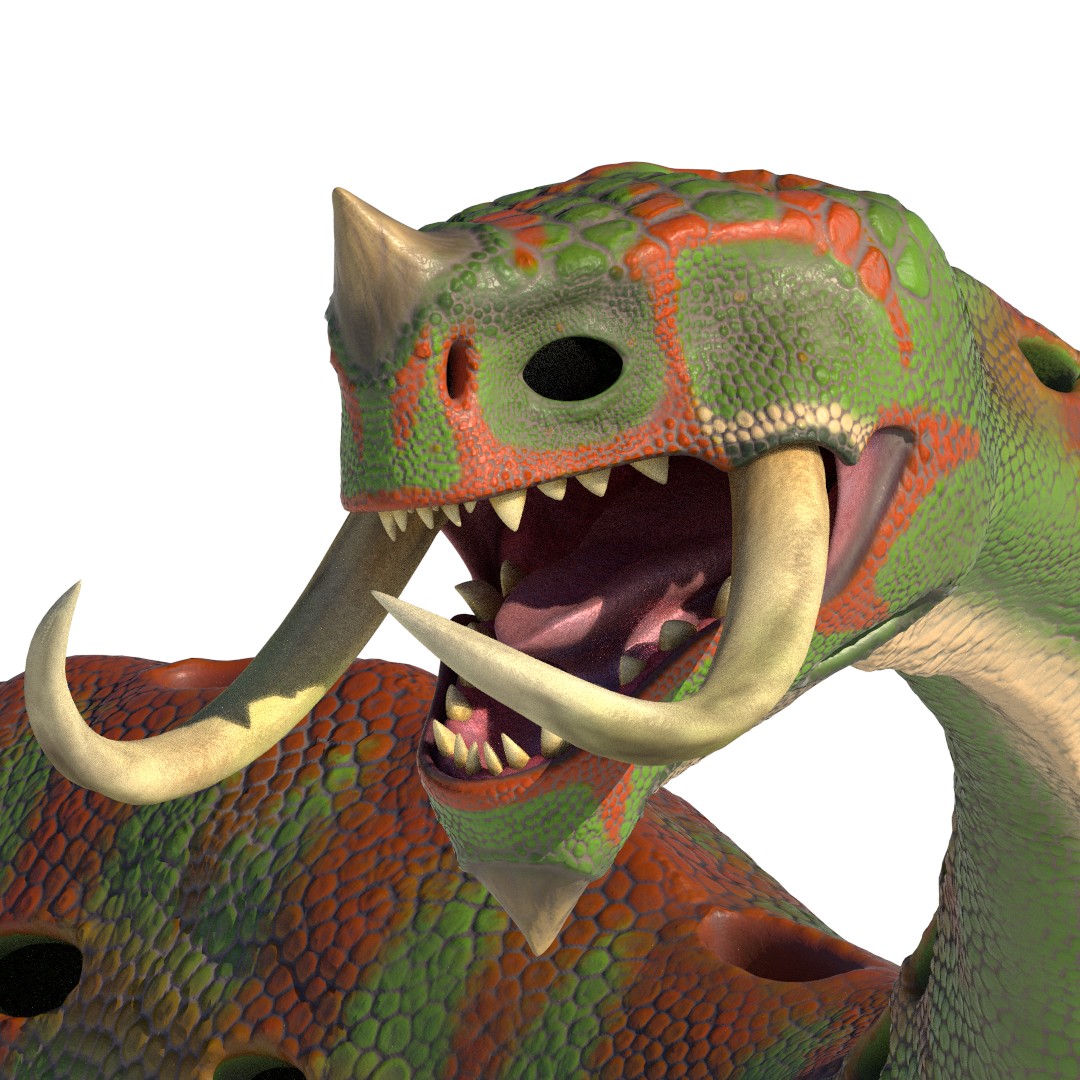
UPDATE: I have mostly finished the skin sculpting/texturing:
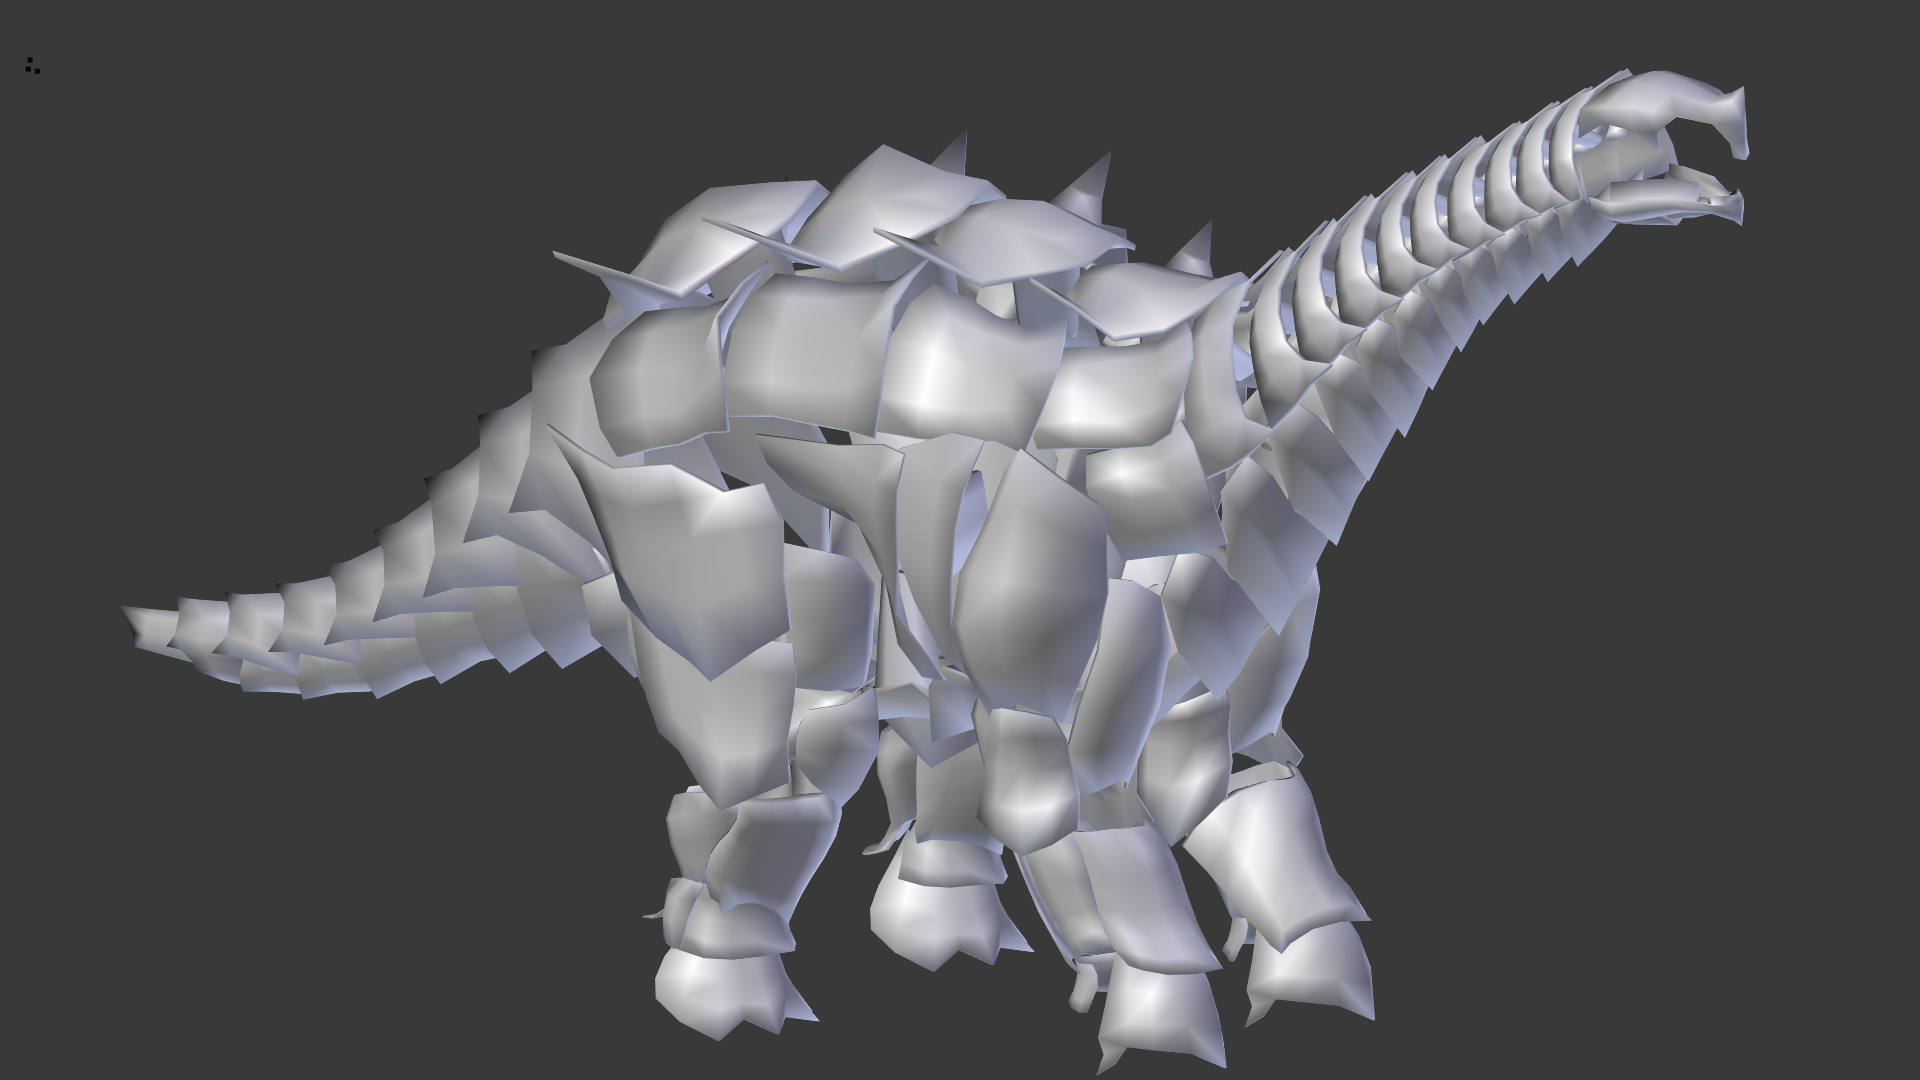
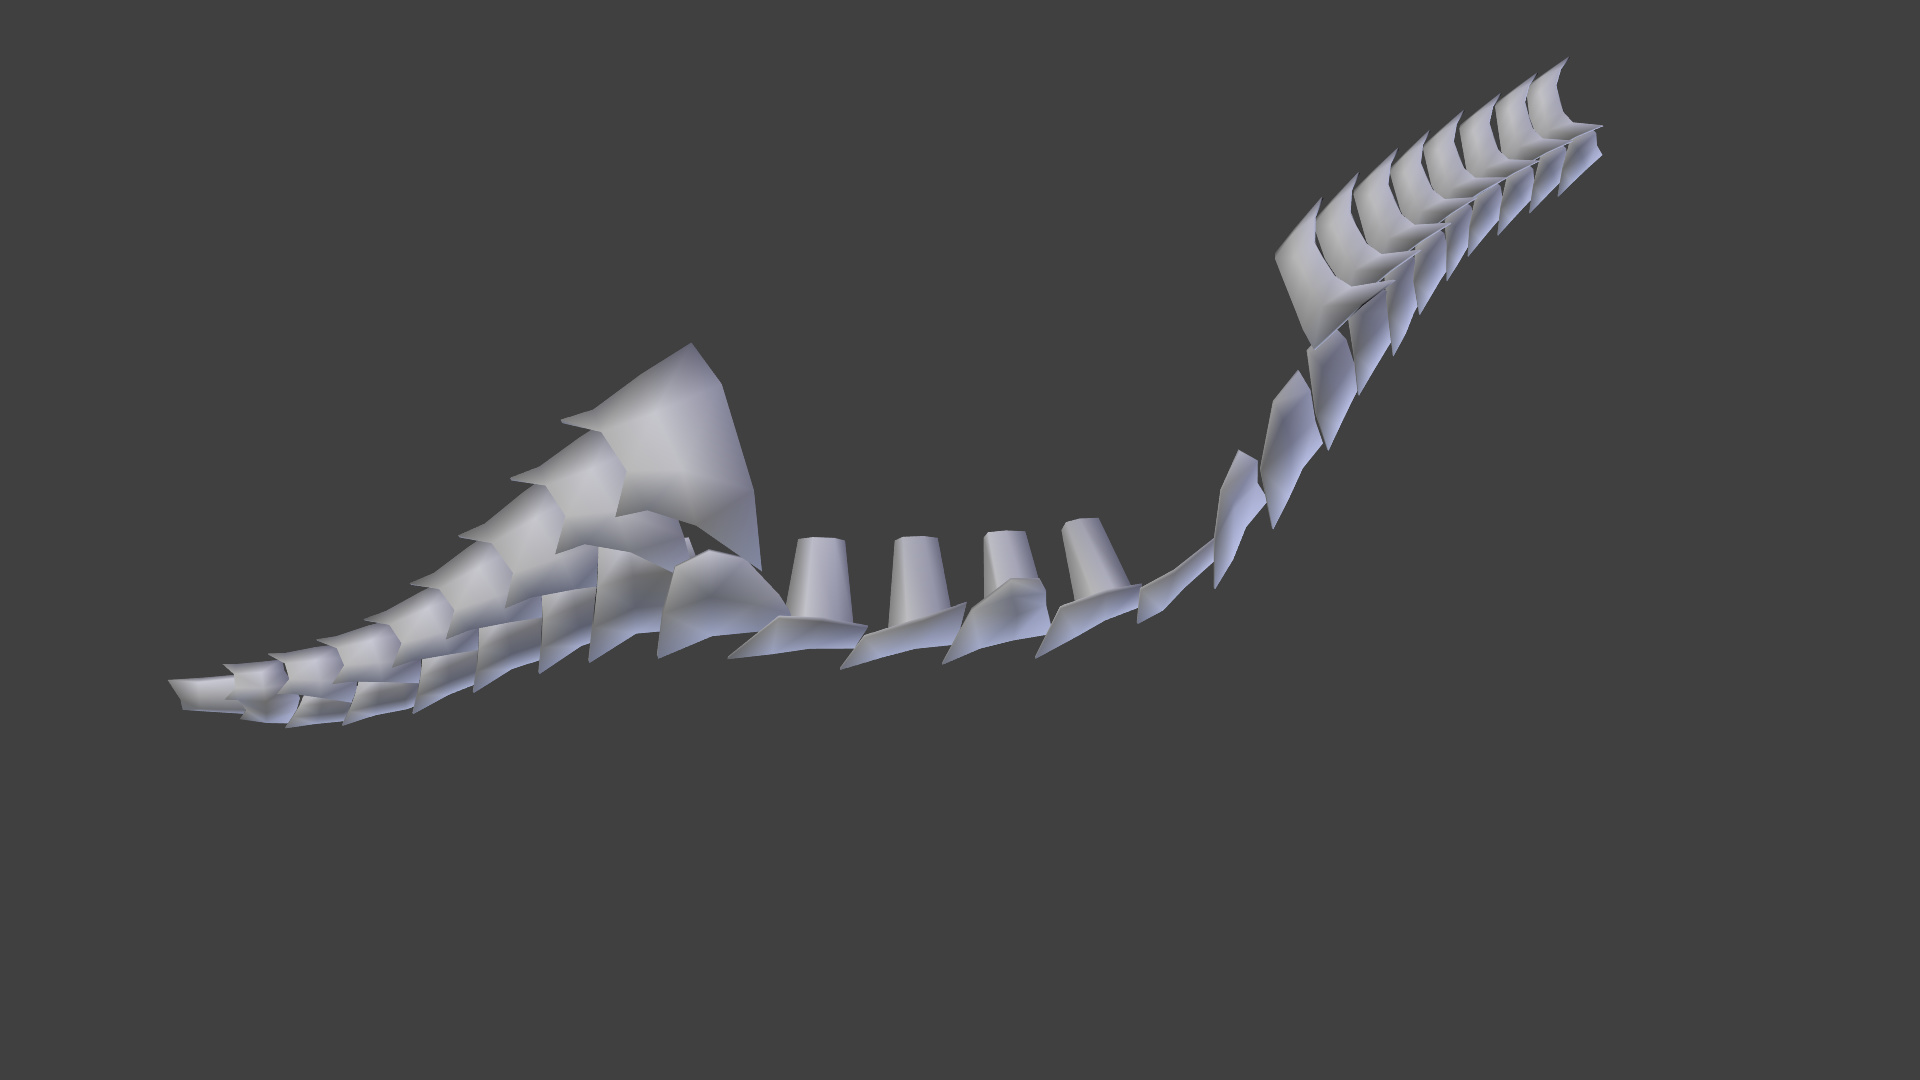
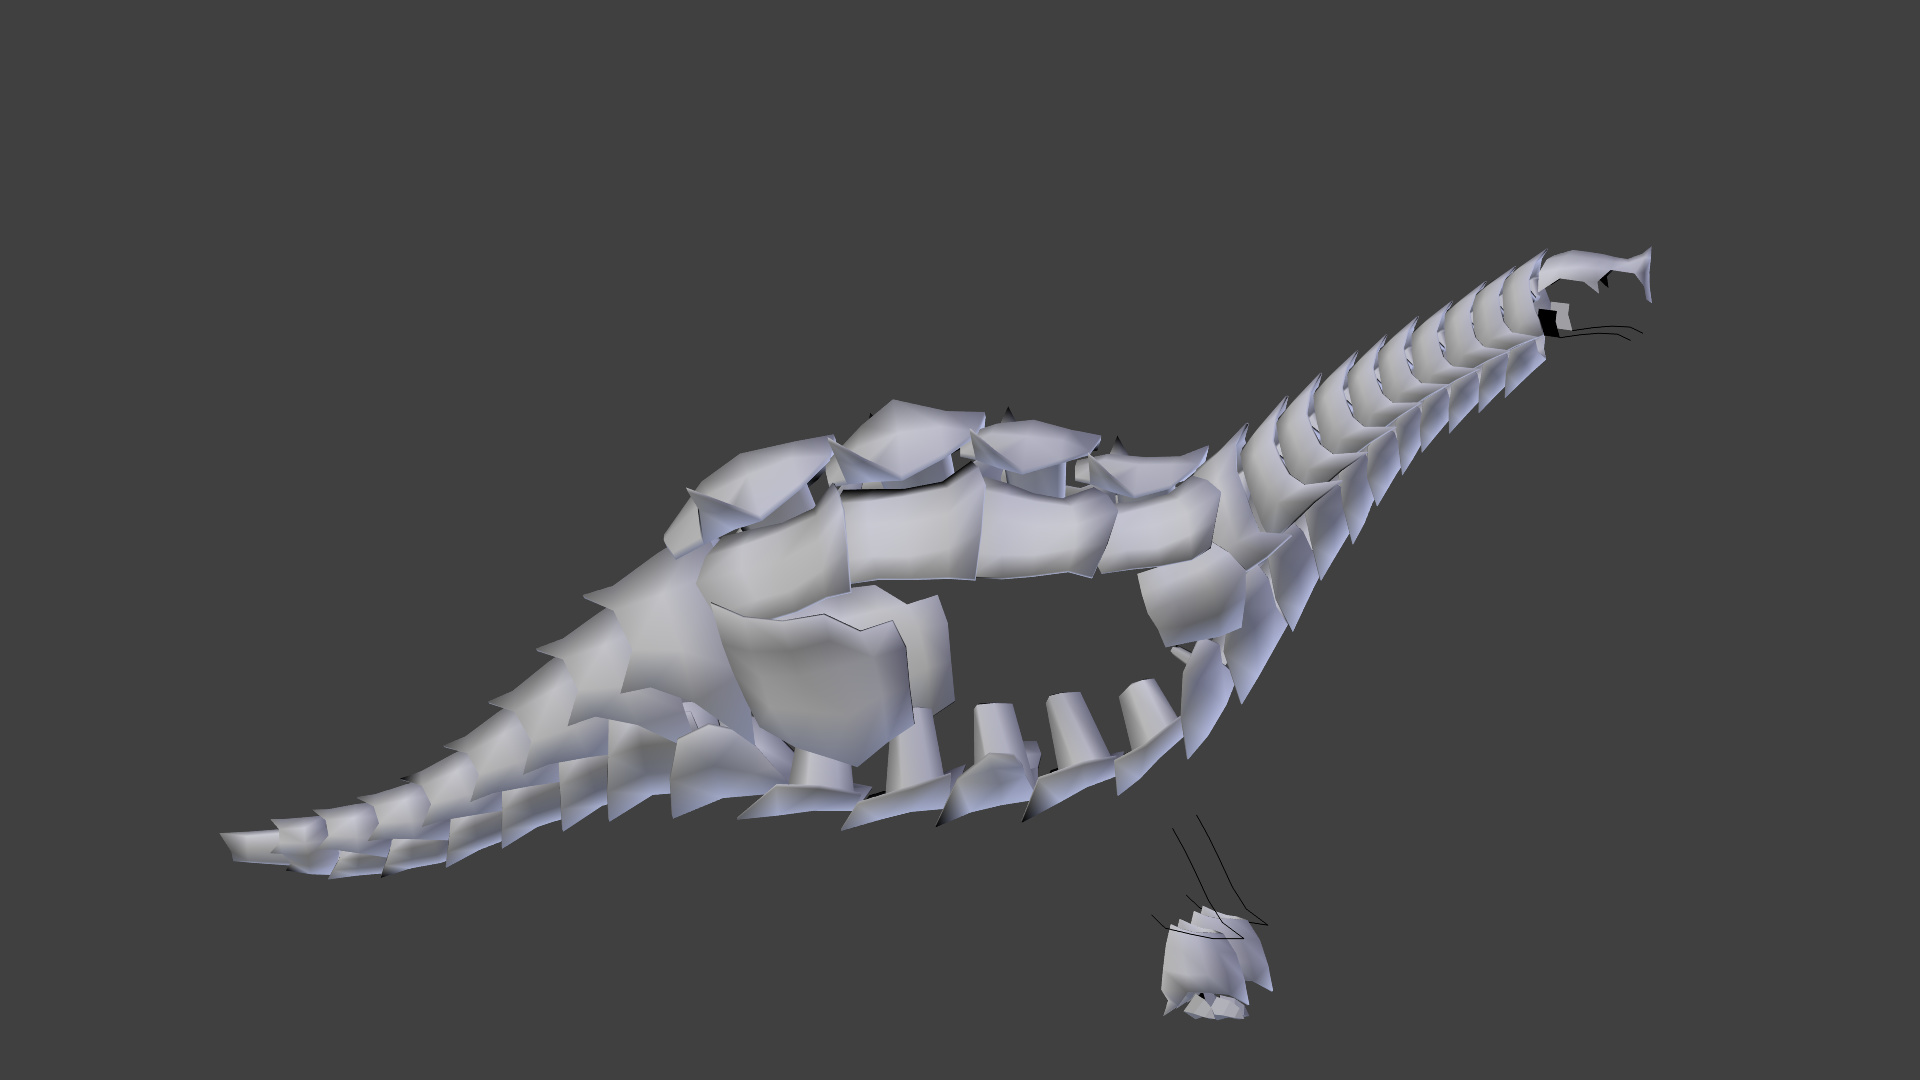
Update here. I remembered that I suck at large detail sculpting, so I went ahead and started conventionally modeling the body. However, because the armor plates grow out of the creature’s bones and consequently break up the skin, I began modeling some rough armor so I’d know how it’d interact with the body:
I have not died. As I modeled the armor plates, I realized that my concept art became aimless as it dealt with the torso area and needed some redesigning. When I reached the legs, I hit MAJOR modeler’s block/designer’s block, and as such I put the project on hold for a few months. I came back to it and figured that it’d be better just try try a bunch of stuff and find a design that works over a week or two than to spend months moping about my uncertainty, so yeah. Just letting you know that I’m alive and starting to work on this again. In the meantime, here’s where the model’s at right now:
Folks, I’m back. Summer has started, Jurassic World has inspired me, and I have returned to this project. So I finally finished modeling the armor base mesh, meaning I can go on to modeling/sculpting the skin. Expect to hear from me a lot more often starting now! I am determined to finish by the end of this summer.
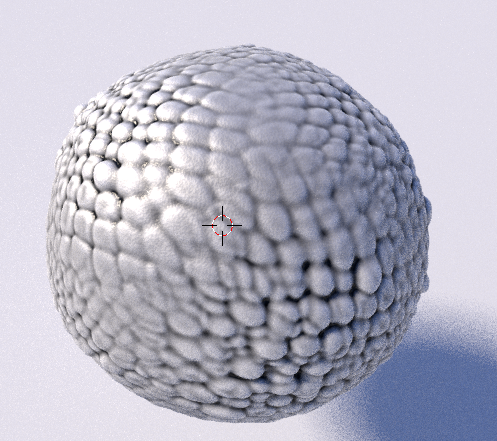
Alright everyone, I finished the high-poly basemesh for the skin. Now it’s finally time for sculpting. heart sinks
Anyhoo, I plan to sculpt the beast in three passes: 1st bone/muscle details, 2nd larger skin details such as wrinkles, and 3rd texturing, primarily scales all along the body. The next couple weeks are busy for me, and I’m a slow sculptor, so don’t expect me to finish too soon.
Here’s the basemesh, and I will have a turntable ready shortly.
Sorry about the lack of updates. I hit a major block in inspiration for sculpting, plus I was on vacation for over 2 weeks. To add some variety to my workflow, I took a break from sculpting and rigged the beast. I don’t have the face fully rigged yet, but I do have all the muscles in the limbs/jaws rigged, as well as the armor plates. (It was tricky to rig some of the loose plates that had to rotate but not change shape as muscles stretched and contracted underneath them.)
Here’s a video of me playing around with the rig, hope you enjoy.
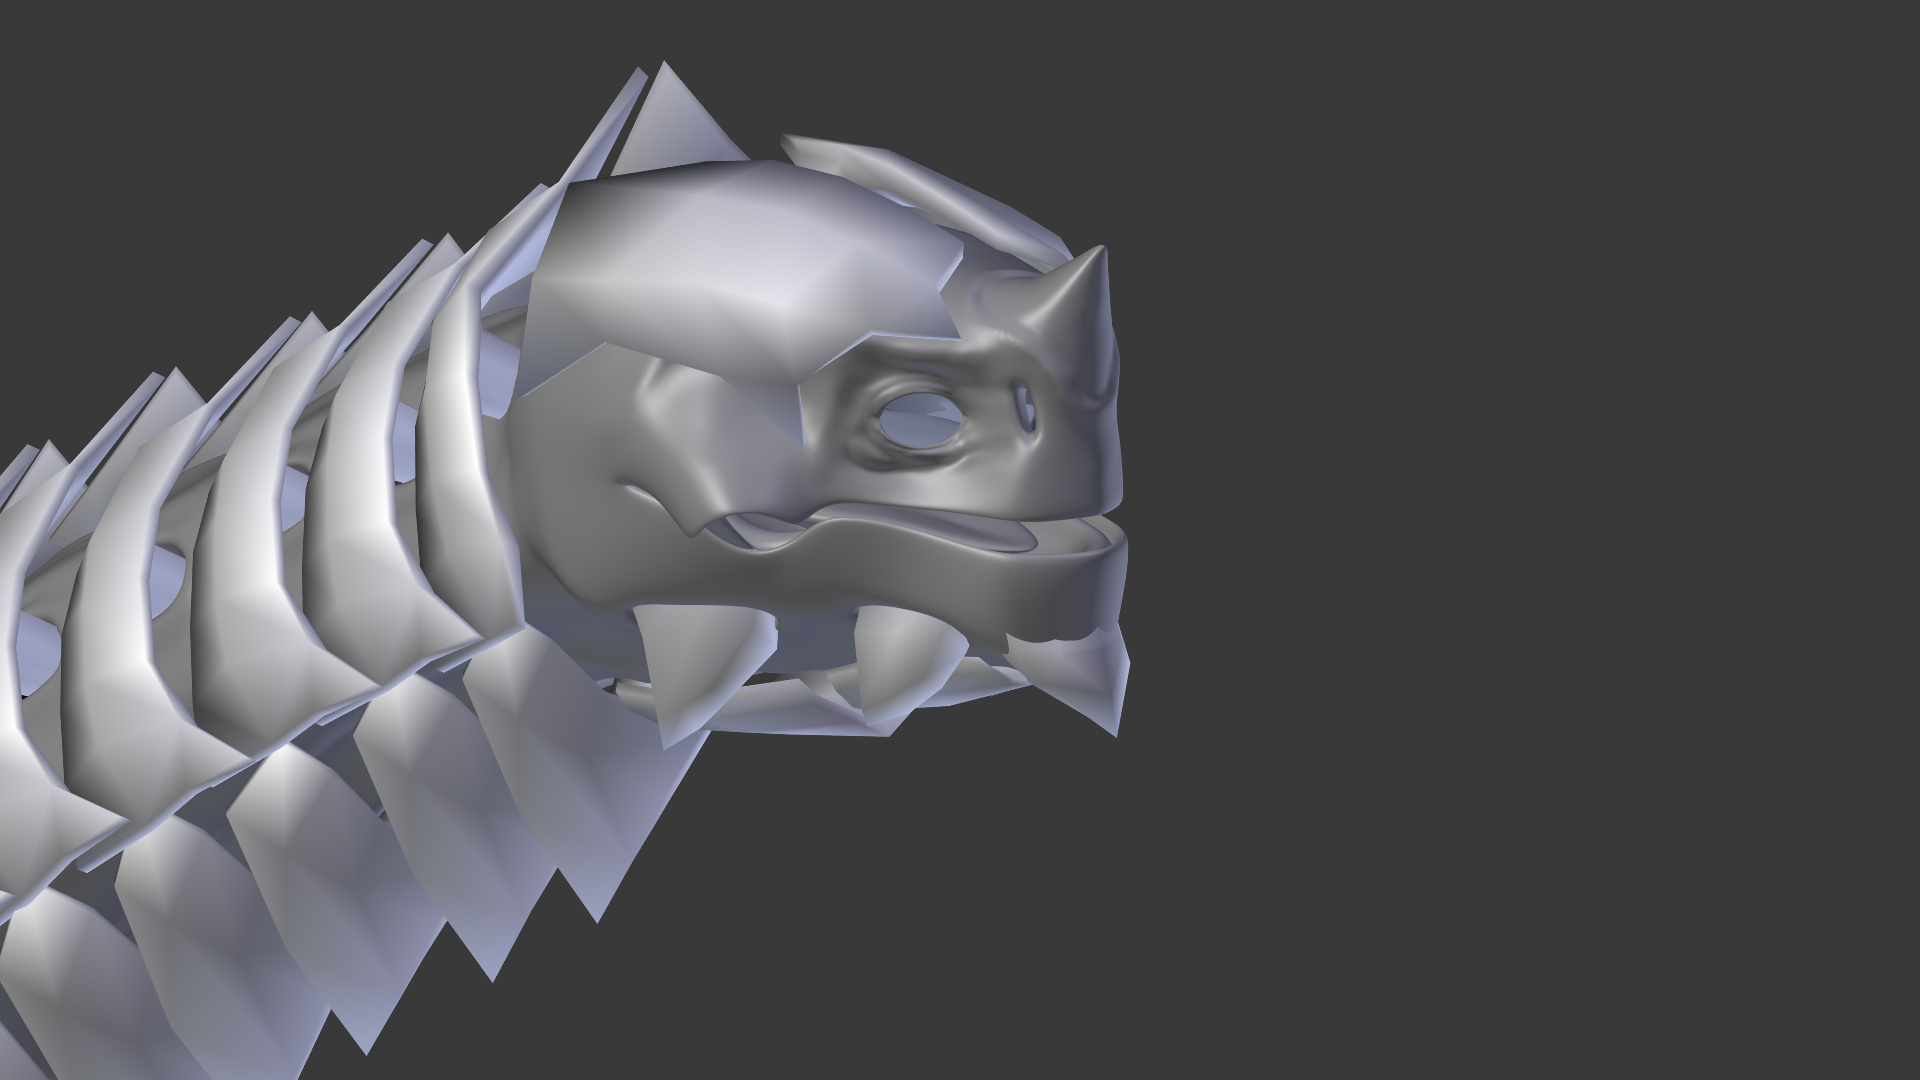
In the meantime, I remodeled the head’s armor plating. All the armor is essentially the same “technology” that horns and antlers are made of (bones that penetrate the skin and branch out from there), but since we’re used to seeing horns and antlers on the heads of things, it’s harder to accept when they just branch out weirdly. So I tried to make it a little more like what we’re used to.
I really like the muscle deformation effect you’ve got going on with your rig. How’d you set that up? My attempts at it have always ended in total failure :’)
I’ll post a tutorial about my rigging techniques once this project is done, but I’ll try to explain it here. Basically I have a separate bone for each major muscle, as well as a target for that bone. In the case of the hamstring, the muscle-control bone is parented to the actual femur bone. The target for the muscle is parented to the shinbone and positioned just below the knee joint, next to the shinbone, where the muscle would anchor to in real life. I then apply a stretch-to constraint to the muscle, targeted at the target bone (duh). That way when the joint bends, the muscle stretches and thins out or shortens and contracts, depending on the direction of rotation. I assign a portion of the actual skin mesh to the muscle-control bone, and it now changes shape accordingly.
Hope that made sense! If not, the aforementioned tutorial isn’t a long way off. =)
Ladies and gents, this is way overdue, because school has eliminated most of my viable Blender work time, but I finished the 2nd pass of sculpting. Since the 3rd pass (scales) should be less of a creative strain on me, expect me to be done in a week or two. Anyhoo, here’s the viewport turntable: