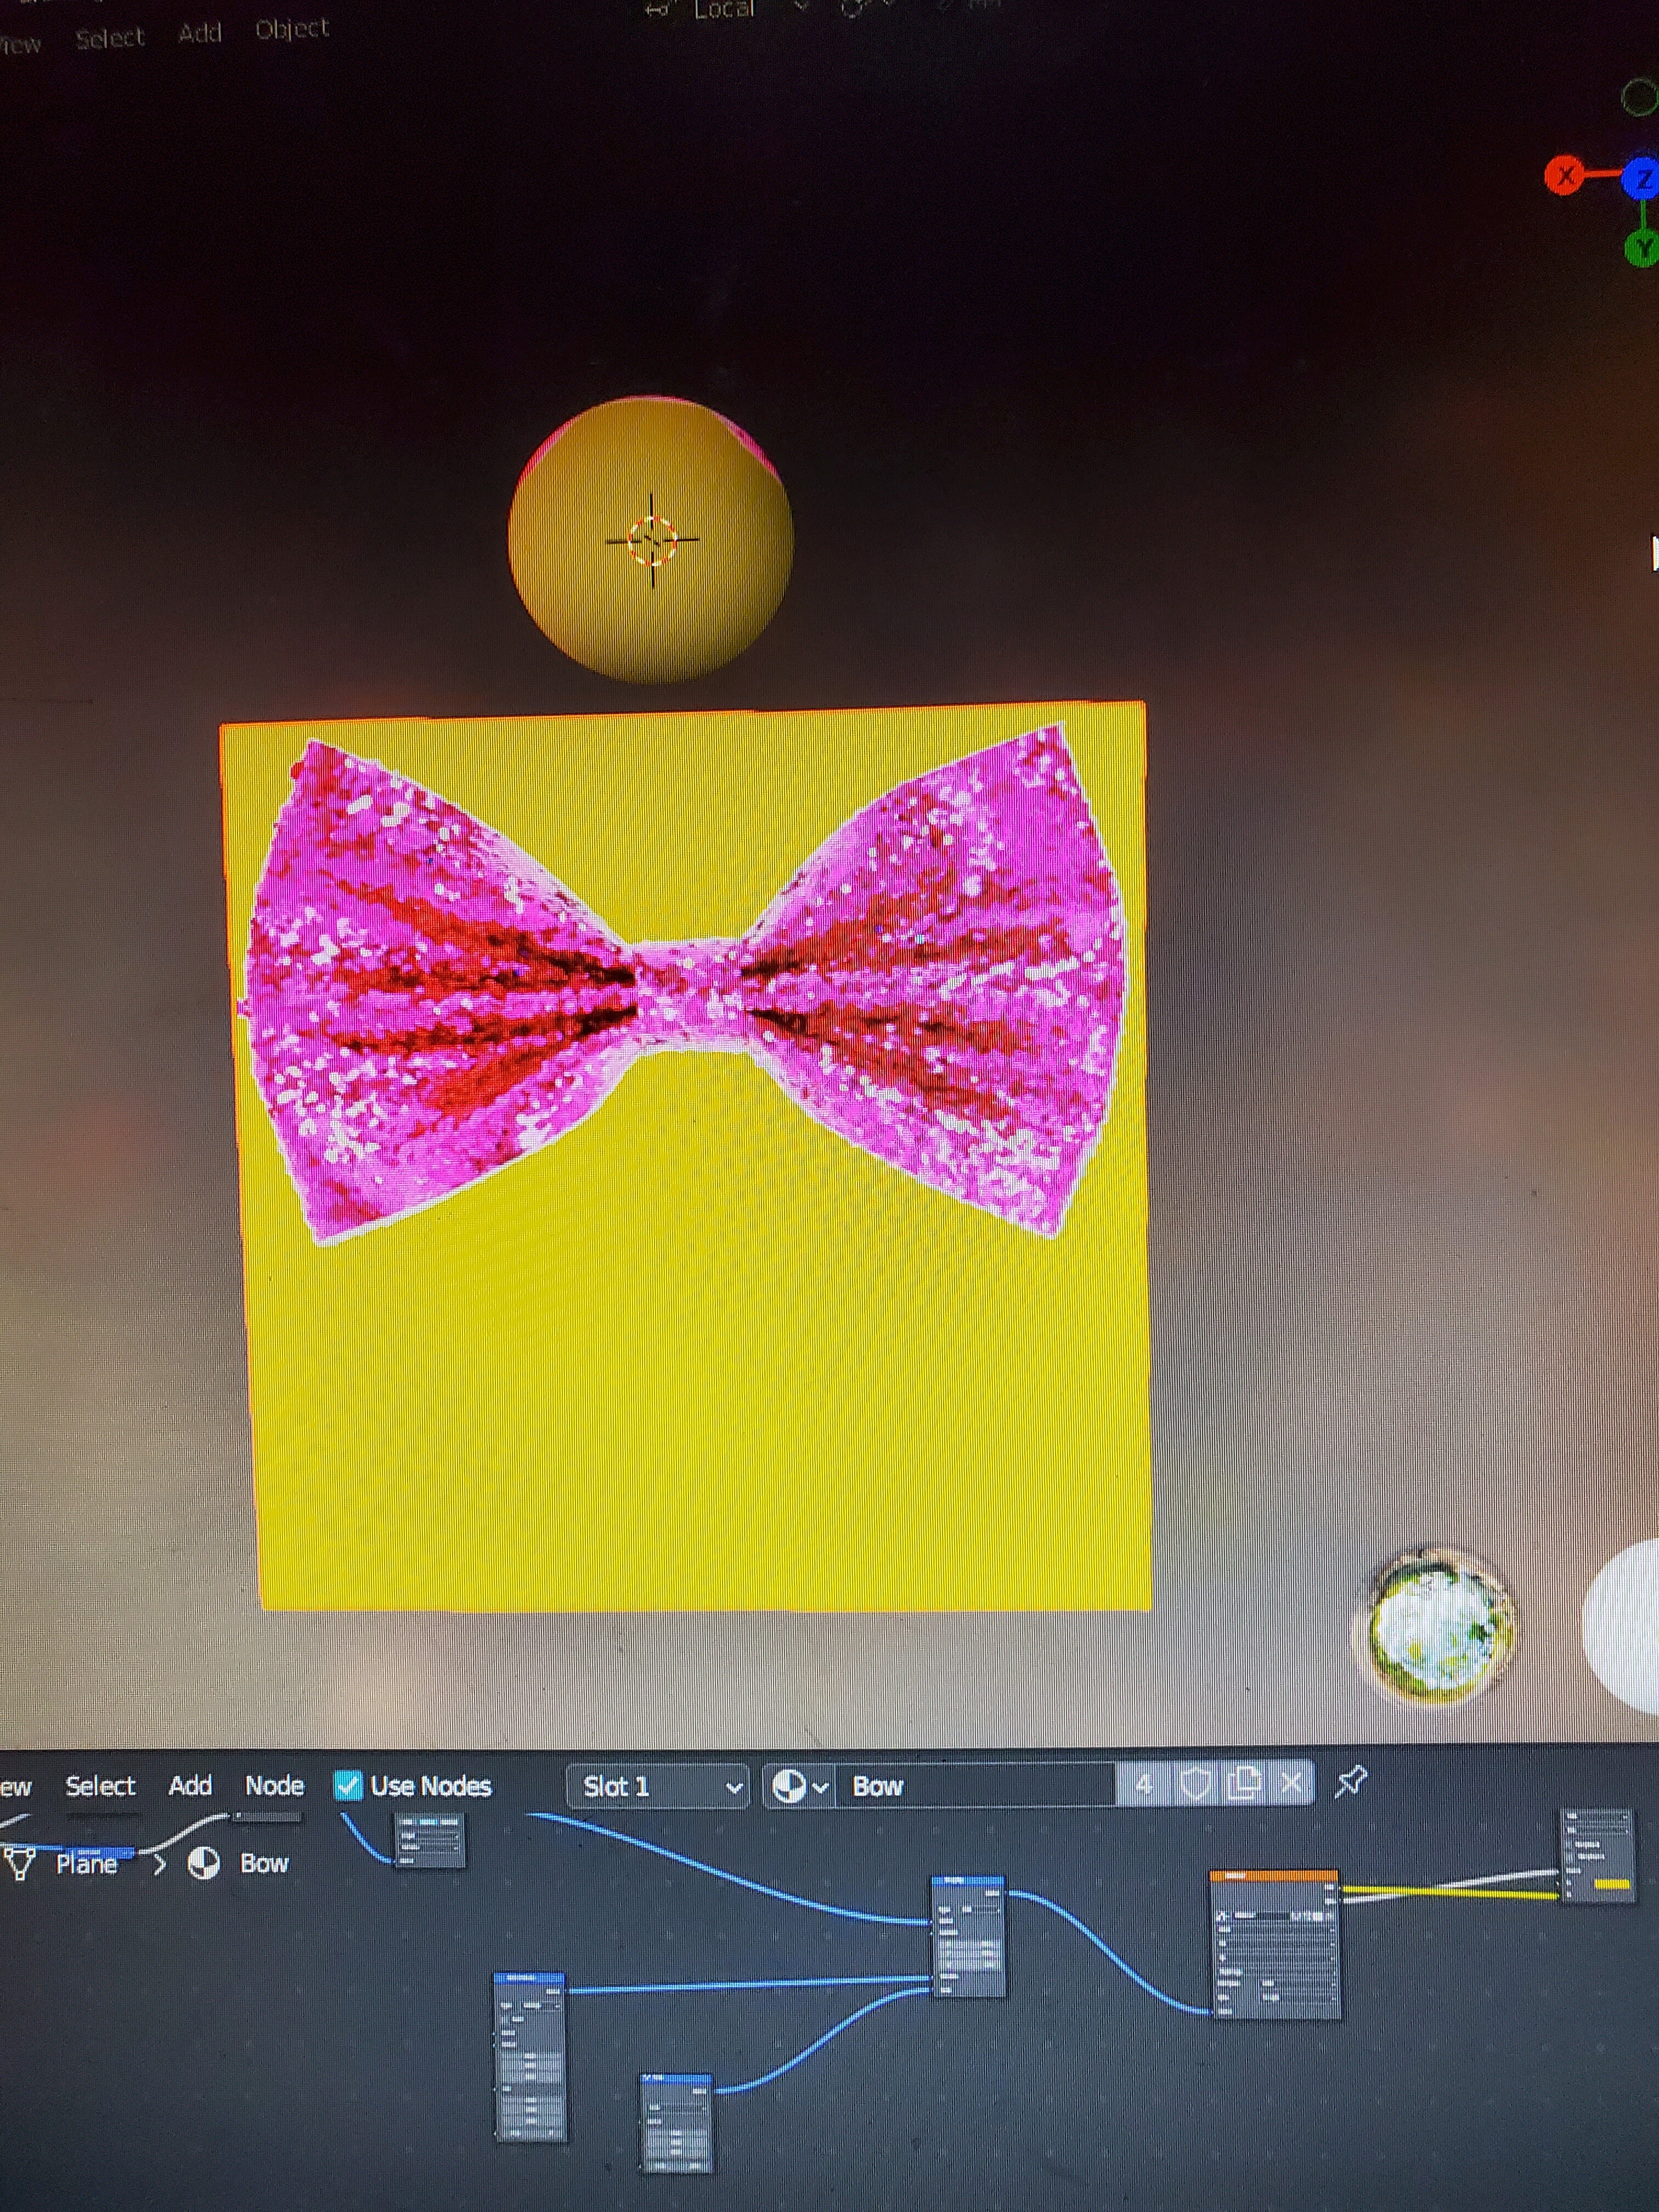
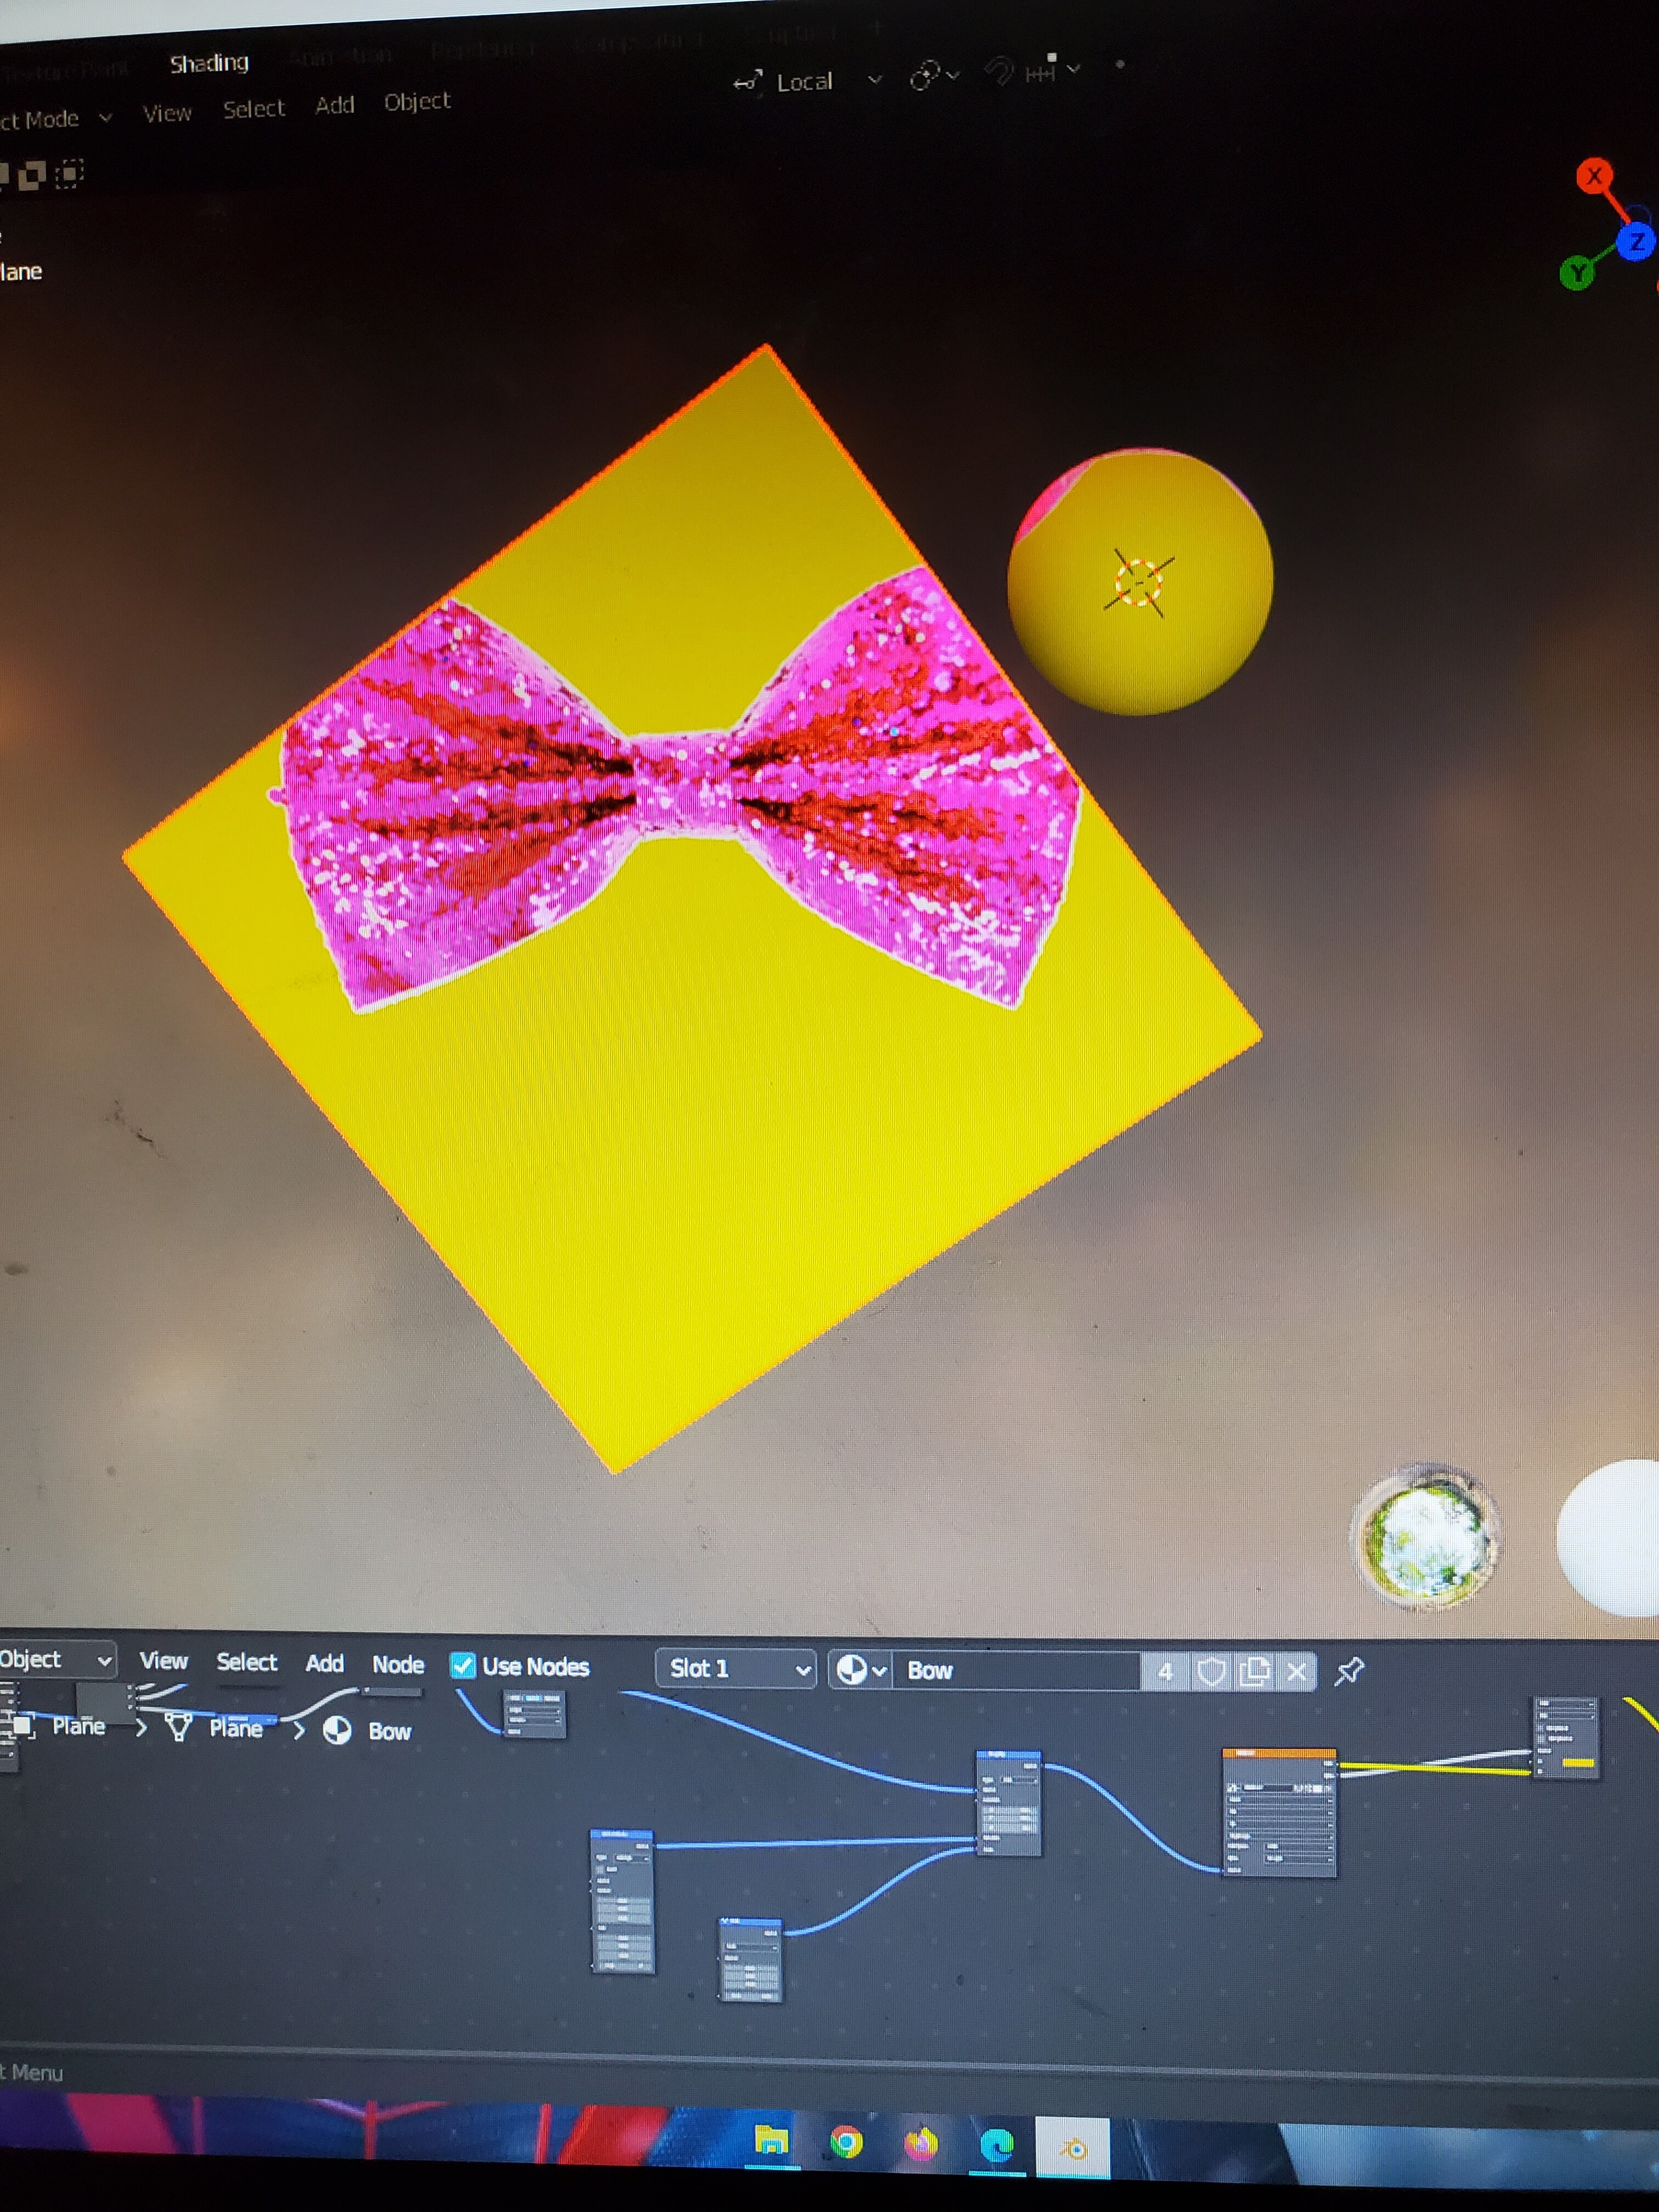
I am using window texture coordinates to give a flat 2d look on a plane. I’ve been experimenting with texture coordinates based on normal, uv, and object. When I use a sphere, the rotation effect is not as noticeable until I place the same material on a plane. Is it possible to lock the texture’s rotation (maybe on the z axis, as that is the one that rotates the object on the mapping node). Or maybe a way to weight paint the texture on certain parts of the plane’s uv map instead? Any other ways to stop it from rotating is greatly appreciated.
Thank you for this suggestion. This does work, however, it also defeats the whole purpose of what I intended to use it for.
If you look at this post you’ll understand:
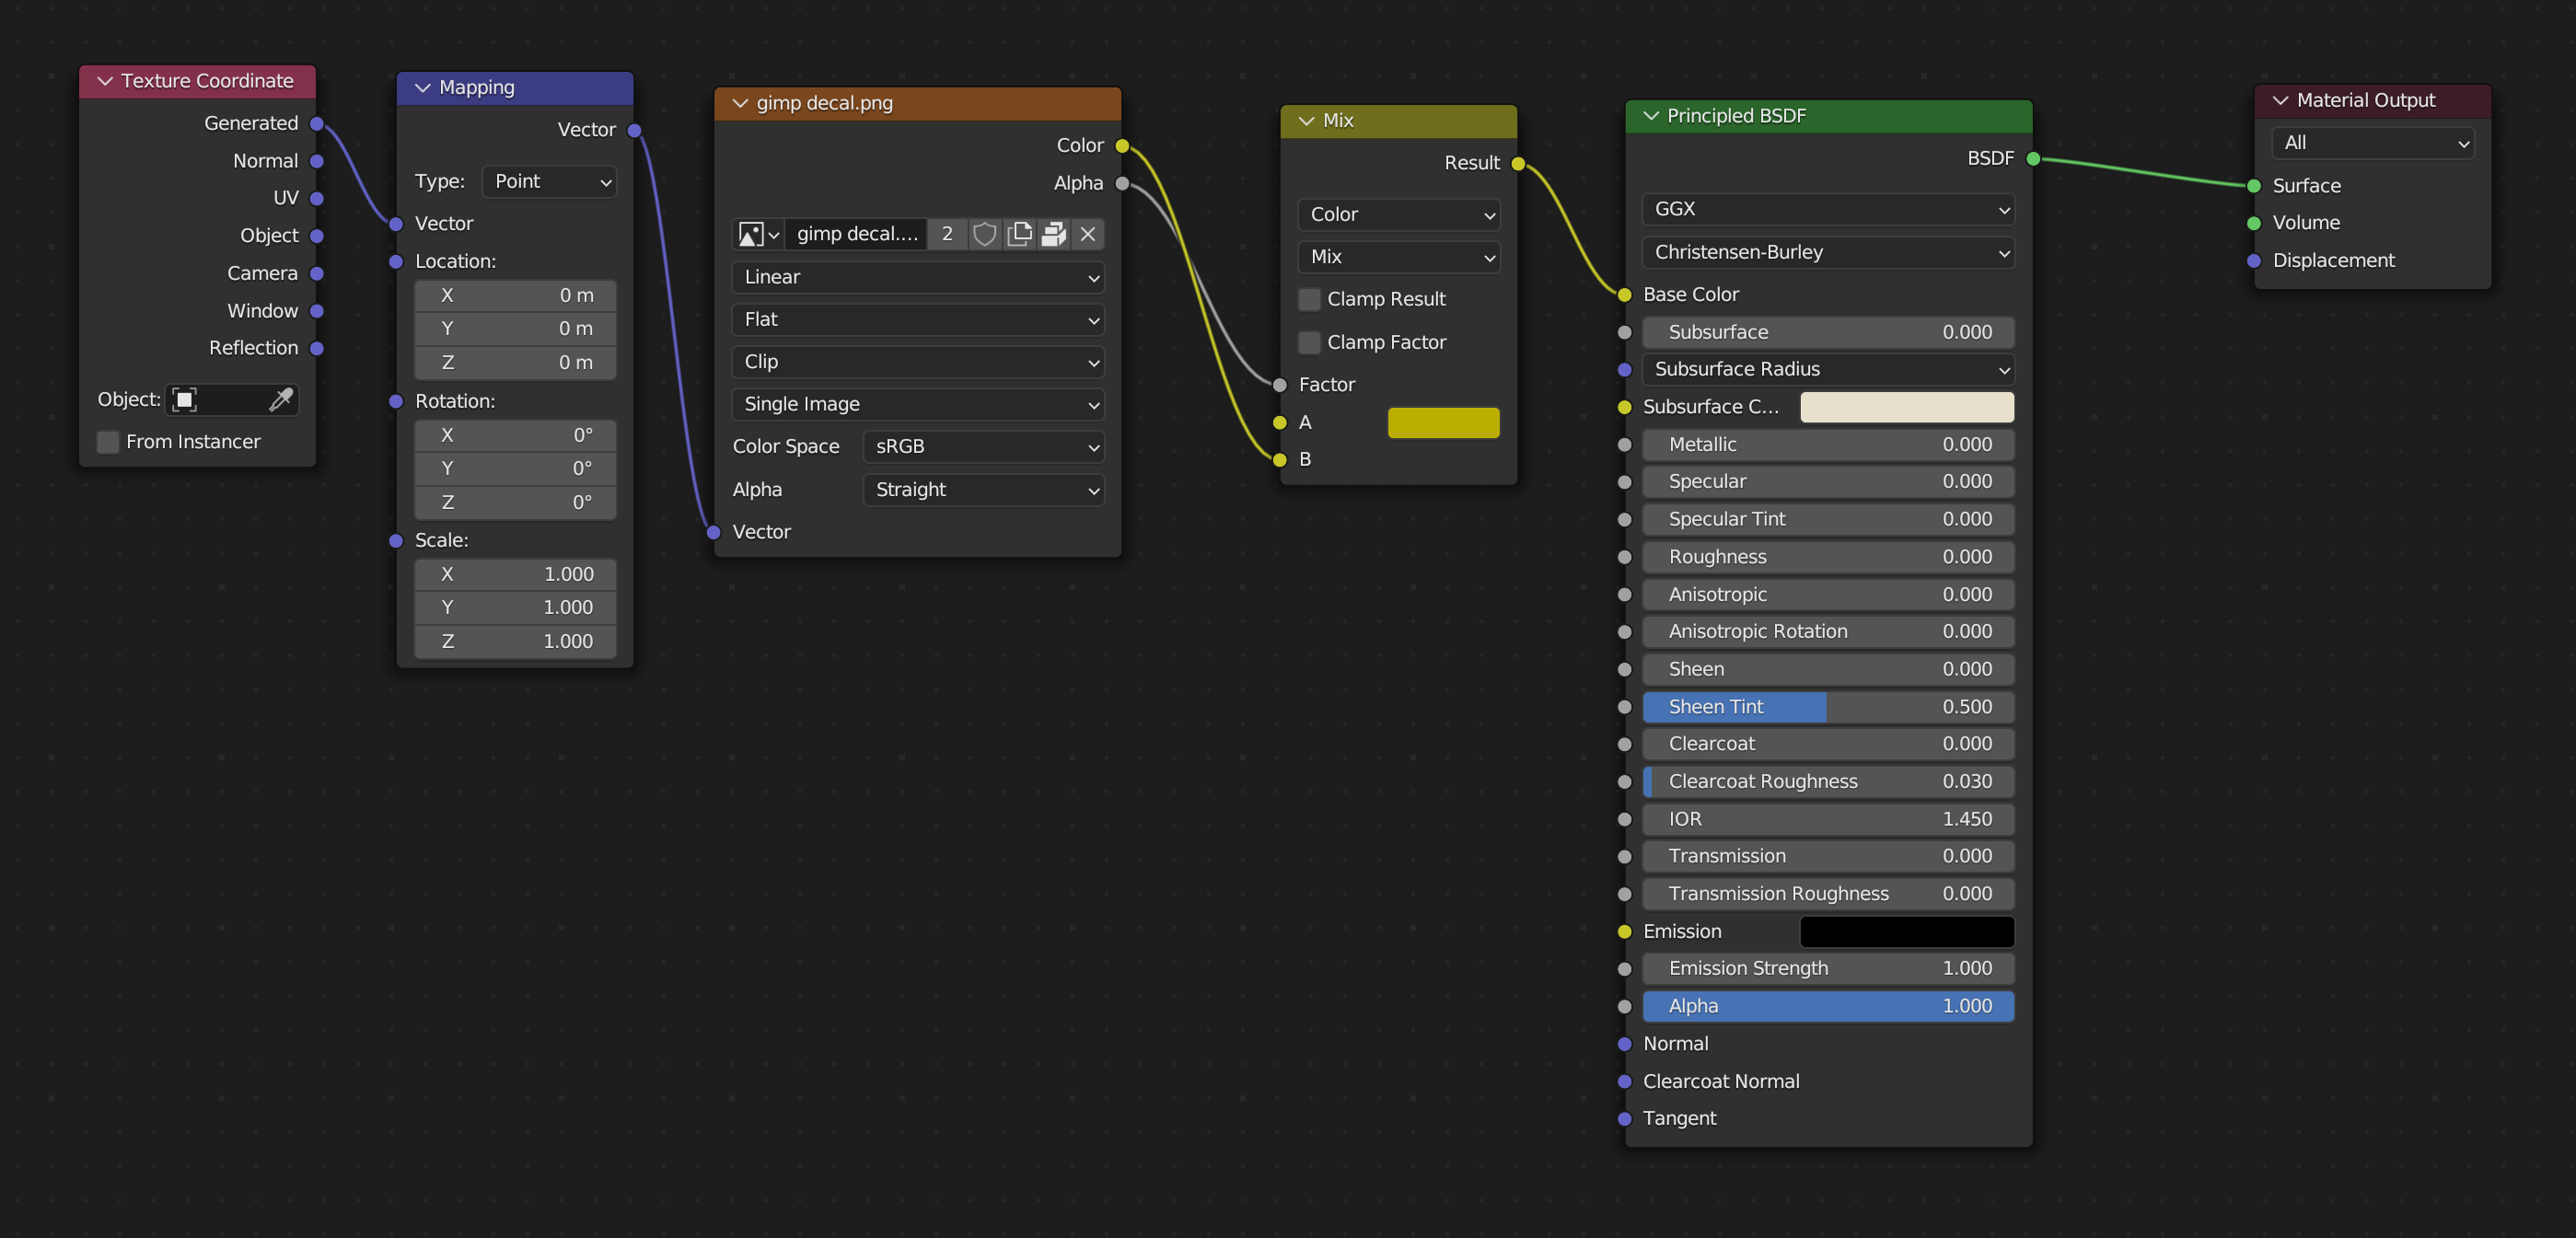
The node tree I came up is similar and inspired by the one they gave. However, there was the issue of it rotating and not staying in its rest position. It could be a big issue if I applied this type of node tree to a dress where the texture pattern needs to stay aligned to a mesh character at the rest angle for example.
Could you please elaborate? I did use texture coordinates mapped to object in the node tree I gave, not window (if I wasn’t being clear, sorry about that). I previously tried with it being mapped to the normals and the UV, but it only showed up if the mesh was a sphere.
Something is definitely wrong with your math. What calculating a dot product using float value instead of a vector is supposed to accomplish? Dot product is calculated between 2 directions (3d vectors). Also, the rotation input in Mapping node will be just 0,0,0 . Since you are trying to rotate zero vector. Scale input is also overcomplicated. Will result in something like 0.166,0.166,0.166 (constant value again)
I used it because I was fooling around with vector tranform to take the object data and turn(?) Or map it to camera space instead. The bow was still moving around and on top of that rotating. So I just seperated the xyz, plugged in a vector math node before combining it again to stop the texture from moving (the effect it gave before that was the plane looked like a mask and ‘revealing’ parts of the bow as you move the view instead of the bow being stuck to the plane, if that makes sense. If you remove the nodes between seperate xyz and combine xyz, you’ll get what I mean). I am still not good at the vector math nodes (and still understanding it), but for some reason the set up worked to stop the ‘plane mask’ effect.