Hello,
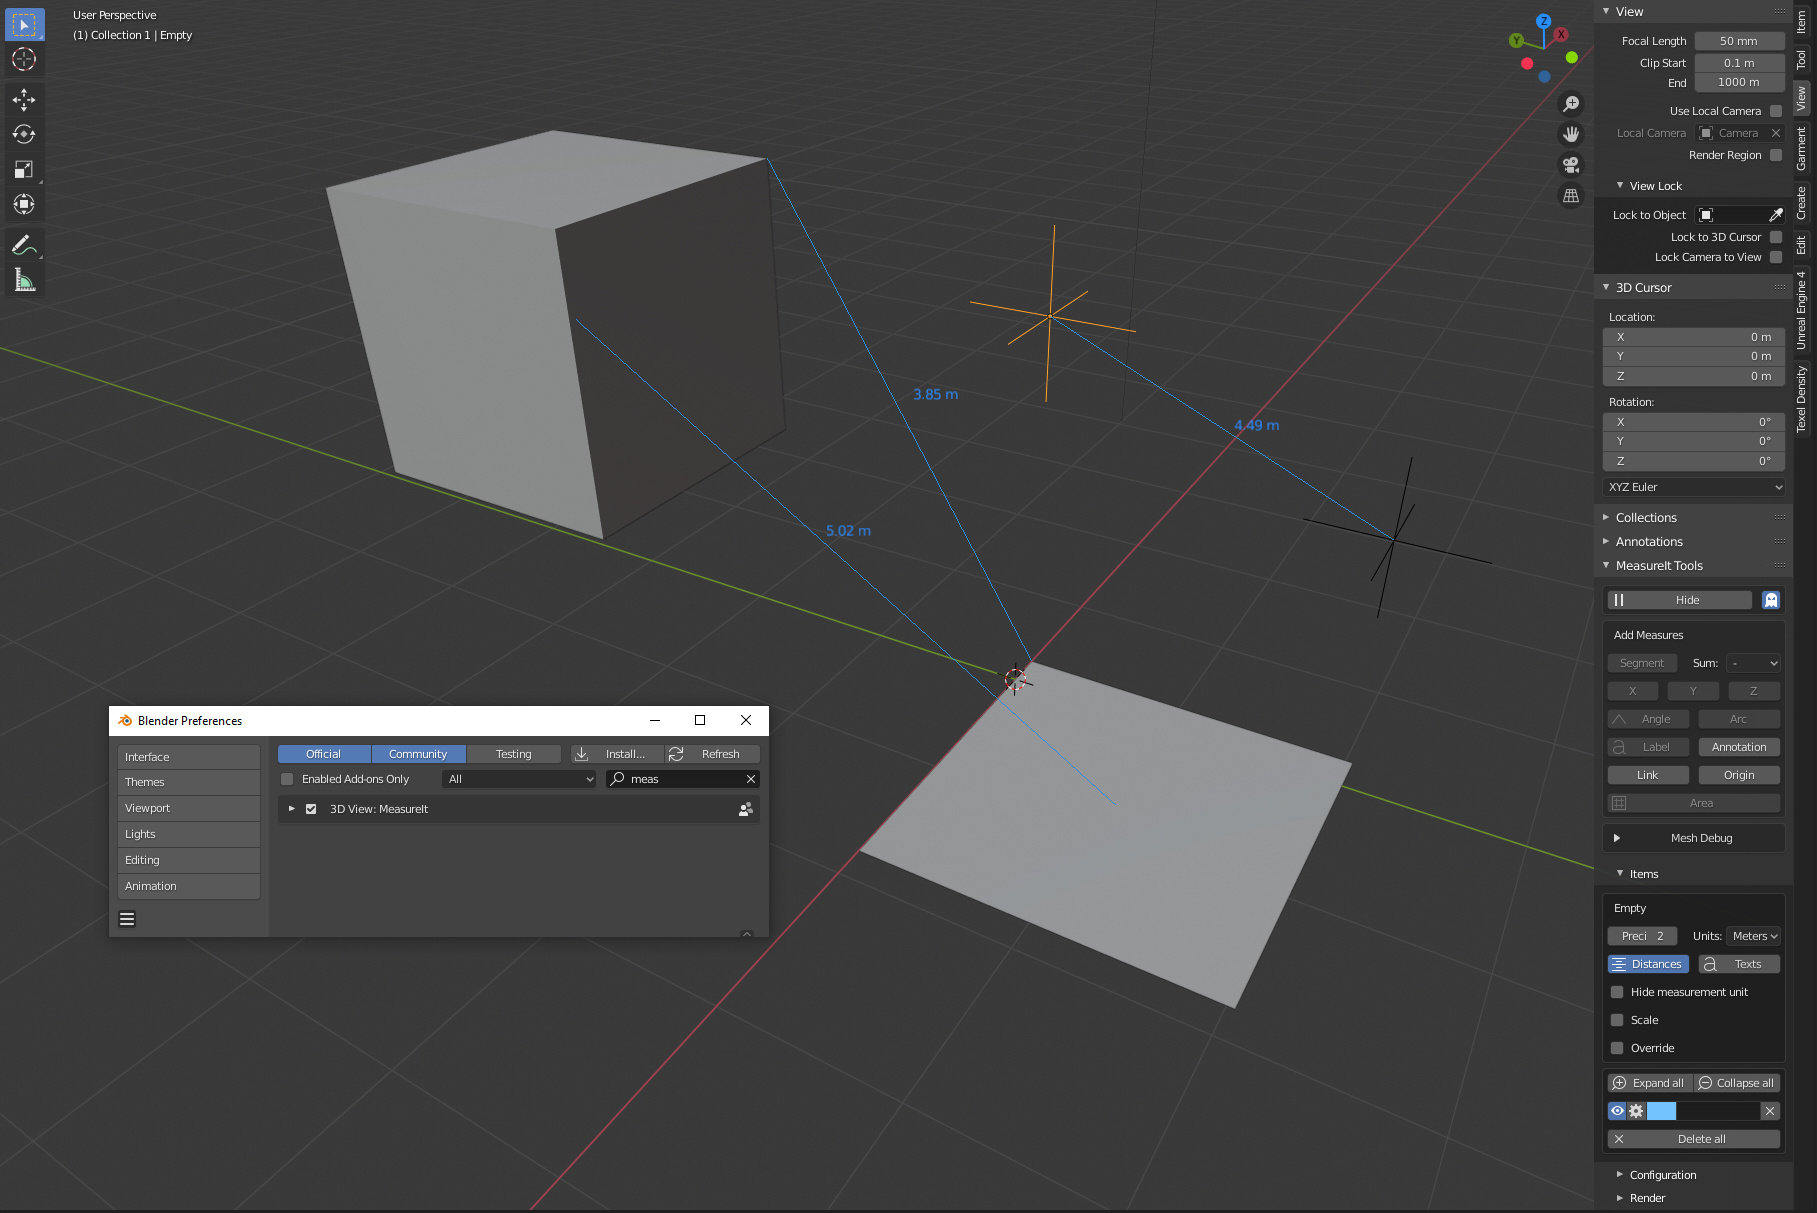
Is there an easy way, tool or add-on to create reference points, similar to the way Sketchup’s Tape-Measure tool works?
I am new to Blender, coming from Sketchup. The company (Trimble Inc.) behind Sketchup decided to kill the free desktop version of Sketchup (known as Sketchup-Make), thus motivating me to look elsewhere. That’s how I ended up learning more about Bleder.
I want to use Blender to design 3D-printable functional objects with an aesthetic flare. An example of such functional objects would be a bike accessory that attaches to the handlebar and allows you to secure an iPhone 11 Pro Max. This accessory would allow you to hold the phone at an angle in such a way as to have a perfect view of the screen but would also allow you to hold the phone at a different angle for other tasks like being able to make a video recording of the road. Once I get the dimensions and mechanics properly modeled, I might want to modify the basic design to make it look like a skeleton’s hand or a dragon’s claw holding the phone (and maybe the handlebar as well).
For the functional part of such designs I need to be able to model with certain precision. One very useful tool I had available in Sketchup for that type of modeling is the Tape-Measure tool. One of the most useful functions of Sketchup’s Tape-Measure Tool is to be able to draw non-geometry guide-lines to create reference points (e.g.: interception points between various guides [as seen in the examples below] or between a guide and some part of the geometry) to assist in the modeling process. The animated image below shows an example where Sketchup’s Tape-Measure Tool is used to create a reference point.
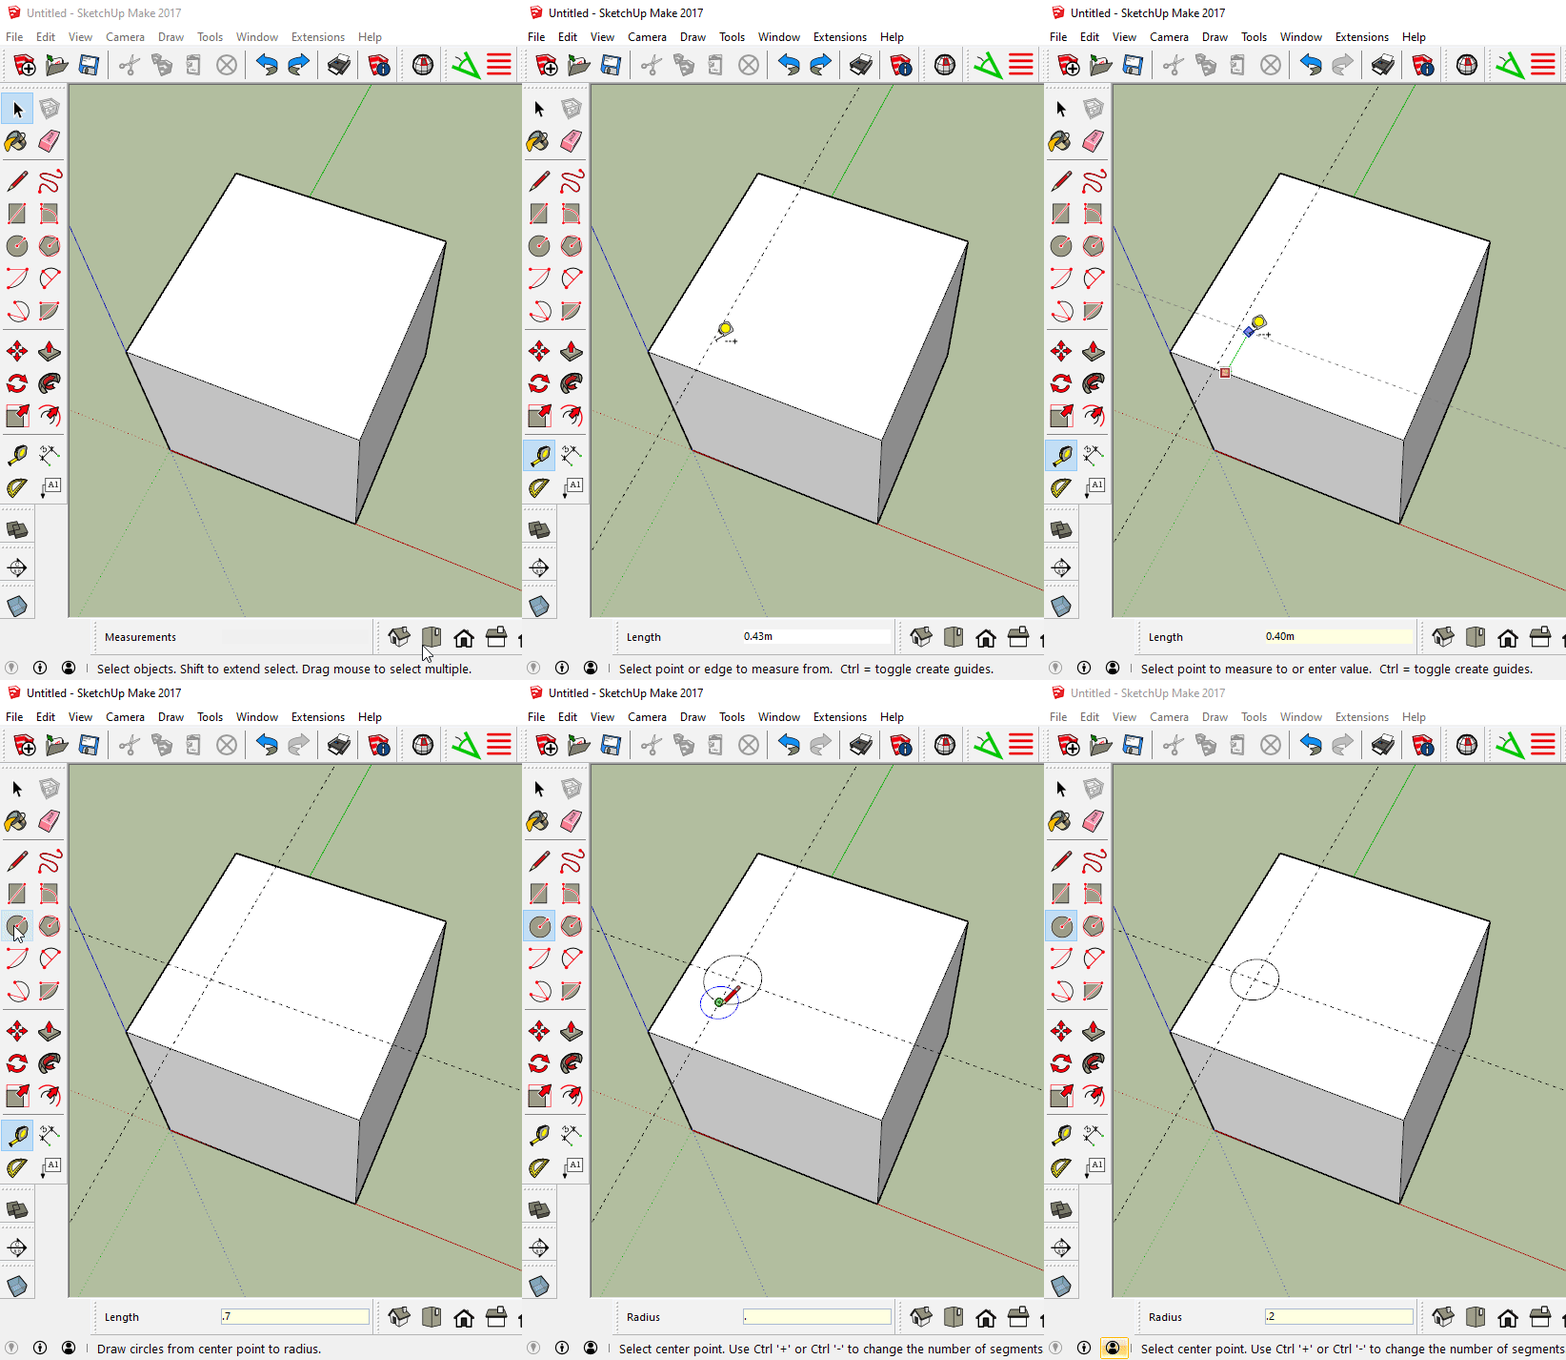
In the animated image above we have a cube that is 2x2x2 units (be it meters, feet or any unit of measurement) just like Blender’s default cube. For this example, let’s just say that we need to add a circle to the top face, locating the circle’s center at 0.4 units from the left edge and 0.7 units from the front edge. In SketchUp, all that would be needed to add that reference-point to help accurately placing the center of a circle on the cube’s face as described, would be to use the Tape-Measure tool to create a non-geometry guide-line from each one of two adjacent edges and therefore parallel to their respective edges. The reference point (the interception between the two guide-lines, orthogonal to each other) on the cube’s face would be created, without creating extra geometry. In other words, the guide-lines used to create the reference point are not real edge geometries, therefore they won’t split the cube’ top face (where the circle was added) into four separate faces. See an example animated image below where the top face is clicked on and the entire face is selected indicating that it is still a single object and has not been split by the guide-lines.
ANIMATED-IMAGE - My status as a new user only allows me to upload one image per post. To see the animated-image go to this location: https://drive.google.com/file/d/1L8Aojz_VUq0Hb1TULNAmOfQ7UeYyVecO/view?usp=sharing
As you can see in the above animated image, the guidelines can also be deleted without affecting the geometry. They won’t render and when an .stl file is exported for 3D-printing purposes they will be automatically excluded from being part of the .stl file.
In contrast, if I want to do the same thing using Blender, I find myself having to create extra geometry (real edges/cuts) just to be able to create the same reference point. I would be using a combination of either the loop-cut tool or a tool called Make-Line (from add-on called Snap_Utilities_Line) and the Edge-Slide tool to create extra edge-geometries (causing subdivisions) on the face (creating extra faces) just to add the reference point. See an example animated image below where the cube’ stop face has now been split into four separate faces individually selectable.
ANIMATED-IMAGE - My status as a new user only allows me to upload one image per post. To see the animated-image go to this location: https://drive.google.com/file/d/1hTiDHzaaKwgxajn-lTTq77k5H06vo1VD/view?usp=sharing
Because the newly-created edges intercept (creating a real vertex geometry at the interception), now there are four edges instead of only two that were created for this purpose, so they have to be slid in pairs to be re-positioned and deleted individually. The whole exercise has far more steps and it is more cumbersome in Blender.
So, is there an easy way, tool or add-on to create reference points, similar to the way Sketchup’s Tape-Measure tool works?
Thank you all for reading this and for your forthcoming help.