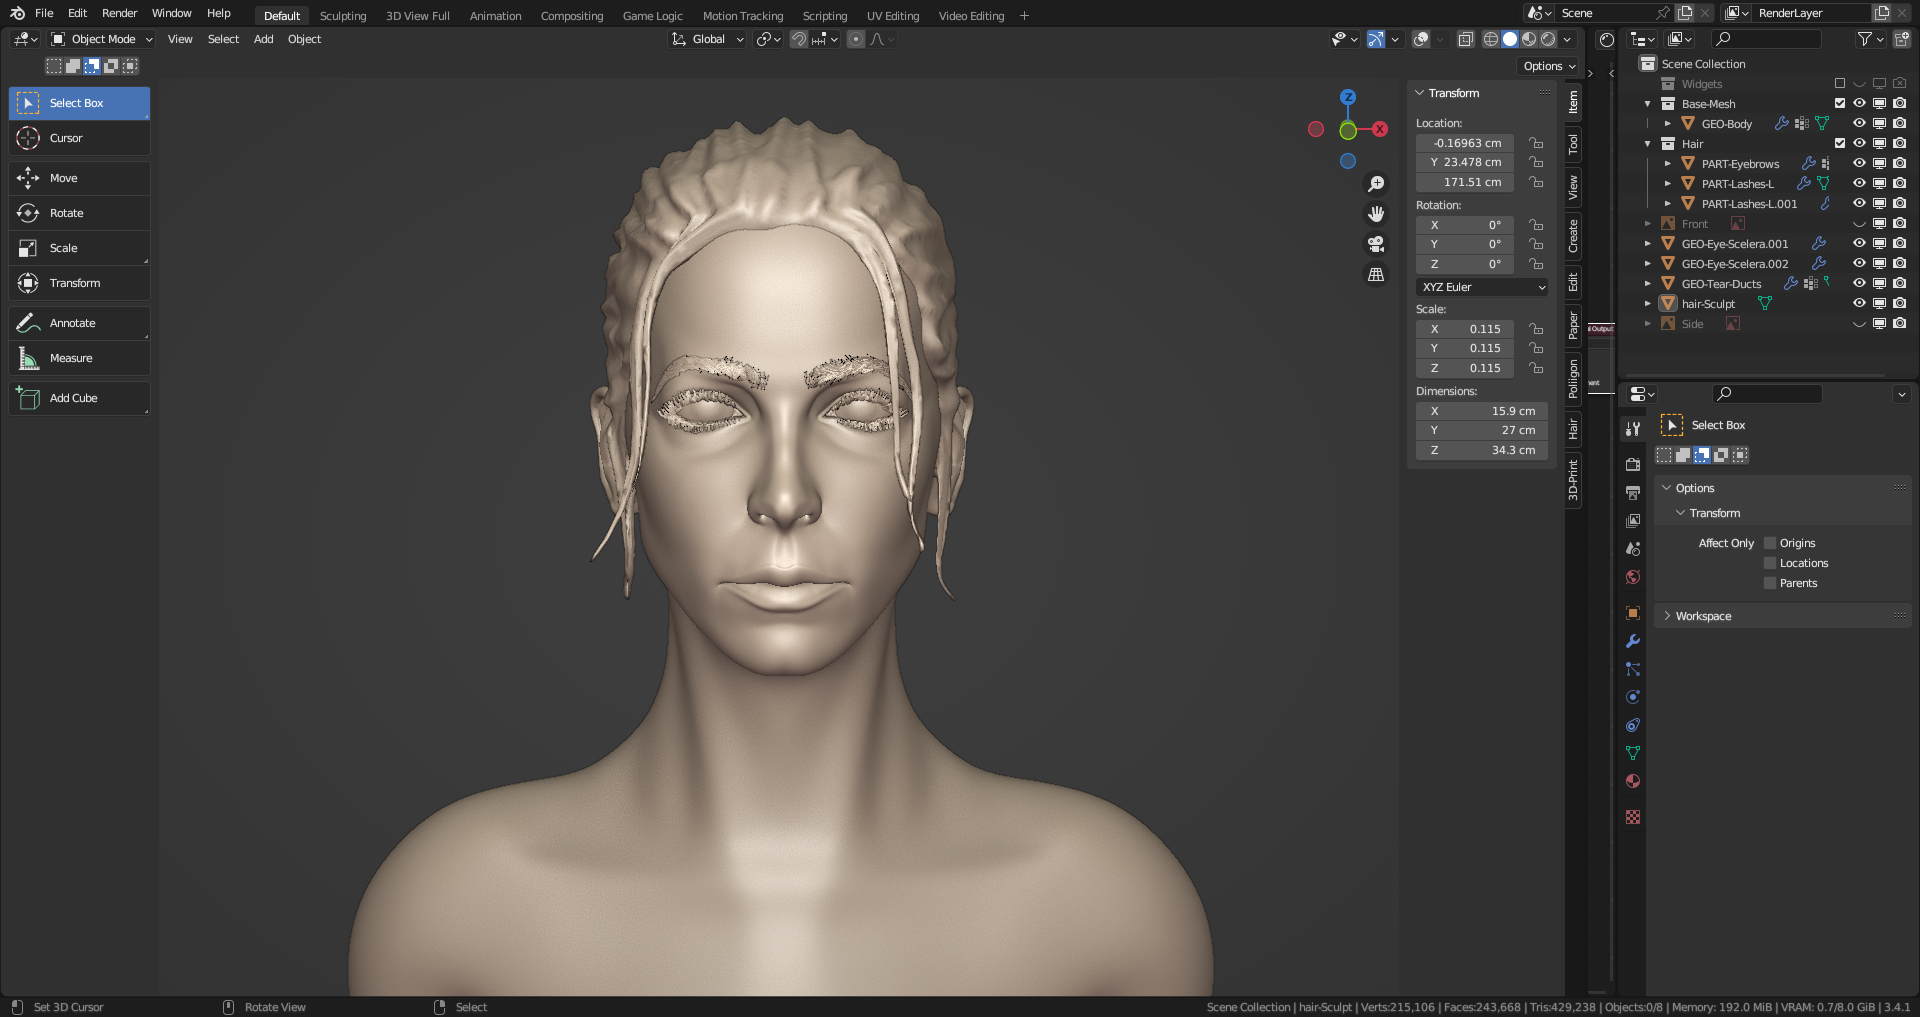
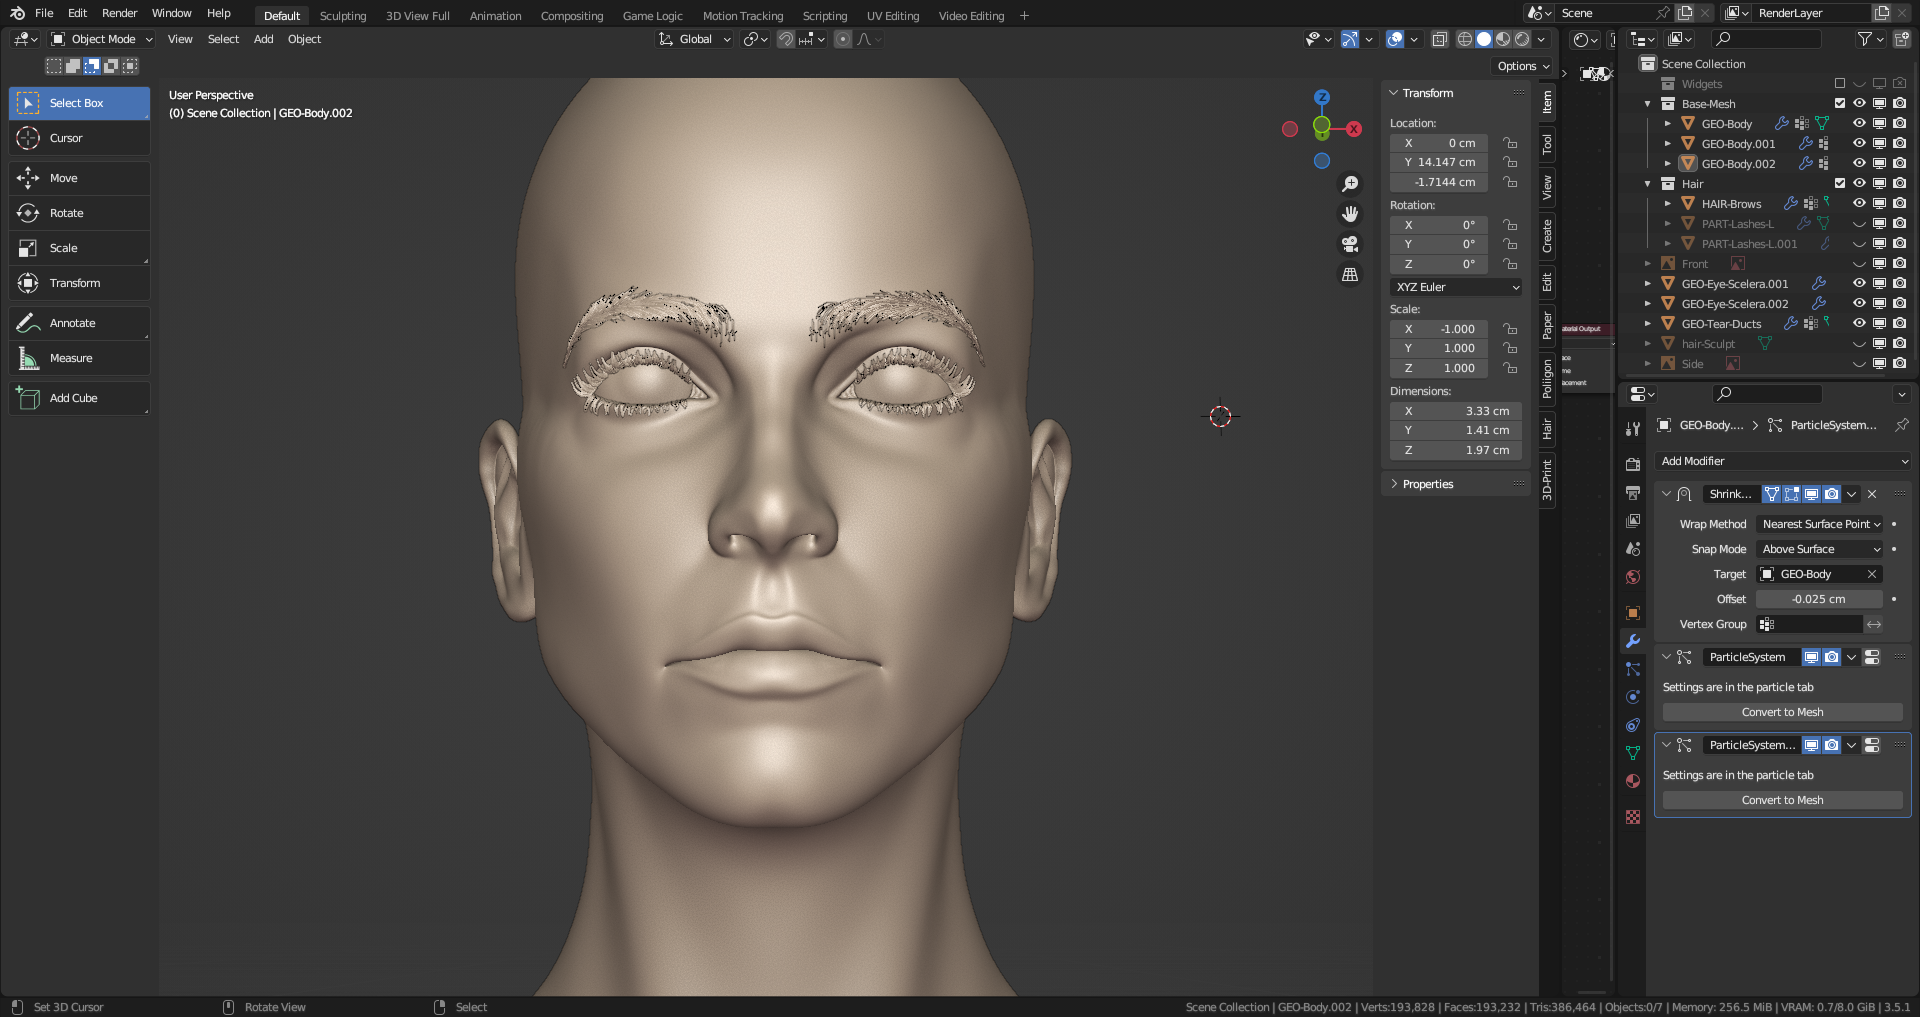
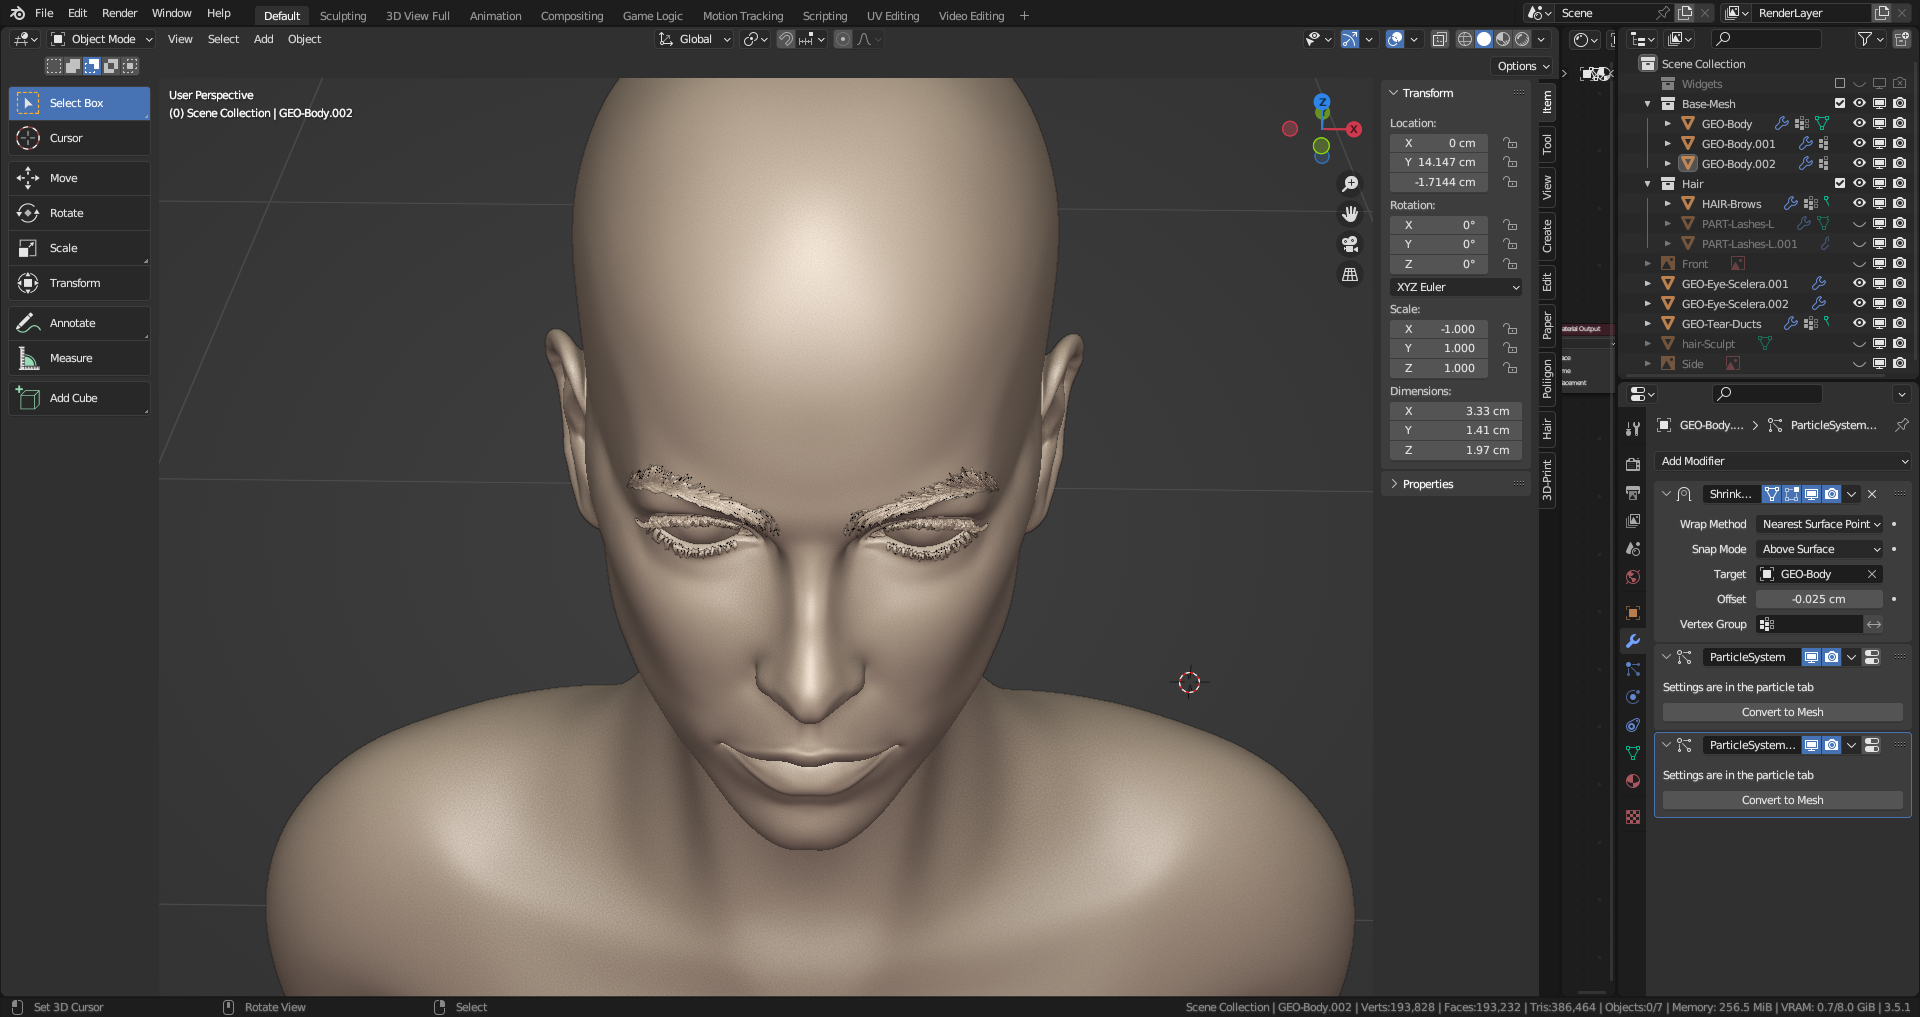
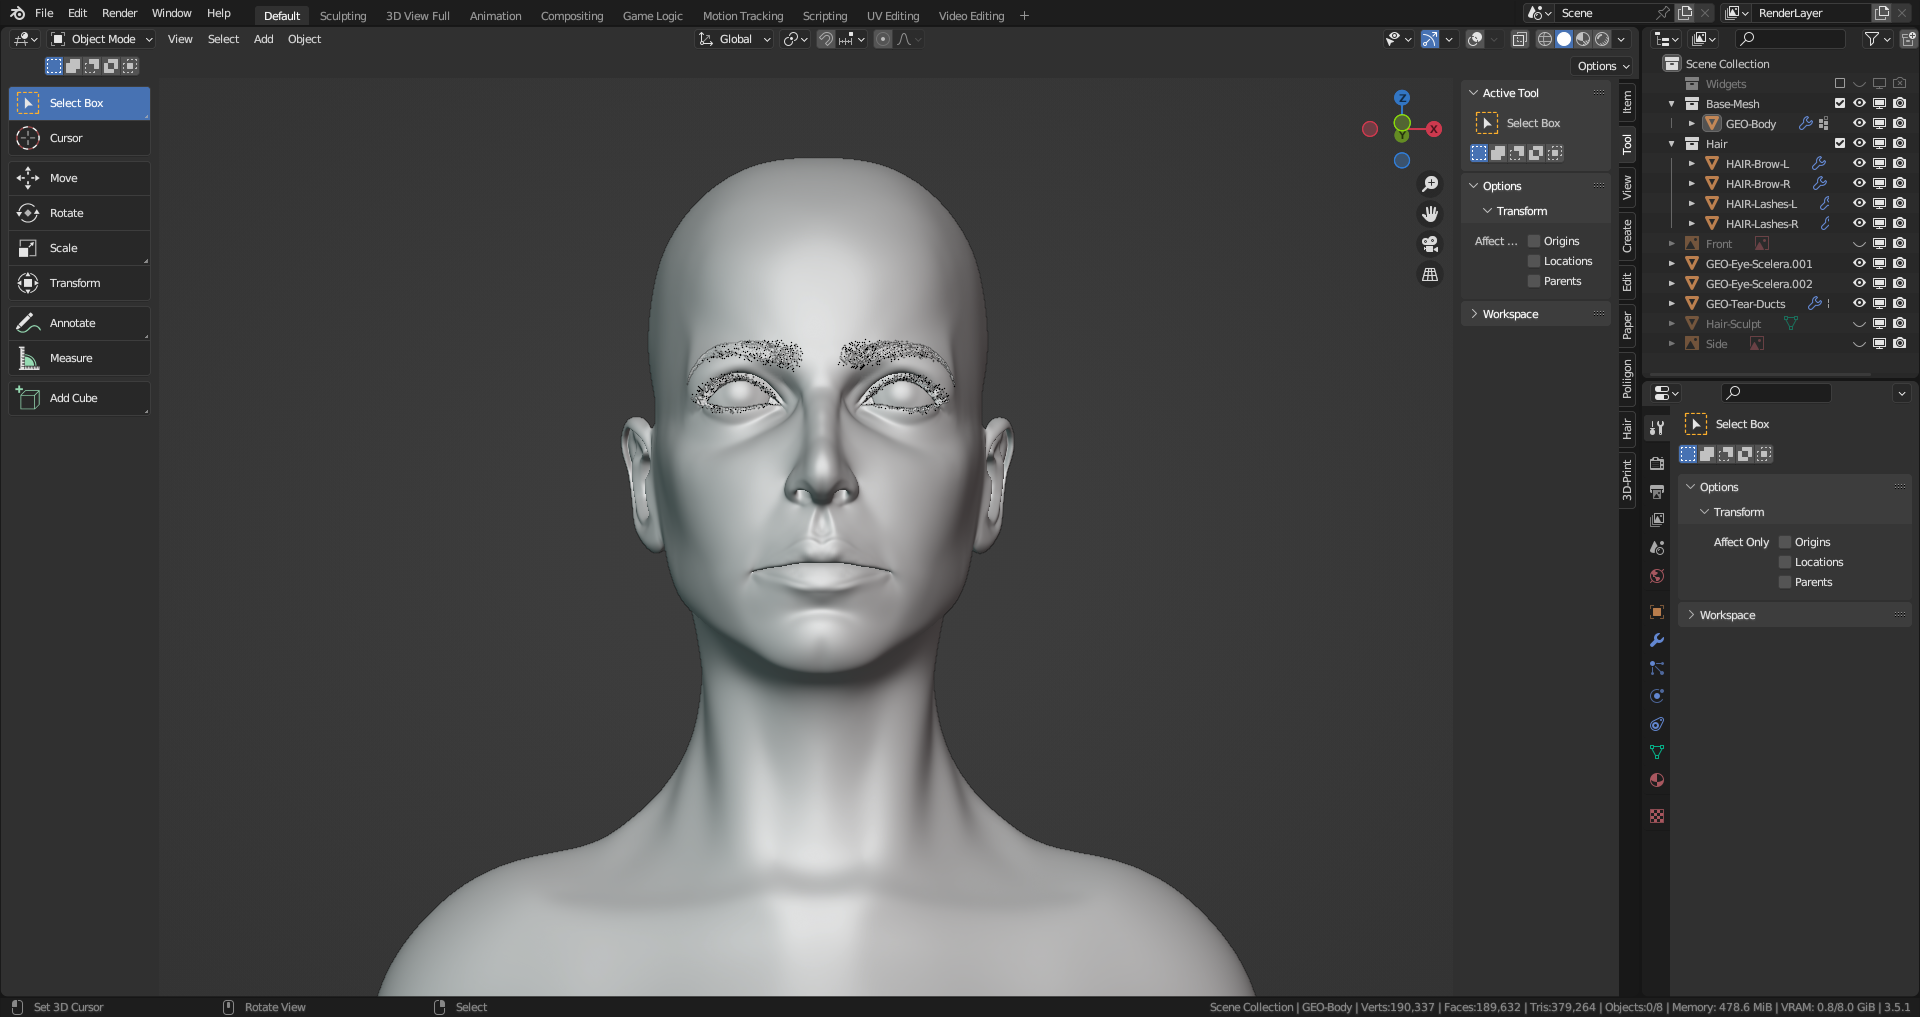
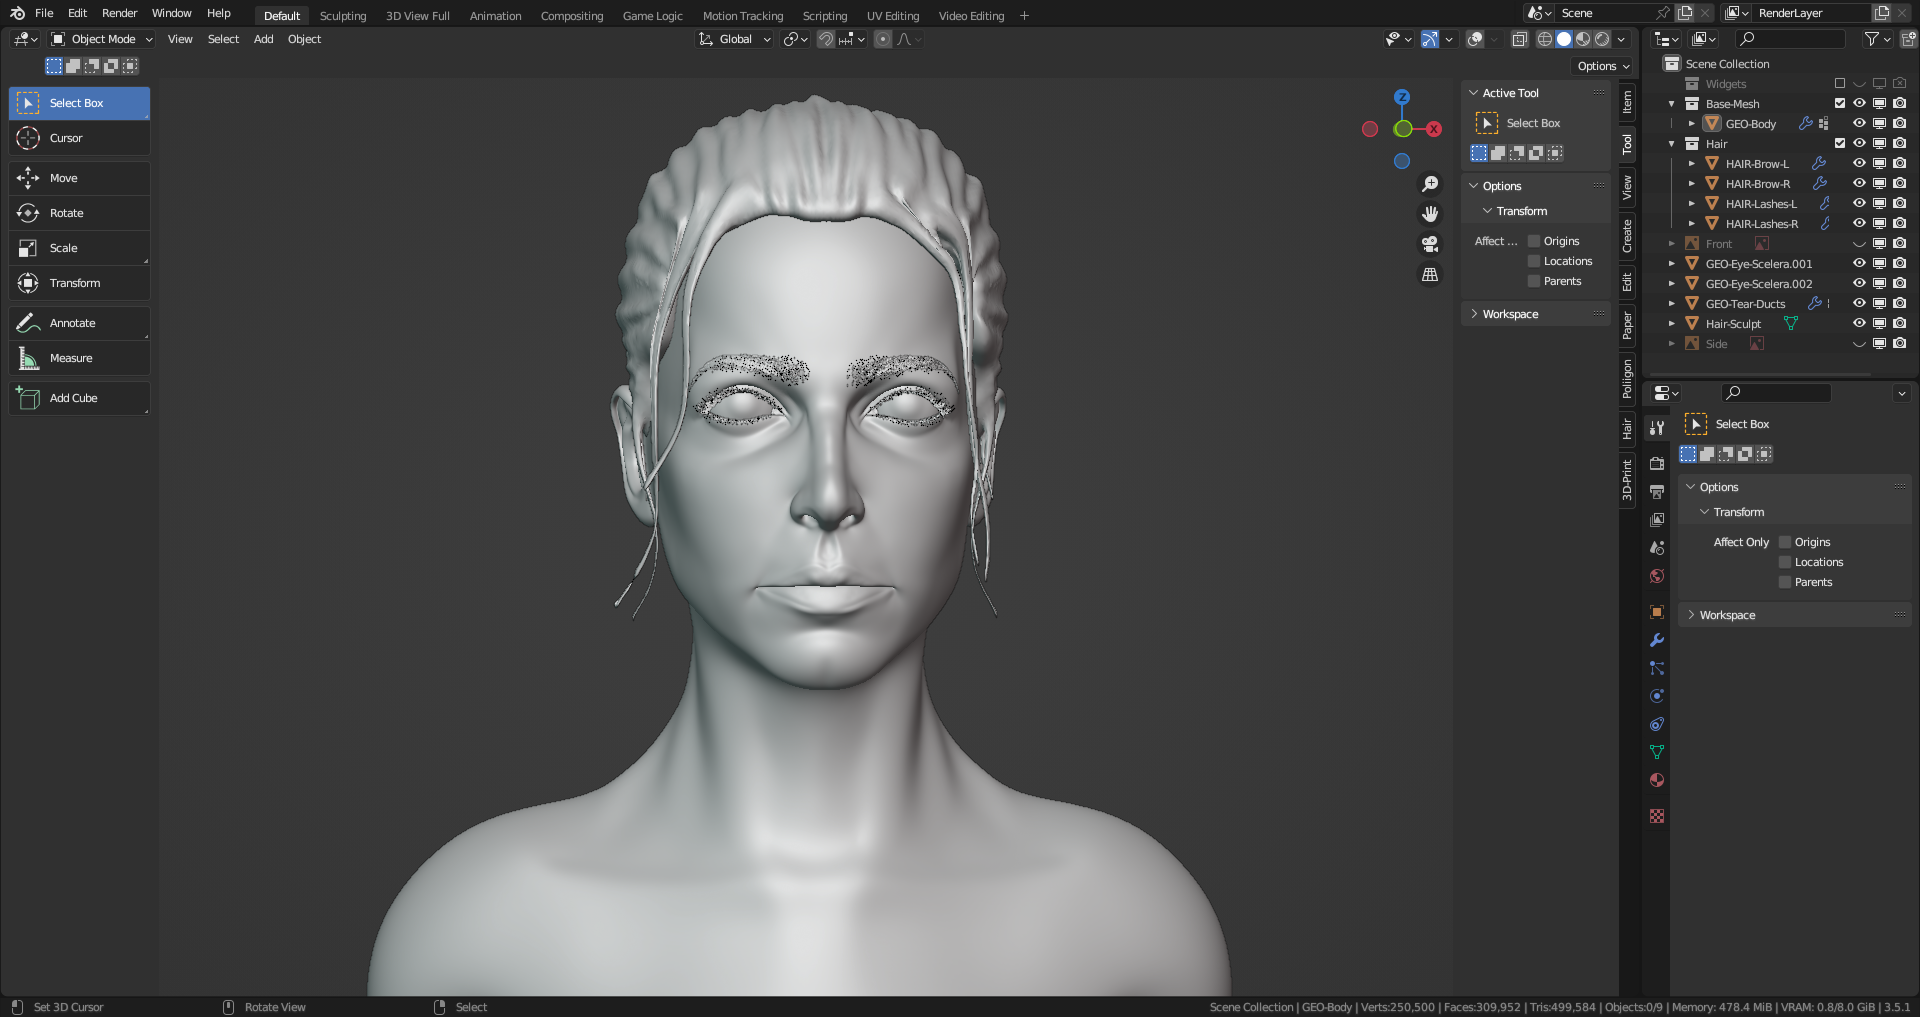
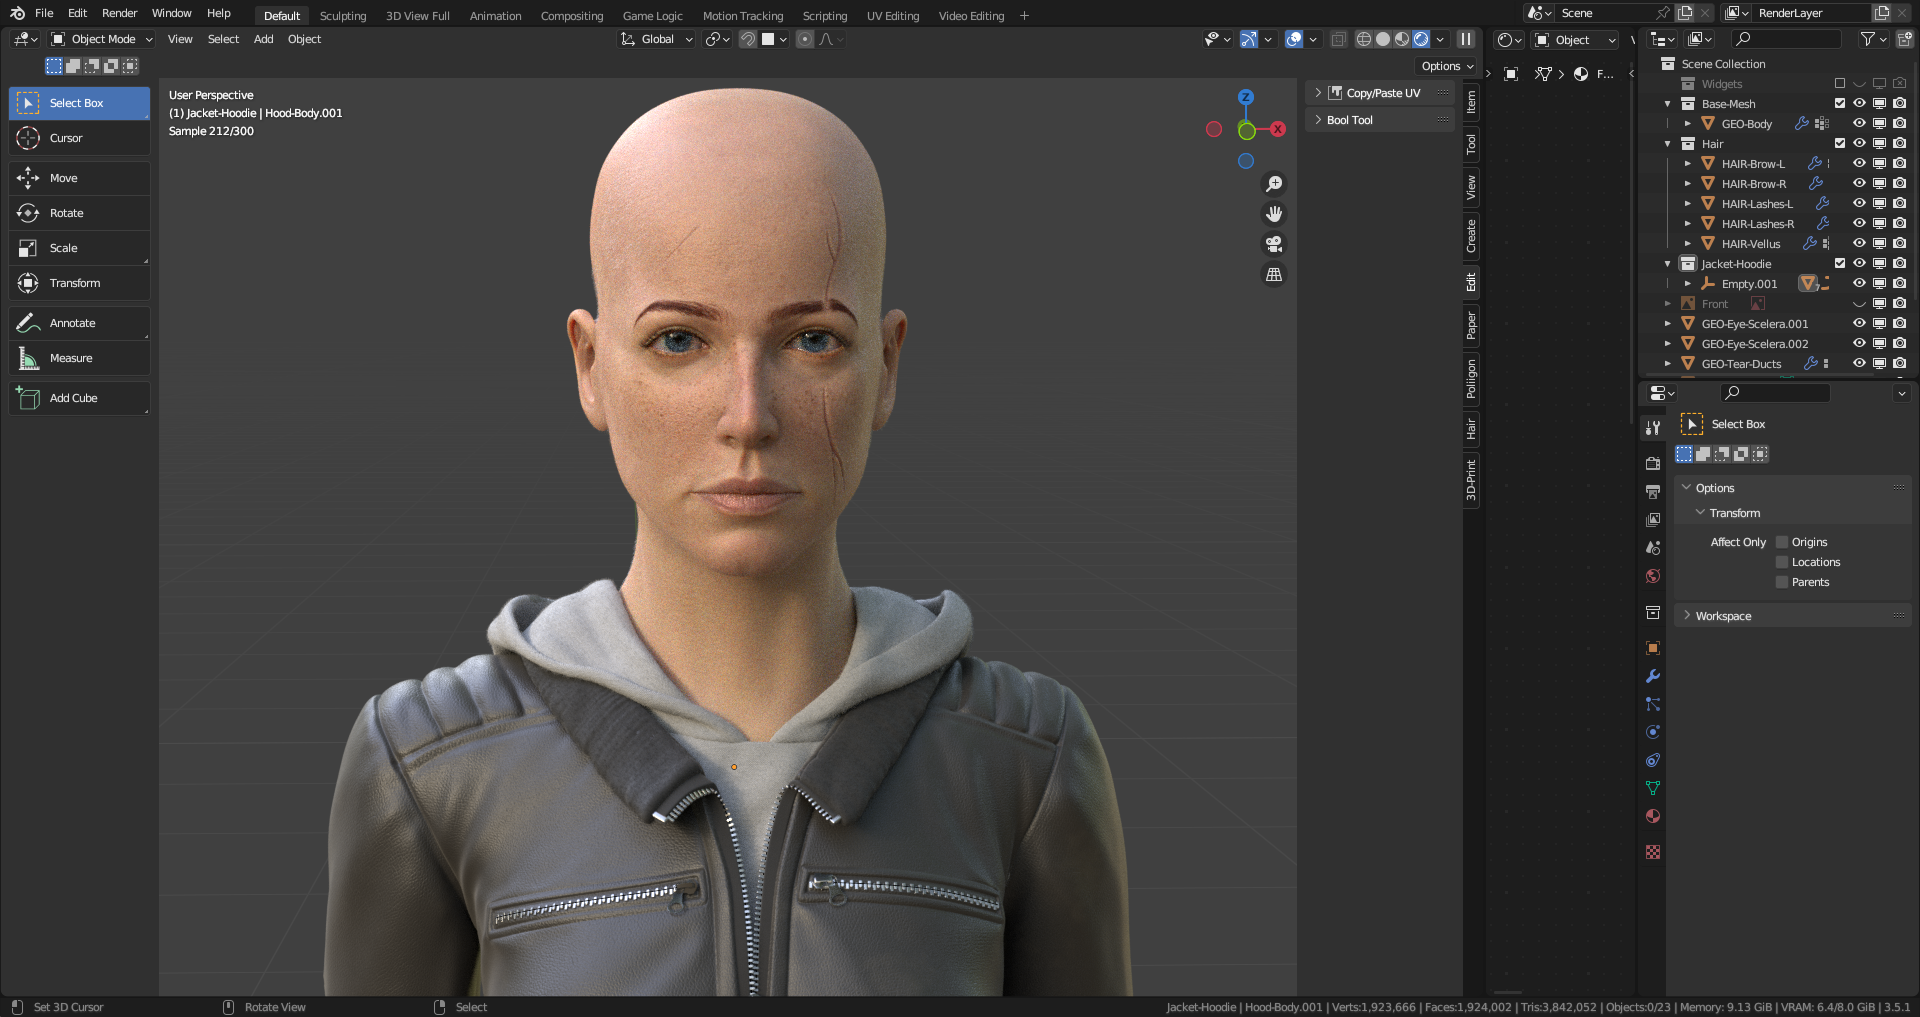
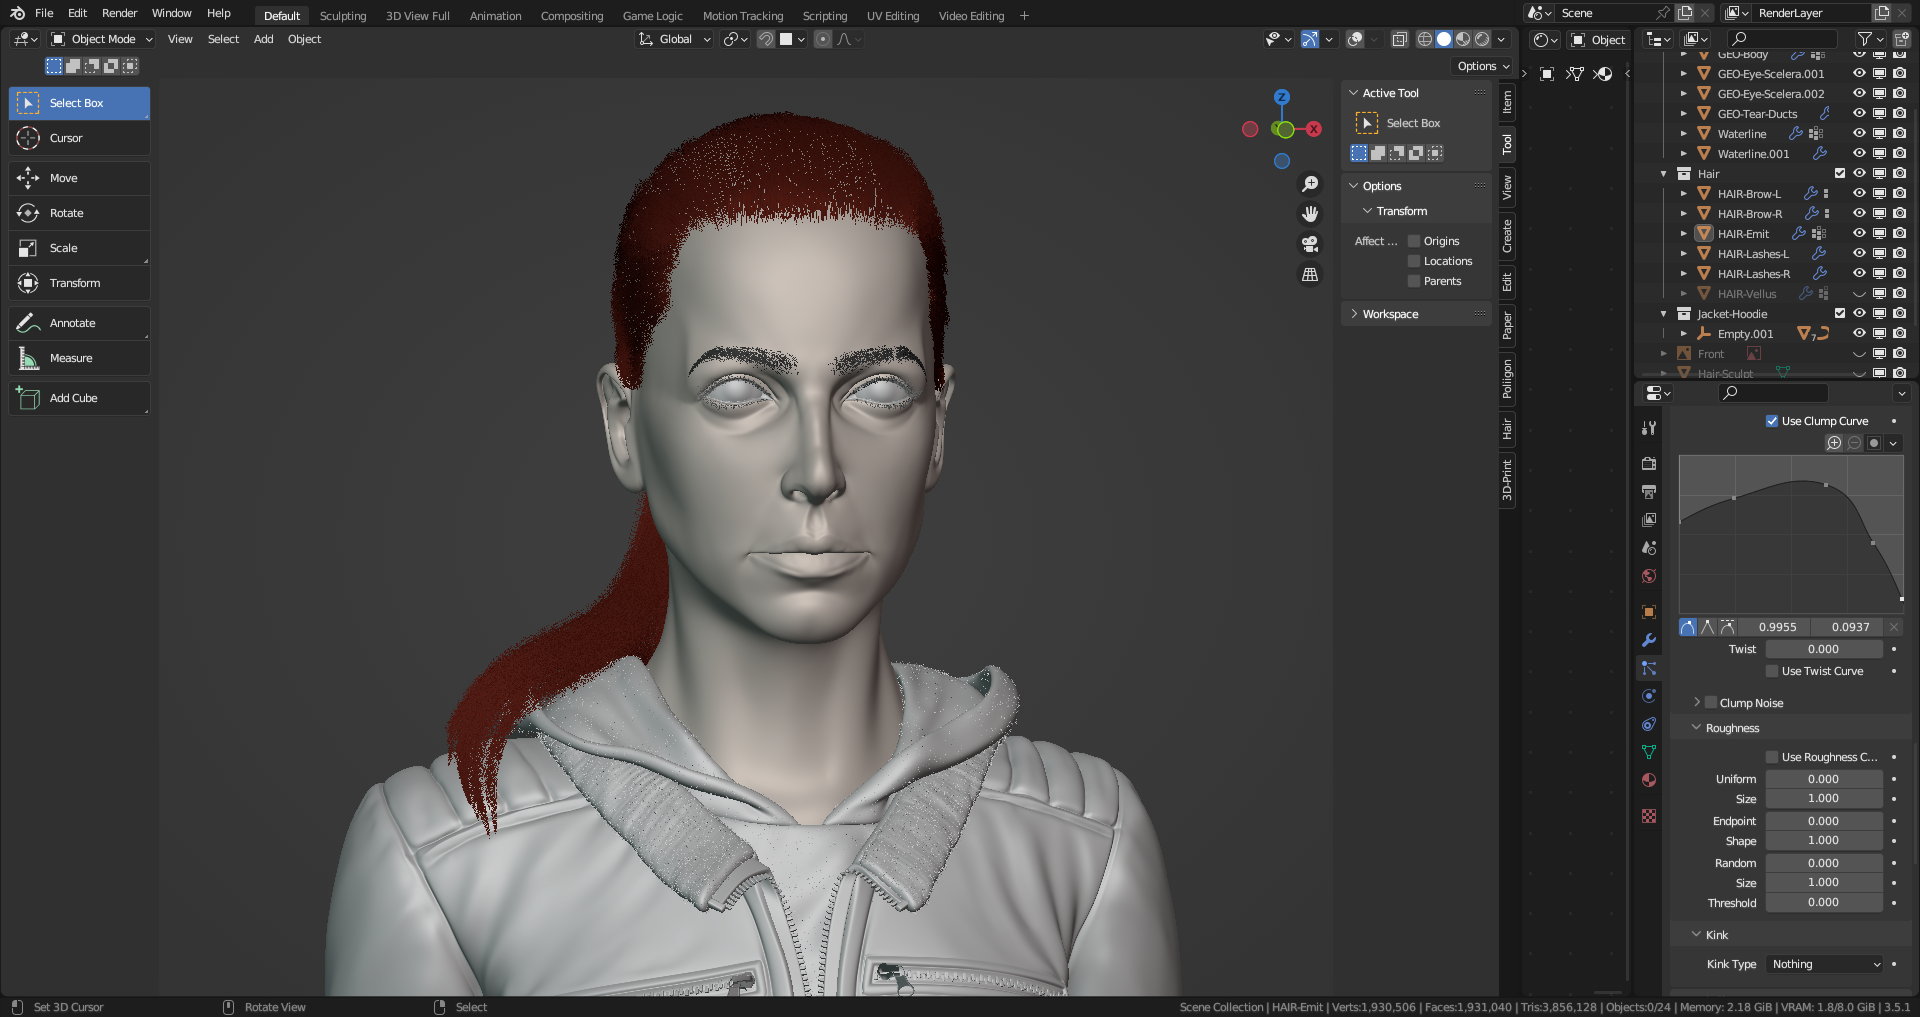
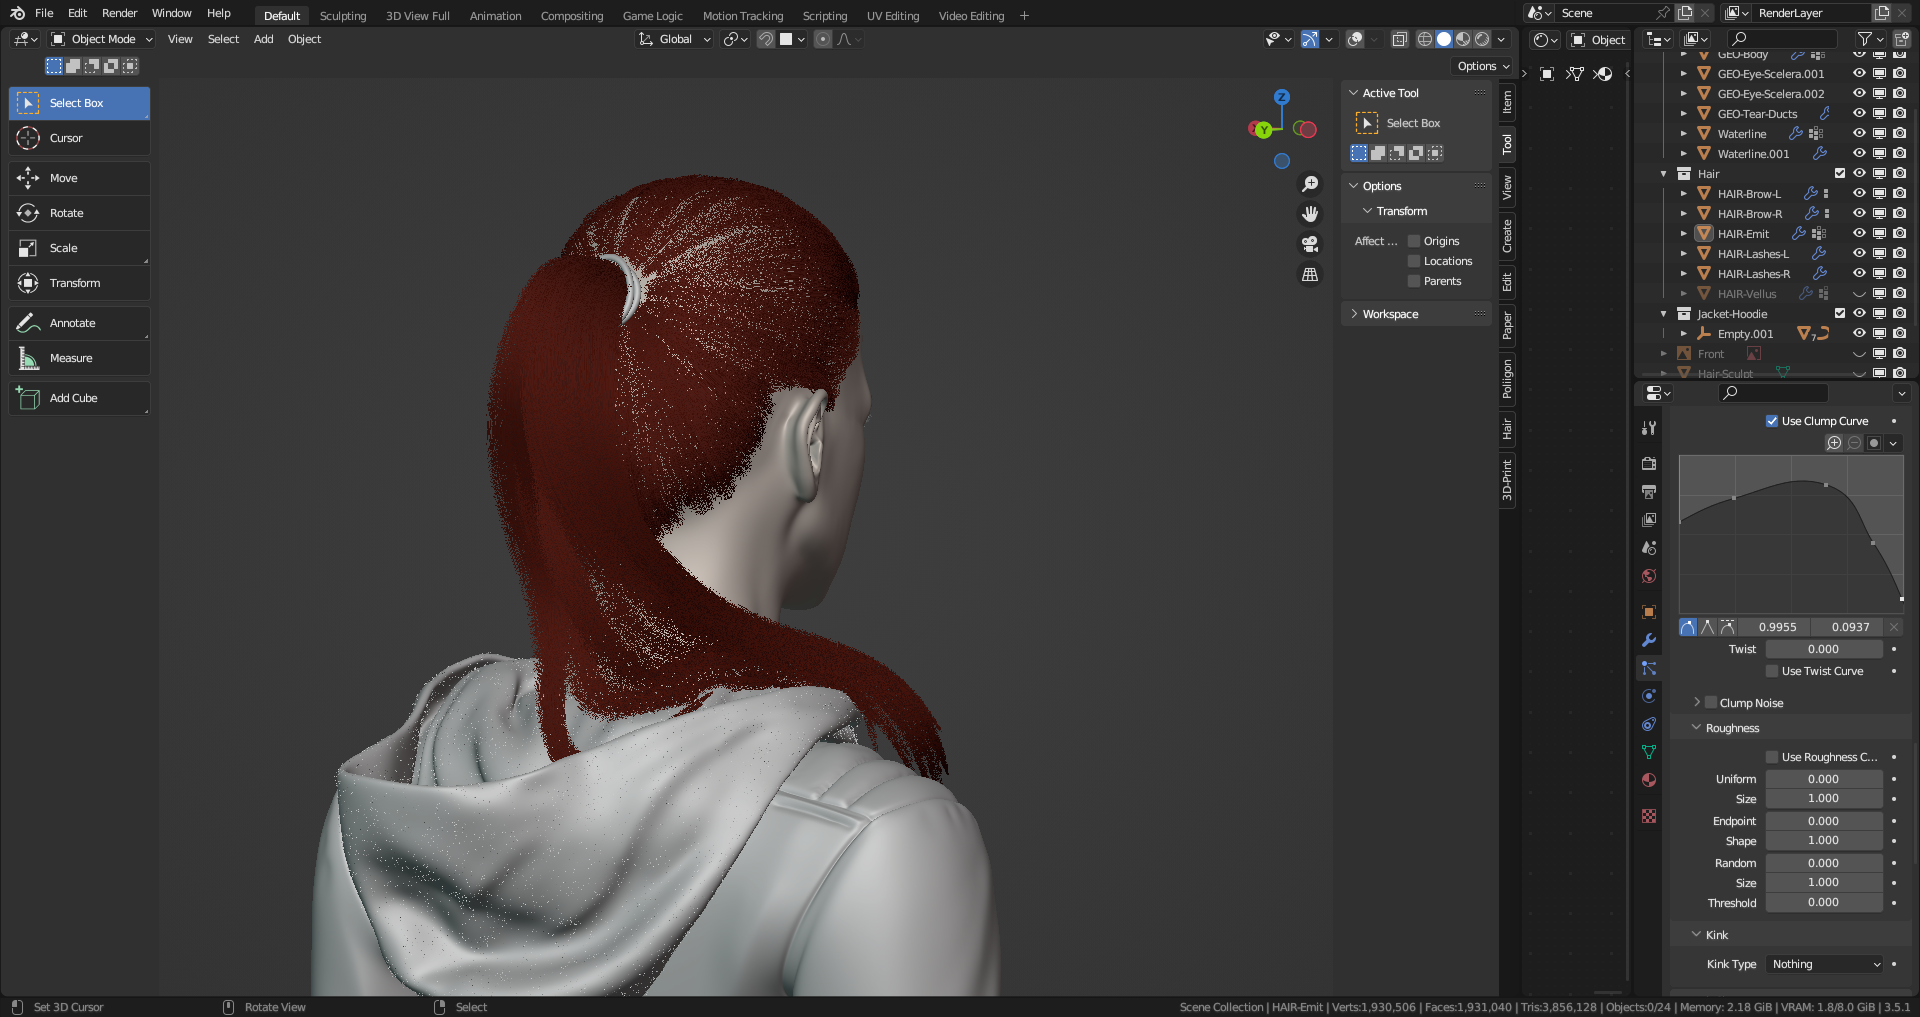
Apart from some strange particle hair behaviour, things are moving quite nicely. I’ve got most of my skin maps done now, and she’s looking good so far.
I thought I’d go into detail a little about how I use displacement maps from Texturing XYZ with Blender. I’m sure I’m massively overcomplicating the process, but here goes…
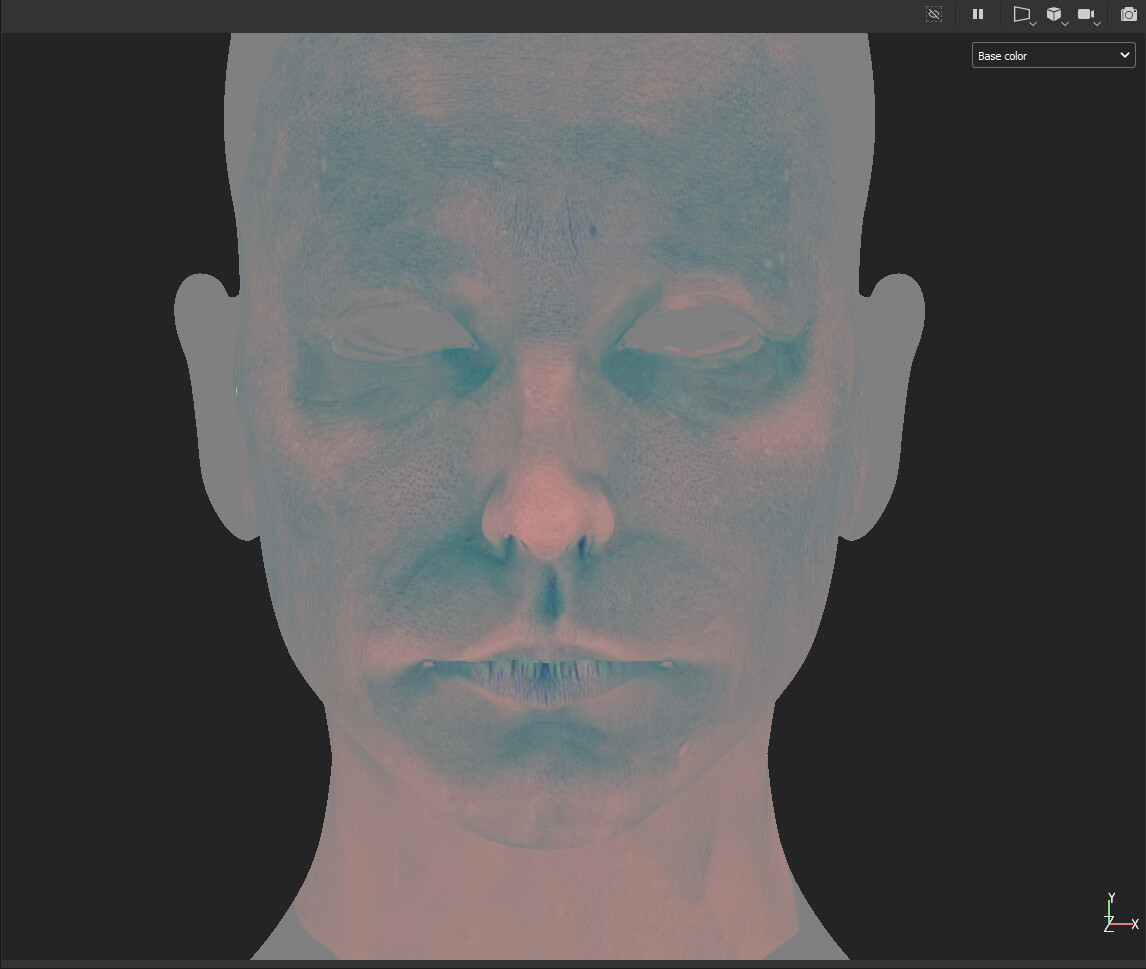
I start with my simple base texture, which I use for all of my characters. I used Wrap3D a long time ago to make this once, and because I use the same base mesh, I get to use it for all of my characters, which save saves a lot of time - same goes for the skin diffuse map too.
The default output though isn’t great, due to the mesh changing during sculpting, which inevitably results in some stretching, and things coming out of alignment. So the next step is to clear that up, which I do in substance painter. I use the projection painter, using the original XYZ Displacement map to paint onto areas that need fixing.
I also paint a mid value grey around areas I want to have no displacement, such as lips, ears, neck etc… this then gives me the following map.
I export that map out in Substance, and then in photoshop, split it into it’s 3 separate layers: R, G, and B, or secondary, tertiary, and micro (I think that’s what they’re called)
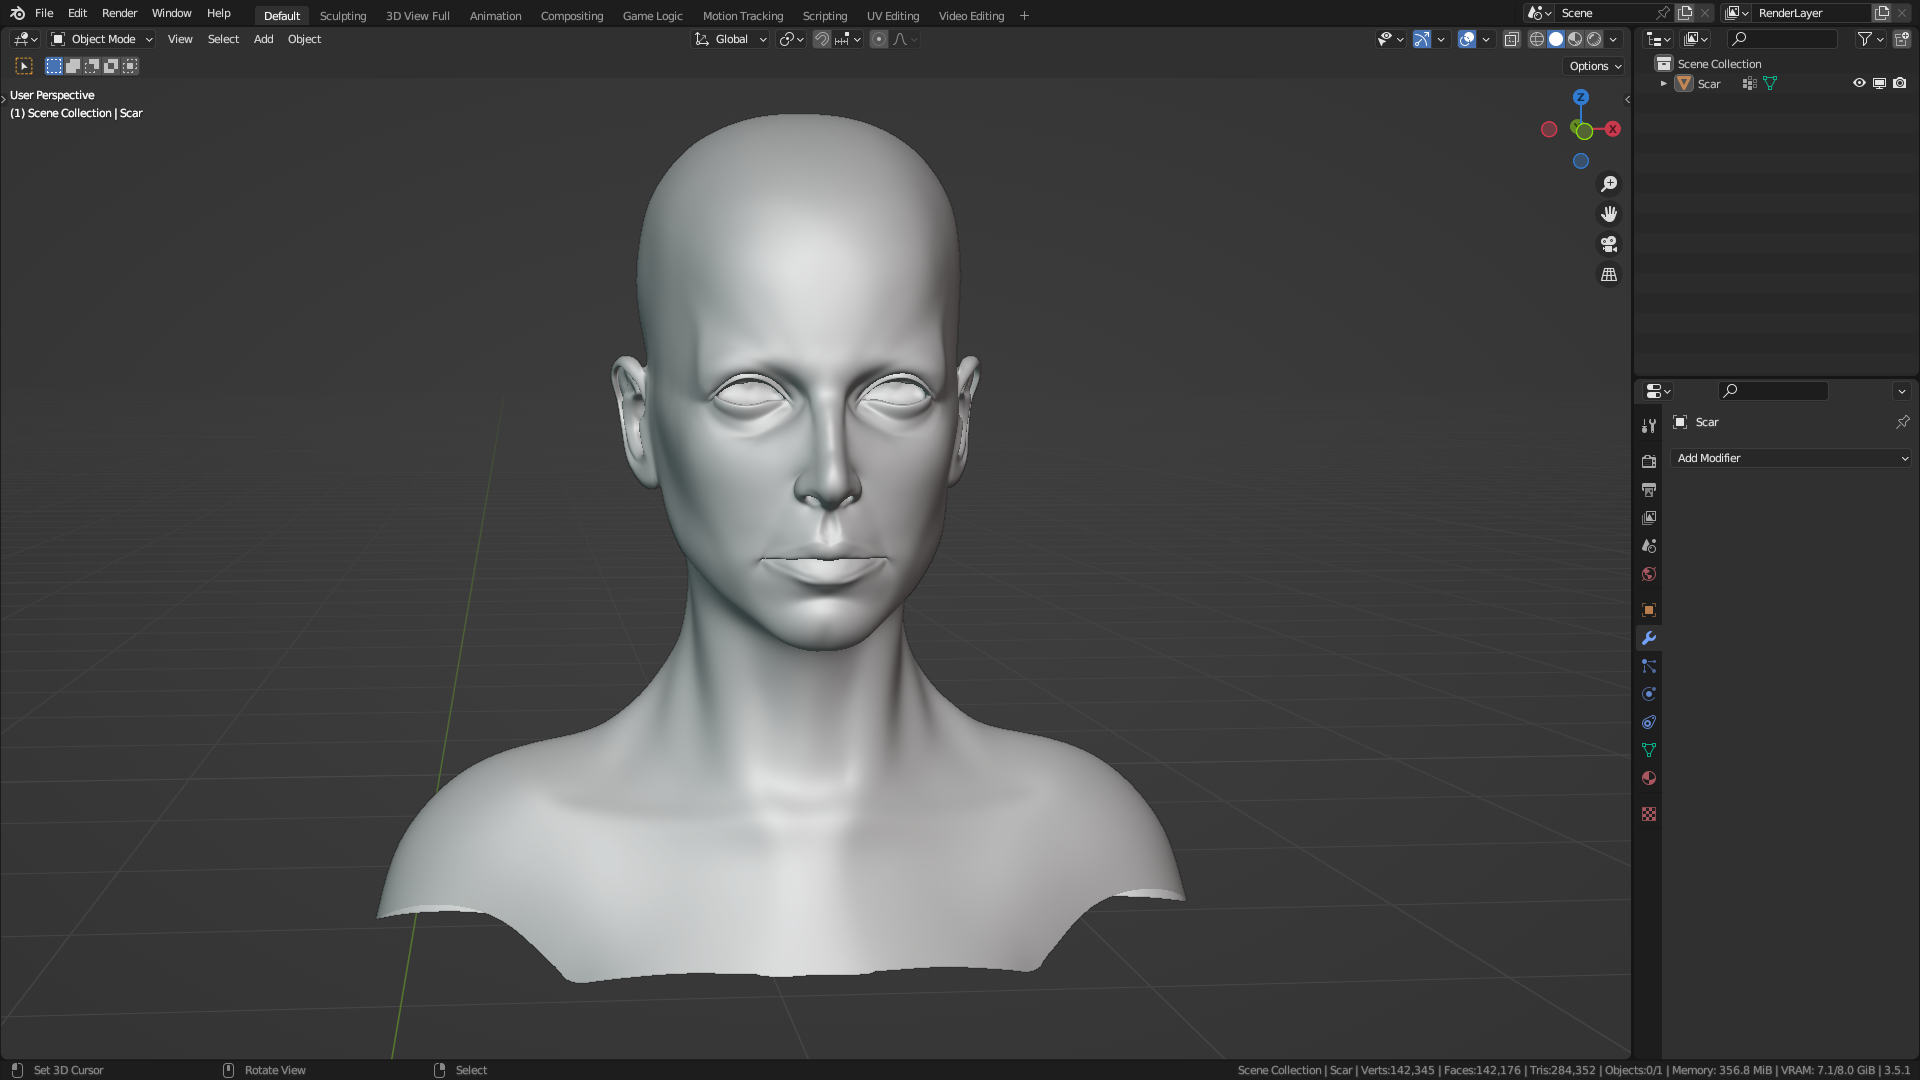
Then I bring everything into Blender.
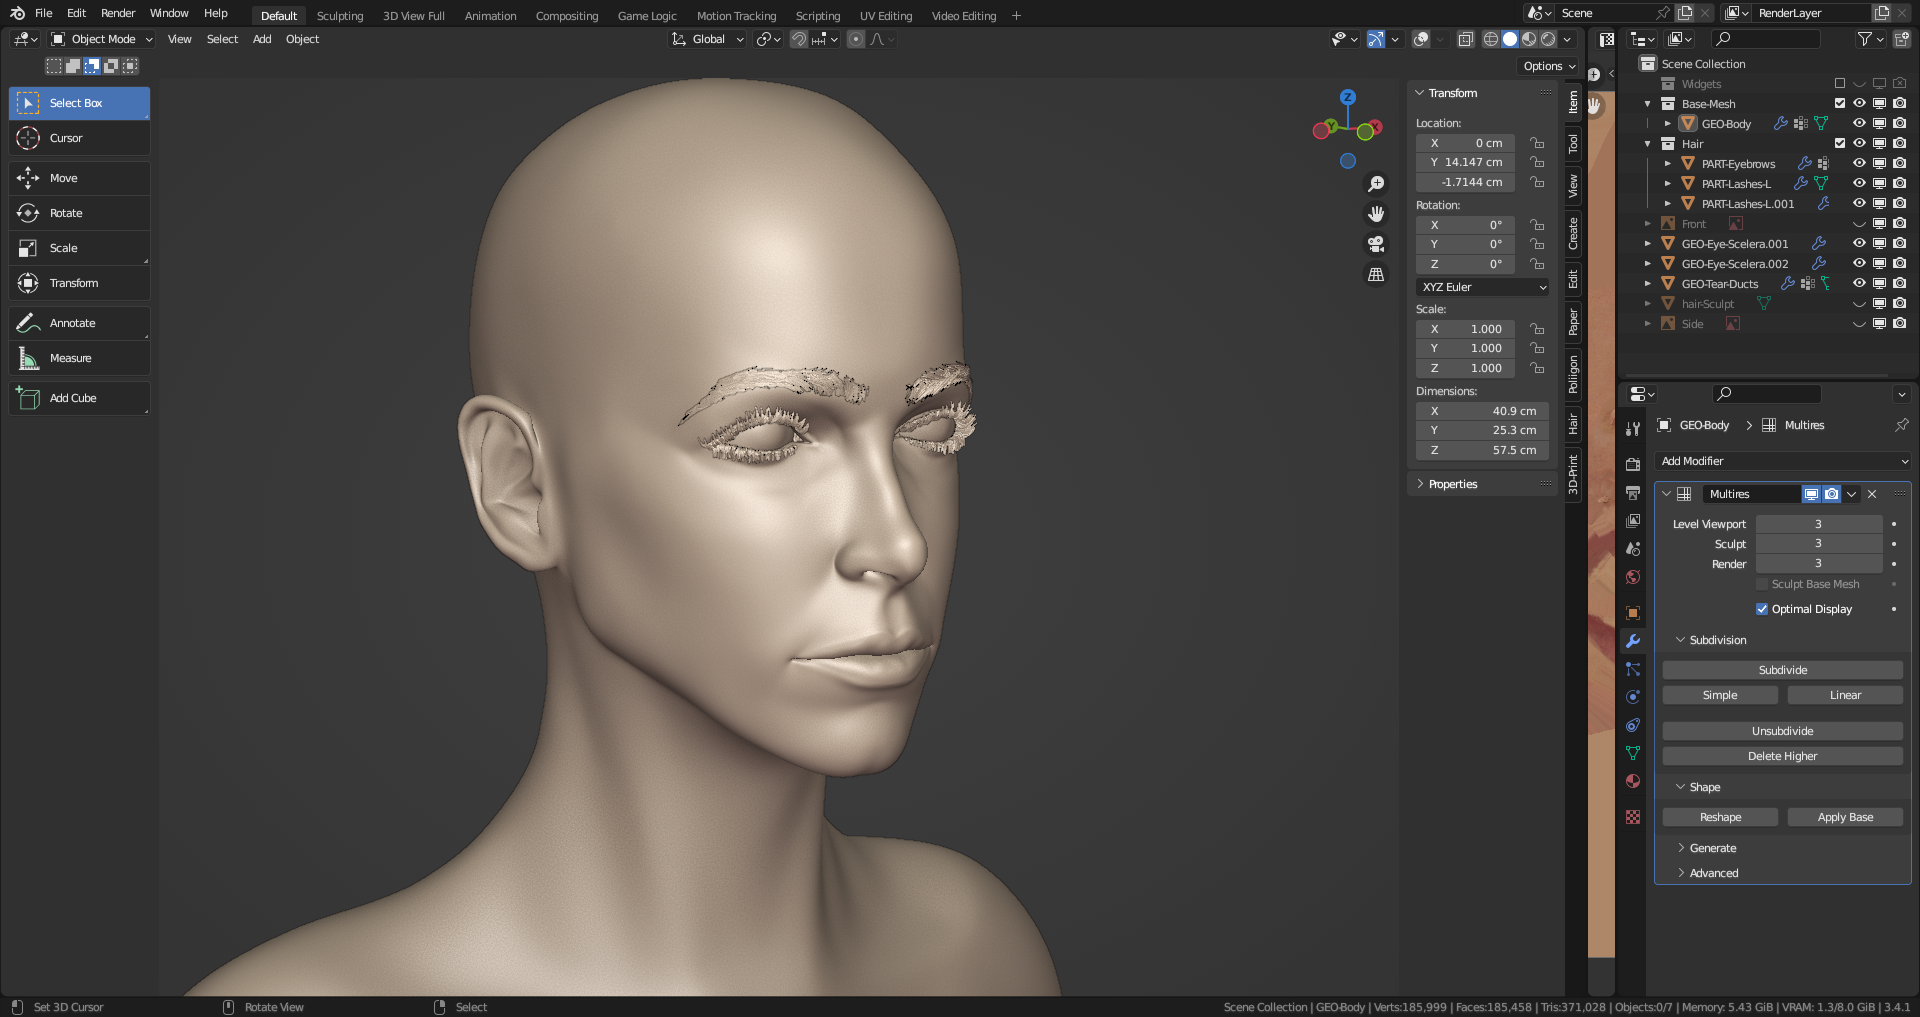
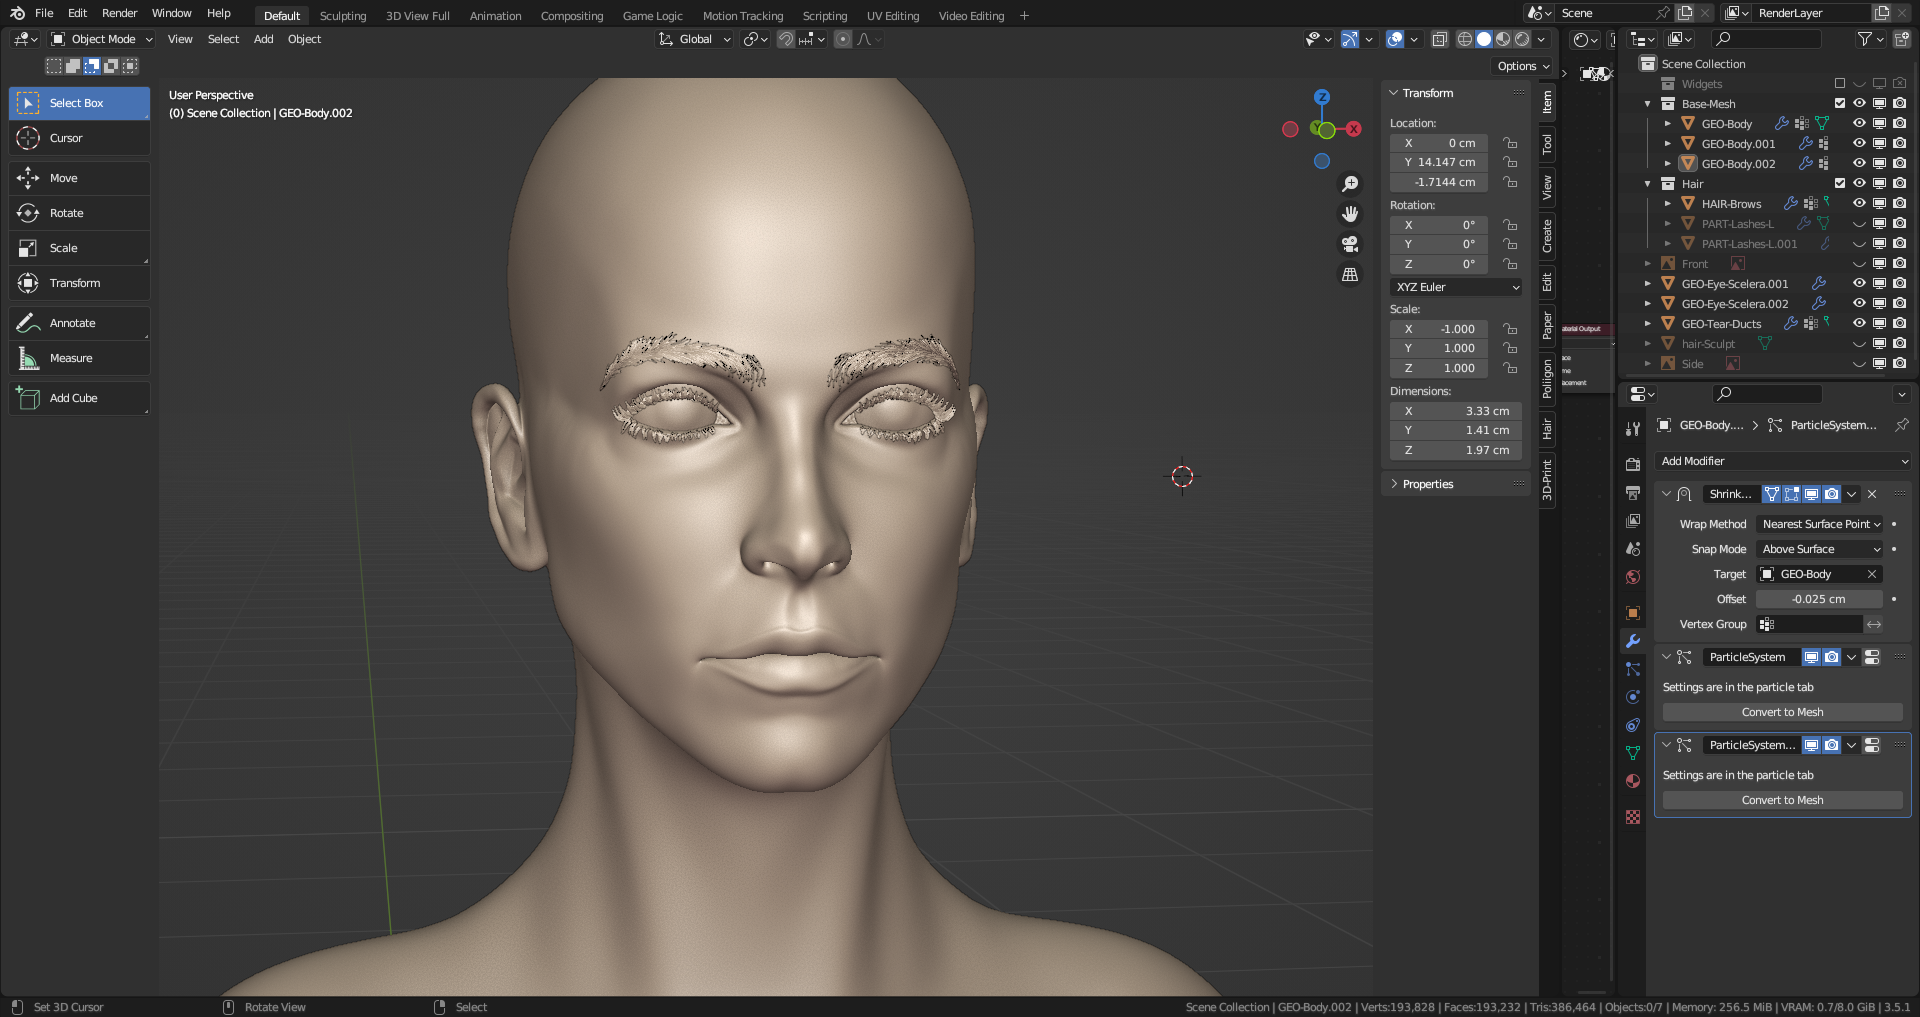
I start by adding 3 levels of subdivision using the Multires modifer. I then apply that. This is an important step, as it hard sets the model into its shape, which is important later.
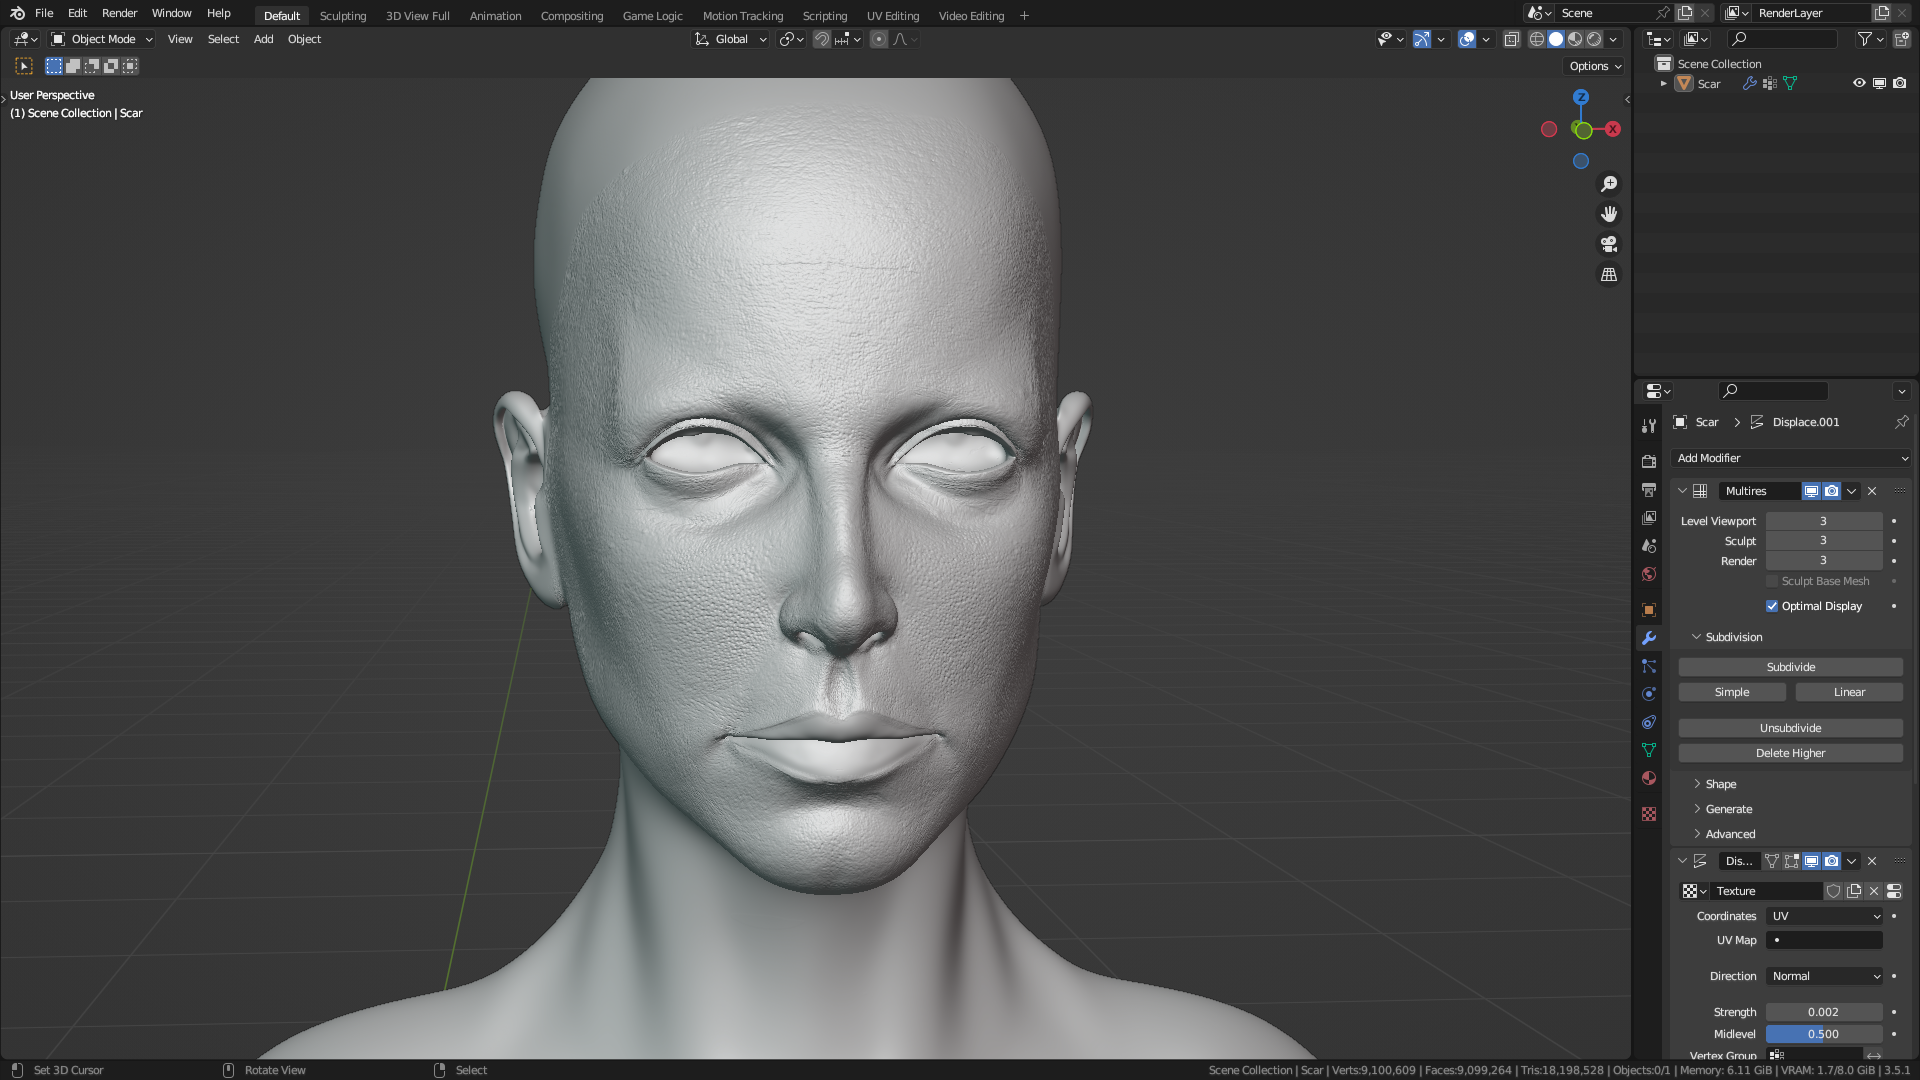
Next, I will add another Multires, and set it, once again, to 3 levels. I then add 3 displacement modifiers, and into each one, I plug the individual displacement layers. I tweak their values until it looks right. For me, those values are incredibly low, at 0.0016, 0.0012, and 0.000016. Textures are all set to non-color data.
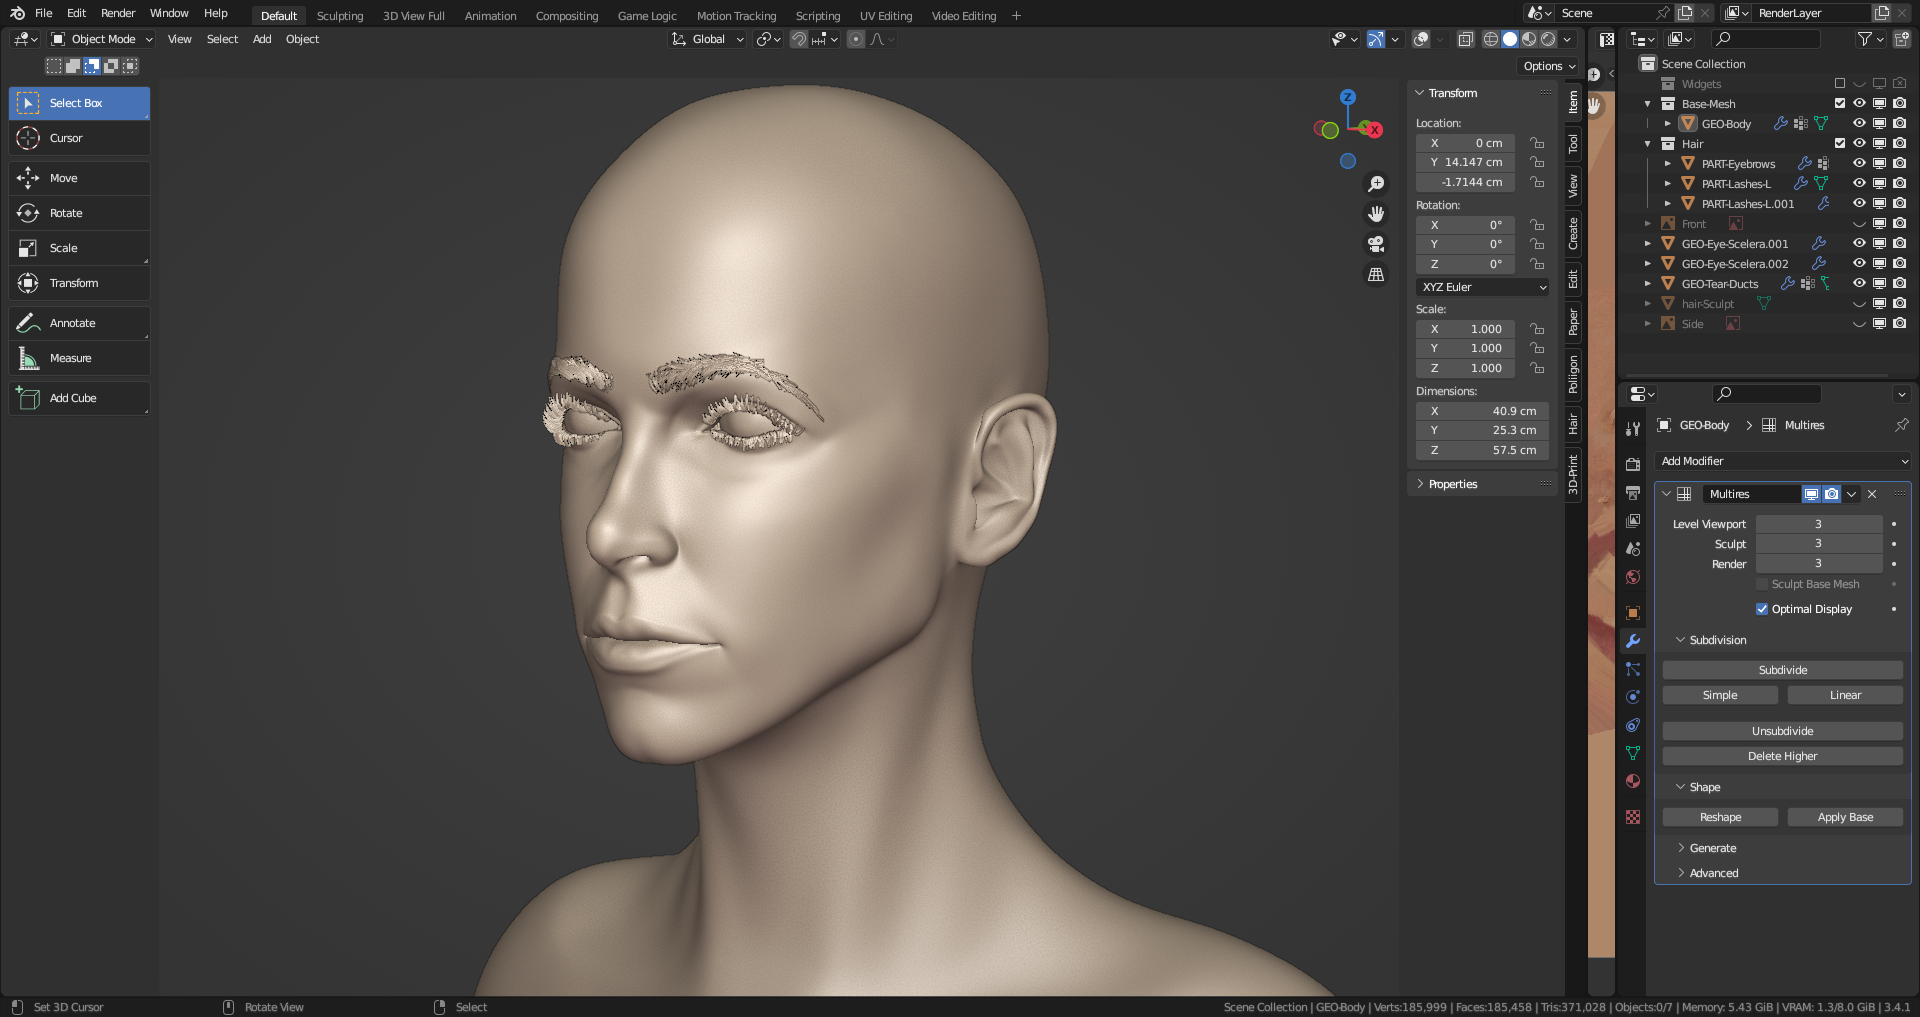
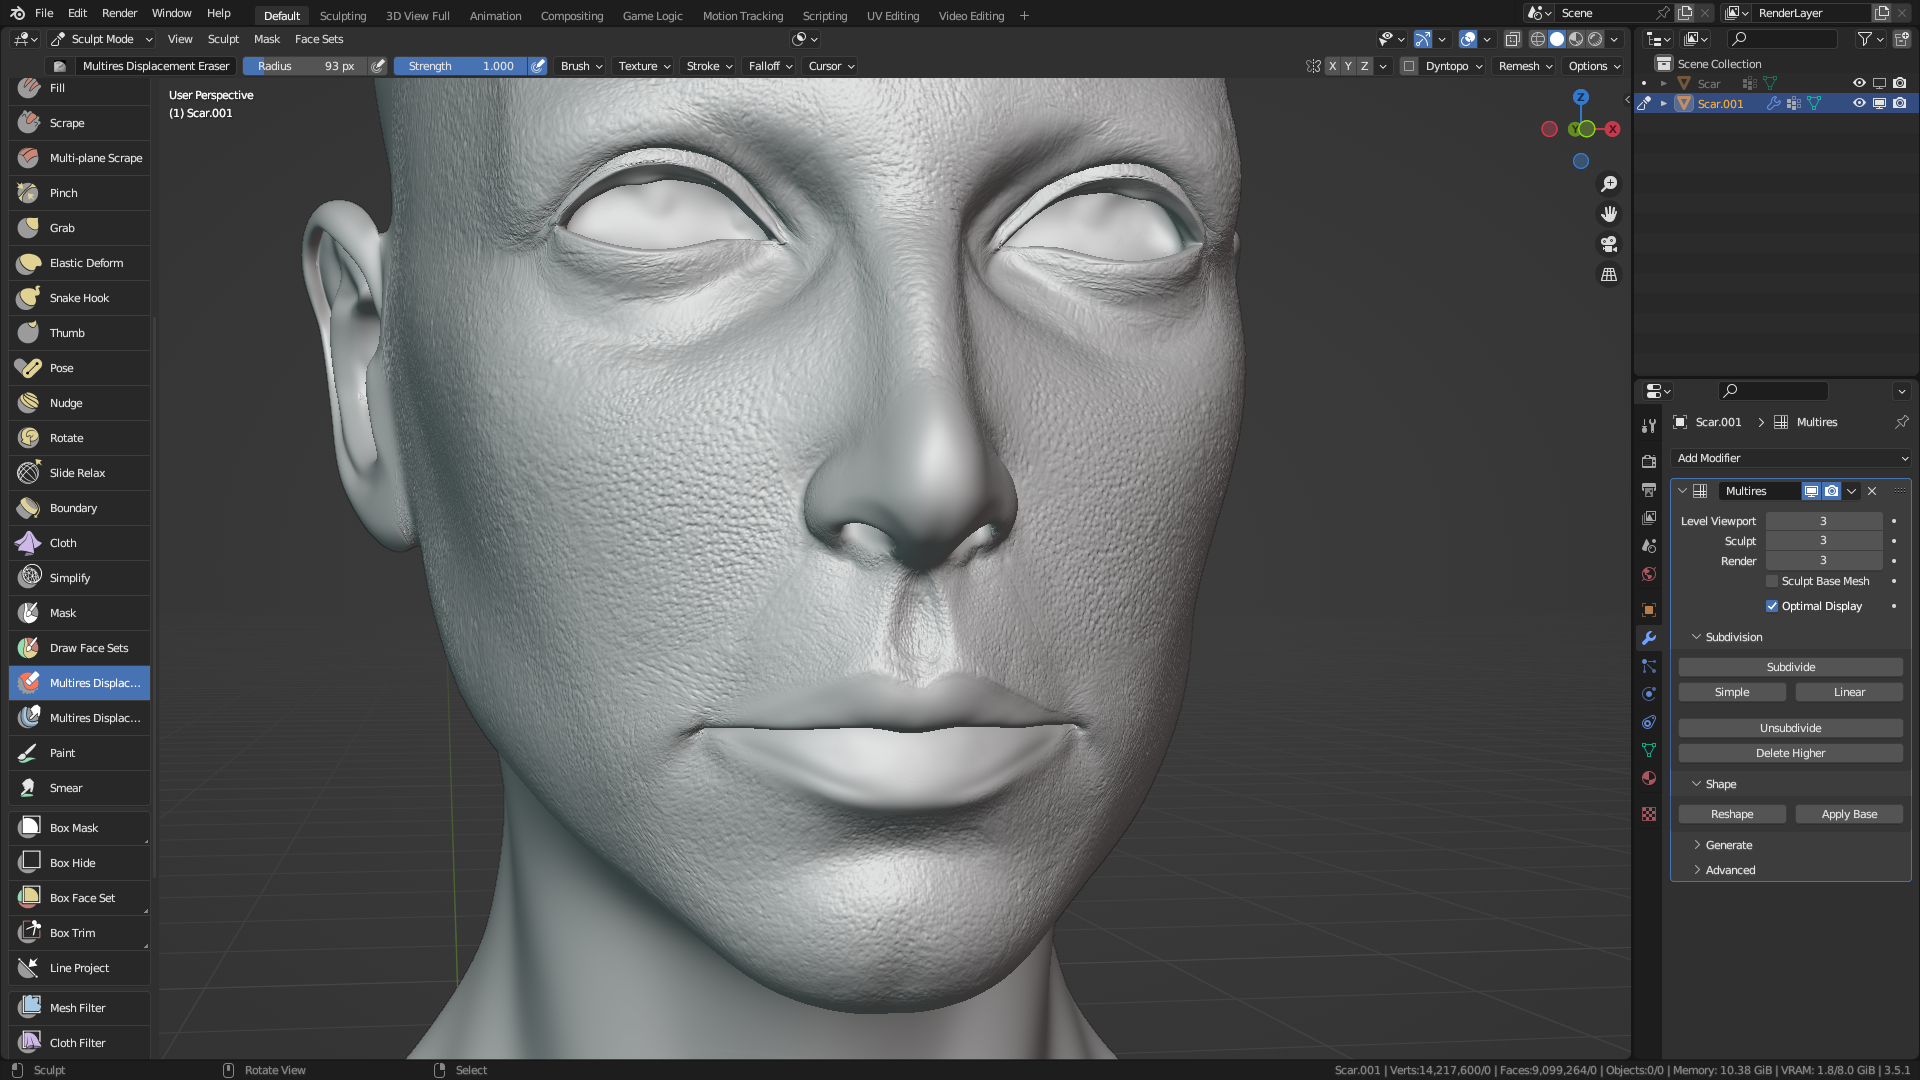
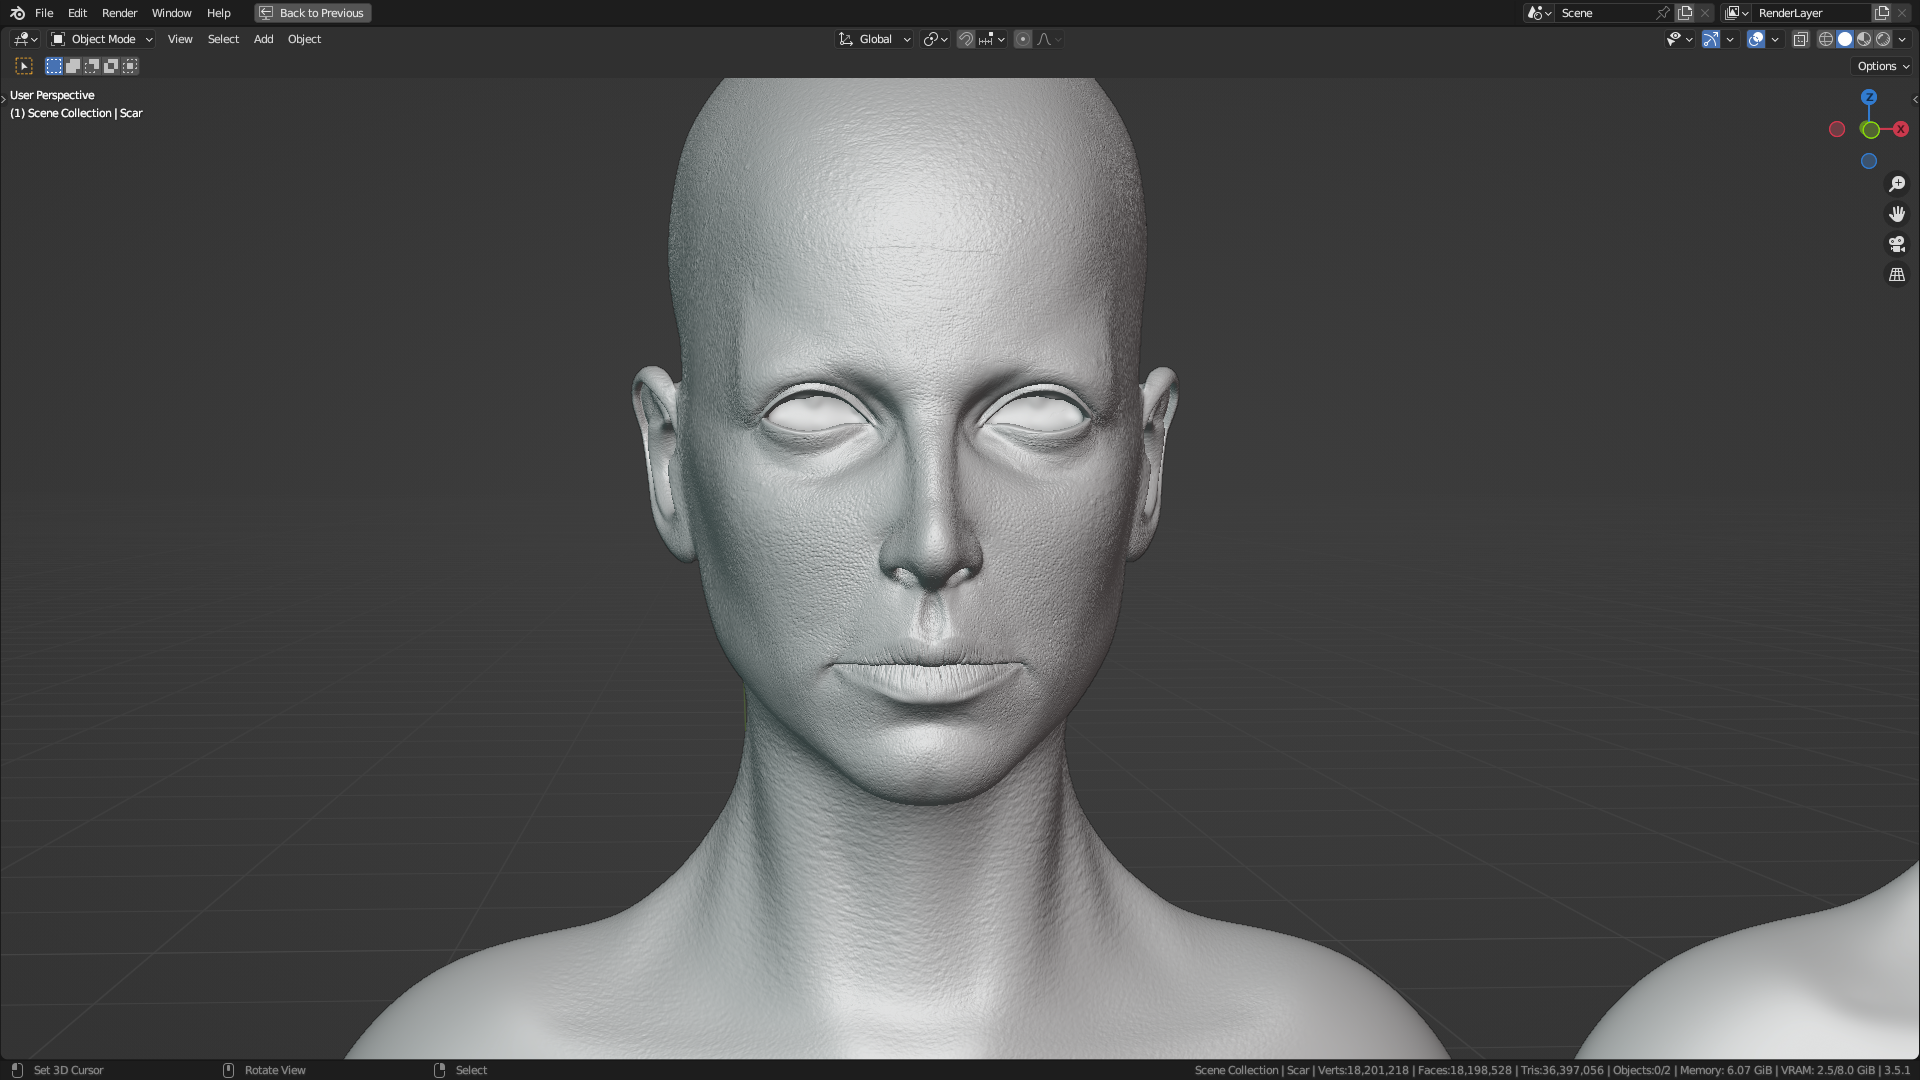
The next step is to transfer this data, onto a duplicate mesh. The reason for this is because I want to easily be able to remove parts of the displacement if I want to, without affecting the underlying geometry. By using the transfer data, I can simply use the multires erase brush to remove any displacement that I don’t like, as it simply treats it as sculpting data. (See the nose below)
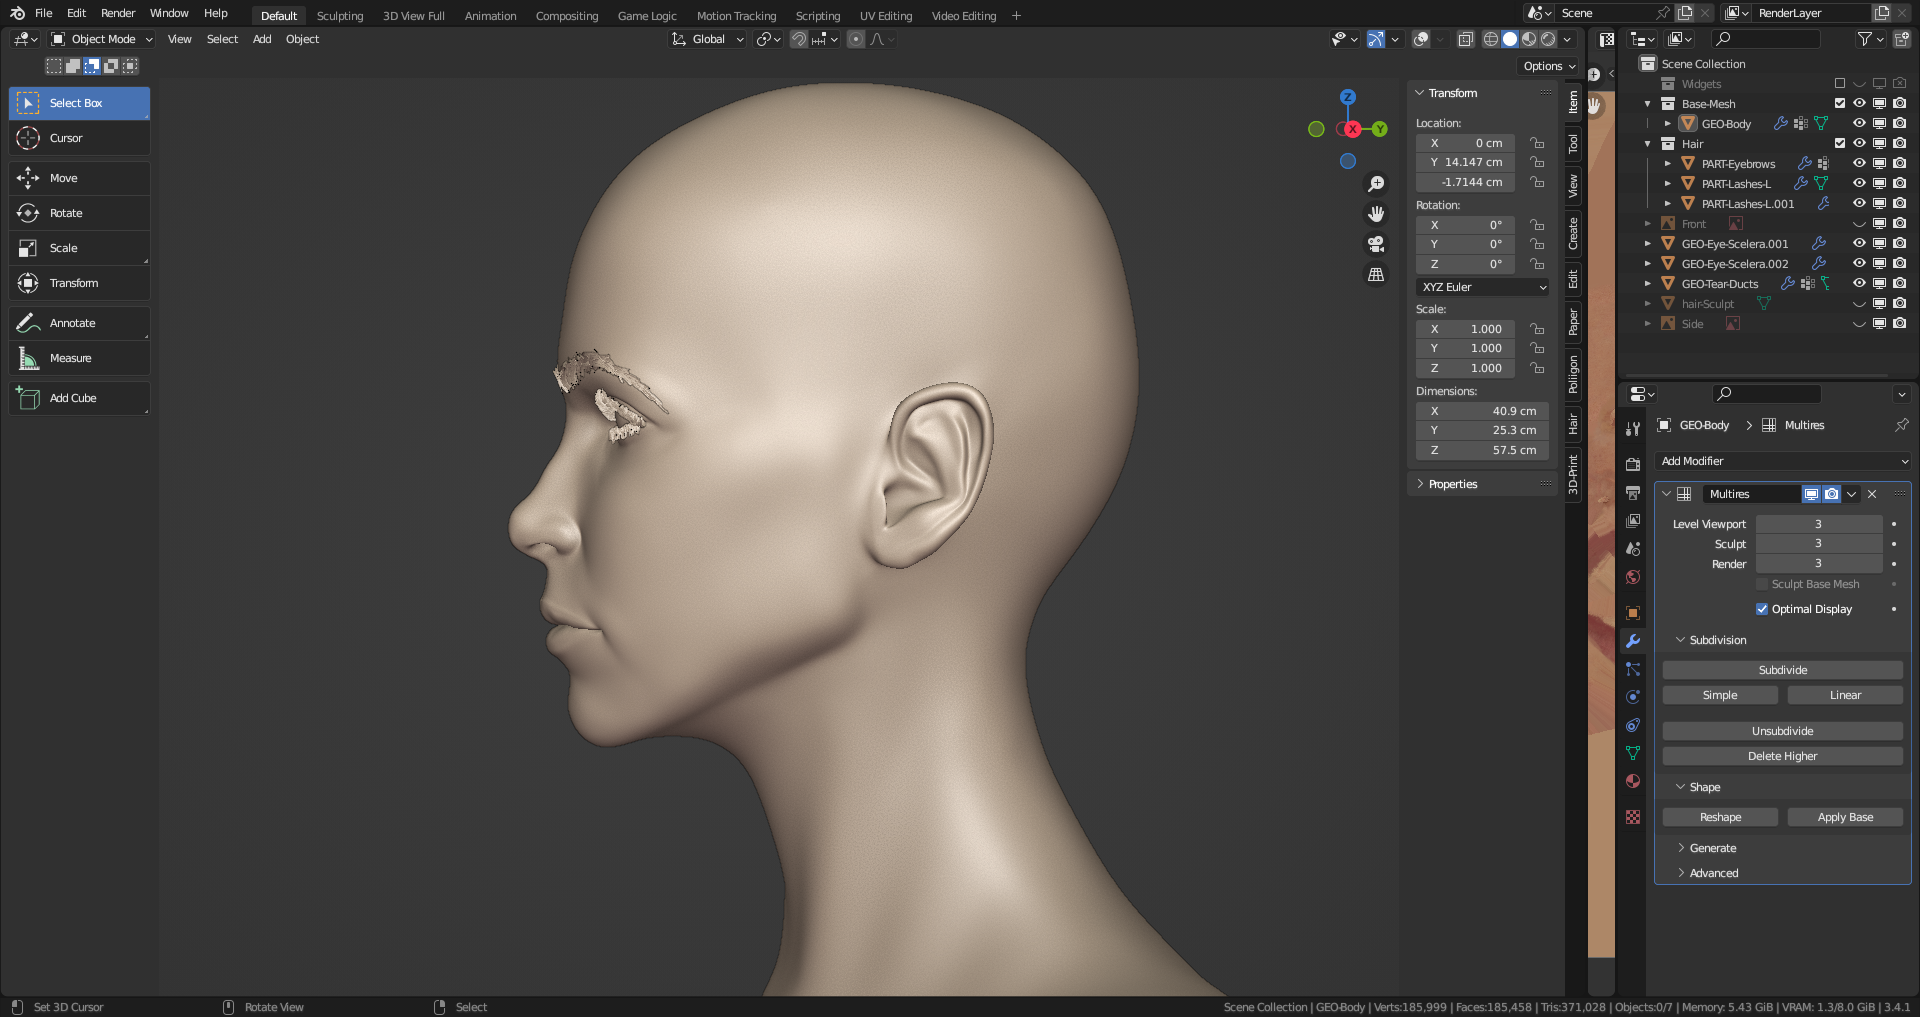
It’s then just a case of filling in the gaps. Lips I like to do manually, as you get more control, and often, you might want to match the lips specifically to a reference, if using one. I use a skin brush pack I bought from the Blender market a long time ago. Oddly enough, the latest version of Blender seems to have broken them, so I had to use the previous version, where they still worked as intended… 
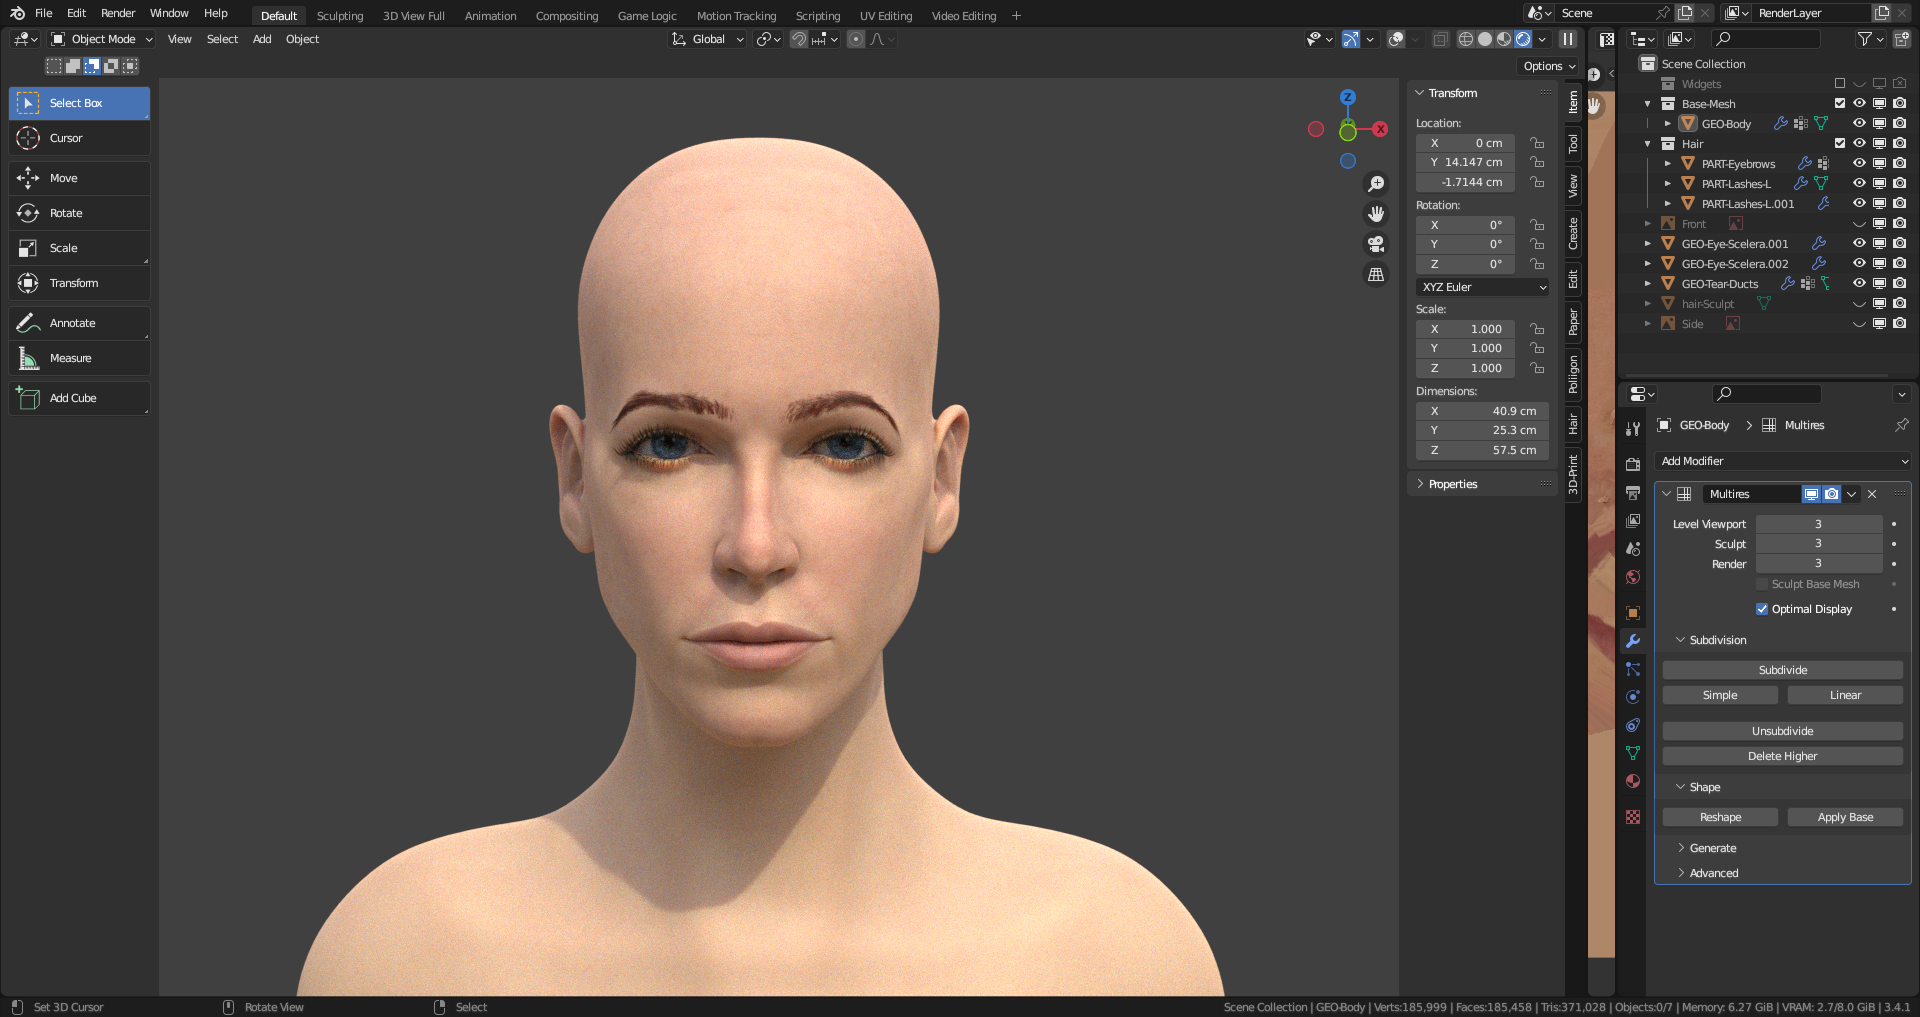
This is then simply baked out into a new map, using the bake from Multires which is a life saver.
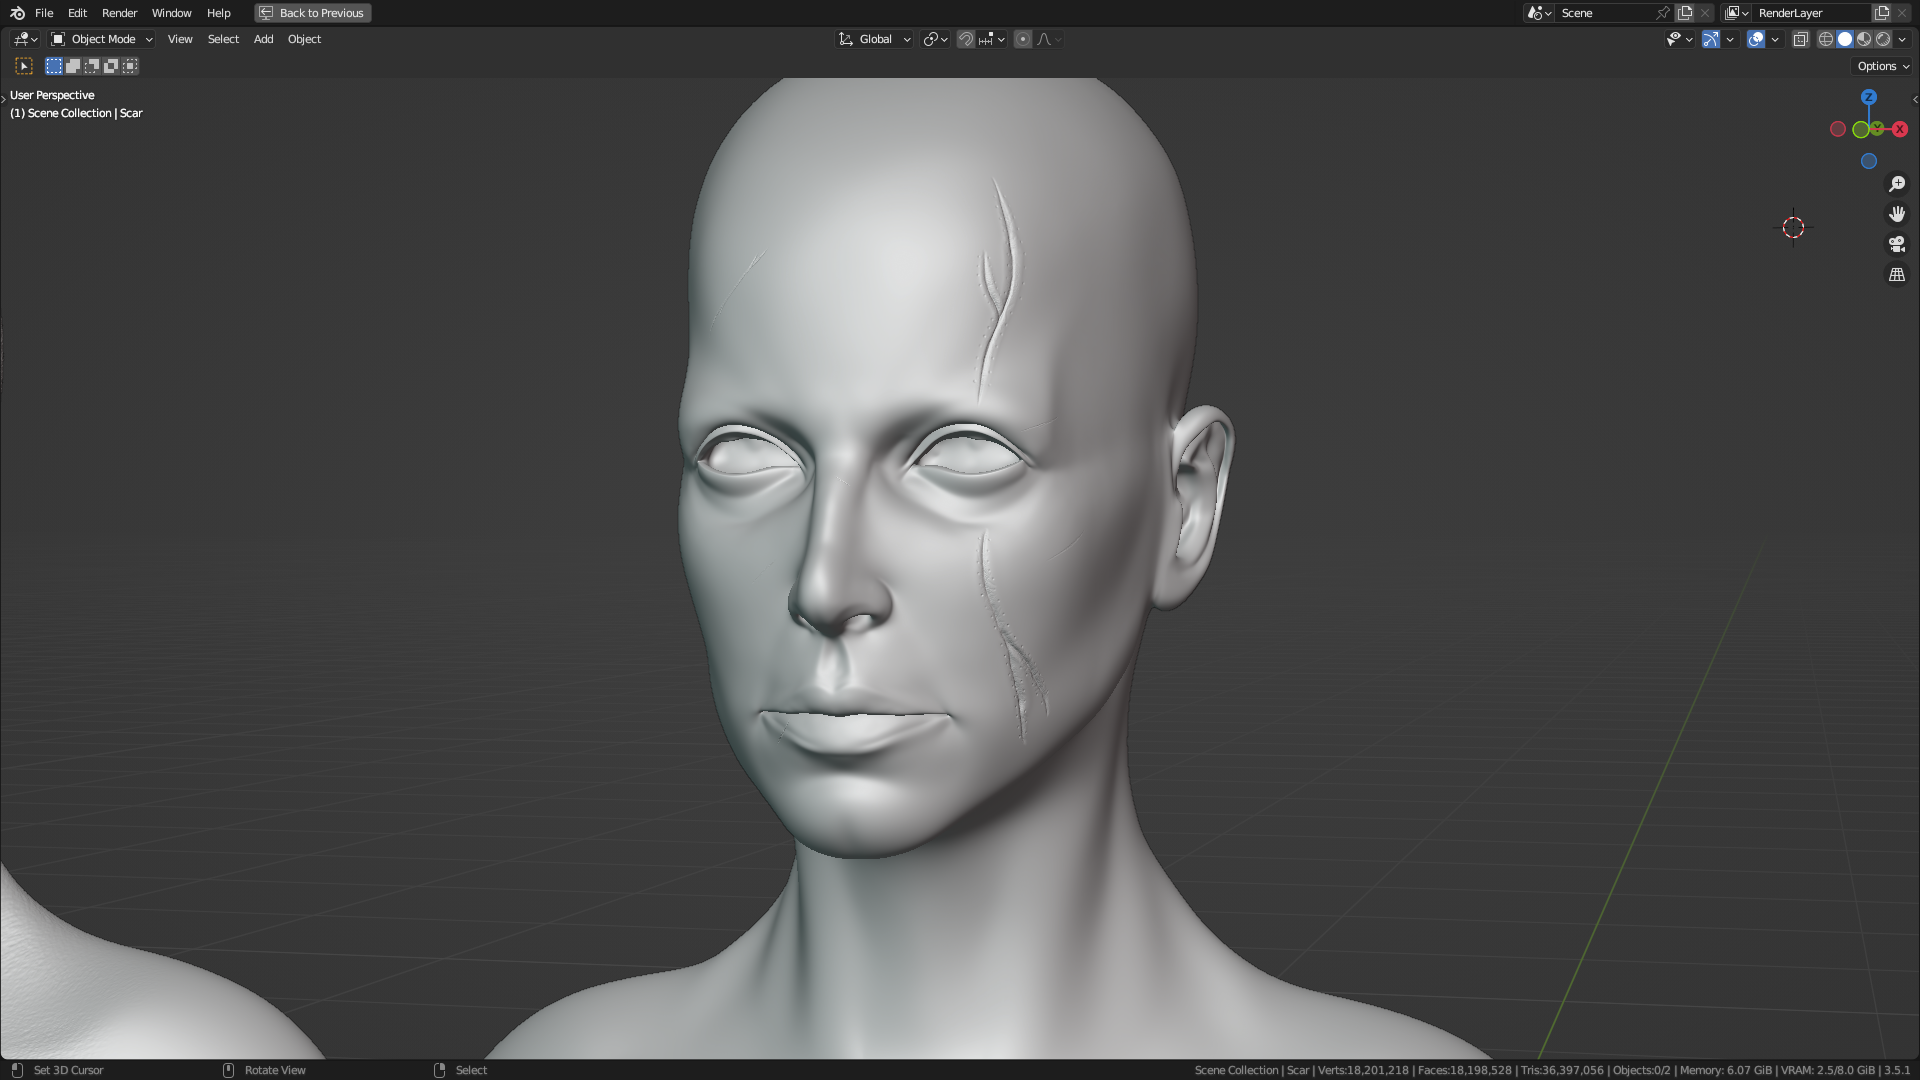
I did the same for the scar this character has also, baking it out to its own map for finer control.
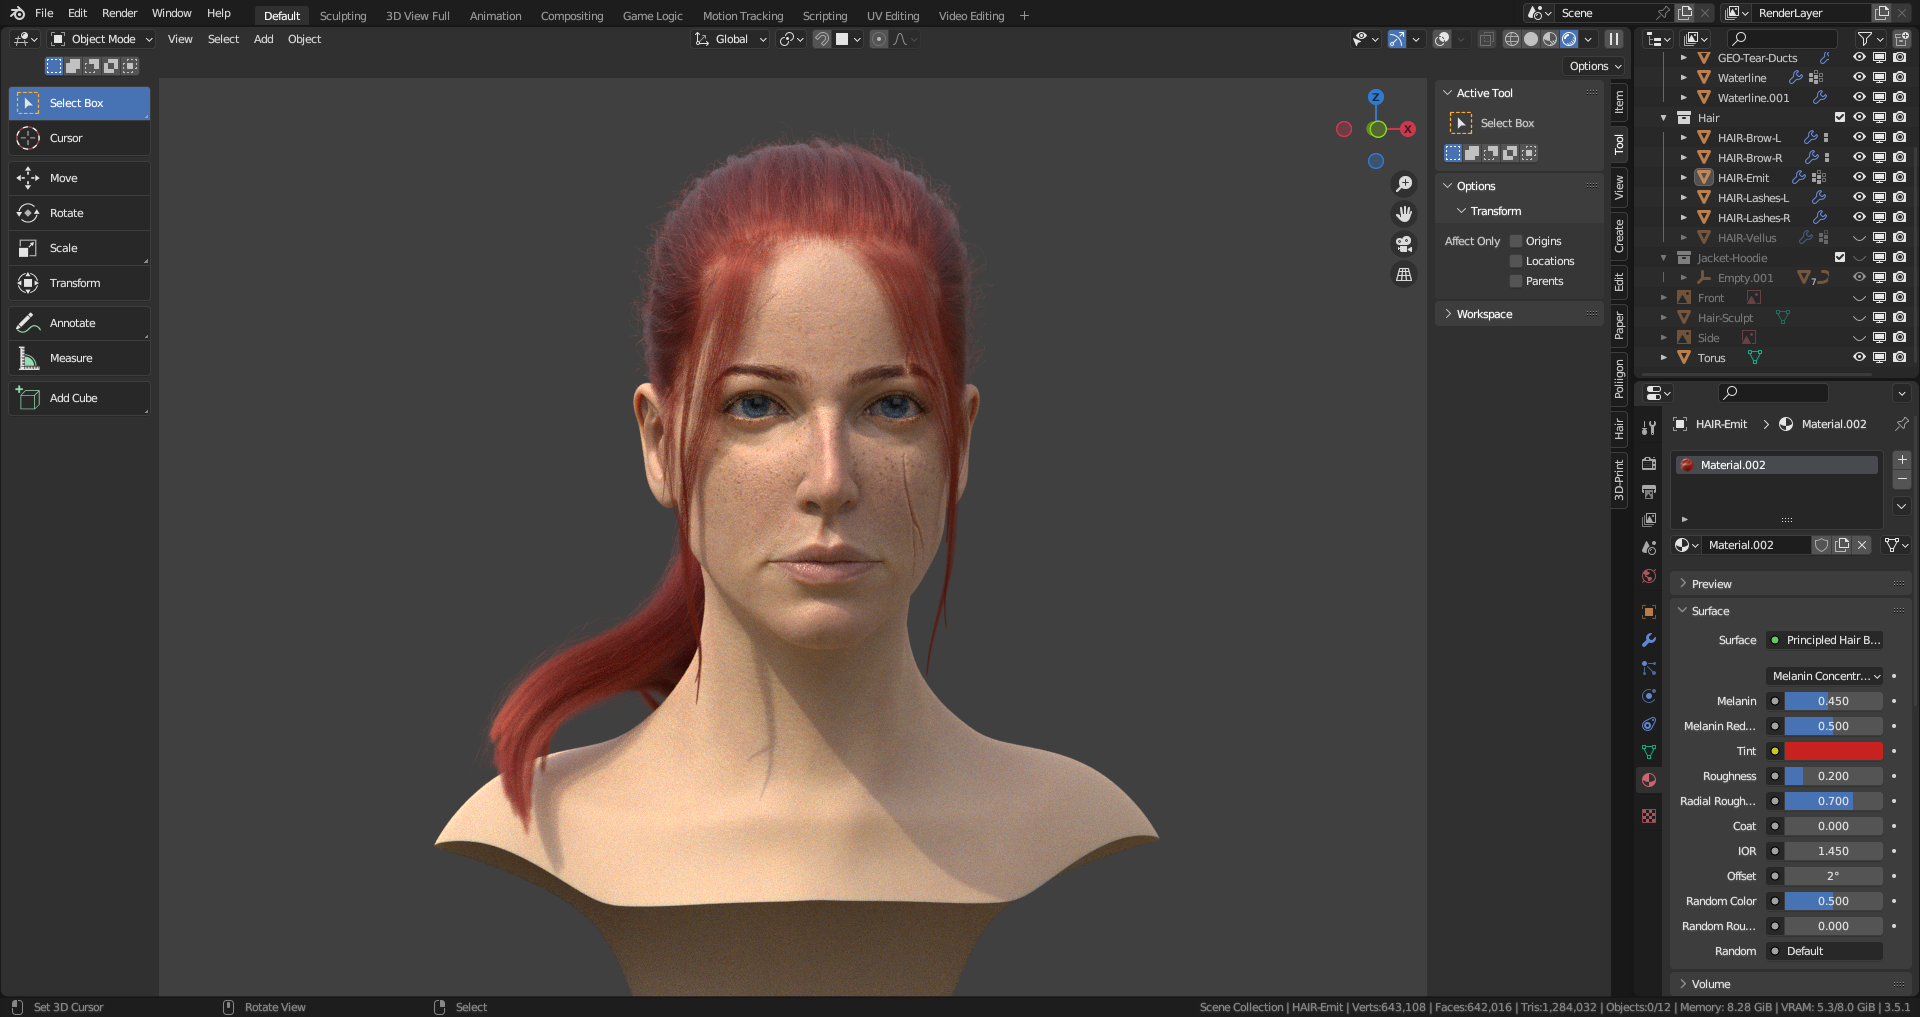
And that’s how I do skin details. Over complicated? Perhaps… Does it work? Yes, yes it does…