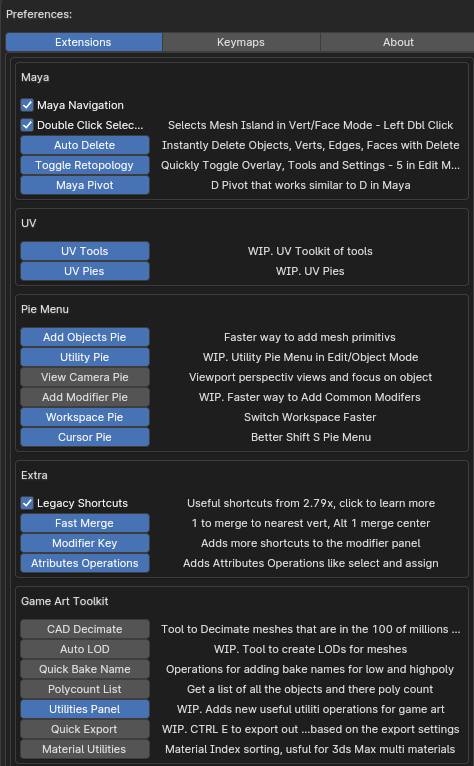
Key Ops: Toolkit is my first add-on which I have been developing for almost one year. My goal with it is to make Blender more industri standard like, and add new tools that makes it more efficent to use. While it’s not 100% finished yet, it’s still mostly functional and will hopefully bring value to some in the Blender community. Enjoy!
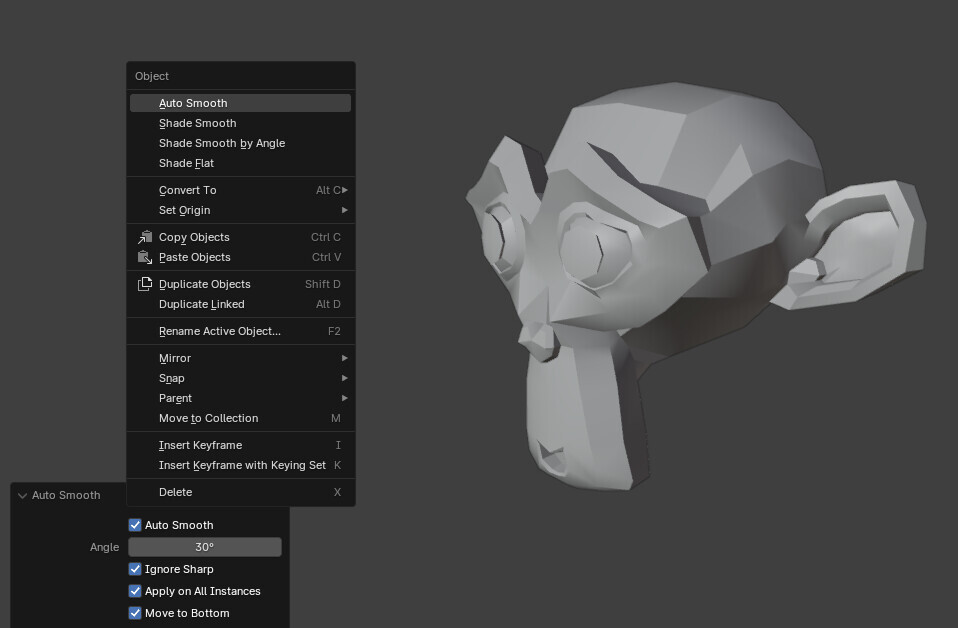
Auto Smooth like in 4.0 - Will add and move the Auto Smooth modifier to the bottom of the stack and sync the angle and settings between instances when the operation is used.
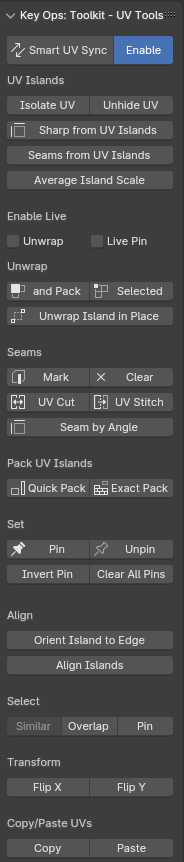
Unwrap In Place - Unwrap Islands in place withoute packing it
Sharp Edges From UV Islands - Add sharp based on UV Islands to fix shading on uv unwraped meshes. With the only UV Island Borders option it will not add any sharp edges to for example an uv seam on a cylinder.
UV Cut - Cut an Island, works more similar to cut in Maya
Thank you! I whanted this feature for a long time as well! haha
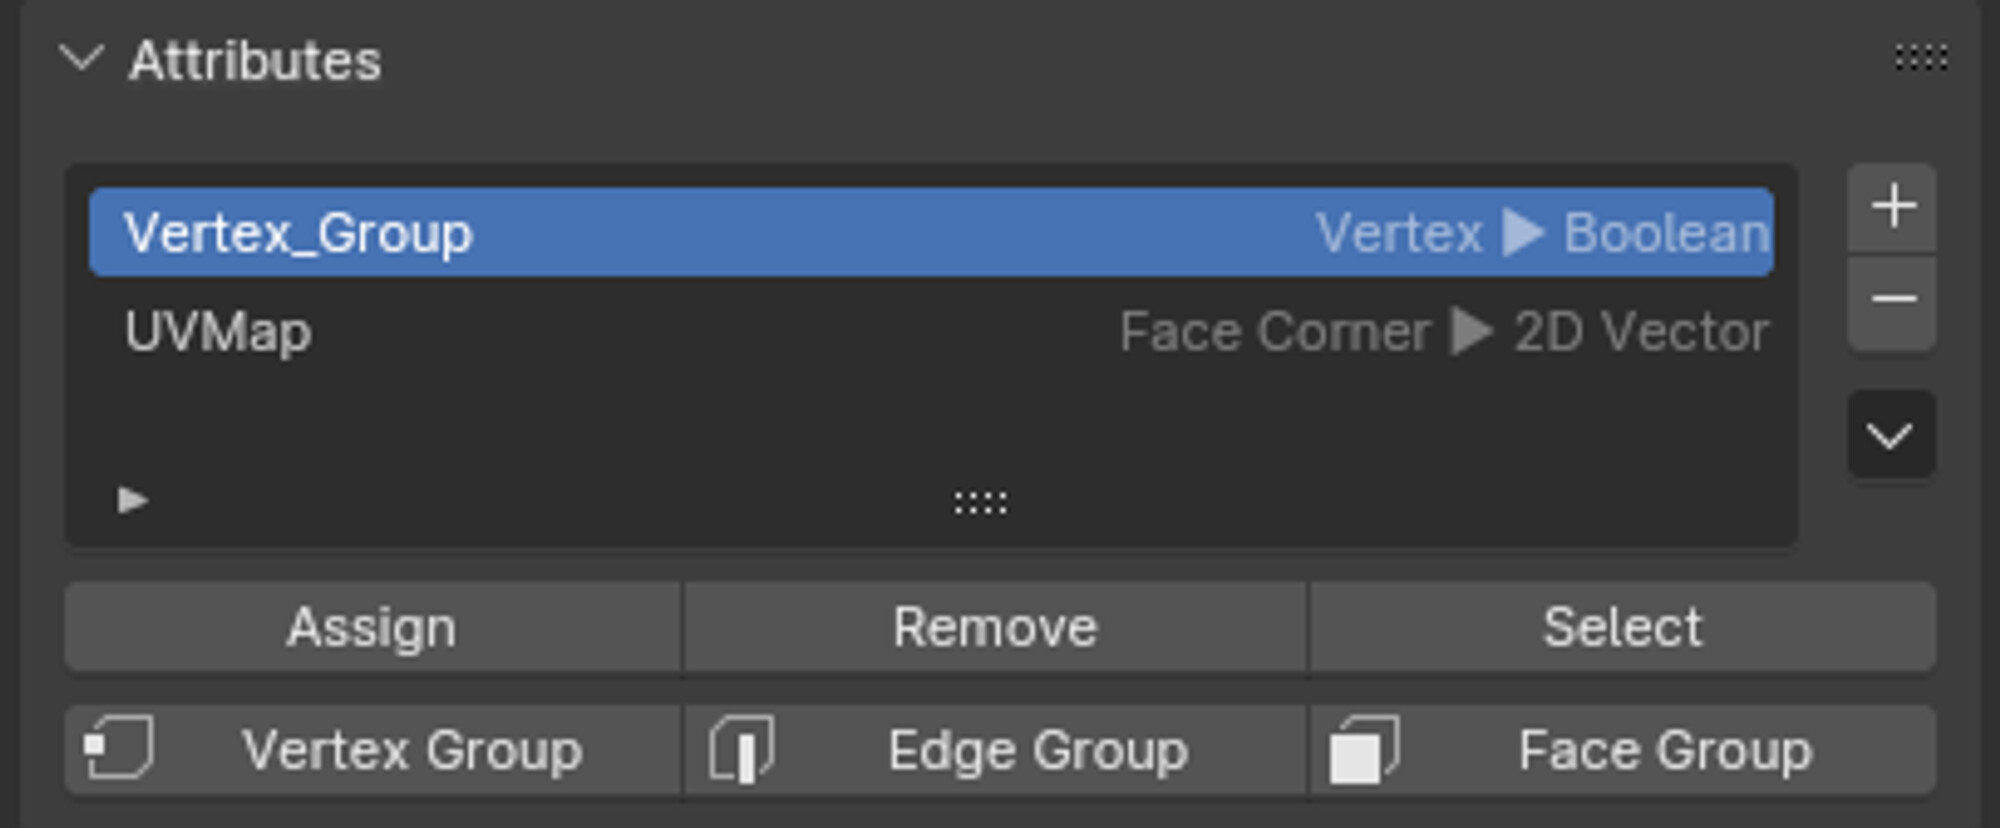
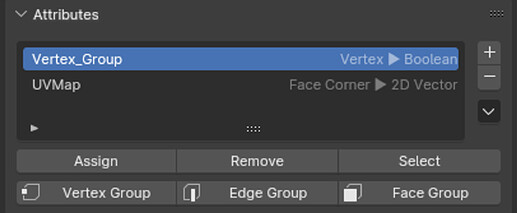
I find it really nice to use together with Geometry Nodes, where instead of using slower and less flexible vertex groups, vertex, edge, and face groups can be used instead. Also, it’s nice to be able to save selection this way as well.
Also, with the Modifier Key, it’s even nicer since you can just press Tab in the properties panel, and it will toggle between the Modifier Panel and Data Panel, making it even simpler and faster to access.
Just note that Face Groups might not always work correctly in 4.0 due to a bug, it’s fixed in 4.1
Currently it only works for Bool, Float and Color, but this could easily be expanded in the future.
My congratulations on the release of the first addon!
There are a lot of interesting tools! Have to try them
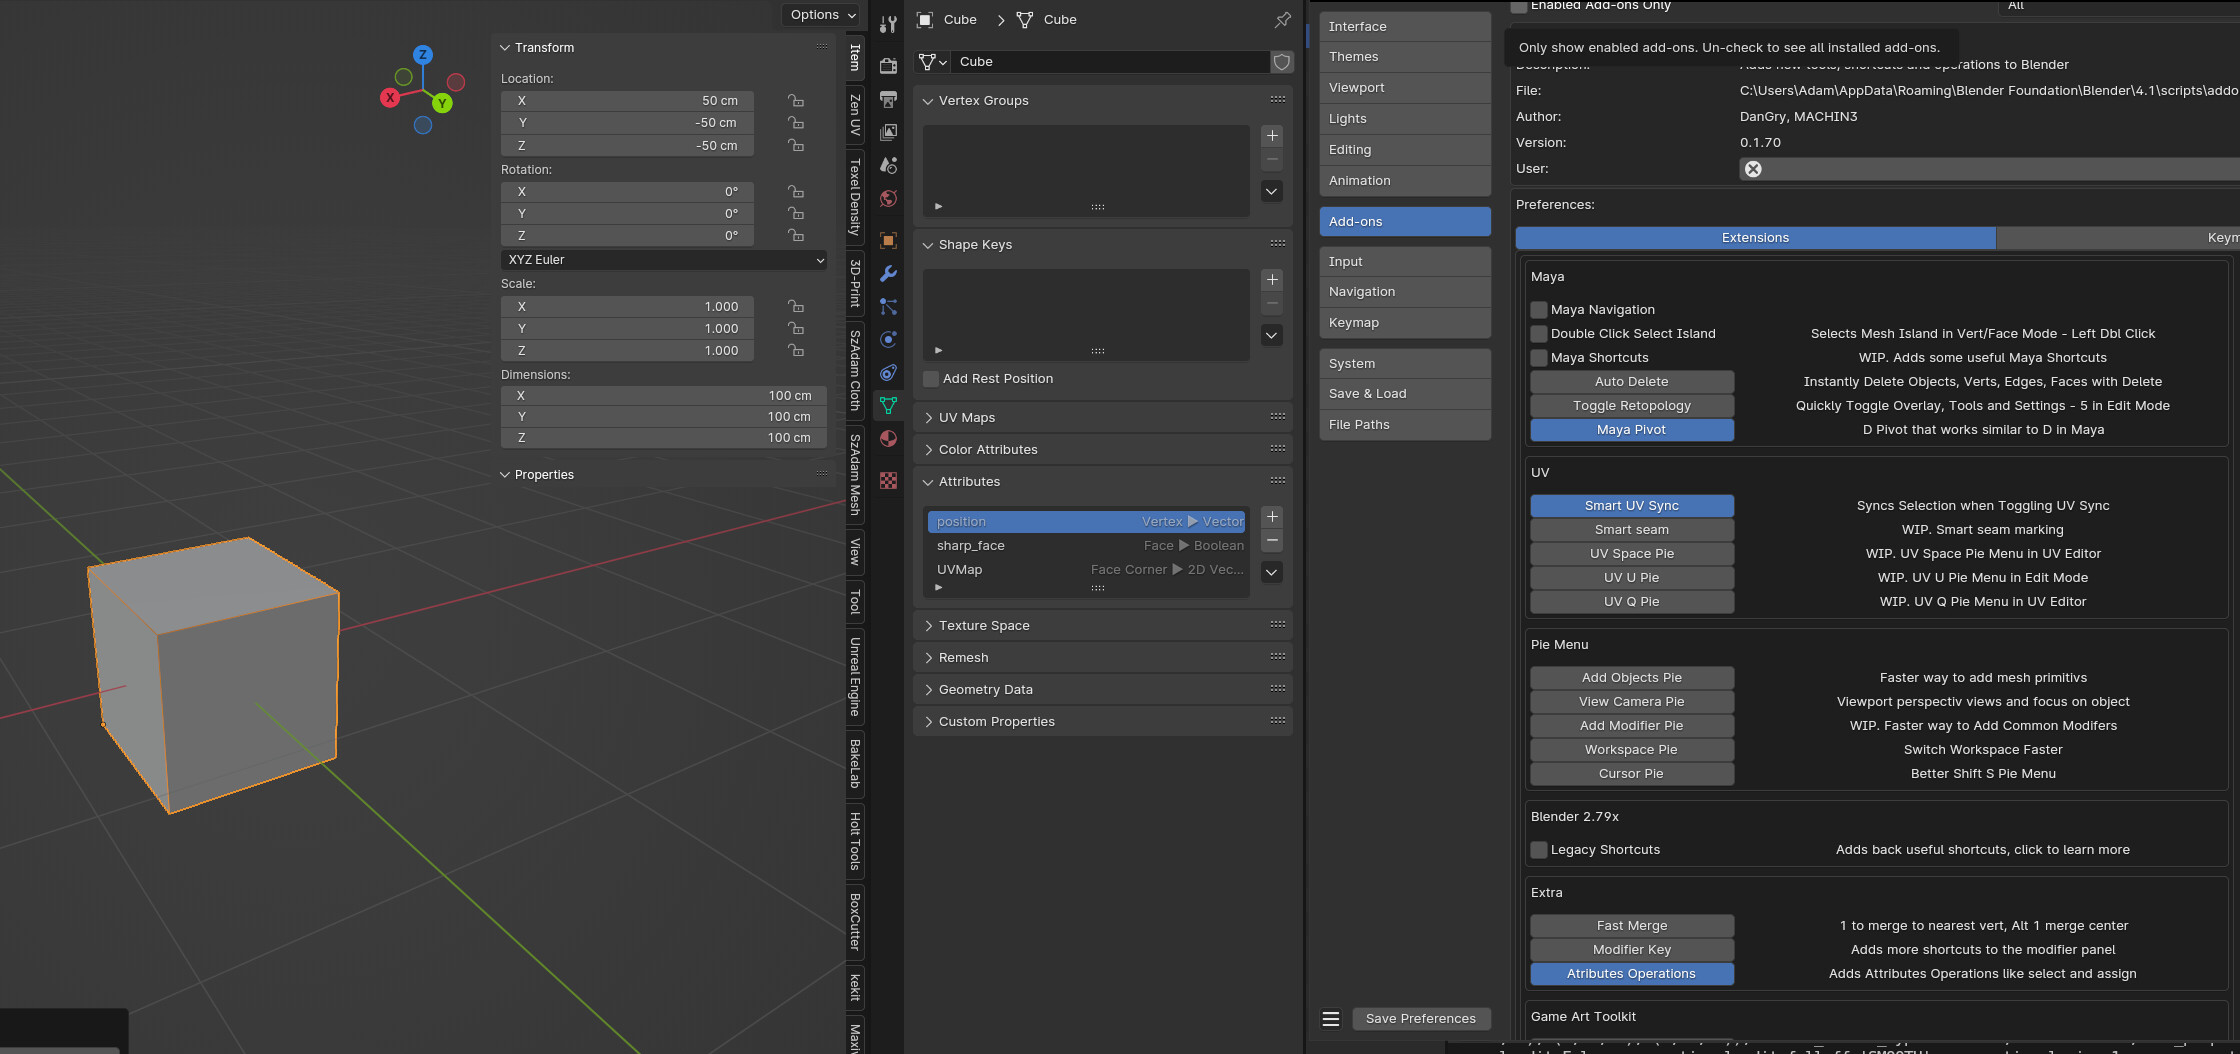
One question regarding Modifier Key tool and others. Are they adding/changing your Blender hotkeys mandatory? Or is it off by default and can be on in the preferences?
Thank you
Everything in the add-on can be turned on and off! So if you dont like a feature it can just be disabled. Also, not every feature is enabled by defualt.
Well, the reason why I asked about it is that I had not very pleasant experience with some other addon(great by the way) what ruined my custom keymap. After installation it forcefully replaced my hotkeys all over the Object, Mesh and 3D View sections… Enabling/disabling couldn’t help - what is done is done… Luckily I had a backup. That’s why I’ve come to the conclusion that changing any hotkeys by a new addon should be disabled by default.
Ah, yes! I understand. Its a bit hard if you for instance want to override a shortcut that does something already in blender in phyton.
Still like 95% of the shortcuts in the addon wont change anything permanently, they get disabled when the addon or the extension is disabled.
There are some exceptions however, for instance there is an option to change the defualt shift a keybind to the add objects pie menu, this one is permanent, but there is of course an option to revert it It was not possible to do it none destructible, otherwise I would have done it.
Also, always do backups for your settings anyways haha
The relative object scale is probable my favorite feature of my addon, so thanks for mentioning it! Been using it now for almost half an year and could not go back to default now haha
I am currently working on bringing back the Auto Smooth from how it worked in 4.0, to Blender 4.1
It will automatically moved the Smooth by Angle modifier the bottom of the stack and apply the same normals on all instances when the operation is used. Also, it makes it way easier to remove auto smooth modifier if its no longer need, just uncheck the auto smooth checkbox like in 4.0.
I hope it will make the transition over to Blender 4.1 a bit smoother.
It can already be tested/download from the github-page
question, is it possible to access that Auto-Smooth button you created from a script? i have lots of scripts that apply auto-smooth from blender 4.0 and many other features to a selected mesh in one go, i would like to translate them to 4.1 with this add-on