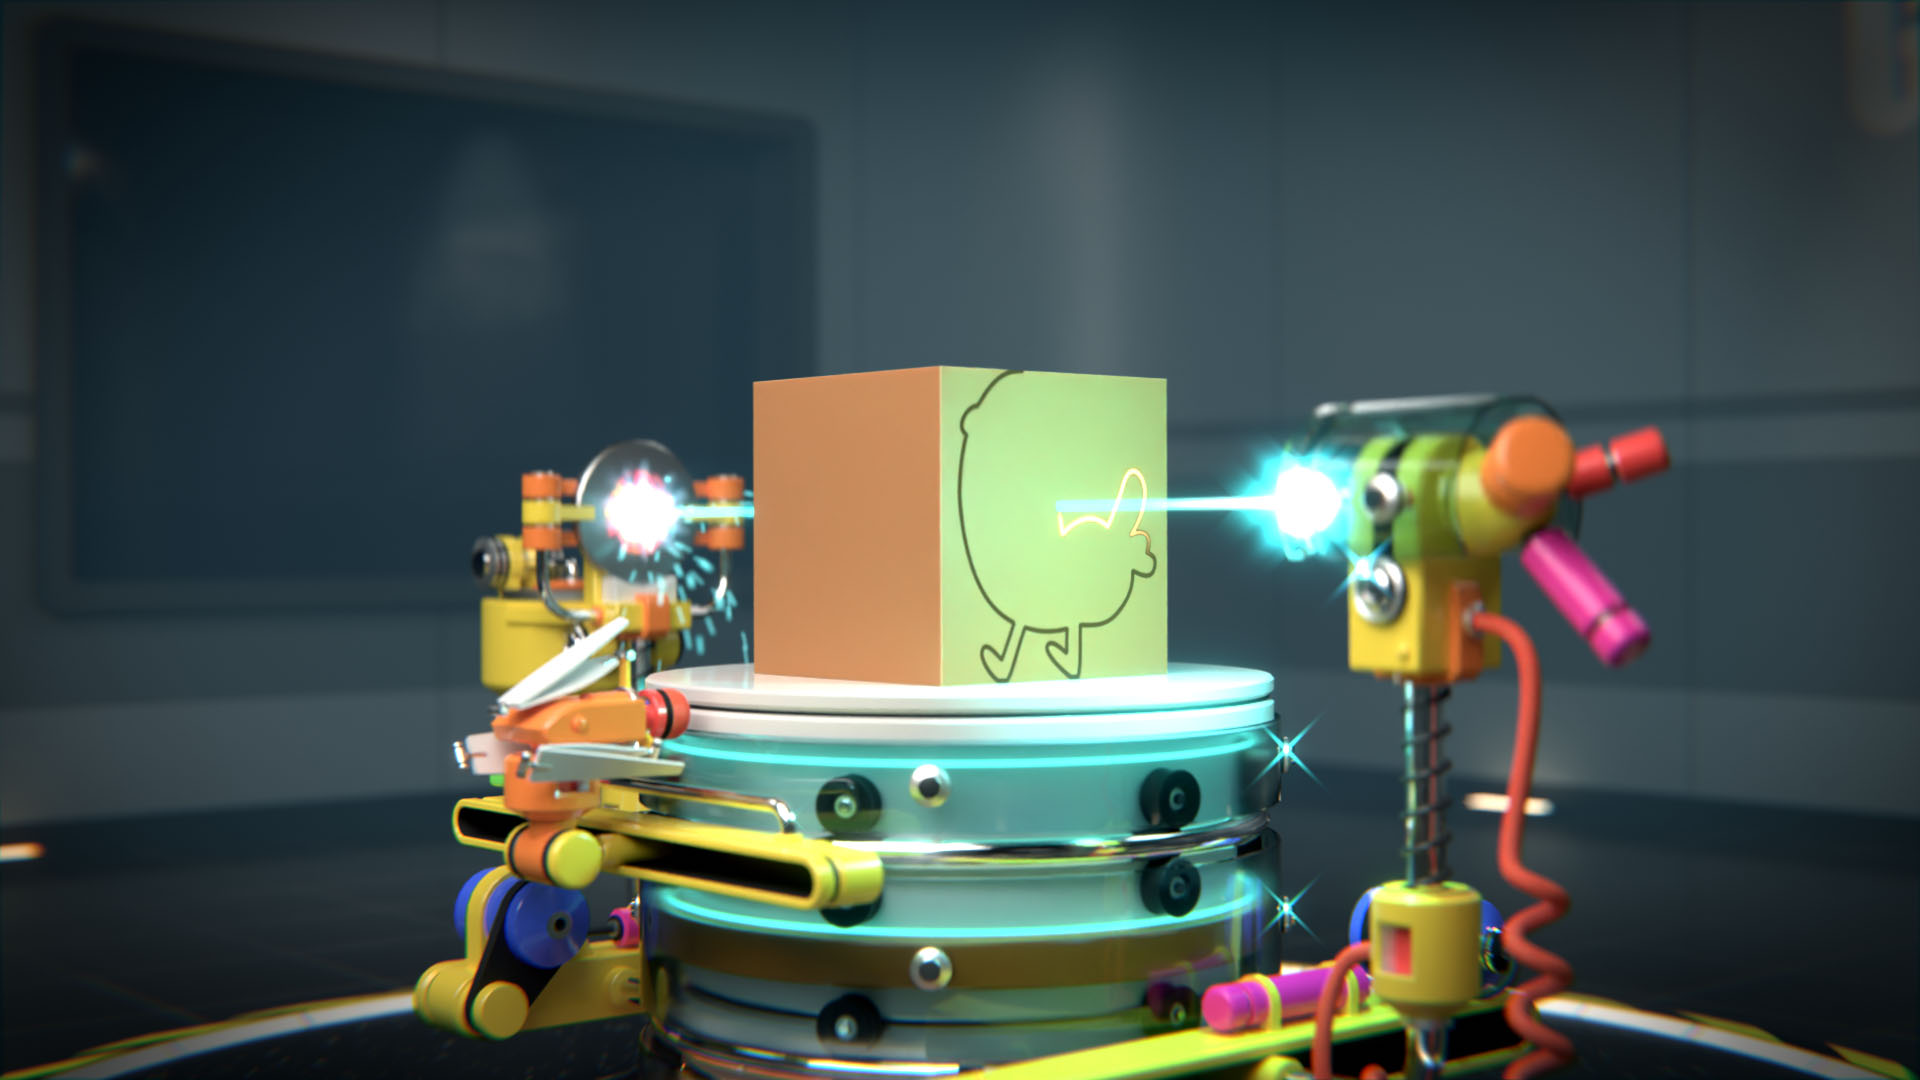
This is the finished version of my “laser cutter” project. While I rendered out the final over the course of a few days, I used a lower resolution test render to sync it with sound effects and some theatrical music. I’m happy with how it turned out - be sure to set it to loop!

This project was inspired by the many Blender animations I’ve seen over the years where a simple machine creates objects in an infinite loop. I wanted to make something like that, but my project grew in scope a number of times as I figured out what I actually wanted to make - and ended up taking a few weeks to finish. Originally, I’d hoped to get it done over the course of just a couple of days. ![]()
As I mentioned in the work-in-progress post, I utilized a number of techniques that I only had a passing familiarity with. I’m still no expert on these subjects, but I thought I’d elaborate a bit on them for anyone curious about how this was made:
Drivers & Constraints
Drivers were hugely important to this project. In this scene, I used them to aim the laser at an empty, and make sure that the different parts of the laser couldn’t push past their limits. I also used them to drive the Screw property on a Screw modifier, so the spring could expand and contract without being squished/stretched.
Dynamic Paint

I’d never used dynamic paint before this project, so it took some fiddling to understand the best approach. I used it for the laser cutting/drawing effect on the block. It mostly worked well, but I ran into two issues:
First, Blender would become unresponsive almost every time I rendered them, which was inconvenient, but it would always finish the render so it wasn’t too big of an issue as long as I remembered to save first.
Second, Dynamic Paint has a “Sub-Steps” setting so you can fill in the gaps between animation frames when your brush moves quickly - but this doesn’t work with certain types of configurations, like when you have a rig following an empty that is constrained to a path. So I had to duplicate my rig for Dynamic Paint into a new collection and render it at 1/6 the speed, and play it back at 6x speed, to make sure there were no gaps.
Smoke Simulation
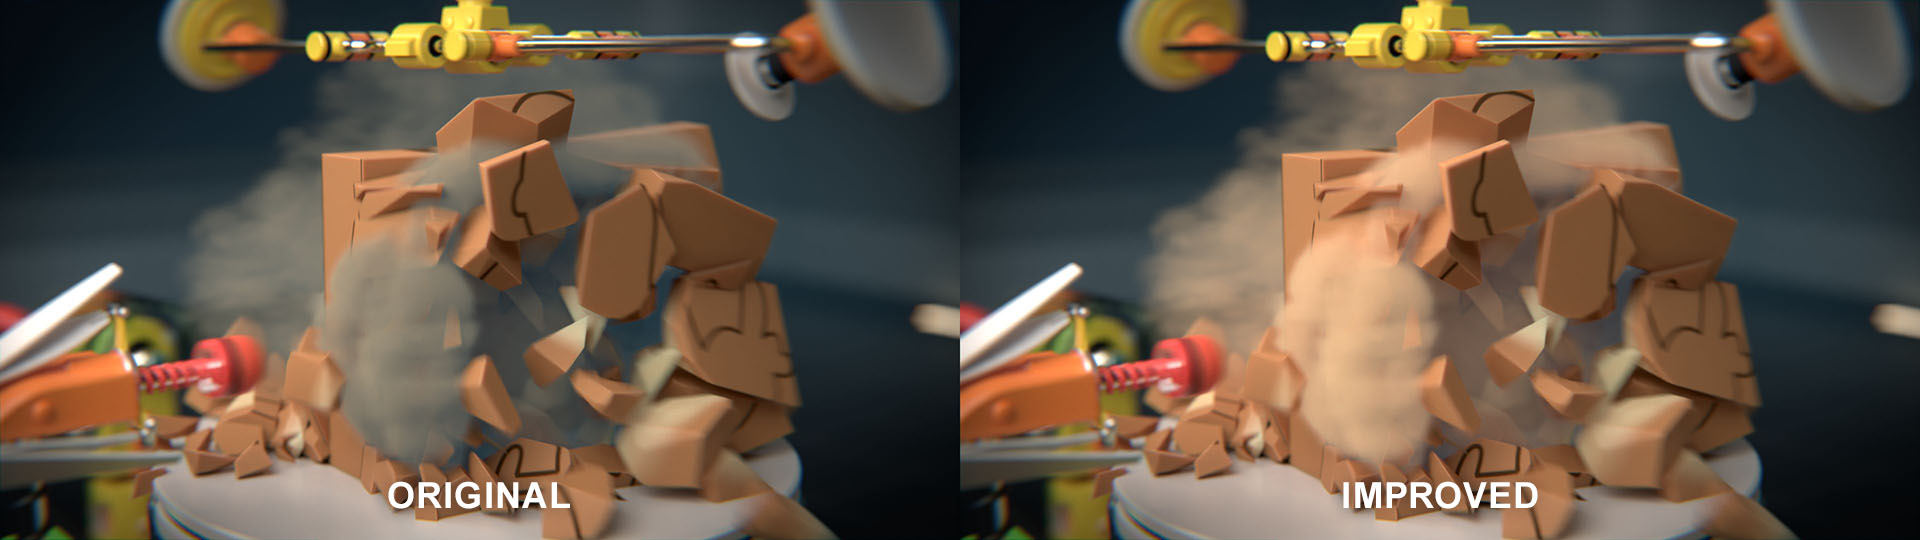
Creating smoke simulations in Blender is easy - but rendering them is hard. I wanted to use a smoke sim for smoke, steam, and dust, and each of these required some experimentation to get right.
I spent a lot of time pouring over Stack Exchange articles to try to figure out why my steam wouldn’t get bright, and this solution helped immensely. The biggest problem was basic: I never changed my light bounce settings, and so there wasn’t any light passing through my volumes to brighten them up. Changing this made a massive difference; up until this point, it was still set to the default of 0!
Rigid Body Physics
Used in conjunction with the Cell Fracture addon, it wasn’t too hard to break up the block and have it fall apart, but I ran into a lot of issues anyway: exploding objects from bad collisions, objects that were interacting with the simulation that shouldn’t have been (because I forgot to remove the rigid body physics from duplicated, invisible objects), stale scene data, and a number of crashes.
It took a long time to settle on the right size/method for the broken block. I ended up using the Grease Pencil to draw cracks on the blocks where they should break, and that gave me the best results.
I also went through multiple iterations of physics setups because the concavity of the final “dickbutt” shape gave me problems. Using multiple hidden physics objects, I was able to make an underlying shape that helped the broken parts of the block settle without exploding, but getting them out of that space as the animation went on led me to adding the fan to the probe, which I thought was a fun touch.
Compositing

Being a graphic artist, I’m a lot more at home with the compositor than I am with physics simulations. But it still takes some work to find a look for an animation like this that gives it some character without getting in the way of the action.
I used the compositor to do color correction, add two levels of glare, lens distortion/chromatic aberration, and a vignette. I also used a mist pass to give the scene some basic atmosphere. It made a big difference to how things look.
Addons: FLIP Fluids & Wiggle 2

The application of FLIP Fluids in this animation should be pretty obvious - when the machine pours goo into the clamps, that’s it. As with the other things I mentioned above, it took some tweaking until I got the settings just right and it filled the correct volume without seeping out at the seams. I wanted to find a way to get the surface to settle down a bit before the cube solidifies, but scaling the mesh that FLIP Fluids generates did not work correctly, and it didn’t seem too important to worry about in the end.
Originally, I wanted the liquid to be more viscous, almost like a jelly, but waiting for it to fill up extended the length of the animation too much for me. I wanted this animation to be balanced so that we didn’t spend 80% of the time watching the liquid pour and then only a little while for the rest of the process.
I used the Wiggle 2 addon to add a bit of jiggle to some of the machine’s extremities, and it is most visible in the curly red cord coming out of the back of the laser. It’s a subtle effect that adds to the authenticity of the scene.
Conclusion
The final video is 1,530 frames long and was rendered at 1080x1920 on a single RTX 3090, and took about 12-15 hours to render over the course of three days. I synced it to sound effects and music in Adobe Premiere, with a small assist here and there from Adobe Audition. The sound effects and music are licensed from Sound Ideas and Marmoset Music.
This project took me around 3-4 weeks of work, but probably would have taken only a week or two if I had known what I wanted to make from the start. This was a complicated project that grew well beyond what I had originally wanted to make by about 4-5 times. I’m happy with the results, but I’m also looking forward to getting back to simpler stuff for now. ![]()