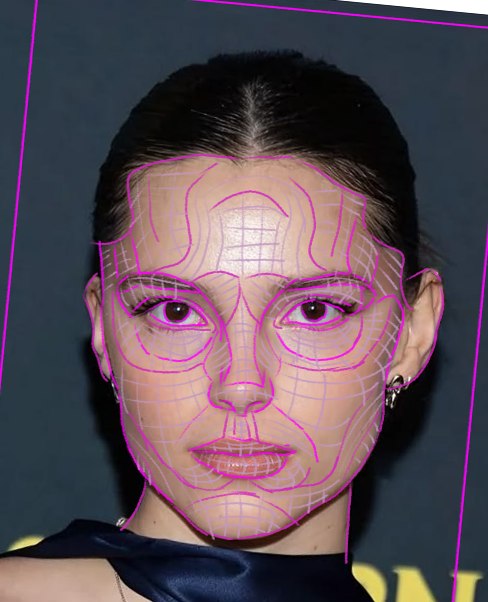
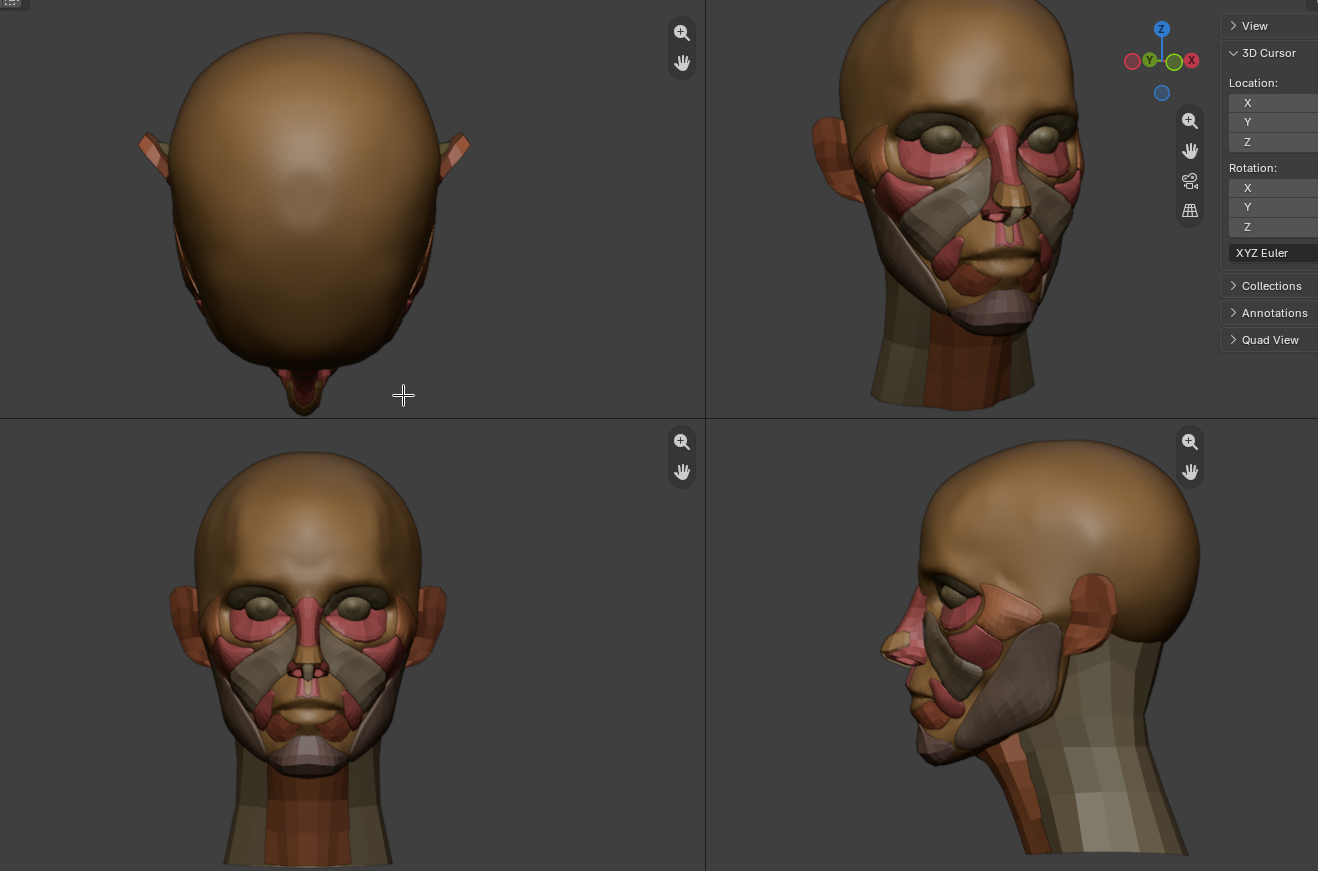
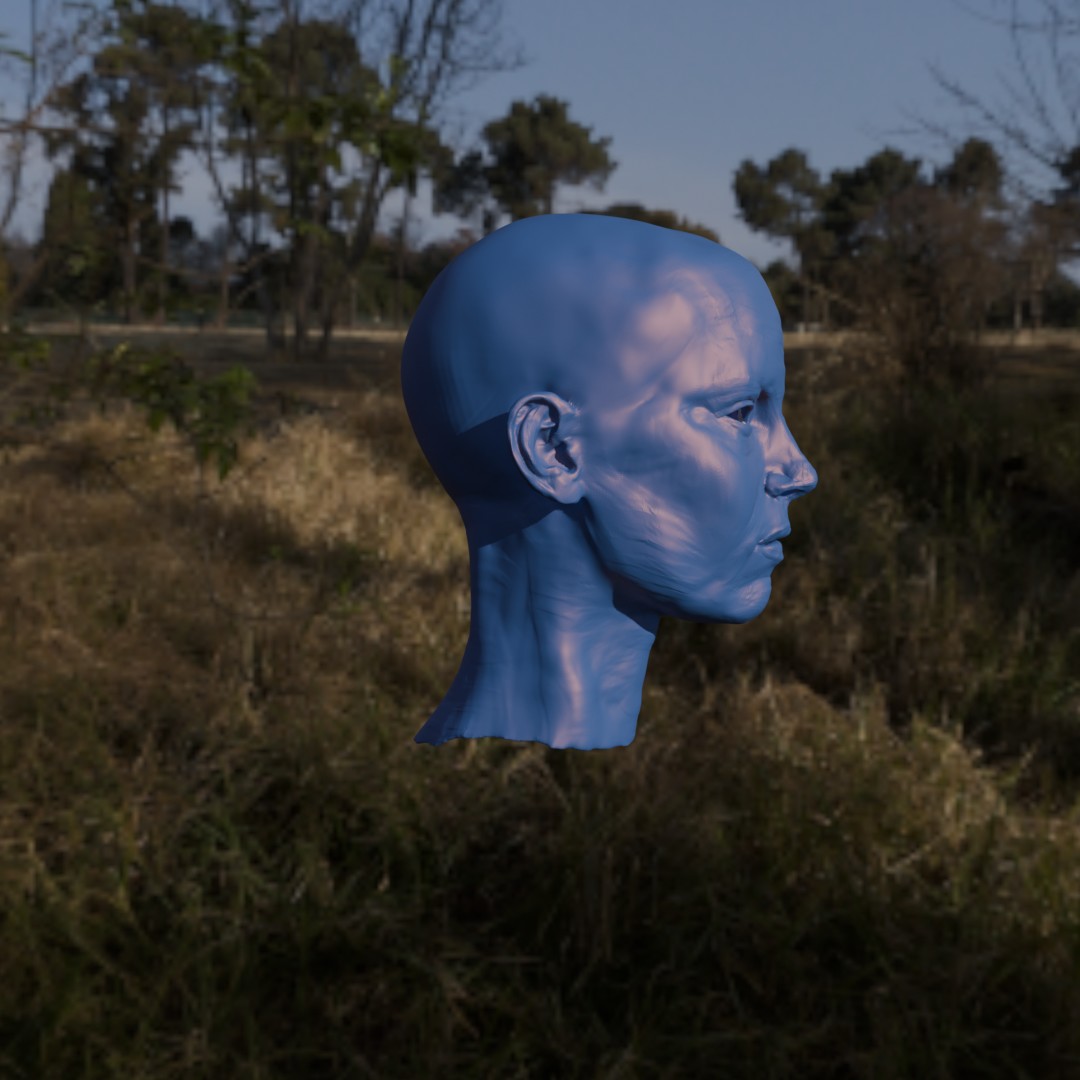
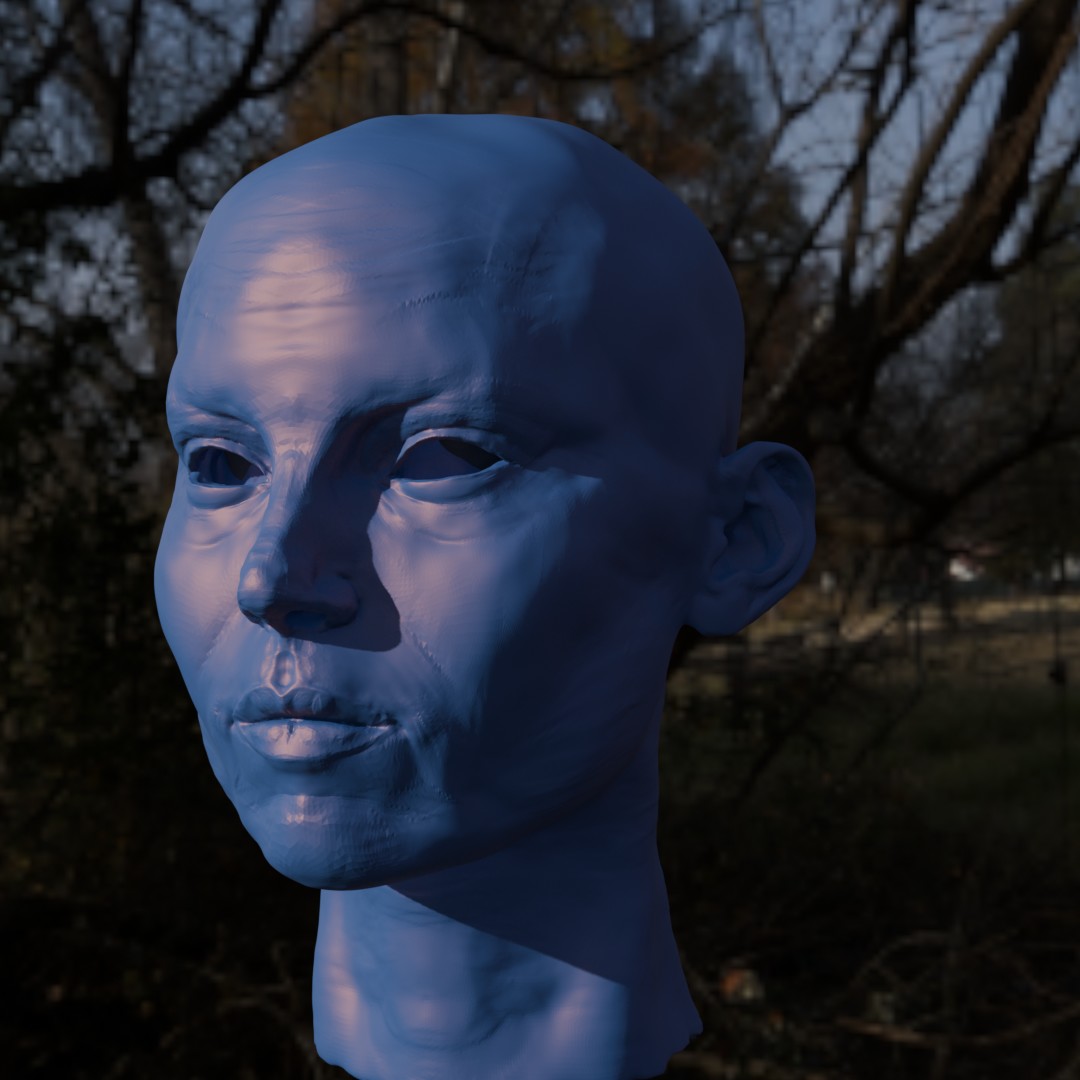
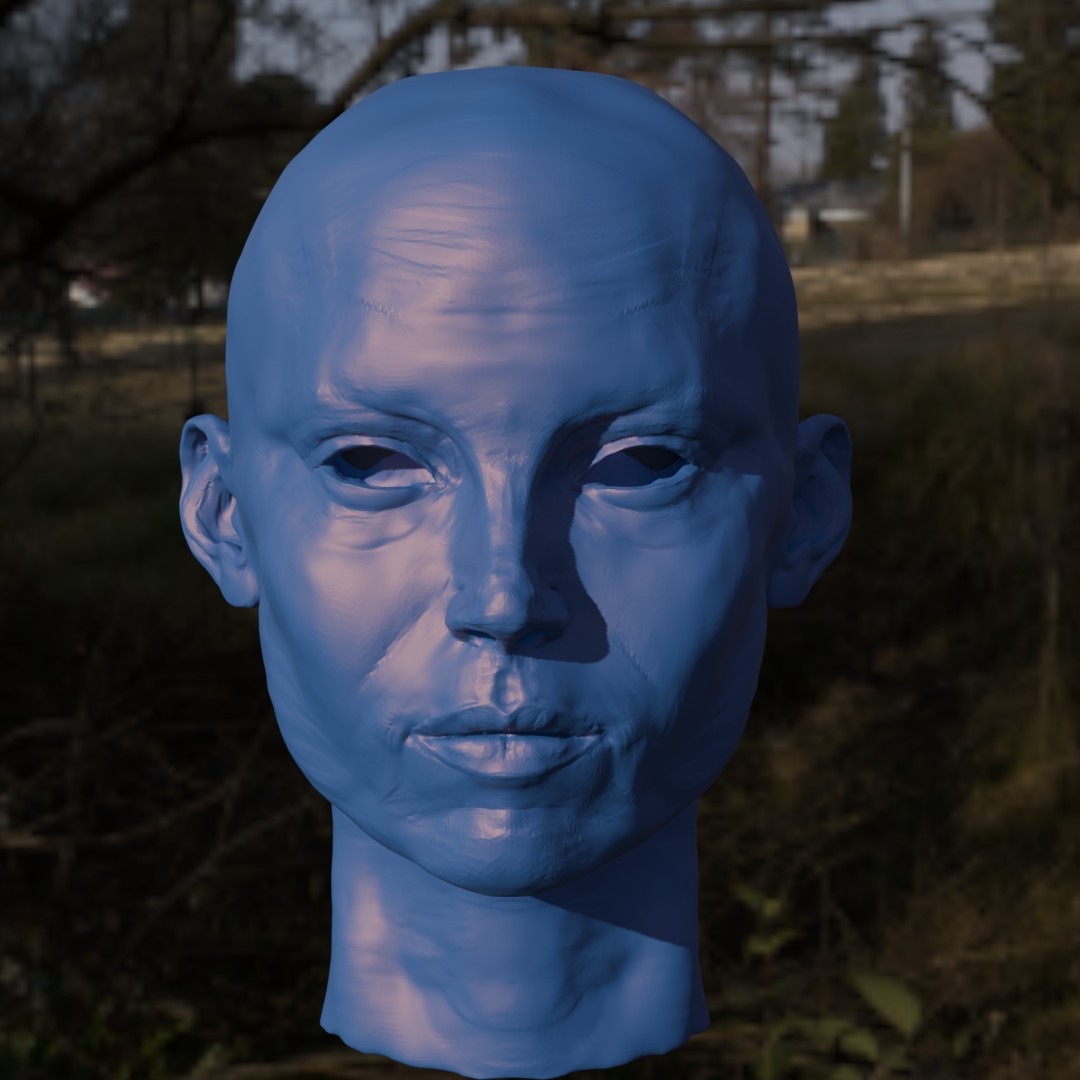
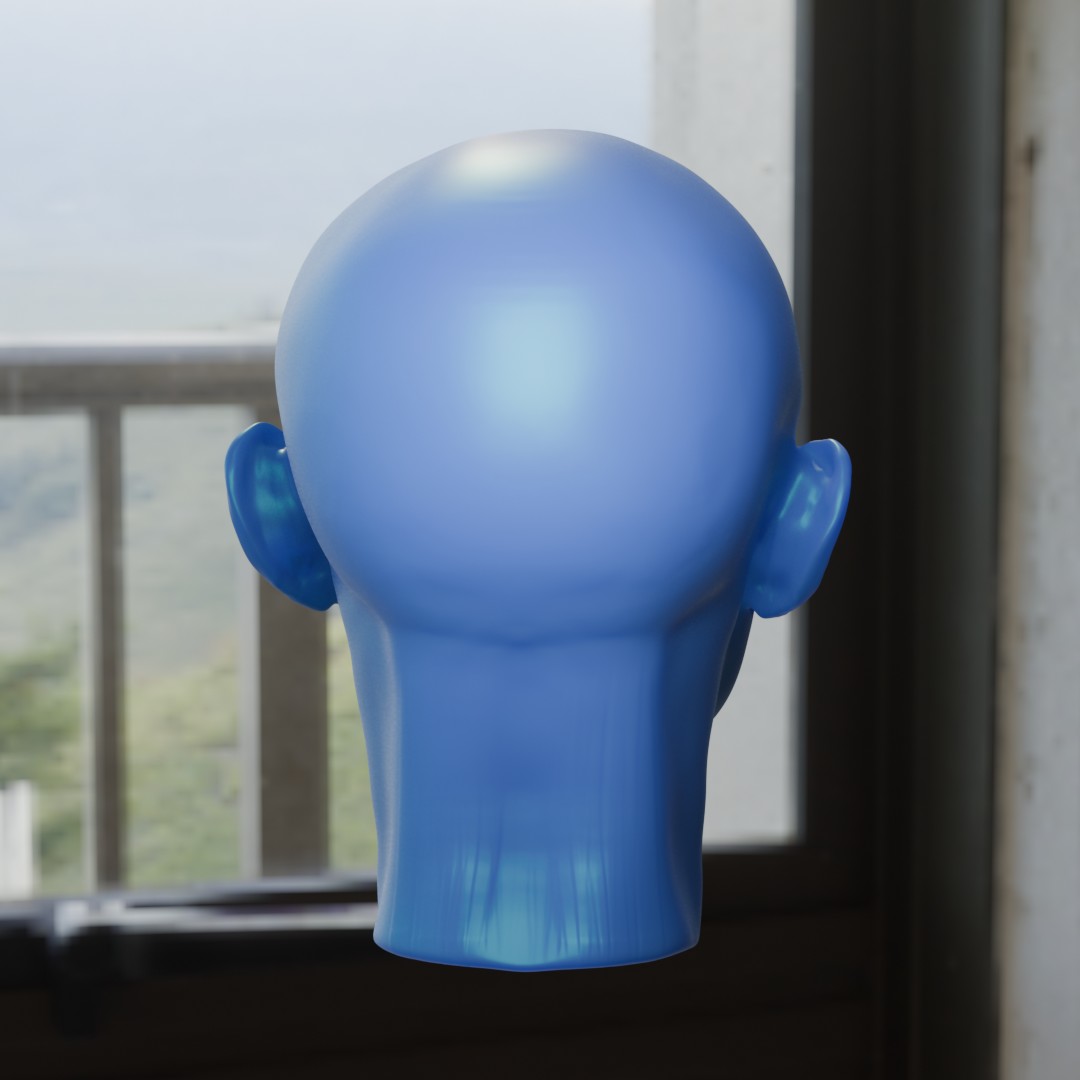
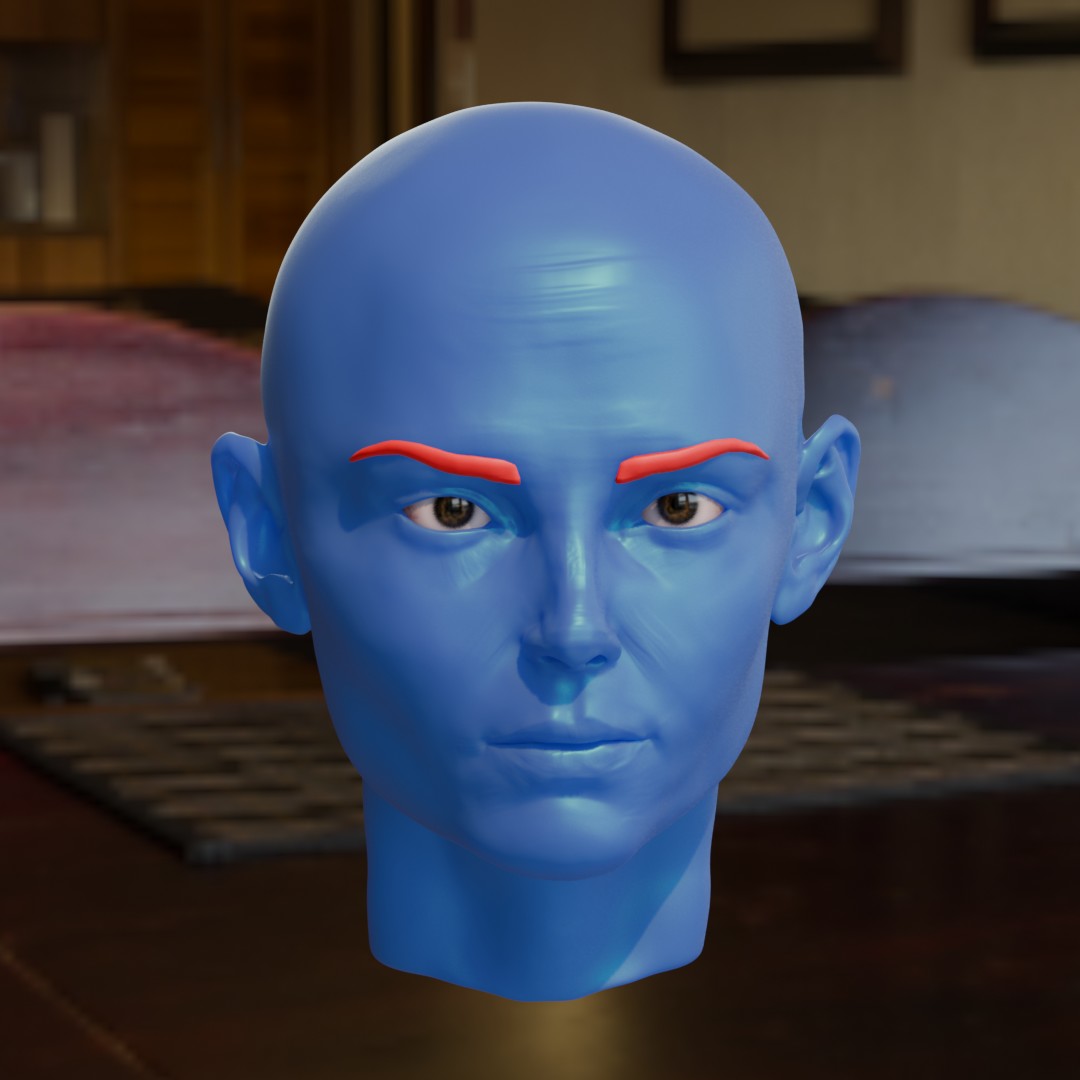
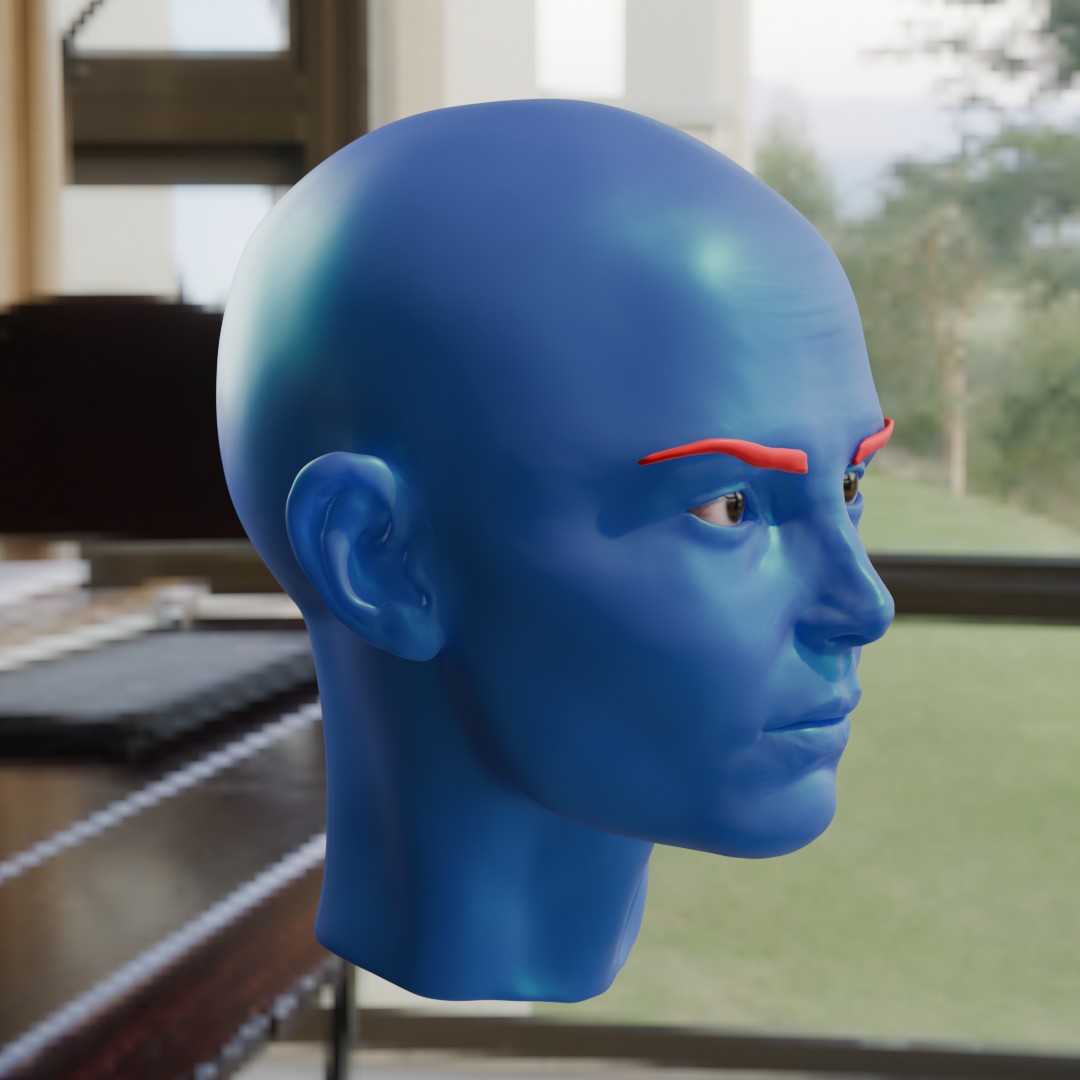
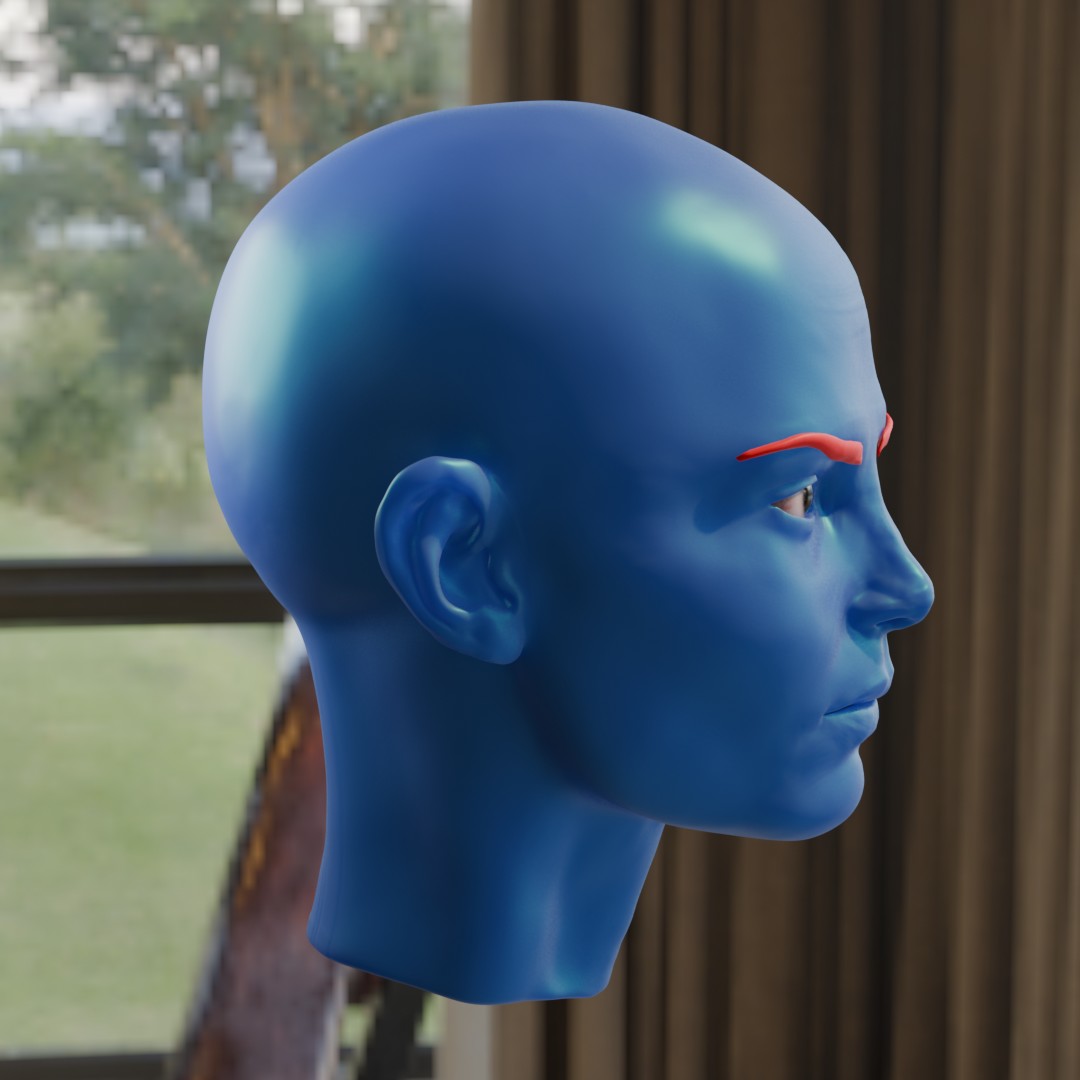
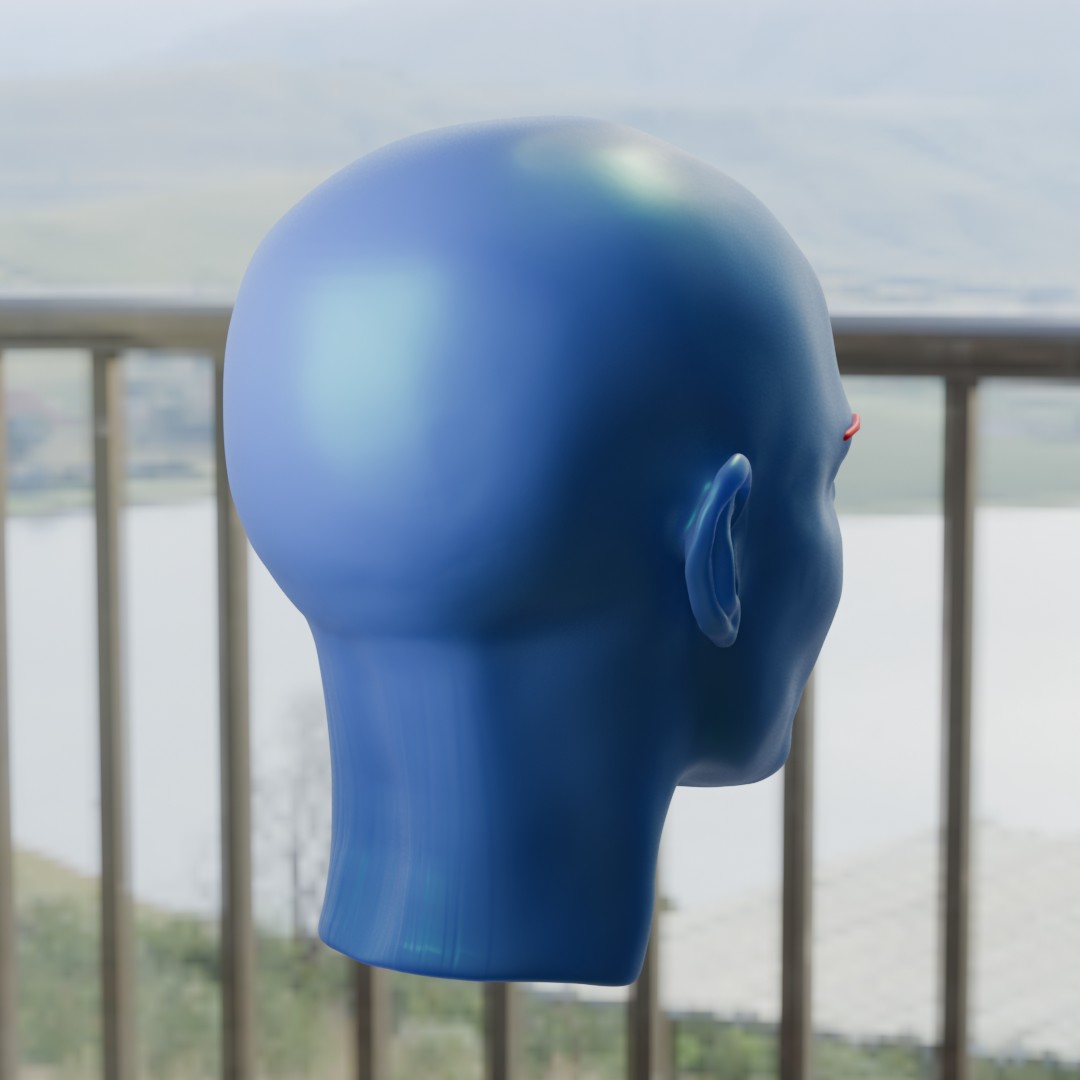
The goal here is to do multiple likeness without pore level details. Ideally they take less time I can do more to improve over time.
Im starting with Freaky Nicky or Inde Navarrette. I haven’t found a dead on front view with her hair like this so I can’t really judge her ear splay accurately.
Haven’t been feeling good so haven’t worked on this for awhile. Most fat pad are placed now. The mandible fat pad is simplified into one mass rather than three.
The next big question is how to merge all these parts into one mesh? Individually or all at once with a tiny voxel size?
3 Likes
MichaelColina
(The "Mr. Polygon Punisher" is your)
5
Well, not “tiny” literally, otherwise you gonna crash or leave blender on hang LMAO…
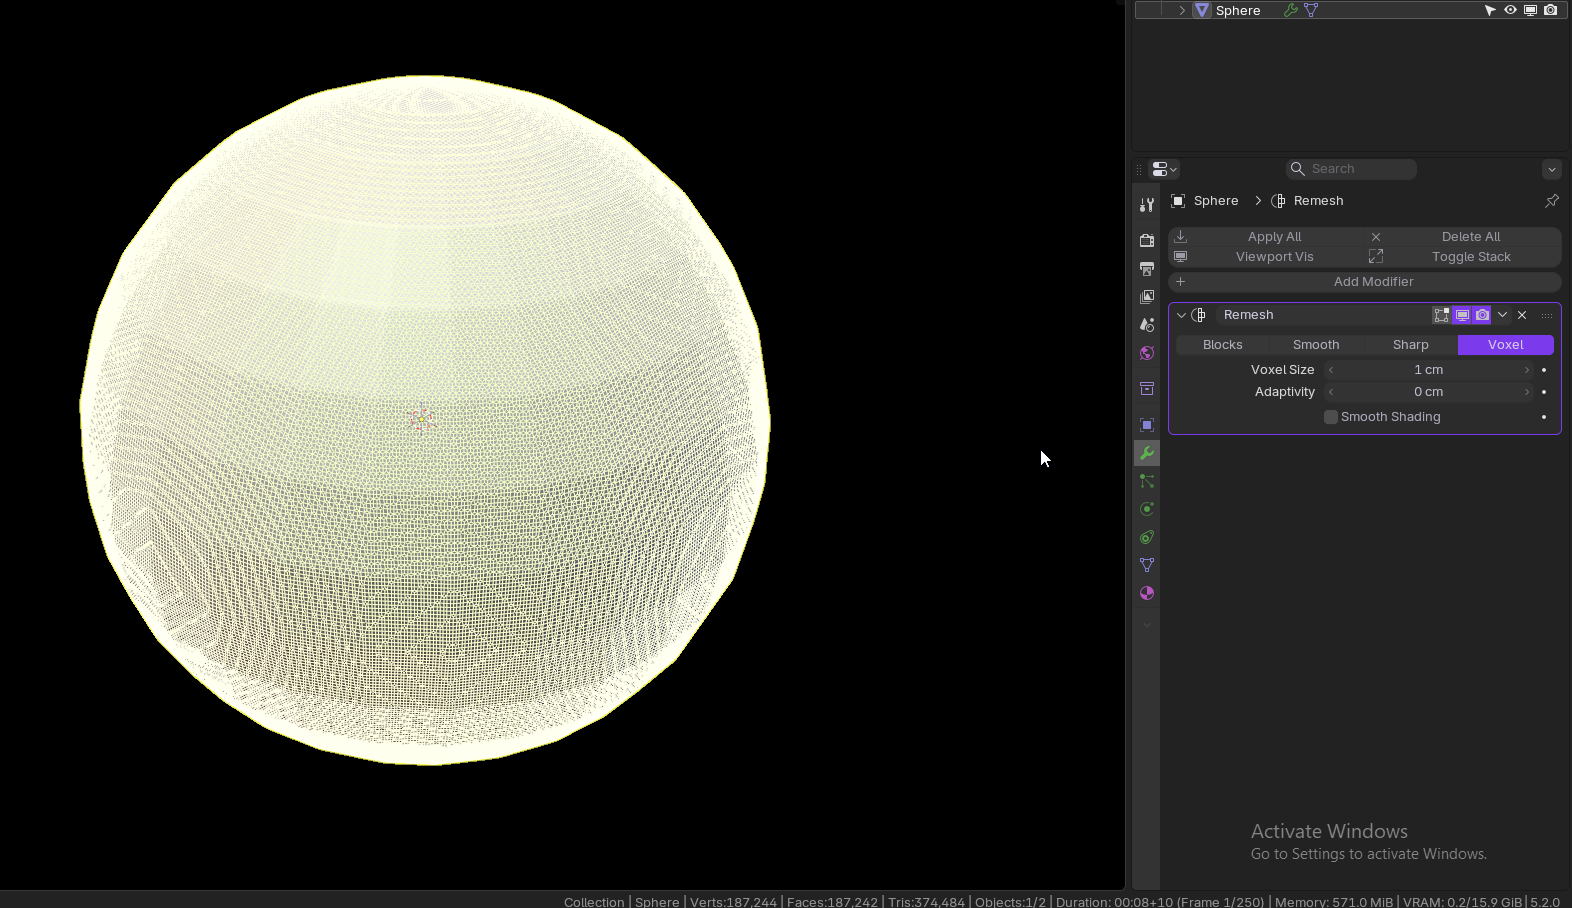
Anyways as how to do it, first make sure every muscle element you added is watertight (closed manifold meshes) and add voxel size starting from 1 cm and decrements on that starting from of 0.1 to 0.05 depending how low size (big density) you wanna go.
Thank you so much. Wasn’t sure if the likeness was coming through since I have not done any image matching yet. The idea is sort of a combination of Uldris Zarin anatomy books, what Ive learned from Ryan kingsliens course, and George Zakys block ins. I also simplified the lower jaw flat pad into one shape for ease of find the form. I may simply this technique further when I understand the fat pads more.
I have two videos Im working for the eyelids and ears to show how I did it.
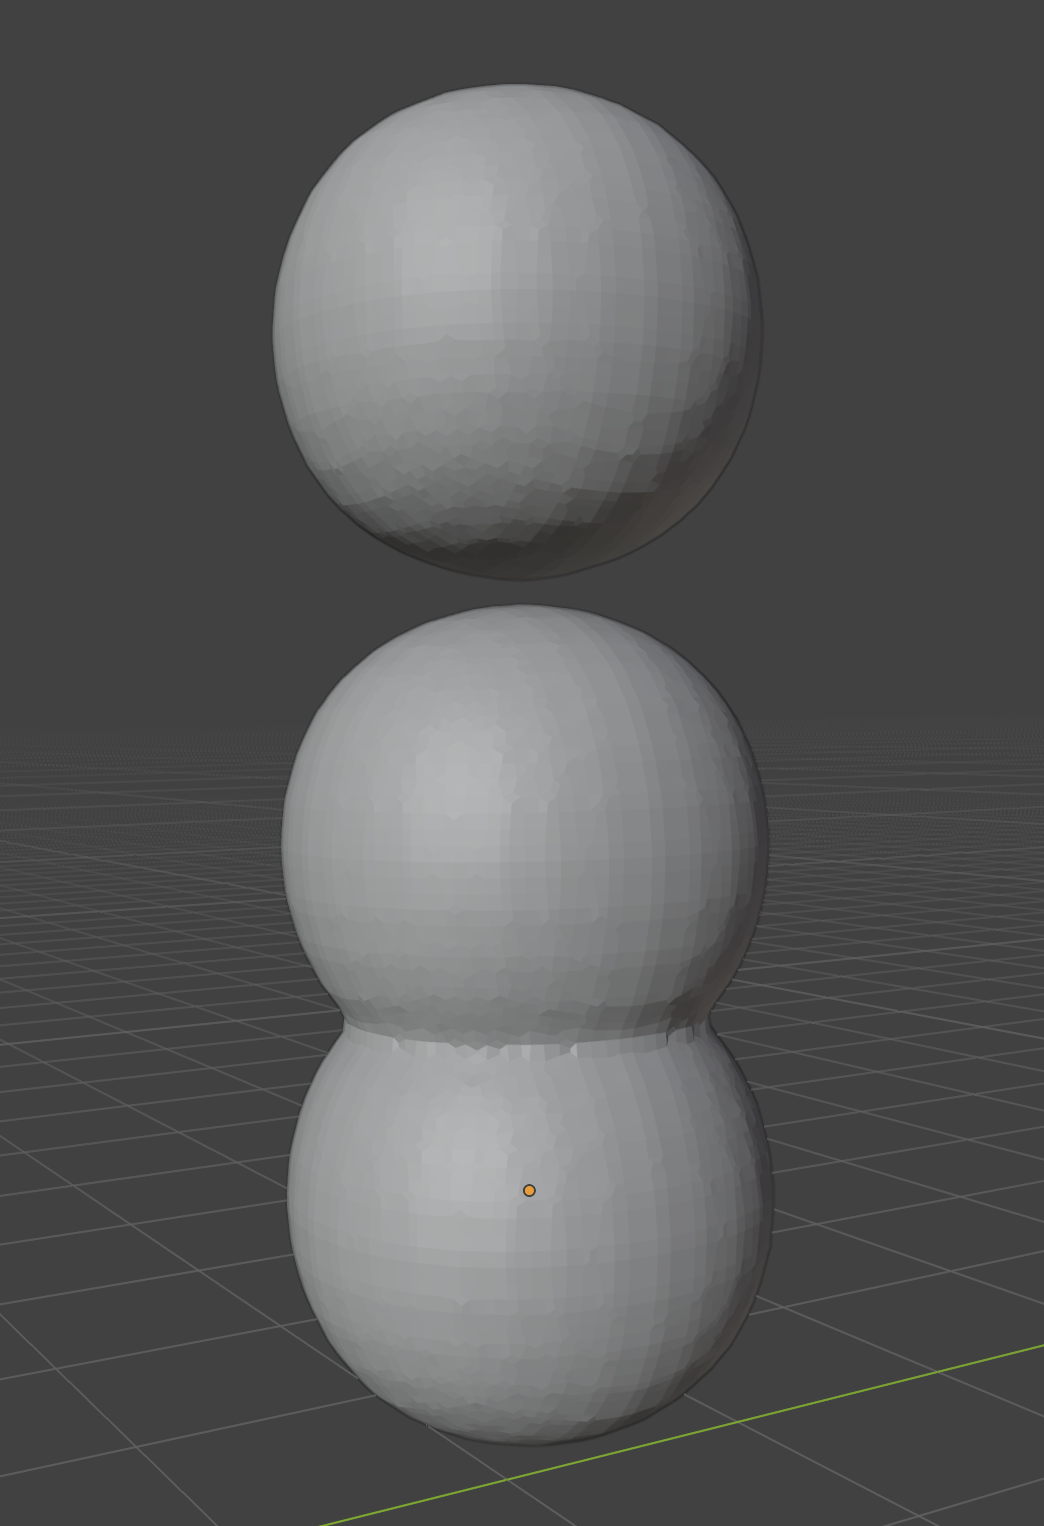
the gap between the top there would create a hollow space somewhere in the mesh, while the bottom two elements intersect and become one mesh when voxel remeshing.
This isn’t as big of a deal though, after you apply the remesh, you can just select a vertex on the outside, press ctrl+L to select all linked, then ctrl + i to invert, and finally, x to delete any floating interior islands/elements if they occur.
Excellent work so far by the way, keep it up!
1 Like
MichaelColina
(The "Mr. Polygon Punisher" is your)
10
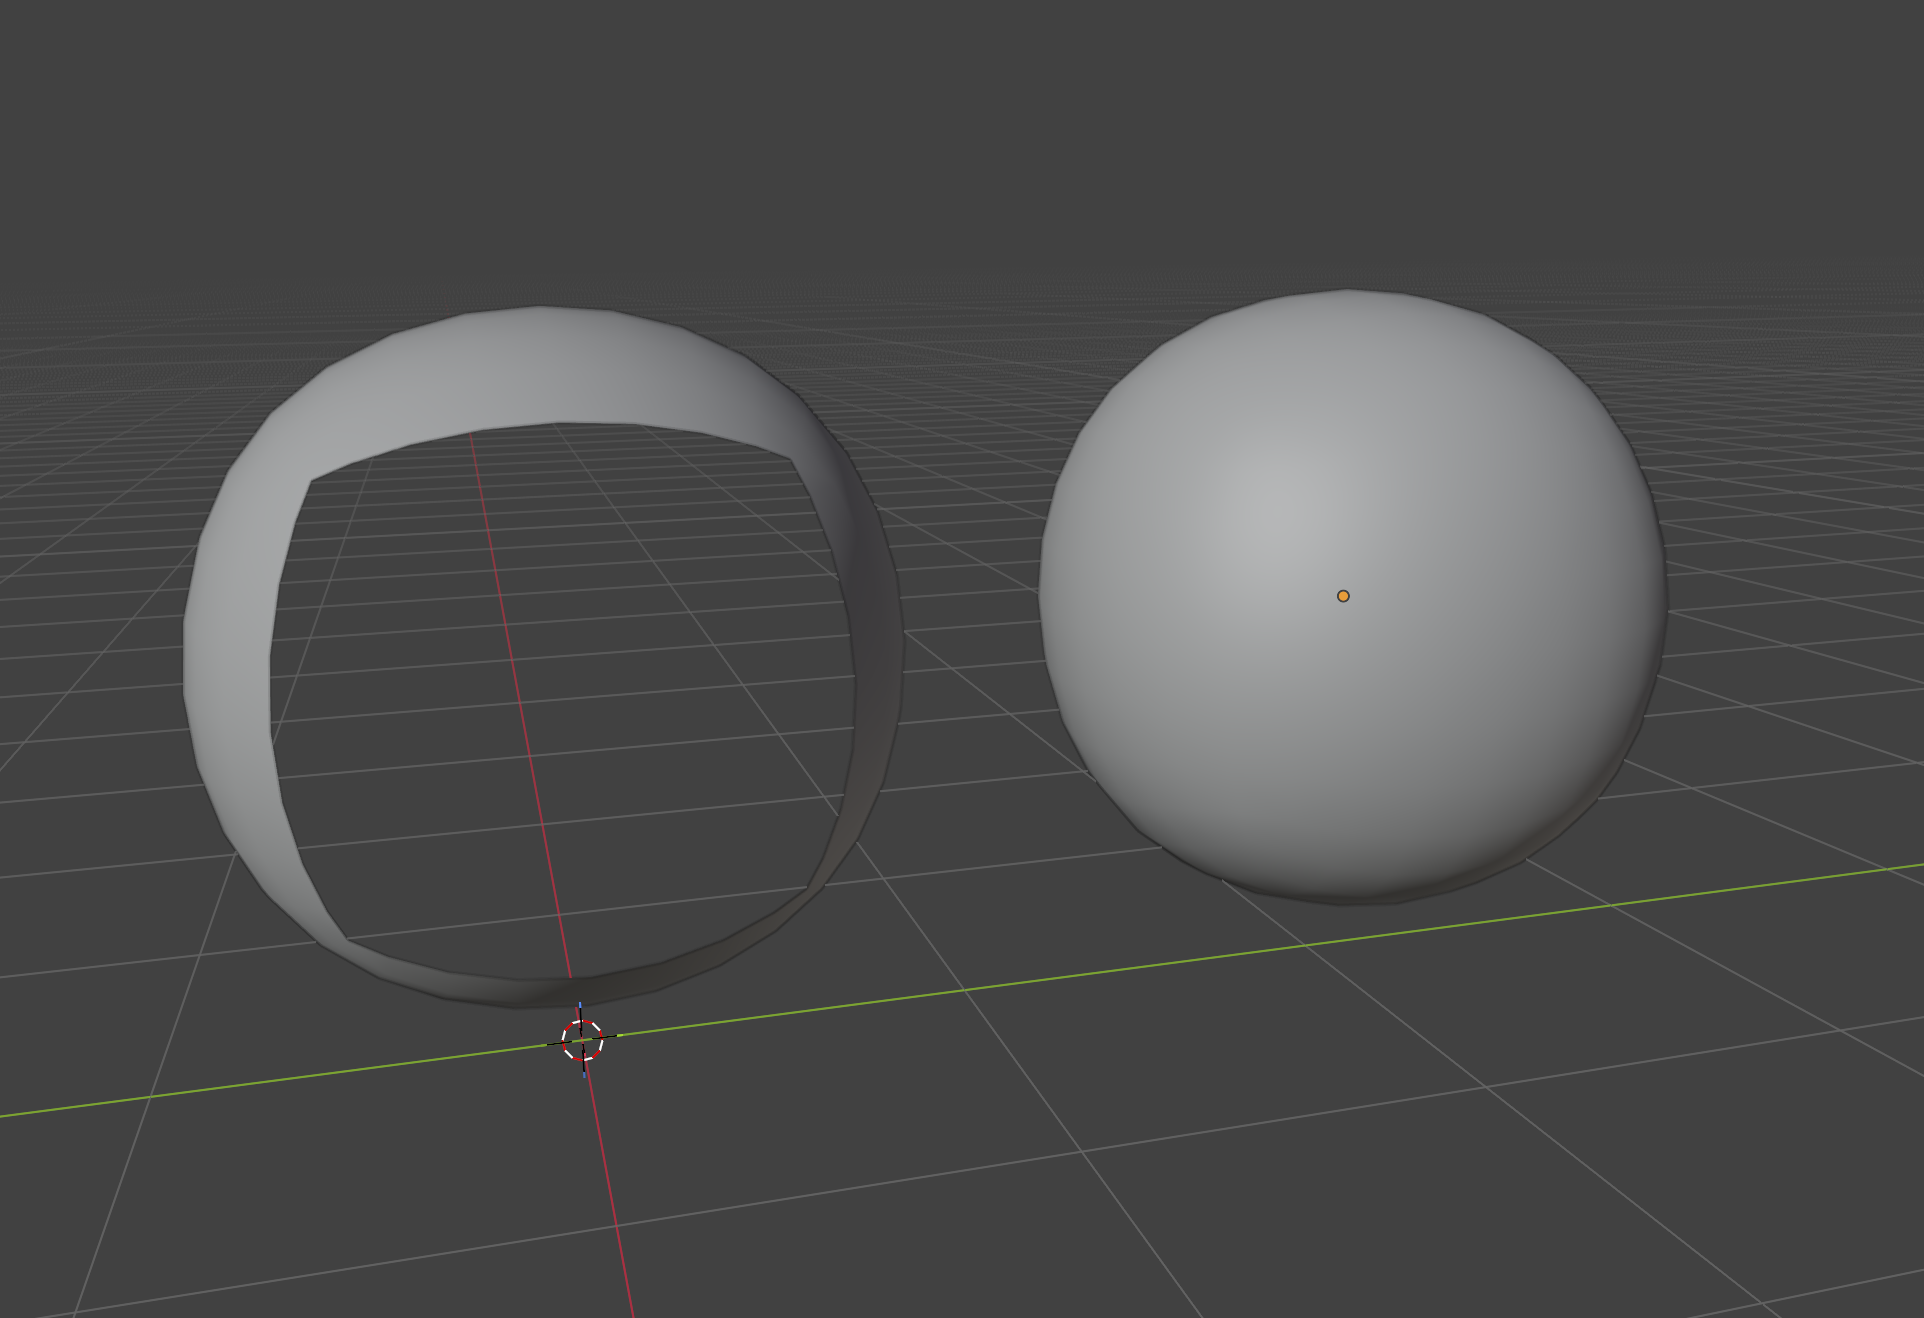
Essentially a plane/grid is non-manifold because has open boundaries, whereas for example a cube, sphere, cylinder by default are closed meshes therefore no open boundaries or any kind of holes inside it.
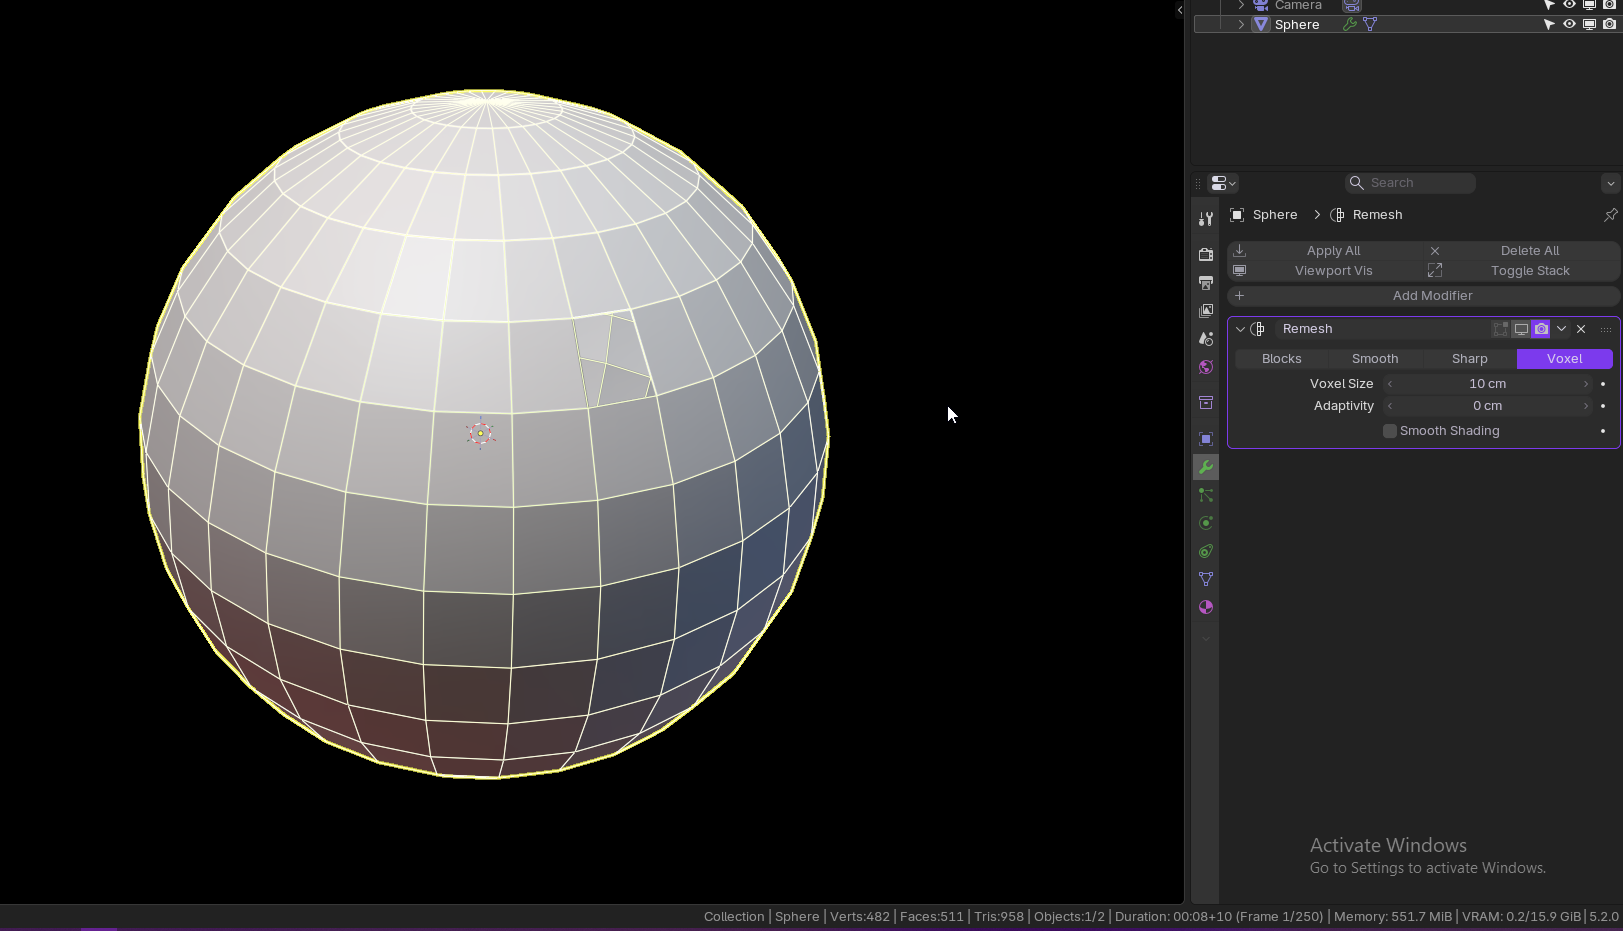
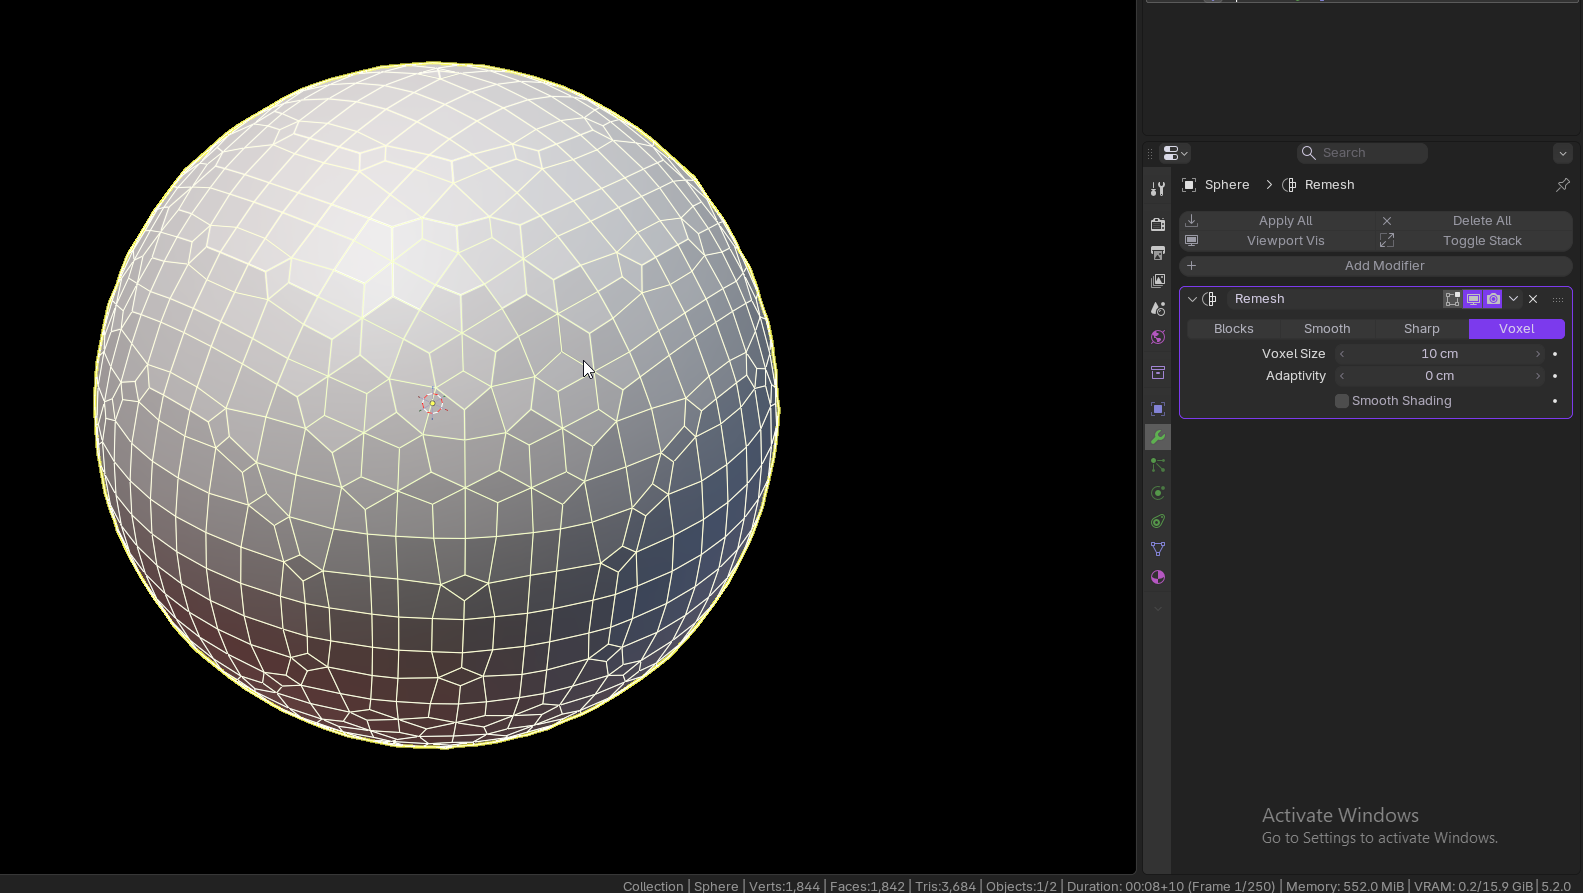
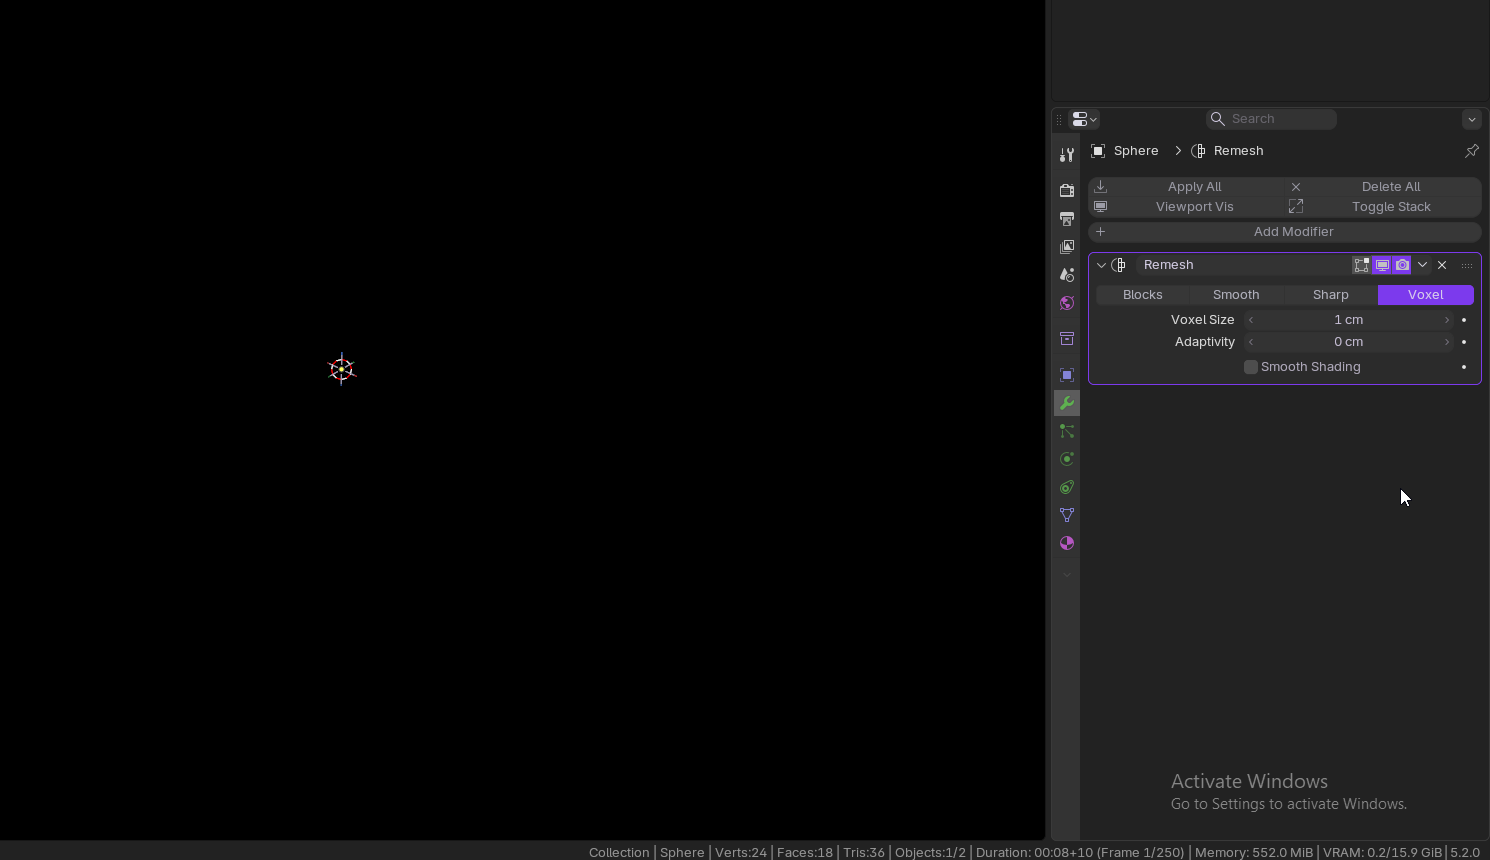
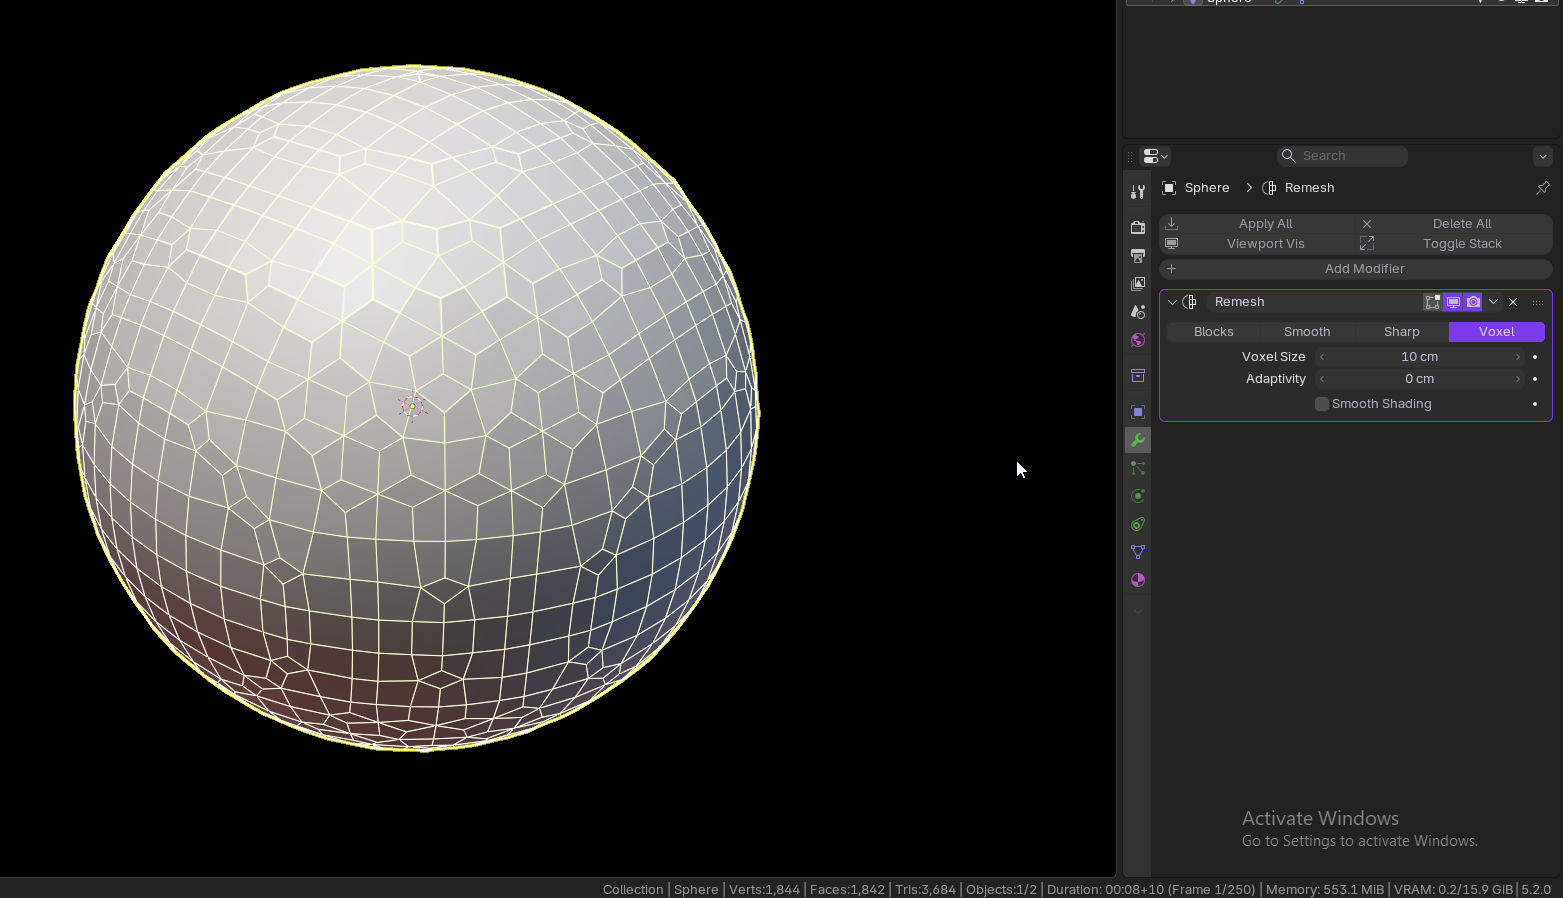
Example of how this affects a uv sphere with a single face removed to make a hole and another uv sphere without it, notice that the 10 cm of voxel size in this case it still works because the voxel size is very high and basically merges and disappears the small hole in the resulting remesh. Whereas with 1 cm of voxel size it disappears mesh completely because the remesh algorithm failed to merge that small hole around the grid volume, meanwhile with the watertight/closed/manifold mesh always works.
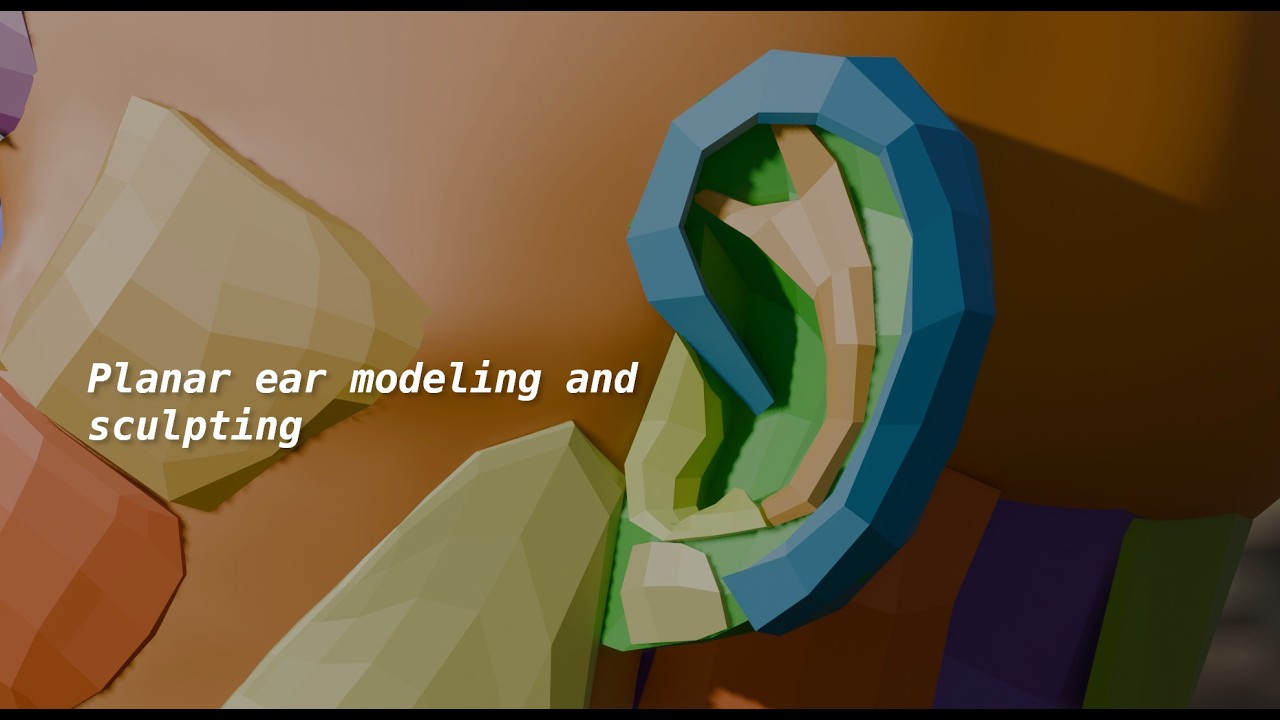
How I made the eyelid. I have a video for the ears I will upload later.
The merge worked at .01 m. 200 polys. I than have been using dynotop to add resolution where neeed. However the brush size version doesn’t seem to delete geo when I make the brush larger.
Also clay brush is way to strong. It obleterates detail. Lower autosmooth helps a little but would be nice if it added thin sheets of form that blender lines subtlely.
Starting to camera match. I am using a track to constraint for easier rotation of the camera, however I was wonder if there was a way to maintain frame size of the model while changing camera focal length. Automatically ideally with constraints. The effect is called a Dolly Zoom.
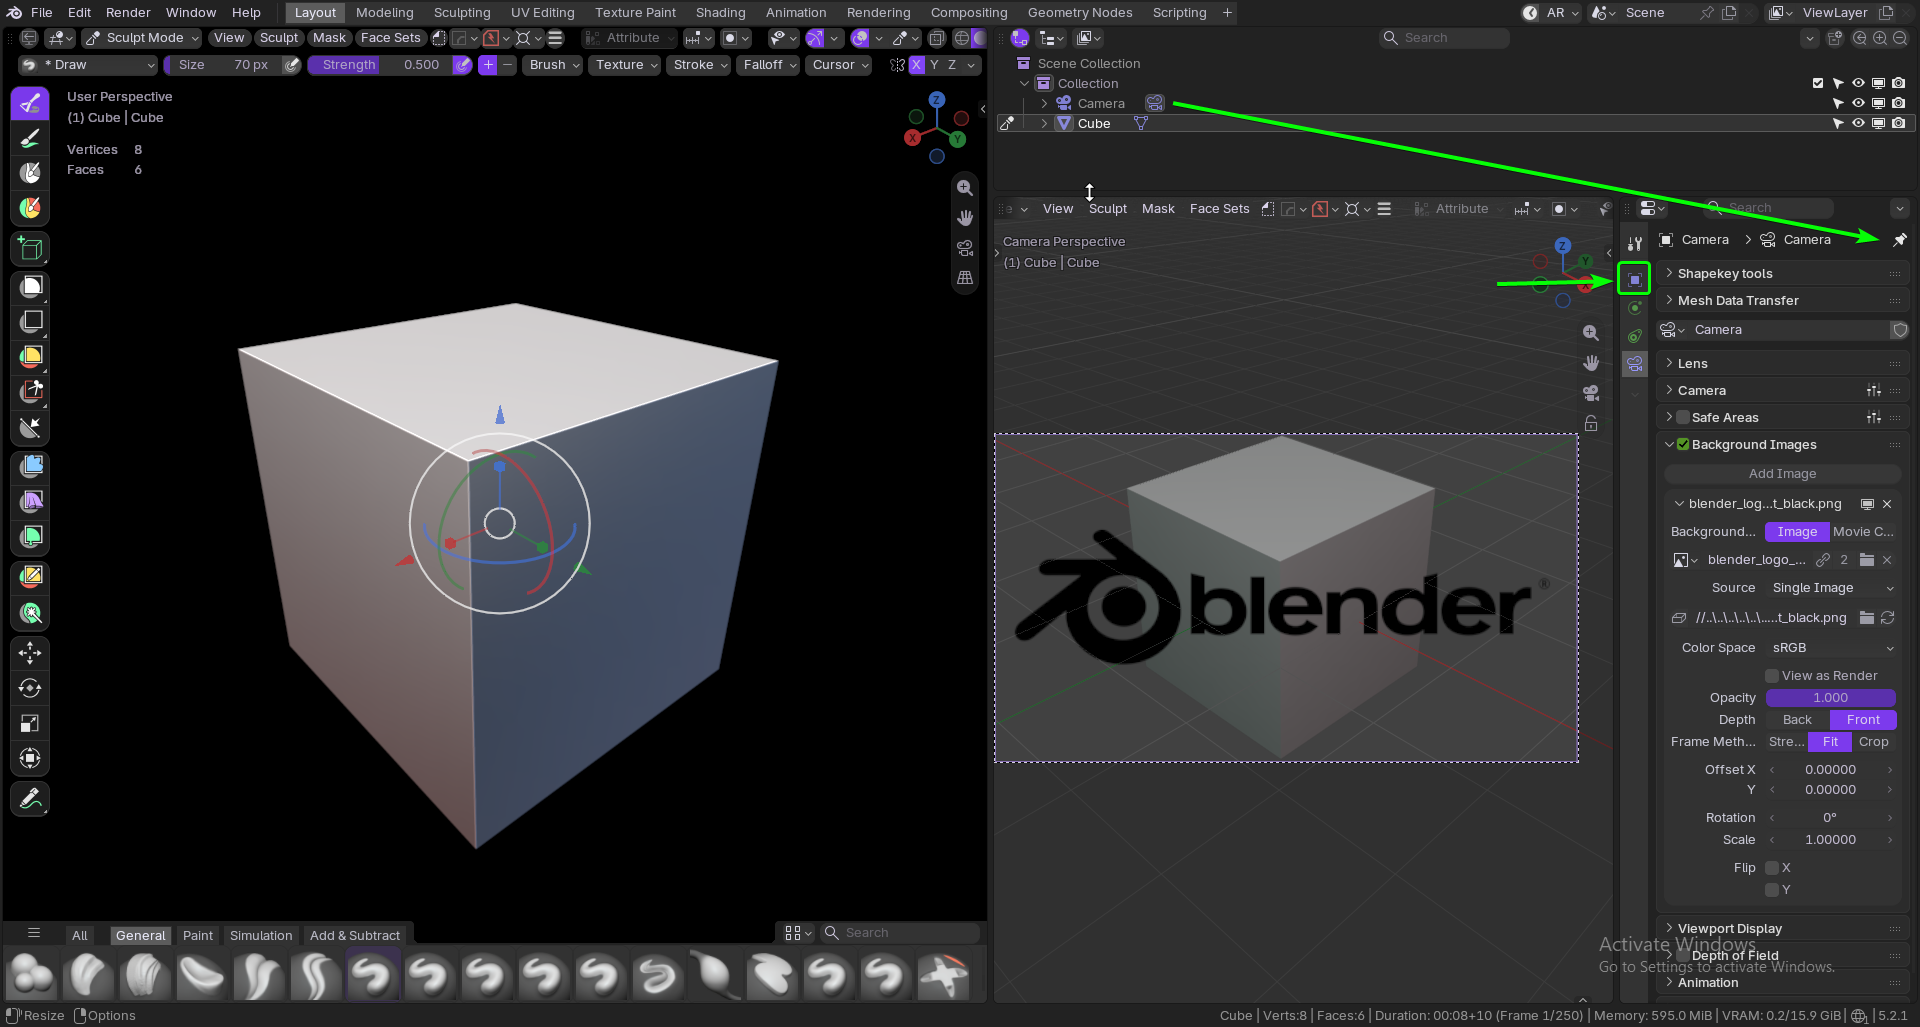
Is there a way of accessing the camera background image properties while in sculpting mode? This would really help with refining form. I currently have to exit sculpt mode, select a camera in object mode make the adjustments to opacity than go back to sculpting. Its very slow for something I want to function like manual onion skinning. A fast flash of of the full opacity image than seeing the differences at half opacity in a like a second or so.
Ive been investigate the dolly zoom, gitlab has one on it but its discontinued. There is a 5 dollar add on which im probably going to get on superhive which allows you adjust a slider for the focal point while maintaining framing. Its not animation based which would be another way which would be somewhat easy if I weren’t doing quarter views. The math for the xyz values get tricky when you move depth wise at a quarter view.
A video on the ear sculpt
1 Like
MichaelColina
(The "Mr. Polygon Punisher" is your)
14
This is possible by splitting the window area and pinning the camera object (select the camera, open the object properties if you want to keep open the other 3 related object properties, OR just have the data properties (camera icon) open and then click in the pin button)
That layout could work too. Havenlty thought about it that way. But yeah those properties on the right are the stuff I want. What exactly does pinning do? Never used that feature before.
1 Like
MichaelColina
(The "Mr. Polygon Punisher" is your)
16
Pins the properties from a selected object (the camera) while allowing you to enter modes and edit other object without seeing the camera or else object properties gone or synced with other selected objects in this case the mesh you are editing.
I havent tried this myself, but I imagine you could hijack the timeline for that maybe? keyframe 0 = 0 opacity, keyframe 100 = 100, with a linear interpolate, just click where you want on the timeline or press spacebar to let it play out and increase the opacity?
1 Like
MichaelColina
(The "Mr. Polygon Punisher" is your)
19
Indeed thats possible with most sliders/toggle buttons, you can animate also all of them in Blender, for other software likely you have to do scripting to workaround that.