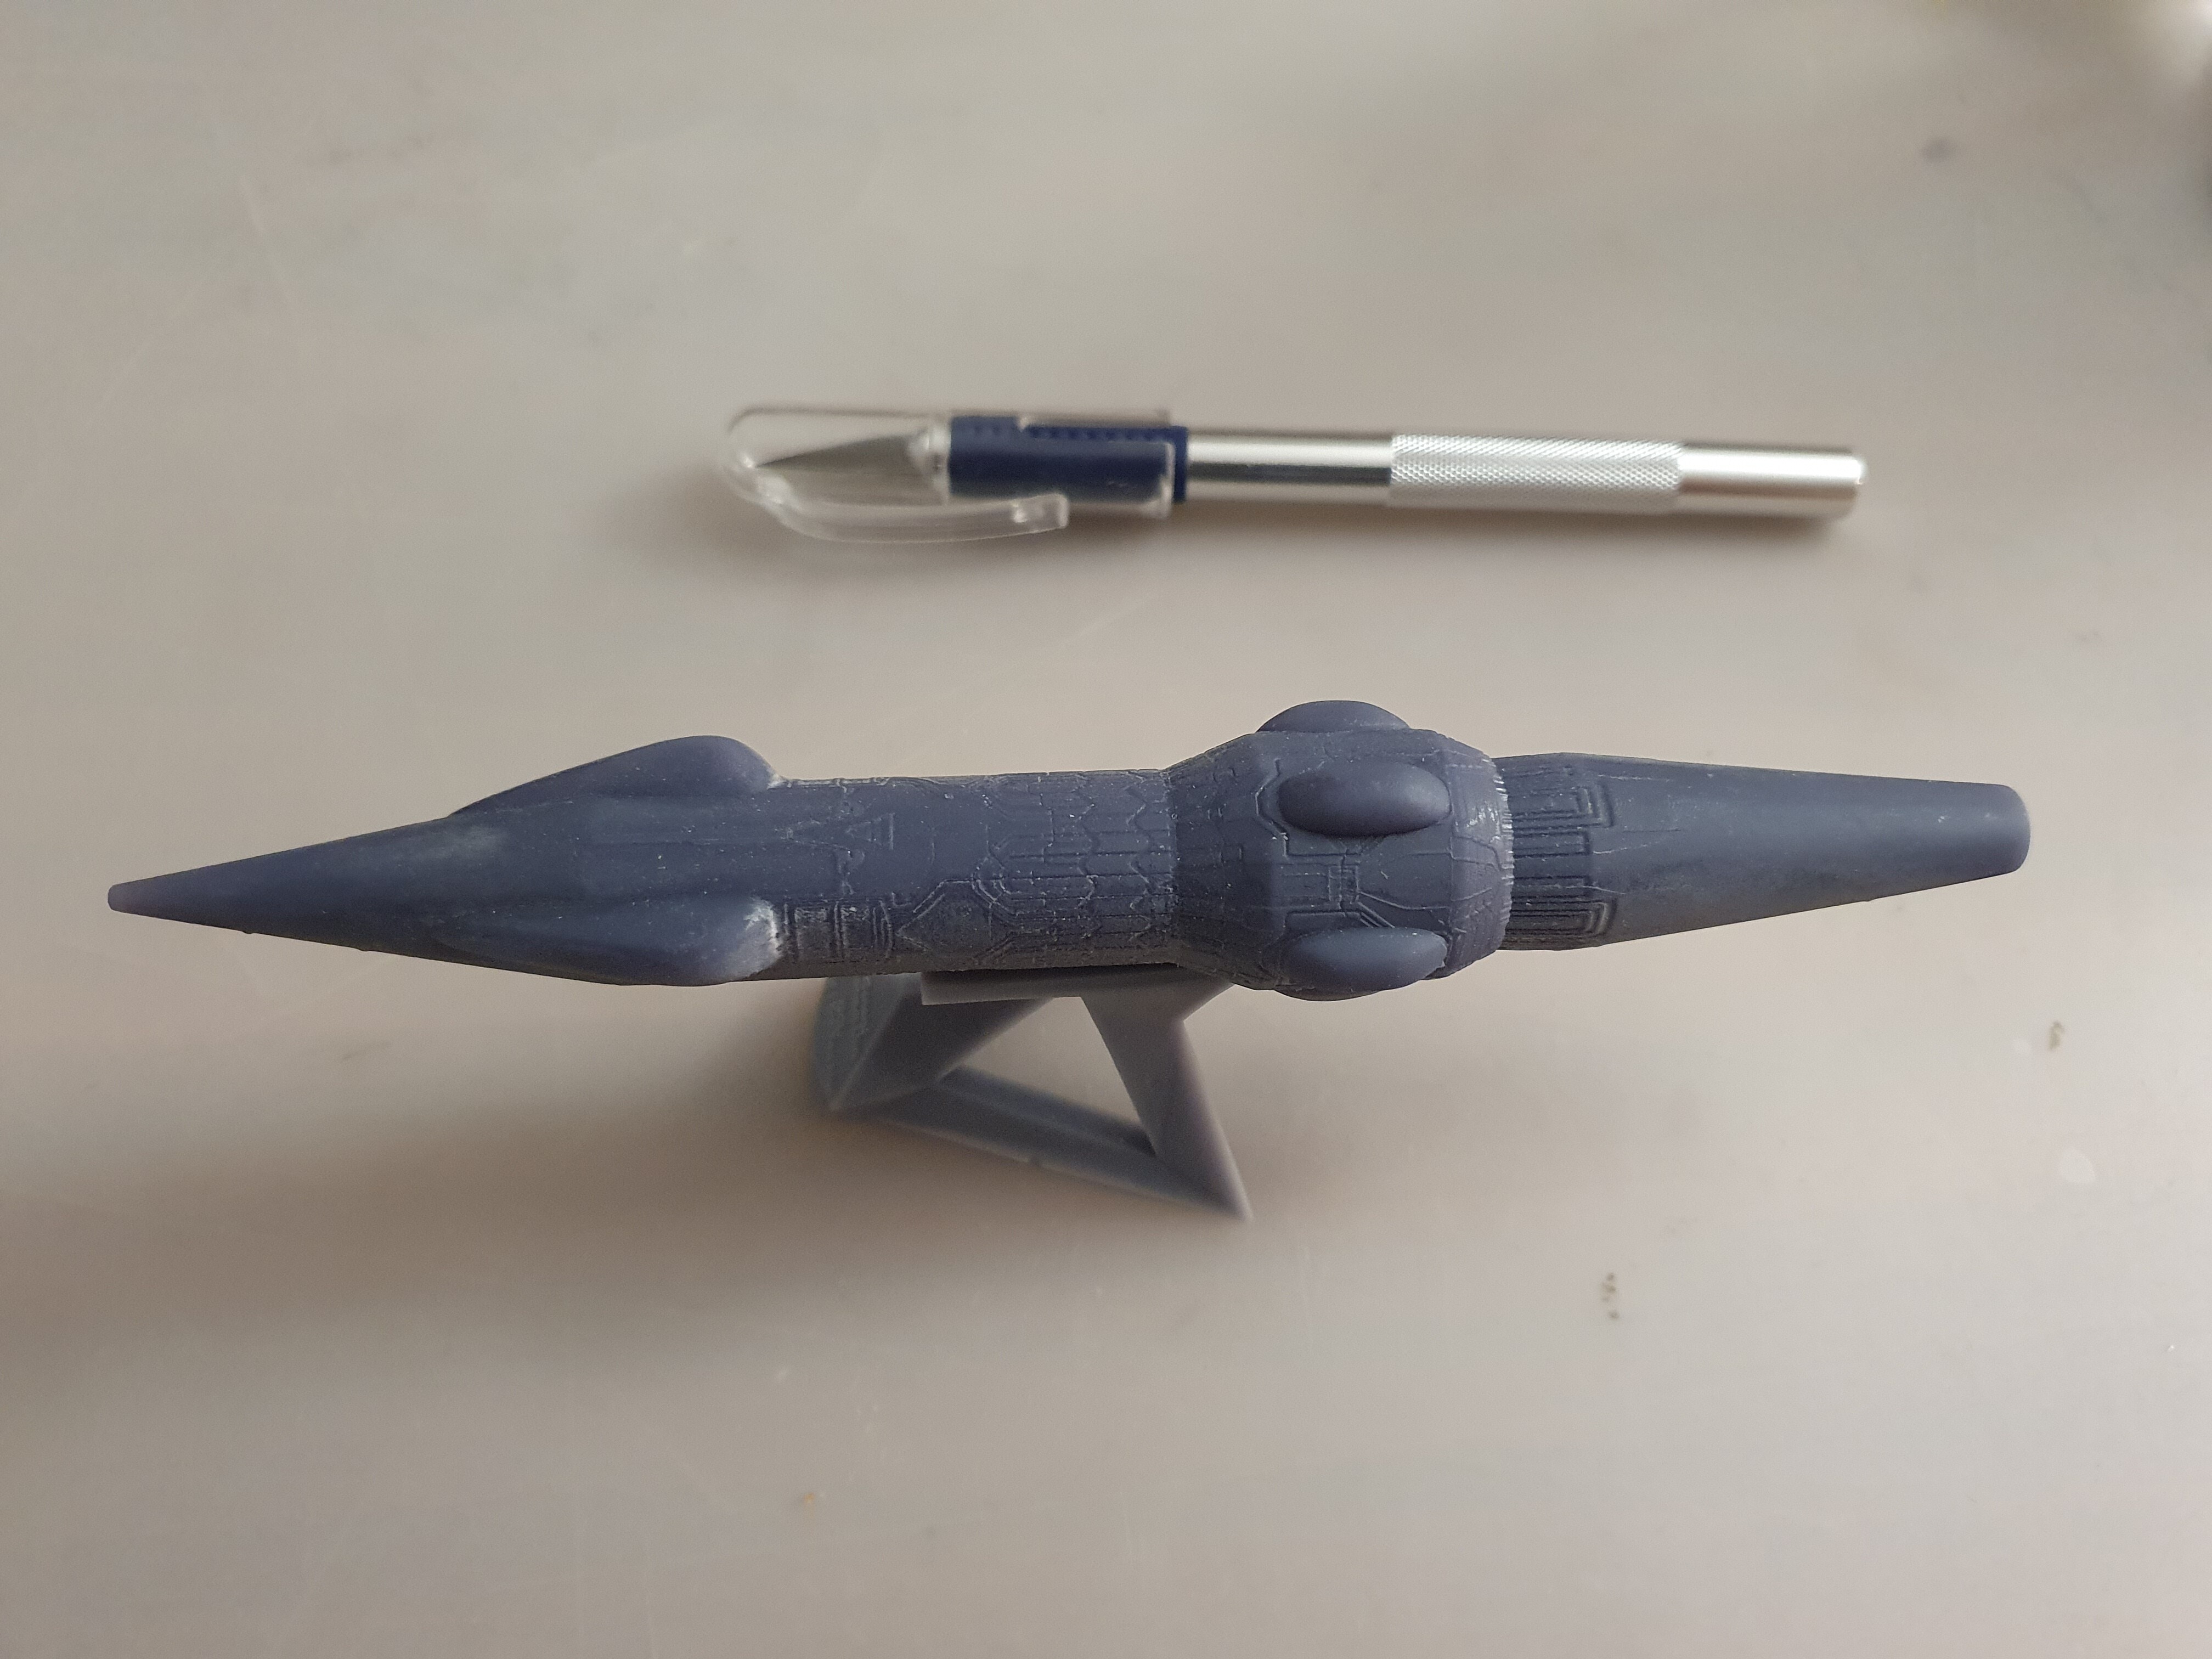
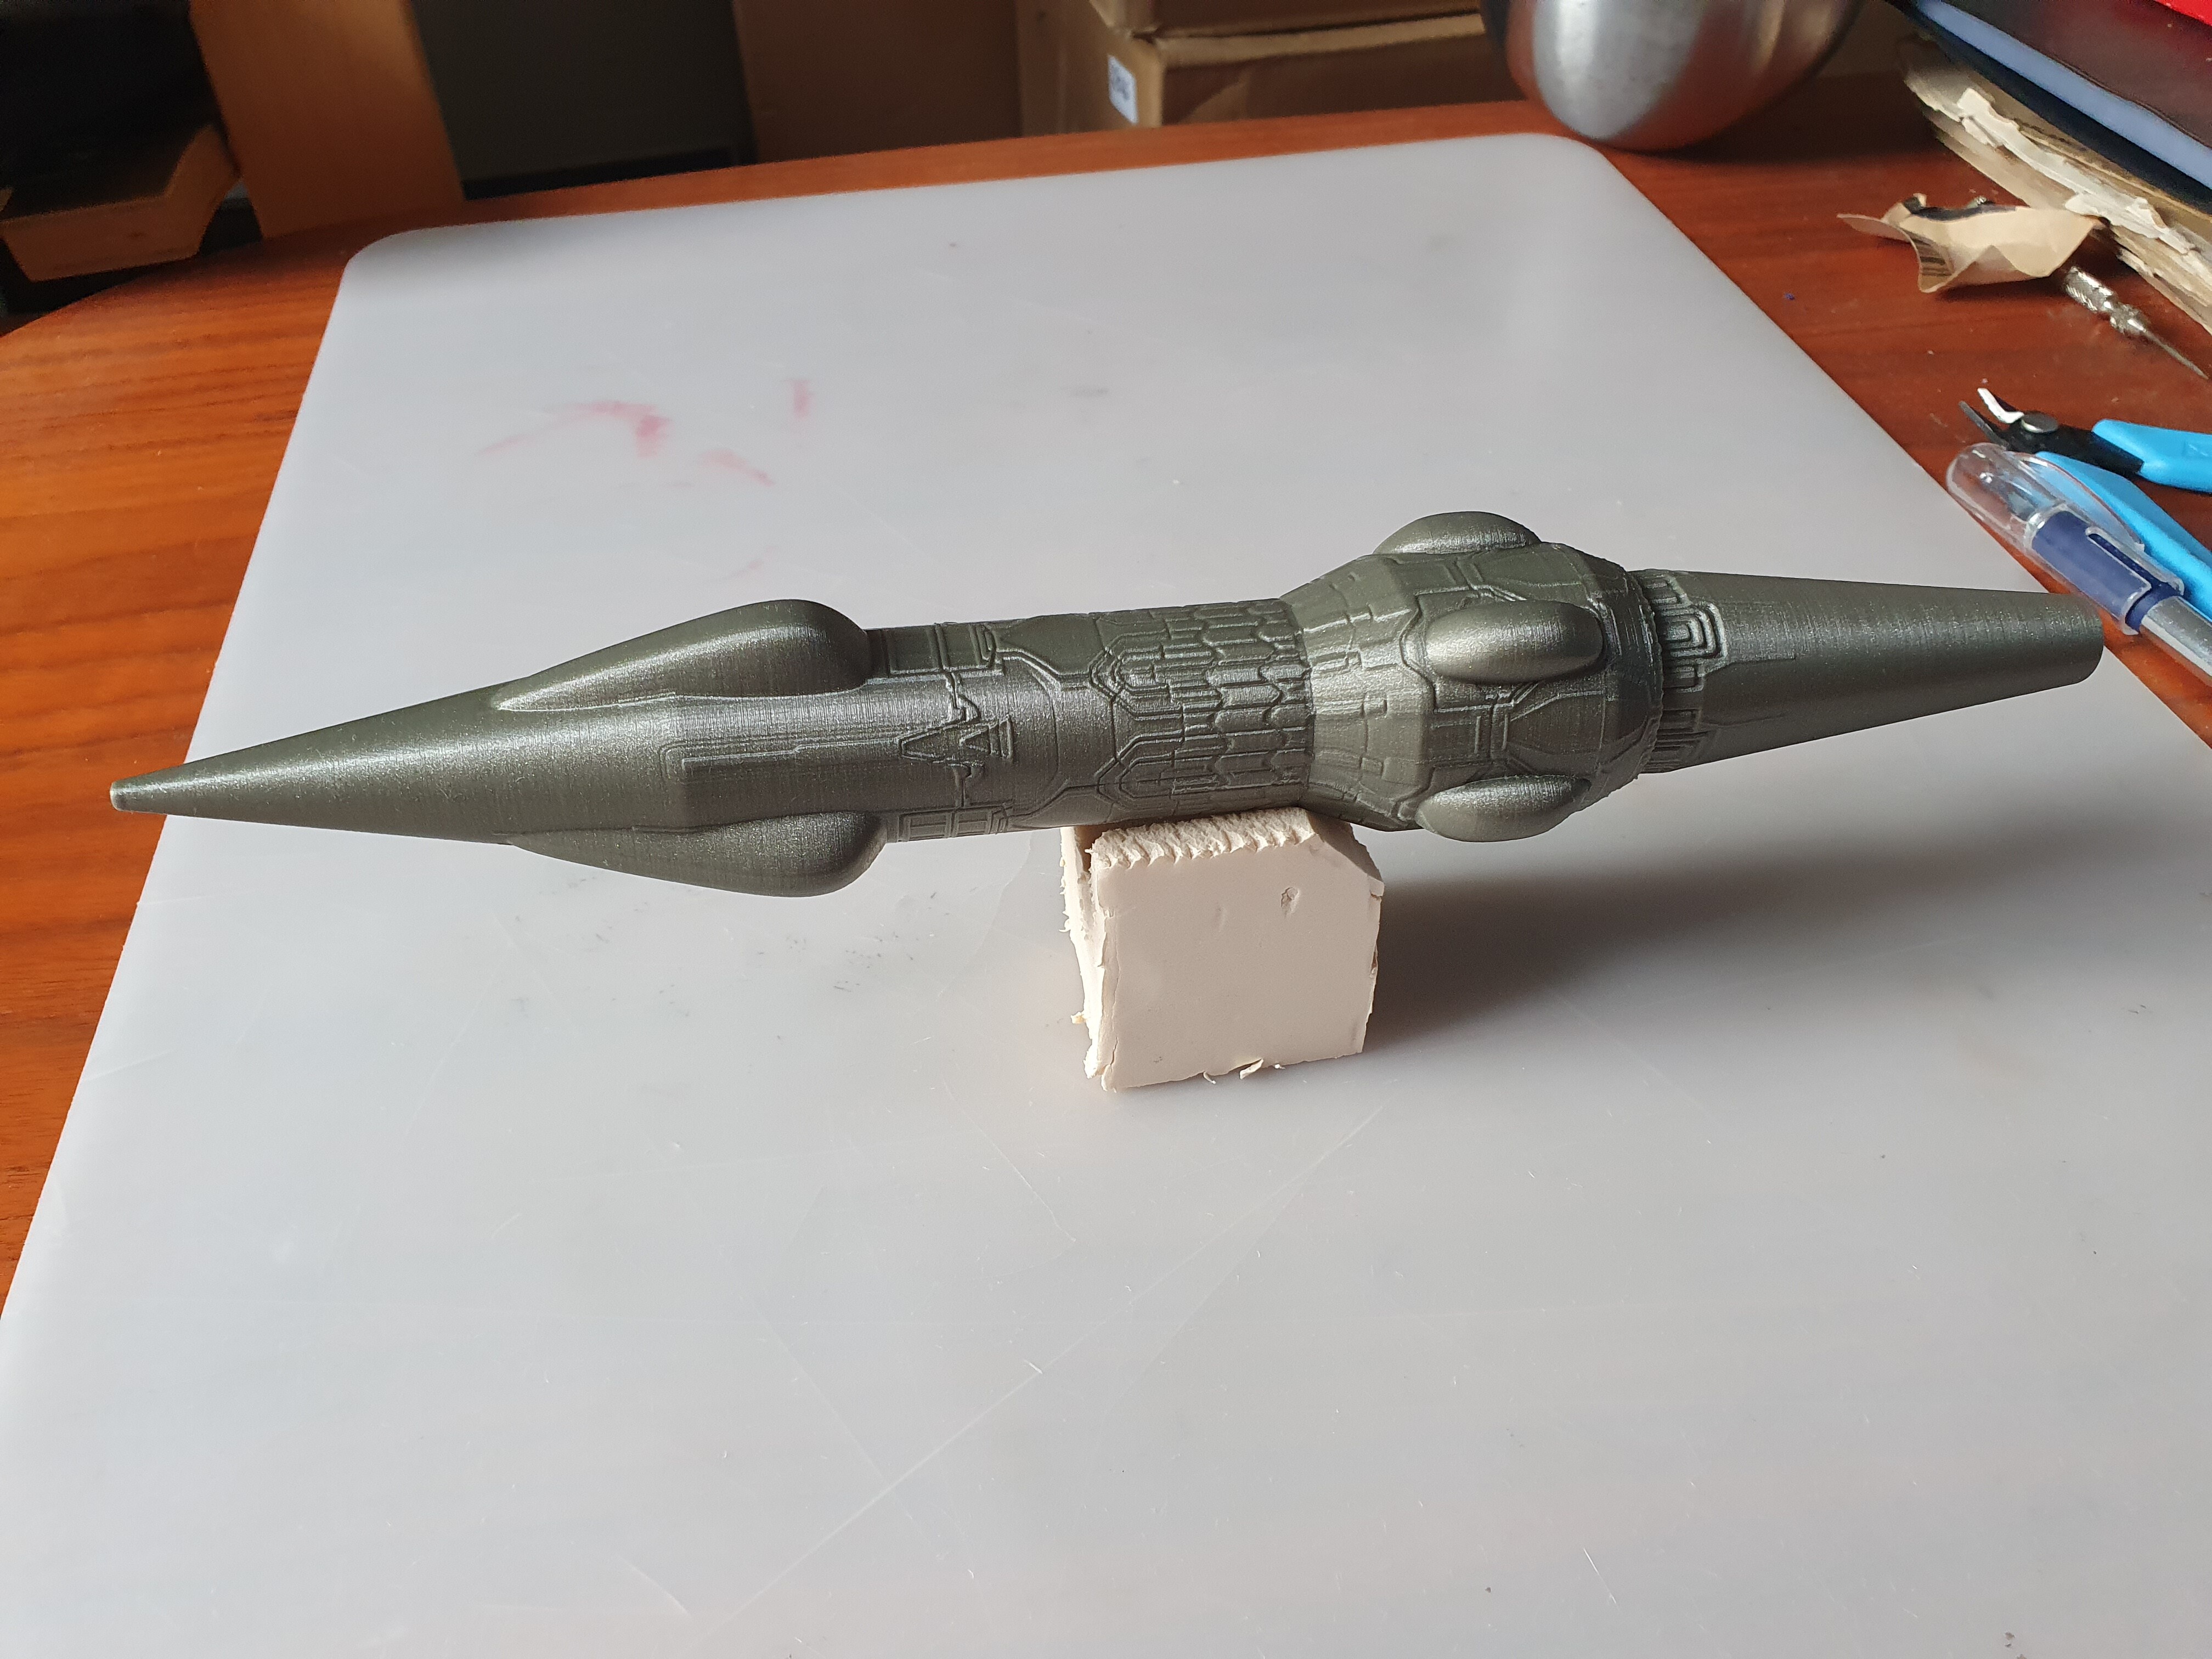
I have some assets I would like to turn into 3D printable meshes. Having the displacement effect from the shader turned into geometry would be great.
The displacement modifier is unusable it this case. I went up to the extravagant level of 7 subdivisions, my old PC almost died, this without a satisfying quality.
Is there a way to turn this dispacement shader effect into an actual editable geometry?
The question is not absurd, that geometry exists since it is computed for rendering, but it is not available at the user level, only when rendering I guess.
Rendertime displacement (provided you checked “adaptive” in the subsurf modifier settings) subdivides your geometry in relation to the space it occupies in-camera. There’s never a fully subdivided model that you could “bake” and print. I guess you could try sculpt mode and multires, and project your texture onto the mesh with a stamp brush, but that probably won’t be as accurate as you would like -at least not as much as punching numbers in a mapping node. But from the right angle, in orthographic view, with the right masking options, it might just work.
Zbrush would certainly handle this rather easily. The whole stencil projection thing is also much more elaborate over there. Yea I know it’s a Blender forum…
But what exactly prevents you from turning the displace modifier off in viewport ? surely you don’t need to see the model all subd’ed, right ? you mostly care about importing it in whatever program you print from ?
Thanks for your multiple and useful answers. I think that sums it up. Either try it in blender with that video tutorial, or do it with other software, which I hadn’t thought of.
I’ll let the thread open for now since I don’t have time to test all solutions (going on holidays).
Edit: But I understand why the modifier was ineffective, it was just set not on UVs. Now I can see that the modifier and the shader are doing more or less the same thing.
You can just subdivide the object as much as your machine can take it and then use displace modifier, apply the modifier and then decimate the resulting dense geometry.
I would test the whole 3d printing process before going through the trouble, to make sure that the detail is actually going to physically print.
It’s also possible to divide the object into a few parts to manage the amount of geometry. This way, you can apply the displacement modifier and decimate smaller pieces of the object at lower geometry density one by one. You would have some trouble joining the pieces together in that case and it might be a good idea to leave the edges of the pieces not decimated so that you have matching vertices that you can merge by distance.
I have achieved some real progress with a displacement modifier, better than I was expected. I had poor results before I was putting it on Blender while in fact my PC was just too old to perform well.
Displacement, Remesh with voxels, Smooth, Decimate, Sculpt:
Blender carries out these tasks on heavy meshes (millions of polygons at some point) with great stability, which is really satisfying.