I have made a geometry node setup, but I want to be able to adjust the distance between the points ( maybe the distance between the rings in Z and Y axis, and distance and offset between the rows is a better description).
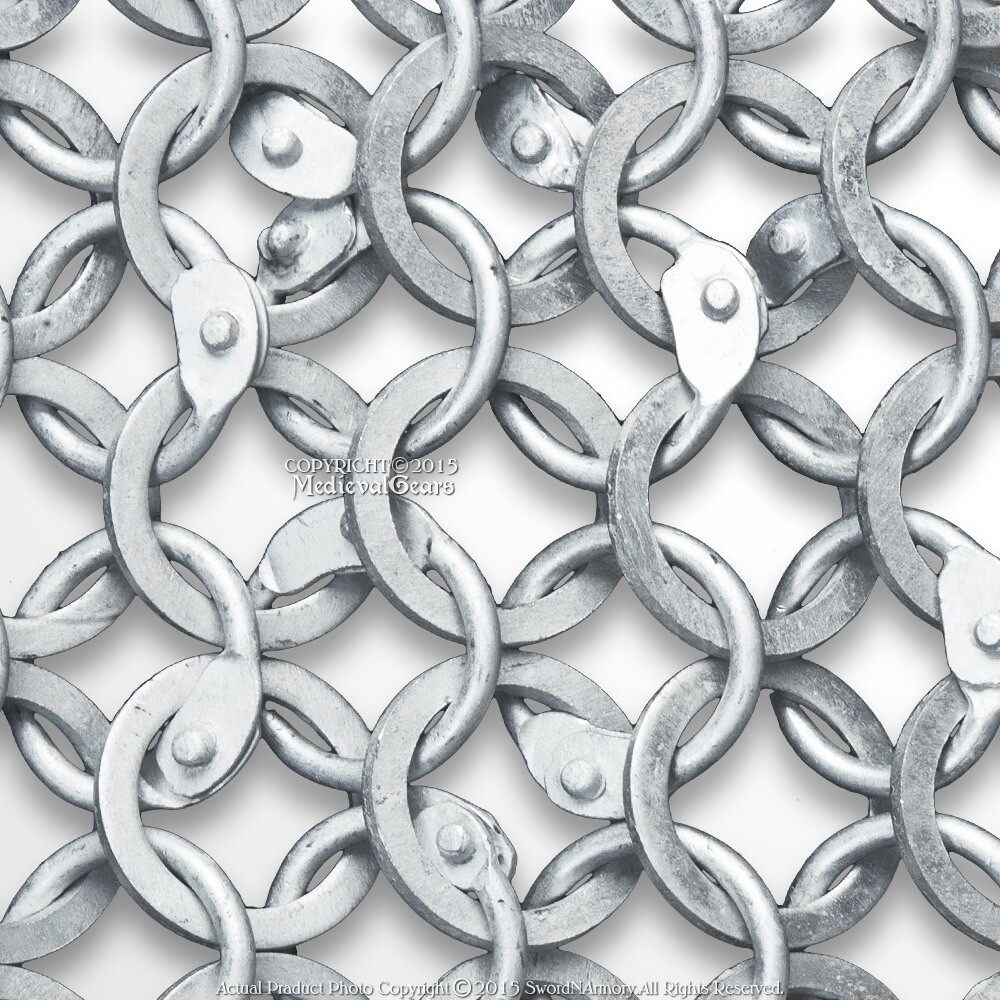
Altso, the rings should alternate in rows,- so I get one rows of solid rings, and one rows of riveted rings.
How do I fix that ?
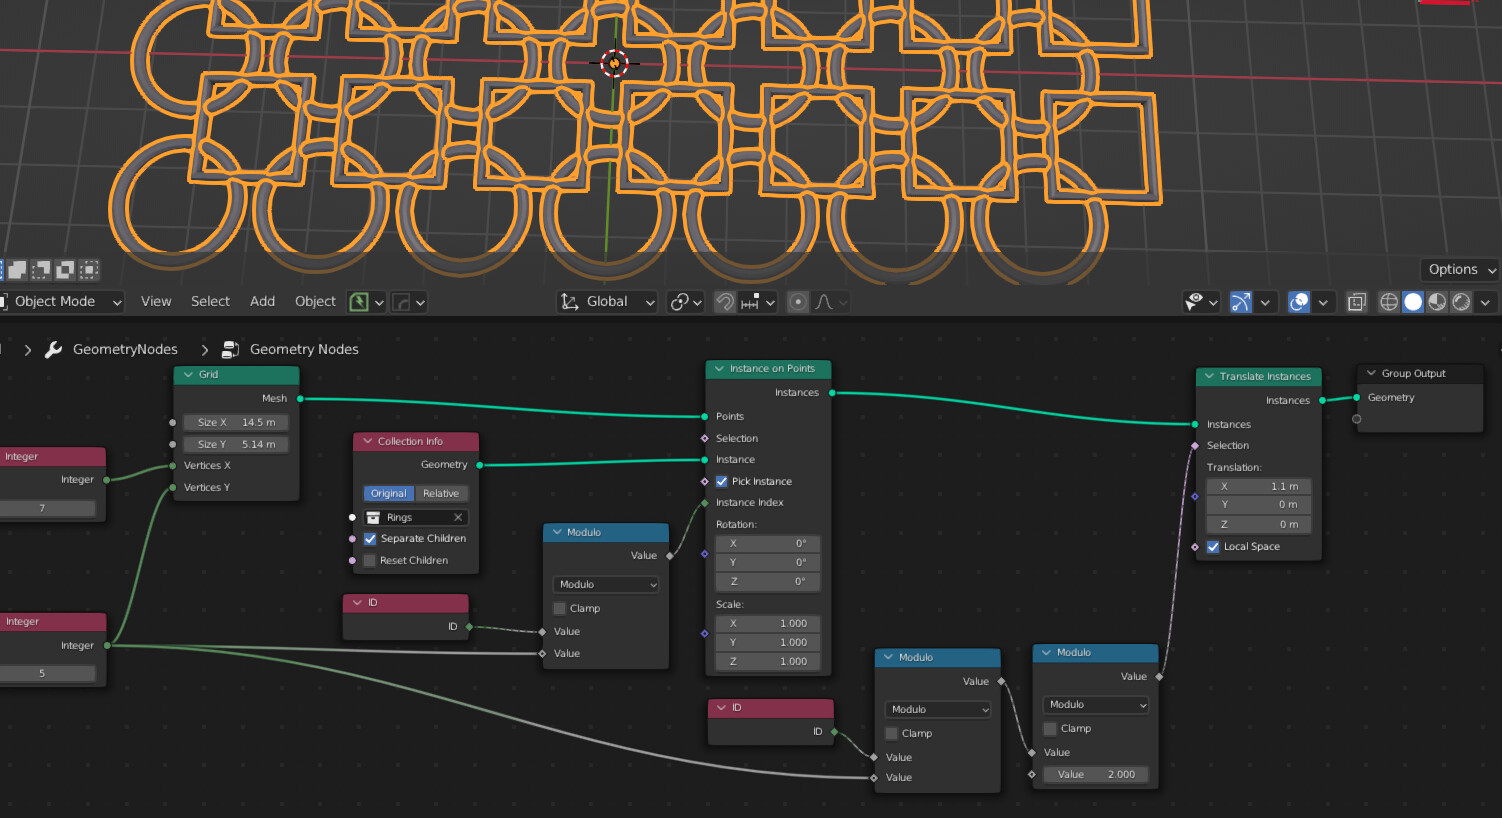
My geometry node setup so far:
If you pack both ring types in a collection, and use a grid where you know indexing logic, you can use the point ID to decide which object in the collection to pick for the instance and you can also compute an offset based on row number:
OK, that works for the horizontal stuff. But It does not work for a plane.
I need that because it is for a garmen that need sto be sewn and so on…
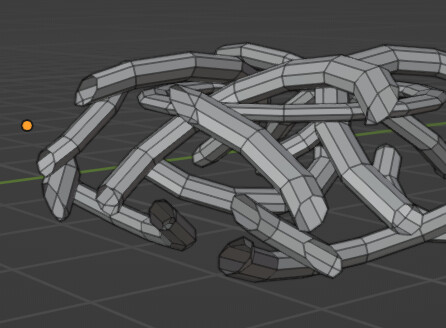
They just end up in a strange horizontal stack:
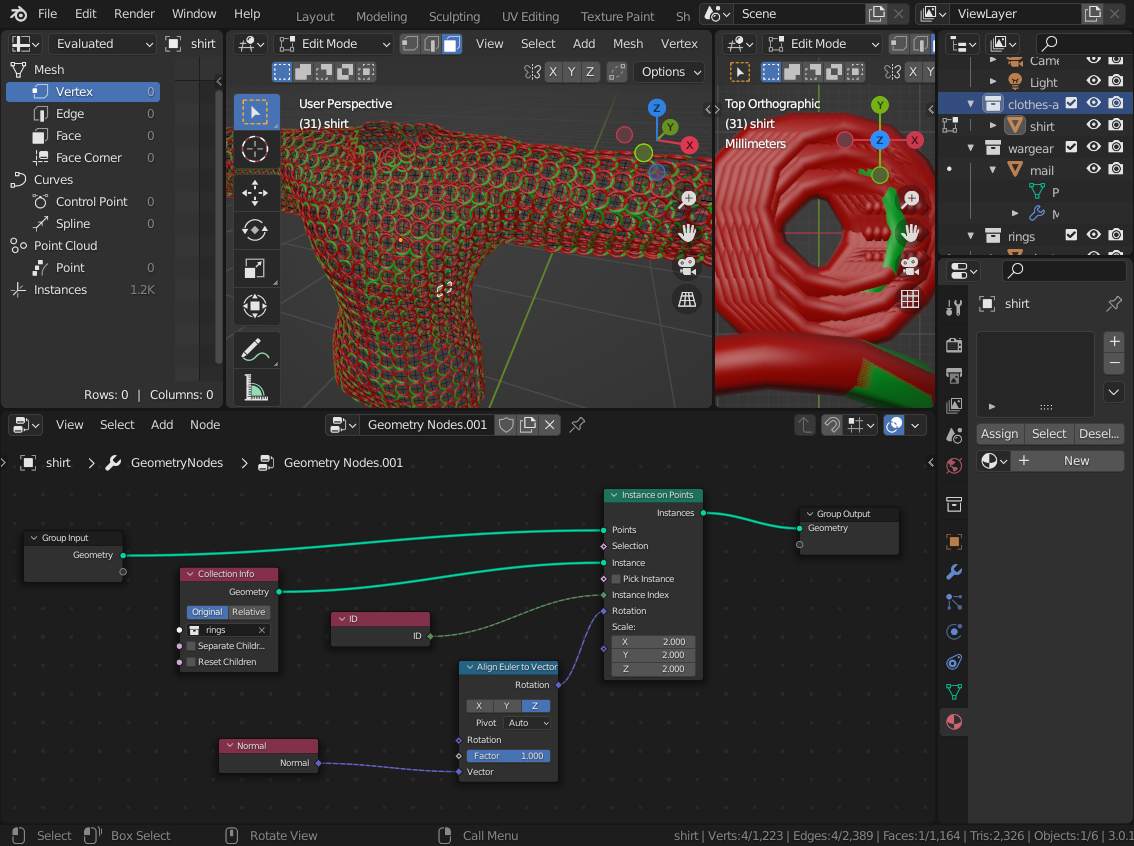
Hmmm i’m not very good with geometrey nodes and i’m also fighting some display quirks betwee 3.0.1 and 3.1.2 (?) but (the topologu for the shirt and the trousers also shoutbe more eqaulized for this if not a GN expert does propate the two chains better… i did use a posional offset “in model”):
(Please don’t call a file test, compress and clean of unused data… since → ChainMailTest1.blend (458.1 KB)
so it is uploadable here and maybe can help other in the future…)
I included an additional subdivision surface to increase the ring density (and cleaned the shirt mesh up a bit, the seams at the underside of the arms weren’t working right)
The workflow using tissue would go something like this:
create a piece of the chainmail with the linking pattern you desire.
Important: the pattern must be rotation symmetric, such that if you rotate a section of the pattern it by 90°, it will still link up with the rest. E.g.,
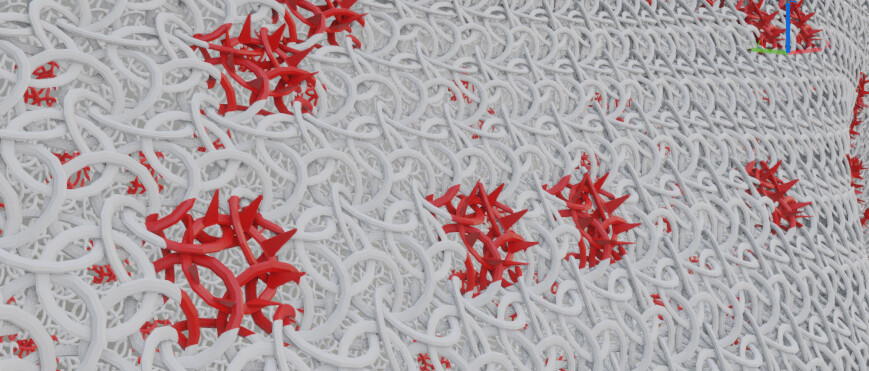
Oh yes the tissue addon… i lately also gave it as a tip… but never used it yet … The (general) “make a tilable geometry” and then “put it on the” -Trick i was aware of (some feature in Zbrush… MicroPoly) and i tried with instancing on faces with scale by face… but nahhh (weird normals and noe tileable) … But this is awseome… and now including some scratched/broken/cut chain elements and is realer than reality (i must be mad: struggling to reach something and then raising the bar again…)
Should be easy: the tissue addon supports multiple components to be used where they are assigned according to the face’s material…and you can randomize the material assignment with geonodes:
Edit: so basically one starts with one tilable component and then generates variants by changing only the mesh in the middle of the tile, leaving the boundary geometry alone…